
110 Cookson Lane | Whitefield, ME 04353 | 207-232-7600 | tim@lackeysailing.com
The new work in the head required a light sanding to smooth the epoxy fillets, and some minor spot-filling with a quick-dry light filler to bring the area up to snuff, followed by another light sanding as needed.
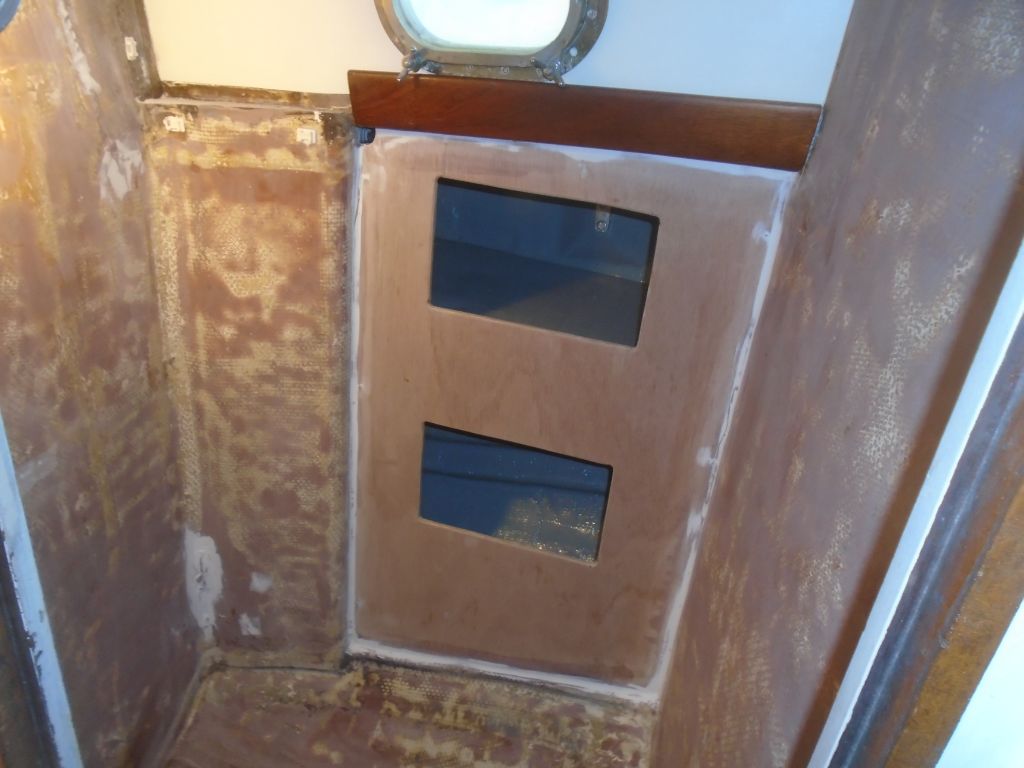
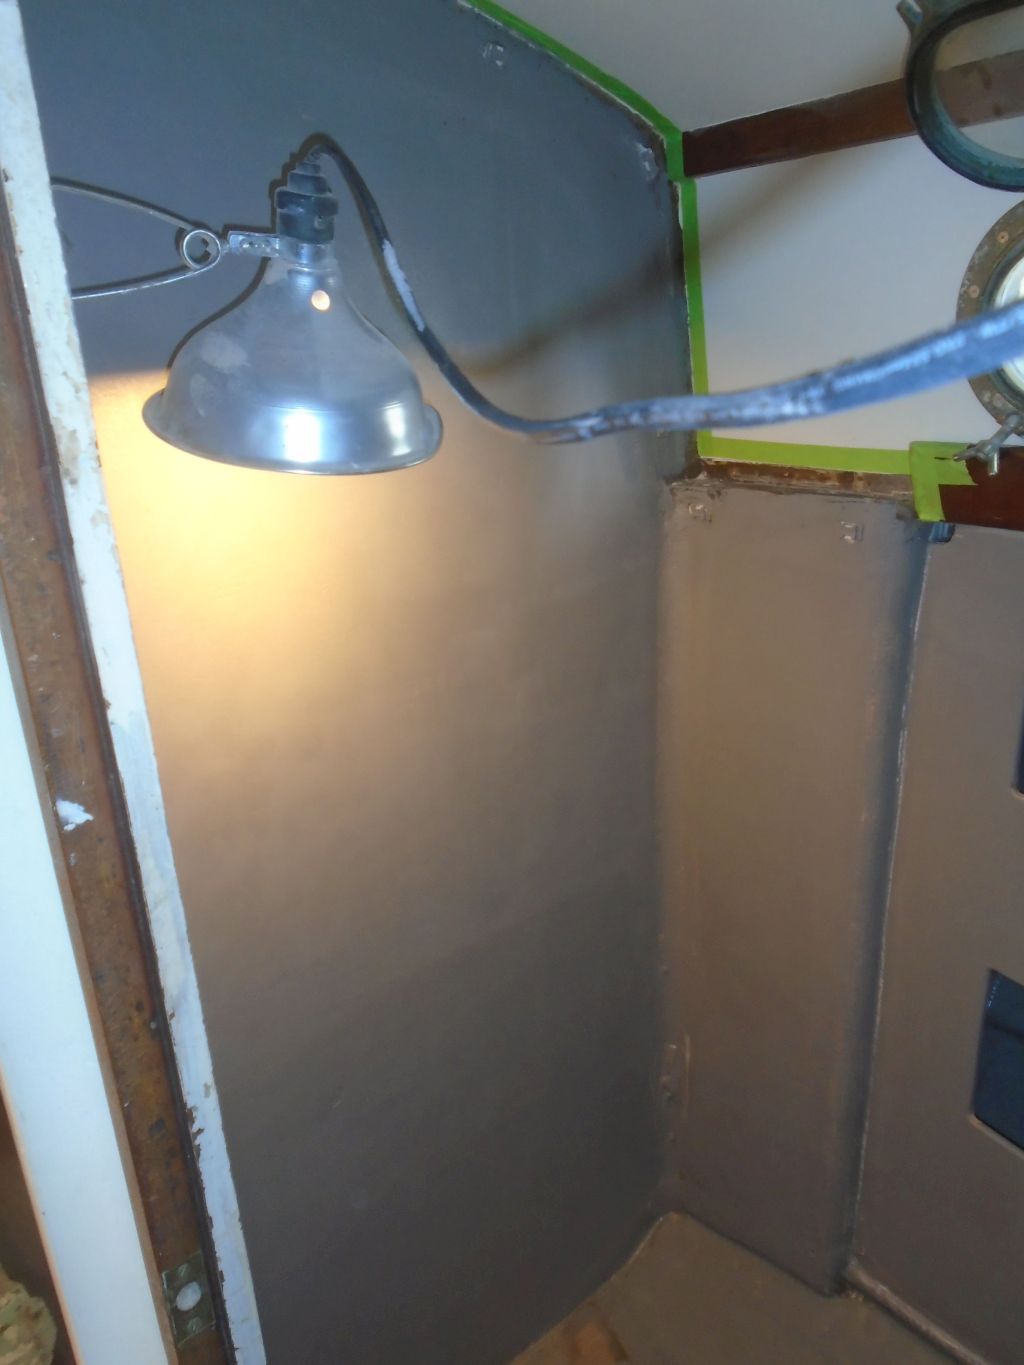
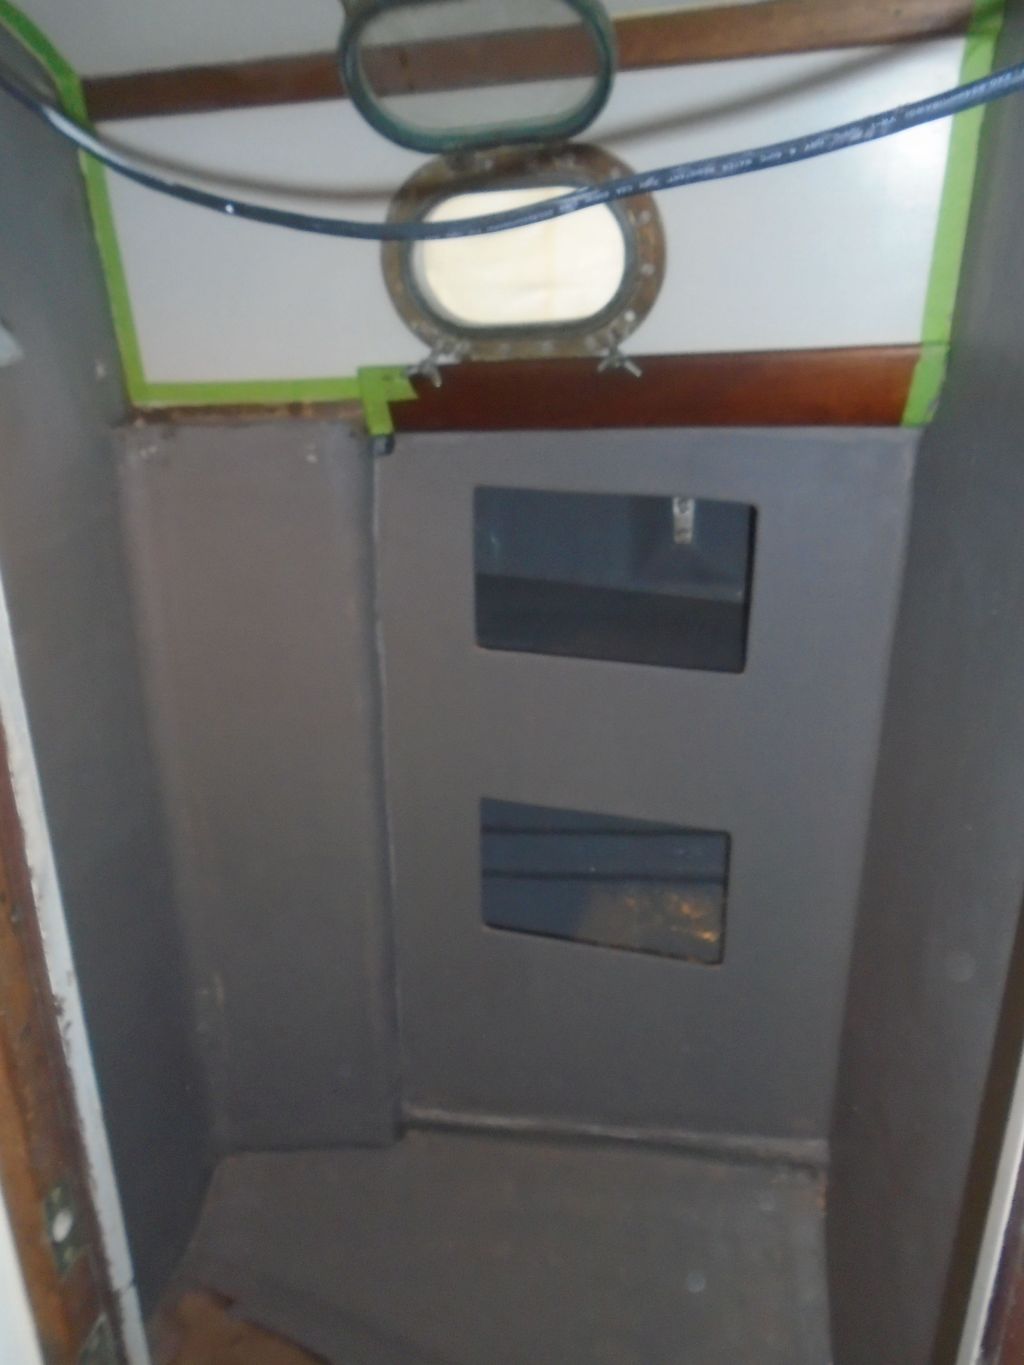
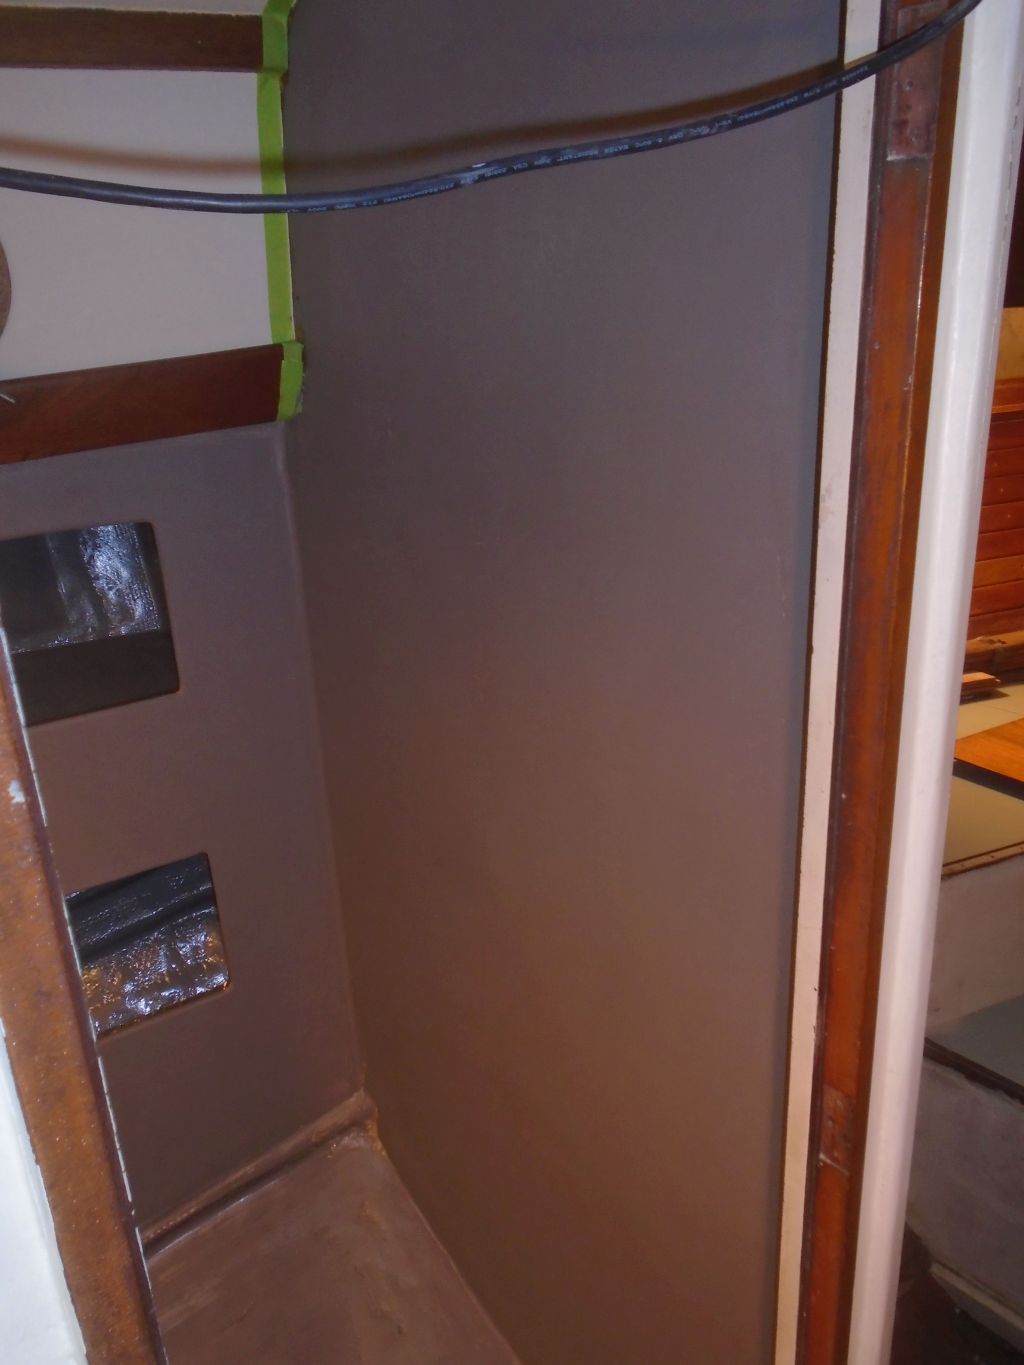
Afterwards, I vacuumed and solvent-washed, then applied a coat of two-part epoxy-based primer to the bulkheads (and, for continuity's sake, to the plywood cabinet front). This primer was intended only to "seal", as it were, the fresh epoxy fairing compound and fillets and allow me to move forward with the real primer and paint sooner than later; one part paints react oddly with new epoxy and don't cure correctly if applied too soon, unless one chooses to use an epoxy primer first. The other option is to wait several weeks for the new epoxy to fully cure, time I neither had nor wished to waste. I used gray primer because it's what I had on hand.
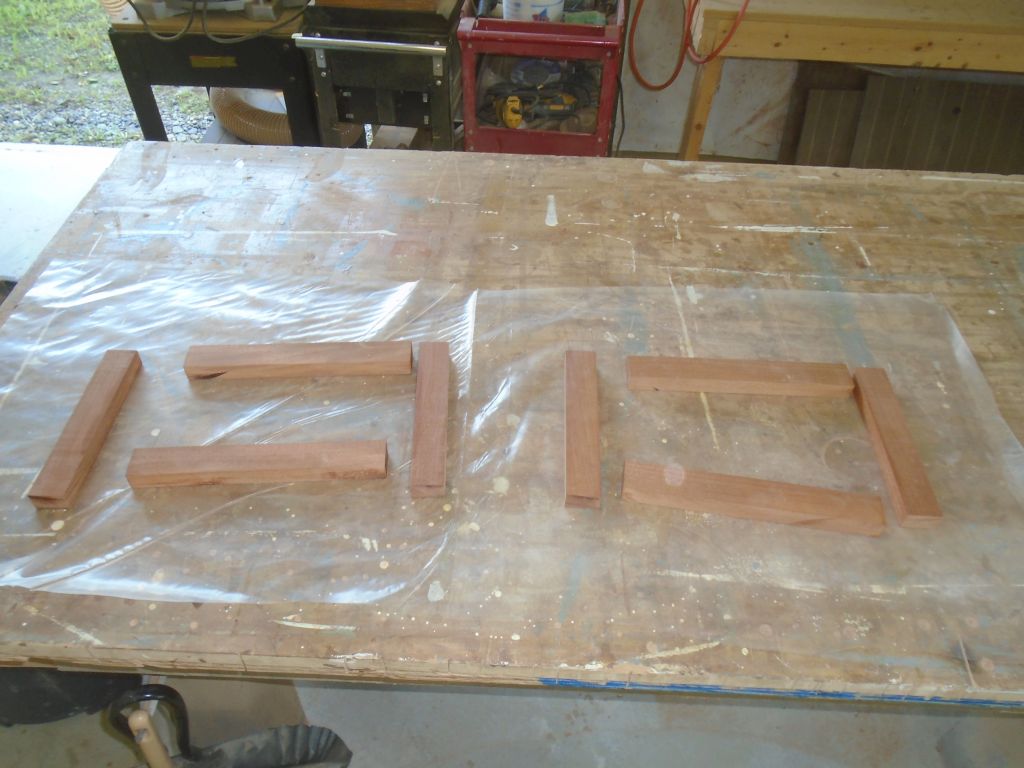
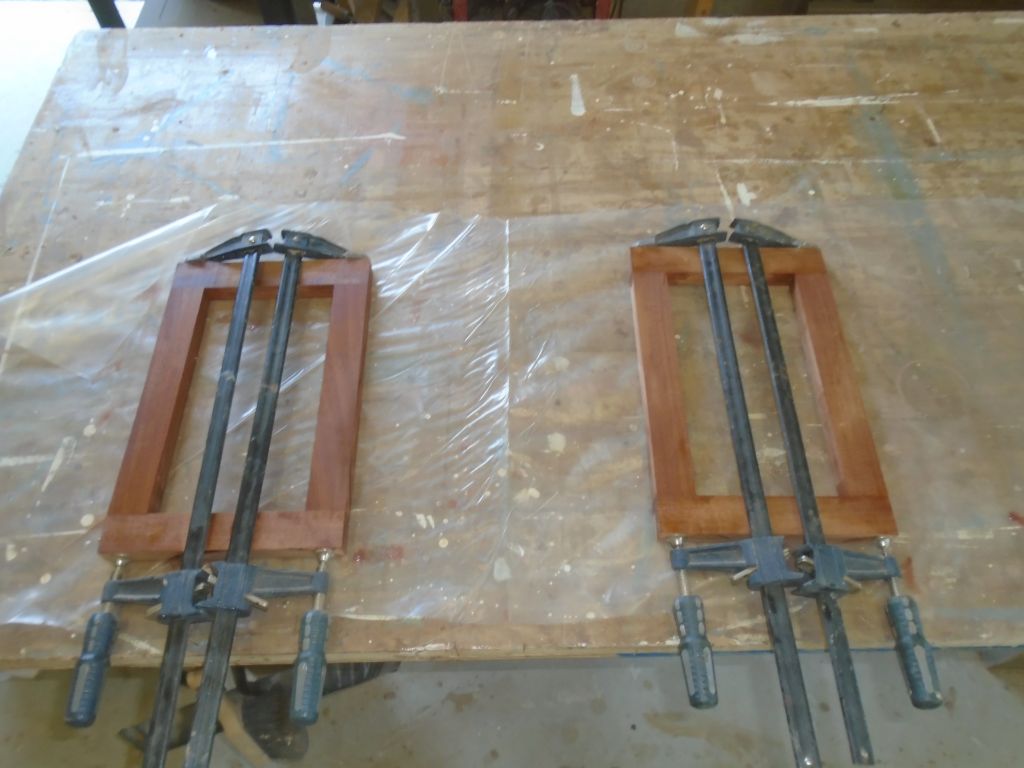
With most remaining projects hinging on the completion of the head painting, I worked on sundry tasks during the remainder of the day, beginning with the raw door frames for the new head cabinet. From mahogany stock, I prepared rails and stiles for the new doors, which would overlap their openings, and glued up the frames.
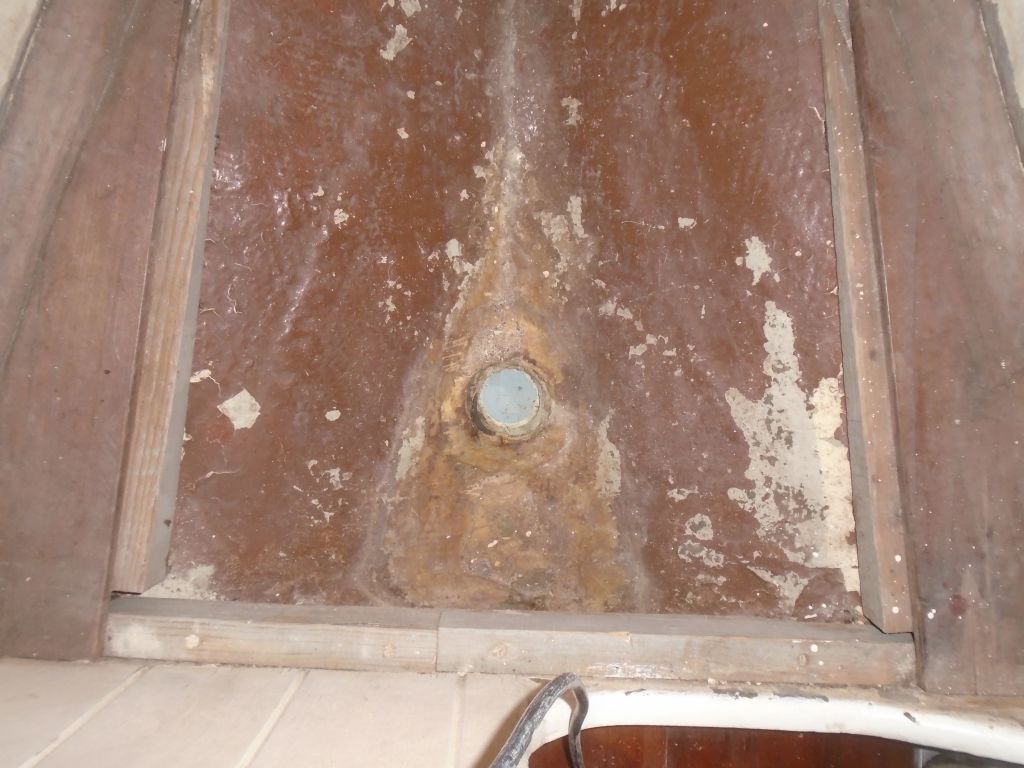
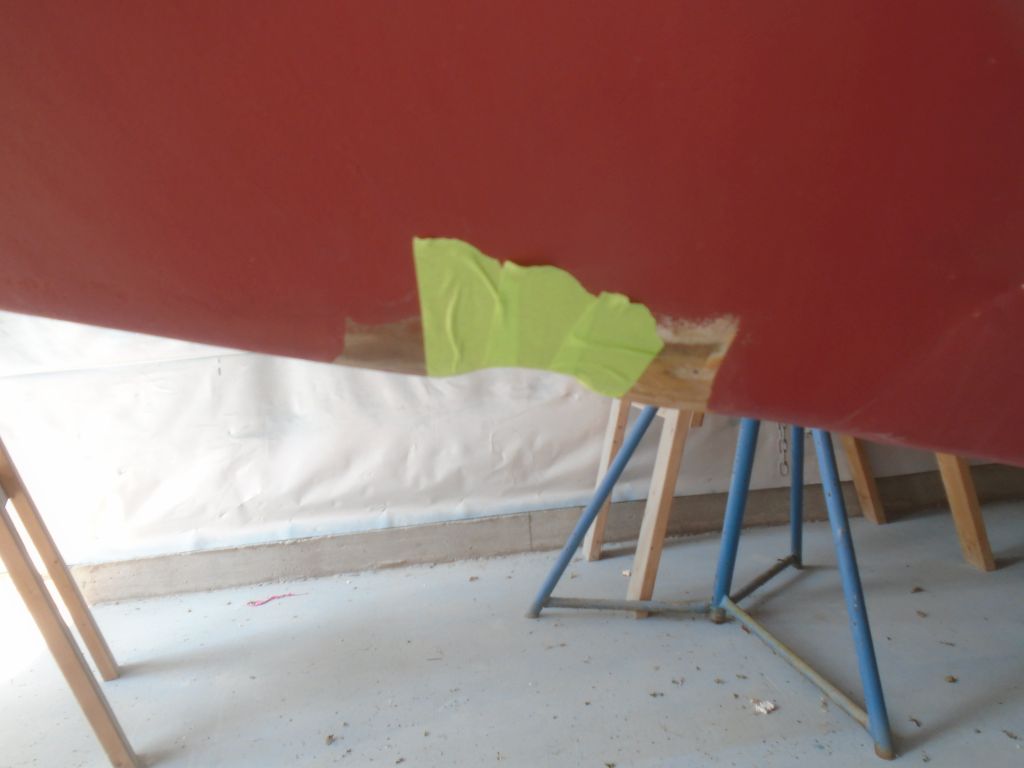
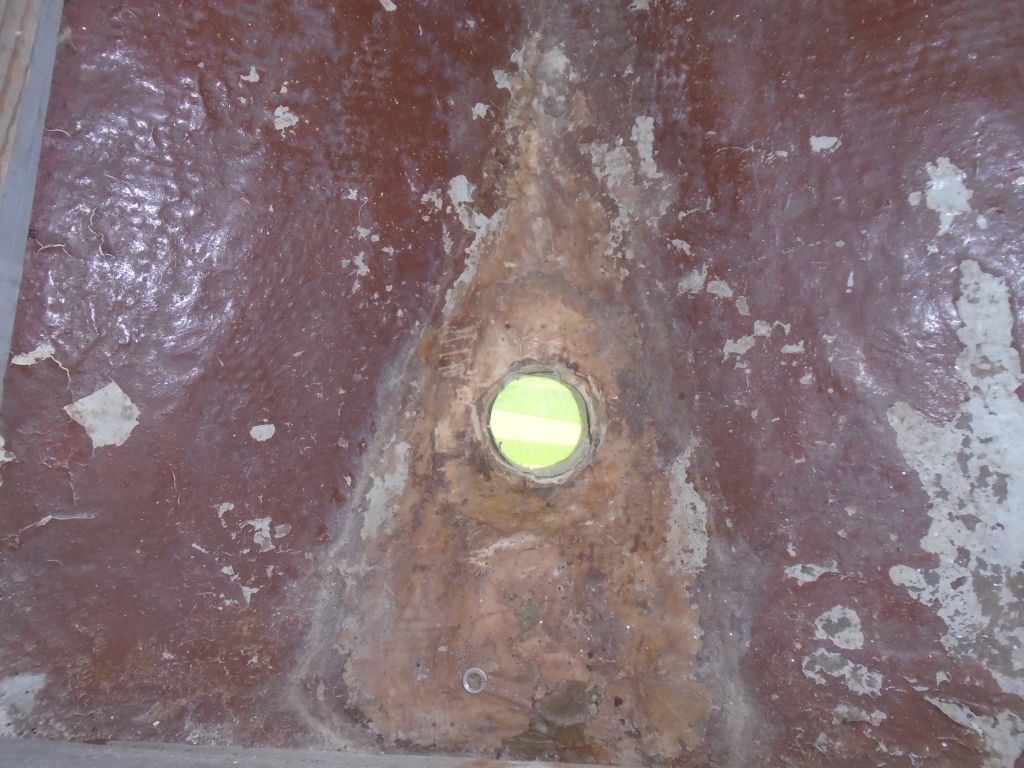
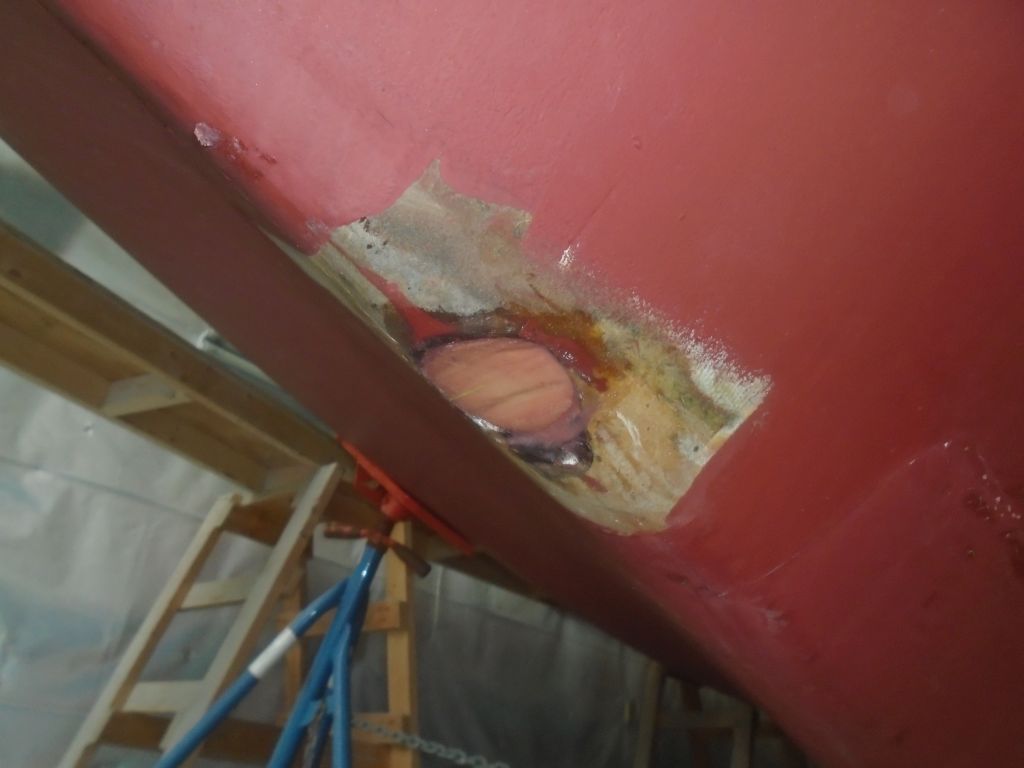
The hole in the forefoot from the originally-installed depthsounder transducer was still in place, and to ensure the boat was ready for the water I chose to patch the hole pending final decisions on electronics sometime in the boat's future. Because the original transducer had been mounted in a flattened area that kept it pointing straight down for best performance, I wanted to maintain those hull contours to make future transducer installation easy.
After cleaning out the old sealant and debris from the hole, from outside, I masked over the opening, keeping the tape pressed into the shape of the recessed flat to maintain its shape.
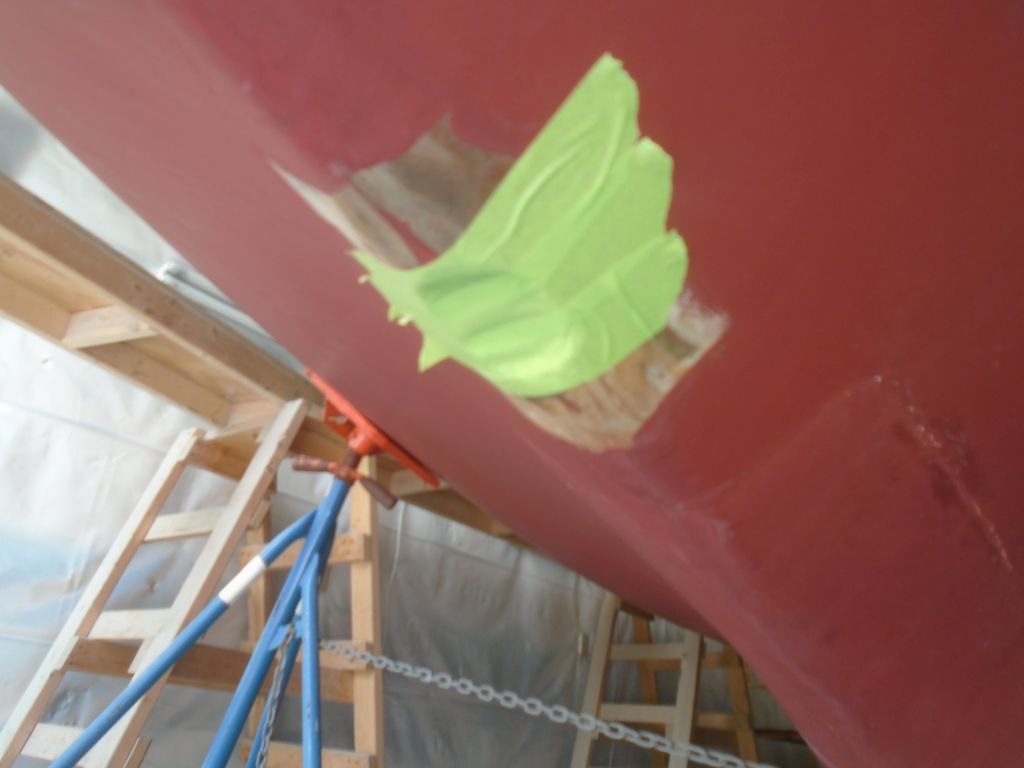
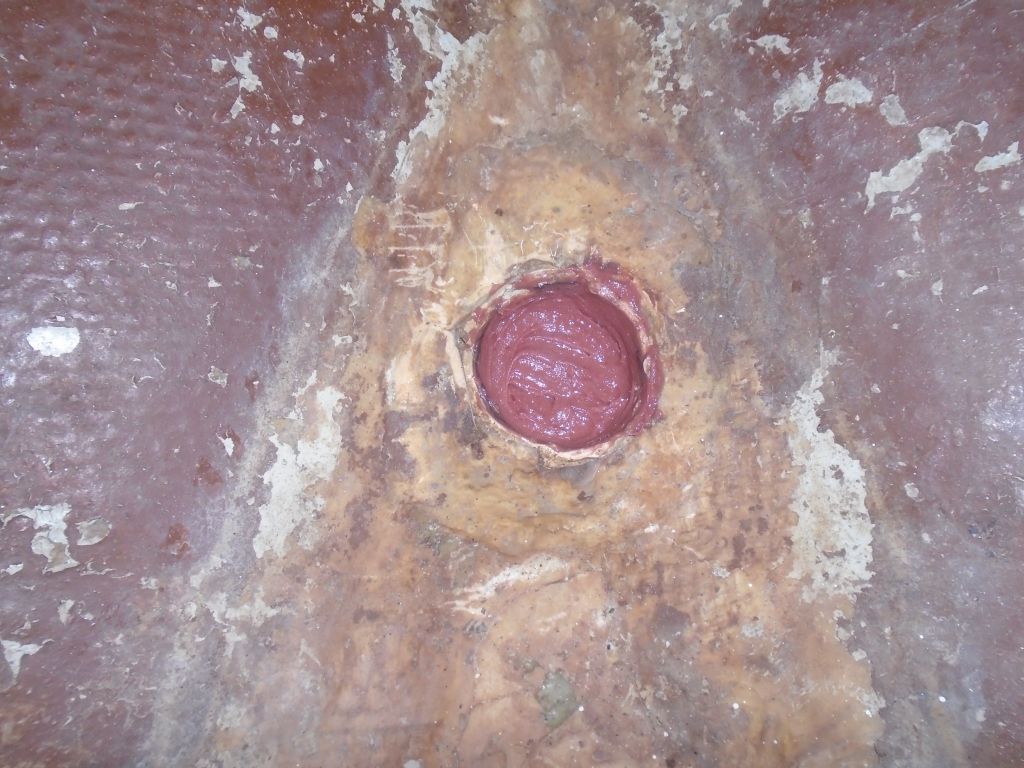
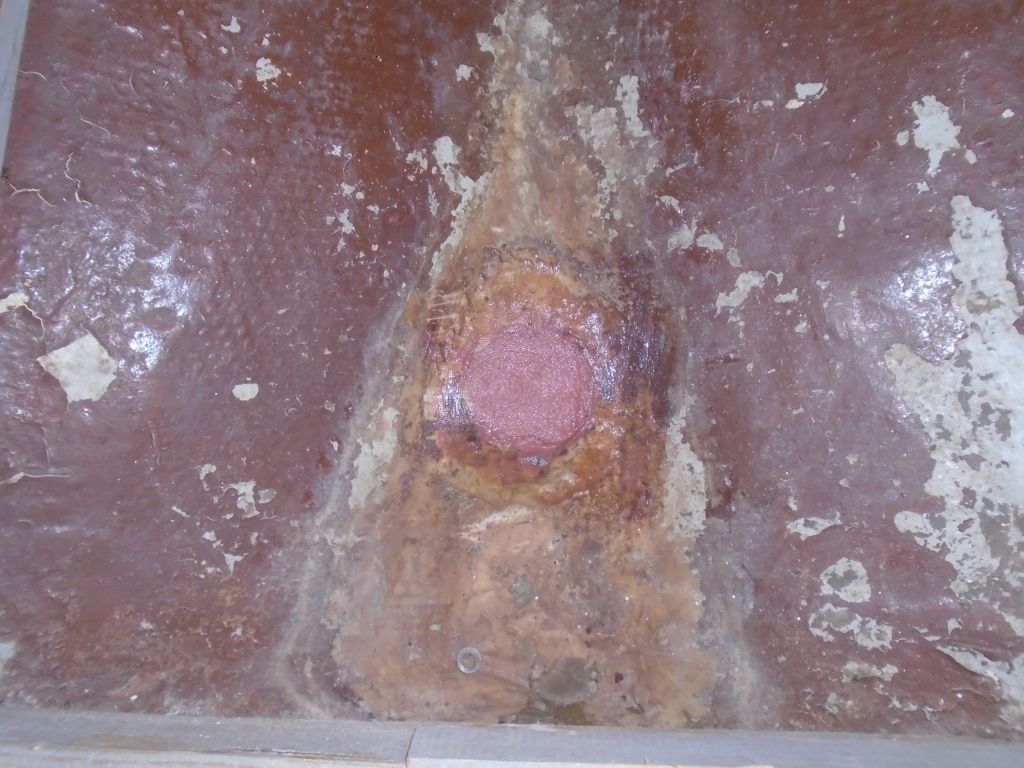
In two lifts, separated by an hour or so to reduce exothermic issues, I filled the hole with a thickened epoxy mixture from inside till it was flush with the inside of the hull. Later, I removed the tape from outside--the plug was solid by then thanks to warm temperatures and its own exothermic mass--and, with a small batch of thickened epoxy, smoothed around the edges a bit to prepare for the next steps.
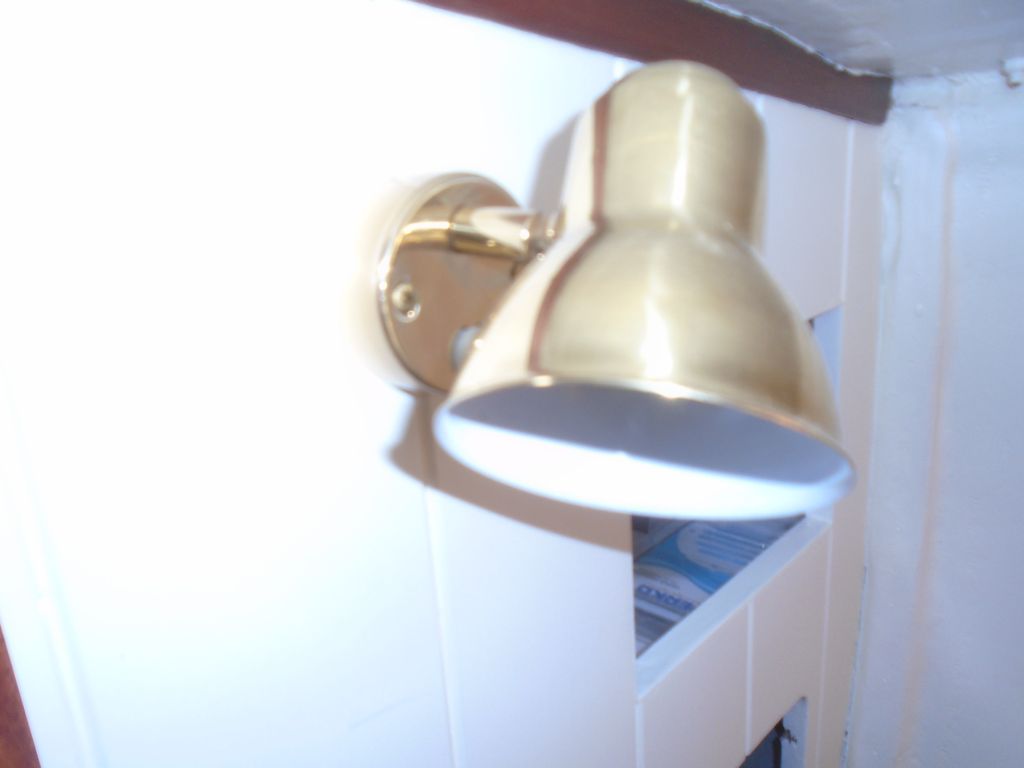
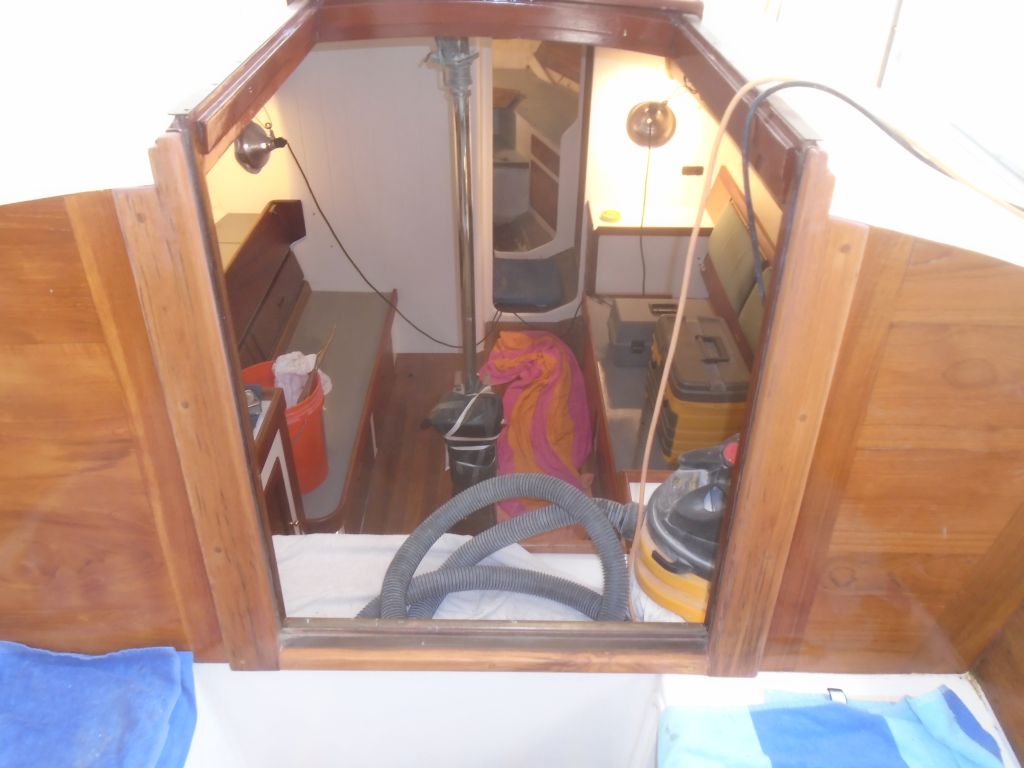
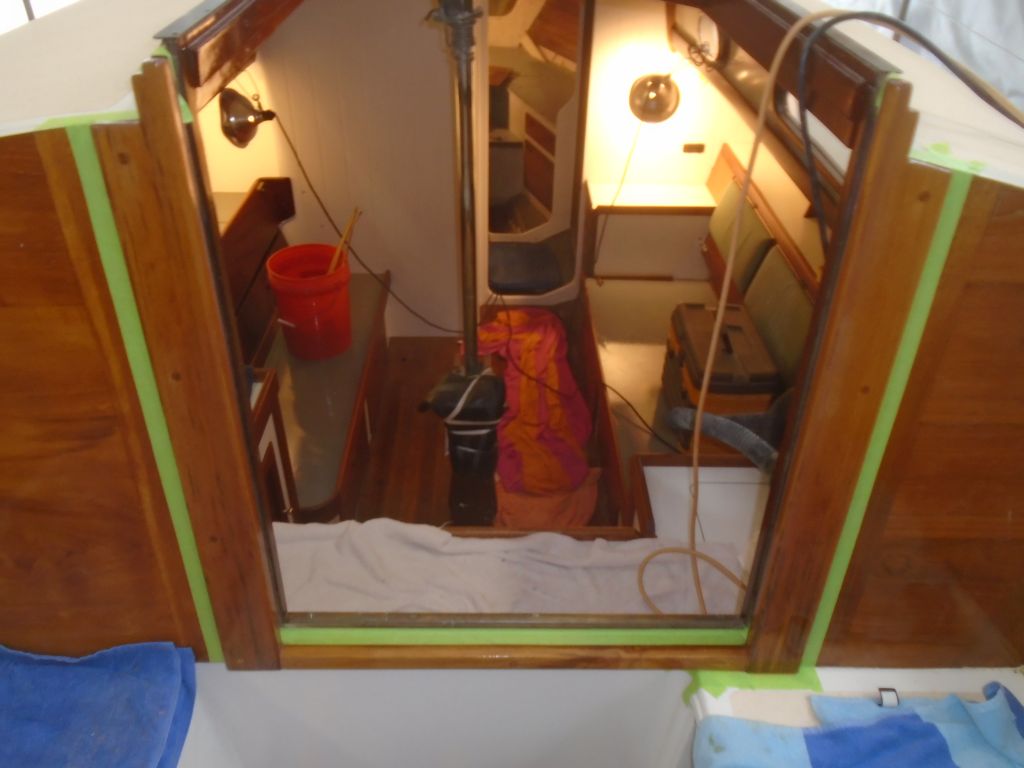
There were a few little chores in the cabin. When I installed the reading lamps earlier, I'd not had the right screws on hand, so I temporarily used stainless steel screws of the right length that I had on hand. Now, with new brass screws of appropriate size in stock, I replaced the stainless screws with them, which improved appearances.
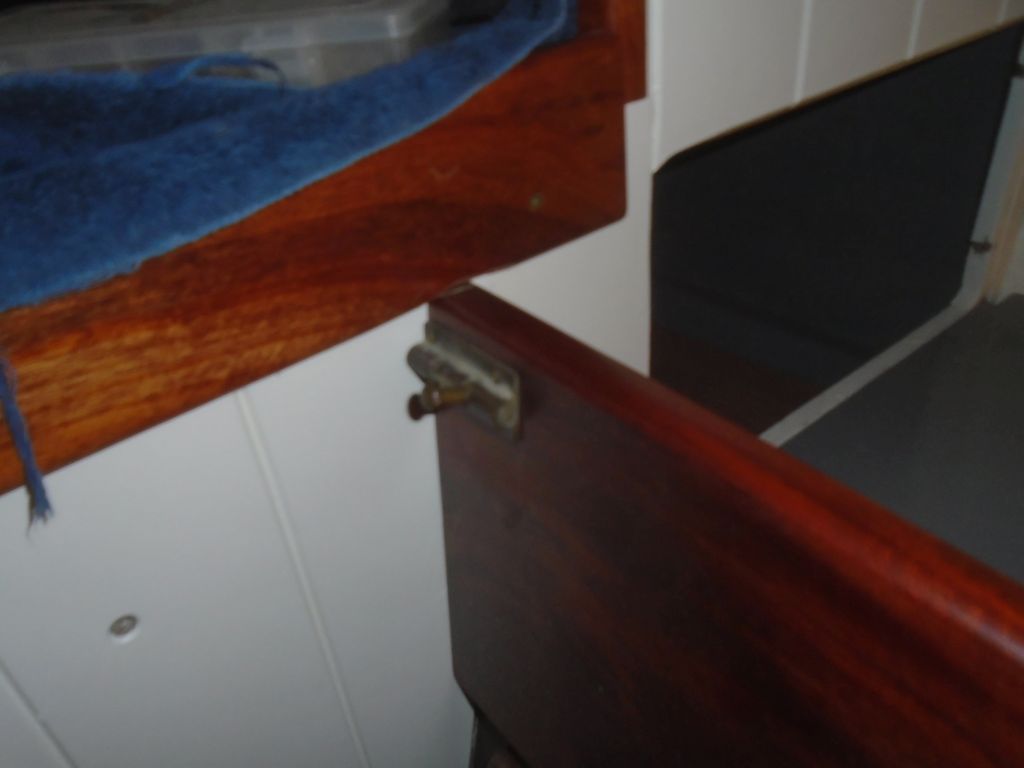
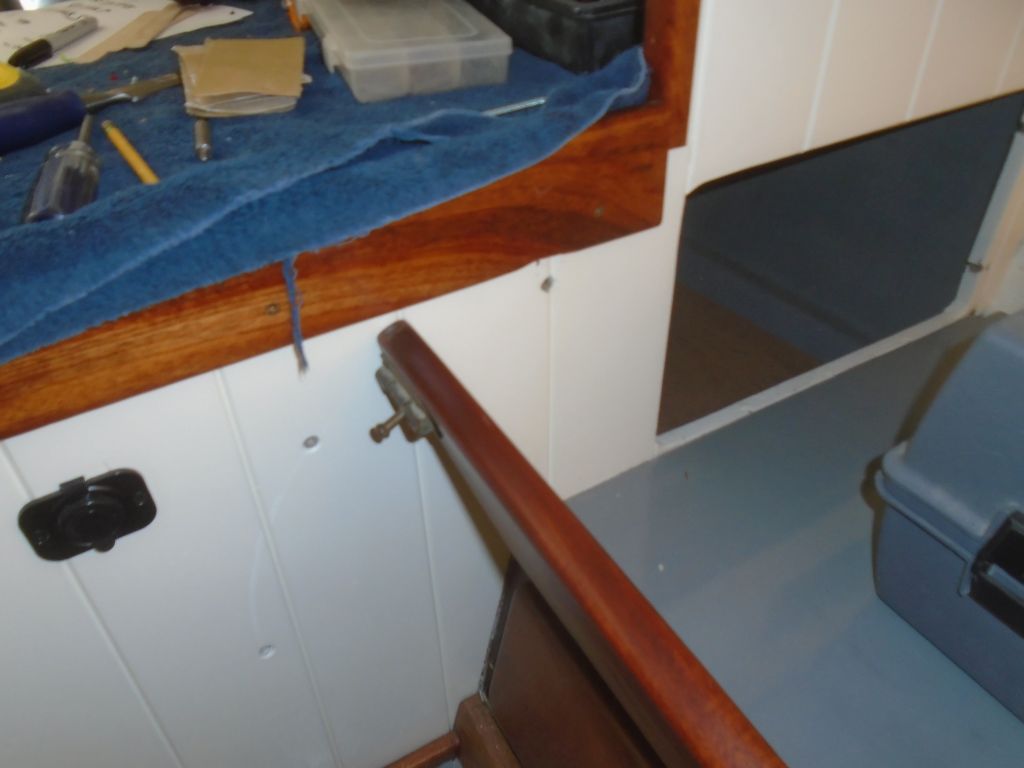
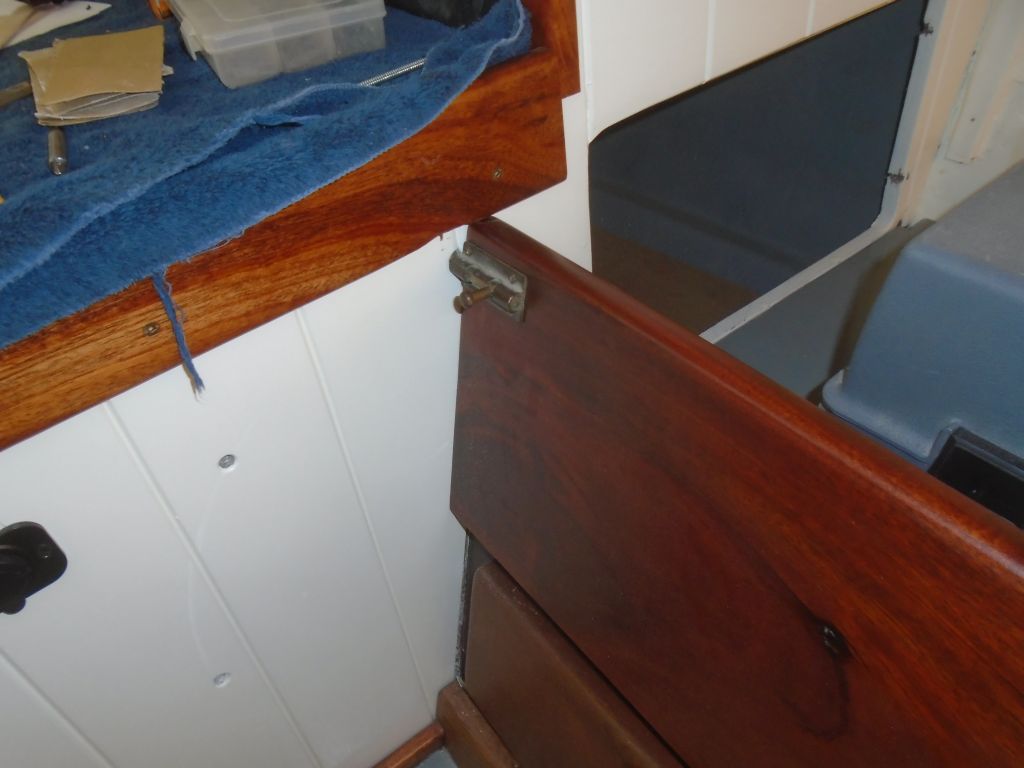
The starboard settee featured a sliding design that allowed it--or should have allowed it--to move outward by a few inches for sleeping. During a meeting with the owner several weeks before, we'd discovered that the trim on the galley cabinetry prohibited the sliding, as the berth ran into the slightly-protruding trim. The fix was fairly simple: trim the berth fiddle and platform a bit to allow it to slide by. So after marking the trim accordingly, I made the cut with a jigsaw, returning the sliding berth to operating condition.

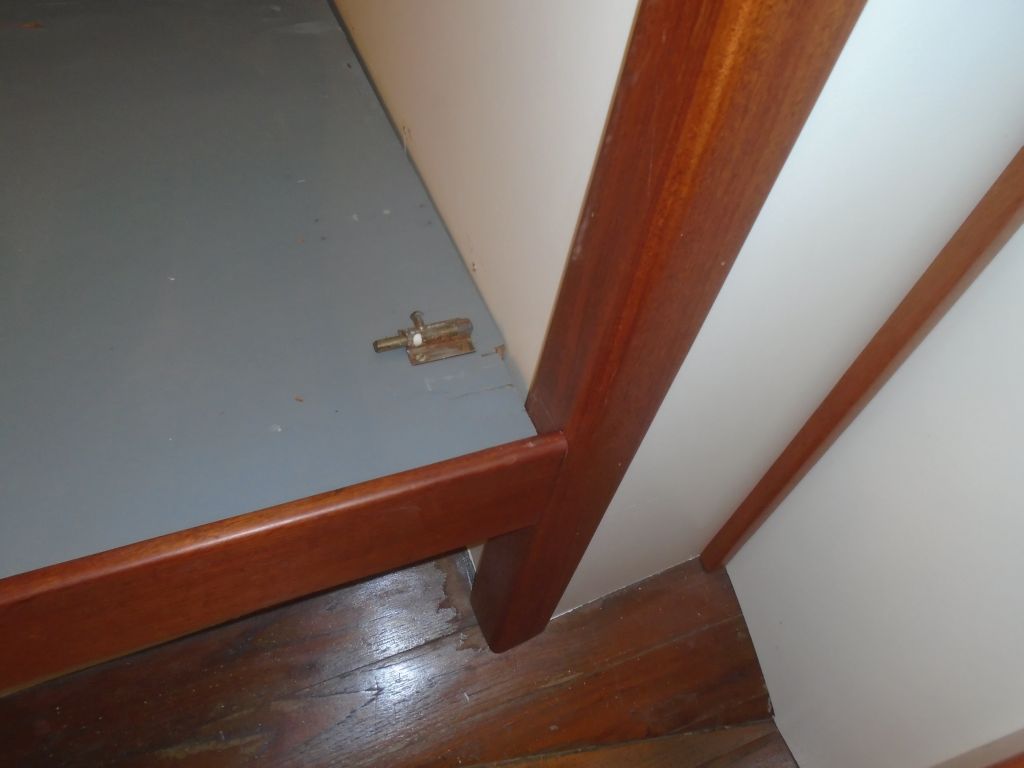
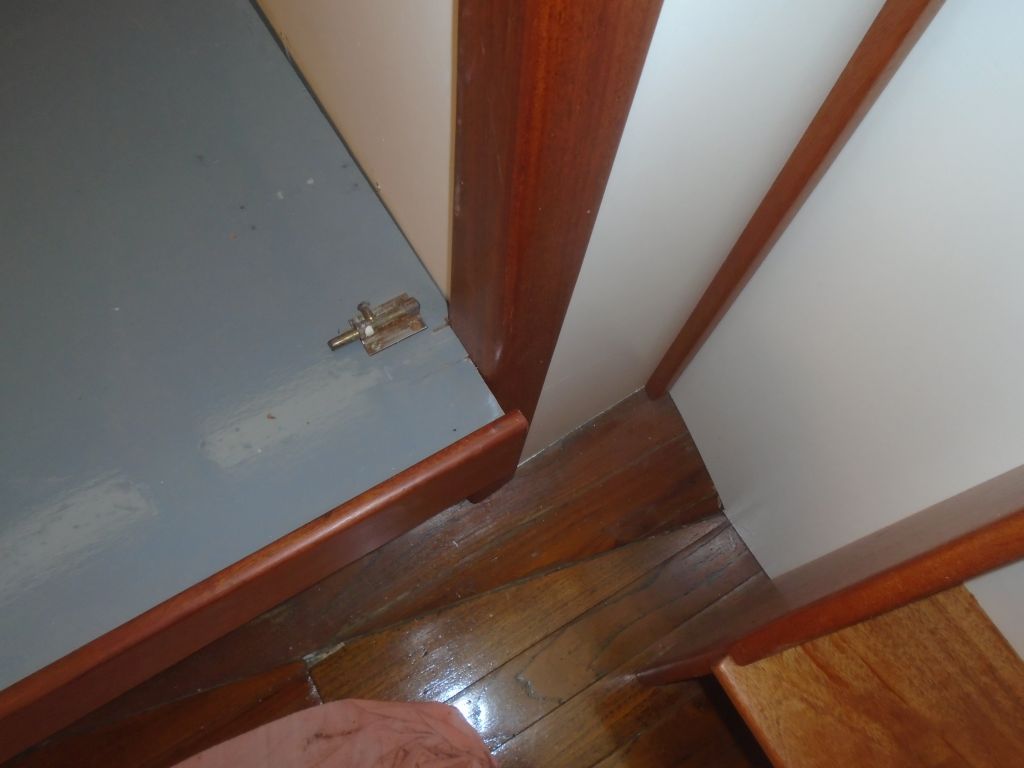

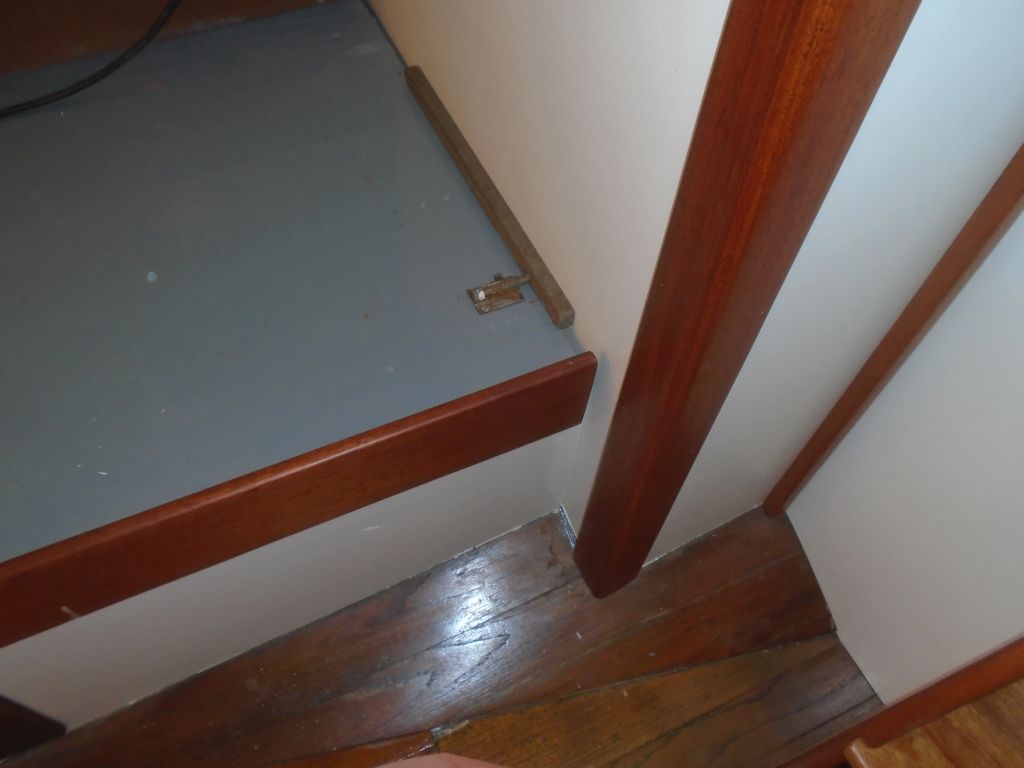
The port pilot berth featured a flip-down section for access and, we surmised, a wider sleeping area with a filler cushion. This fiddle was impeded in its movement by more of the galley trim, which had clearly been installed by someone thoughtless during an earlier stage of the project. Here, I pared away a small bit of the underside of the trim to allow passage of the rotating berth fiddle, taking care of this issue.

To round out the day, I chiseled smooth the bungs on the new companionway trim and applied more varnish to the trim, which I'd continue in the coming days till the buildup was sufficient.
Total Time Billed on This Job Today: 6 Hours
<Previous | Next>
0600 Weather Report:
60°, clear. Forecast for the day: Sunny, 85
