110 Cookson Lane | Whitefield, ME 04353 | 207-232-7600 | tim@lackeysailing.com
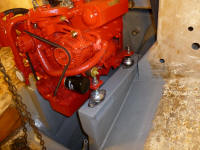
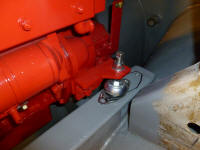
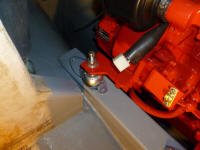
After drilling the bolt holes for the engine mounts, I hoisted the engine into the boat and prepared to position it on the foundations, after first installing on the engine the four flexible mounts that I removed from the template. Earlier, I'd taped over the adjusting nuts on the mounts to hold things in the alignment according to the template's positioning and height.
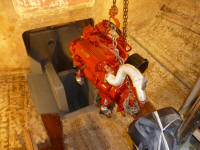
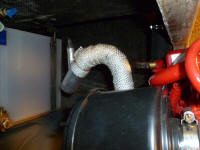
In order to slide the engine aft past the opening in the bulkhead, I had to temporarily remove the high-rise exhaust elbow, which projected above the opening. I slid the engine through the opening and aligned the forward mounts (which were the most visible) with my marks and bolt holes in the foundations.
Once I had the engine in position, I noticed a small problem: the after mounts were a couple inches forward of where they were supposed to be, at least according to my template and layout marks.
This discovery prompted me to check all the measurements of the template, which I'd used throughout to construct the new foundations, against the measured engine drawing. Eventually I discovered my error: I'd transposed one of the measurement figures when entering the drawing's millimeter measurement into a metric conversion that I use, which had led to an inaccurate figure that I'd then used to lay out the template: I entered 388mm, when the actual figure should have been 338. I could have discovered the issue sooner if I'd used other measurements to double-check the layout, which I'd add to my basic template construction repertoire going forward to be sure.
The incorrect figure, which represented the distance between the after mounting centers and the forward ones, was off by just over two inches. The after mounts were correctly positioned on my template--and therefore in my layout on the boat--but I'd mistakenly located the forward ones farther forward than they should have been.
The end result of all this was simply a minor change in the engine's bolting situation. By moving the engine aft so that the after mounts lined up properly, it allowed me to still secure the forward mounts with one through bolt, while the second bolt would have to be installed in a tapped blind hole in the foundation (just like the after bolt for the aft mounts). Drilling two new through holes into the bolting pockets at the forward end, plus two new tapped holes for the after bolts, took care of the problem, after which I was able to secure the engine in place.
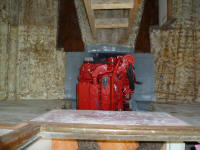
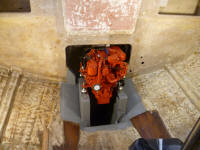
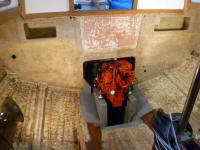
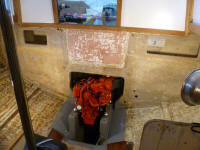
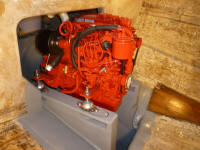
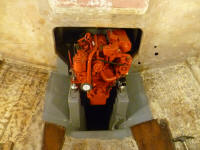
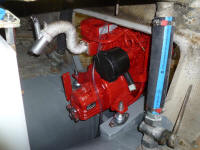
It was too early for final engine alignment, as I needed to order a new shaft of the proper length, but peering through the stern tube I could determine that the engine was in the correct basic position, as the center of the transmission coupling was centered in the view through the tube. With this basic alignment complete, I tightened the bolts to hold things in place till final alignment.

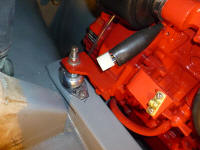
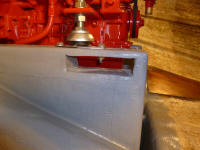
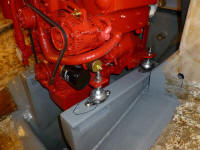
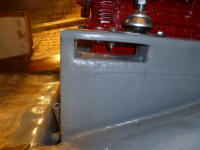
I resecured the exhaust elbow, completing for the moment this stage of the engine installation.
Later, I set up staging around the boat, and applied some protective paper to the deck and cockpit areas to prevent damage from foot traffic and the various work ahead. I didn't have enough paper on hand to cover all areas, so for the moment I concentrated on the port sidedeck and cockpit, which took the bulk of the foot traffic as I climbed on and off the boat.
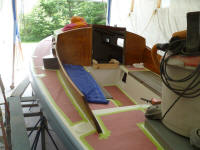
I spent the remainder of the afternoon beginning to work on some of the planning details for many of the jobs planned for this phase of work, as I'd need to order materials for many of the jobs in the near future in order to continue. I'd continue this process, along with consulting the owner on his choices and needs, over the next day or two before determining which of many directions would be the first major job to concentrate on.
Total Time Billed on This Job Today: 6.5 hours
