110 Cookson Lane | Whitefield, ME 04353 | 207-232-7600 | tim@lackeysailing.com
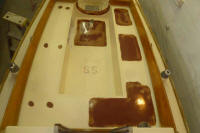
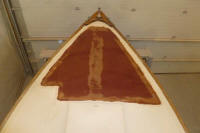
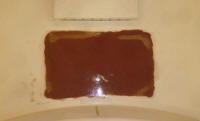
After a final round of light sanding--both the last round of fairing compound and the entire deck nonskid areas--I deemed the deck repairs complete--at least as far as fairing and surfacing went.
To provide a more consistent base for primer and paint, I next applied a coat of unthickened epoxy resin to all the repairs, which would "seal" (for lack of a better term) the more porous surface of the fairing compound and provide the consistency needed for an appropriate paint finish.
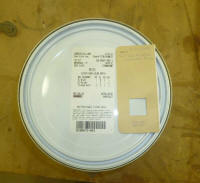
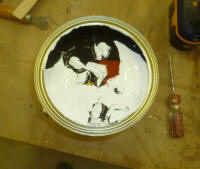
The owner selected KiwiGrip nonskid paint for the decks, tinted to a color of his choosing. With the appropriate paint chip in hand, I drove to civilization where I had the paint tinted at a paint store. Previous experiences had taught me that the 4-litre can would not fit in the paint store's gallon-sized shaker, so once I got the paint back to the shop I mixed it by hand with a drill agitator.
There were several small jobs on the list for this project that I'd not dealt with yet, so while waiting for tomorrow when I could continue deck work, I removed the old cockpit drain hoses and through hull fittings. The hoses were probably original, and the through hull fittings were plastic; the owner decided he'd feel better if these important pieces were replaced, and after some discussion we decided to install bronze through hulls, but not seacocks (as with the original installation).
This turned out to be a good choice, since there wasn't really enough room inside the boat for proper seacocks and backing blocks anyway, thanks to the molded interior liner that impeded clear access and provided only just enough room for the large nuts securing the through hull fittings.
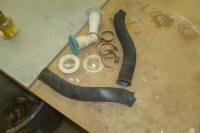
The old hoses and clamps came out in short order, as did the original plastic fittings, which were installed in white silicone sealant that did little to actually secure or seal the old fittings--though they'd worked as is for over 30 years. The hose was ready for replacement, but wasn't dangerously deteriorated.
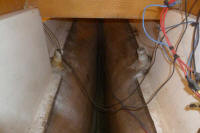
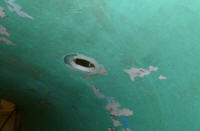
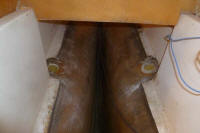
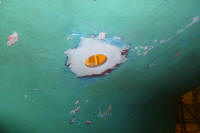
Next, I scraped away the old silicone inside and out, and also removed bottom paint immediately around each hull opening before scuffing the surfaces and solvent-washing to prepare for the new installation.
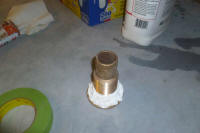
To reinforce the new installation, I prepared backing blocks from 1/2" thick prefabricated fiberglass panels. The available space inside the boat didn't allow for a backing block much larger than the new bronze nuts, so I cut doughnut-shaped pieces of appropriate size, with an ID equal to the diameter of the through hull body.
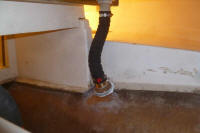
With all preparations complete, I installed the new bronze fittings with their fiberglass backing reinforcements, using polyurethane adhesive sealant.
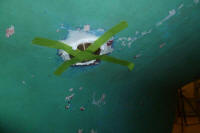
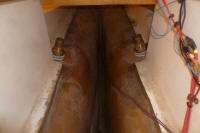
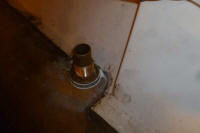
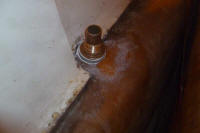

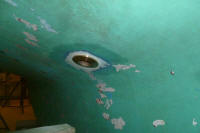
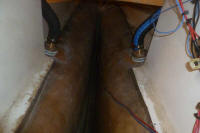
After cleaning up the excess sealant, I installed new reinforced hose, with new AWAB clamps at each end. My use of a single clamp on each end of the hose was not an oversight or borne from an odd sense of cheapness, but entirely intentional: as with nearly all modern plumbing fittings, neither hose barb--on the cockpit or hull fittings--was long enough to safely or effectively hold two hose clamps in a secure manner.
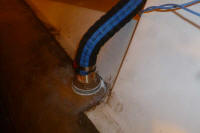
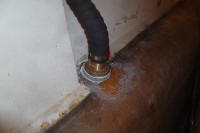
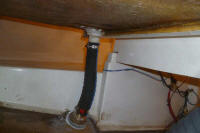
Total Time on This Job Today: 6 hours
