110 Cookson Lane | Whitefield, ME 04353 | 207-232-7600 | tim@lackeysailing.com
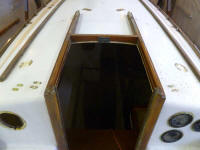
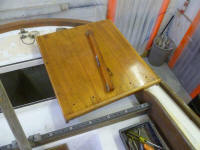
I wrapped up the hardware, beginning with the companionway hatch. Removing the hatch required removing one of the wooden stops and drilling out bungs, which posed no problem. I removed the hatch because refinishing the exterior woodwork was on the project list.
Next, I removed the genoa sheet winches and cleats from their wooden mounting pads outboard of the coamings. I looked into removing the coamings for refinishing, going as far as to remove some of the screws securing to the coaming blocks, but discovered that the coamings were fastened from beneath into the bottom edge grain, and I deemed removal to be more effort (and with higher risk of damage) than it was worth. In any event, removing the winches would allow me better access for refinishing the wood.
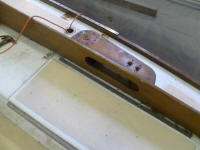
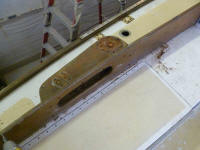
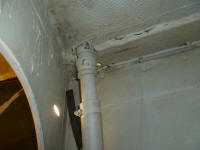
The forward water tank deck fill featured a pipe nipple and a large pipe coupling beneath, which was too large to fit through the hole in the deck. Before unbolting the deck fitting itself, I tried to undo the coupling, but it wouldn't budge, so I decided reluctantly to leave well enough alone and just remove the bolts holding the deck fitting in place. This allowed me to lift up the fitting sufficiently (a couple inches) so I could clean, paint, and rebed beneath it during the project.
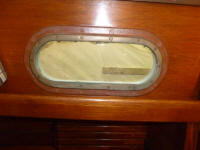
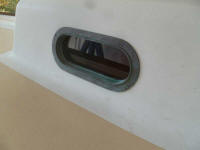
One must always balance the risk of damage or difficulty against the potential benefits or need, all weighed against the cost in hours. And so it was with the bronze ports. The ports were installed from within with numerous screws into exterior trim rings, and it didn't appear they'd ever been removed. I made an attempt to remove the screws, but it became clear that doing so was at extreme risk to the well being of the ports, as the screws were fairly welded in place with time, and I worried that I could damage not only the screws at an awkward moment, but also the ports themselves. Because there appeared to be no signs of leakage, I elected to leave the ports in place.
The boat featured solid fiberglass decks, with no core material. This was good news in that it eliminated worries about water intrusion, which was a good thing since much of the deck hardware had been installed with rubber gaskets beneath, instead of sealant, and I found standing water inside most of the gaskets.
One downside of solid fiberglass decks is that they tend to flex more than a cored structure, which flex was notable underfoot on the foredeck (normally so), but had also manifested itself in widespread stress cracking running in mostly transverse directions across the decks and cabin trunk. The photos below, taken at the beginning of the project, attempt to show the general nature of the cracking. The cracks were exacerbated by the old paint and general wear on the deck surfaces, but were mostly very fine in nature with none of the "dried riverbed" appearance so frequently seen as a manifestation of gelcoat installation or formulation issues versus dynamic stress loading.
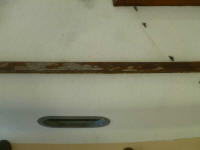
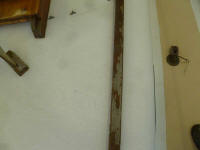
While cracking of this nature was not of structural concern, it posed a cosmetic issue going forward, as eliminating the cracks, in theory, would be extraordinarily labor-intensive and ultimately fruitless, as the very nature of the boat's construction would, over time, tend to cause the same cracking. A better solution was to approach the situation with this in mind, and to keep expectations at an appropriate level. Normal surface prep, addressing the worst of the cracking as needed, and high-build primer would help, and would likely hide the cracks for a time, but it was likely that they would eventually reappear, though hopefully in a diminished way.
The poop deck had featured an old, abandoned gasoline fuel fill, which I figured was no longer necessary, so I decided to patch the hole. To this end, I grounded a tapered disc around the opening, and also sanded the raw fiberglass on the underside of the deck, then cleaned out and sanded the inside of the hole to remove old sealant and contaminants. Afterwards, I masked over the bottom of the hole and filled the center portion of the hole with epoxy filler, then three layers of concentric fiberglass over the top surface. Later, I'd add a fiberglass patch to the underside as well.
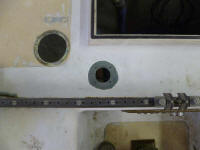
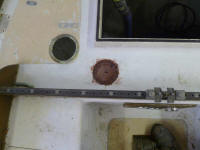
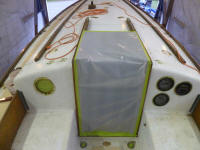
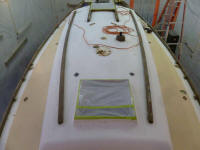
Finally, I prepared the boat for the sanding ahead by covering the larger deck openings with tape from beneath (deck fills), and covering the companionway and forward hatches with plastic to keep the sanding dust from contaminating the interior. Sanding would be the focus of the next several days, and I prepared tools and materials for this job before calling it a day.
Total Time on This Job Today: 5 hours
