
110 Cookson Lane | Whitefield, ME 04353 | 207-232-7600 | tim@lackeysailing.com
Summer Song | Wednesday, January 22, 2014
After a frustrating day lost to computer failure and subsequent recovery/setup, I was glad to get back to work--a day later and a couple dollars shorter than I'd have liked.
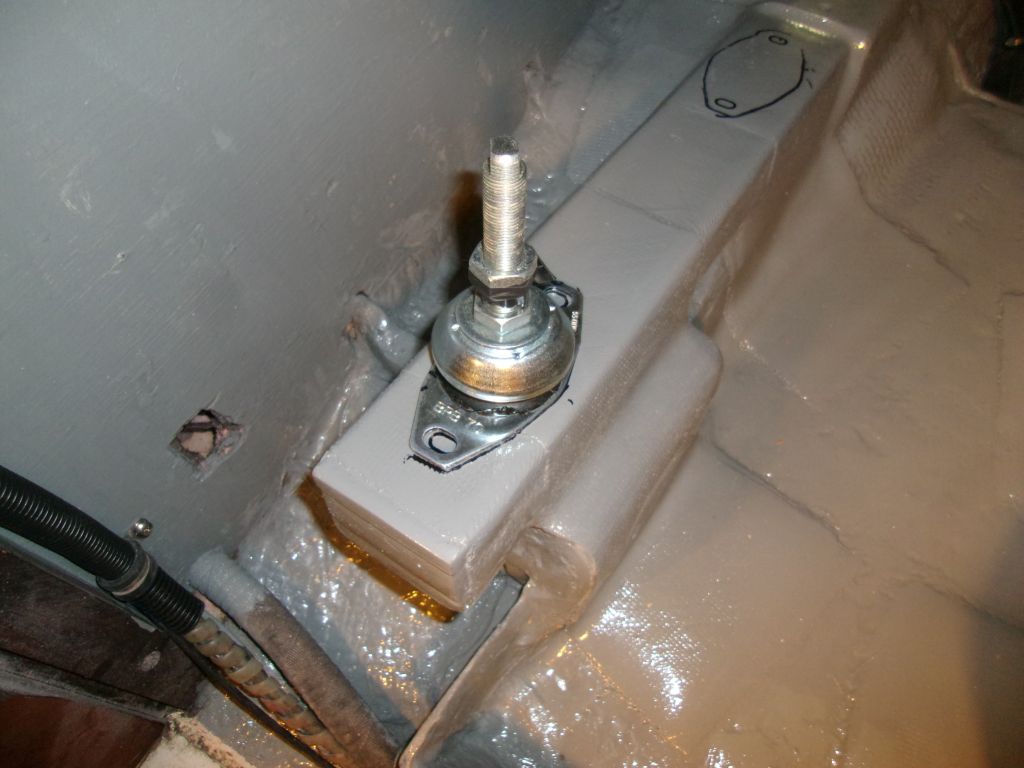
Anyway, to continue the steps leading up to the engine installation, I once more set up the shaft centerline string and placed the engine template, with mounting feet attached, on the new engine foundations, realigning it with the string. As needed, I made small adjustments to the flexible mounts' heights to bring the template level, and the string as close to the centers of the two alignment holes as possible.
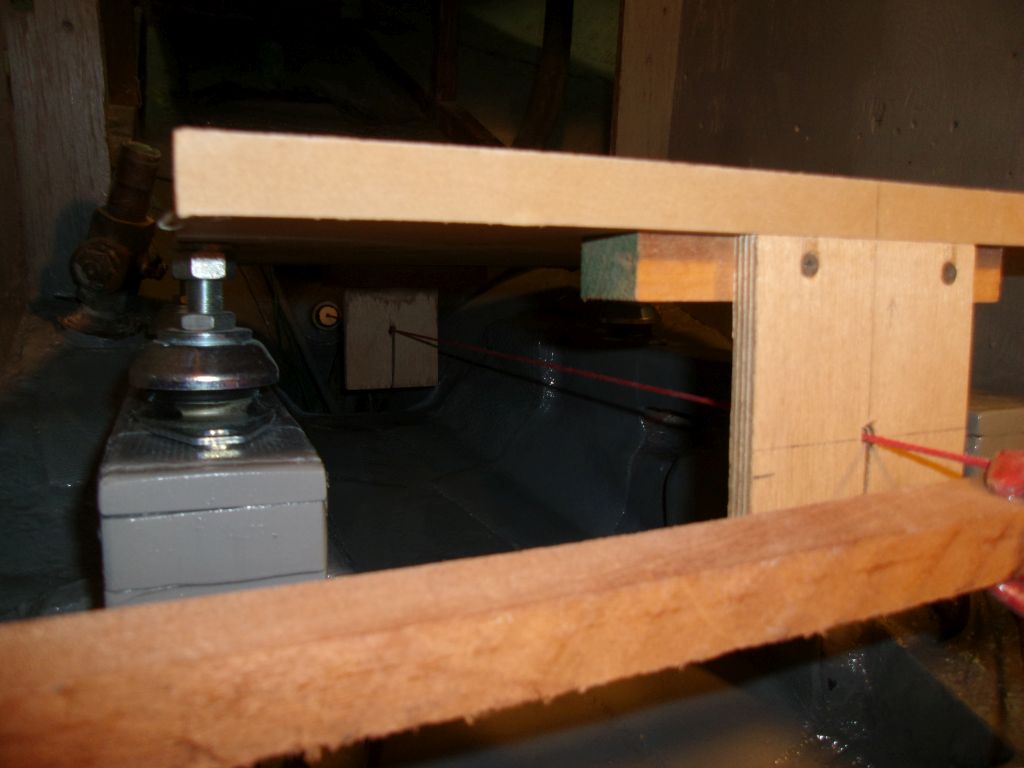
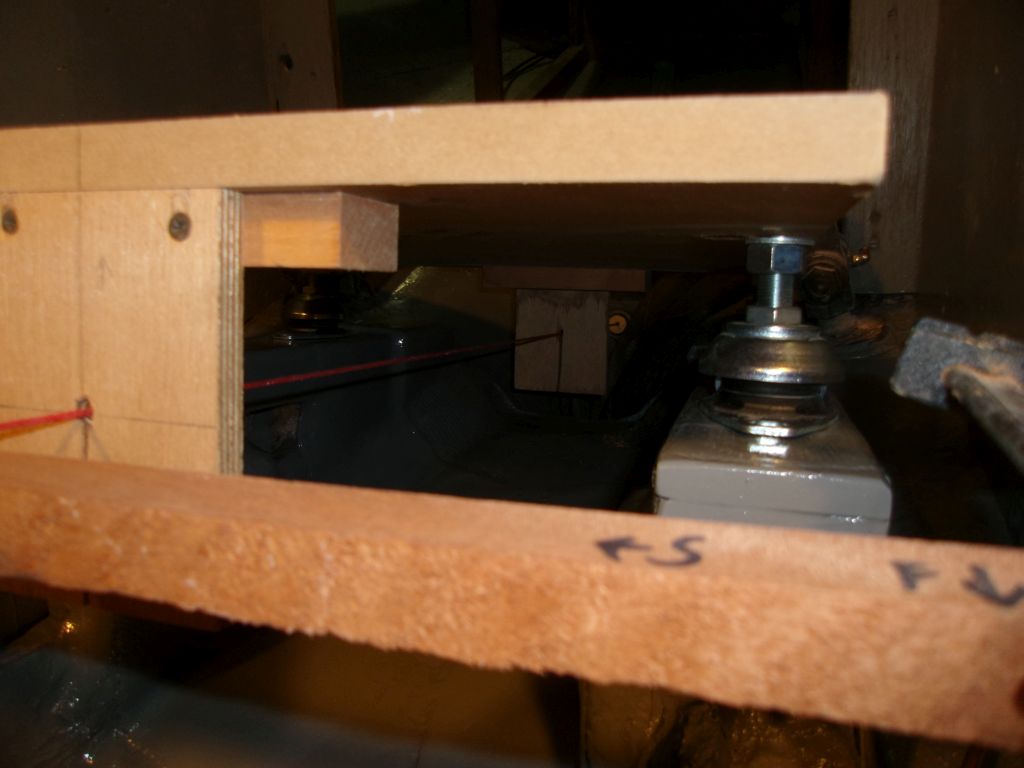


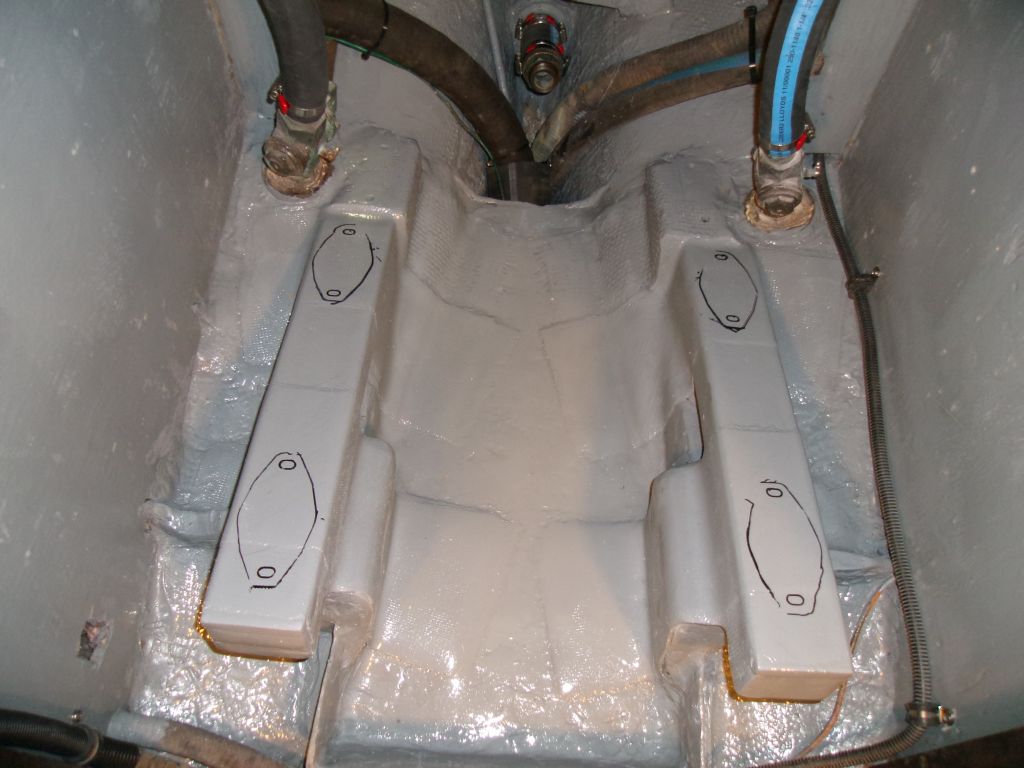
Once I was happy with the template position and flex mount heights, with everything as aligned as possible, I carefully traced around the mount bases to register them on the foundations beneath.
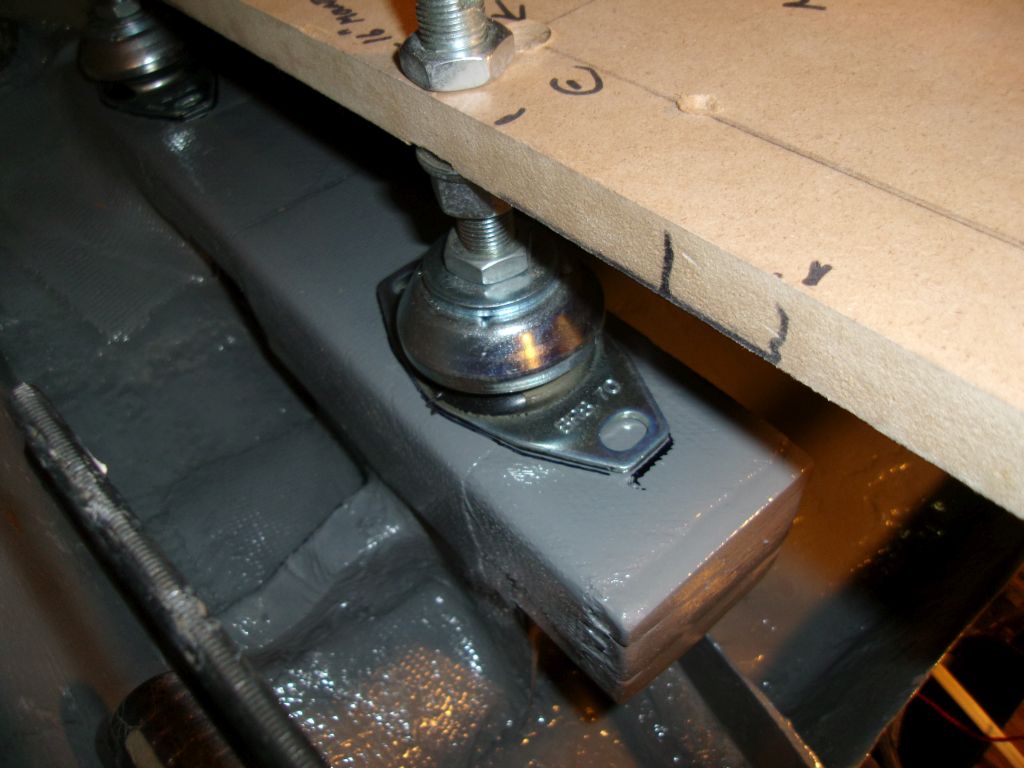
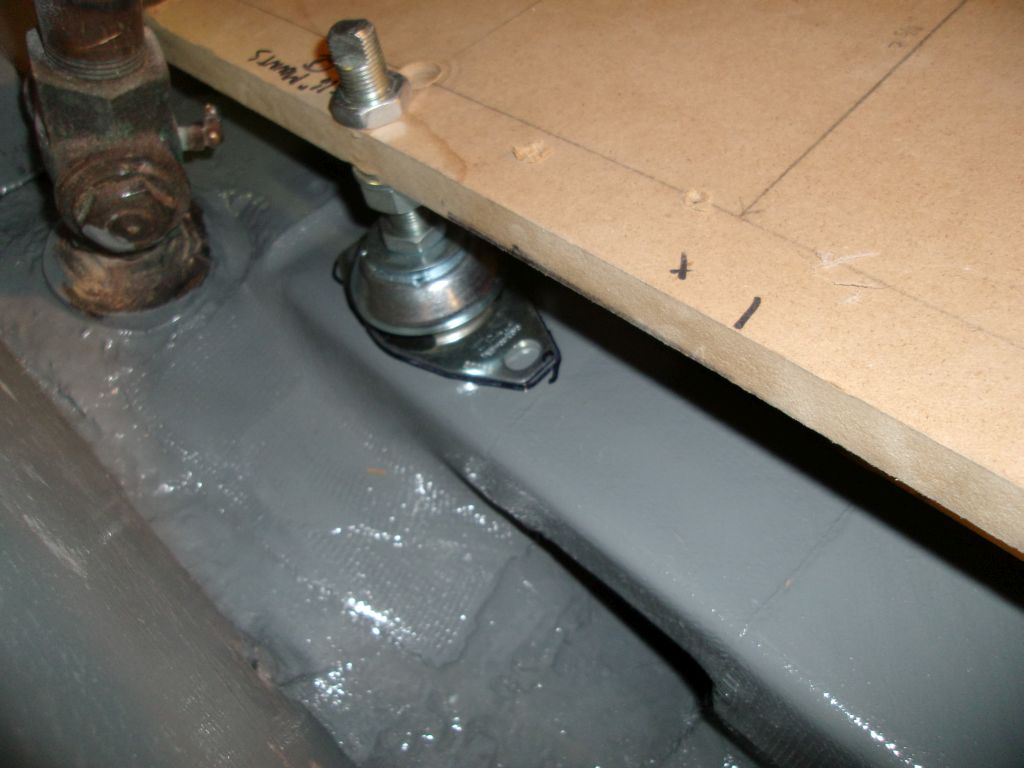

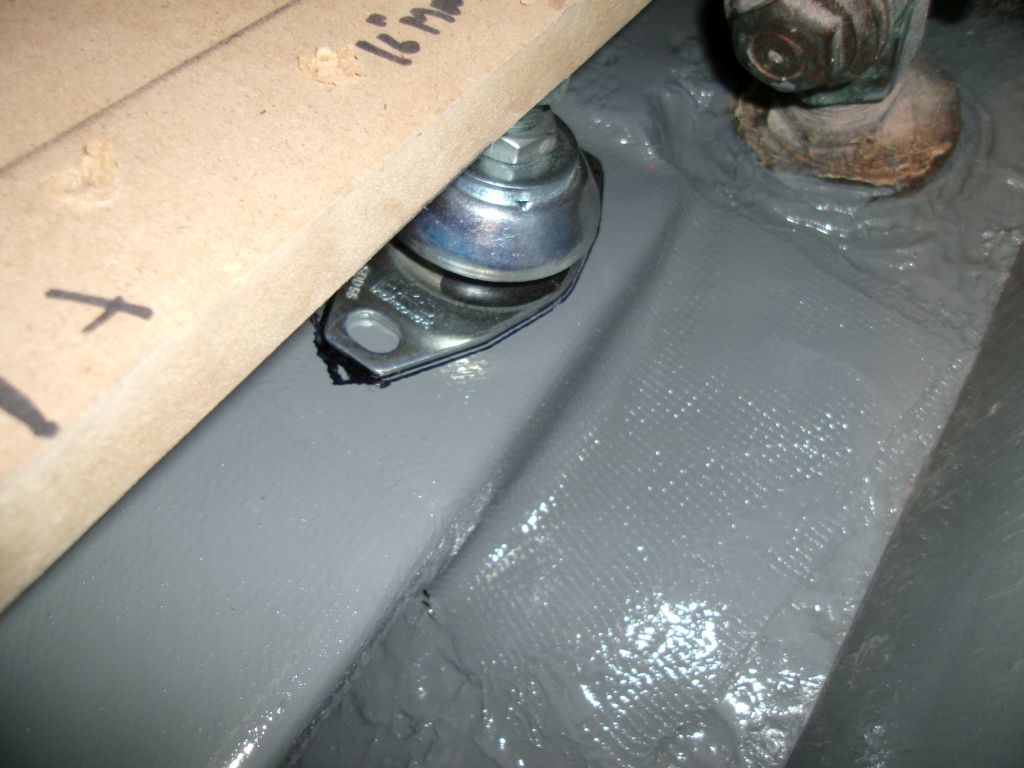
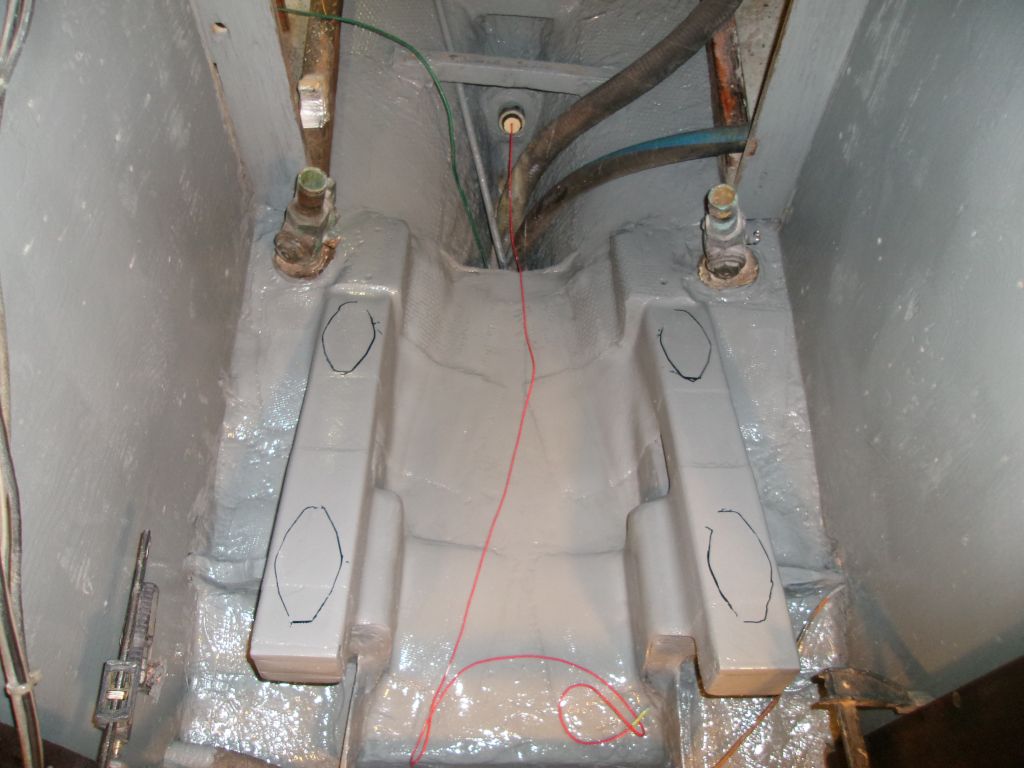
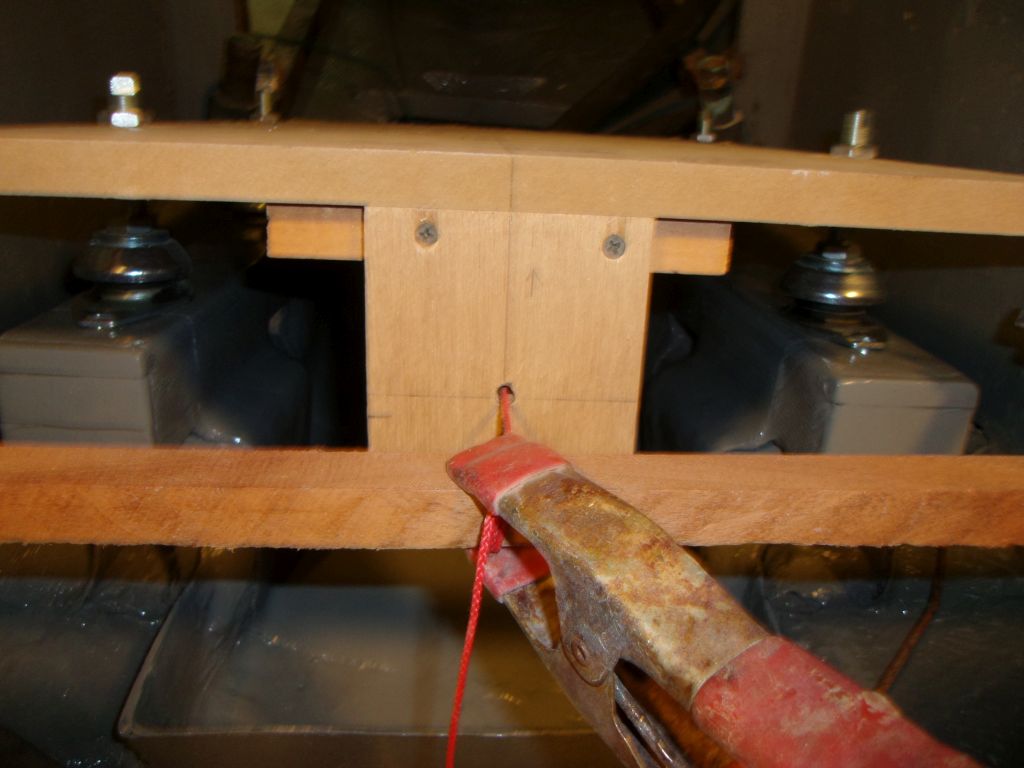
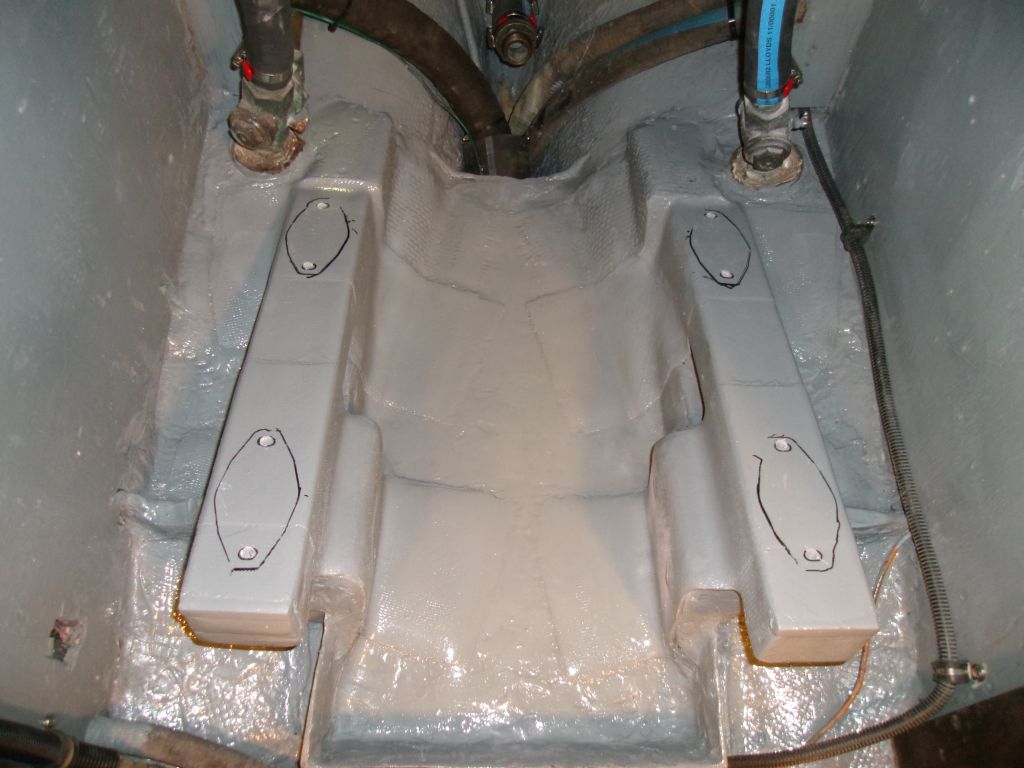
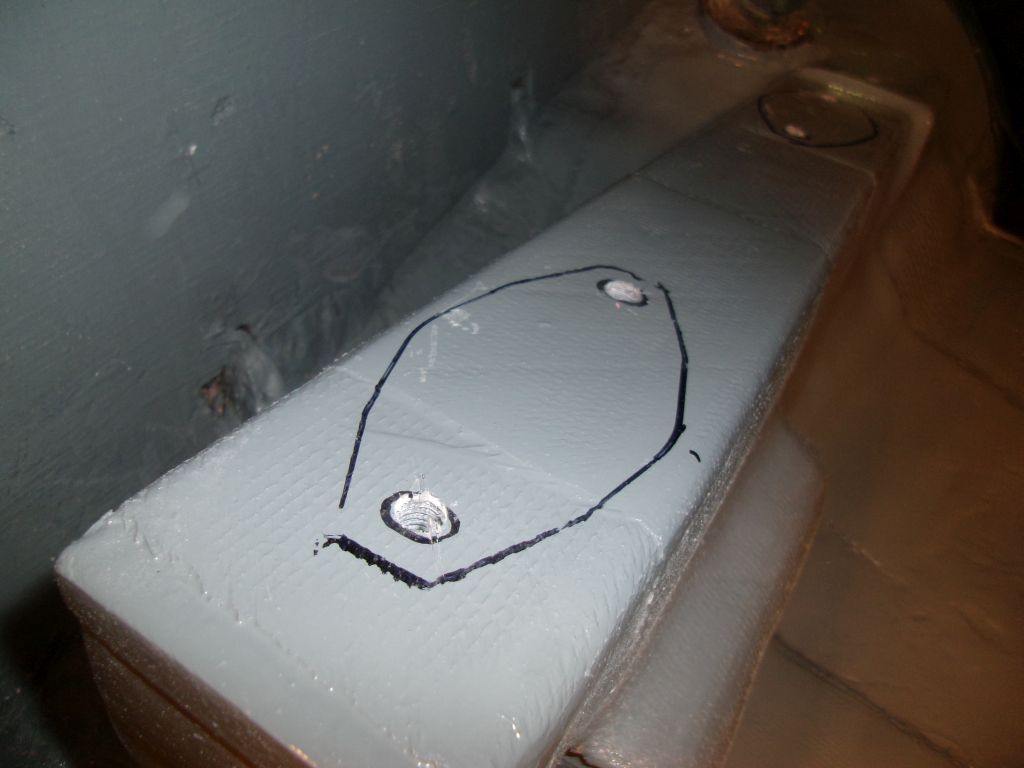
Next, I labeled each mount with its proper position on the engine, and used some tape to hold the lower adjustment nuts in place for now, to ensure that these adjustments would remain when I installed the engine. After removing the mounts from the template, I replaced them on the foundations, aligned with the marks I made earlier, and traced out the fastener slots at each location.
I predrilled and tapped each hole for 3/8" fasteners, extending well into the thickness of the solid fiberglass foundations.

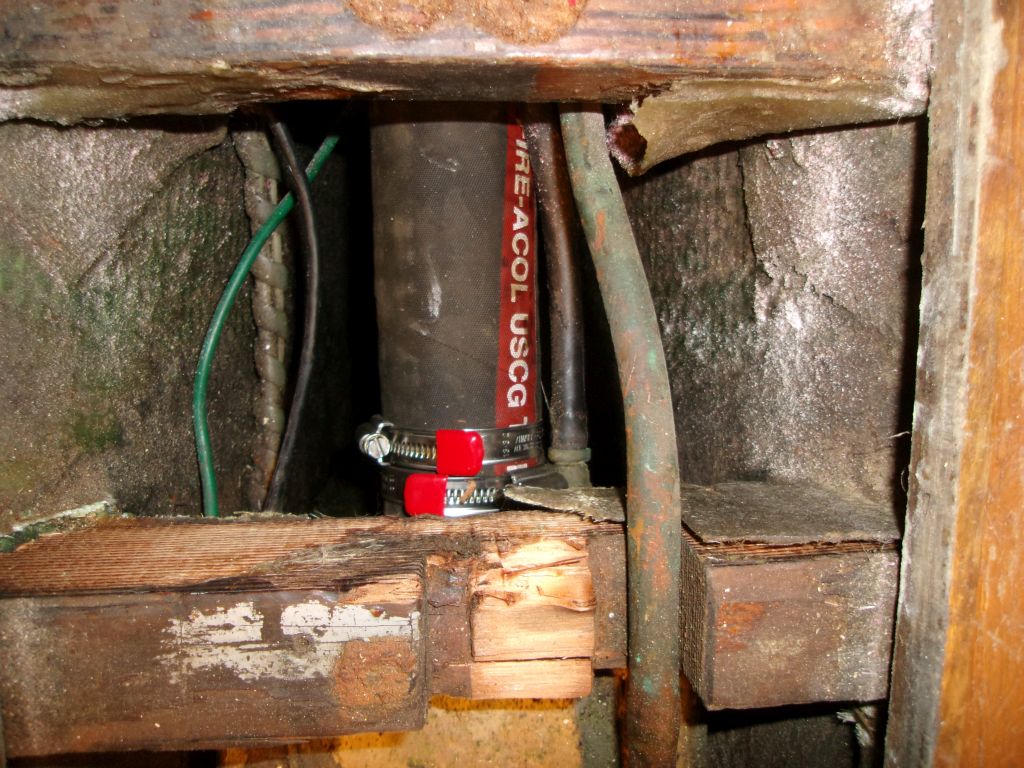
Before moving on with installing the engine itself, I turned to several ancillary installations that would be easier to complete first. To begin, I installed a new length of fuel fill hose to replace the damaged one I'd removed earlier, securing it with new clamps at each end. Where the hose turned at the aft end of the engine drip pan, I added a chafe gear made from a length of larger diameter hose.
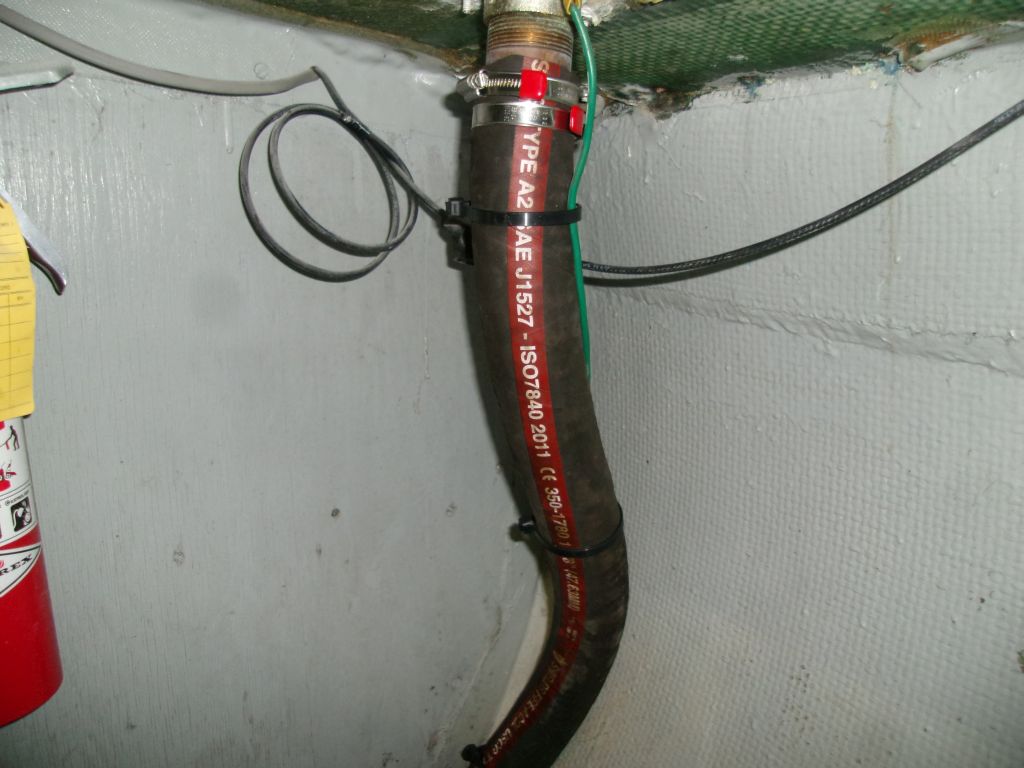
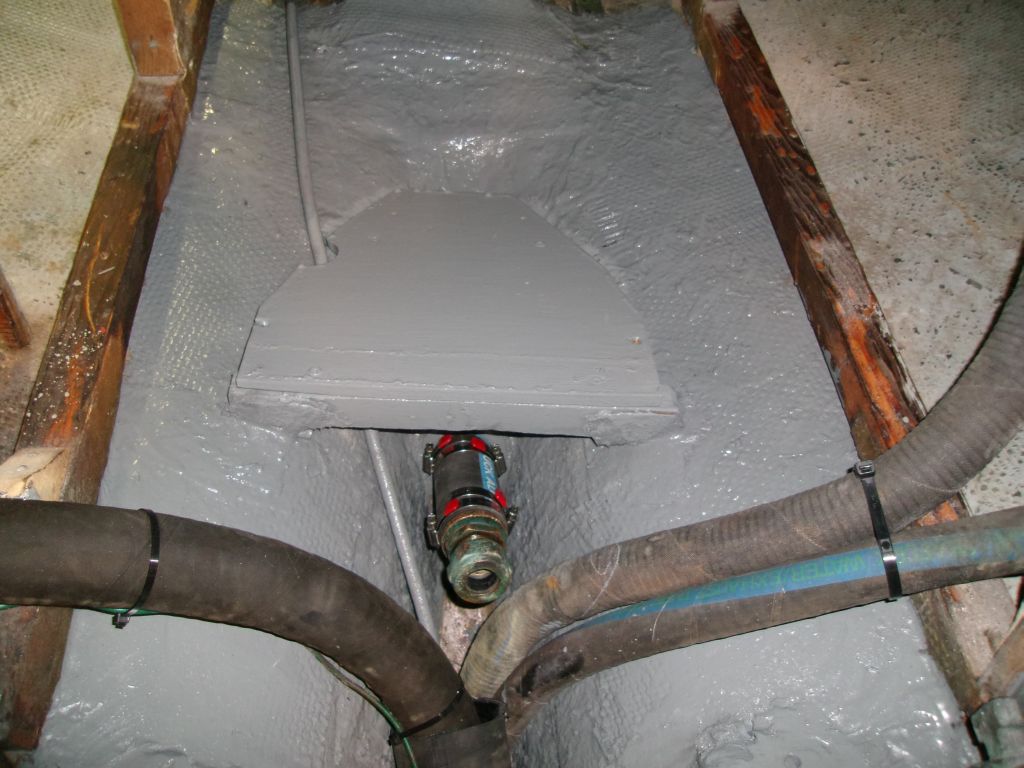
While access was at its best, I installed the stuffing box. There would be clear access for adjustment later, but for the moment it was wide open.

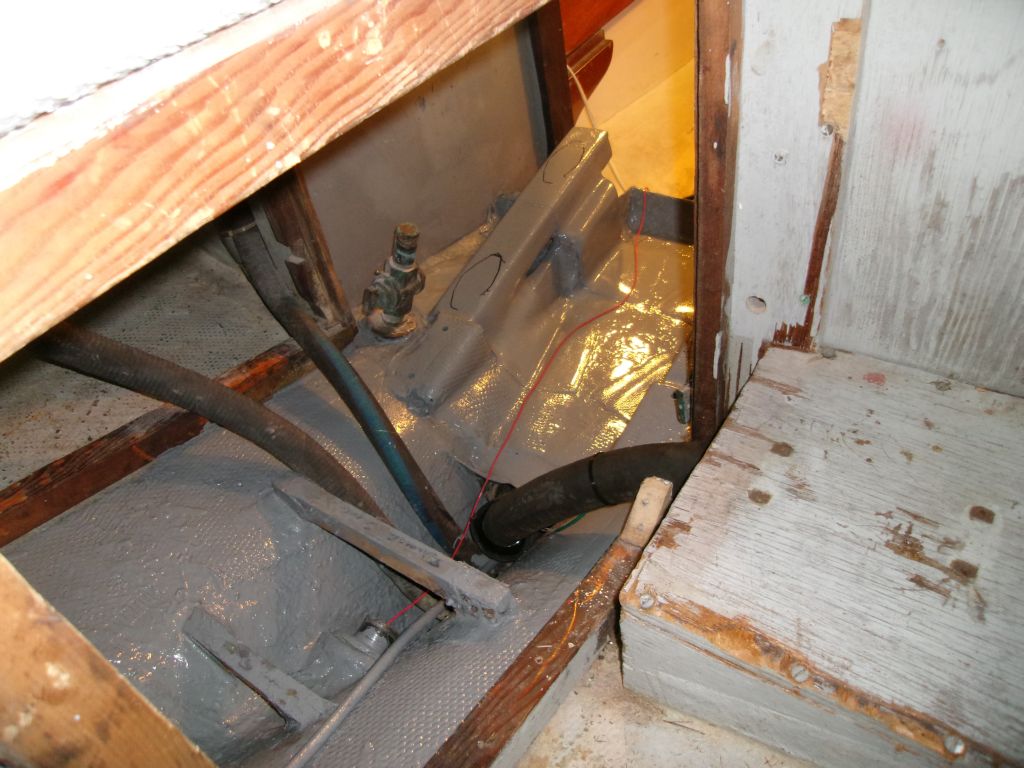
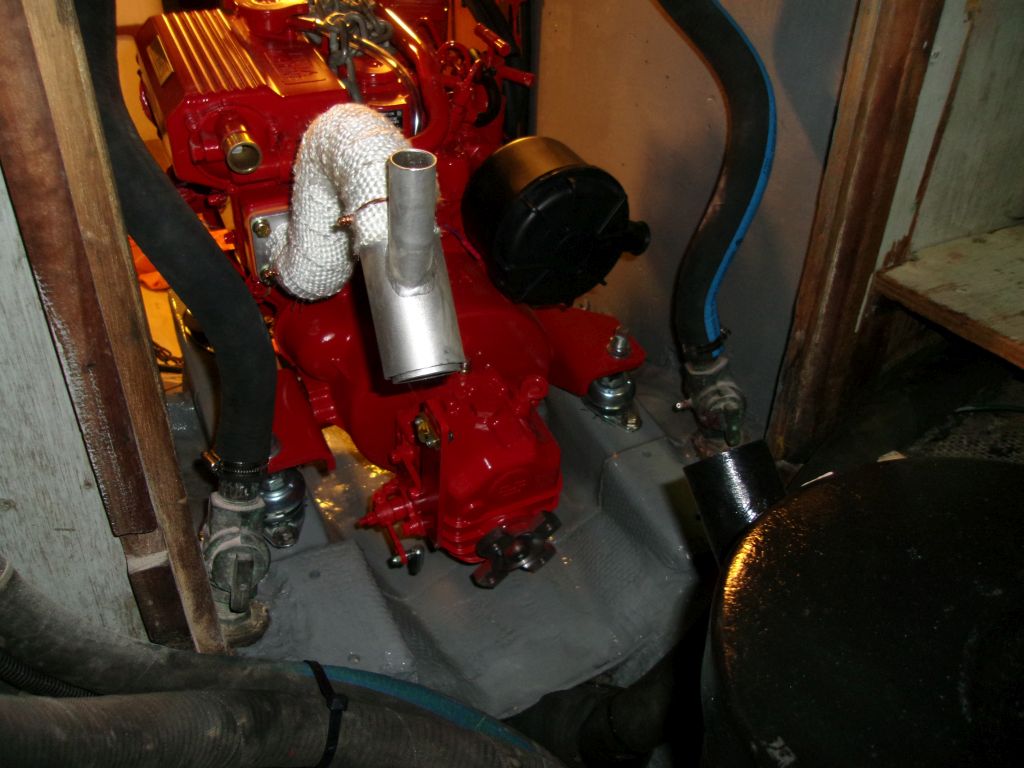
Earlier, I'd prepared a new platform for the exhaust system's new waterlift muffler; after cutting it to size, I'd epoxy-coated and painted it, and now I installed it on some existing wooden braces above the shaft log. Then I installed the new fiberglass muffler (2" connectors) to the platform with screws and, while access was clear from all angles, installed a length of 2" corrugated hose between the muffler outlet and the transom, running a high loop beneath the poop deck before securing the hose to the new exhaust outlet in the counter. (I'd come back later and secure the top of the loop to the underside of the deck.)

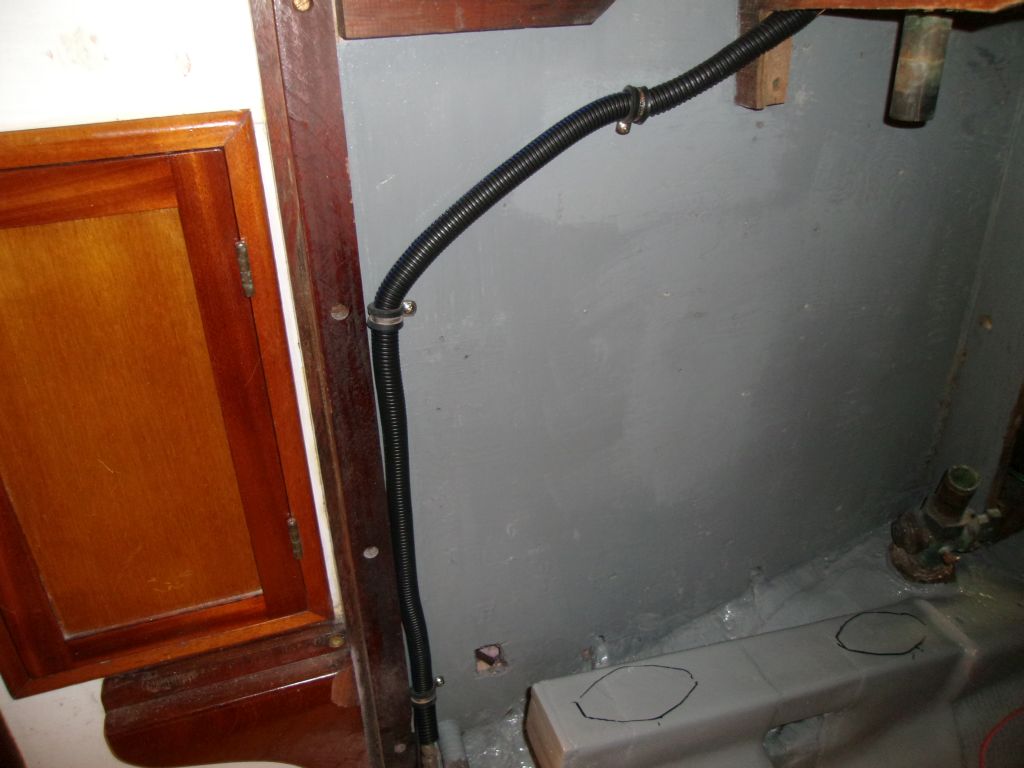
I rerouted some existing wires in the engine room, sheathing them in split loom and resecuring them out of the way as much as possible given the amount of wire available.

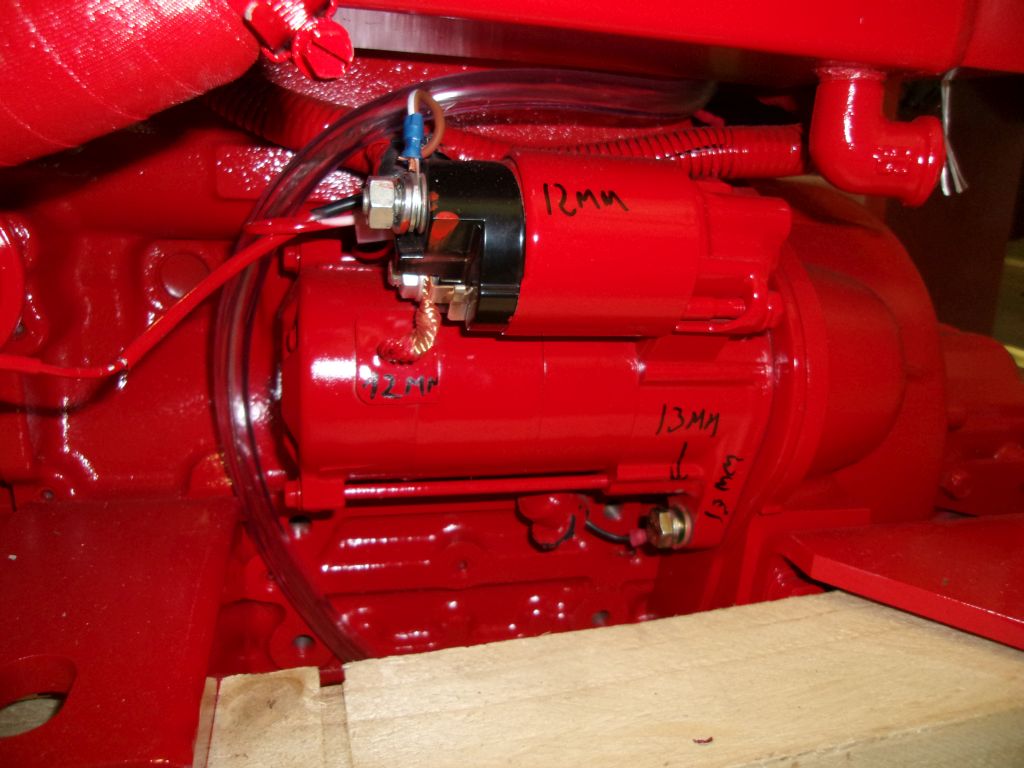
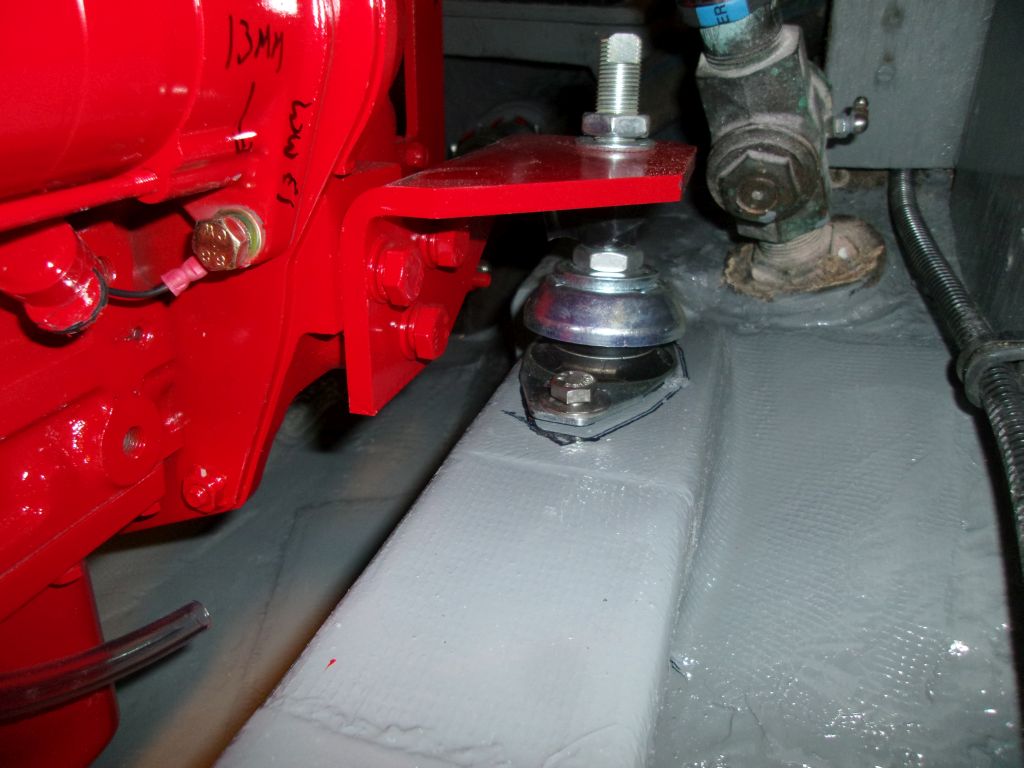
On the engine, I took a few steps to make installation and maintenance easier. First, I loosened the fasteners to which I'd later install the positive and negative battery cables; these locations were much easier to access now, and it made sense to break free the fasteners and have them hand-tight for the final connections once the engine was in the boat. I also marked fastener sizes right on the engine for future reference.
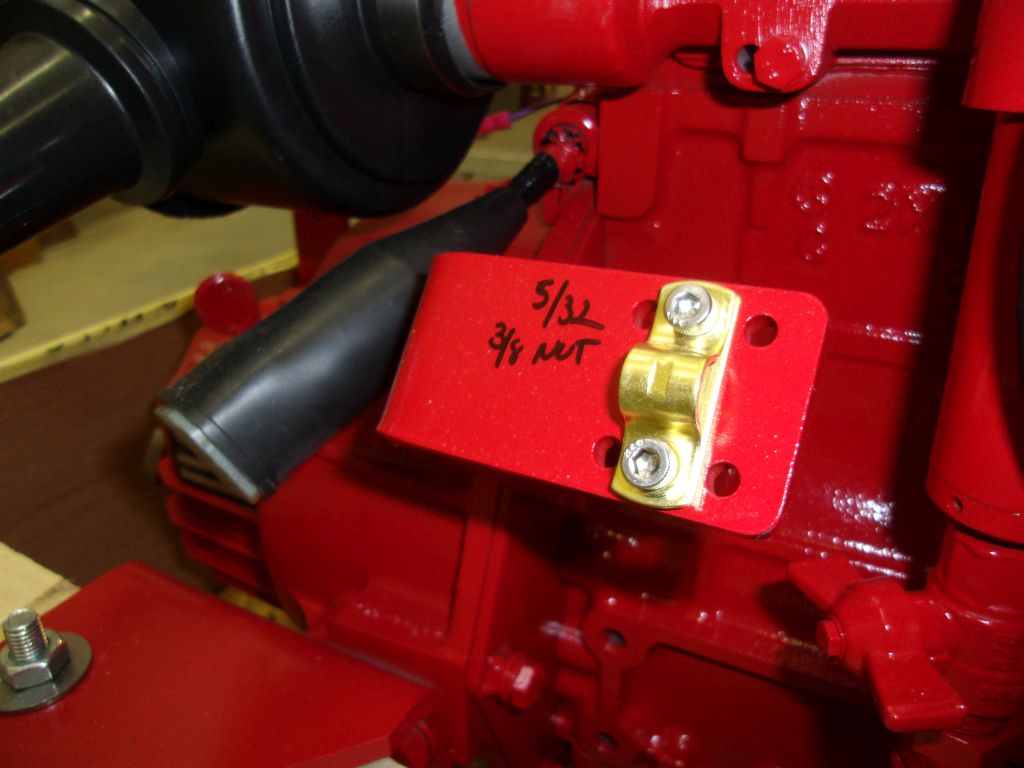
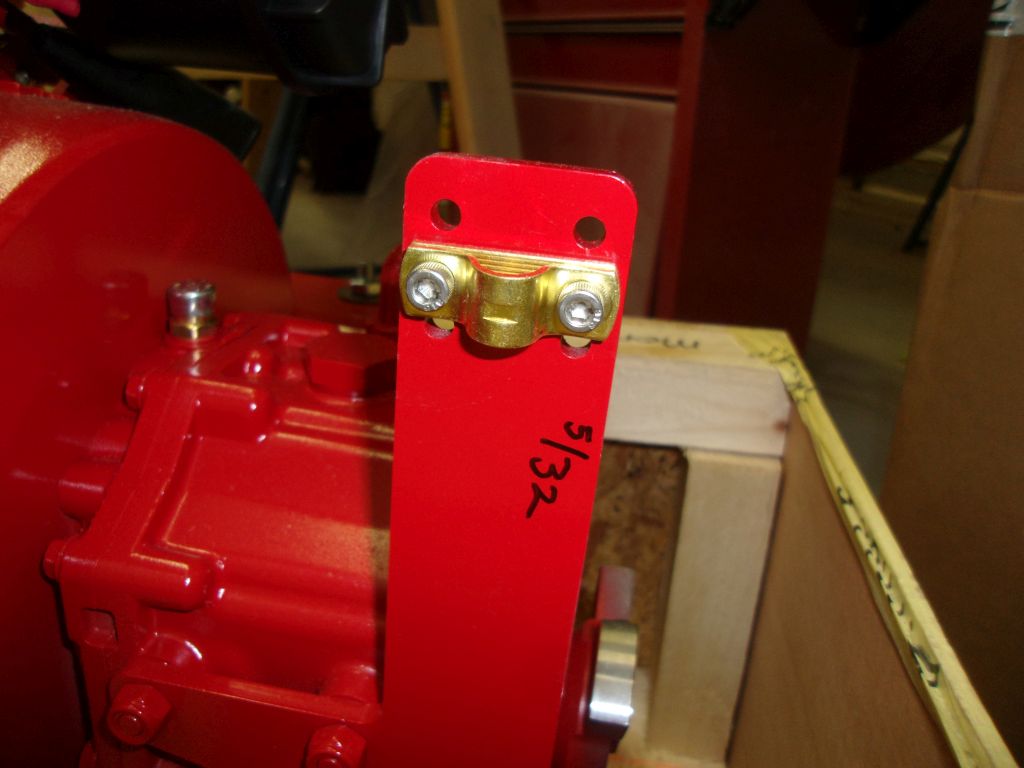
I replaced the fussy little slotted screw fasteners on the control cable clamps with new stainless fasteners with a socket head, which would be much easier to work with later. These cable clamps are fussy enough without the need for shallow-slotted screw heads to worry about. I left the fasteners hand-tight for ease of use later.
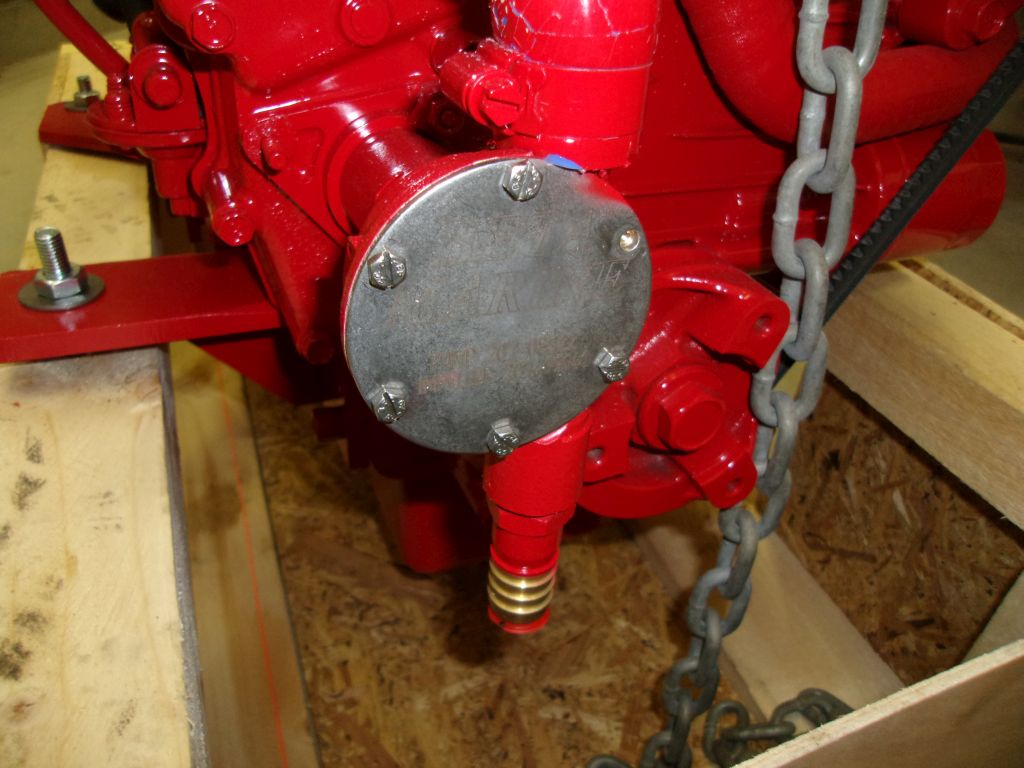
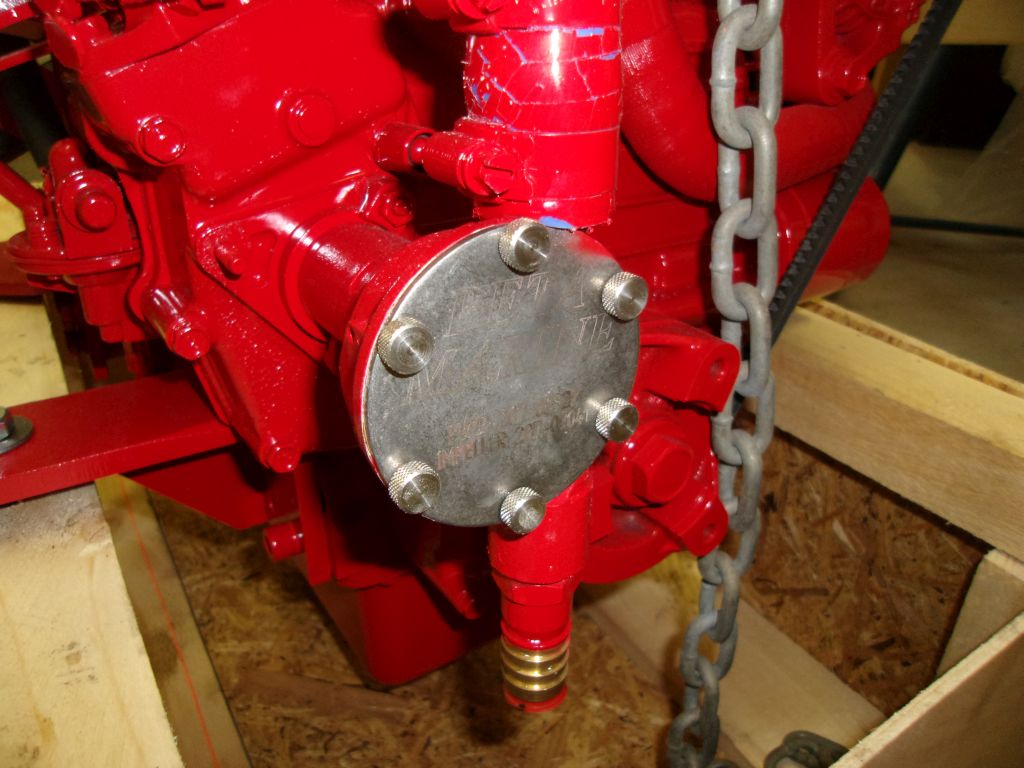
The cover plate for the raw water pump impeller featured six small screws to secure it. While I noticed that Beta had used a better screw type on this engine than on ones I'd installed in the past (slotted screws with a hex head instead of standard pan-head slotted screws), I still chose to replace these screws with knurled stainless steel fasteners for easy access to the impeller in the future.

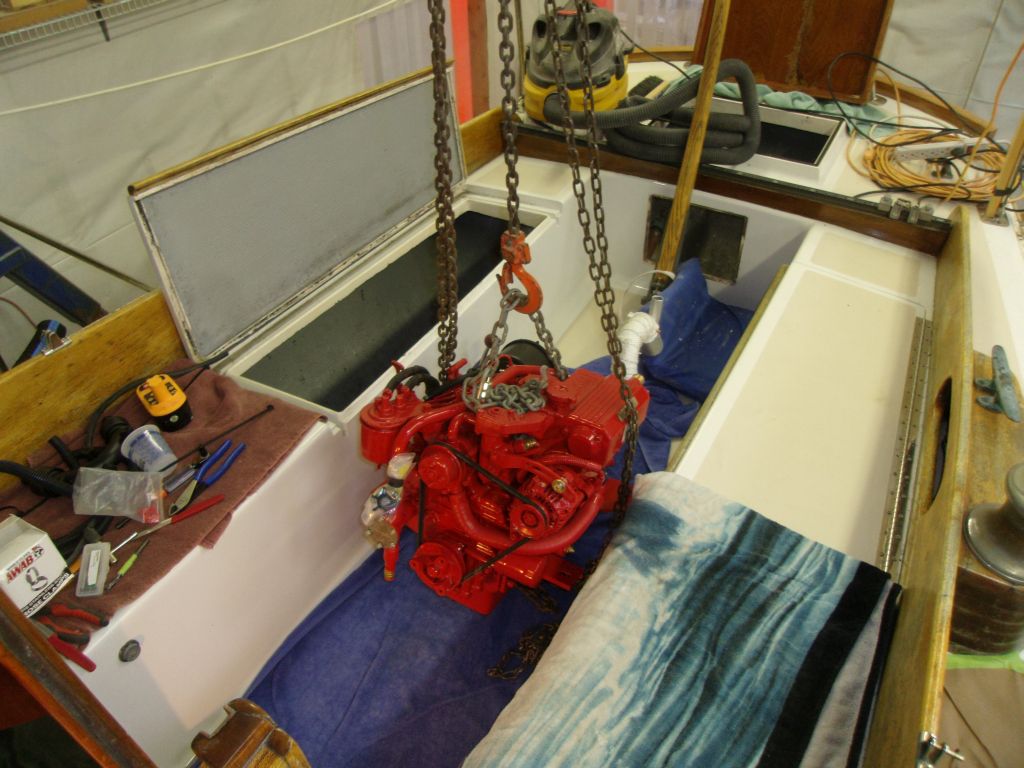
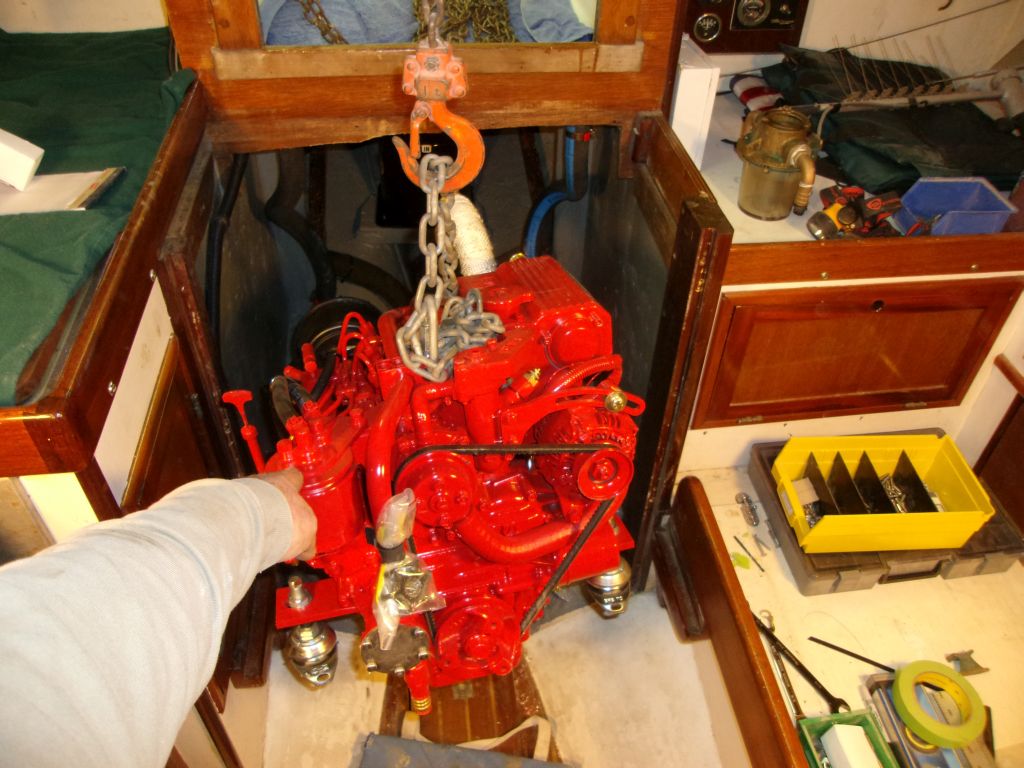
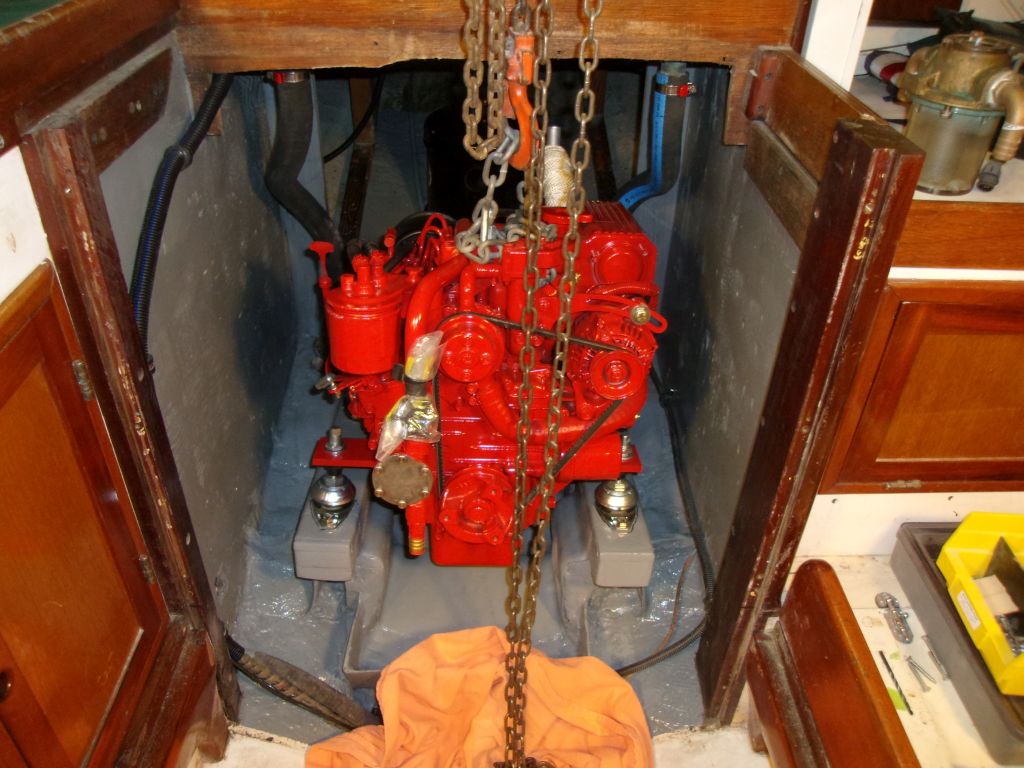
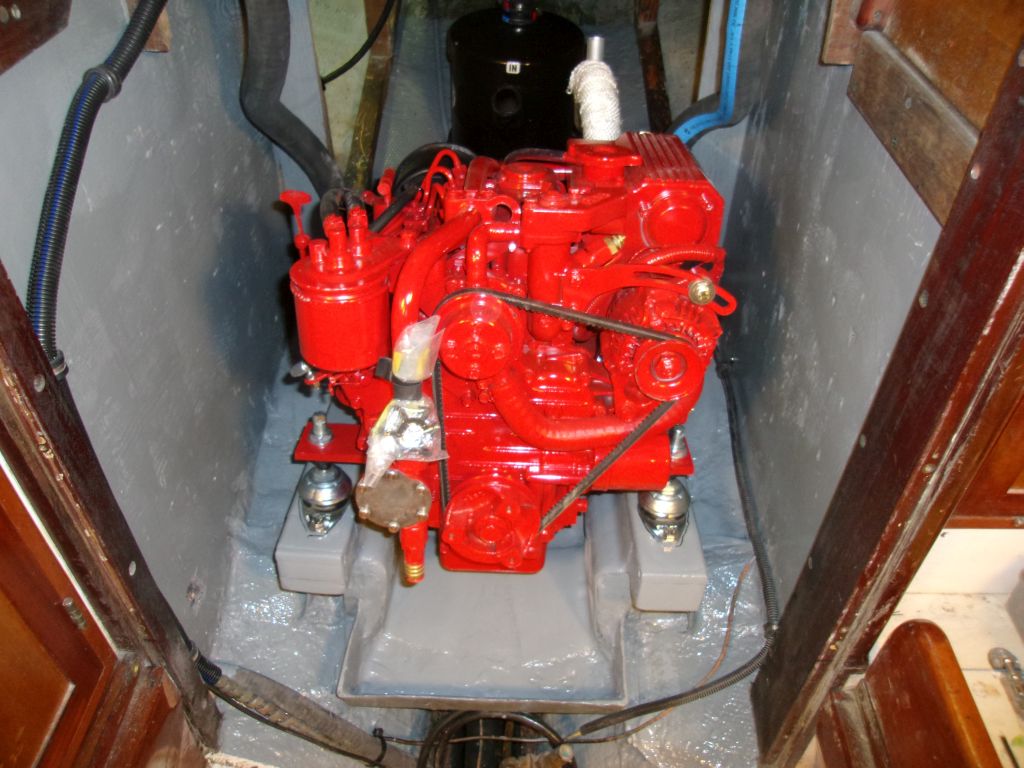
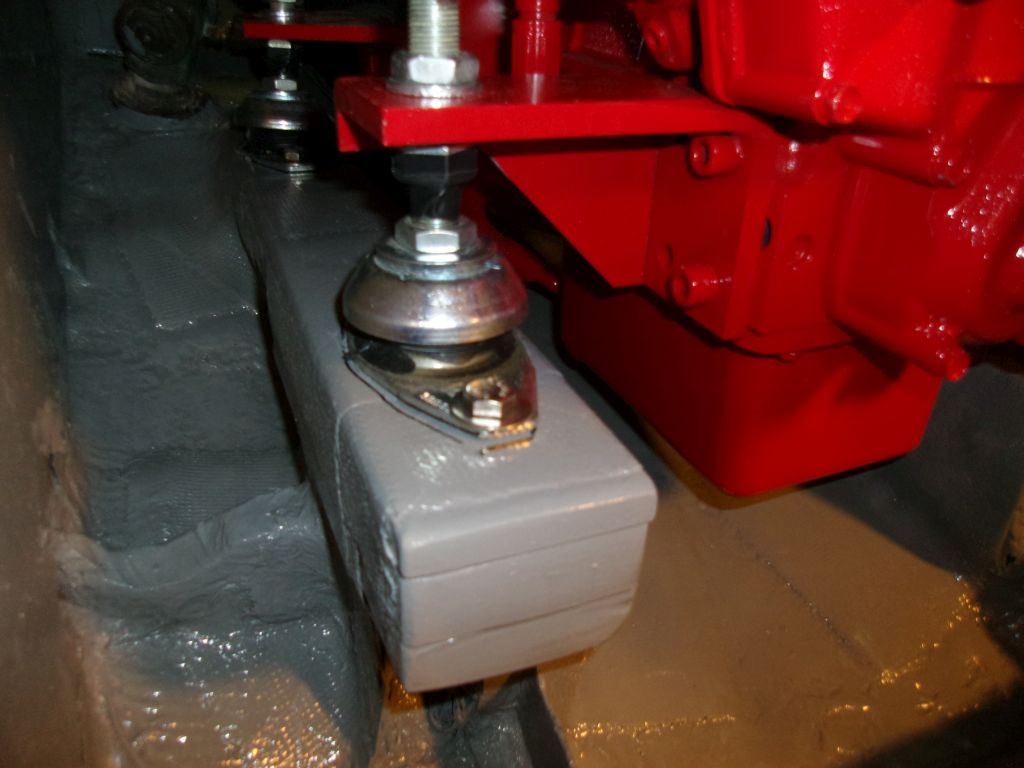
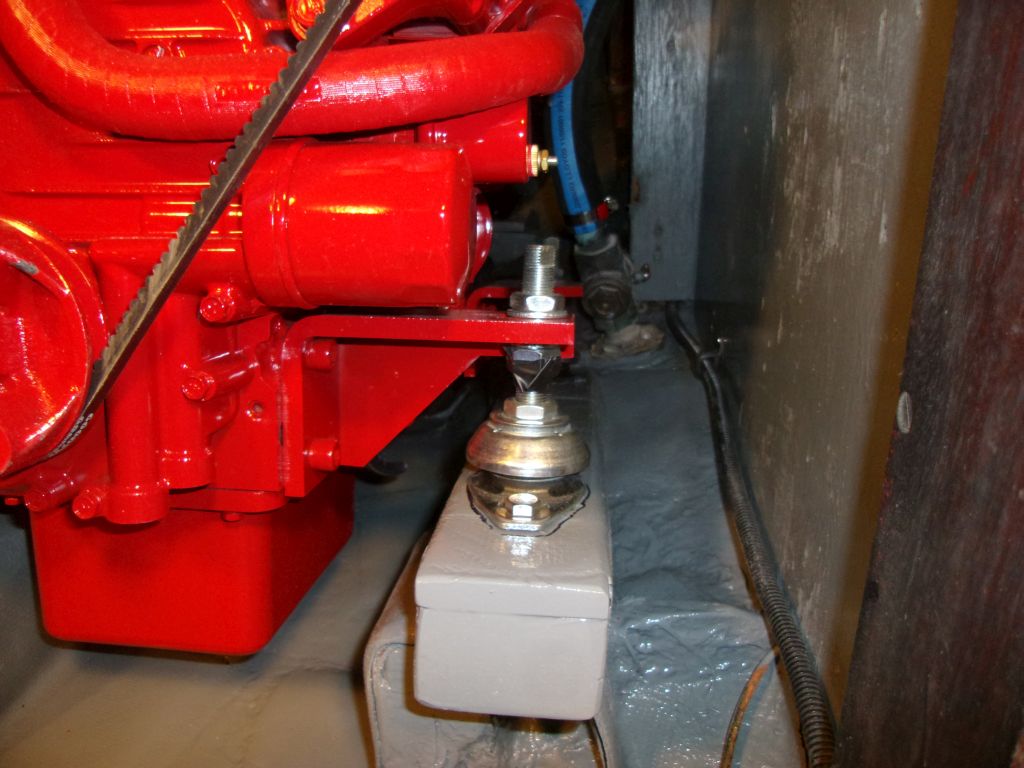
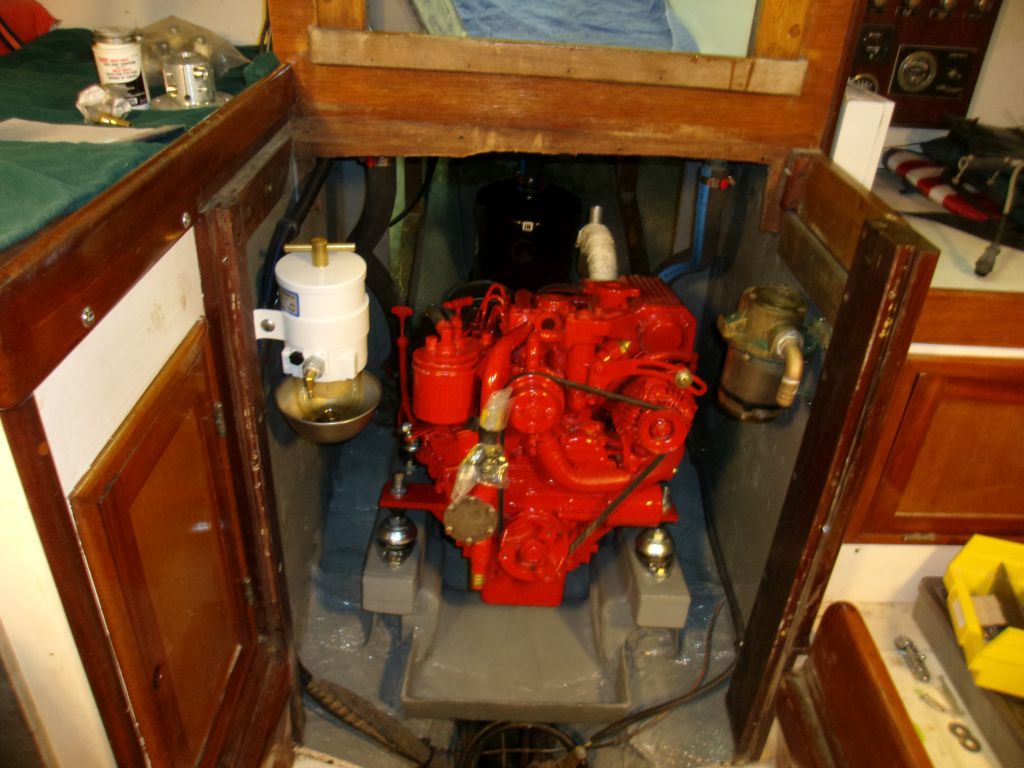
I unbolted the engine from its shipping crate and hoisted it into the boat, where I installed the four flexible mounts, using temporary nuts above to secure them hand-tight. The "real" top nuts were nylon locking nuts, and for ease of adjustment during engine alignment I chose to leave those off till all was said and done. Then, I lowered the engine into the engine room and set it in place on the marks I'd made earlier, and threaded 3/8" bolts into all the fastener holes to secure it before removing the hoist.
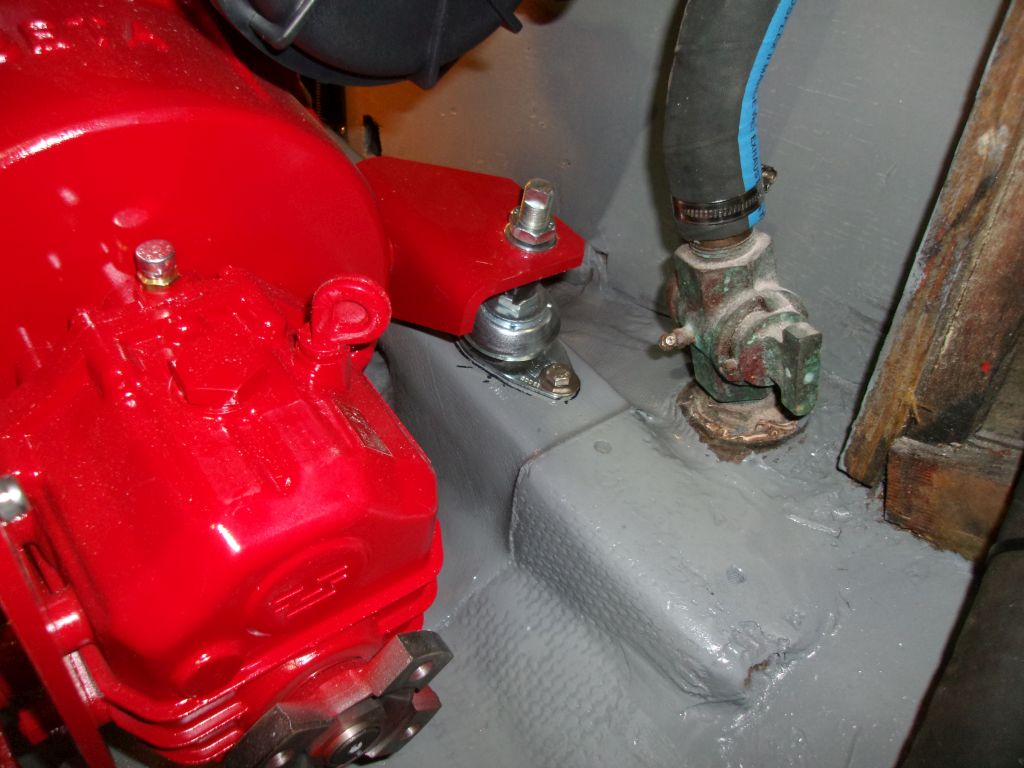
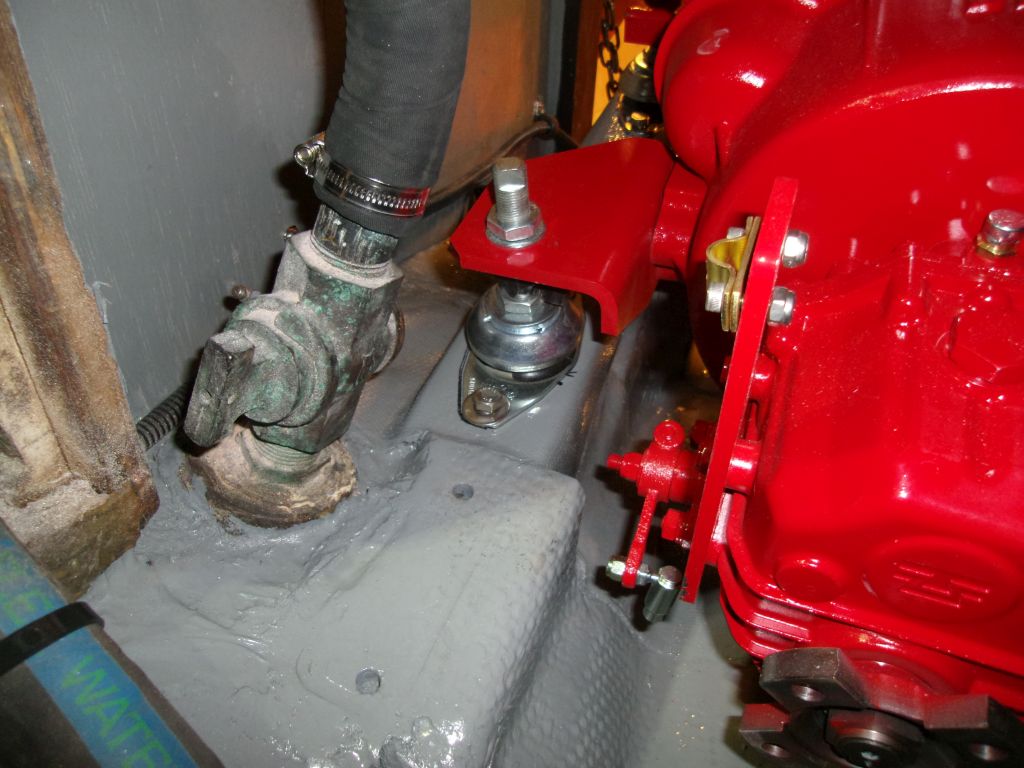

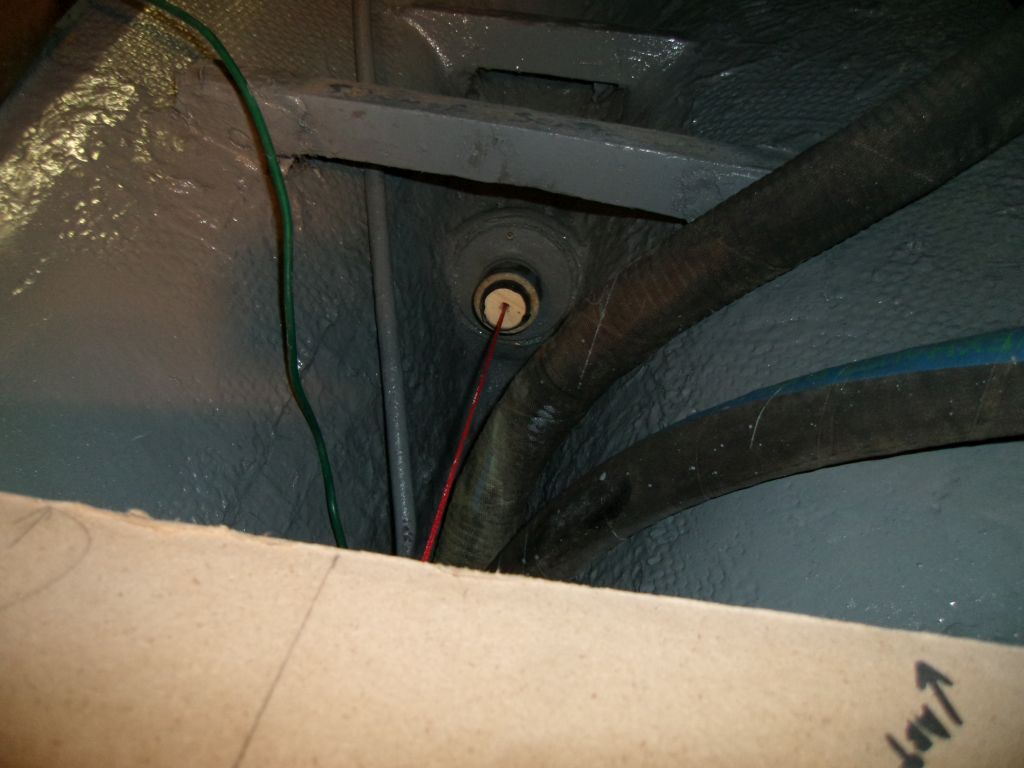
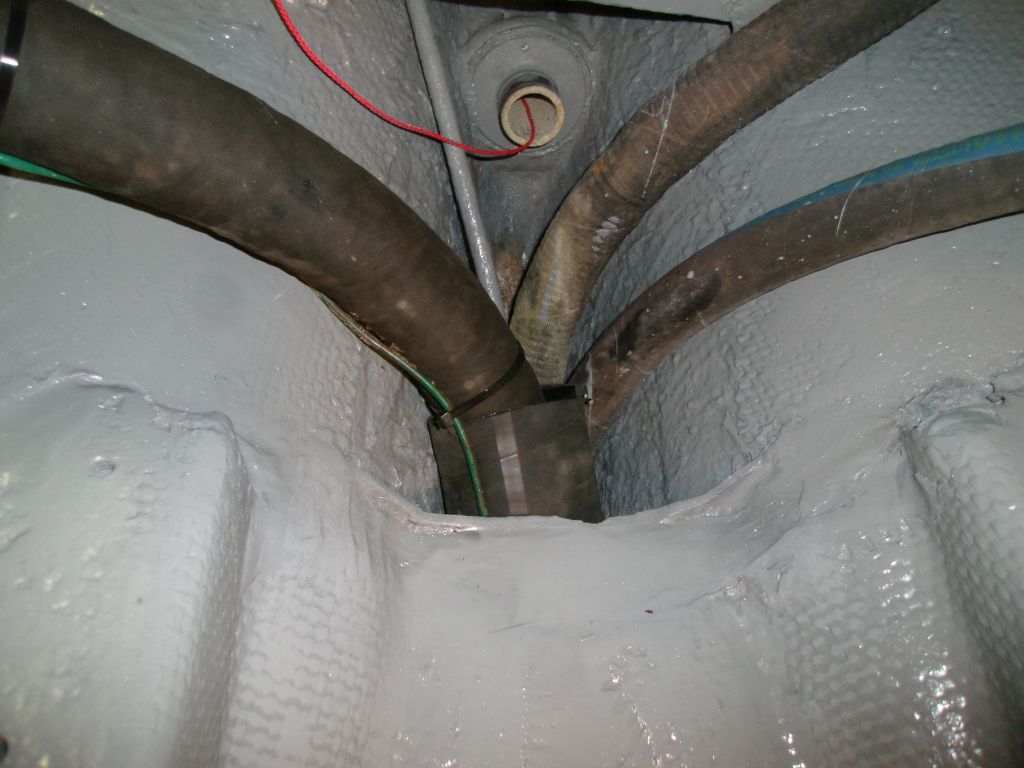
Peering through the stern tube from outside, the center of the transmission coupling was right where it should have been. The stuffing box hose, new and stiff, was allowing the packing box to veer slightly off center to port (left in this photo), accounting for the slight visual misalignment seen here.
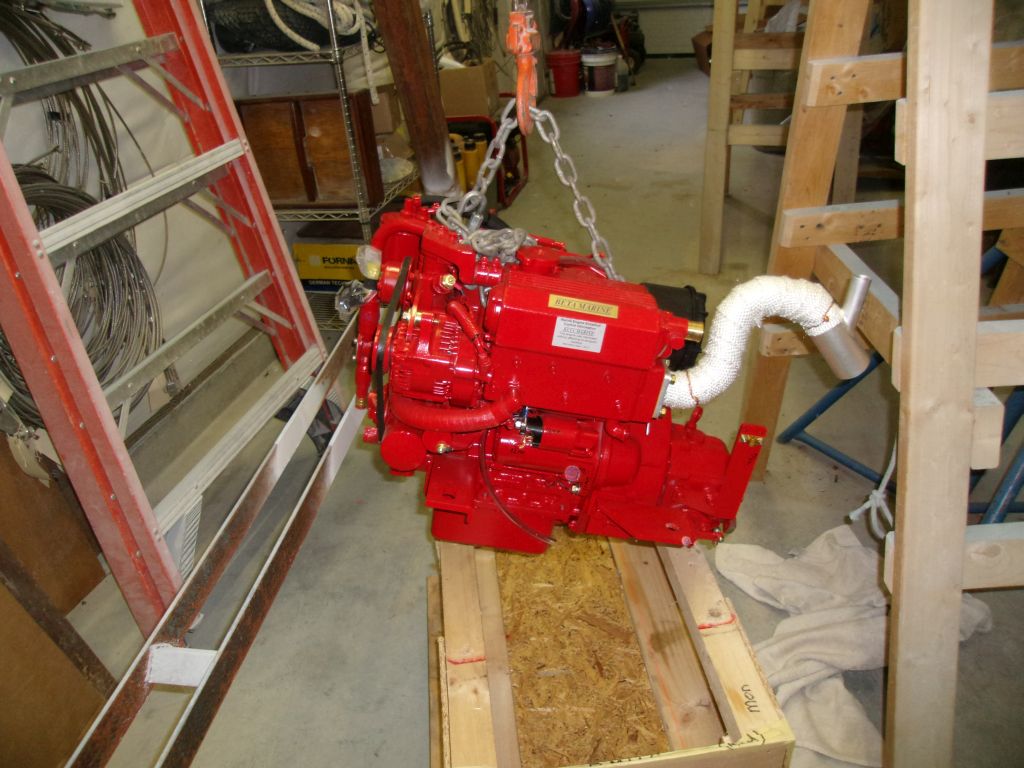
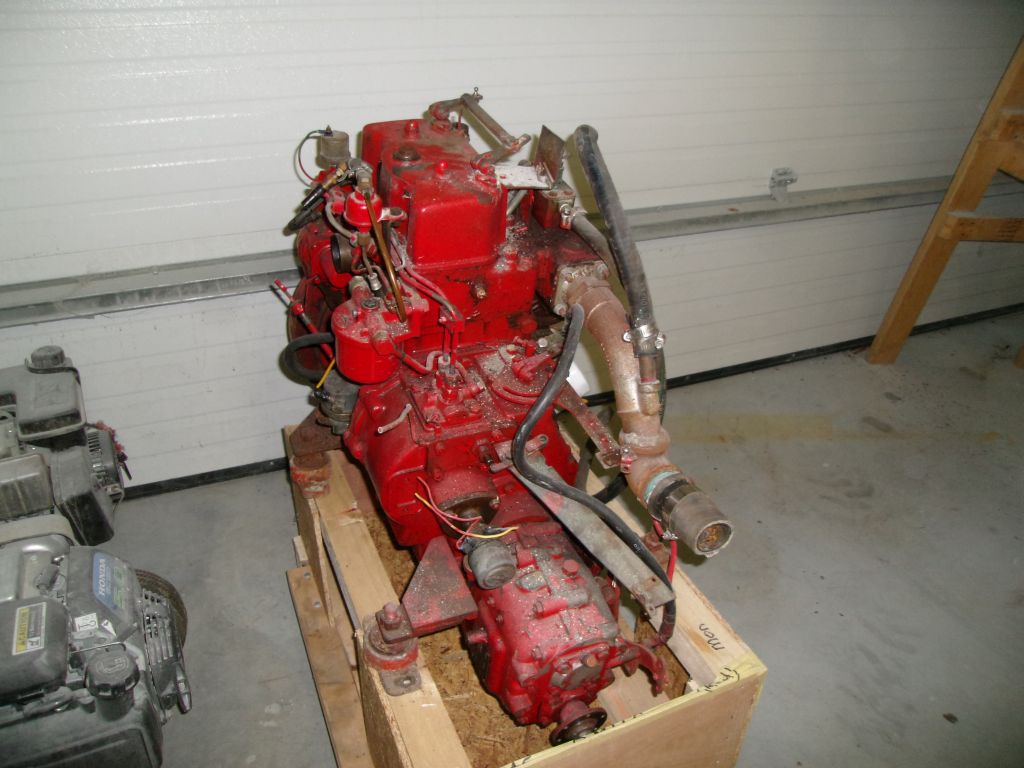
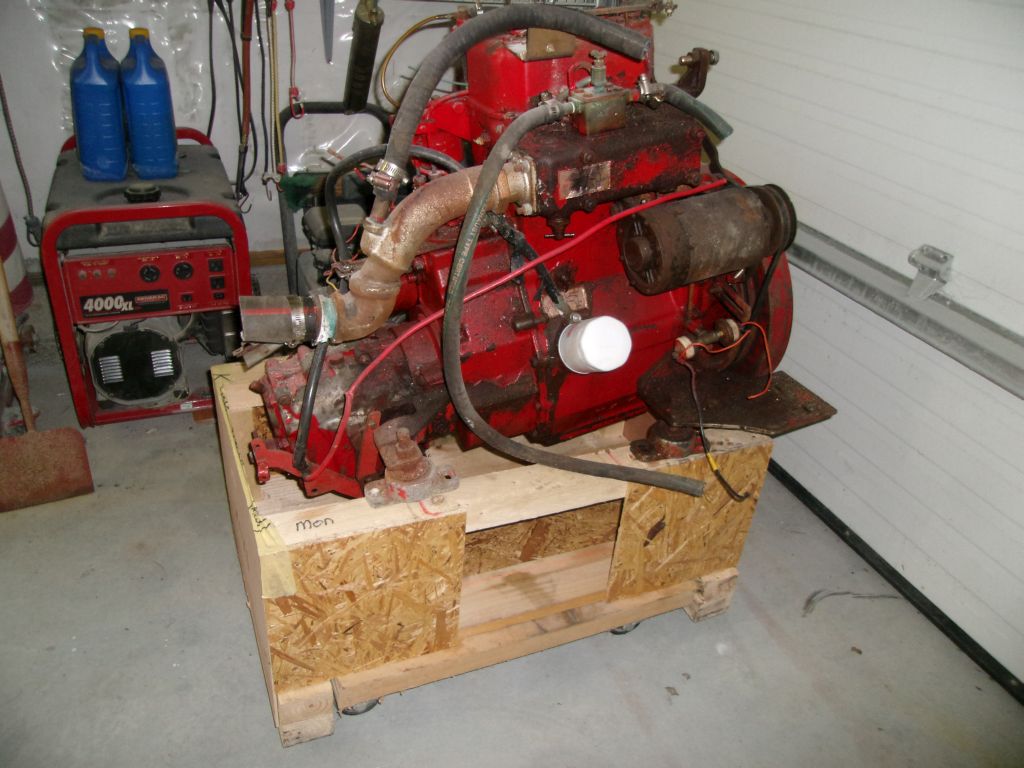
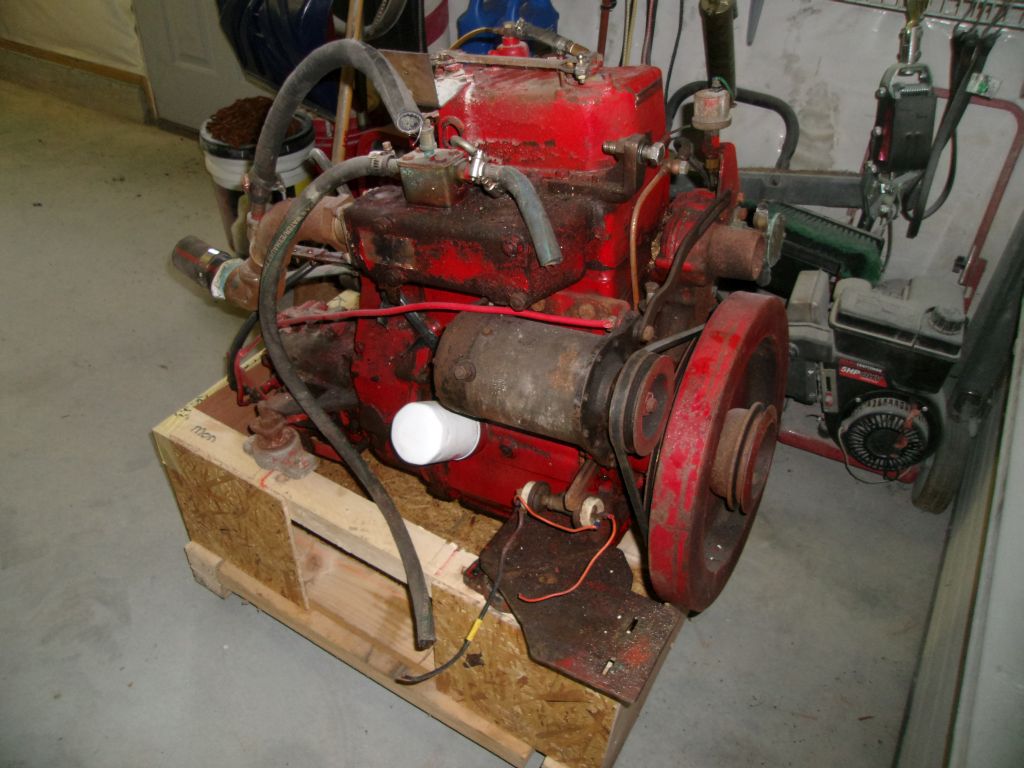
Before putting the crane to bed, I used it to install the old engine in the Beta's shipping crate.
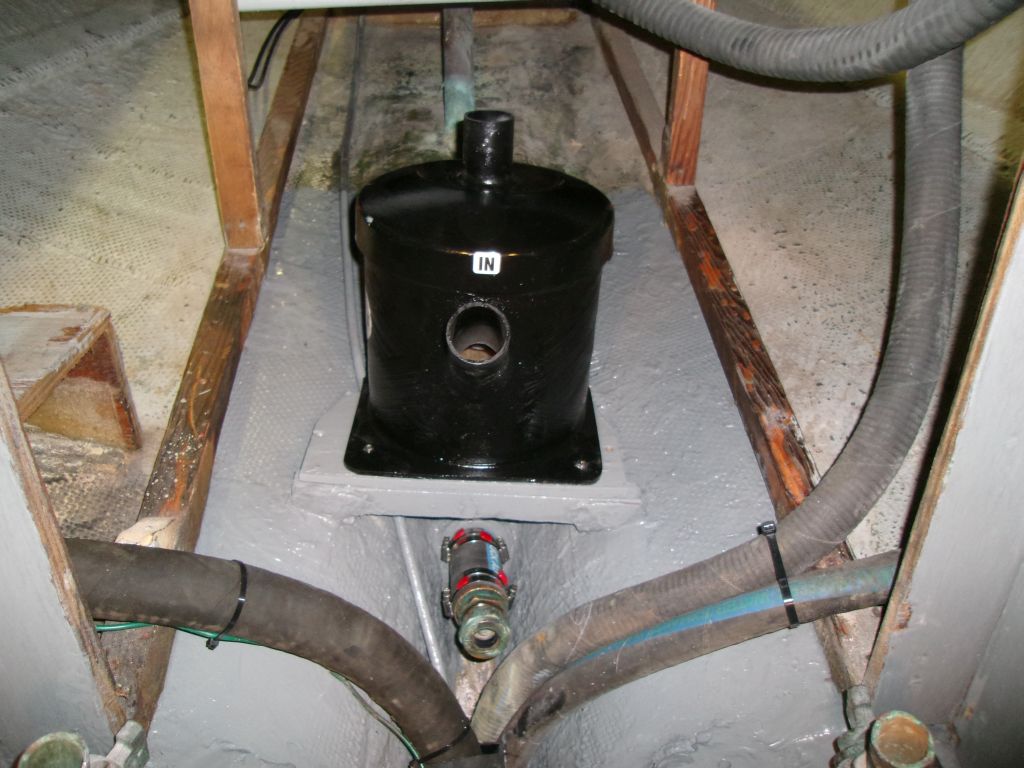
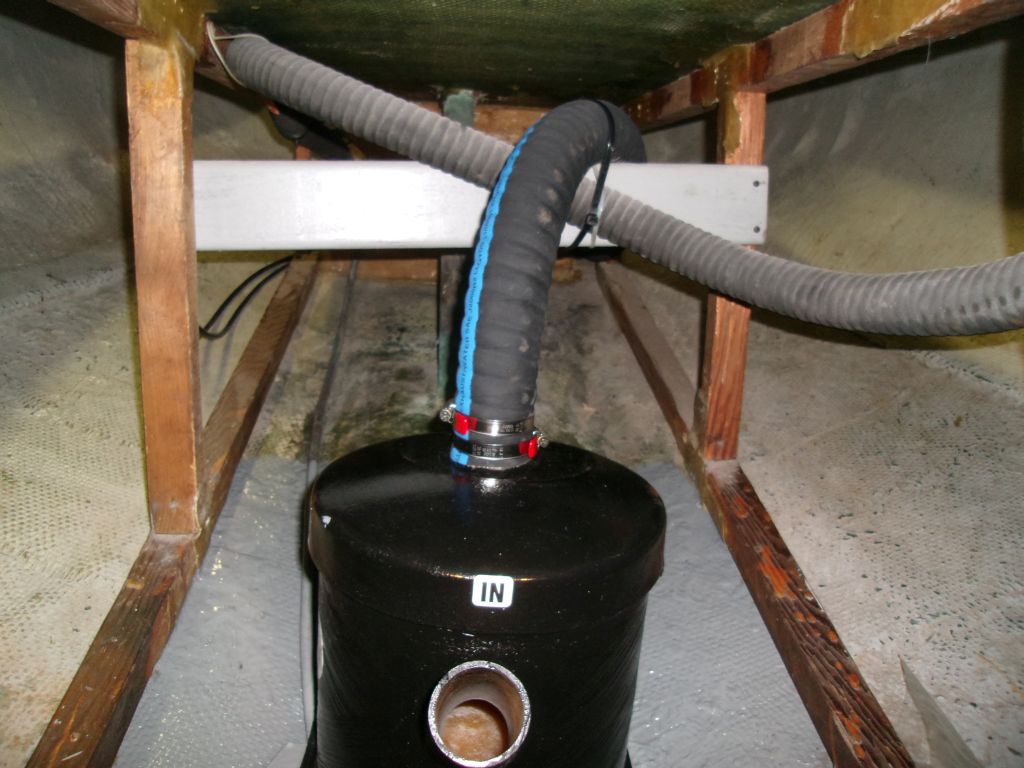
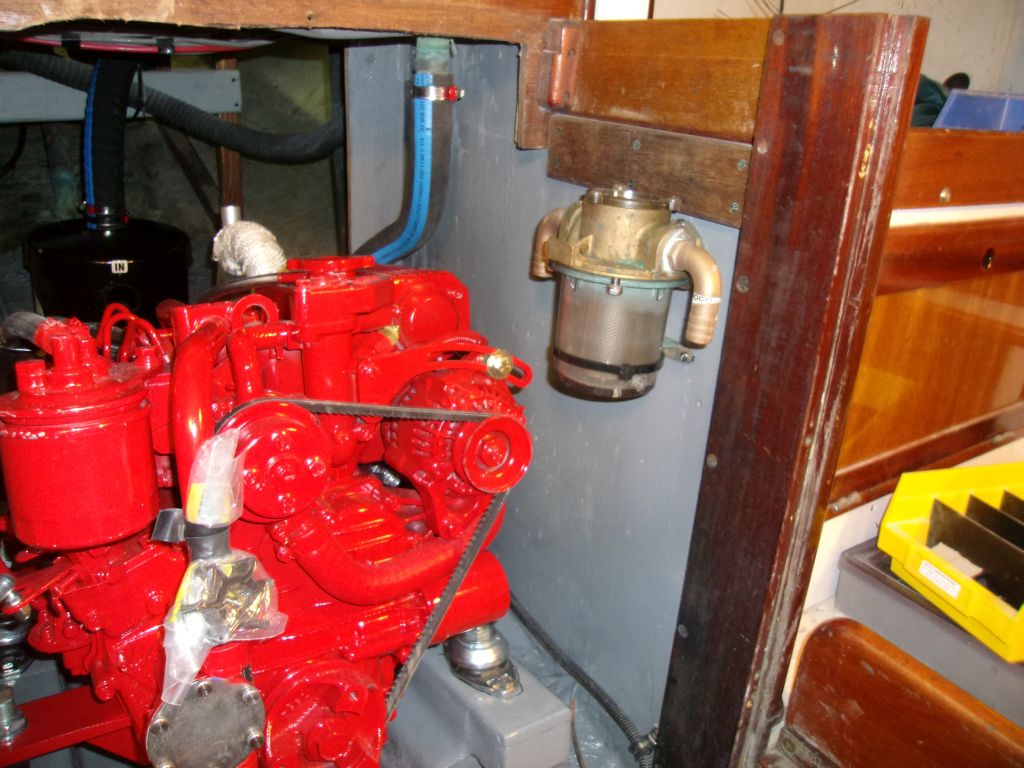
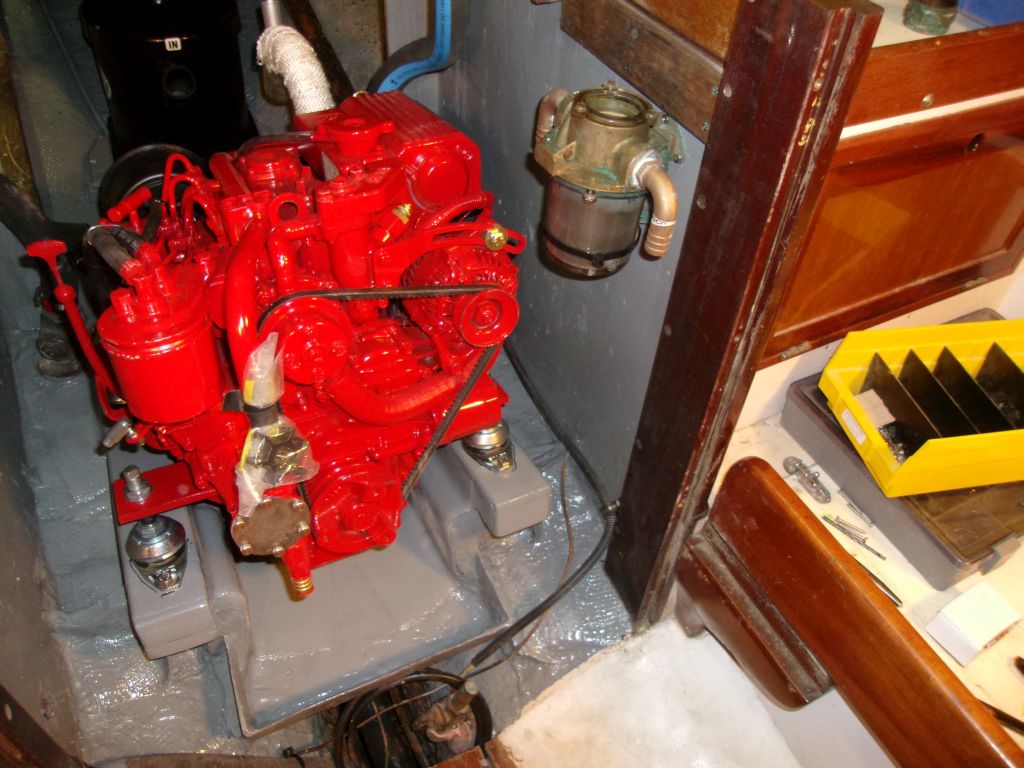
Finally, to round out the day I located and installed the raw water strainer on the port side of the engine room, where it was easily accessible and convenient to the through hull and engine connection. I installed new pipe-hose connectors on the strainer.
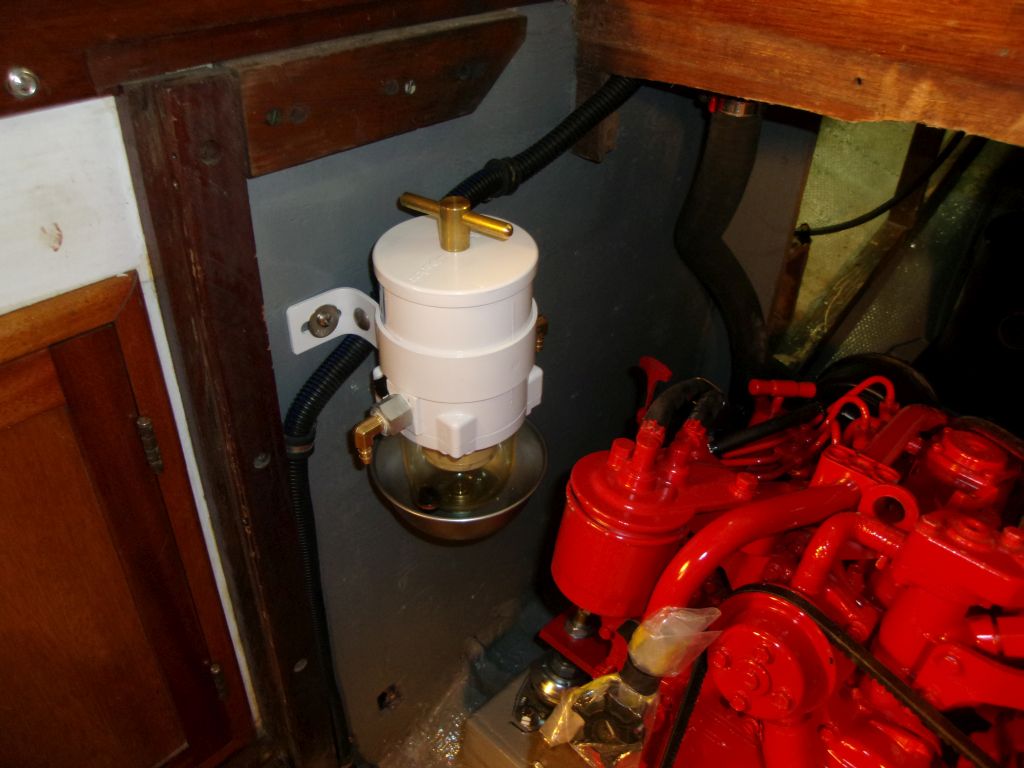
On the opposite side of the engine room, I installed a new Racor turbine fuel filter, with plenty of good access for servicing and hose connections.

Total Time Billed on This Job Today: 8
Hours
