
110 Cookson Lane | Whitefield, ME 04353 | 207-232-7600 | tim@lackeysailing.com
Snow Lily | Wednesday, January 23, 2013
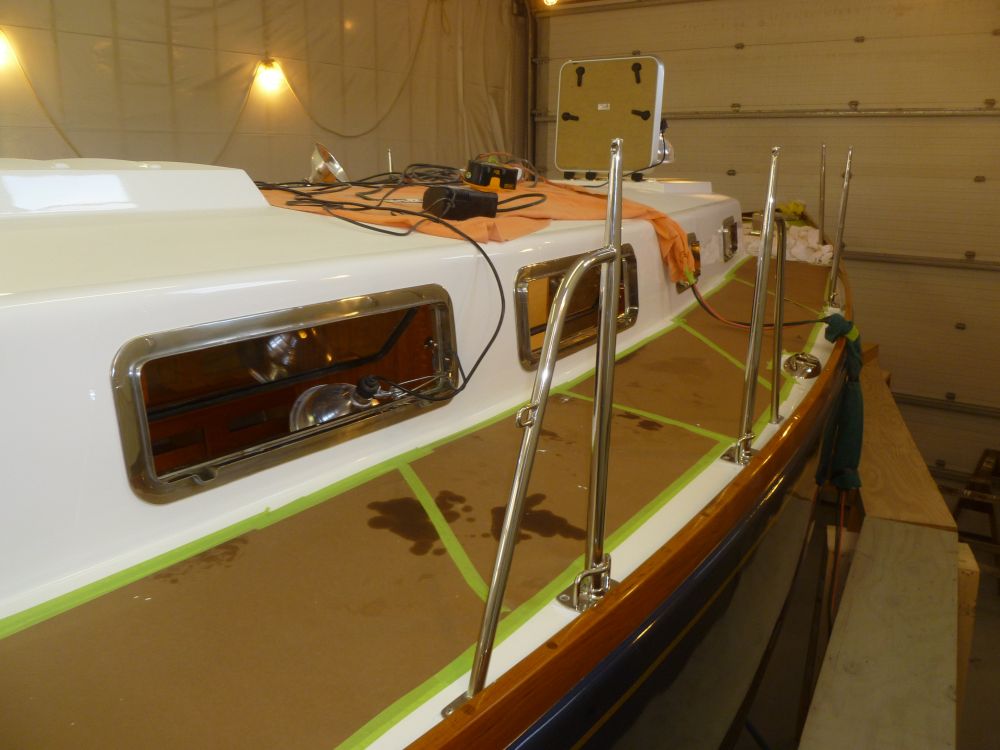
To help with the large, very heavy ports for the main cabin, I'd lined up a helper for part of the day. Before he arrived, I prepared for the ports' installation by cleaning the mating surfaces of each of the four ports, removing the screens for safekeeping, and carting the units up to the boat to their proper positions. I also checked the alignment of each frame to its trim ring, and found that the positioning of the threaded studs on these ports was more accurate than on the smaller ports, which was a good thing. This would bear out during actual installation.

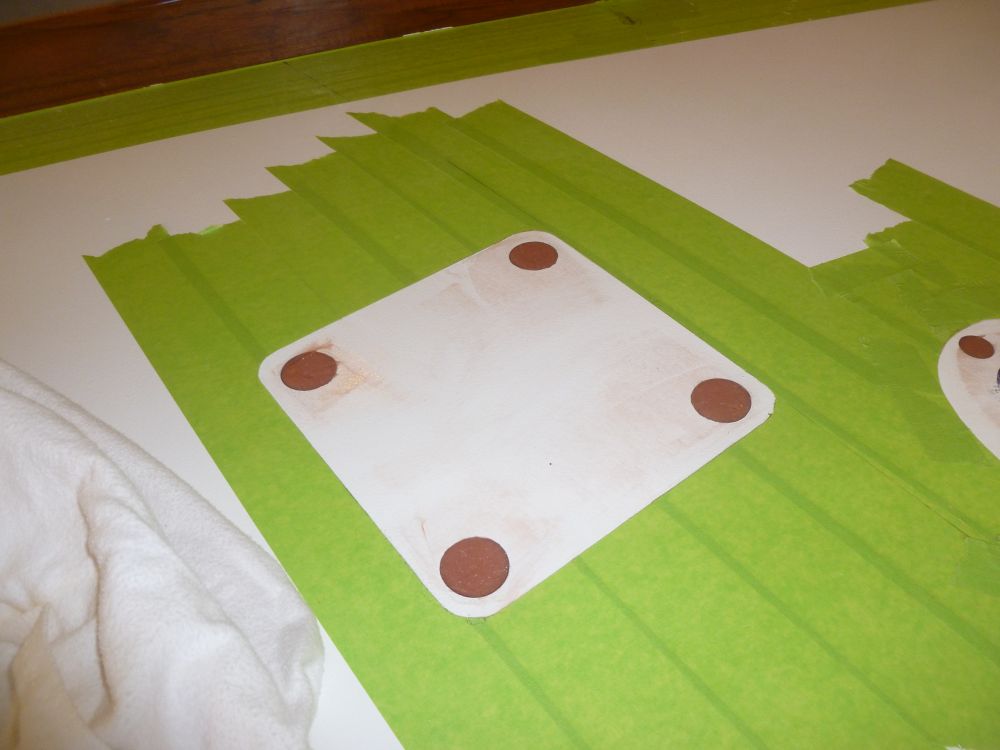
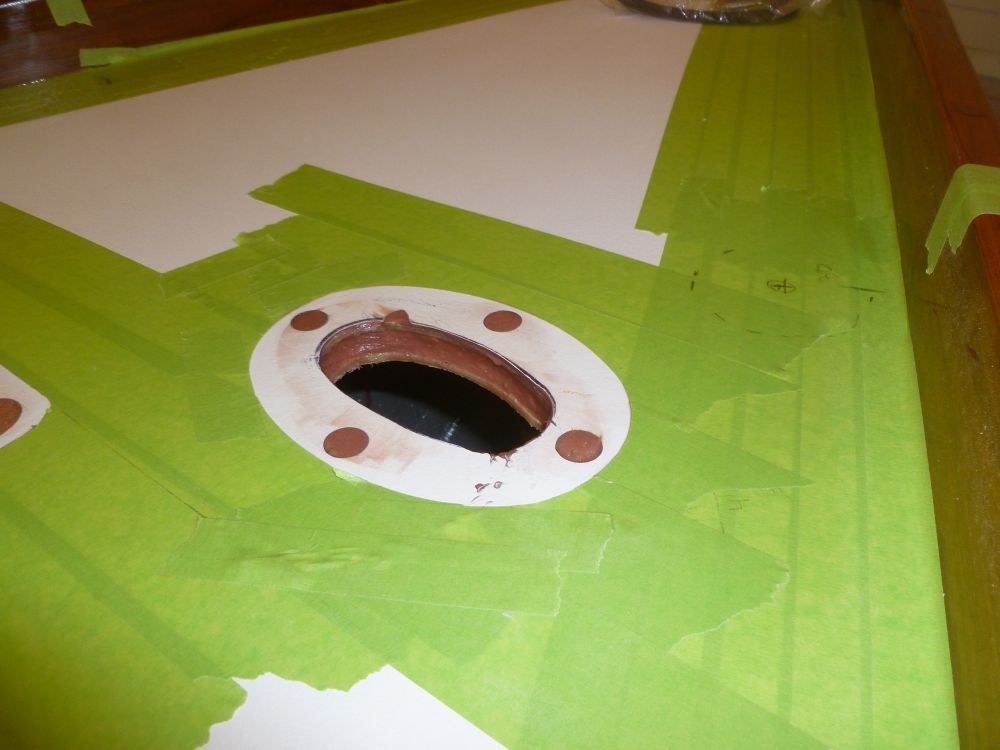
With all preparations complete, I made the final saw cuts on the foredeck for the chain pipe, then reamed out the core around the edges of the new hole in order to fill the void with epoxy. Similarly, I drilled 1/2" holes through the top skin and core in way of the screw holes for the chain pipe fitting.
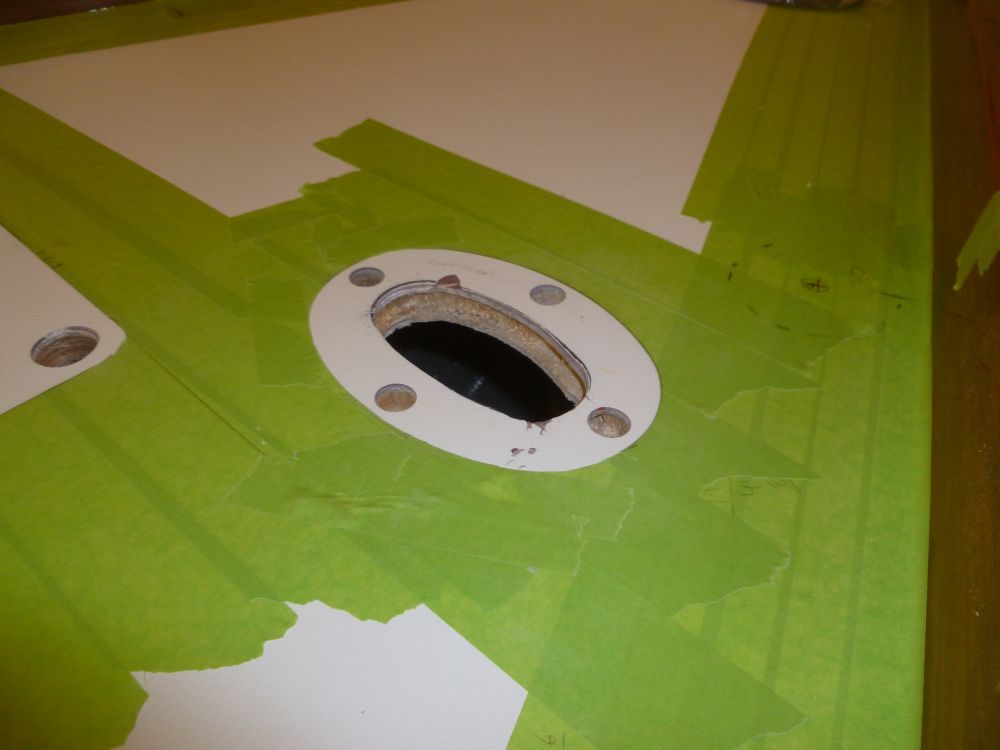
Afterwards, I filled the edges of opening and screw holes with a thickened epoxy mixture.
Once my helper arrived, we got to work on the large ports. Having an extra set of hands made the various dry-fitting processes easier, since not only did I not have to hold and clamp the ports alone, but also could avoid several trips back and forth between the inside and outside of the boat during the various dry fits.
As before, the first step was to dry fit the two components in their opening, including starting all the screws from inside.

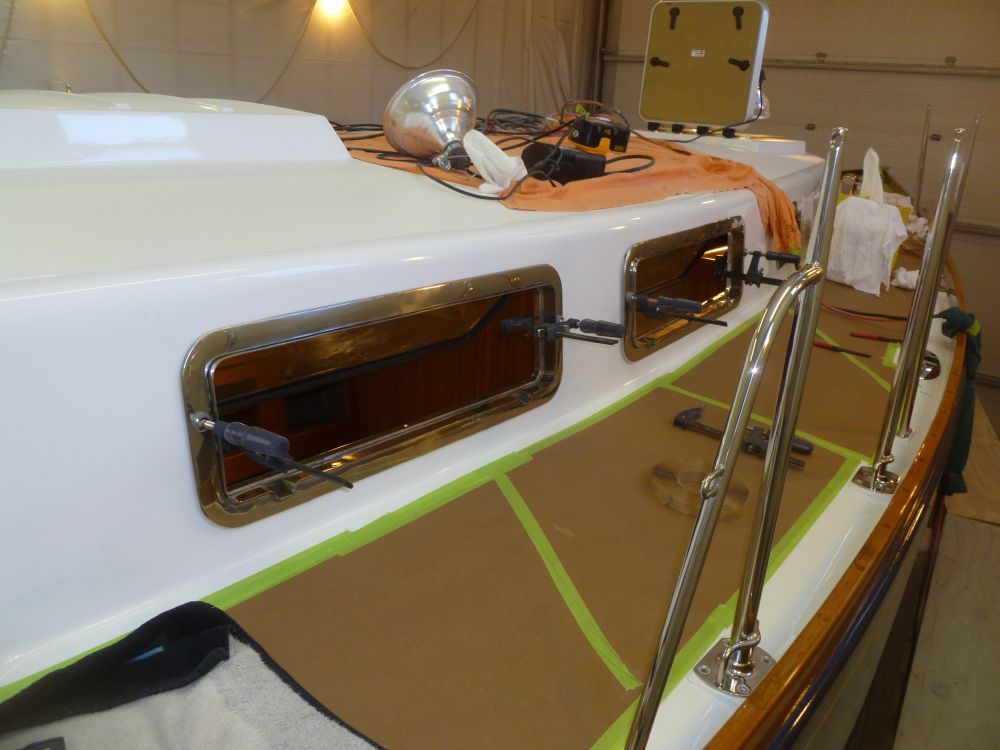
A relatively brief time with my helper on hand, and a lot to get done during that time, meant that I managed to neglect the camera during the main portions of the installation, as we were very busy trying to get the work done, but the process was the same as that which I documented with the forward ports, except these ports were twice as large. In this case, to streamline the process and take best advantage of the extra help, I installed both ports on one side of the boat at the same time, so that once they were pre-caulked with strips of butyl from inside and clamped into the openings, each of us could wok on a port to continue applying the butyl to the remaining gaps from outside.
Then, I prepared and installed the trim rings, one at a time, and cleaned up the squeezed out sealant. There was a surprising amount of fore-and-aft curvature to the cabin side over the length of the ports, but it was no trouble to pull the ports in properly during final clamping and for securing the screws from within. Where the butyl caulk squeezed out between the spigots and trim ring, I left the excess alone for now, as I could come back and trim that later, once my helper departed. We had some initial difficulty on the starboard aft port getting the gooped-up trim ring to seat in its screw-stud openings properly, but eventually adjusted things and popped the protruding studs into position without issue.
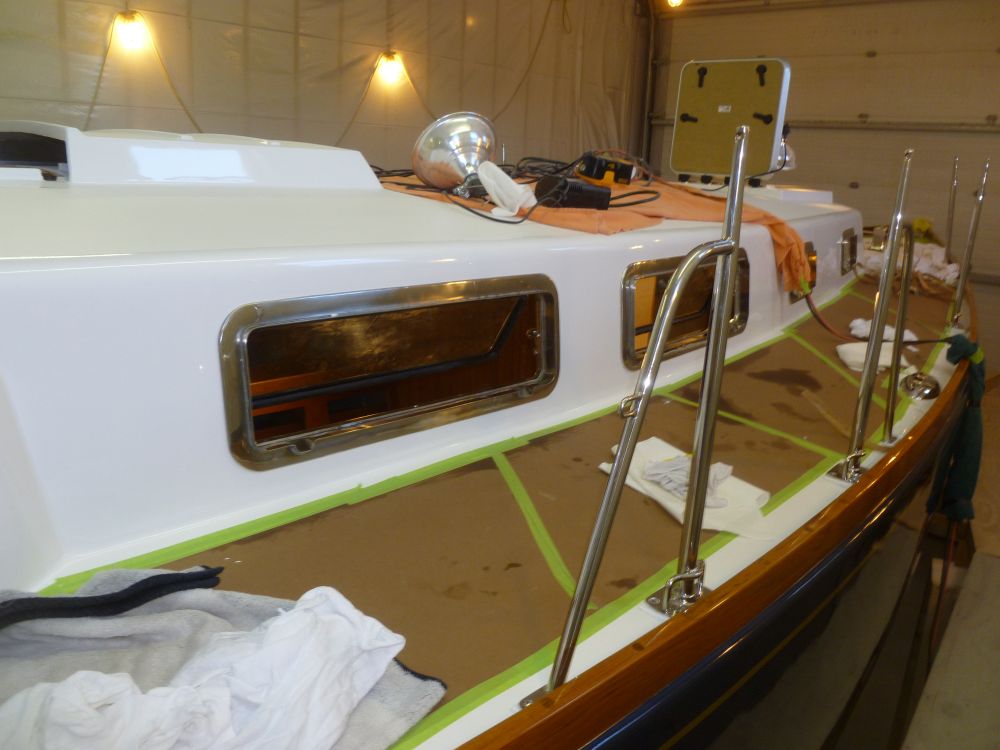

With the starboard trim rings properly secured and the sealant cleaned, we moved the whole operation over to the port side and repeated the process. I had to slightly enlarge a few openings on the port forward port during our test fit of the trim ring.
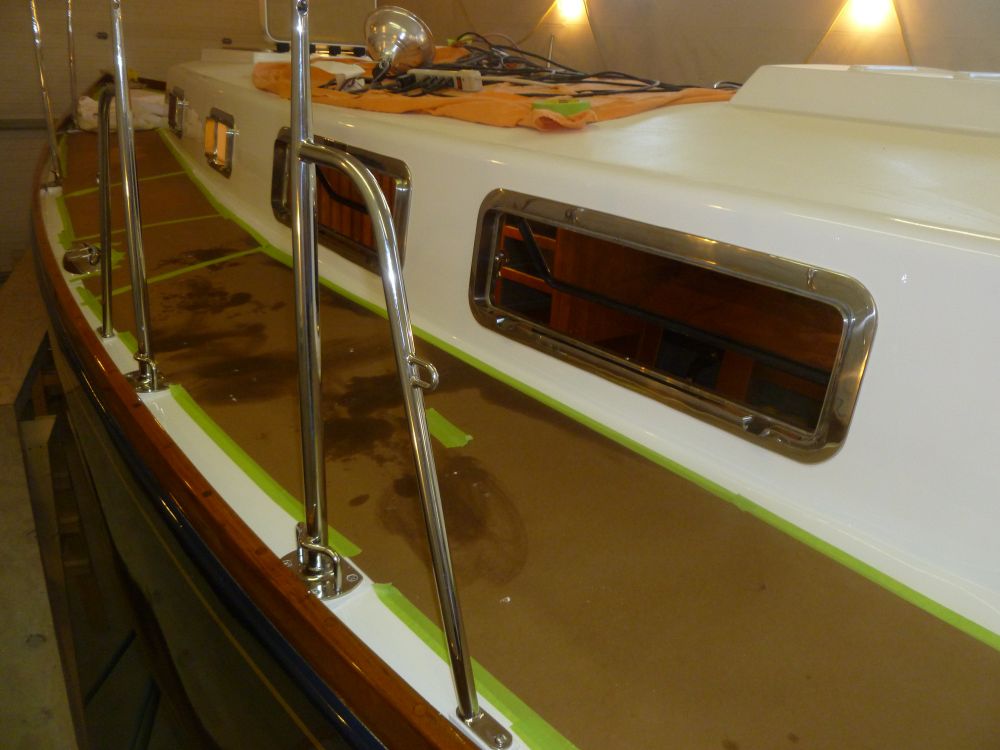

With the heavy part of the installation complete, and working alone once again, I cleaned up the butyl squeezeout as necessary from the four ports, and cleaned up inside. I also adjusted the tension on the port hinges so the opening portion would stay up when opened, as the initial tension had been a bit low, causing the glass to droop. I'd have to make some adjustments to the various dogs' tension as well to ensure that the gasket was getting properly compressed when the ports were closed, but that would come later.
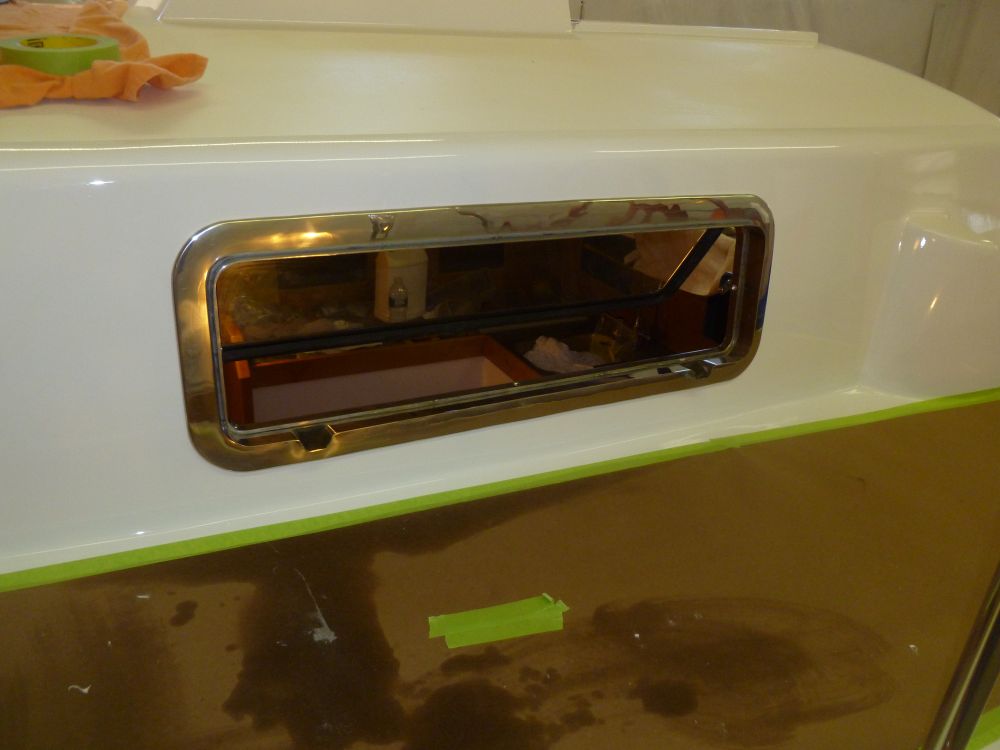

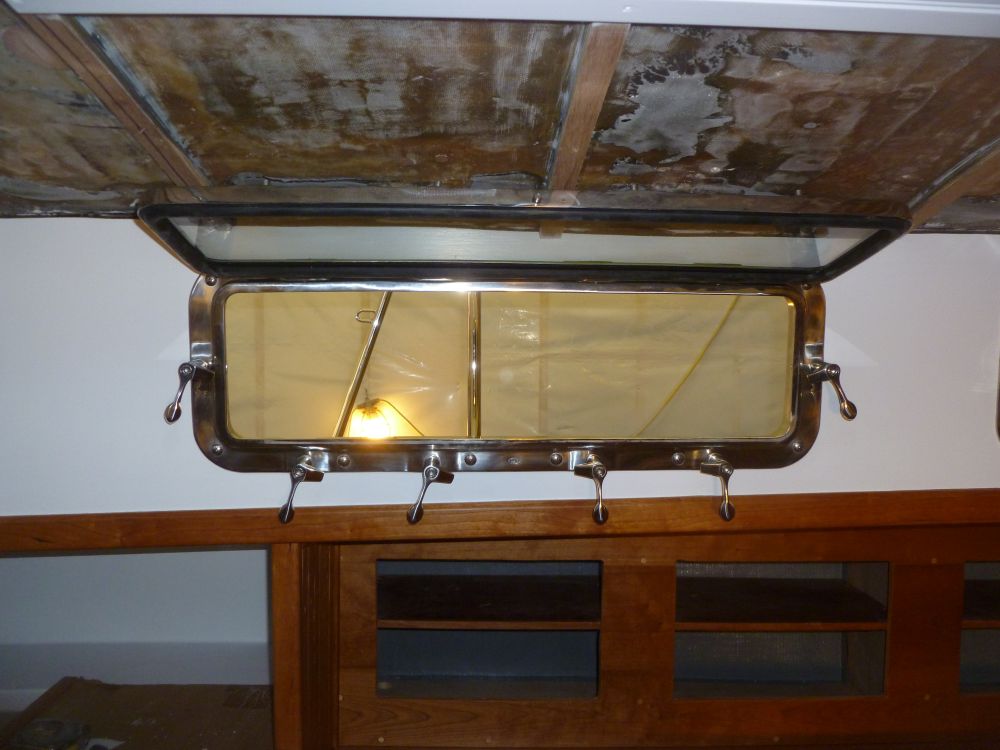
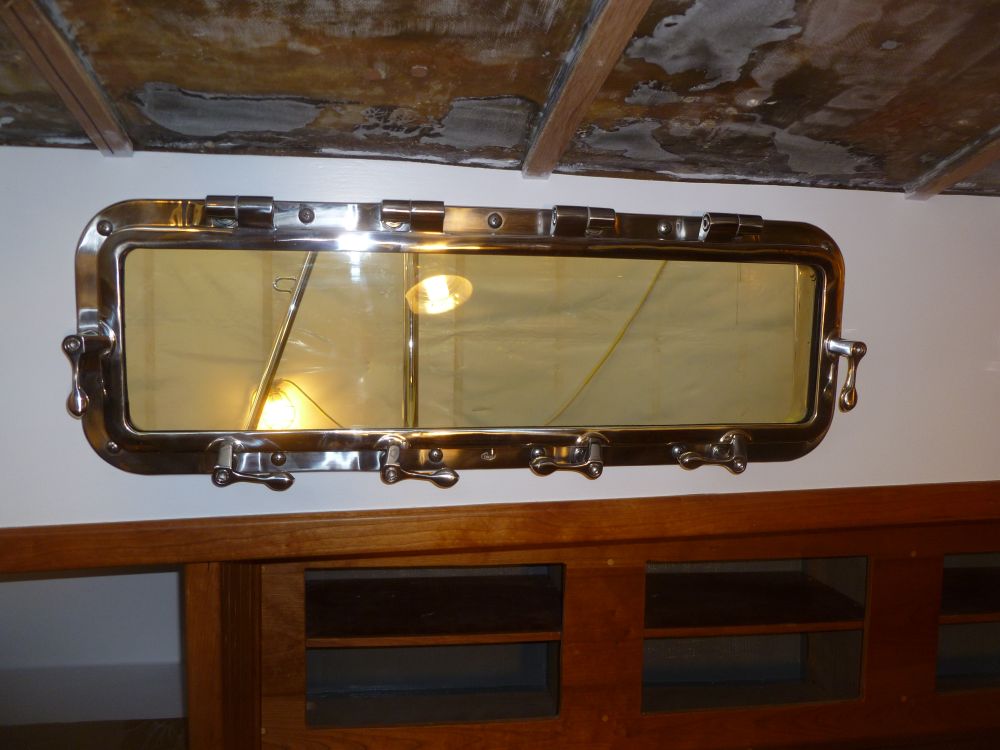
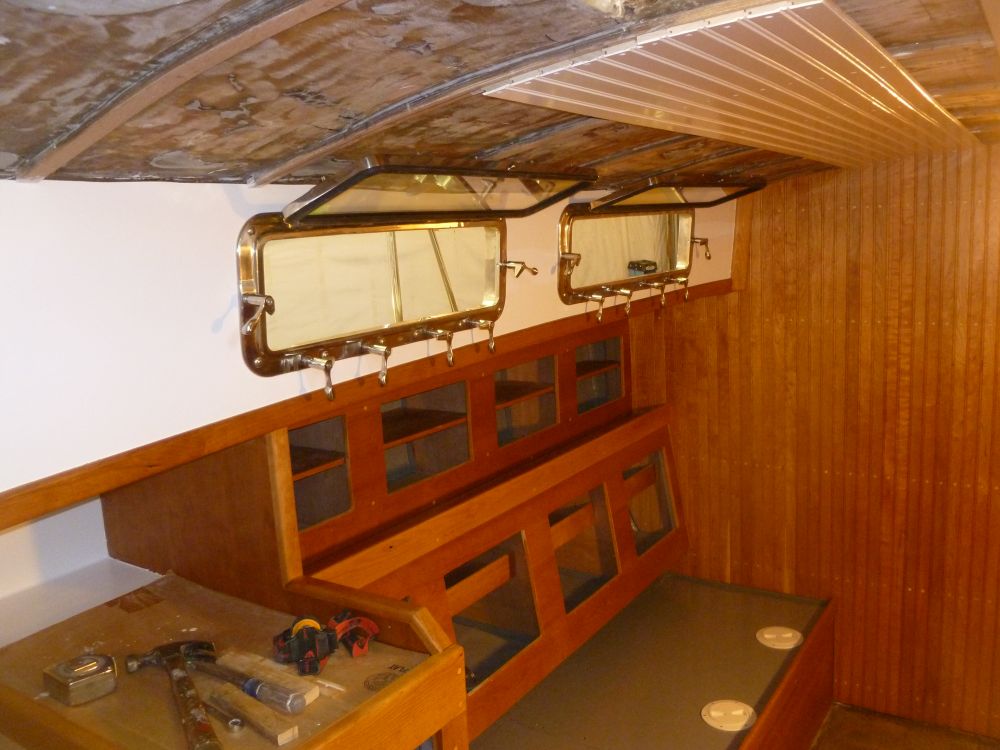
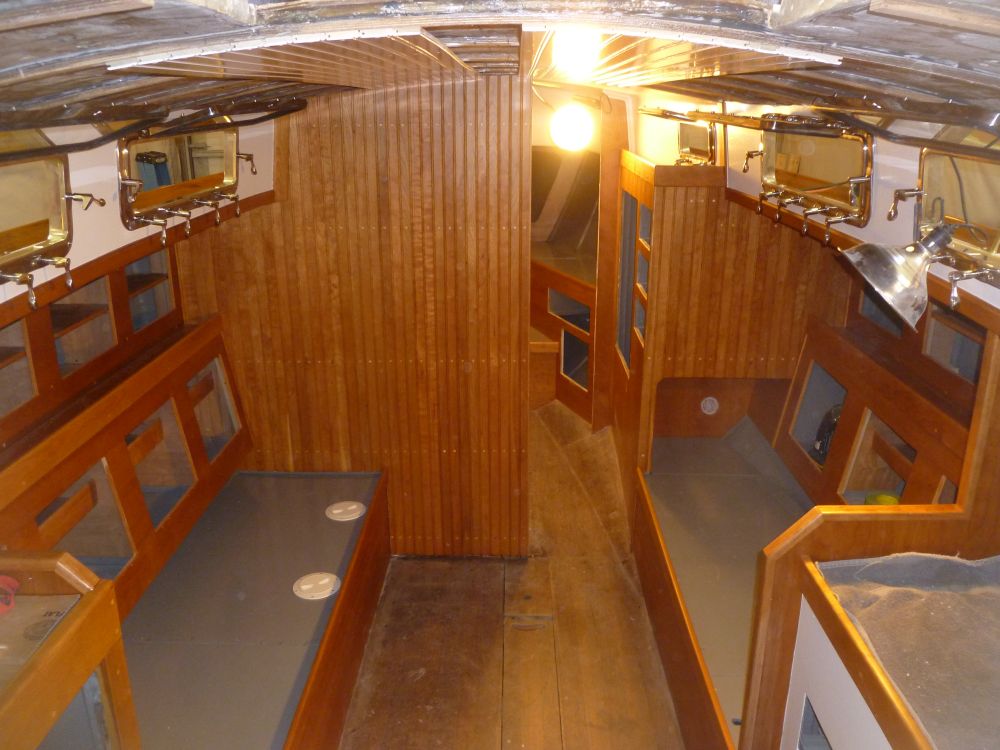
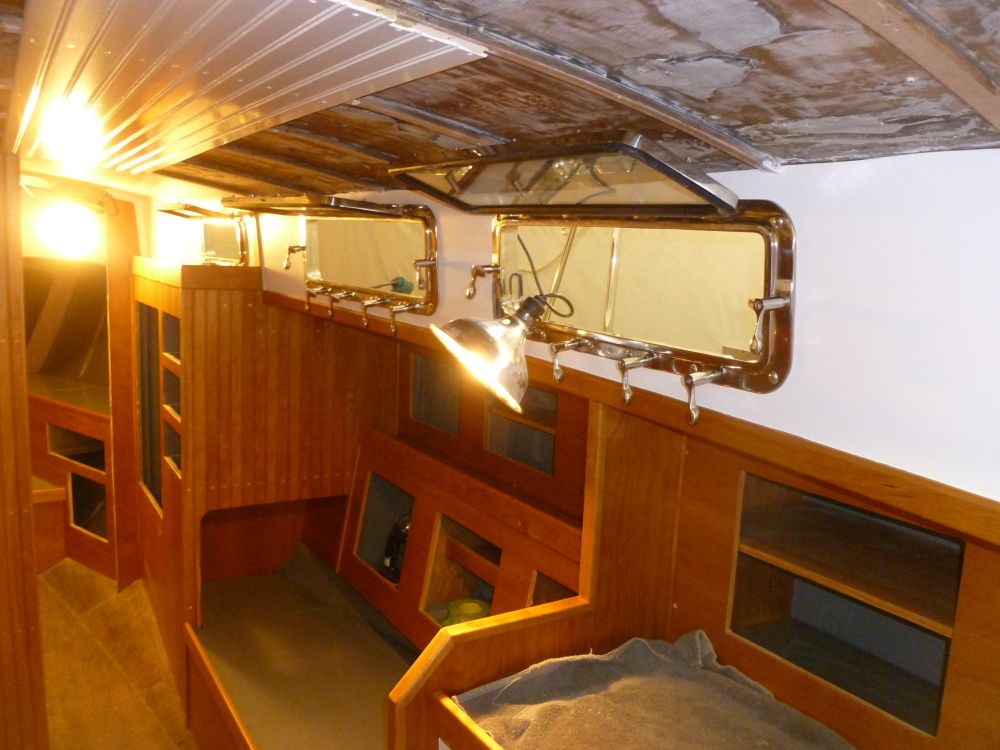
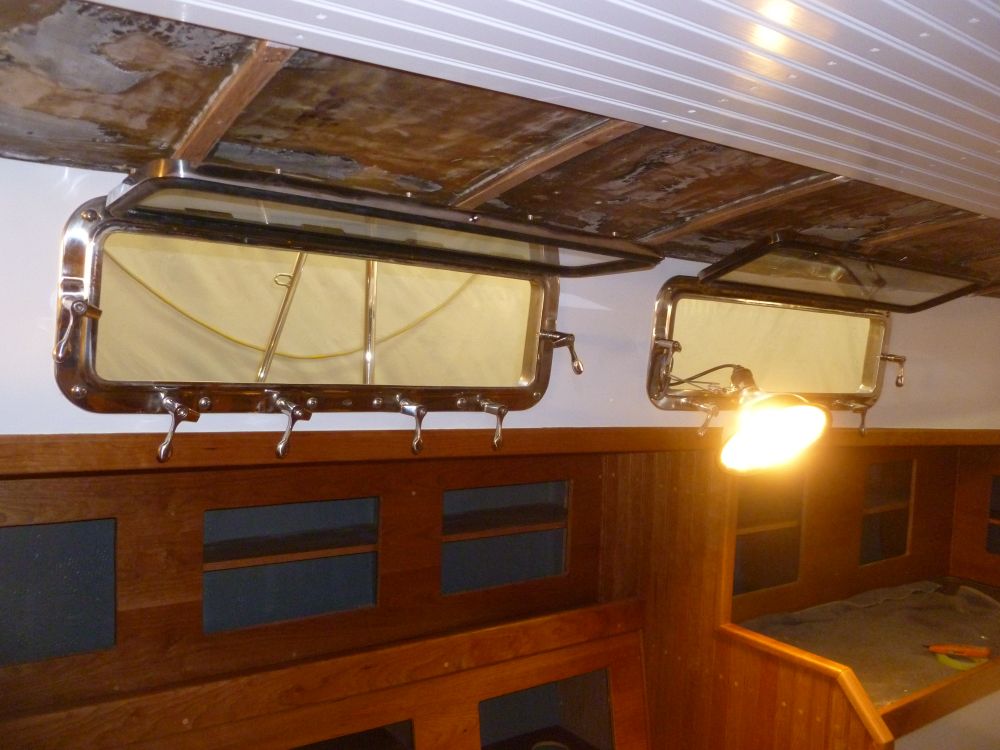
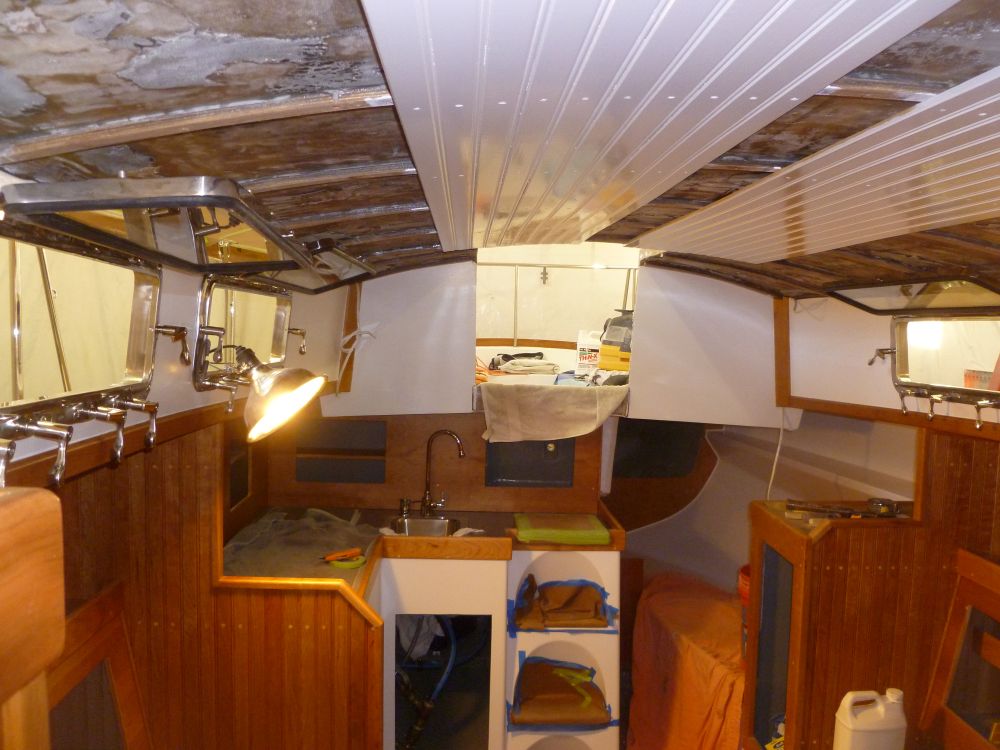
Minor issues aside, the final four ports' installation posed no issues, and the quality of the alignment between the two sections of each port was superior to that which I'd found on the smaller forward ports. As always, filling the raw port openings with their final hardware marked a significant improvement in the appearance of the boat. These were handsome ports, all the more so now that their installation was behind me.
Total Time on This Job Today: 9 hours
