
110 Cookson Lane | Whitefield, ME 04353 | 207-232-7600 | tim@lackeysailing.com
Snow Lily | Tuesday, January 22, 2013
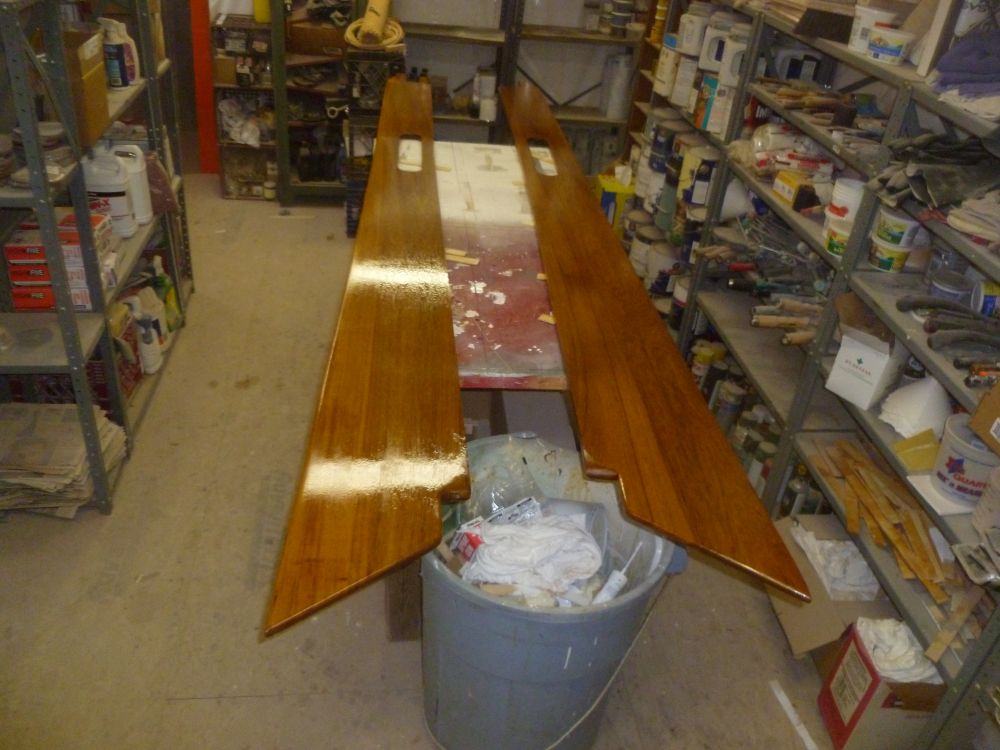
Getting started, I lightly sanded the outboard side of the coamings (both sides had their sealer coat), and applied another coat of varnish. I planned to build up a few coats on this side before installation, after which I'd complete all the varnish.
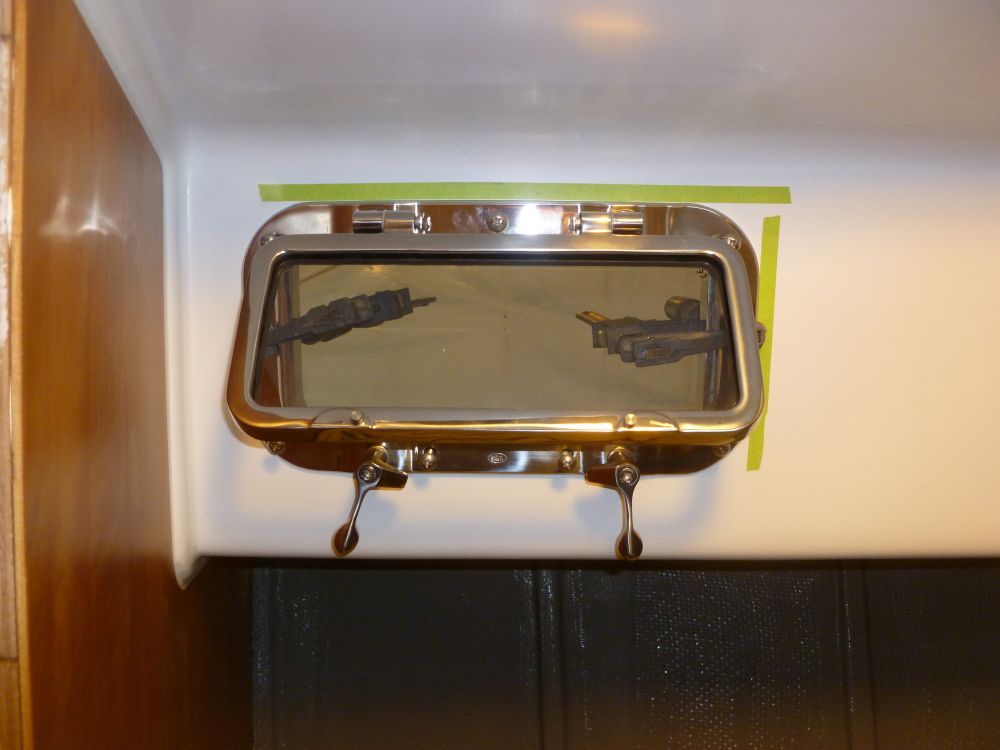
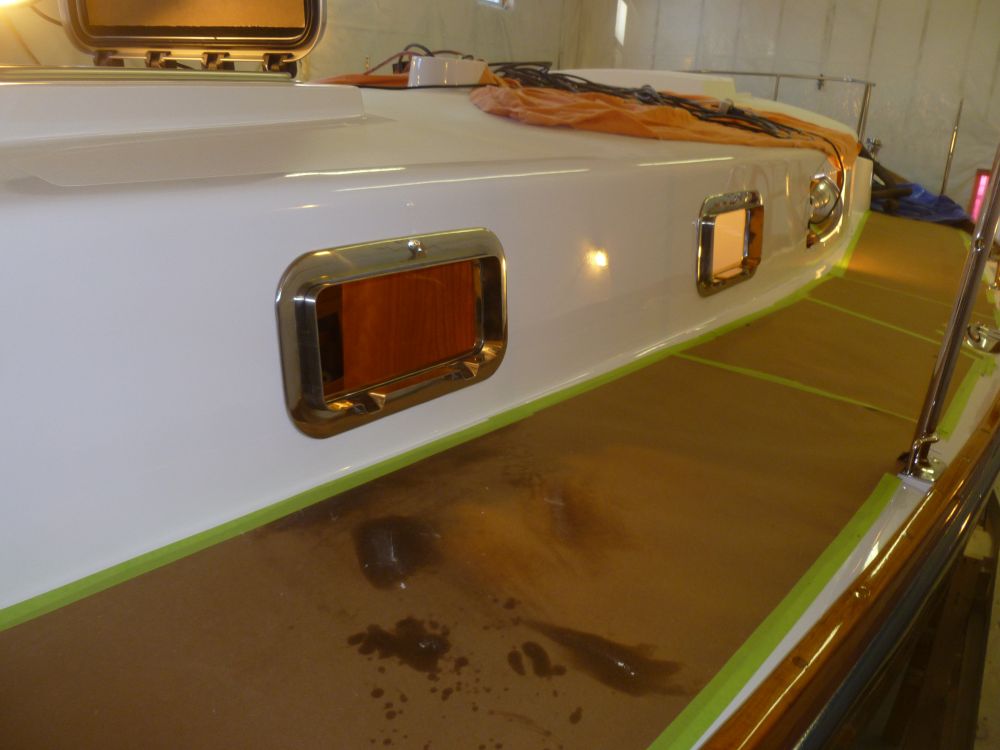
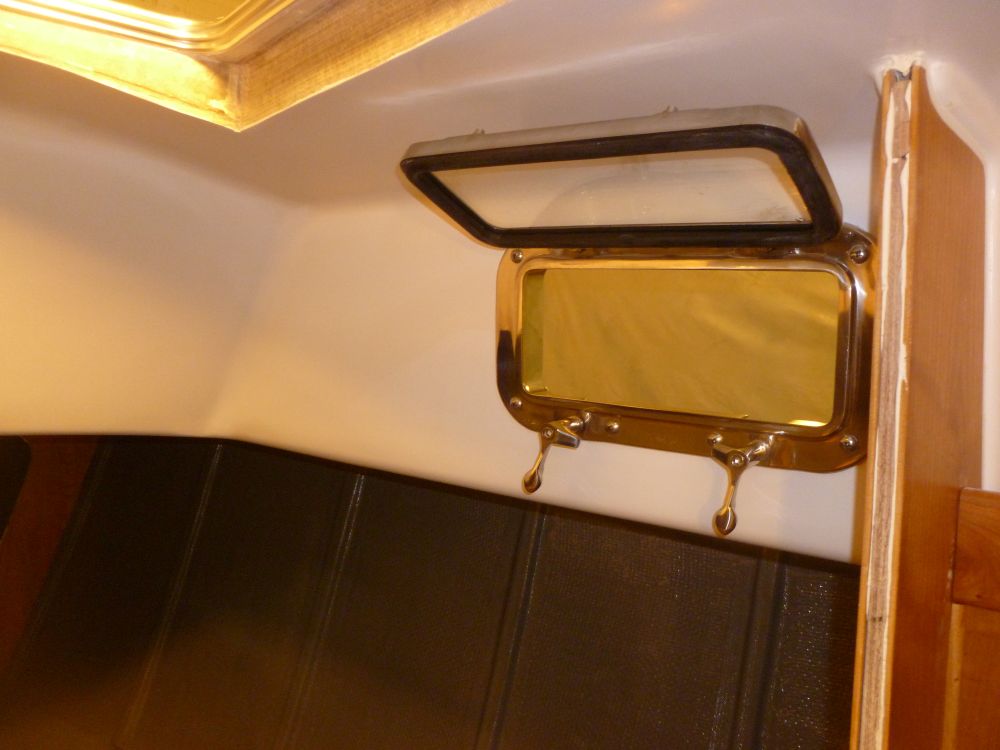
Next, I turned to the ports' installation. With eight new ports to install, and a helper lined up for later in the week (specifically for help with the larger four ports in the saloon), I wanted to get at least a sense of the process. So I began with the port that I'd dry-fit in the head earlier, and proceeded with installation. The process went well and over the course of the day I managed to install the four forward ports. Fortunately, I'd noticed during the dry fit that the screws supplied with the ports were far too long, so I obtained fasteners that would fit in advance.
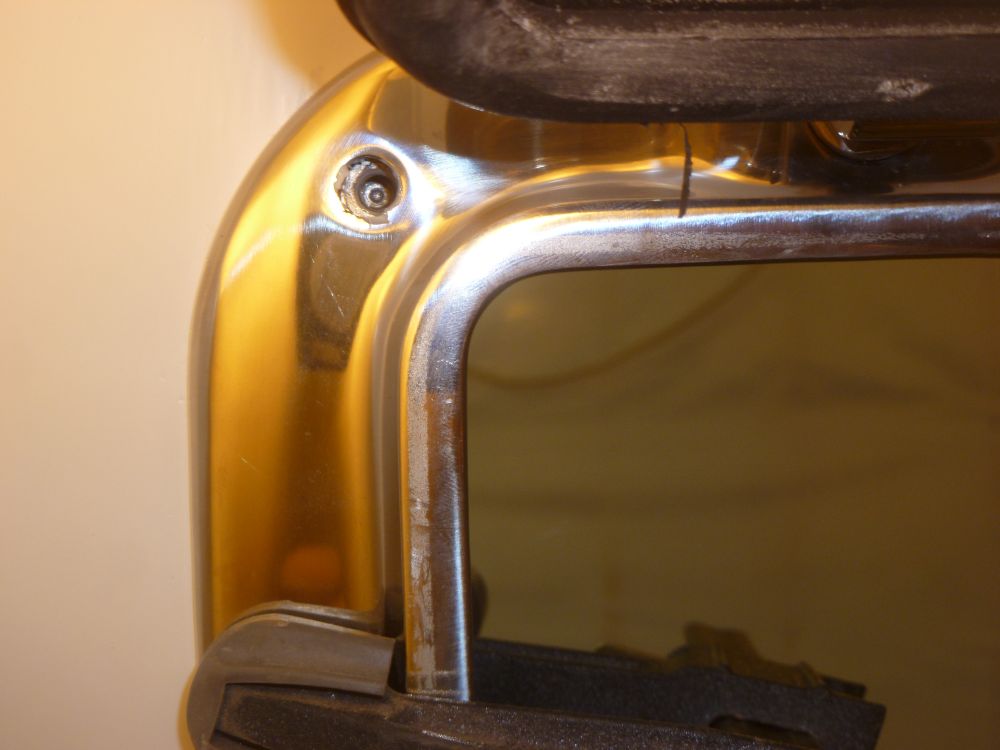
One thing I'd noticed with the first port--and this would prove true for the other three I installed this day--was that the threaded studs on the exterior trim rings didn't always line up perfectly with the holes provided in the port body, even when dry fit together on the bench. Each port body and trim ring were specific to one another, indelibly marked at the factory and also marked by me during my earlier layout and preparation efforts when the ports had first arrived. The worst misalignment culprits tended to be the corner fastener locations, both top and bottom, and on one side or the other; the center locations were fine. The threads on these corners tended to be at the outer limits of the slightly larger holes in the port bodies, which just allowed a fastener to be started here. Minor adjustments between the two sections in each specific case were required to get to this point.
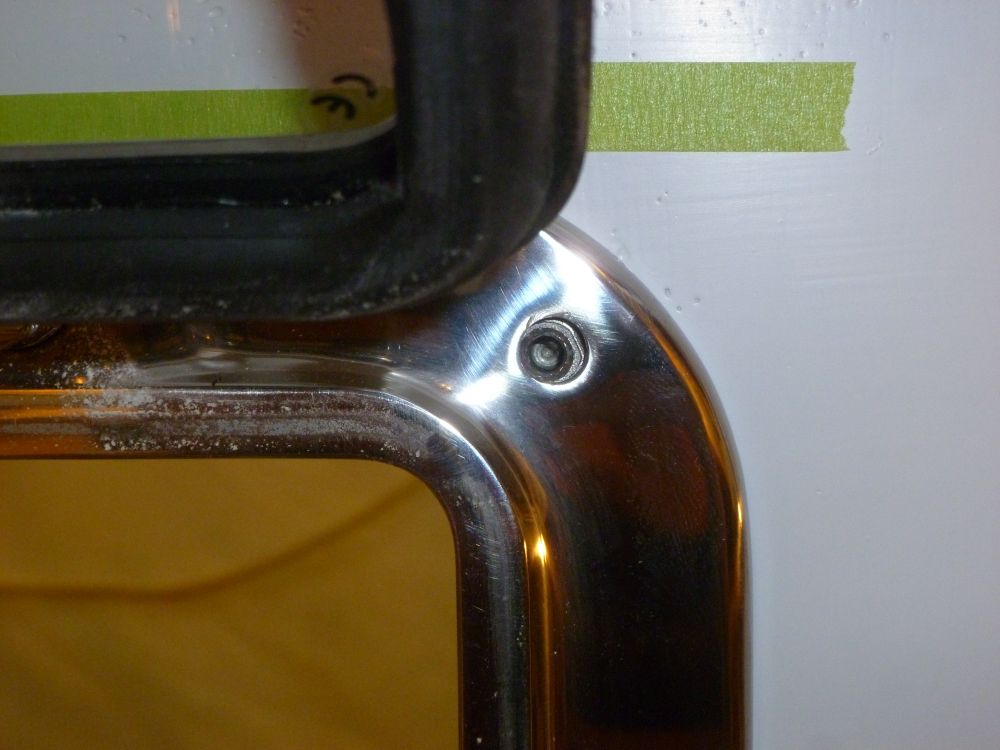
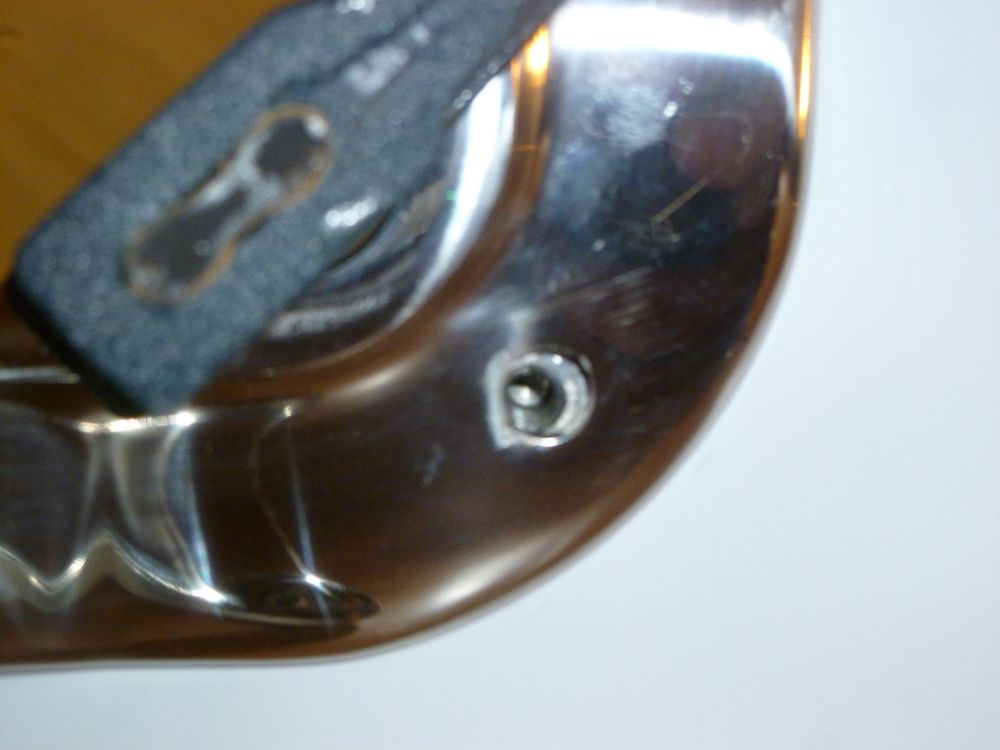
I found that it was possible to install the ports despite this manufacturing error, but that alignment of the port body was absolutely critical in relation to the trim ring, and there was pretty much only a single "sweet spot" that allowed all of the fasteners to start threading. By design, there was ample room within the port cutouts to move the port body around, but the trim ring, with its threaded stud housings protruding and designed to fit into the pre-drilled holes in the cabin side, did not allow much in the way of adjustment room. So in every case I began with a dry fit using all the fasteners to ensure that I could install each and every one despite the tight alignment. After the first port, I started using masking tape inside to mark the proper position of the port body during the dry fit, to make it easier to realign during the actual installation.
What all this meant in practice was that I found it desirable--if not necessary--to frequently confirm the alignment between the body and trim ring, so at each step of the process I test-fitted the fasteners between the two to ensure that they'd all thread in properly. These extra steps were well worth it in the end and led to successful installations, but added to the time required to install each port.
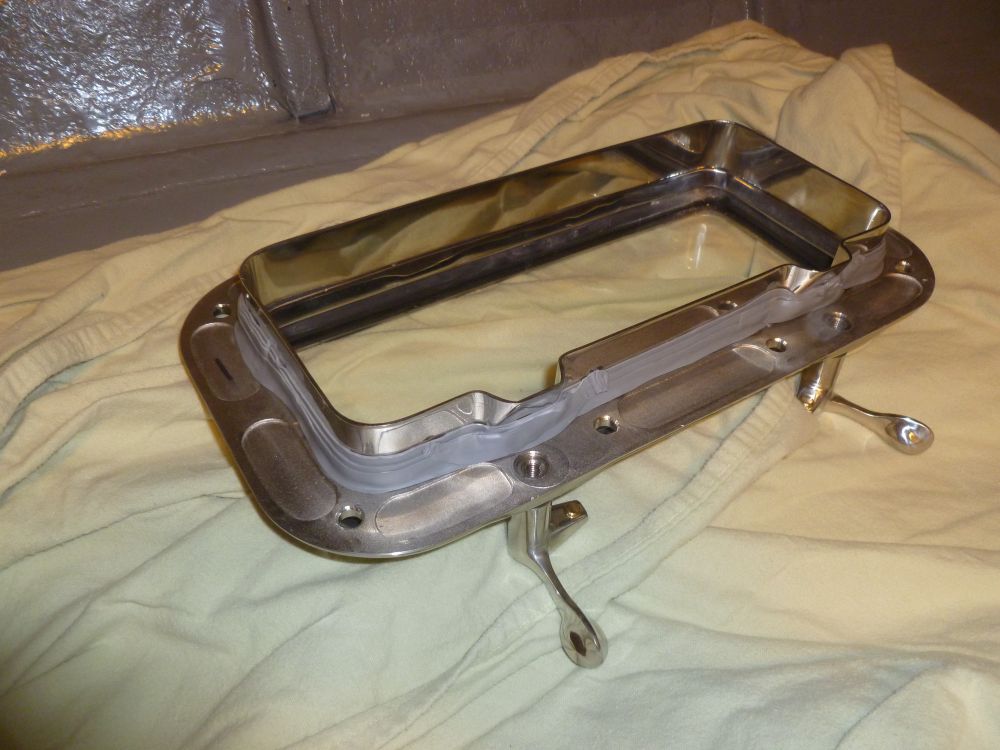
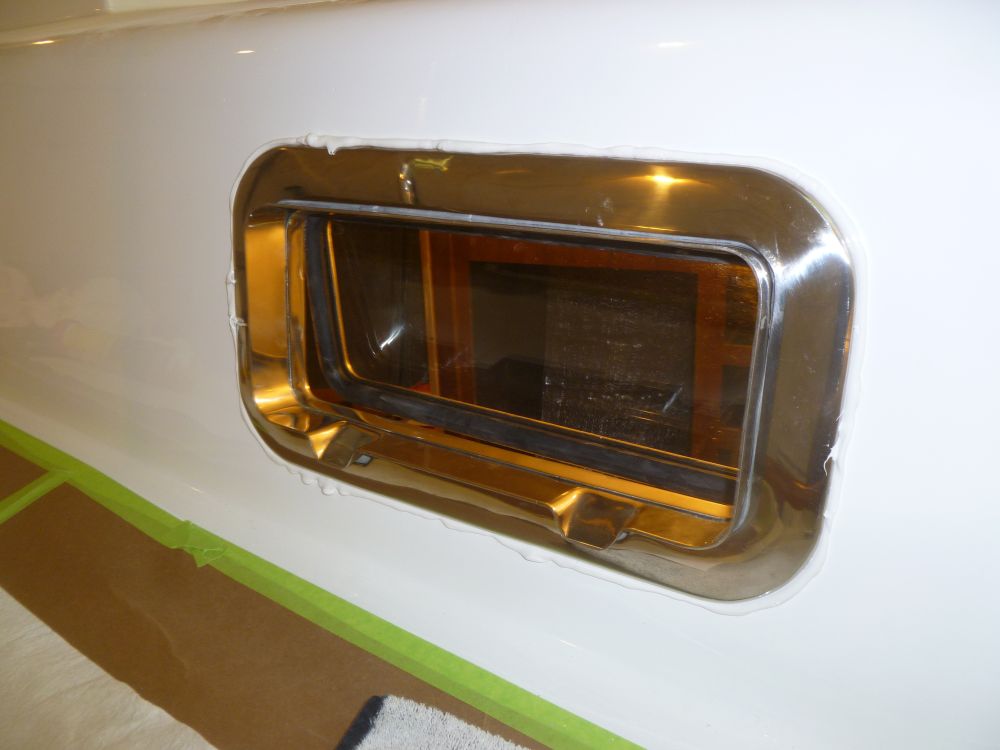
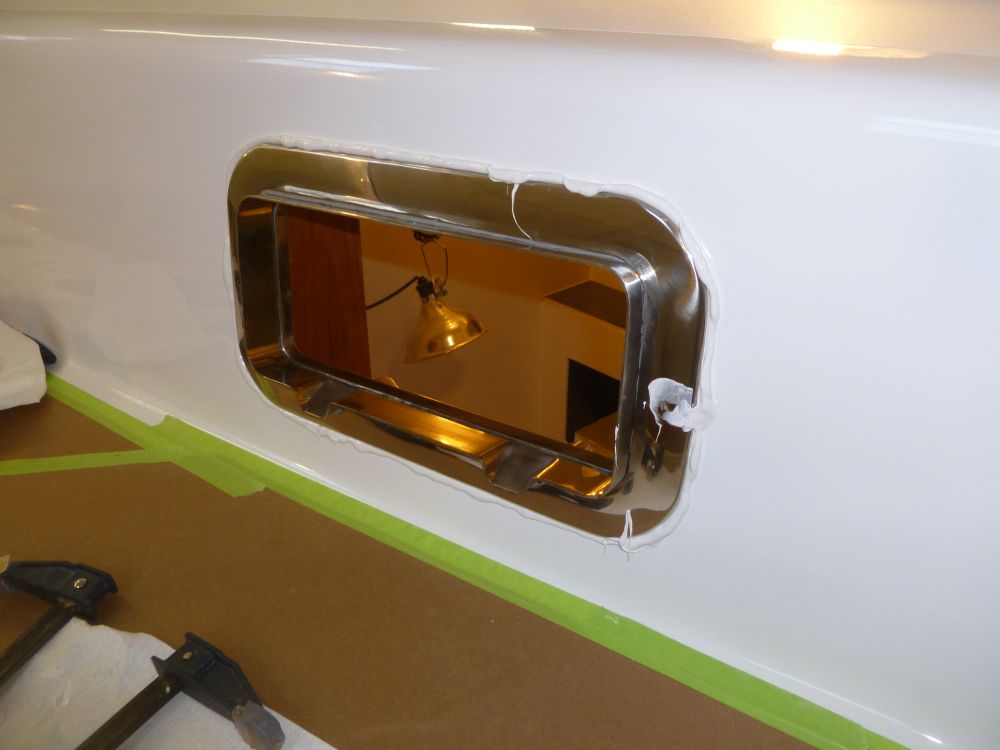
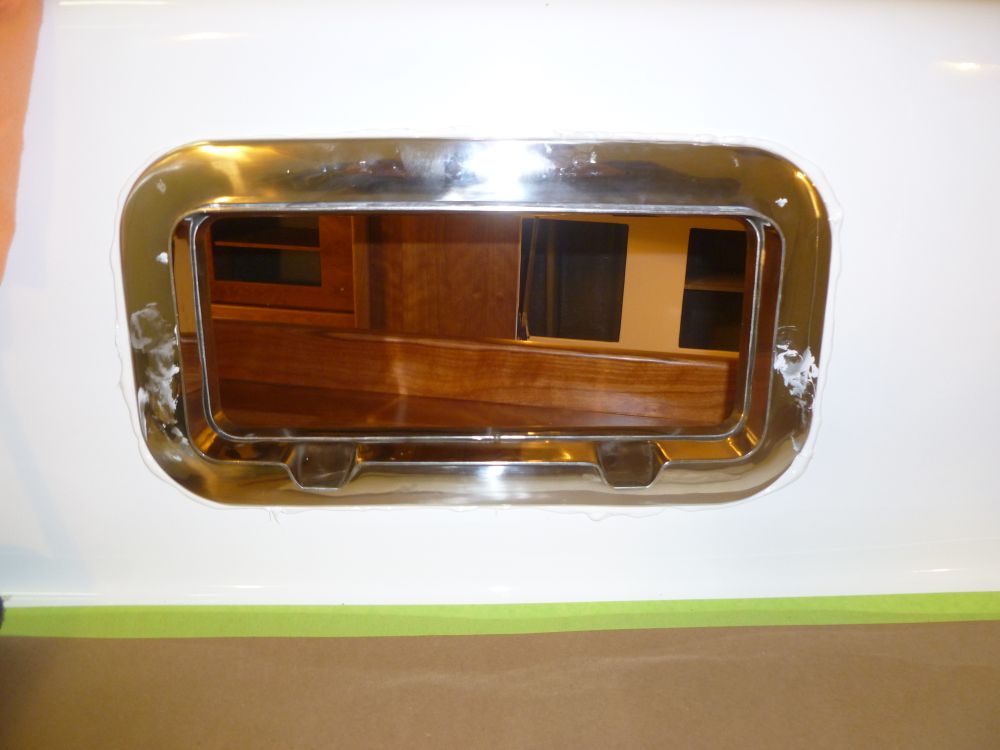
For each port, following a thorough cleaning of the mating surfaces and an initial dry fit, I began by wrapping certain amounts of flat butyl tape around the section of the spigot that would pass through the cabin trunk. I varied the amount of the butyl depending on how much of a gap the dry fit had revealed around the sides; the openings were intentionally oversized to allow for ample caulking room. The cabin side thickness was about 1/2", and the butyl tape 1/2" wide, so this wrap was the perfect amount of caulking, depth-wise.
I did not seal the inside flange of the port; the entire seal relied on the proper caulking of the opening around the spigot, and of the trim ring itself. I don't believe the inside flange of ports should be sealed so that if a leak ever does develop from the outside, it would be immediately noticeable inside, allowing one to address the problem in a timely manner rather than allowing water to enter the opening but have nowhere to go. I pre-wrapped the spigot to make the caulking process easier, but in all cases didn't dry to overdo it, and performed the bulk of the work from outside, once I'd clamped the partially-caulked body in place.
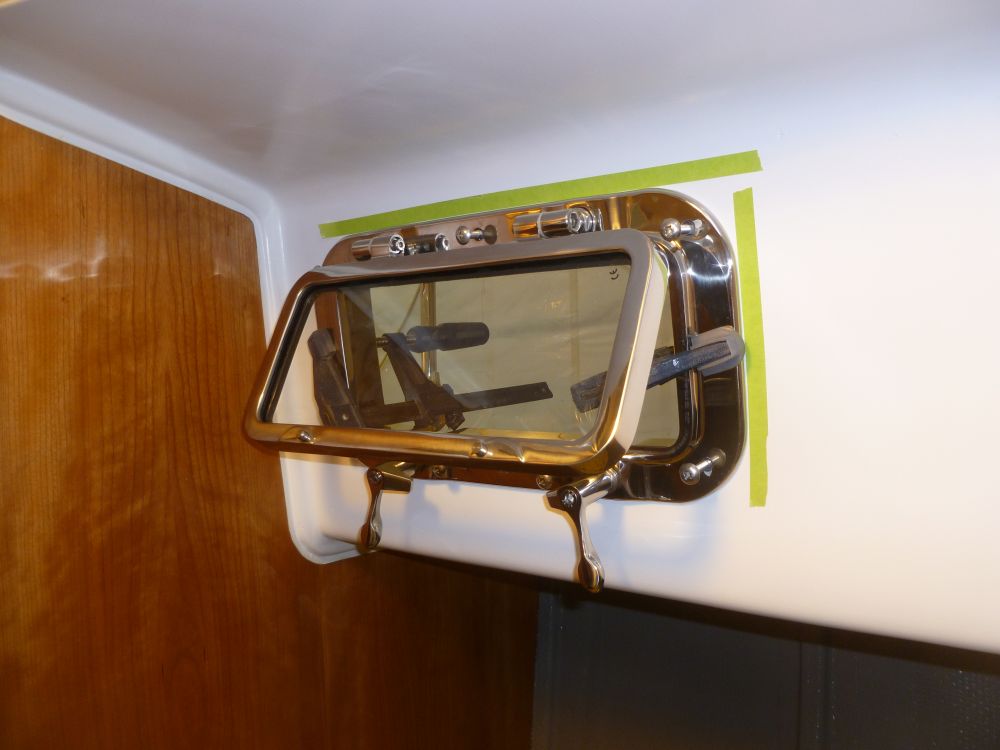
From outside, I first test-fit the trim rings and checked the fastener alignment--dry-fitting all of the fasteners, since at this point, before completing the caulking, I had the final realistic opportunity to move things around. Once I was satisfied, I removed the trim rings and, with the port clamped securely, packed the remaining spaces with more of the butyl tape, pressing it in tightly and completely by hand and with a couple self-proprietary tools to help, leaving a bit of a bead on the outside to seat the inside edge of the trim ring later.
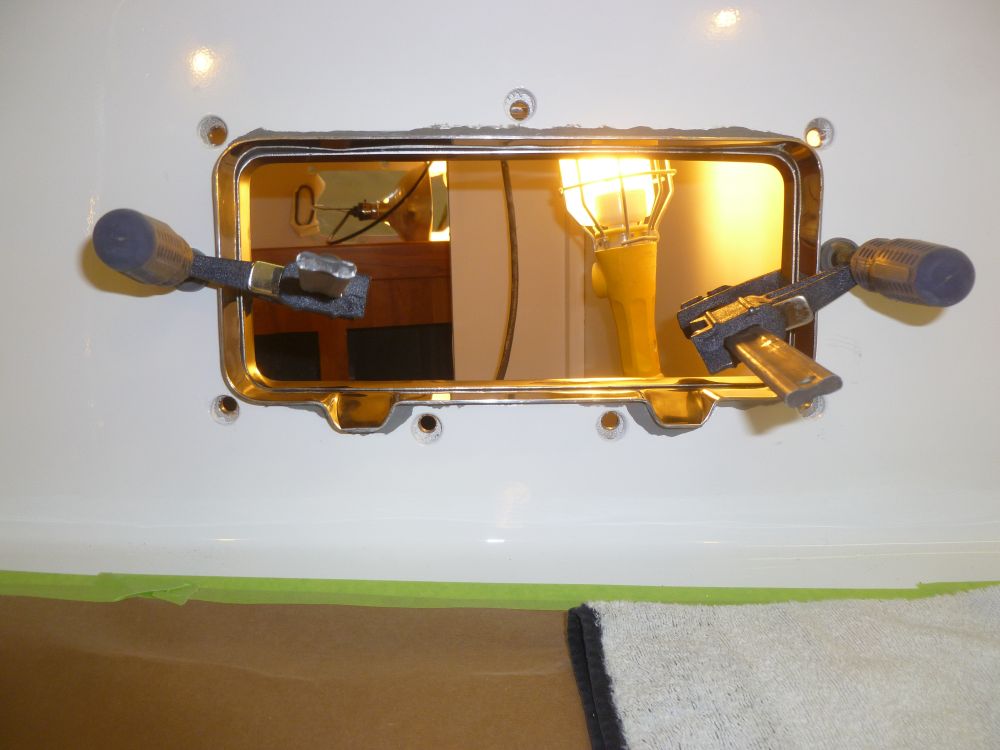
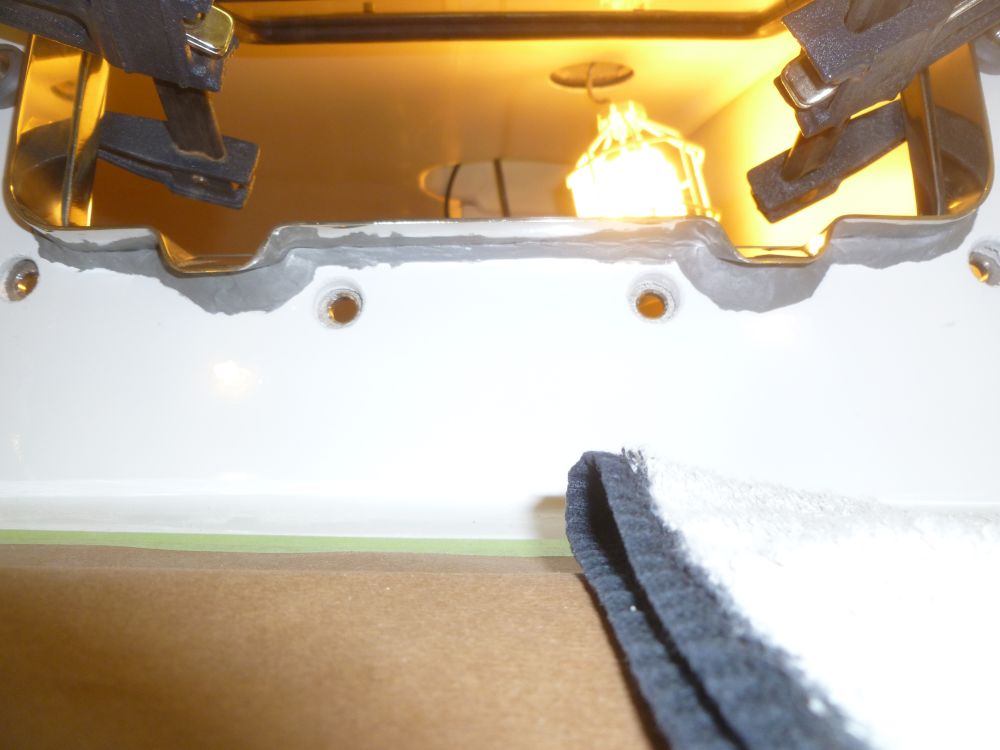
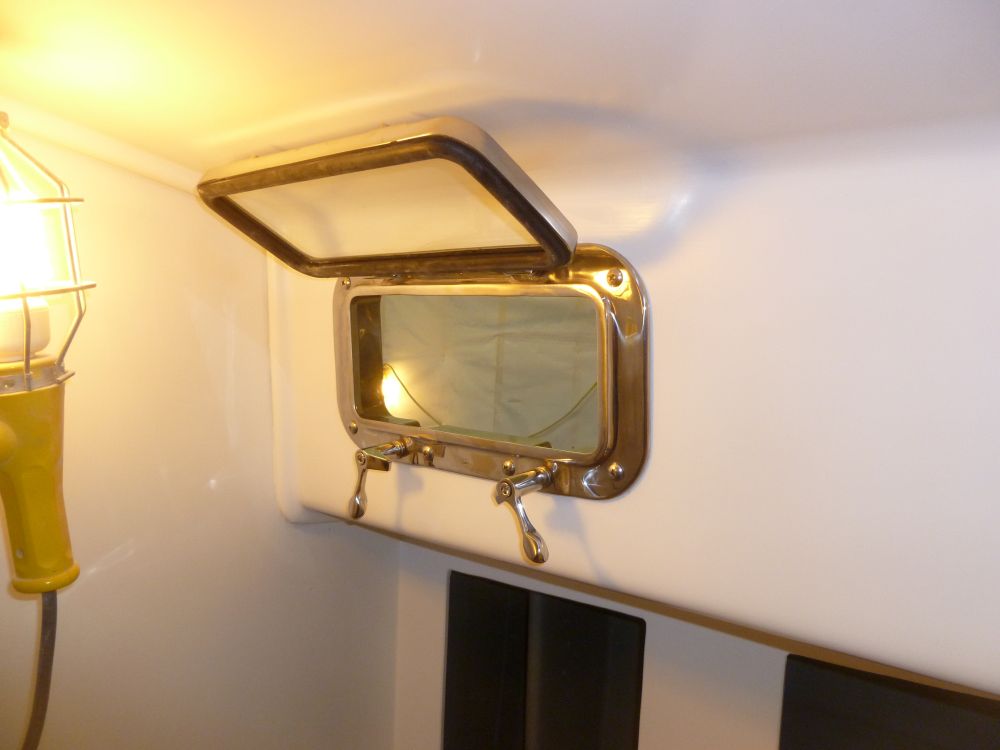
At this stage, the port was held in place by the butyl, so I could remove the clamps and test-fit the trim ring loosely so I could go inside and test the fasteners. In each case, I installed all fasteners, using the overlong ones just to check the thread alignment. I still had a chance to make minor adjustments if needed here.
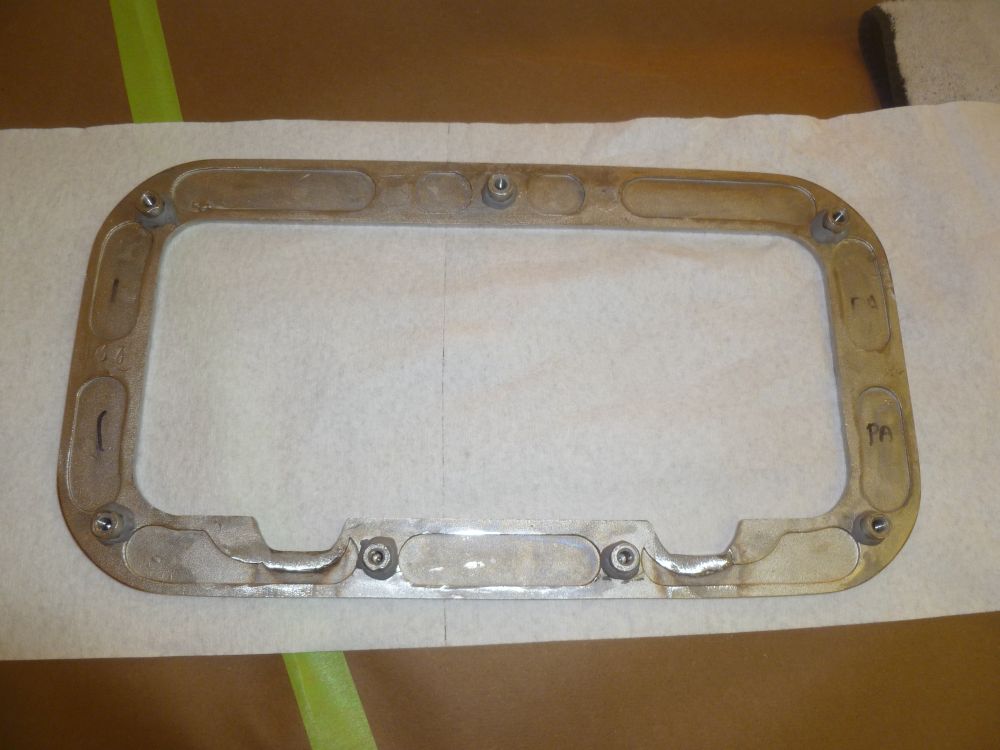
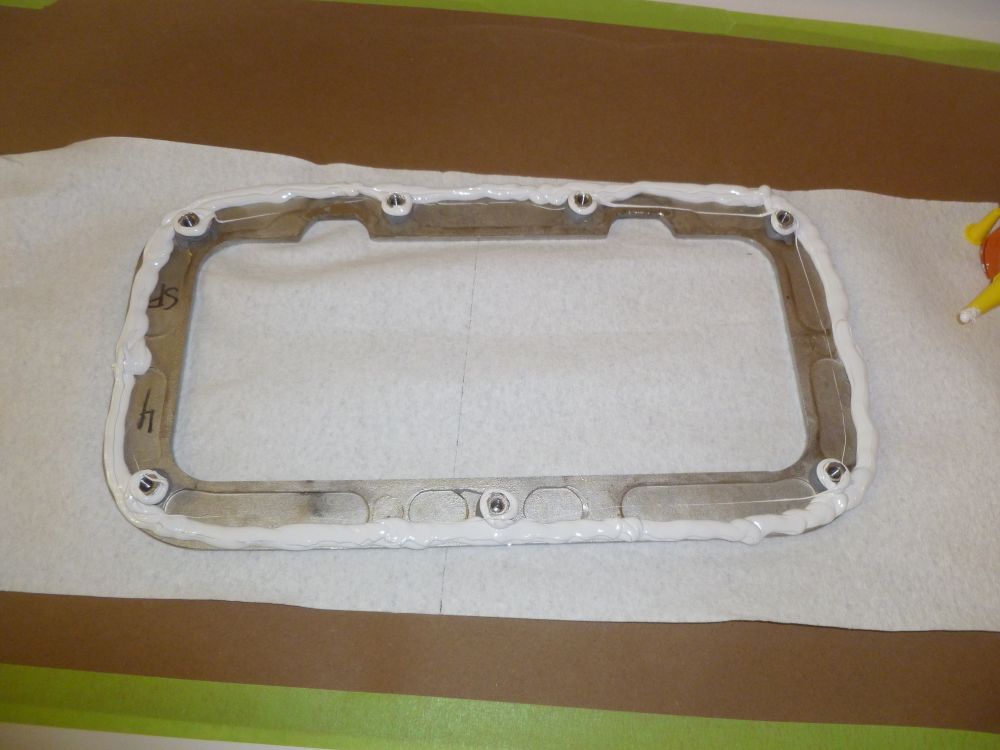
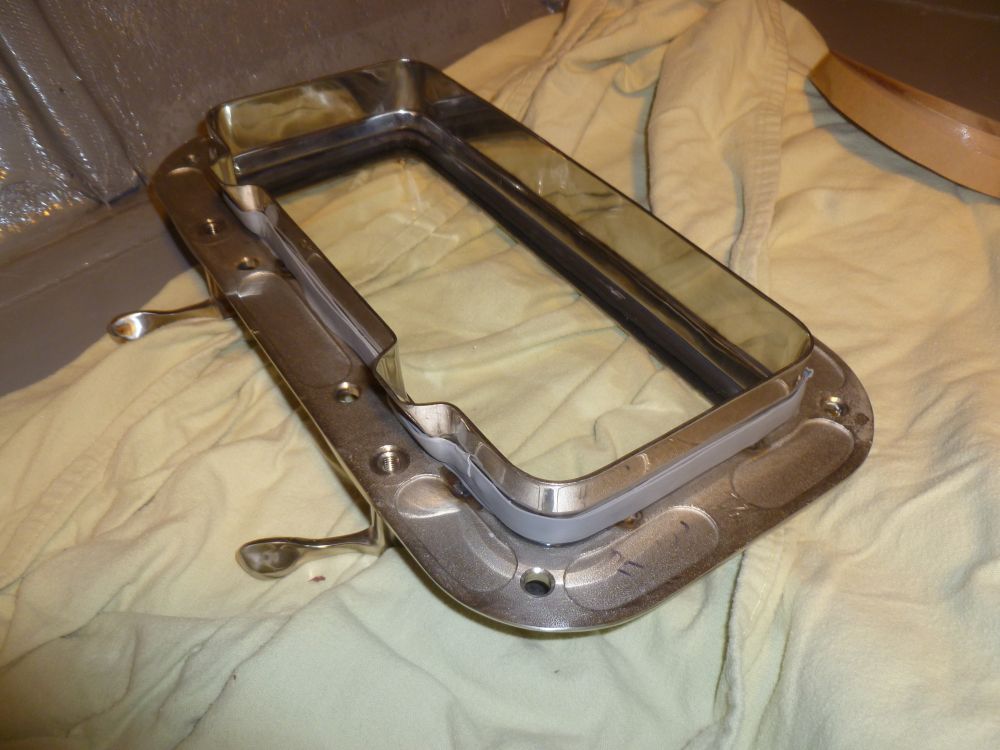
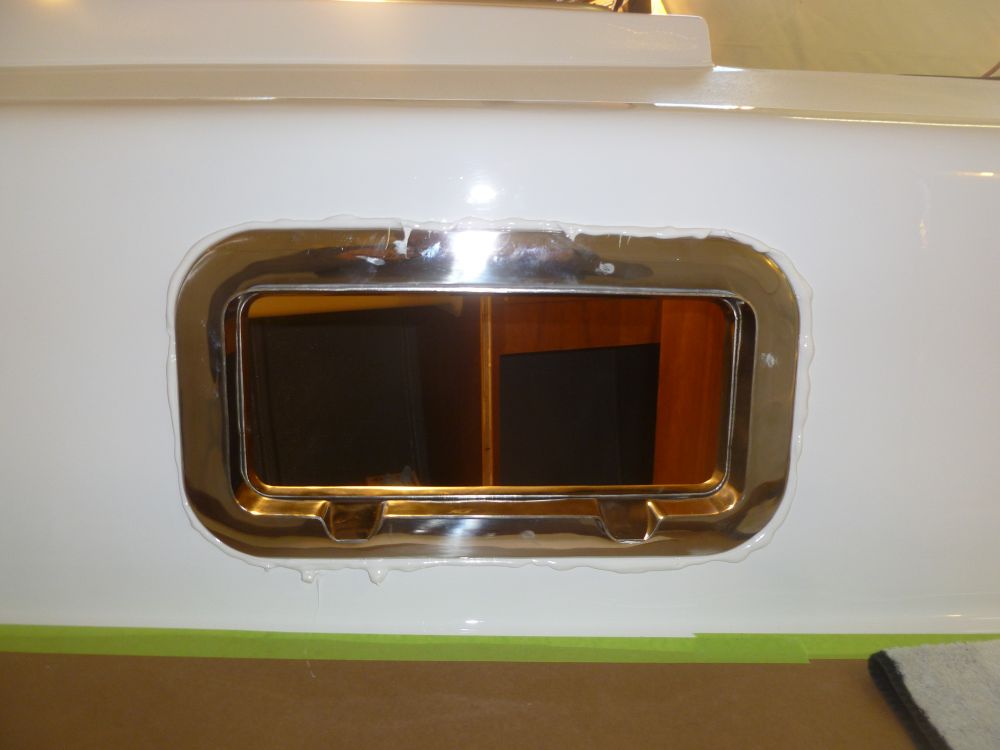
That complete, I prepared the trim ring for final installation by installing a small bead of butyl caulk around the base of the mounting studs, then applying a bead of polysulfide sealant around the outer edge of the trim ring, as well as a small amount around the mounting studs above the butyl. With proper amounts of sealant on the outer edge of the trim ring, and proper amounts of butyl on the spigots, I got ample squeezeout without the two substances comingling in a messy and inappropriate way.
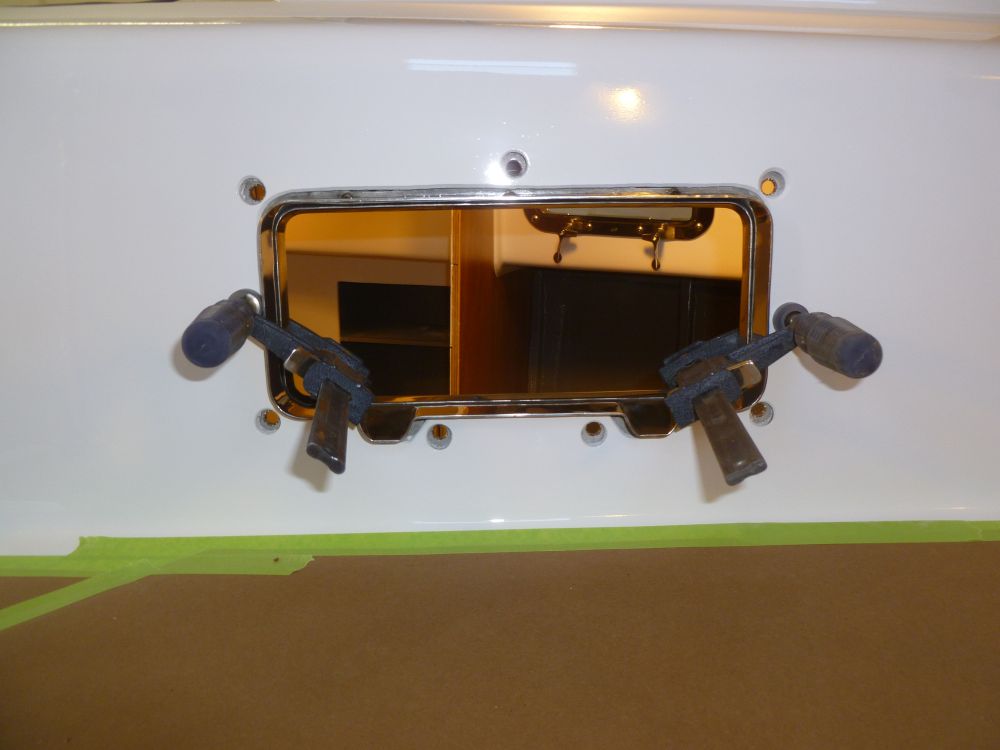
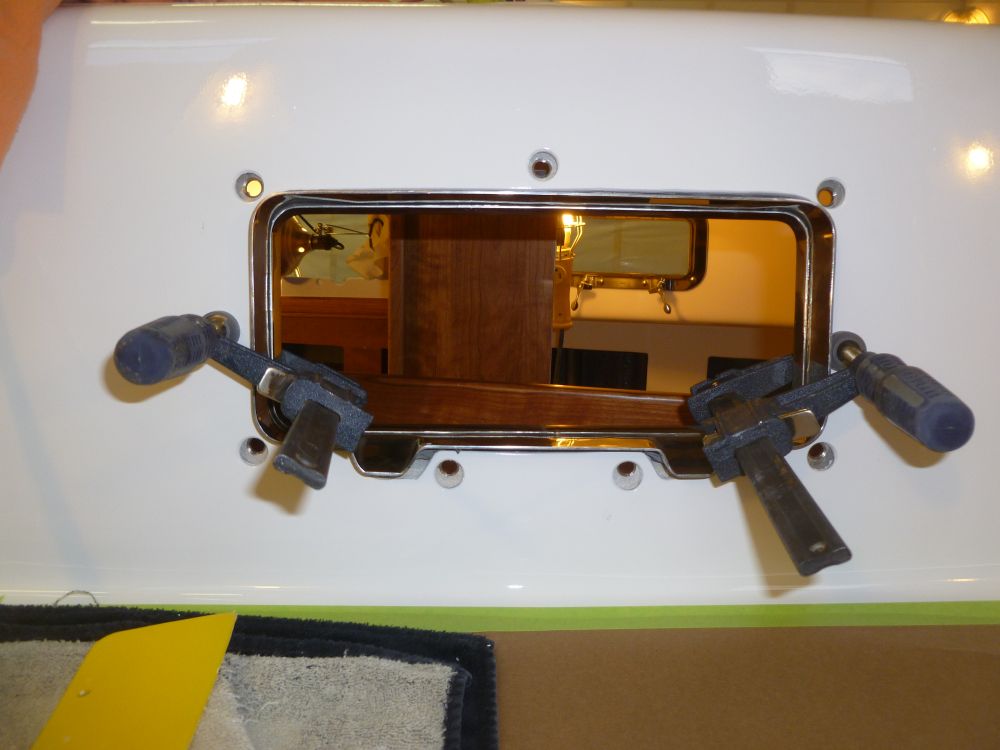
I installed the trim ring from outside, using a couple clamps to hold it temporarily, then went inside to install the fasteners. I applied a bit of Tef-Gel to the threads and head of each fastener to ease installation and avoid galling, and started all of the fasteners in their threads before tightening any down. With all the fasteners loosely in place, I used the clamps to crank the trim ring into place, then tightened all the screws securely before cleaning up the sealant and butyl squeezeout.
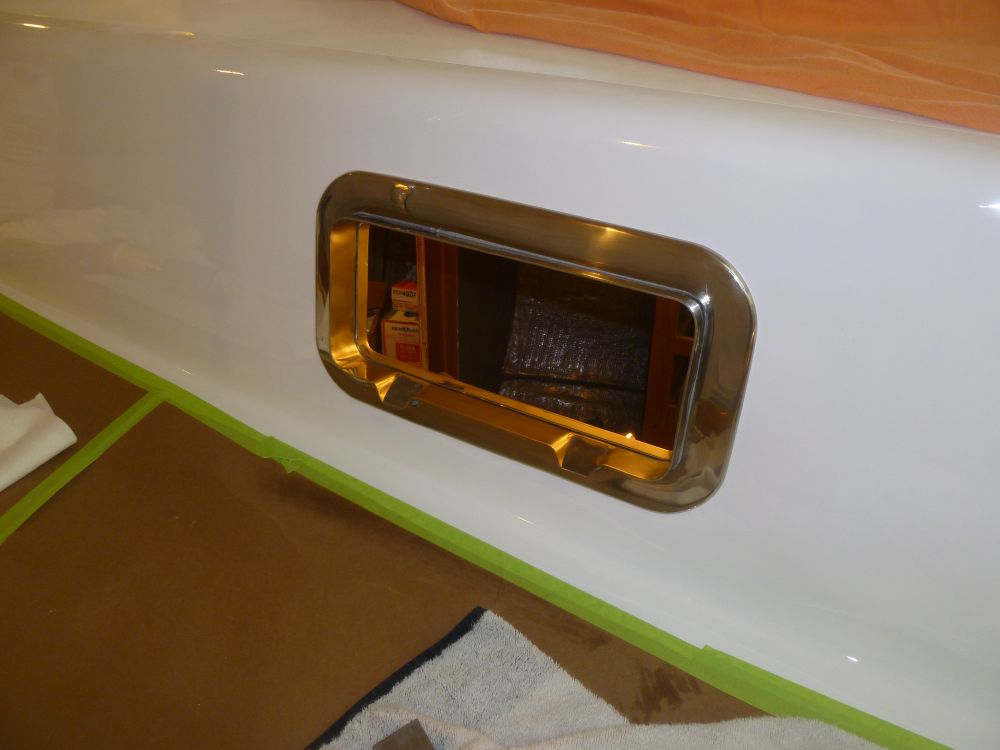

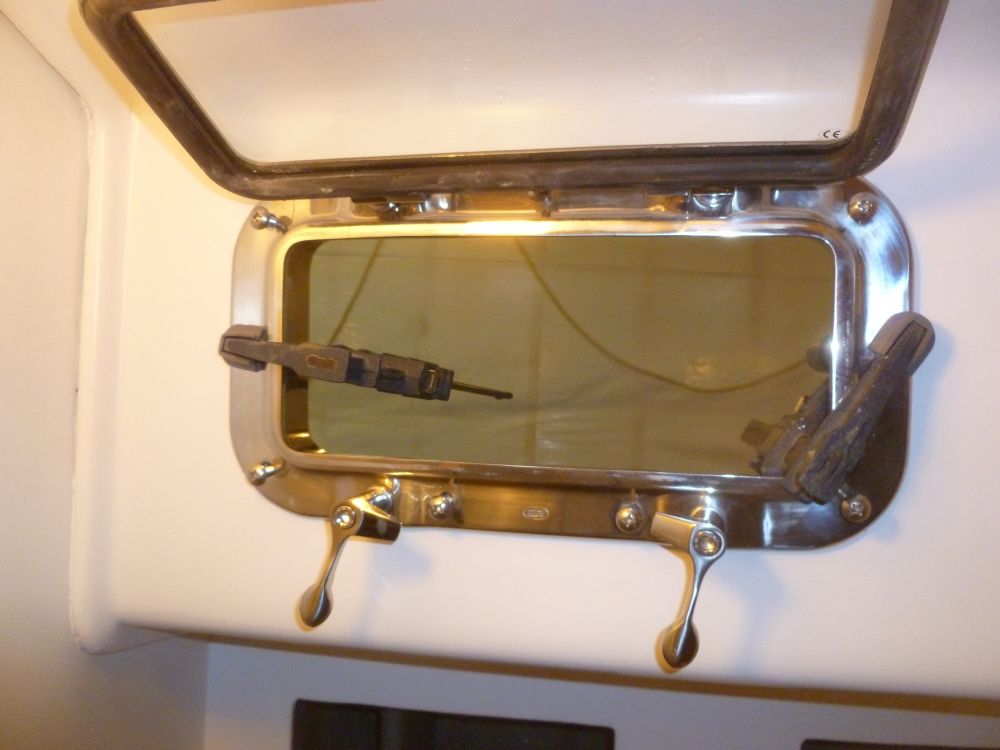
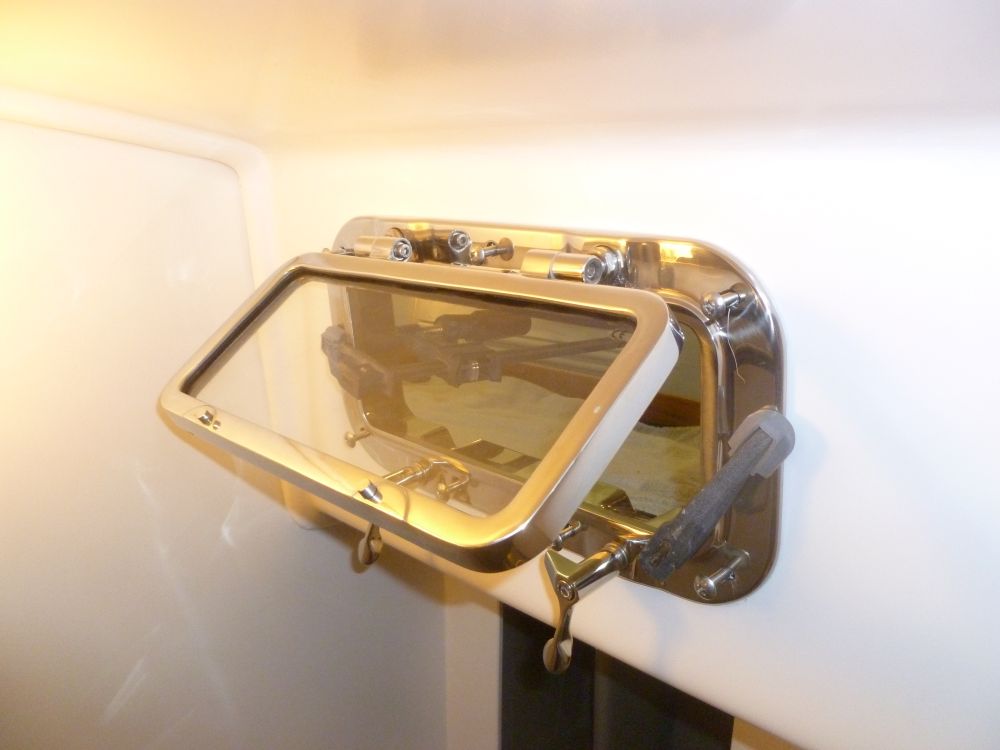
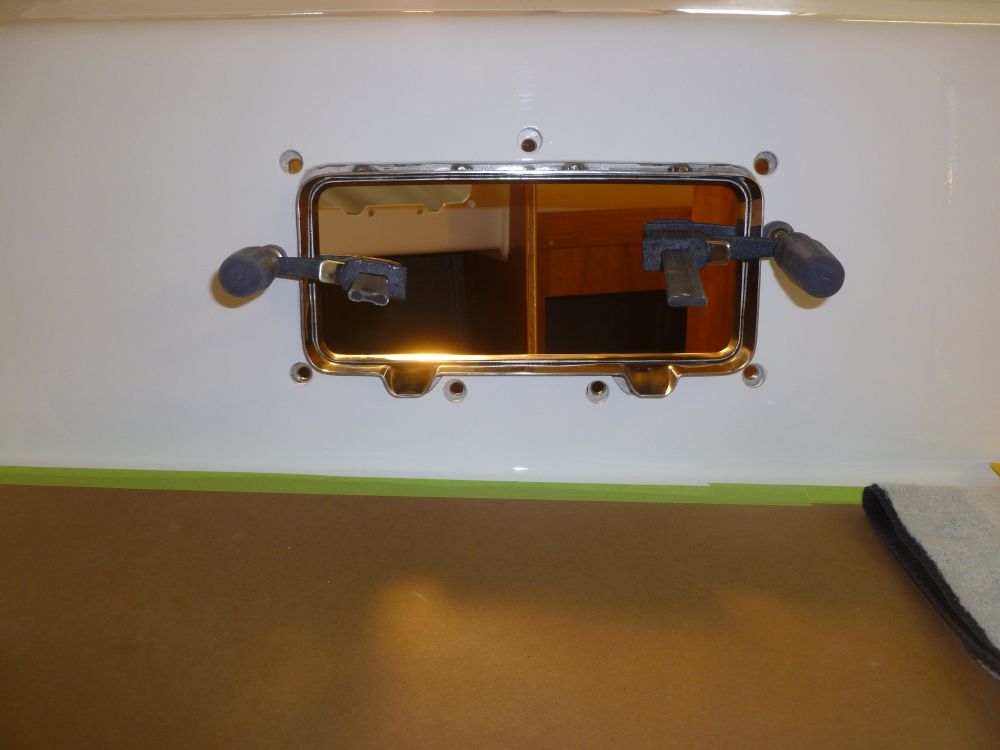
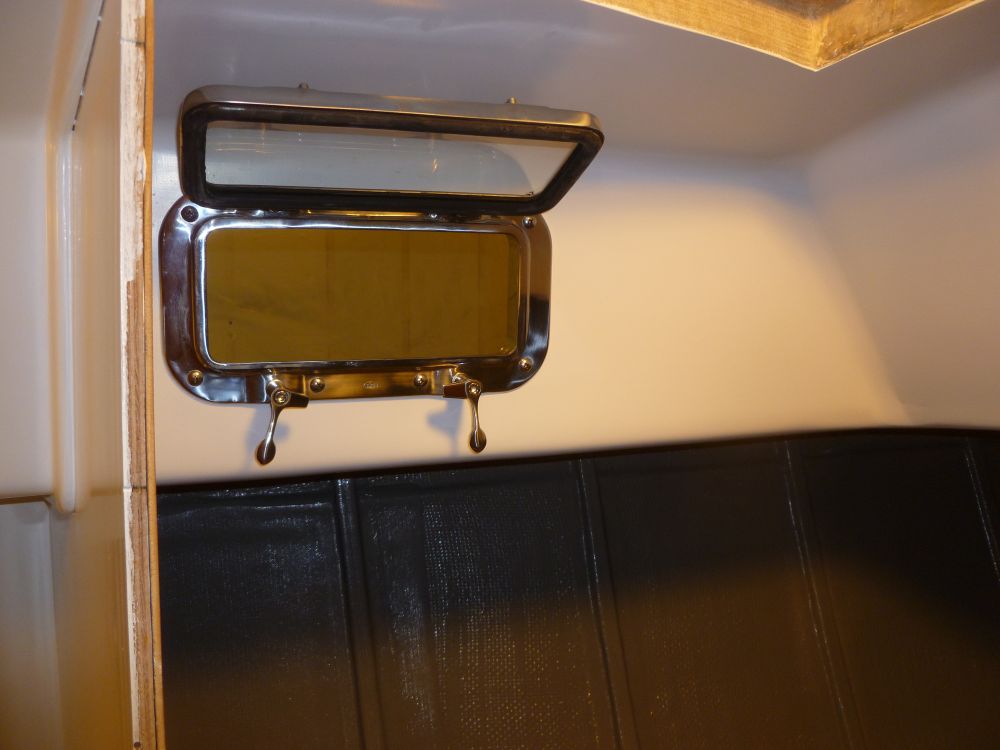
Port Forward:
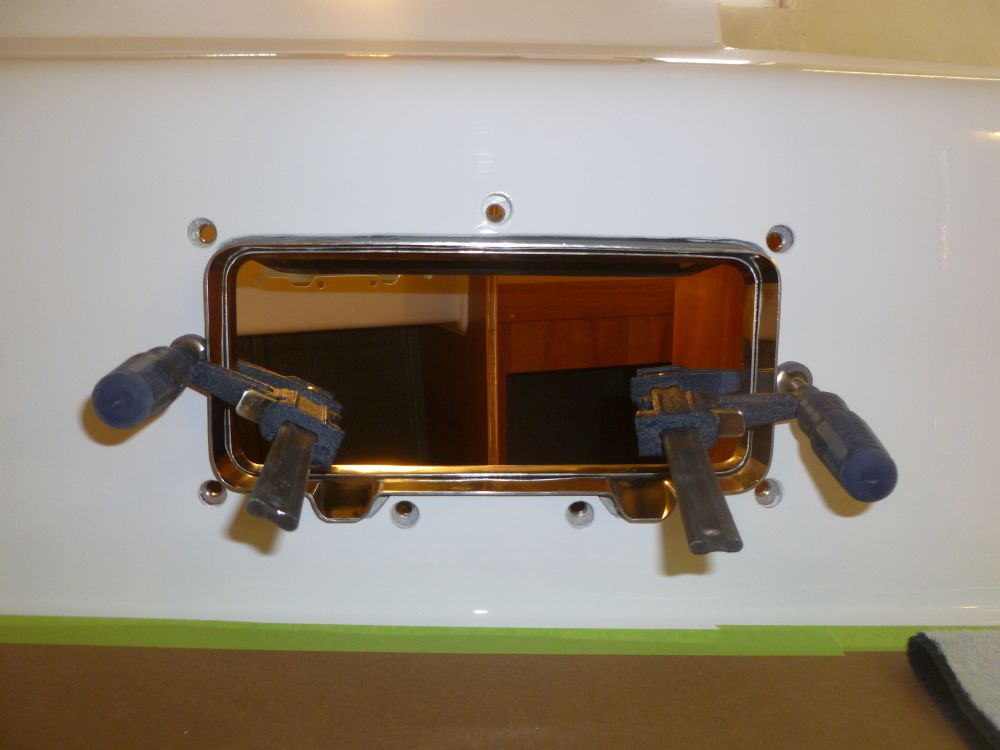
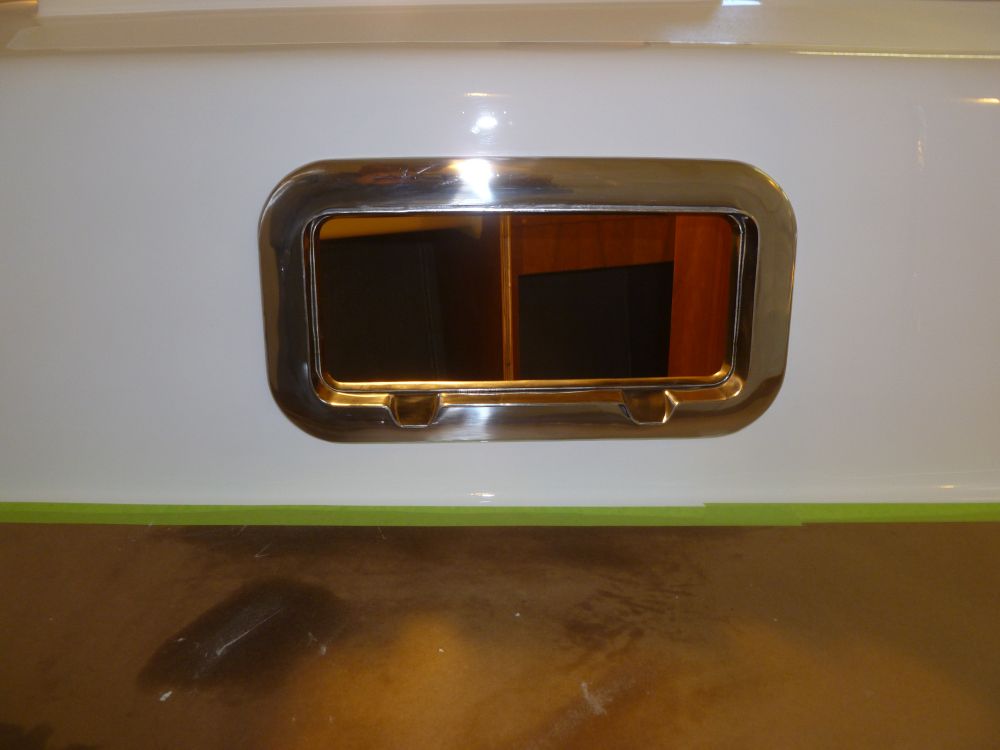
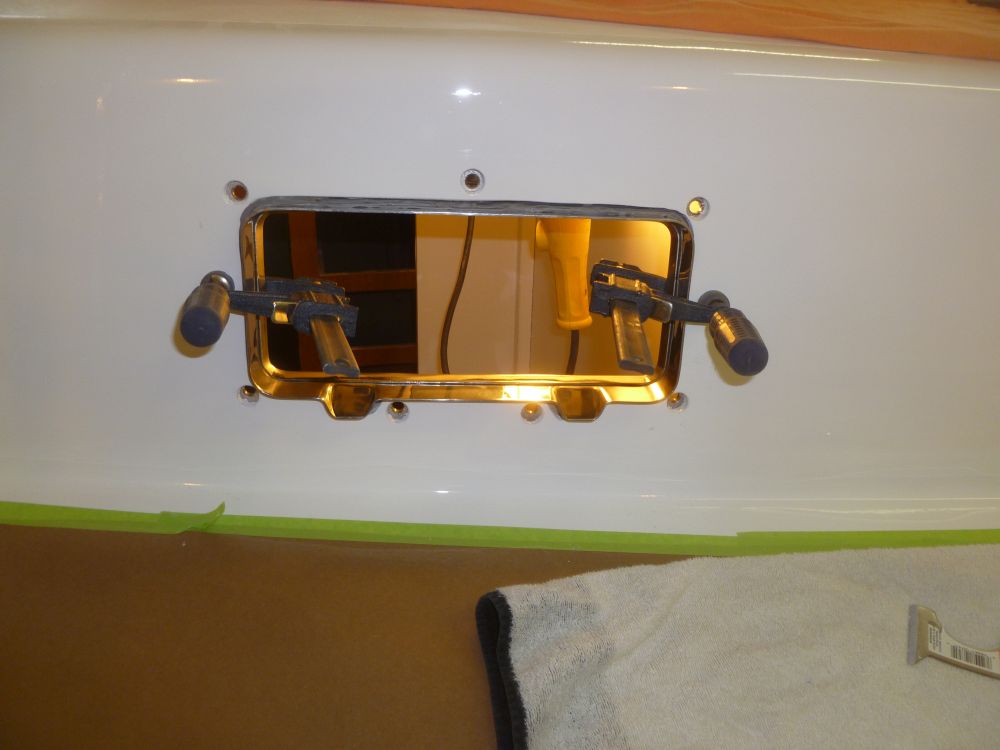
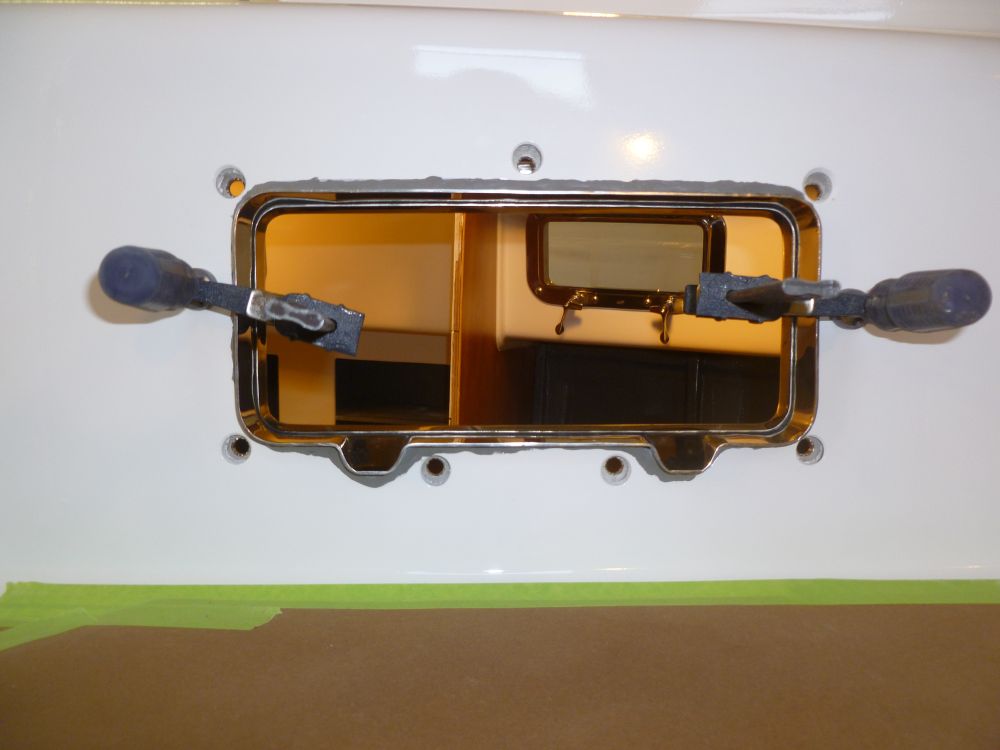
Starboard Forward:
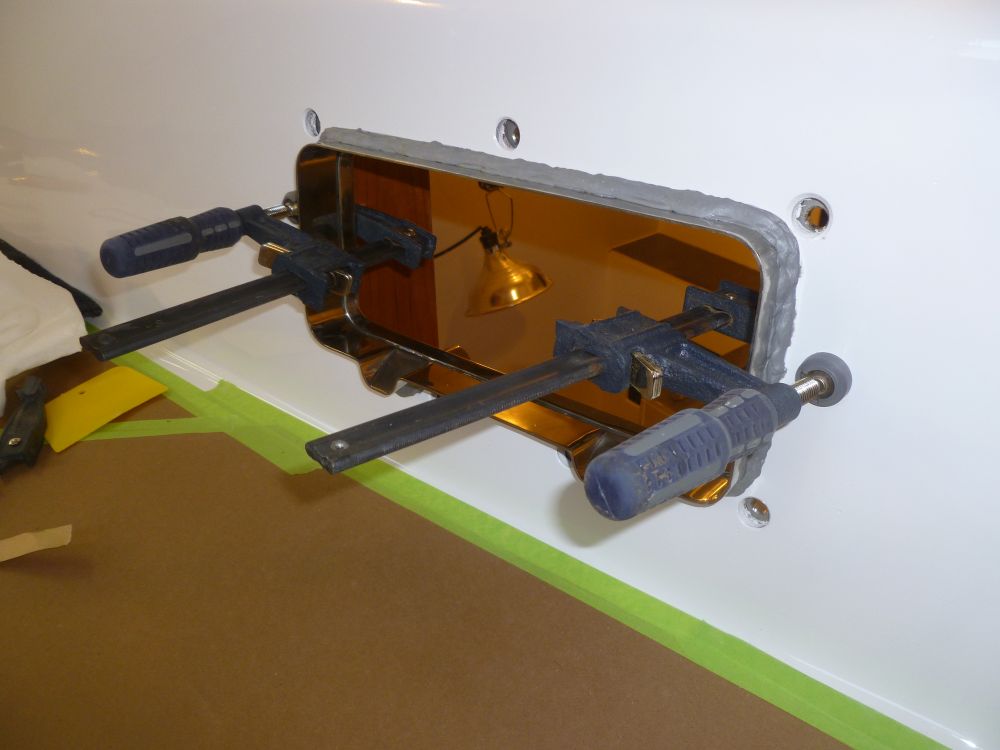
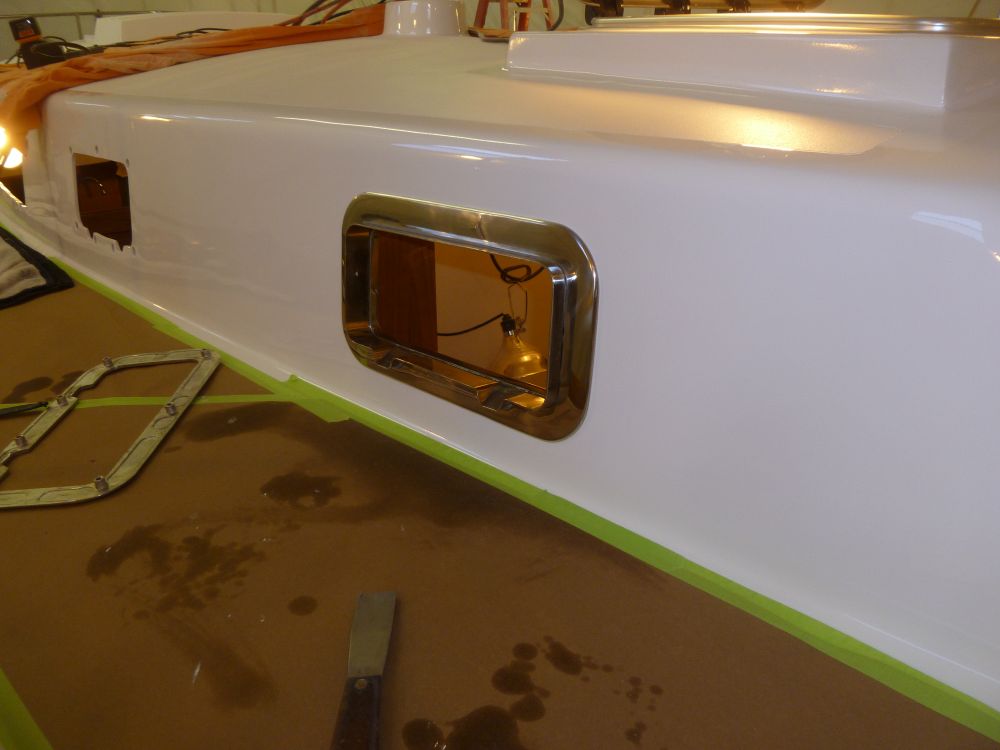
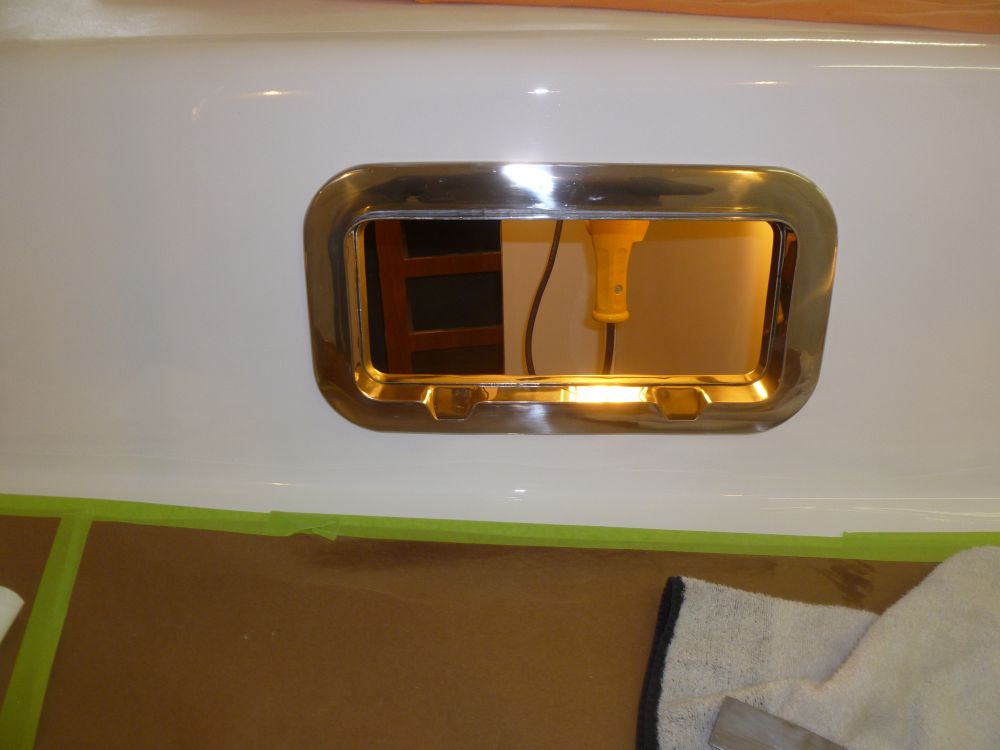
Starboard Aft:

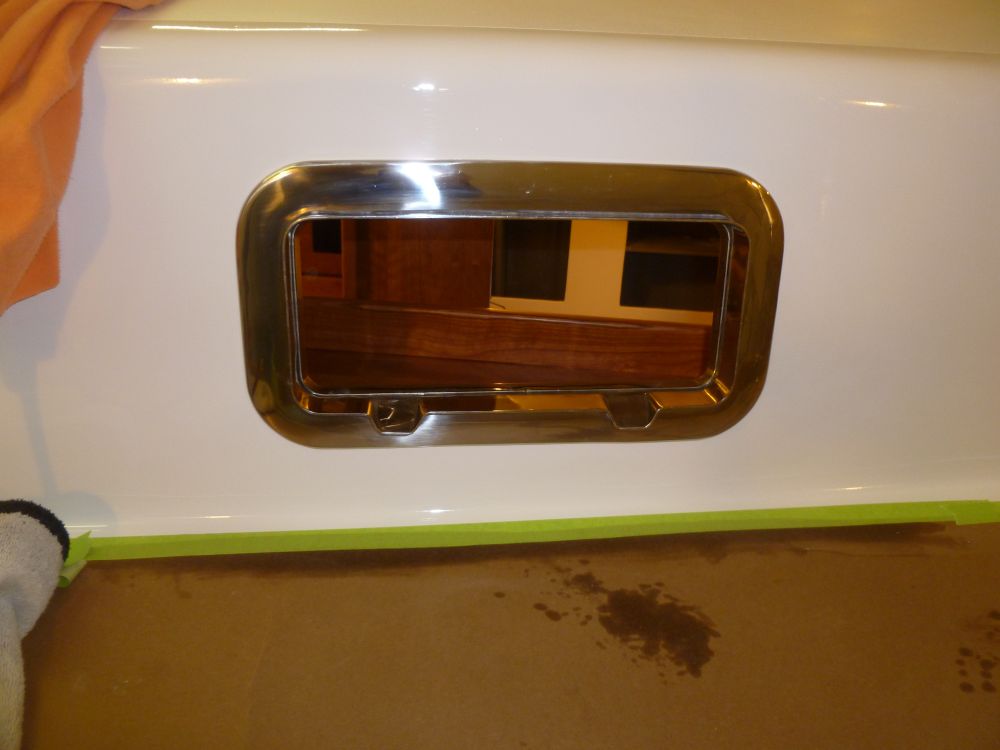
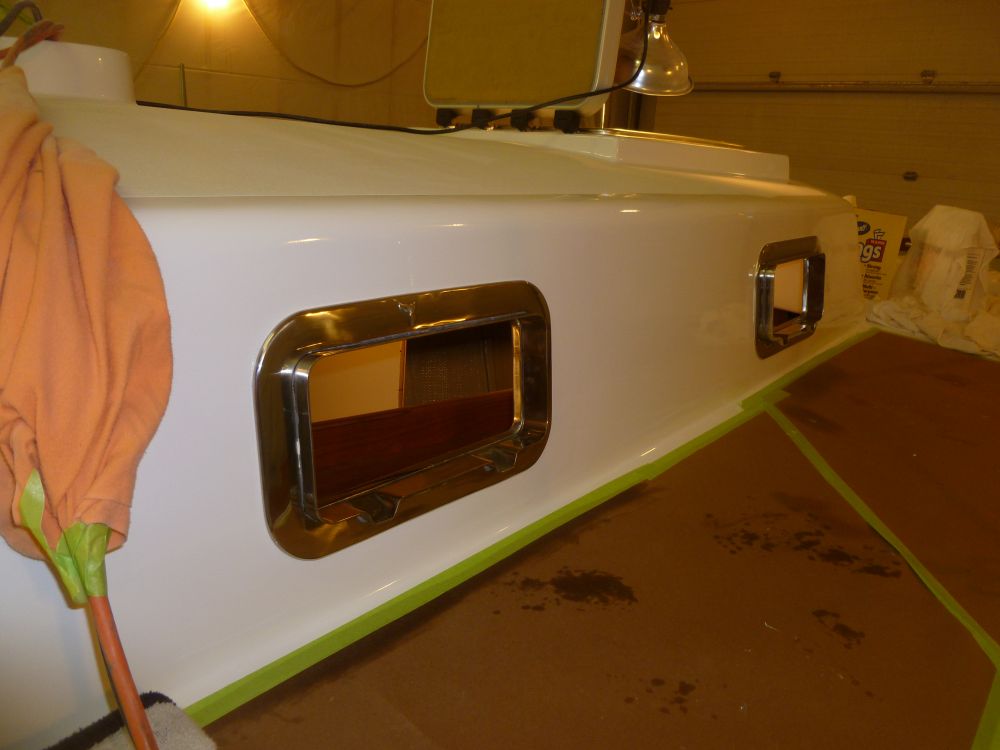
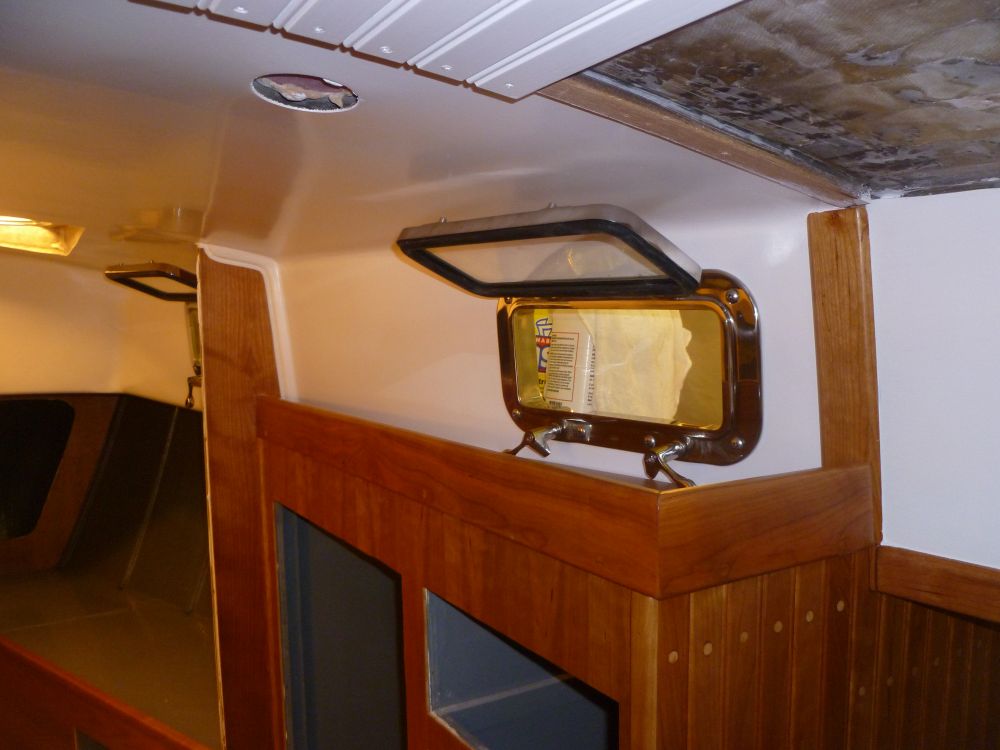
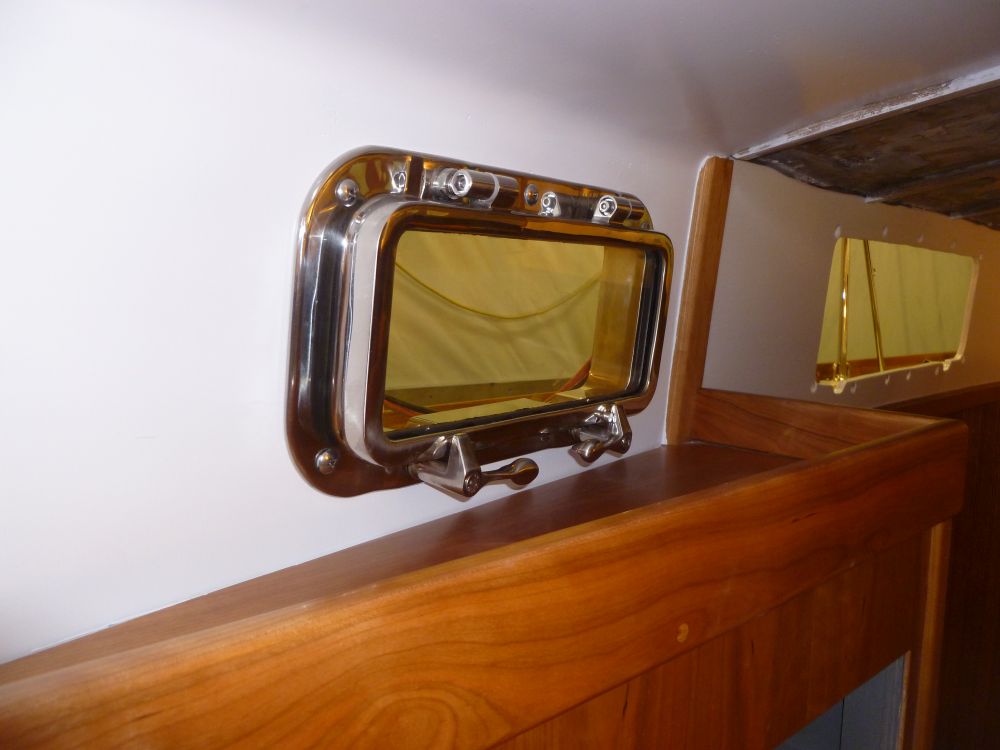
I was pleased overall with the process, and with the appearance of the ports.
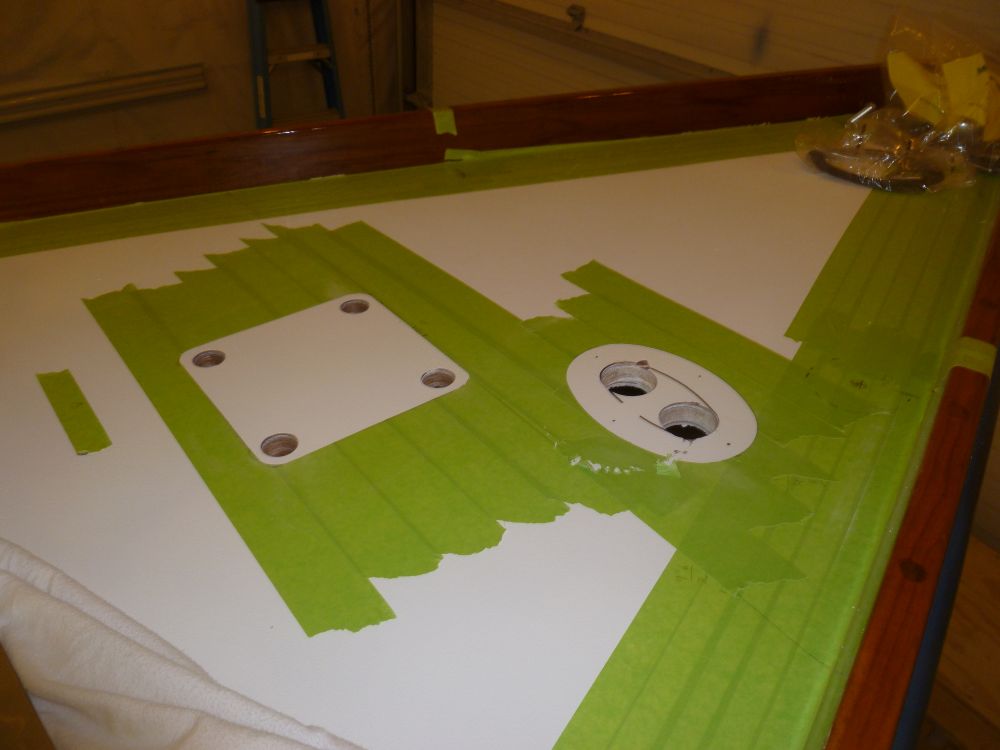
Sometime during the day, I found a few minutes to start to prepare the fastener holes for the forward mooring bitt and chain pipe. I thought I'd get back to this later in the day to complete the cutout for the chain pipe and fill the openings with epoxy, but I didn't manage to get that far.
Total Time on This Job Today: 8.5 hours
