110 Cookson Lane | Whitefield, ME 04353 | 207-232-7600 | tim@lackeysailing.com
Snow Lily | Monday, January 21, 2013
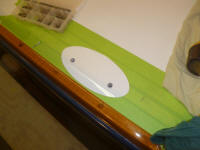
Over the weekend, I applied a second coat of paint to the berth tops. With those areas complete, I could install the small access hatches in the port settee top.
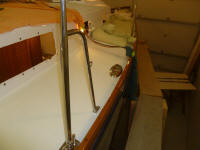
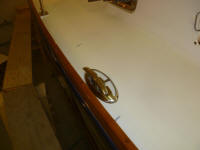
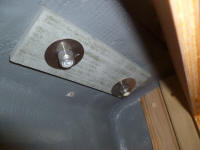
I spent the bulk of the day installing the 10 stanchions. In each case, I marked and prepared holes tapped for 1/4-20 fasteners, milled small countersinks at the top of the hole, and installed the base wedges and bases in plenty of sealant. Belowdecks, I installed fiberglass backing plates and large washers (in the quarterberth, where the backing plte was visible, I pre-painted the backing plate).
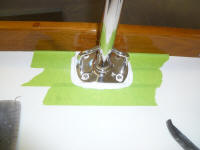
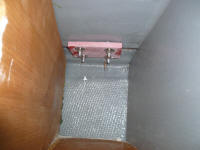
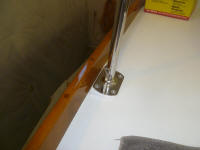
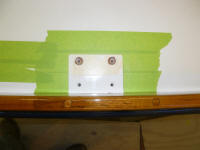
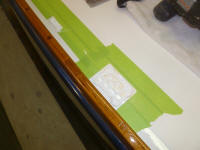
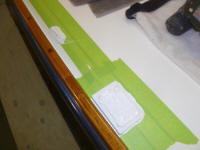
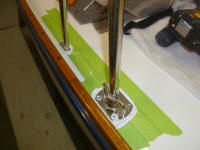
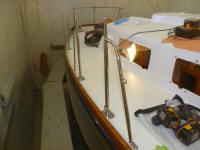
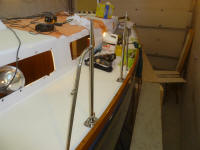
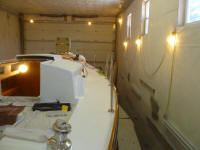
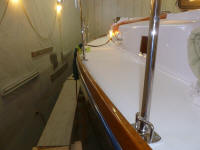
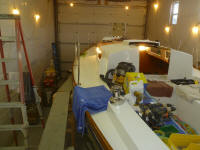
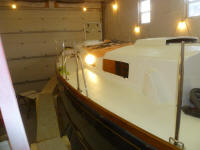
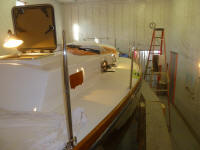
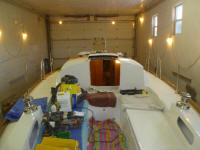
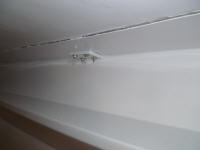
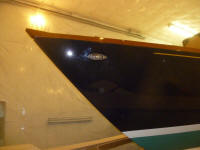
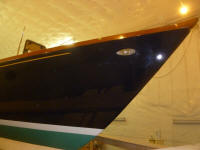
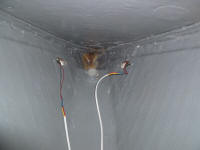
Once I'd completed the stanchion installation, I installed the bow lights in their newly-prepared holes, installing them with machine screws into tapped holes with sealant. I made life a little easier for myself by preinstalling lengths of wire to the short leads on each light, so I could later connect them to the ship's wiring harness.
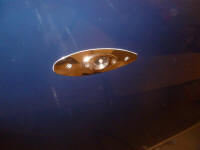
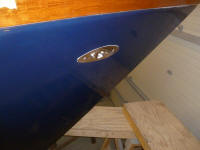
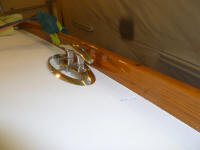
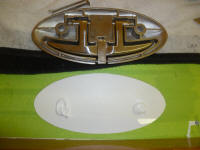
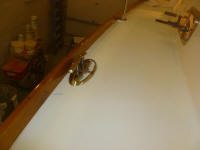
Next, I installed the two folding breast cleats, having decided upon their final location. I prepared the locations by drilling and tapping the decks and backing plates for 1/2-13 machine screws. This location was in the area of the extended hull flange in way of the chainplates, so the fasteners passed through a solid fiberglass portion of the deck, then through the reinforced hull flange beneath.
The design of the base of the cleat was relatively open and hollow, with small flat areas surrounding each fastener location. This, coupled with the need to avoid excess sealant getting into the spring and hinge mechanism--and the ability for the cleat pocket to drain, meant that I had to keep the sealant relatively isolated to the fastener locations. Still, I applied as much as I could around each hole, and into the holes themselves, before bolting down the cleats with backing plates and large washers.
Total Time on This Job Today: 9 hours
