
110 Cookson Lane | Whitefield, ME 04353 | 207-232-7600 | tim@lackeysailing.com
Snow Lily | Thursday, January 24, 2013
Once more, I sanded and revarnished the outboard side of the coamings, looking to build up sufficient varnish on the areas that would be hidden against the molded cockpit sides after installation.
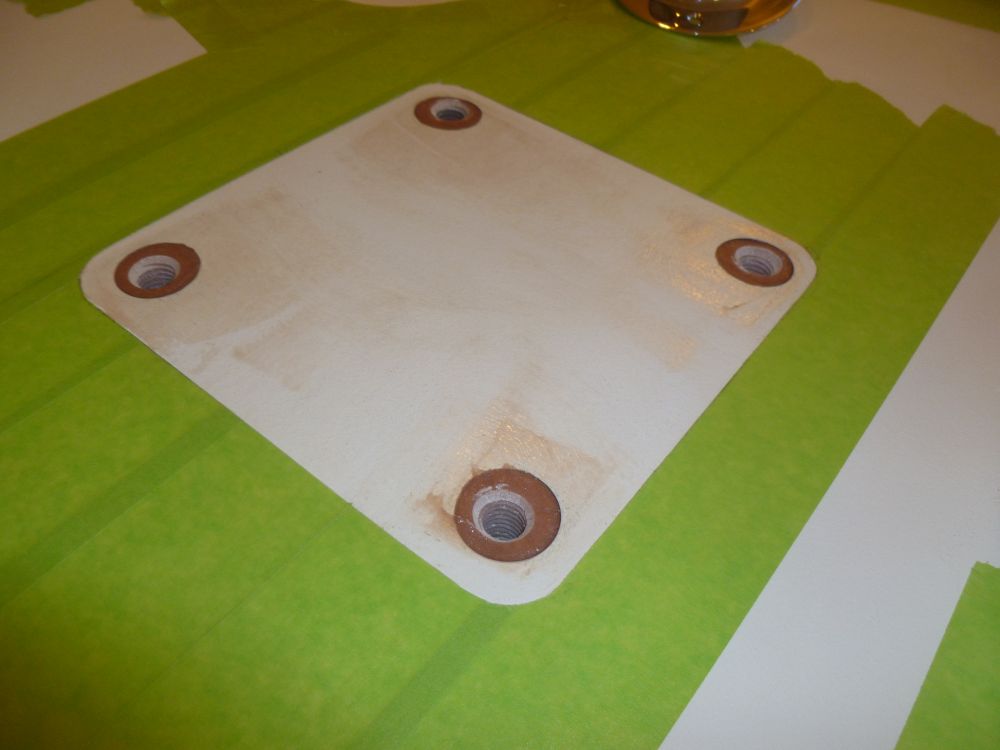
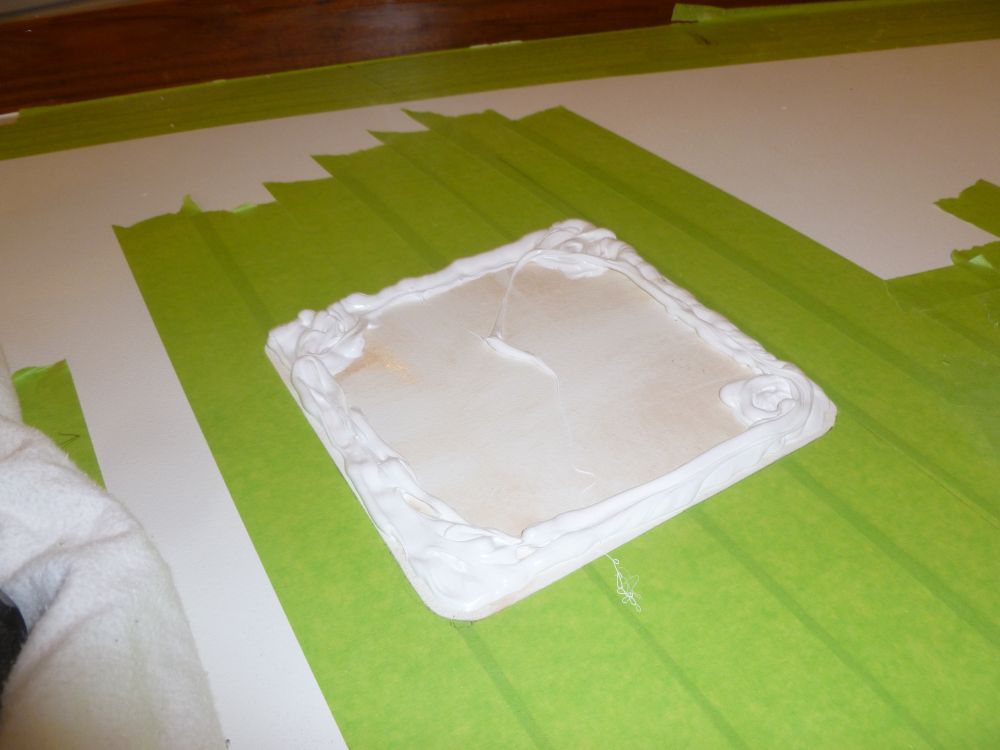
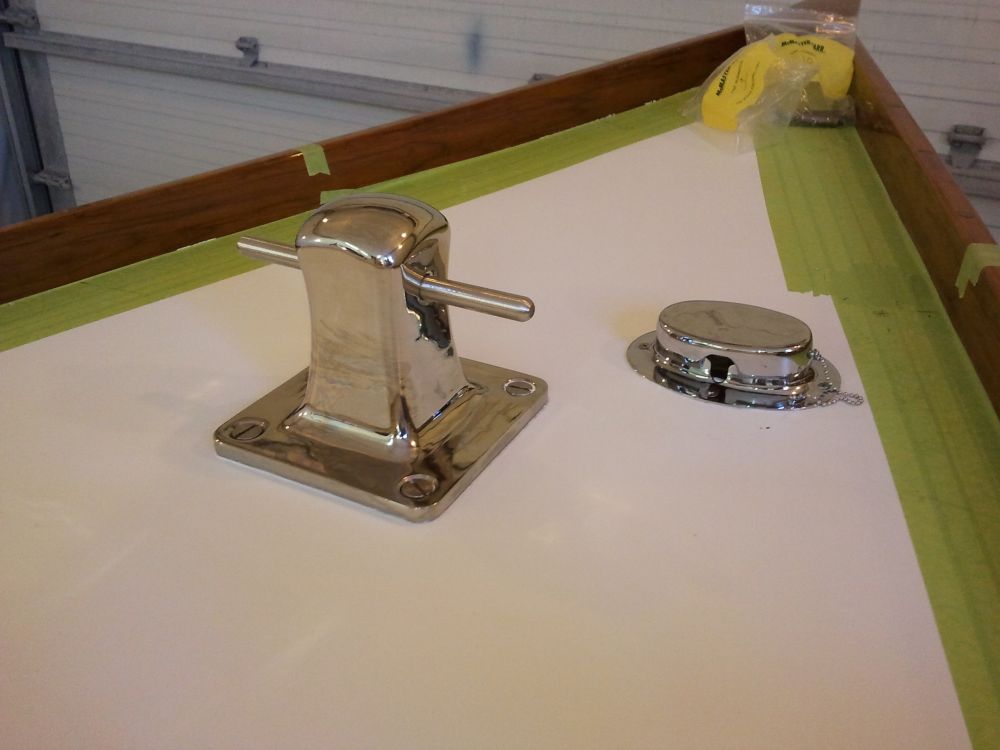
Continuing on the foredeck, I prepared the fastener holes for the mooring bitt and chain pipe, now that the epoxy I'd applied earlier was cured sufficiently. At each location, I marked and drilled screw holes, which I then tapped for the appropriate threads (1/2-13 for the mooring bit, #10 for the chain pipe).
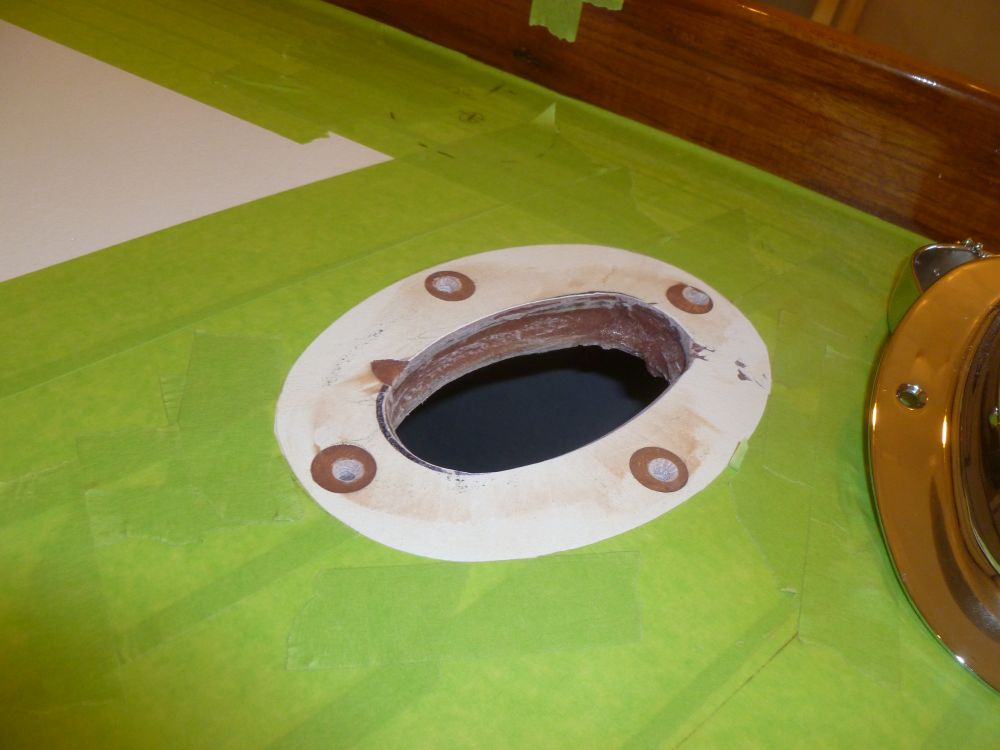
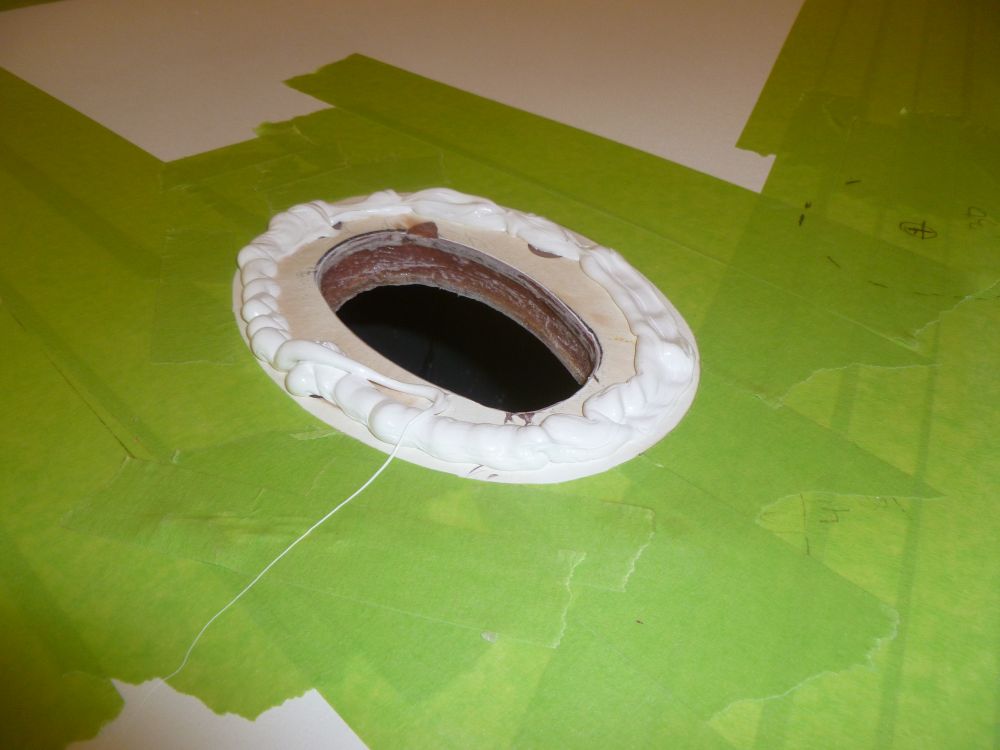
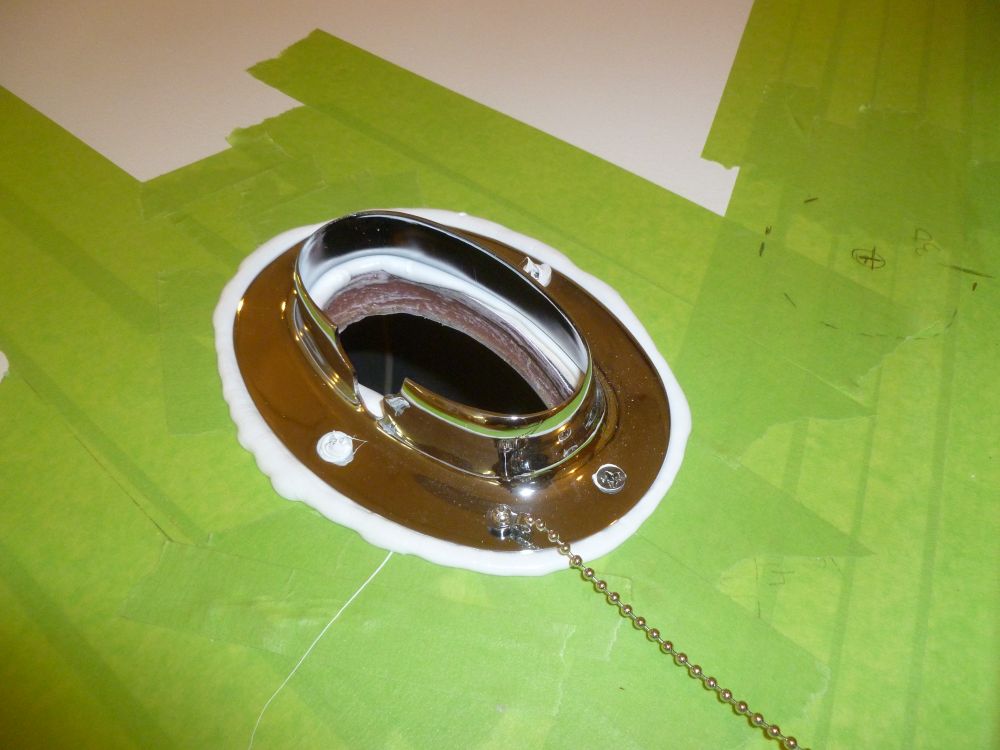
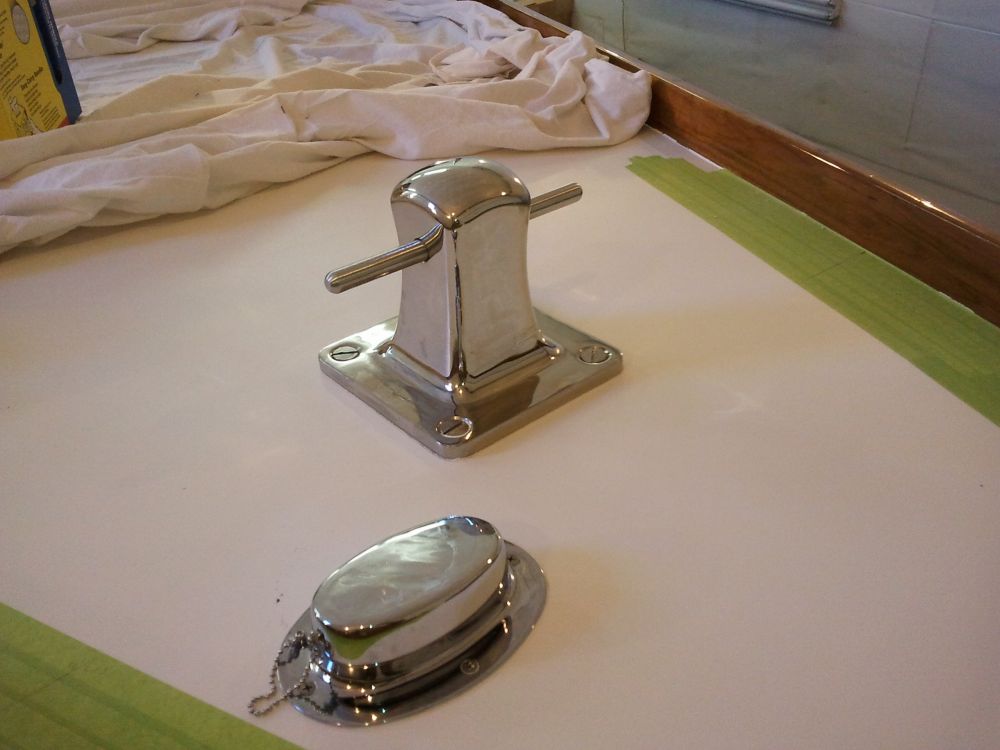
Preparations complete, I installed the chain pipe with sealant and machine screws.
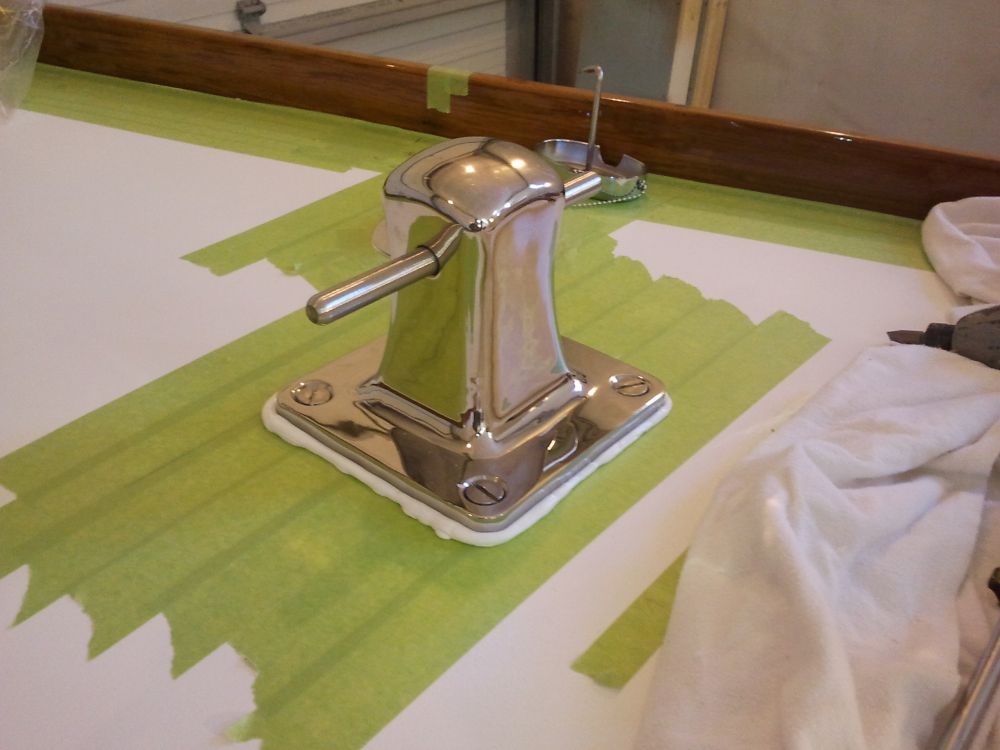
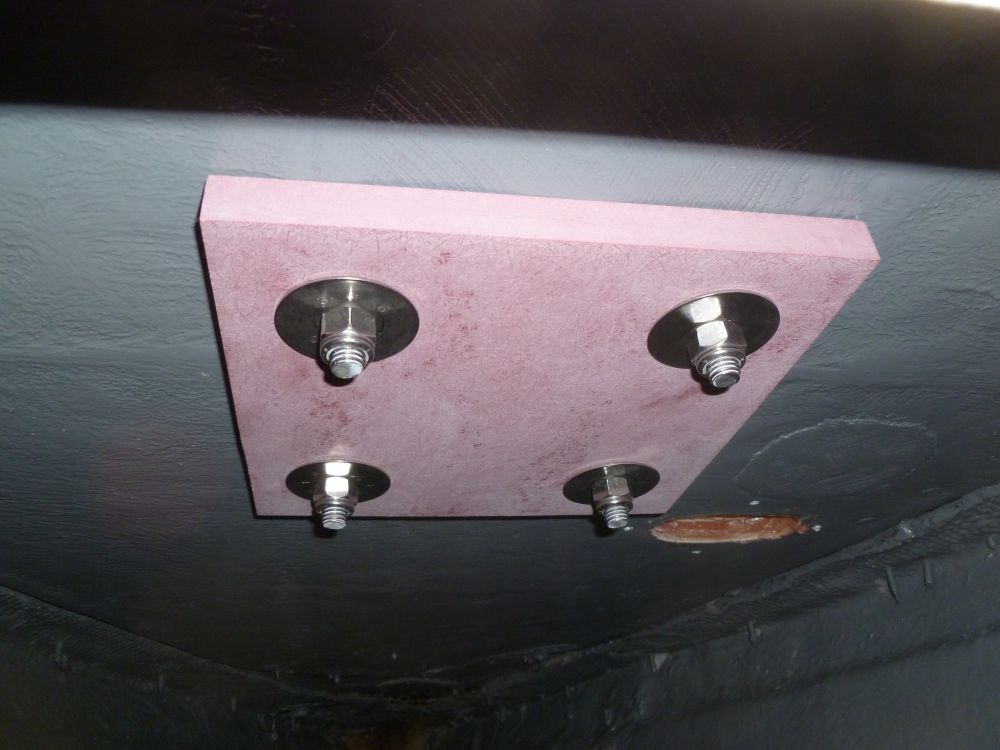
Then I installed the mooring bit, using a 3/4" fiberglass backing plate belowdecks along with large washers and nuts.
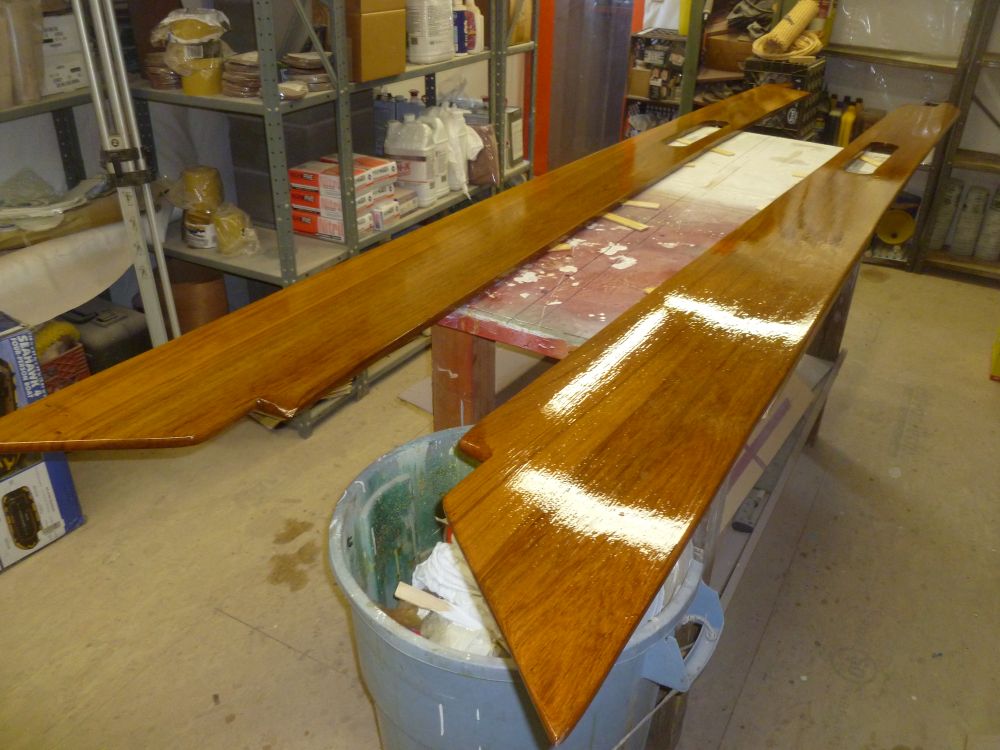
Before installing the overhead more or less permanently, which I hoped to do soon, I wanted to install the cabintop handrails. The original handrails were mahogany, and were weathered and neglected. Though I considered attempting to revamp and reuse these rails, the weathered mahogany was unlikely to clean up satisfactorily, so replacement looked like the best option.
Normally, I'd have sourced pre-manufactured handrails, as their cost is always dramatically lower than that of shop-made rails, but in this case the handrails required were too long and weren't available. I decided to build them from teak stock on hand; I had a board wide enough for the pair of rails and, at eleven feet long, long enough to do the job.
To begin, I used a short set of older handrails to help me determine a sense of the general dimensions I was after, though I didn't plan to replicate the dimensions exactly. With a basic width dimension determined, I ripped the board to the proper size, and trimmed the ends square. While I was at it, I also trimmed various pieces of other teak leftover from the coamings into usable boards that I'd use for the companionway trim and elsewhere as needed.
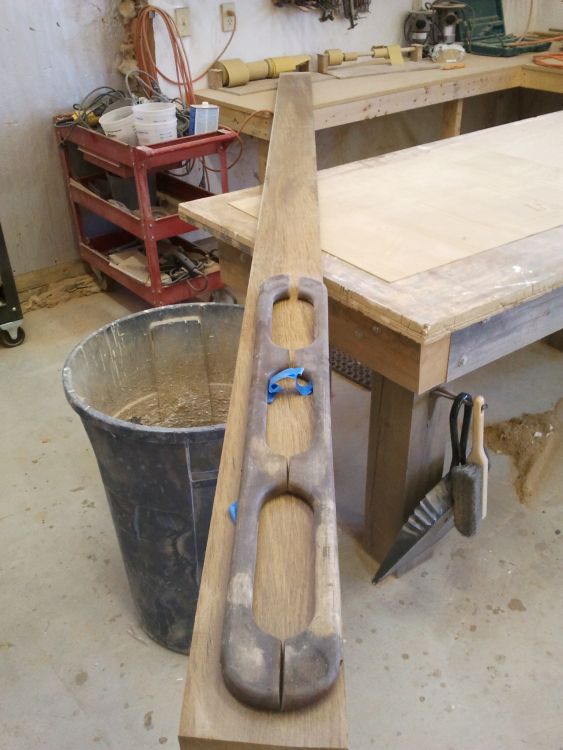
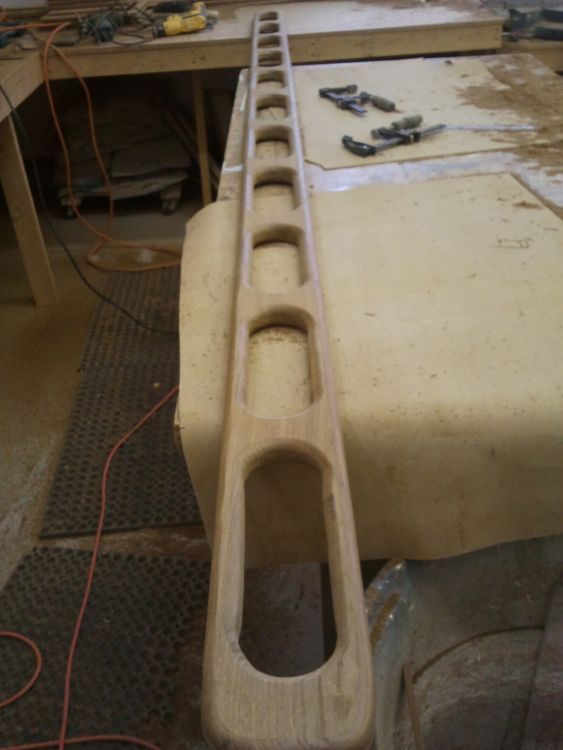
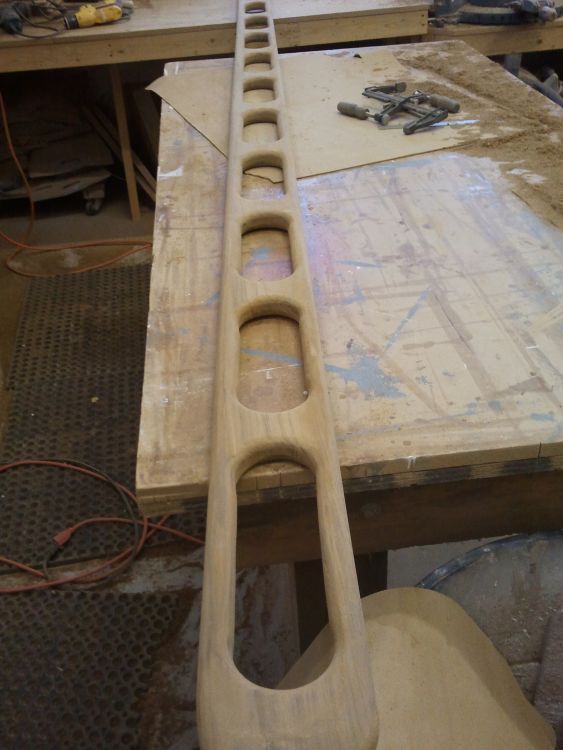
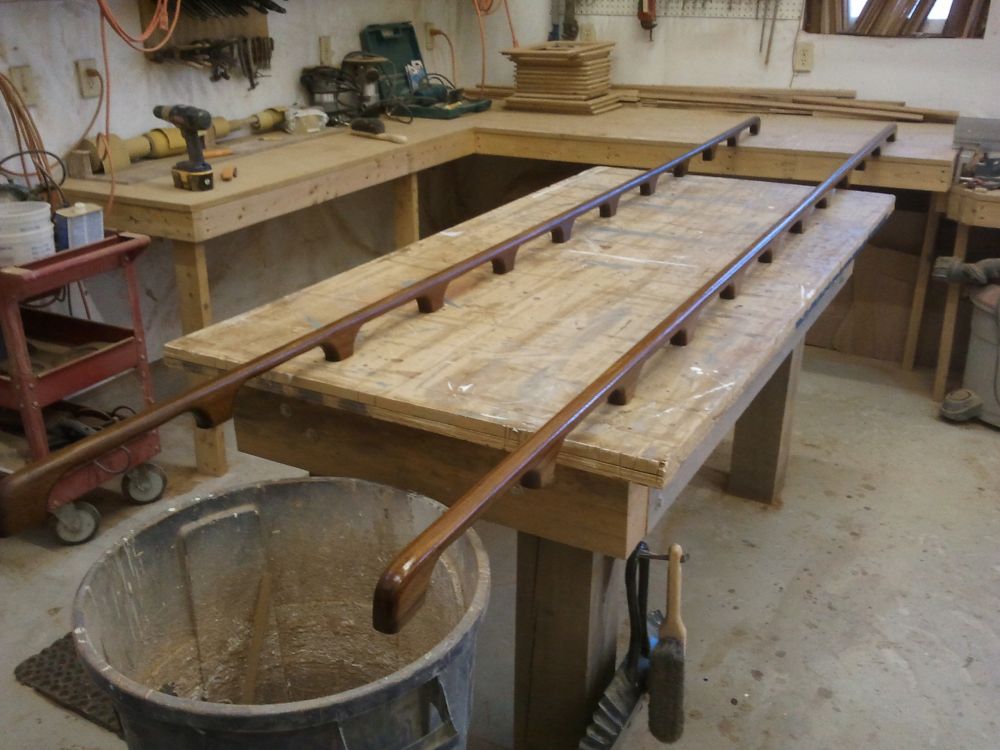
I wanted to use the maximum length of the board for the handrails, so it took a bit of figuring and a few false layouts in order to determine the loop spacing, but eventually worked out the even spacing required to use the full length of the board. After demarking the position of each loop, I made center points where I'd place the arbor of a 3" hole saw to create the radiused ends of the loops, then drilled and sawed out the rough loops in the center of the board. This was exceedingly time-consuming, as the board was thick and dense, and the hole saw became quickly dull.
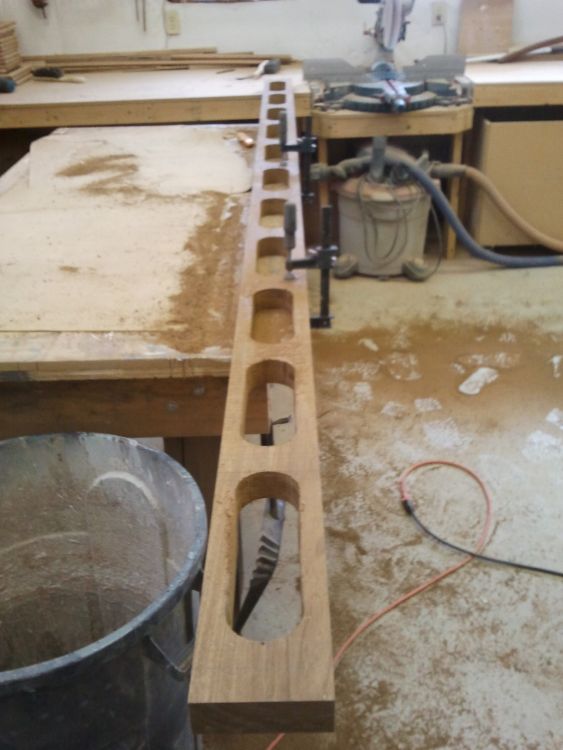
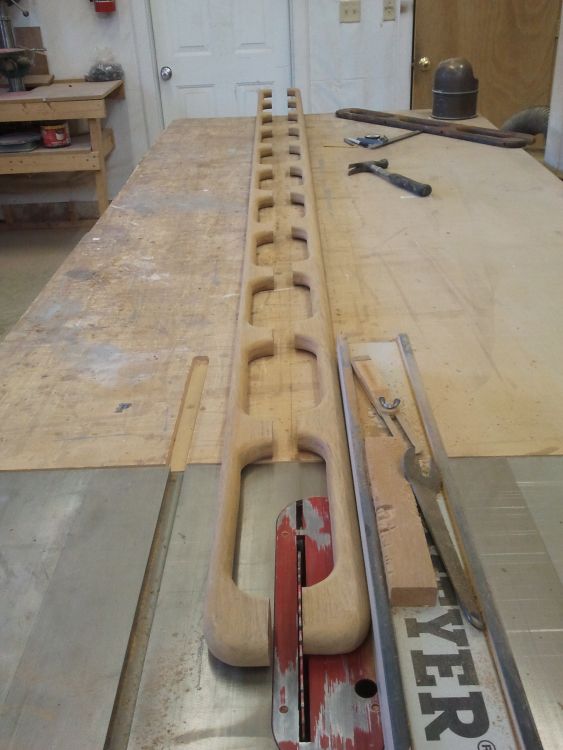
After some sanding within the new cuts, and a rough sanding of both surfaces, I milled comfortable rounded edges on the loops and outer edges of the rails, using a 1/2" router bit. Then I sanded the whole arrangement through several grits on both sides.
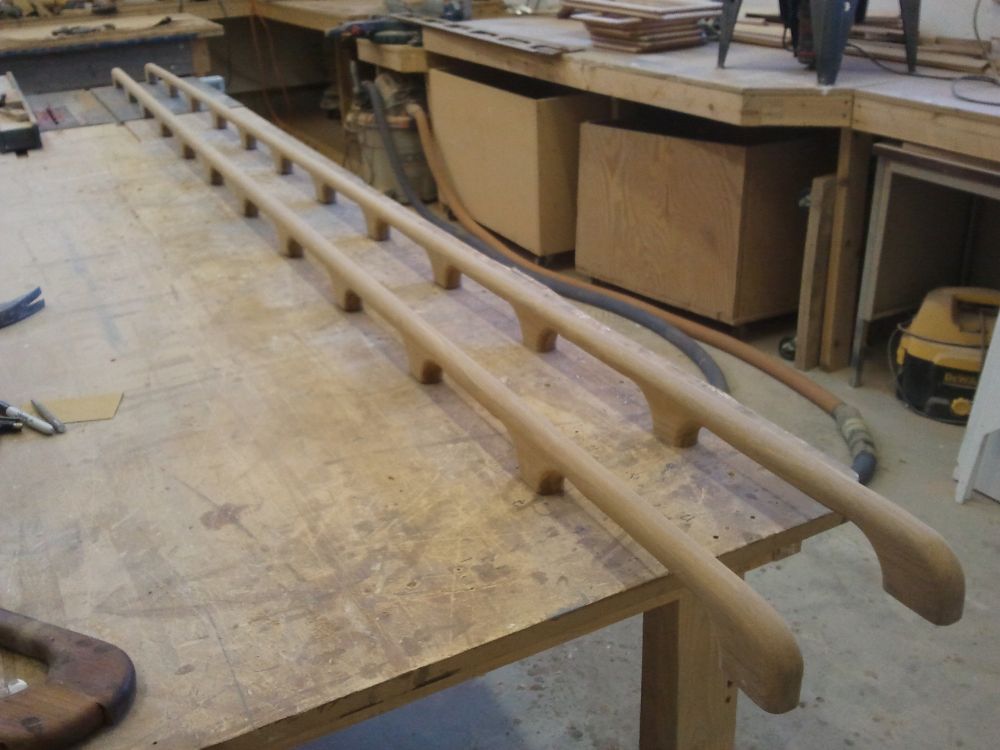
Finally, I ripped the board in half on the table saw, and finished up any sanding inside the loops as required before solvent-washing and applying a sealer coat of varnish to all surfaces.
With most of the day used up, I dealt with a few minor odds and ends before knocking off.
Total Time on This Job Today: 8.25 hours
