110 Cookson Lane | Whitefield, ME 04353 | 207-232-7600 | tim@lackeysailing.com
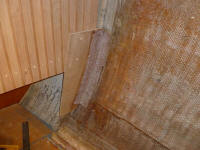
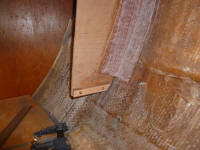
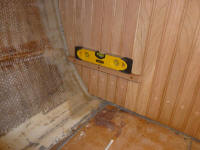
After lightly sanding yesterday's tabbing securing the forward end of the new settee support, I cut and installed support cleats at each end of the settee to support the "false" bottom of the back cabinet. I used cherry for these cleats since, while they'd not be exposed, they might be more visible than some support cleats if one were to peek beneath the cabinet for some reason.
I cut a 12mm plywood blank for the bottom shelf, keeping it slightly oversized for now, and scribed the back edge to fit the curvature of the hull, keeping the inboard edge flush with the 10° backrest lines I'd laid out earlier.
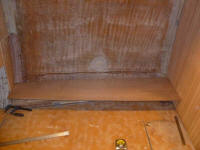
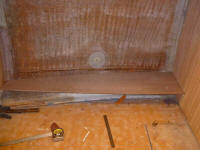
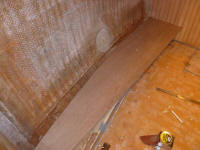
After marking the hull where the shelf landed, I prepared the area and installed the shelf with epoxy adhesive (against the hull, after raw coating the edge of the shelf), and screws and glue into the support cleats. In the center of the shelf, I added a dab of hot glue to hold the back edge from sagging in the center while the epoxy cured.
Afterwards, I installed a layer of tabbing beneath the shelf to add support.
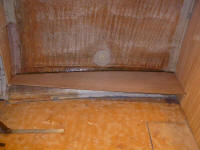
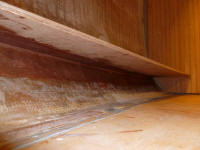
Now that the bottom shelf was in place, I could continue the backrest construction, starting with support cleats for the backrest and upper shelf.
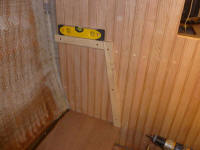
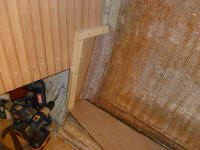
The plywood backrest would hang down a bit below the edge of the bottom shelf, to cover the plywood end grain there and also to hide the support cleats at each end. to give me a place to fasten the panel, I installed a support cleat beneath the plywood shelf. Meanwhile, I made some preliminary measurements and layout for some vertical dividers that would separate the storage space into several compartments, as well as support the cabinet structure itself.
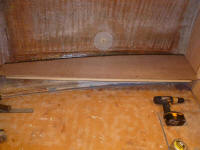
I was out of cleat stock, so I took some time to mill several boards into cleat widths for later use. Finally, I applied a coat of satin varnish to the cherry main cabin trim (oops, no pictures of this).
Total Time on This Job Today: 5 hours
