110 Cookson Lane | Whitefield, ME 04353 | 207-232-7600 | tim@lackeysailing.com
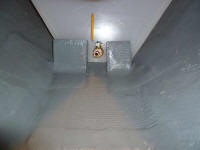
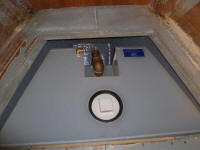
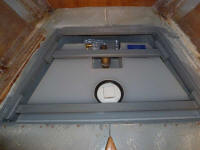
I took care of the final steps of the forward water tank installation, now that the base of the locker was fully prepared. Once I had the tank in place, I installed the water supply fittings (valve and hose nipple) at the aft lower edge, and some final fittings for the fill and vent at the forward nook.
To fully secure the tank against movement, I built some braces across the top of the tank, secured to the sides of the locker opening with cleats.
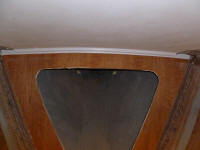
The edge paint around the forward overhead liner and bulkheads was complete, with several coats of finish paint in place, and I removed the masking tape from these areas. I'd continue with the paint work in adjacent areas soon.
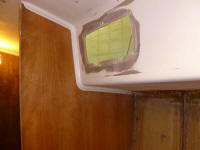
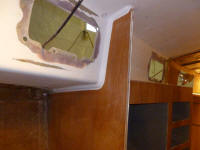
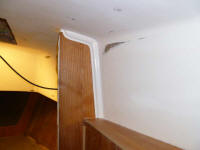

With a general plan in place for the main cabin settees and lockers, I got back to work in that area. The first thing to do was remove the temporary screws and washers securing the beadboard during installation, after which I bored out the holes to accept 3/8" bungs. Since all aspects of bunging were best taken in small doses, for now I concentrated on the starboard side and the bulkheads there. I also took this opportunity to trim the overhanging plank ends from the bulkheads, in the footwell of the starboard settee, and at the top edges of the bulkheads in the galley and nav station.
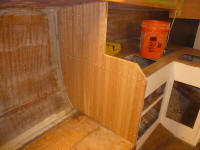
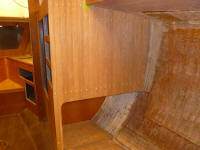
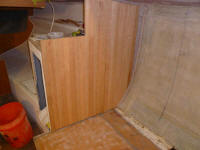
The forward end of the starboard settee required a little extra piece of plywood to hang beneath the bulkhead opening over the footwell, both to support the backrest and also to close off the new locker at that end. From an oversized piece of cherry plywood, I scribed a section to fit, and, generally following the suggested layout I'd prepared last time, cut the piece to the appropriate height (the horizontal shelf would be at the top of this piece) and angle to support the backrest, as well as leaving a 6" space beneath for access to the settee top panels removal, and to allow the cushions to slide beneath (5" cushions planned).
With the fit complete, I glued and screwed the top portion of the plywood to the bulkhead, and tabbed it to the hull on both sides. This little piece would be completely hidden from view in the final construction.
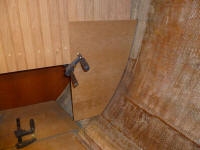
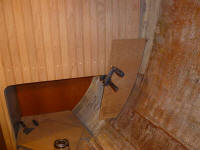
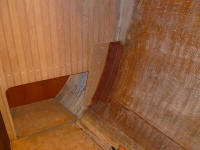
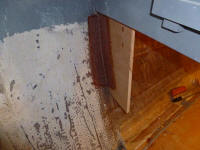
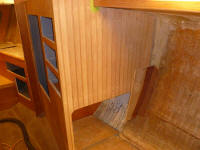
At the aft end of the berth, I laid out the backrest and cleat locations on the bulkhead, after first paring away and sanding the bungs as needed.
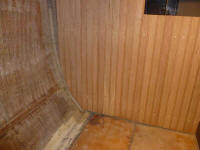
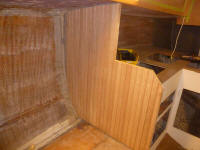
After cleaning up, I applied another base coat of gloss varnish to the cherry trim on the main cabin sides, probably the final base coat before switching to satin varnish for the final coats.
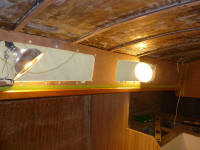
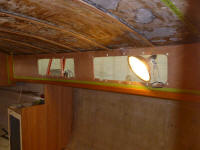
Finally, with a little time left in the day, I removed the screws and washers from the nav station bulkhead, leaving further steps for another time.
Total Time on This Job Today: 8.5 hours
