110 Cookson Lane | Whitefield, ME 04353 | 207-232-7600 | tim@lackeysailing.com
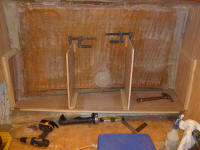
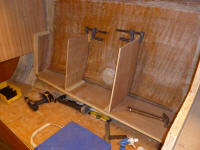
The next step in the starboard settee construction was to install vertical dividers to separate the space into three compartments; the dividers would also be critical elements in the overall support for the cabinet structure.
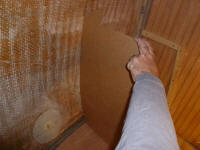
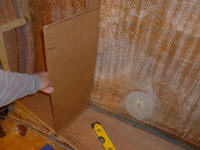
From cardboard, I made a rough template of each of the two dividers required, then cut out the actual pieces from leftover cherry plywood. I left the top and inboard edges oversized for now, and temporarily secured the new dividers in place so I could mark the inboard edge, after which I cut the 10° angle.
With the dividers clamped in place, I cut and fit the backrest panel across the front, then marked level lines on the top edges of the dividers so I could cut them flush.
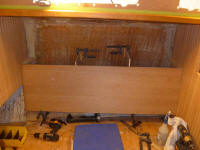
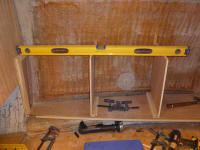
Afterwards, I glued the dividers to the hull with epoxy adhesive, and secured the bases to wooden cleats on the lower shelf, then installed additional support cleats as needed for the backrest.
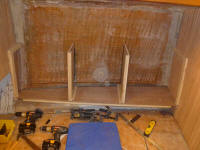
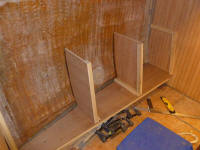
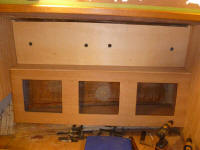
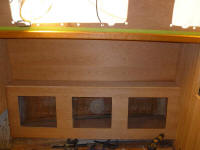
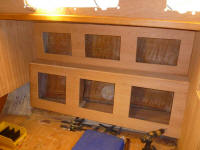
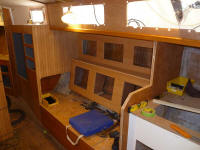
After some general layout and marking, I determined the locations for the three cutouts in the backrest, and cut the openings. These would later be filled with upholstered backrest cushions that doubled as locker doors. I'd wait to permanently install the backrest till a little later, as I'd some interim shelves and other installations to complete within first; for now, however, I wanted to continue the basic construction to gain a visual sense of the end result think about the internal arrangement.
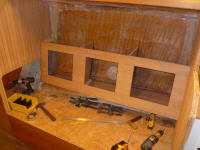
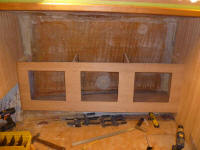
With the front panel now temporarily screwed in place, I cut and fit the shelf over the top.
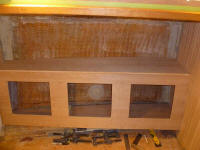
Measuring back for a 6" shelf, I installed vertical cleats to support the face panel for the top storage lockers, then created a cutting template from 1/4" pattern plywood before making the final cuts on more 1/2" cherry, which I set temporarily in place (loose). I aligned the locker door openings with those beneath.
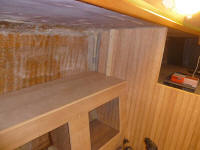
I deemed the varnish on the main cabin trim complete and looking good with its satin finish, and removed the masking tape.
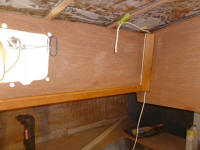
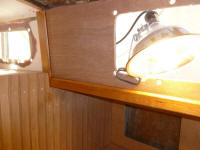
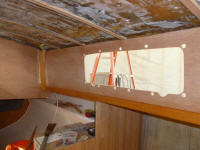
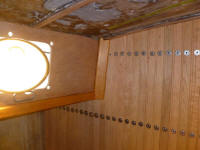
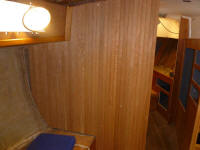
Finally, I removed the temporary screws from the main port bulkhead paneling; still ahead I had to bore out and bung all the holes on the port side.
Total Time on This Job Today: 8 hours
