110 Cookson Lane | Whitefield, ME 04353 | 207-232-7600 | tim@lackeysailing.com
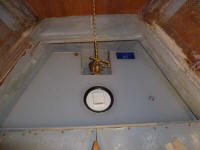
The forward water tank required supports against the hull to hold it in position in its designated locker. After installing some bronze plumbing fittings in the tank, I dry-fit it in place so I could mark the bottom edge against the hull for reference. To hold the slippery tank from sliding on the sloped hull, I used some small stuff to tie it to the forward bulkhead.
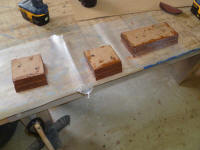
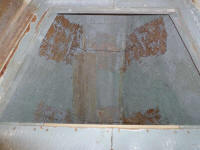
After some thought, I decided a pair of cleats--fore and aft--glassed to the hull would secure the bottom of the tank, and braces and cleats above would do the rest of the job. To that end, I laminated some 1-1/2" thick plywood cleats that I'd glass into the hull later, leaving the epoxy to cure overnight. Meanwhile in the boat I prepared the eventual bonding surfaces by removing the old coatings in way of the new installations, then re-marked the boundaries of the tank for later reference.
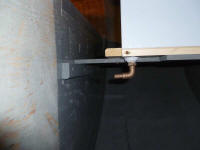
While in plumbing mode, I installed a 90° drain fitting in the bottom of the icebox, to which I'd later attach a hose to drain the tank. I'd finish up the insulation and installation in the near future.
I spent the final bit of the morning session preparing for more beadboard installation. Then, I spent the afternoon installing beadboard on the main port bulkhead. I followed the same basic techniques I'd used on the starboard side, the main differences being the length of the boards and the need to cut both ends accurately to length. I generally cut and installed four planks at a time. I'd leave the screws in place for several days to allow the adhesive plenty of time to cure.
By the end of the afternoon, I'd achieved my goal of paneling all the way to the settee, where the planks would become shorter.
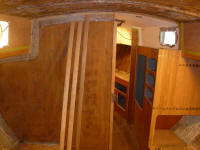
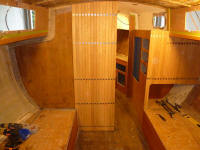
I was really pleased with how well the beadboard was looking--surpassing my expectations.
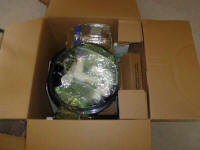
In other news, the C-Head composting toilet arrived; I didn't bother unpacking it at this time as I was involved in other things.
Total Time on This Job Today: 8.5 hours
