
110 Cookson Lane | Whitefield, ME 04353 | 207-232-7600 | tim@lackeysailing.com
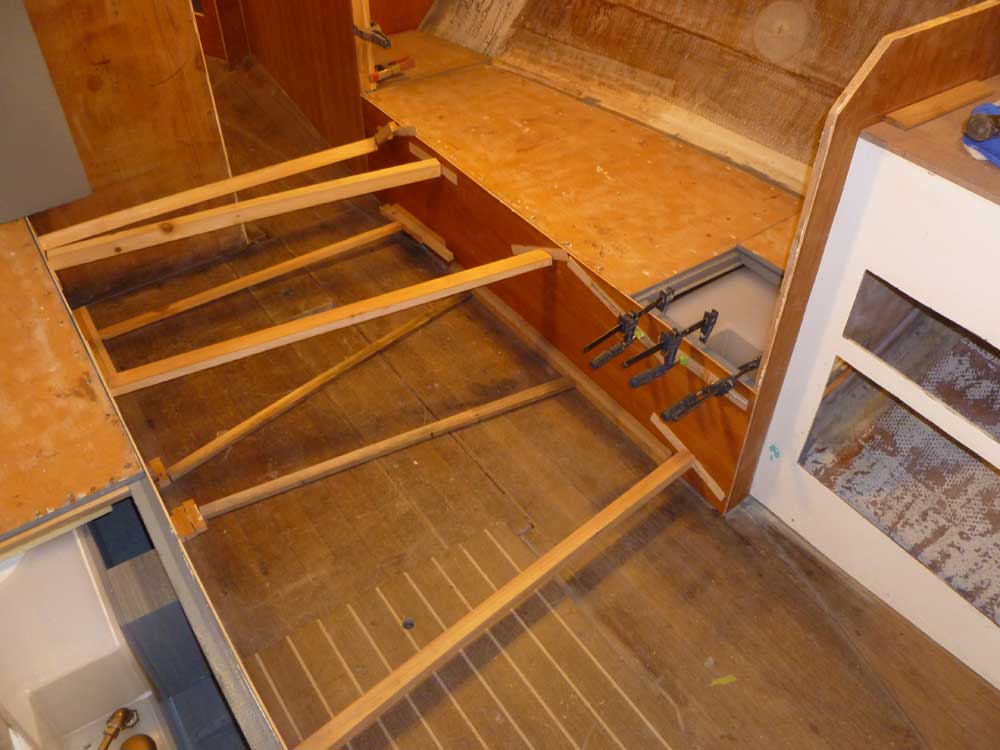
The platform over the port settee water tank needed an additional cleat along the forward edge of the hatch opening, which would support the opening hatch at that end. I secured the new cleat to the forward half of the platform with glue and screws.
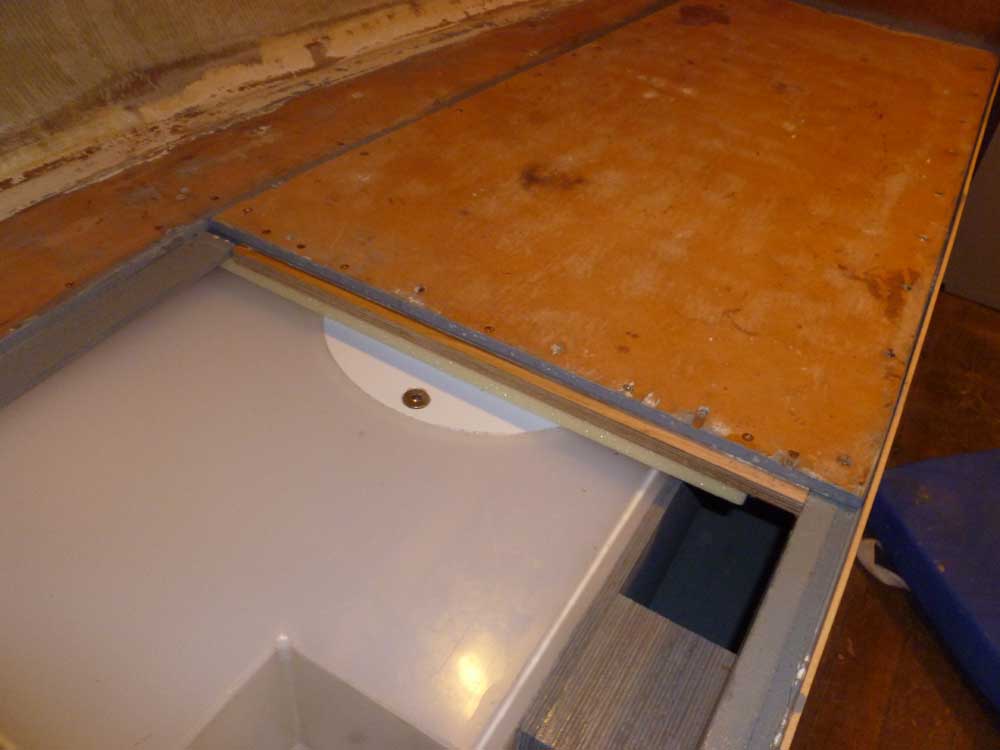
To help secure the tank against movement fore and aft, I installed a wooden brace across the aft end, adding some self-adhesive rubber as a cushion. I secured the new brace to a cleat against the inside of the settee front, and with glue and screws to the underside of the platform towards the outboard end.
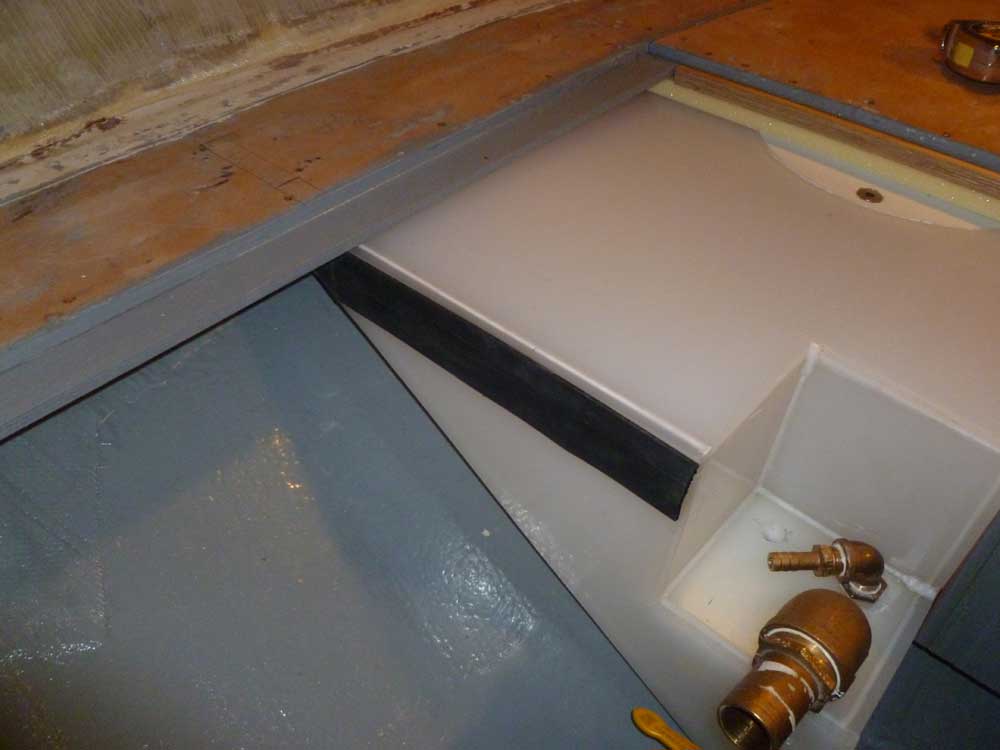
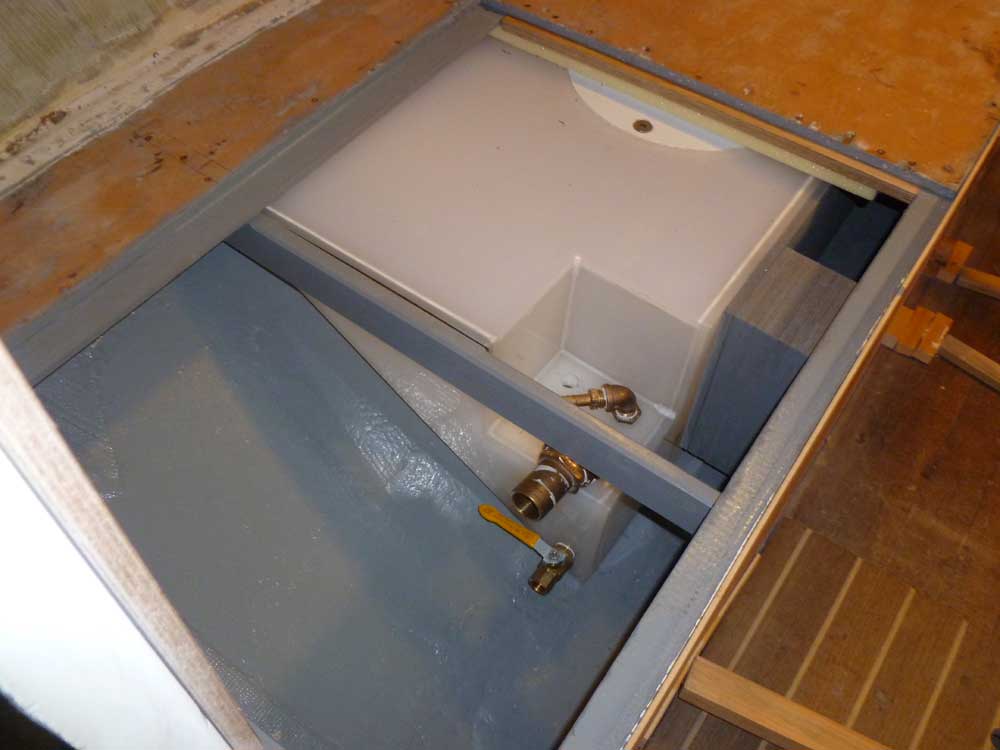
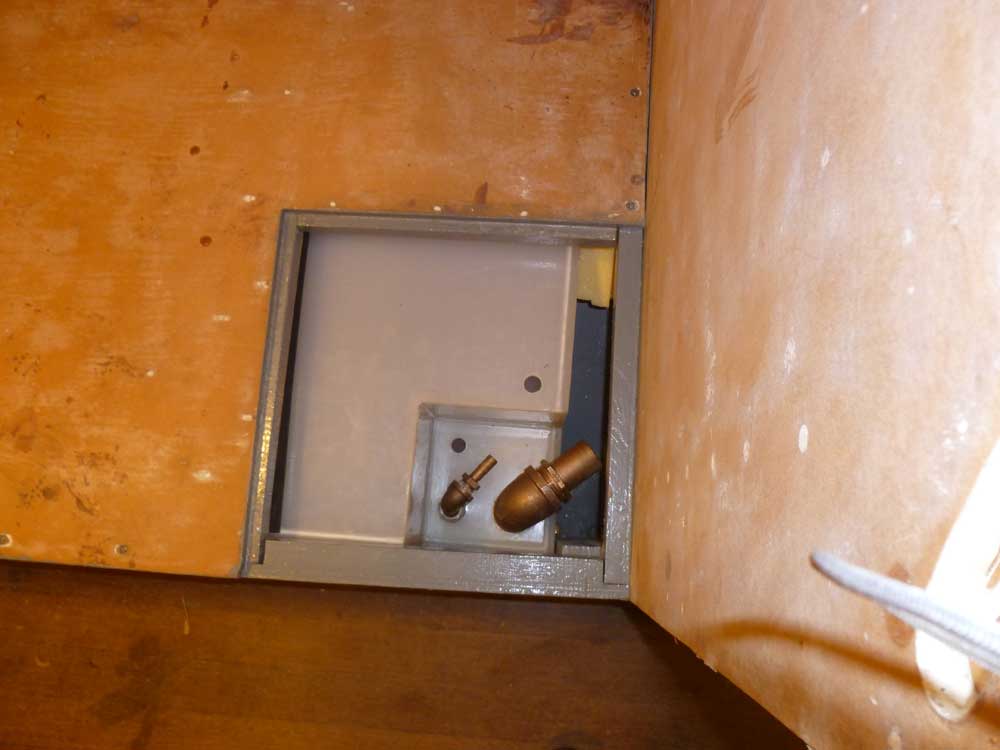
On the starboard side, I added rubber cushioning and firm foam supports to the top of the water tank in way of three cross braces that were attached to the underside of the top platform. Then, I secured the plywood platform around its perimeter with screws, as per original. The small hatch at the aft end provided access to the plumbing connections, which still needed some fittings to complete.
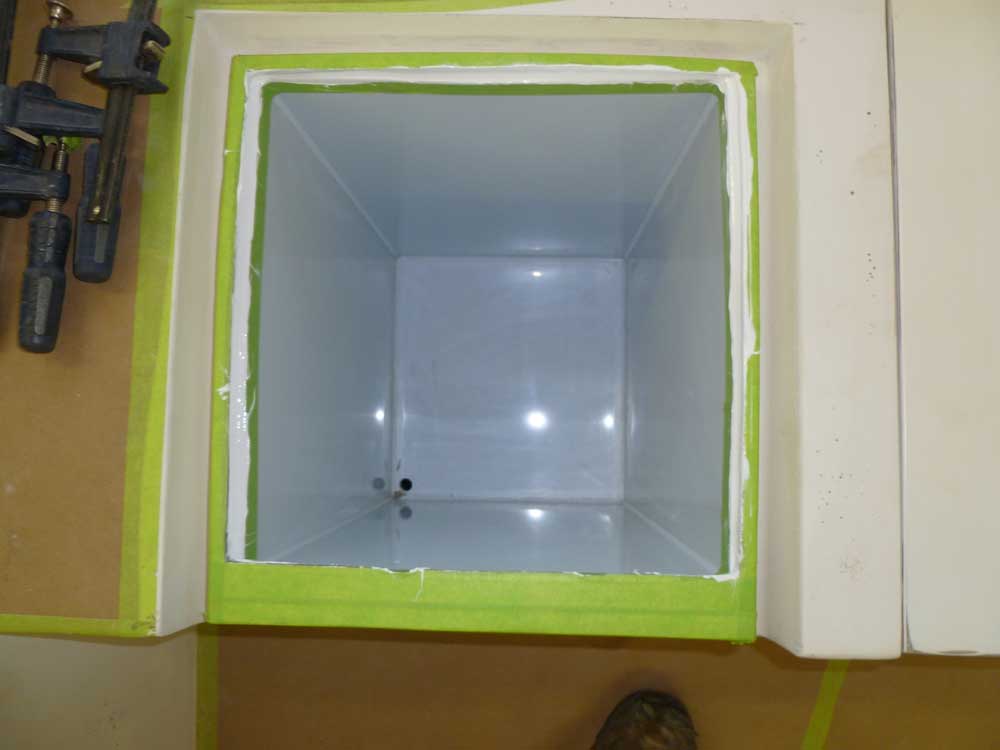
Around the top edge of the icebox liner, I applied additional sealant to clean up the seam, and left this to cure.
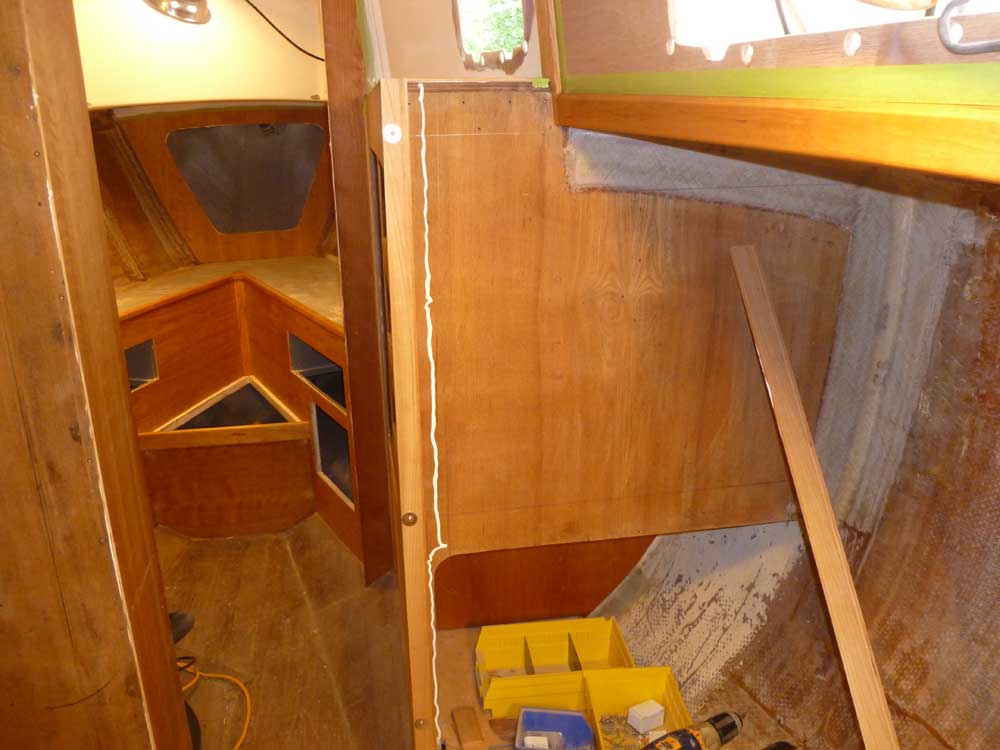
With the settee tanks and tops installed, I could now consider the new cherry beadboard paneling slated for the four major bulkhead surfaces in the main cabin. To get rolling on the process, I decided to begin with the smallest bulkhead, the starboard forward.
The new paneling incorporated a tongue and groove edge joint with a classic bead detail, and approximately 2" reveal. After some initial layout, I started the installation with a piece at the inboard edge of the bulkhead. I ripped off the groove side of the piece to provide a solid wooden edge at the exposed corner, and used a 3/8" spacer to hold the strip off the settee platform beneath, which would allow removal of the platform should tank access be required.
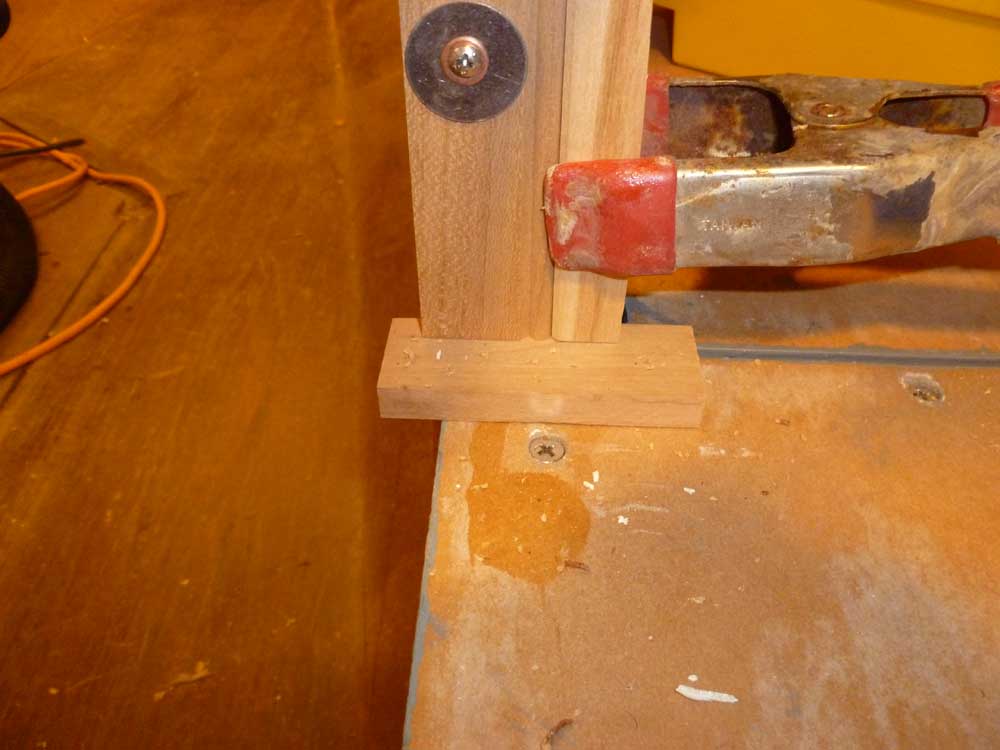
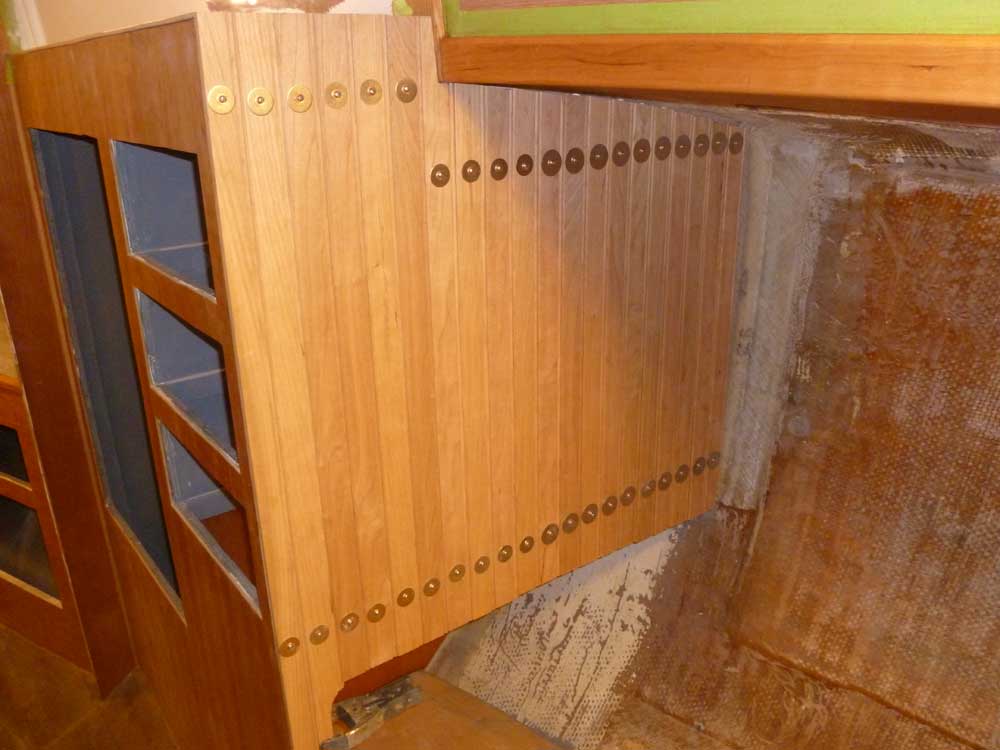
To secure the beadboard, I applied a central bead of polyurethane adhesive for its strength--there'd be no mechanical fasteners--and for its flexibility, since the numerous small boards would tend to expand and contract with atmospheric changes, then "clamped" the board with temporary screws and fender washers. At only 3/8" thick, the beadboard was not thick enough for hidden screws and bungs. Later, when the adhesive was fully cured, I'd remove the screws and bung the temporary holes.
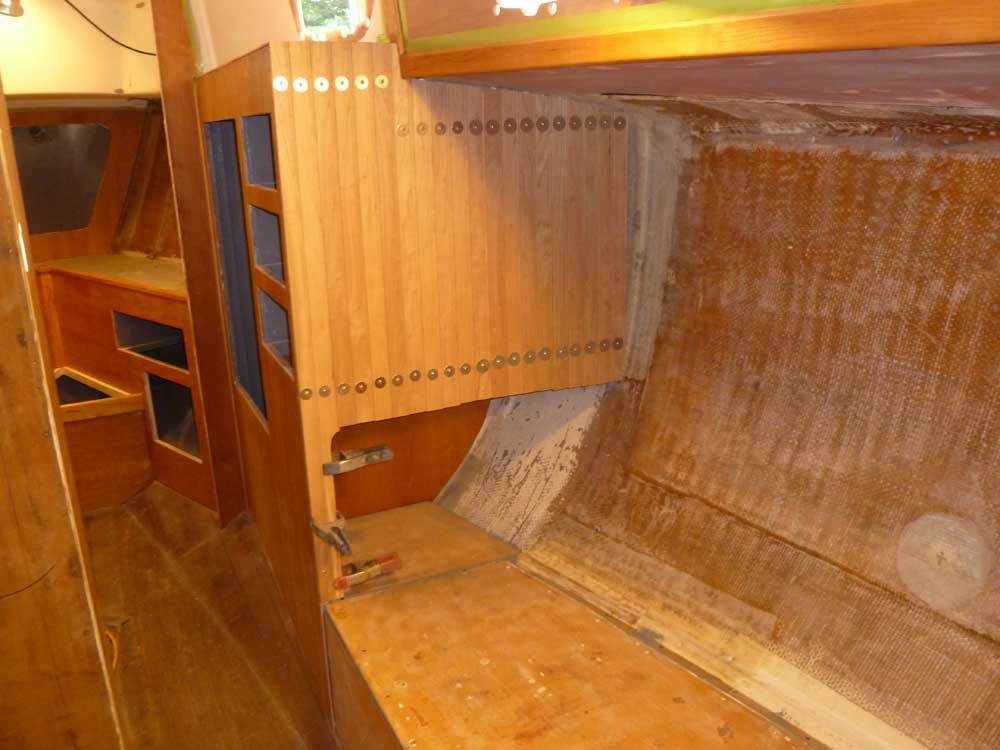
Once the first strip was installed, I continued my way across the bulkhead. At the lower edge, I let the ends of the board run wild over the footwell opening; I'd trim them flush later. It took several hours to complete the paneling on this bulkhead. Throughout, I randomly selected boards from the pile of milled lumber to mix and match all colors and grain types.
After final preparations, I installed the final piece of cherry plywood veneer in the cabin, on the vertical face of the starboard settee.
Total Time on This Job Today: 8.25 hours
