
110 Cookson Lane | Whitefield, ME 04353 | 207-232-7600 | tim@lackeysailing.com
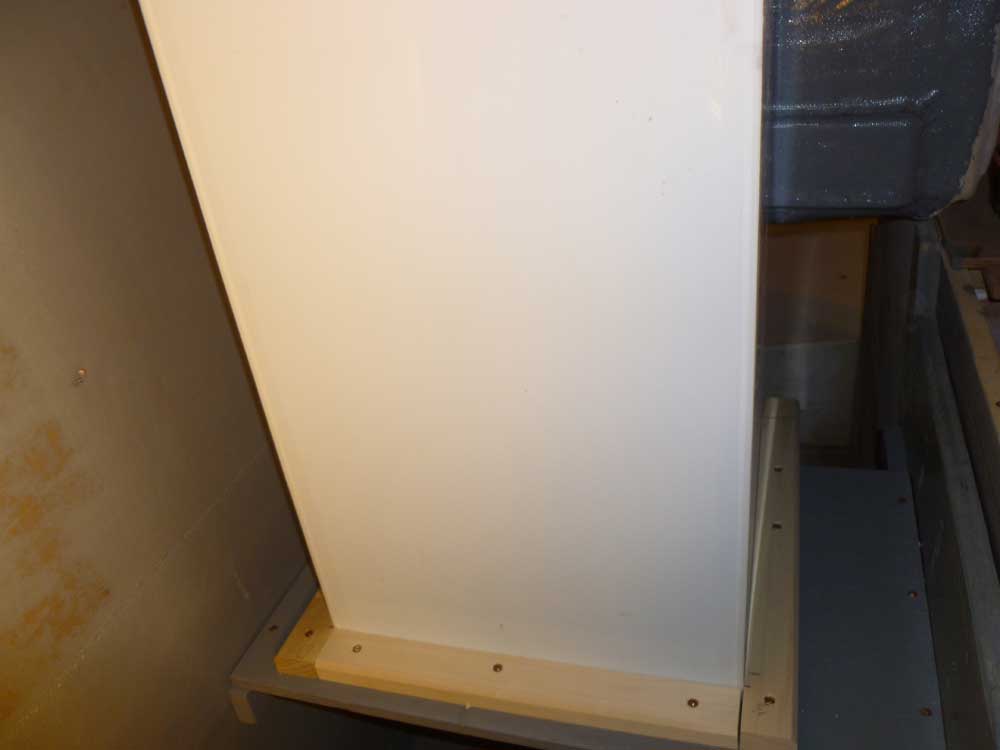
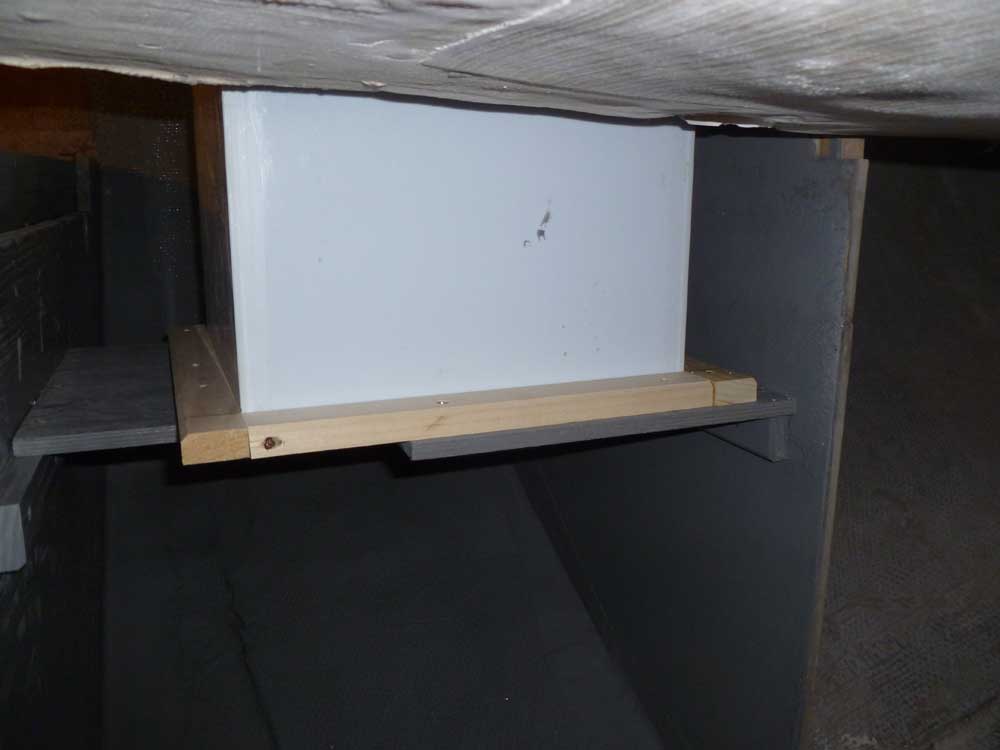
I got started with the icebox. First, I lightly scuffed up the outside top perimeter of the liner to provide some texture for adhesive to stick to. I slipped the liner into position and supported it from beneath with its plywood shelf, which I then secured to the cleats with screws.
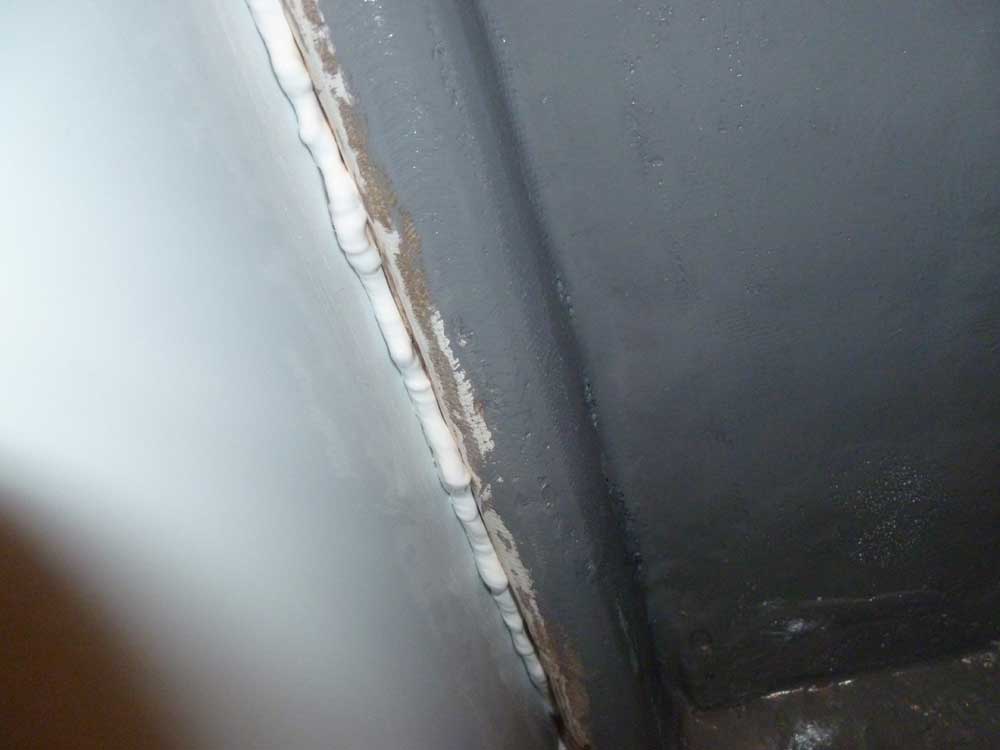
From above, I installed beads of polyurethane adhesive around the edges, forcing it between the liner and the surrounding fiberglass flange. I lightly clamped the liner in position to hold it. In addition to eventually working to secure this end in place, the adhesive sealant also filled the small gaps and voids around the top of the liner, for cosmetic and other purposes.
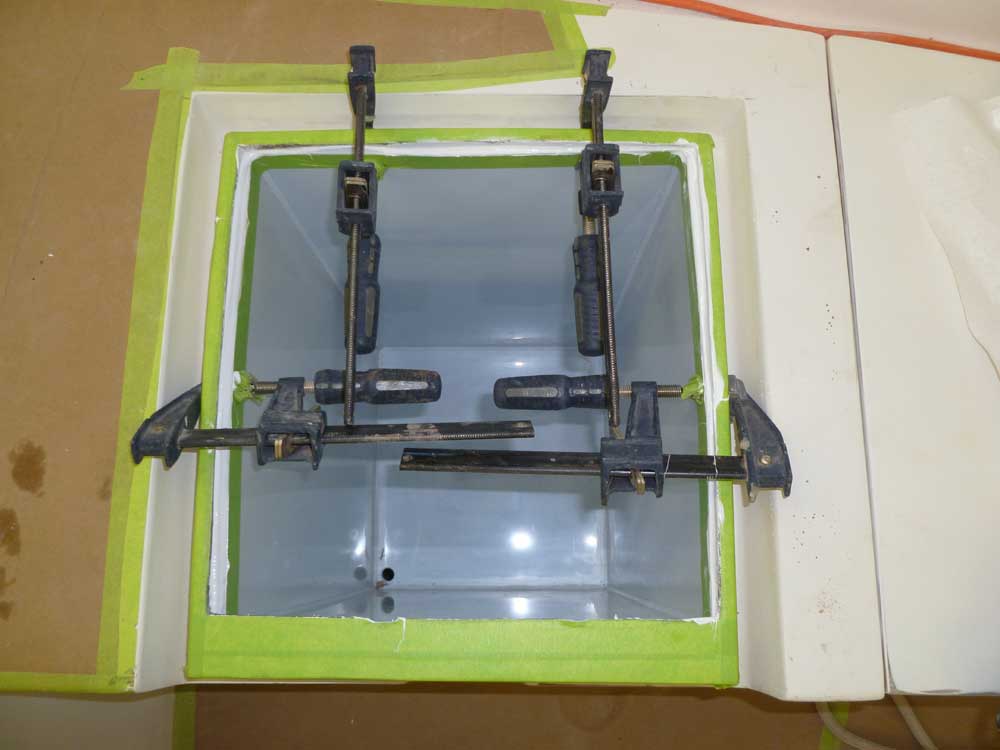
Down below, I cut and installed wooden cleats around the perimeter of the base, which secured it against movement.
I left things alone at this point to give the adhesive time to cure before continuing. The next steps would include installing foam insulation around all sides of the box, and otherwise completing the installation.
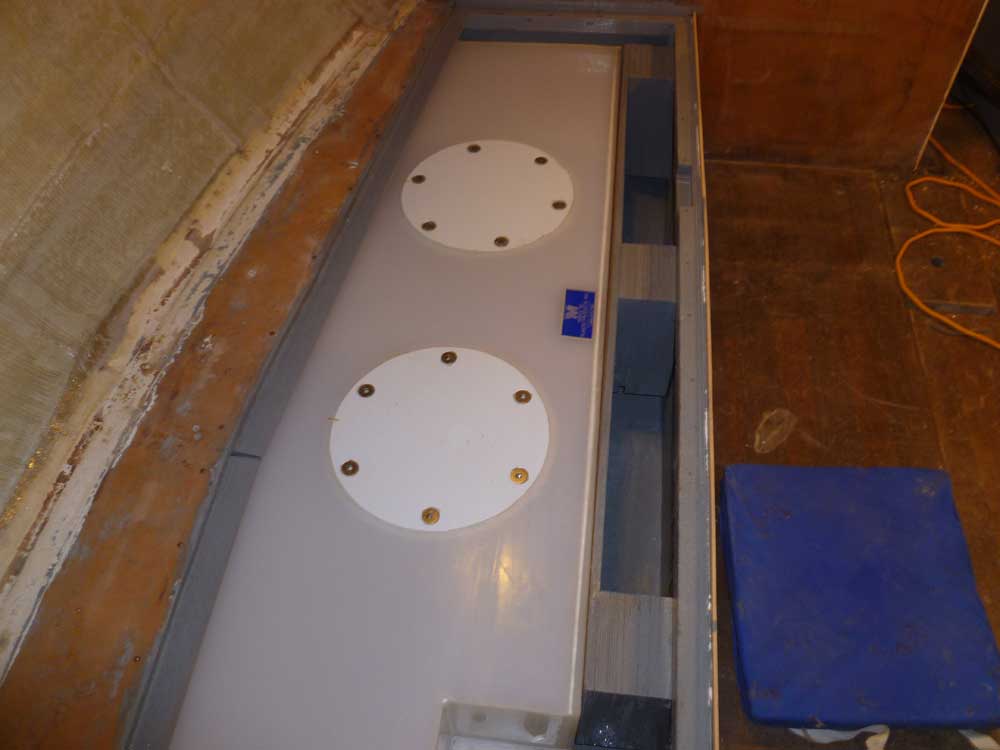
Next, I returned to the port water tank installation. After cutting to length and cleaning up the laminated support beams, I cut a final section of 12mm plywood for final component of the tank support, and secured it to the three laminated beams with screws. Then, I dry-fit it in place with the tank to test its function.
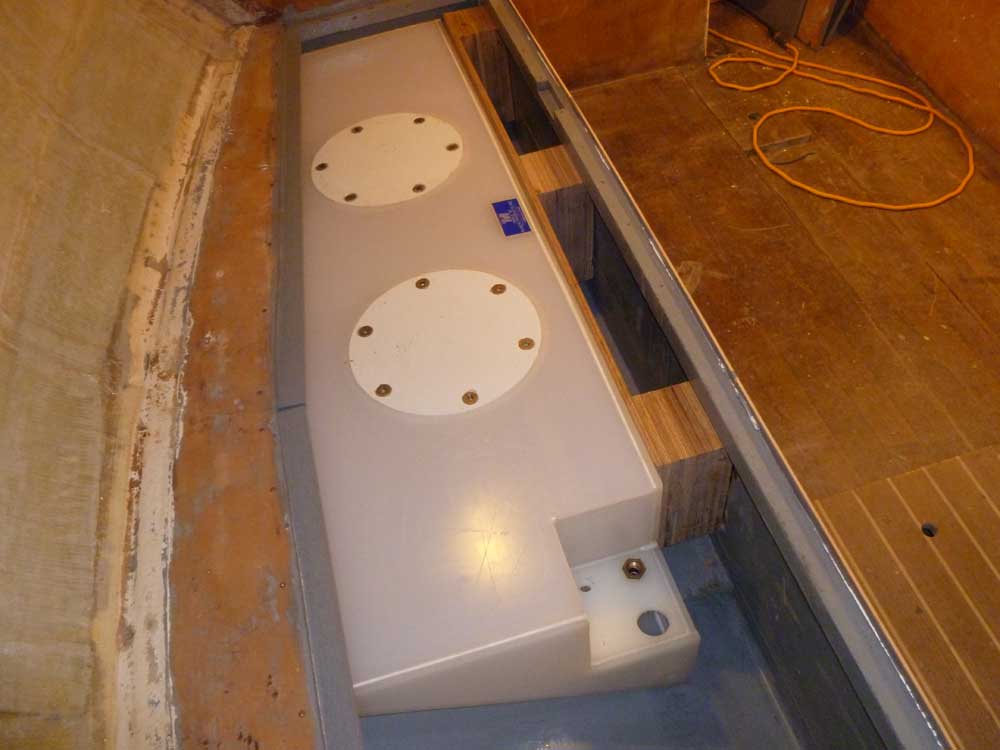
I marked the inside of the cabinet where the beams fell, and after removing the tank and braces I sanded away the paint from these areas to prepare for epoxy bonding, then secured the arrangement with epoxy adhesive. Later, I painted the plywood supports for protection.

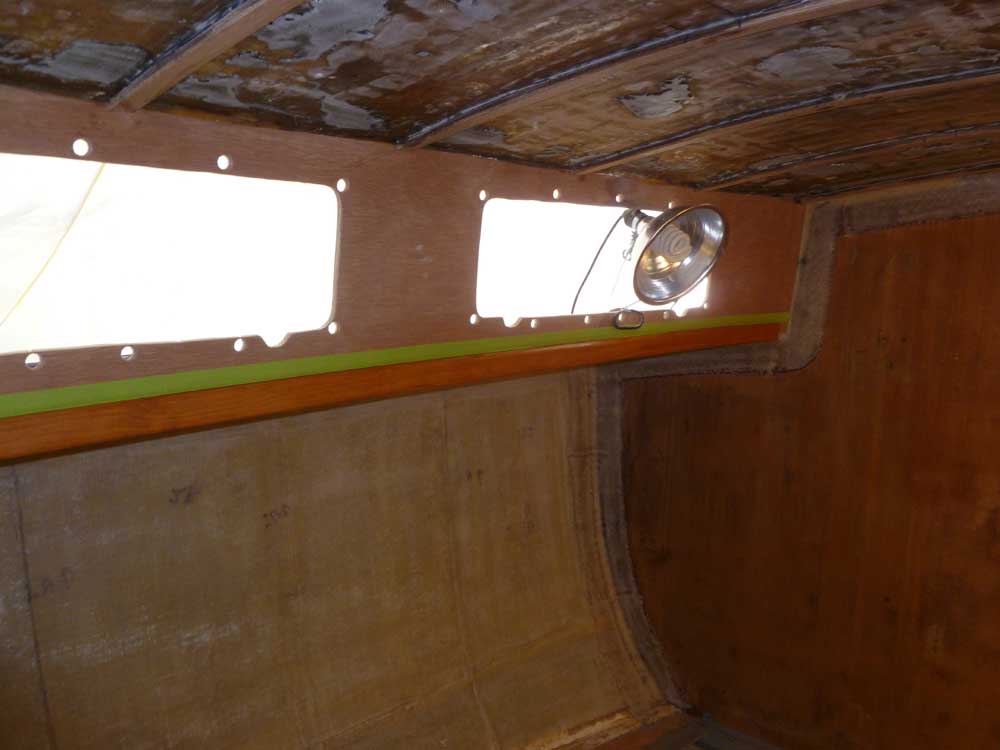
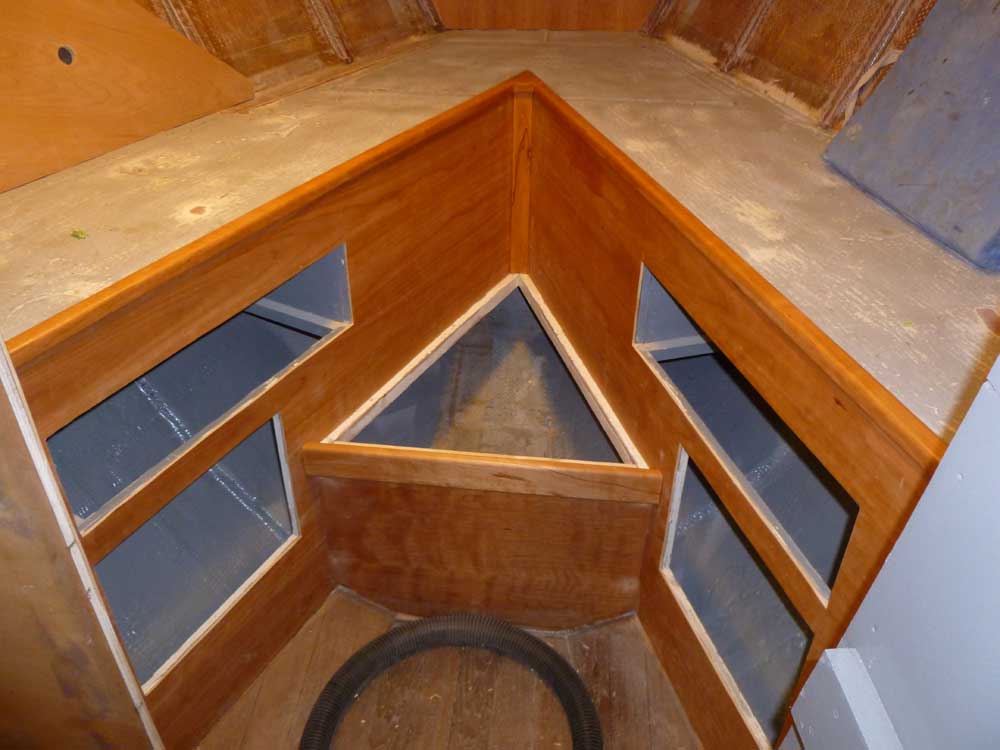
Awaiting delivery of the plumbing parts required for the water tanks' final installation, I spent some downtime applying a sealer coat of varnish to the bare cherry trim in the main cabin and forward cabin.
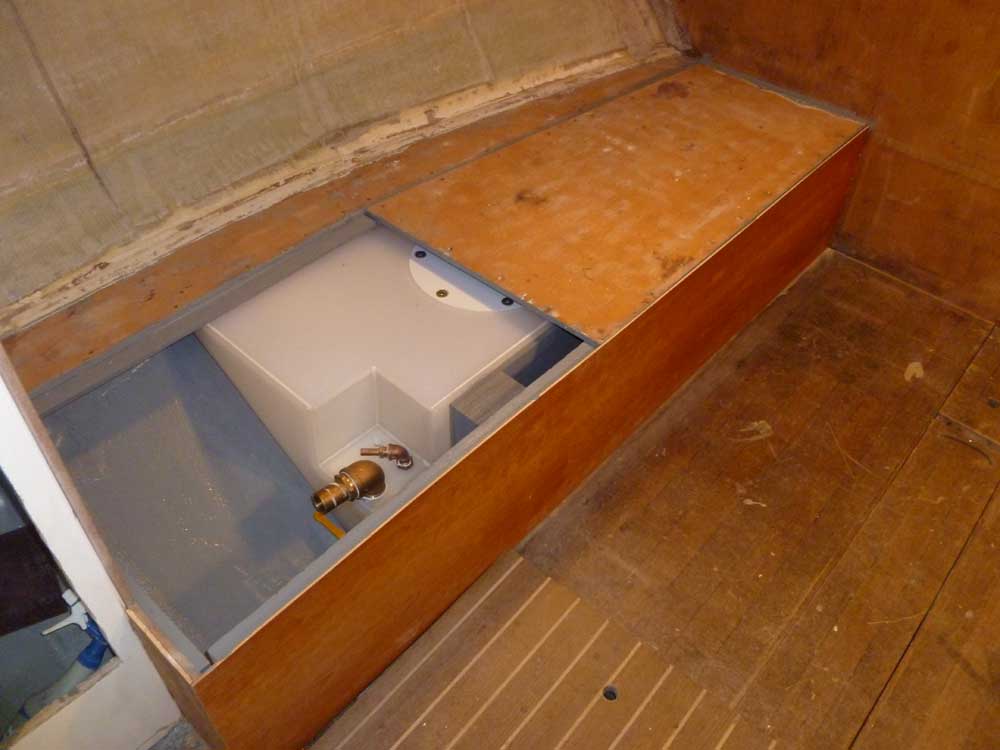
With the plumbing parts on hand, I installed various bronze elbows and pipe-hose fittings for the tank fills and supply lines, along with a drain valve on the port tank (the clearance aft of the starboard tank was insufficient to allow for a valve). Some fittings I needed for the vents had failed to show up, so I'd have to delay their installation till later.
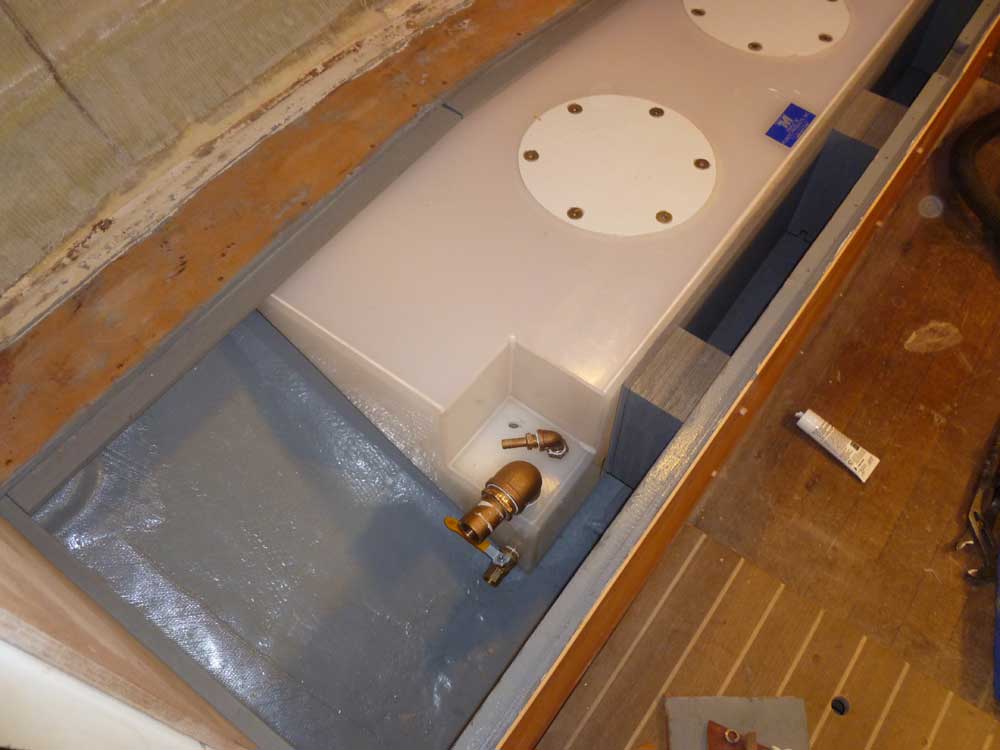
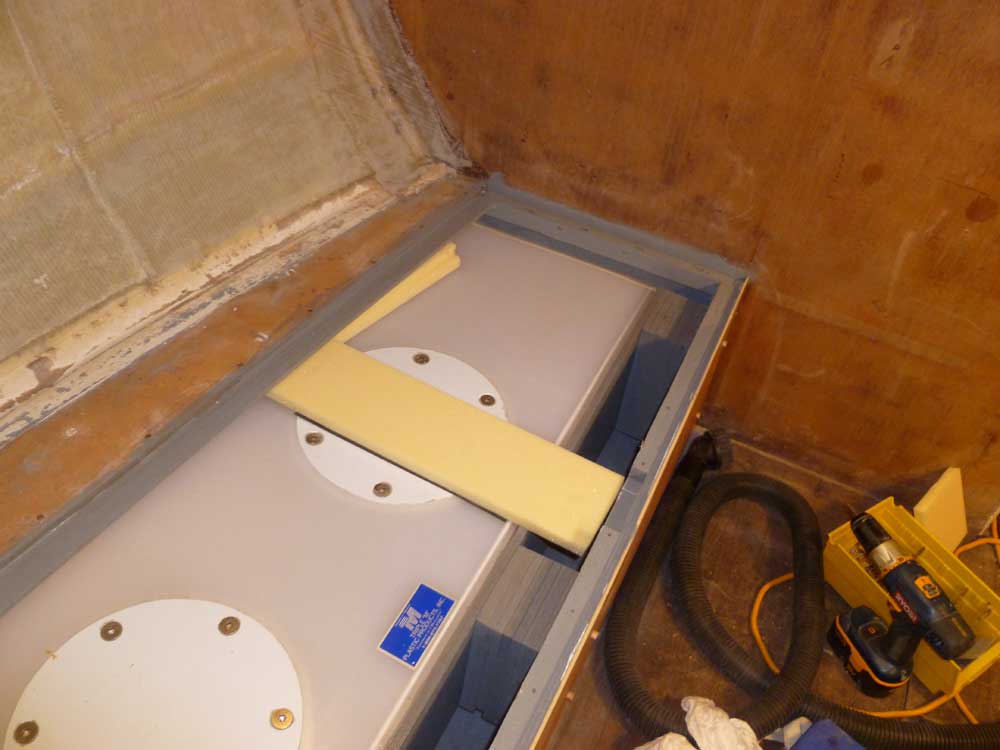
The port tank was already in place, but I installed the fittings on the starboard tank out in the open before placing the tank in its designated space, as clearance was too tight otherwise. Once the fittings were in (except for the vent), I slipped the tank in and resecured the vertical settee panel to hold it in place.

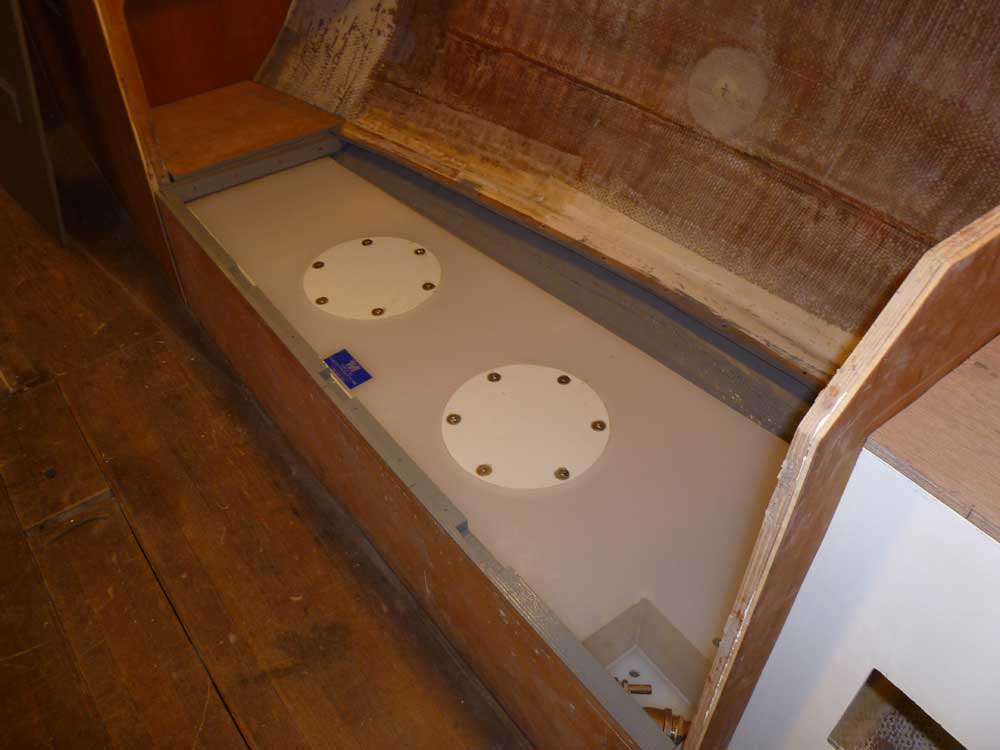
On the port side, I installed a strip of self-adhesive rubber to the top of the tank as a buffer, then a 3/4" piece of hard foam, all to lie directly beneath a cross support member in the berth top panel. This would not only serve to help hold the tank in place, but also add support to the berth itself. With that, I could reinstall the semi-permanent forward section of the berth top with screws.
I'd continue with final tank and berth installation details next time.
Total Time on This Job Today: 8.25 hours
