110 Cookson Lane | Whitefield, ME 04353 | 207-232-7600 | tim@lackeysailing.com
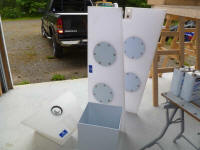
First thing, I picked up the new tankage (3) and icebox liner. I'd also intended to retrieve the new laminate for the galley countertop, but discovered upon arrival at the vendor that the piece, which they'd notified me earlier had arrived, had in fact been sent back since it was damaged in shipment--but they failed to notify me of that. So chalk up another two-week delay before that arrived. Frustrating, but not the end of the world, as I'd plenty of other work to do.
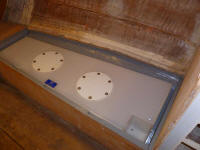
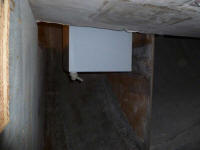
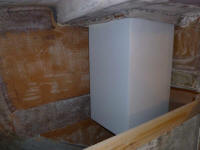
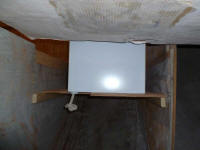
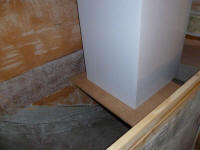
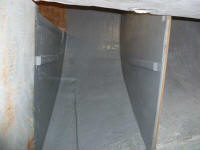
With the tanks on hand, I inventoried the plumbing fittings required for the various connections and ordered them, so I could install the fittings and then the tanks as soon as possible. I test-fit the port and starboard settee tanks. On the port side, since the settee was wider, the tank had more room to spare, and in the photo below the tank is too far down towards the settee front; its final position would be further outboard, but this would require some additional supports inside the locker.
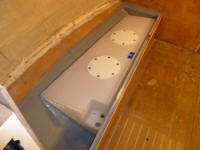
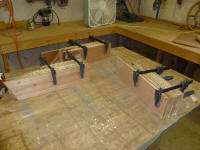
To hold the tank up where it needed to be, and secure it in place, I laminated three sets of blocks from scrap plywood. These spacers would eventually hold a full-length plywood panel against the tank. The blocks were oversized and built from random lengths of scrap, and I'd trim them to size when the glue cured.
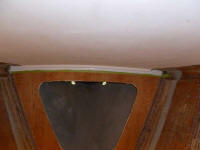
Next, I turned to the icebox liner, which I was anxious to install so that the galley construction could continue in earnest (at least once the new countertop laminate arrived). I'd designed the liner to fit within the molded gutters surrounding the cockpit hatch, but the first order of business was to hold it up in place so I could work on a support system. To help with this, I strung some line through the drain hole, using this to pull and hold the liner in place from above while I secured it with a few temporary clamps just to get the height and position right.
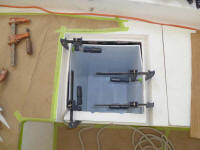
Allowing for a 12mm plywood platform, from inside the locker beneath the icebox I made reference marks on the bulkheads on each side of the space at the correct height, then cut and installed support cleats to the bulkheads.
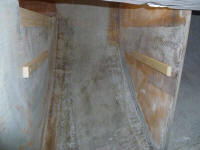
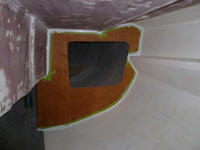
I cut a plywood platform to fit, leaving a notch at one corner to provide room for the drain fitting. then, temporarily supporting the liner from above again, I slid the platform into place beneath.
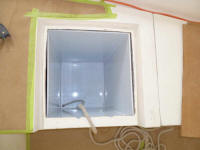
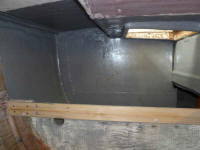
Pleased with the test-fit, I removed all the components and, after cleaning the locker surfaces, painted the hull and bulkheads and other areas in way of the new icebox.
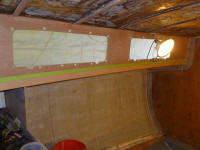
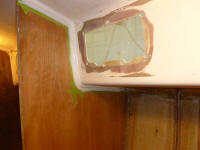
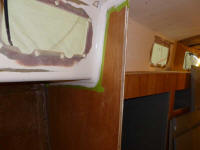
The bare cherry trim in the main cabin was making me nervous, and I wanted to get some varnish on it soon, so with a little time left in the day it seemed the perfect opportunity to mask off in preparation.
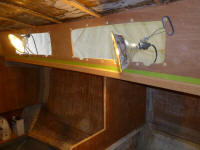
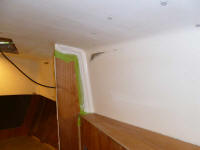
Finally, I applied white primer to the edges of several bulkheads in the forward cabin and quarterberth. The character of these joints was such that I could prime and paint these edges now, then come back later and follow suit with the main field areas, which I wasn't quite ready to do just yet. But by taking care of the edges, I'd be able to remove the masking tape and continue work on the varnished bulkhead surfaces.
Total Time on This Job Today: 8 hours
