110 Cookson Lane | Whitefield, ME 04353 | 207-232-7600 | tim@lackeysailing.com
Snow Lily | Wednesday, November 7, 2012
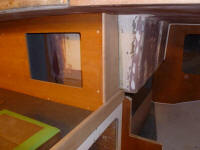
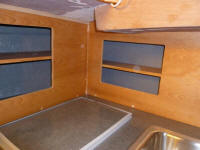
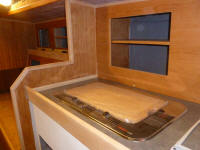
Before starting on some additional interior construction, I decided to finish up a few bits of trim around the galley area, which would mostly wrap up the trim in the main cabin and galley areas. So I cut and fitted various pieces to round out the work in that area for now.
As usual, I sanded the toerails to prepare for their sixth coat of varnish; I didn't get around to applying another coat this day, however.
Meanwhile, the chainplate slots required an additional application of fairing filler to bring the openings level with the surrounding deck areas.
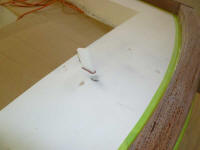
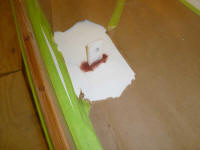
Next on the agenda was the head compartment, which was a blank slate for all intents and purposes. Earlier, I'd removed what remained of the original head door frames, so the space was rather open at the moment. the original setup featured two doorways, which we determined was wasteful and unnecessary, so the new head compartment would use only one door, located in the passageway. The head area was to be painted white, with wood trim to dress it up as necessary.
The owner selected a C-head composting toilet, which I'd had on hand for a while now. Unpacking the unit, I made cardboard templates of the base shape (which featured angled corners to fit into tighter spaces) and the top, which was necessarily a bit larger.
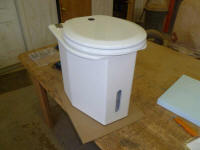
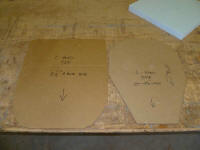
Using the templates, I determined roughly how the head might fit in the space, angling it towards the port aft corner of the space. Holding the base template--and also the top, to ensure that the square back corner of the top section would have ample clearance--in various places I determined roughly where it should go, and what sort of platform would be required. I wanted to minimize the height of the platform, but also needed the platform to be wide enough to support the base. The curvature of the hull was the main deciding factor in balancing these two needs.
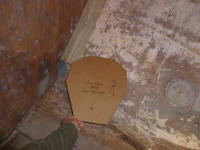
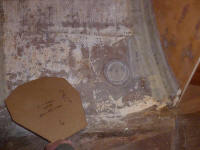
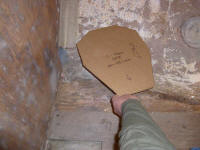
I attached a temporary cleat to the aft bulkhead, then used cardboard to create a rough template of the toilet base.
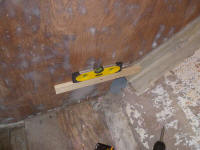

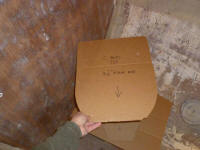
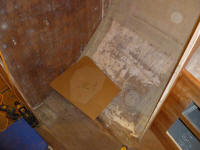
This gave me a general starting point, located at the forward end of the toilet base template, for the vanity and storage cabinets that would make up the rest of the space. After making a few reference marks, I constructed a cardboard template of a bulkhead for the aft end of the vanity, which would also enclose the forward end of the head platform itself, and then transferred the shape to 12mm marine plywood for the bulkhead itself, which I left oversize so I could mark the actual level height and plumb front edge of the bulkhead in place.
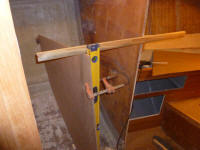
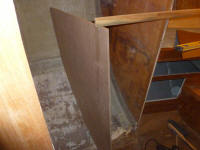
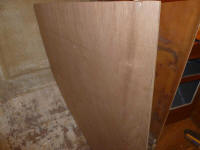
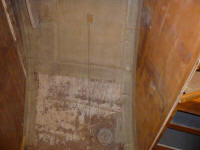
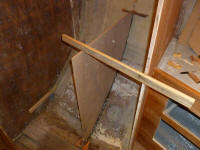
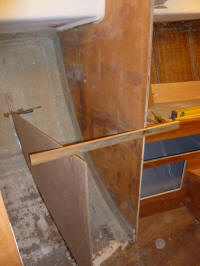
After fine-tuning the bulkhead's location, keeping it plumb and equidistant from the existing bulkheads, I marked the edges, removed the bulkhead for final trimming, and finally installed it permanently with epoxy adhesive where it met the hull, bracing it as needed to hold it in position. With the bulkhead secured, I'd be in good position to build additional sections of the compartment next time.
Total Time on This Job Today: 8 hours
