
110 Cookson Lane | Whitefield, ME 04353 | 207-232-7600 | tim@lackeysailing.com
Snow Lily | Thursday, November 8, 2012
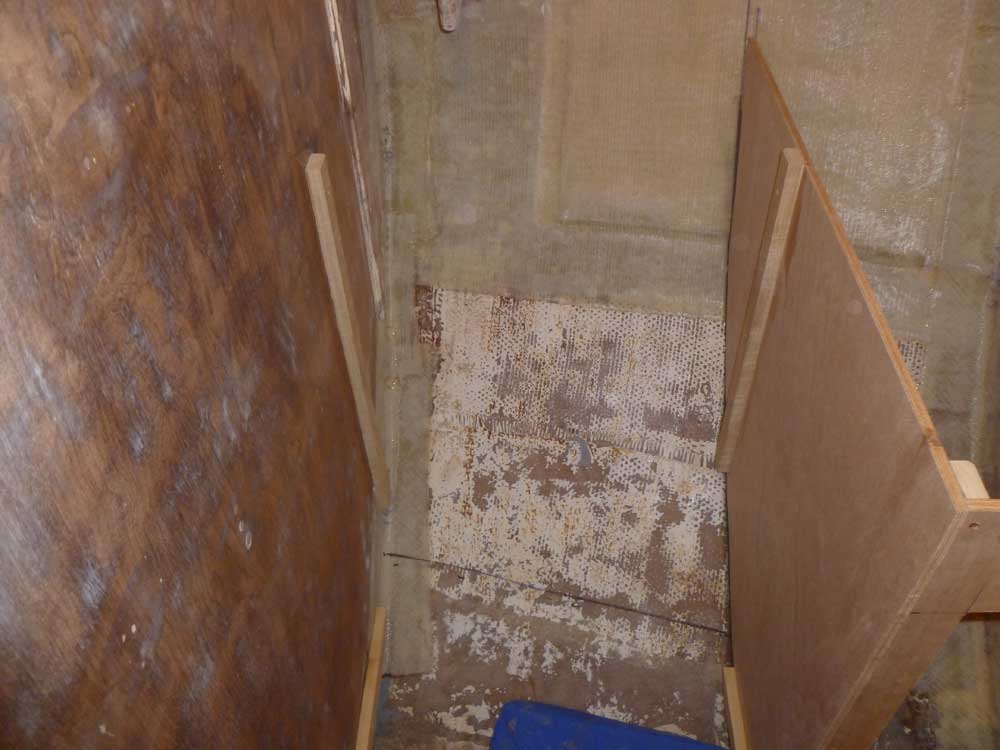
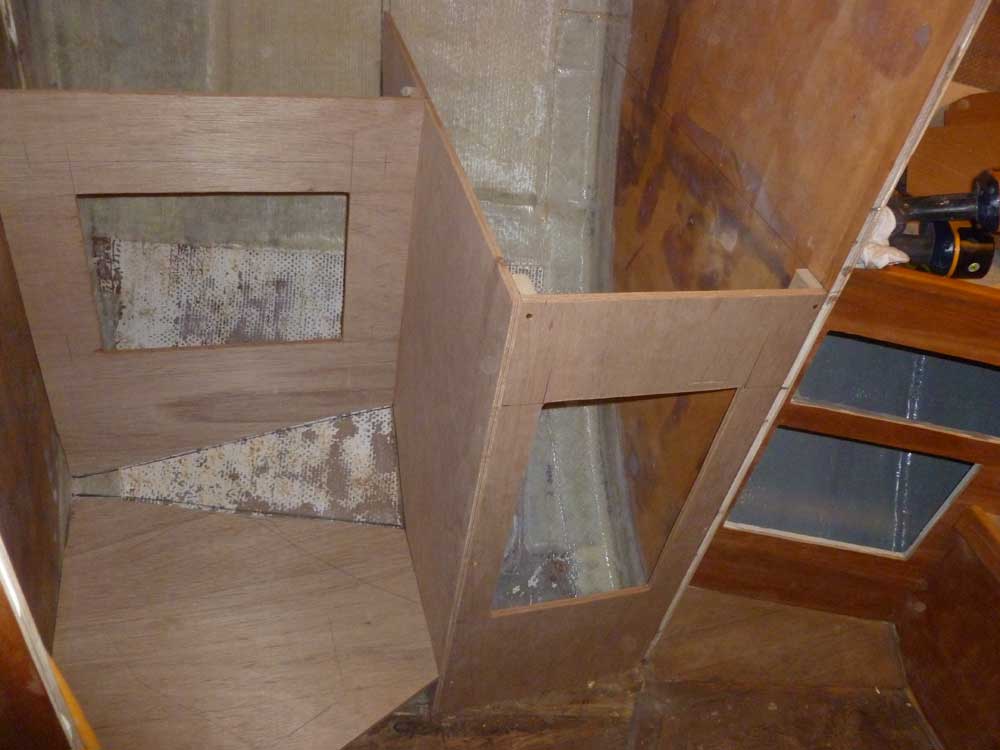
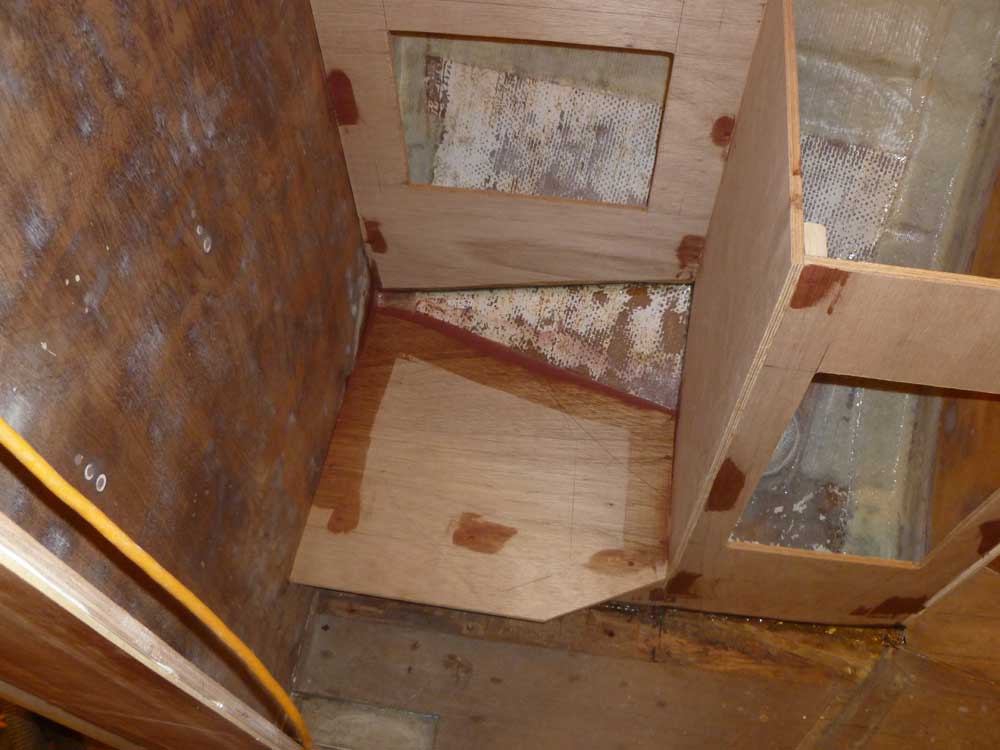
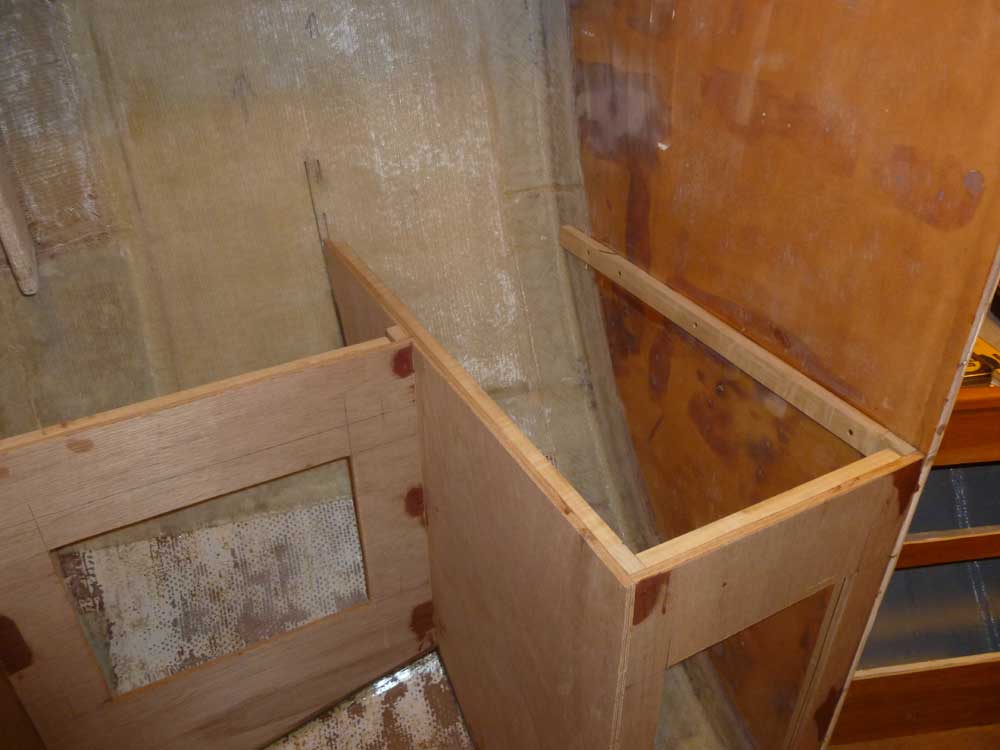
With the first bulkhead in the head now secured, I continued with adjacent sections. Later, I'd install tabbing to further secure this bulkhead (and others), but that would wait till I could do it all at once, after I'd fit and installed the remaining sections of the head cabinet.
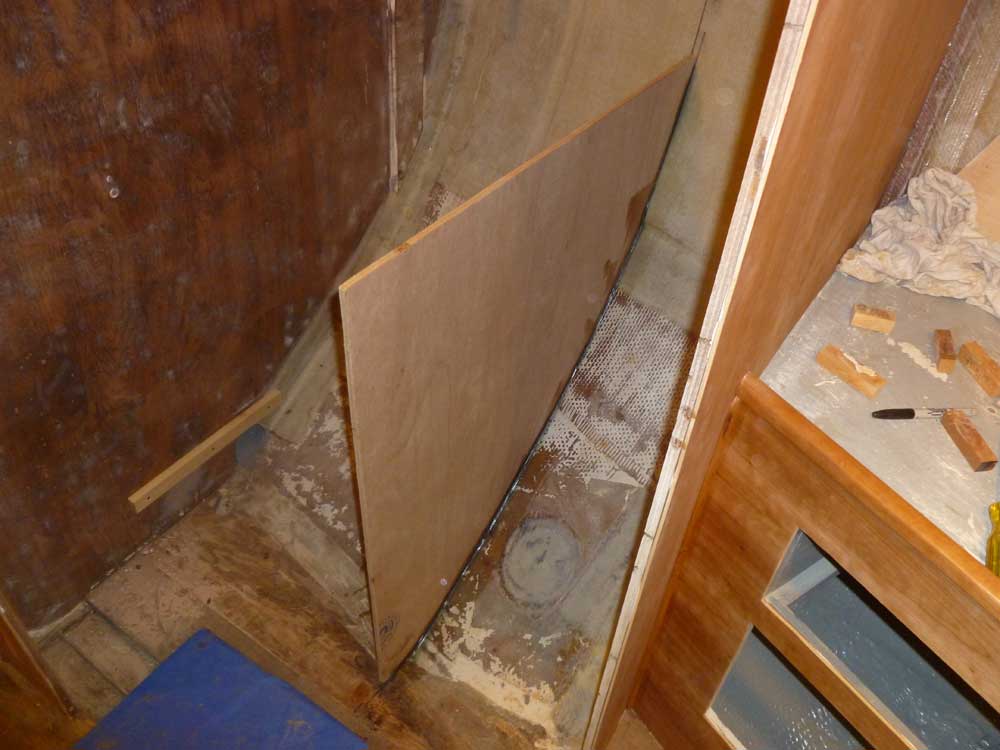
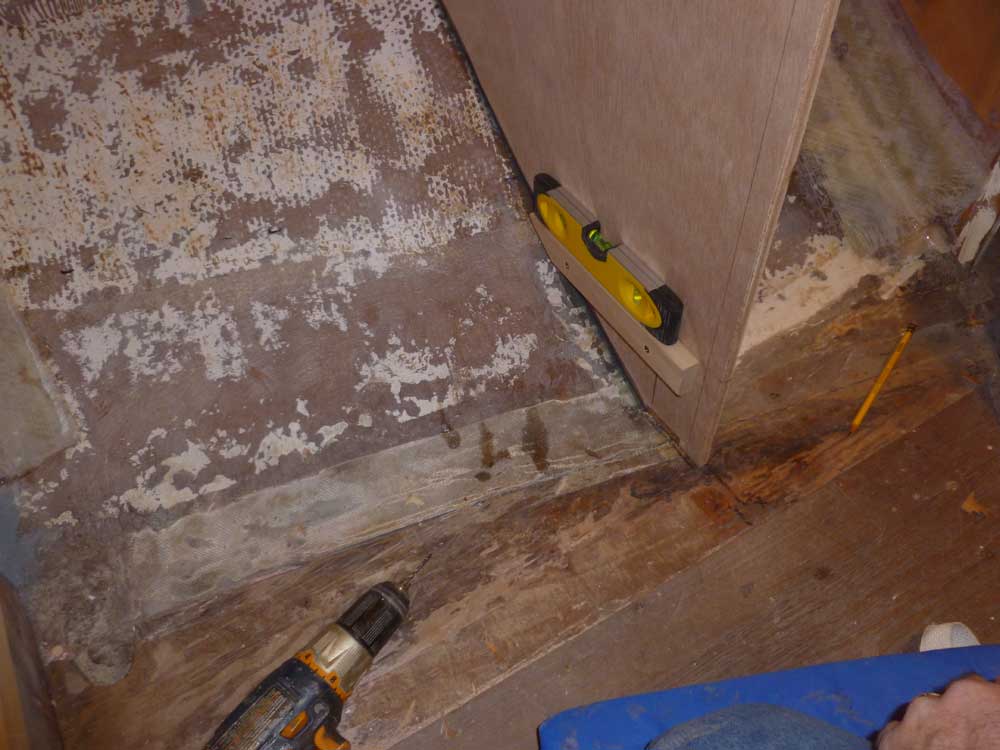
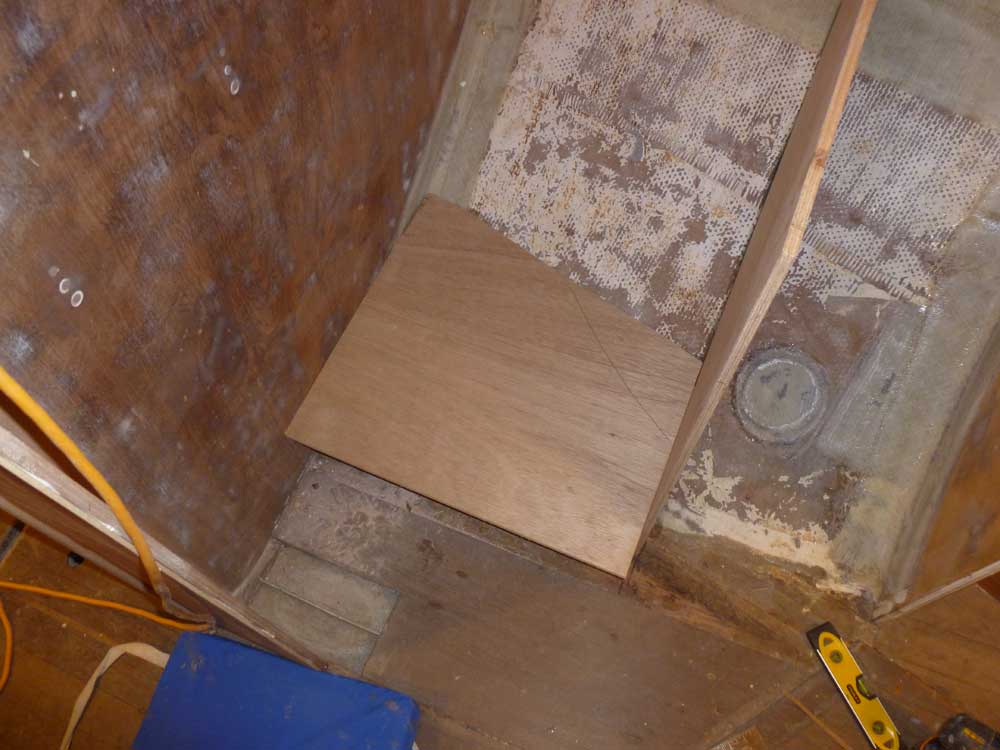
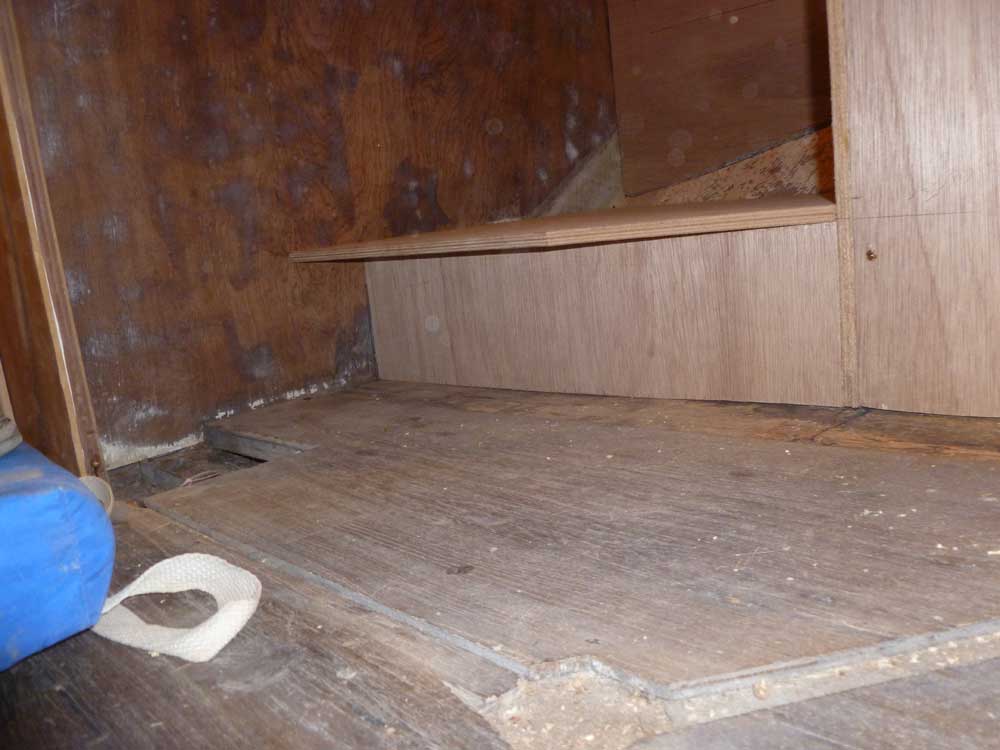
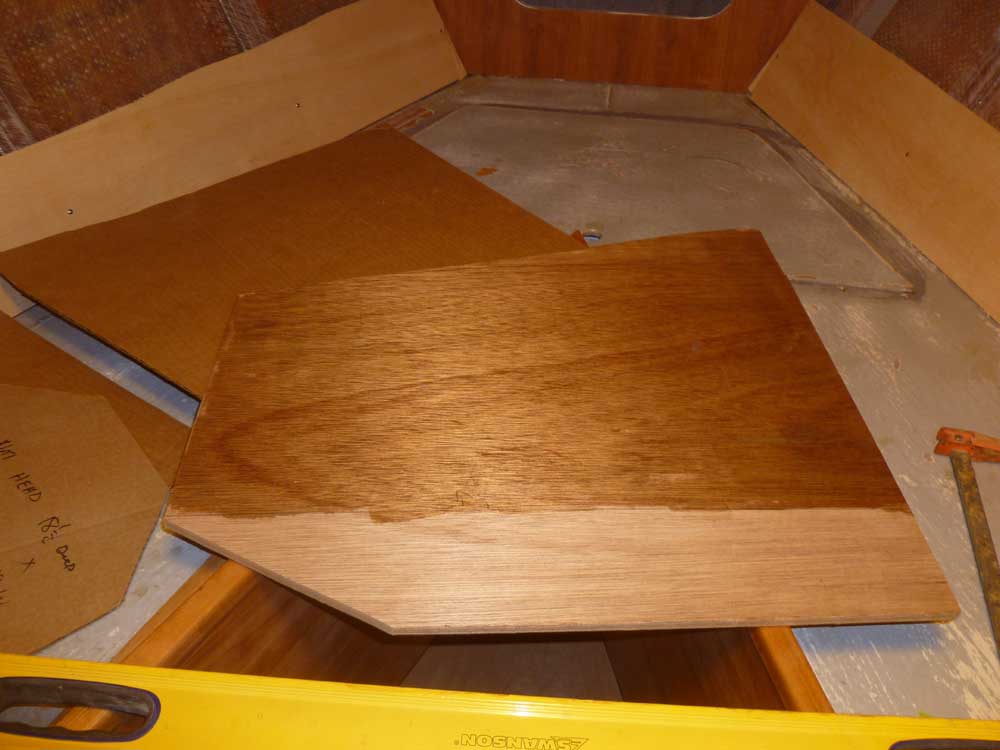
Using a level, I transferred the height of the aft toilet platform cleat forward to the new bulkhead, and installed an additional support cleat there. Then, I used the cardboard template of the toilet platform to cut a plywood section to fit, leaving it slightly oversized for now.
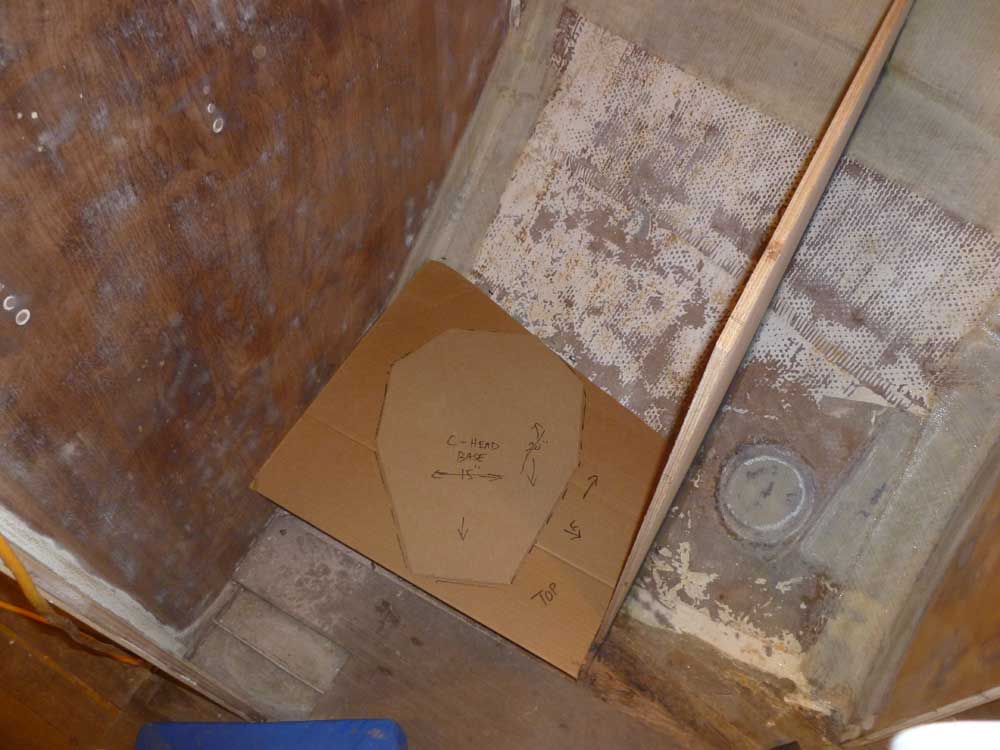
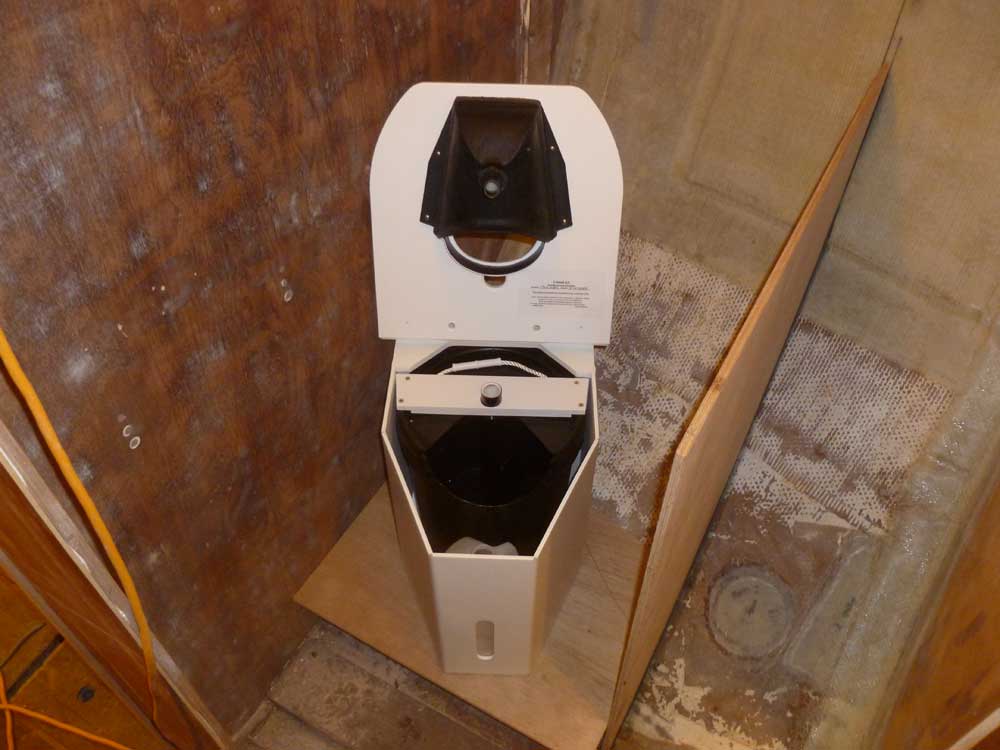
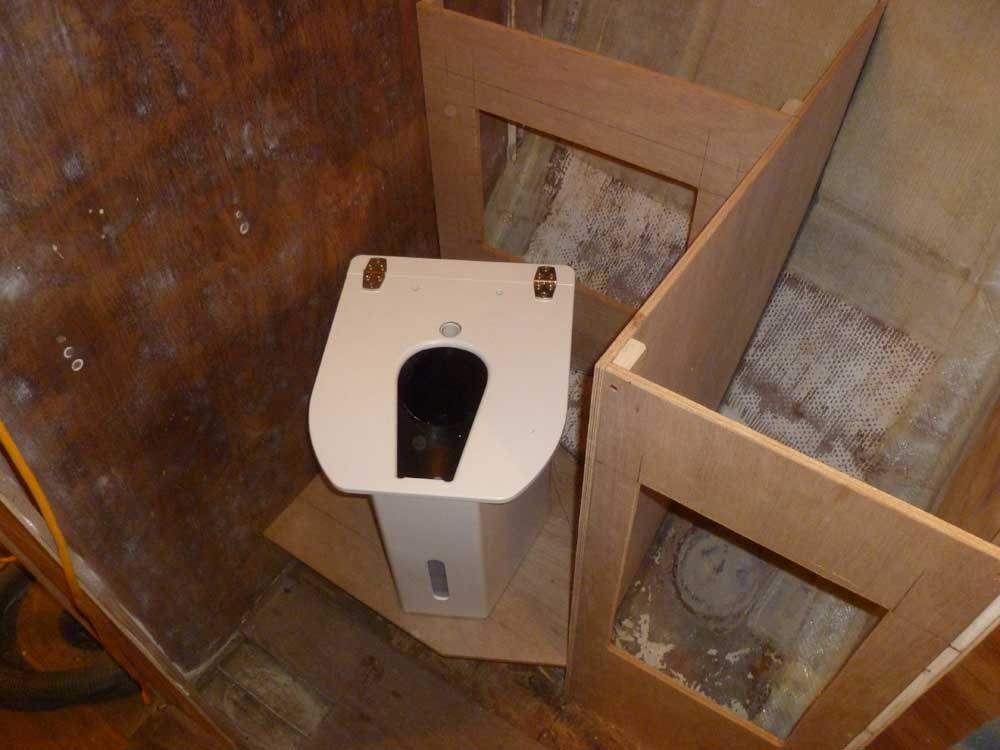
After trying out the C-head template on the new platform, and adjusting its position slightly, I decided to bring the actual toilet aboard to ensure that the top section would fit well in the prescribed position. While the toilet would fit in a straight (transverse) orientation, the placement of the mast would make using the facilities awkward in that position so the angled position seemed the best bet.
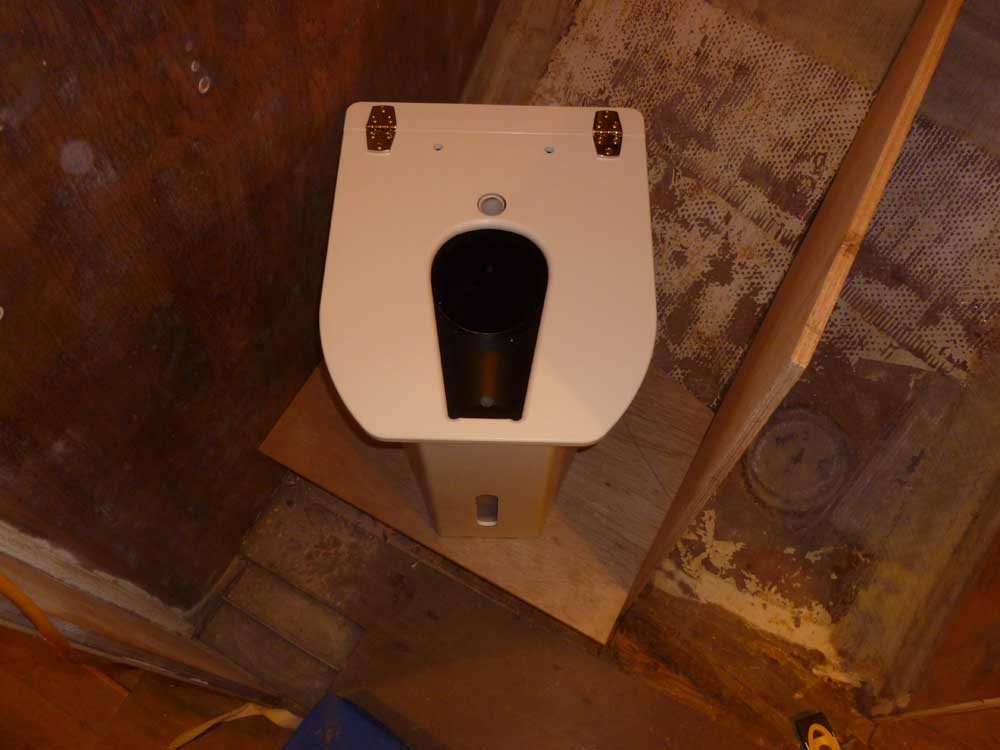
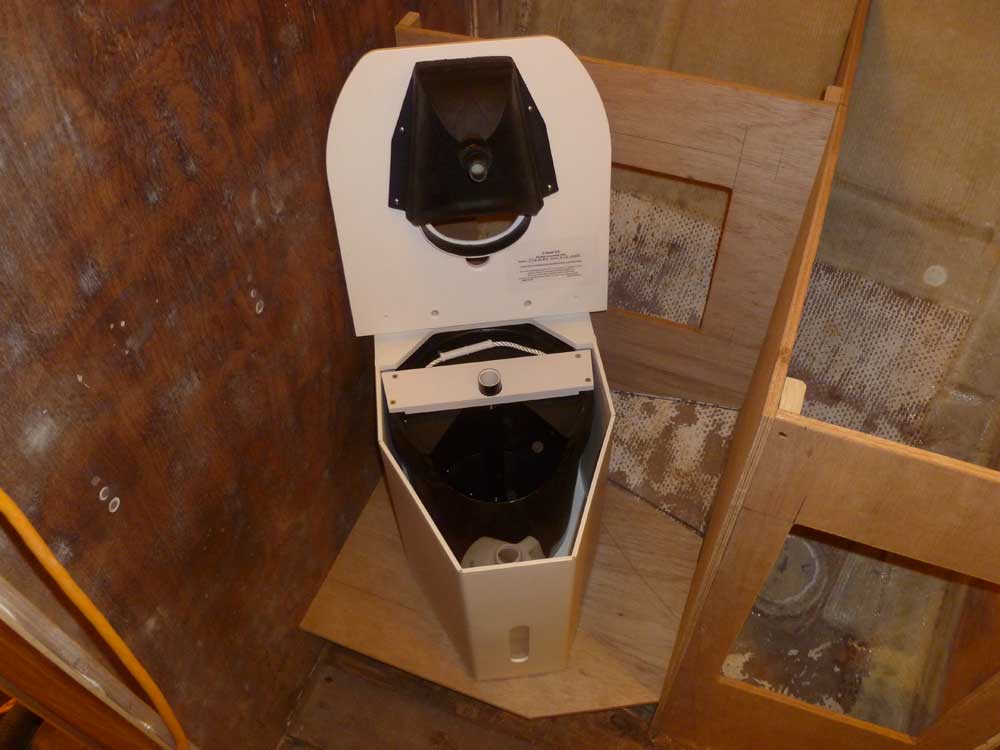
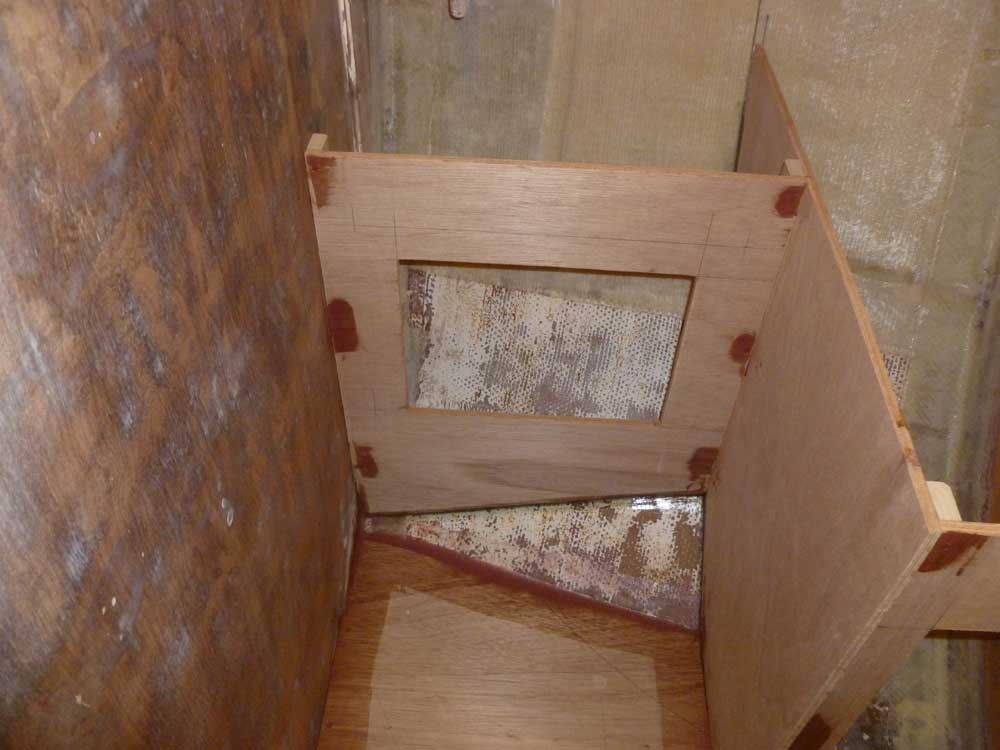
Note that I'd removed the toilet seat earlier for safekeeping and convenience, so this is just the service hatch for the toilet, not the seat.
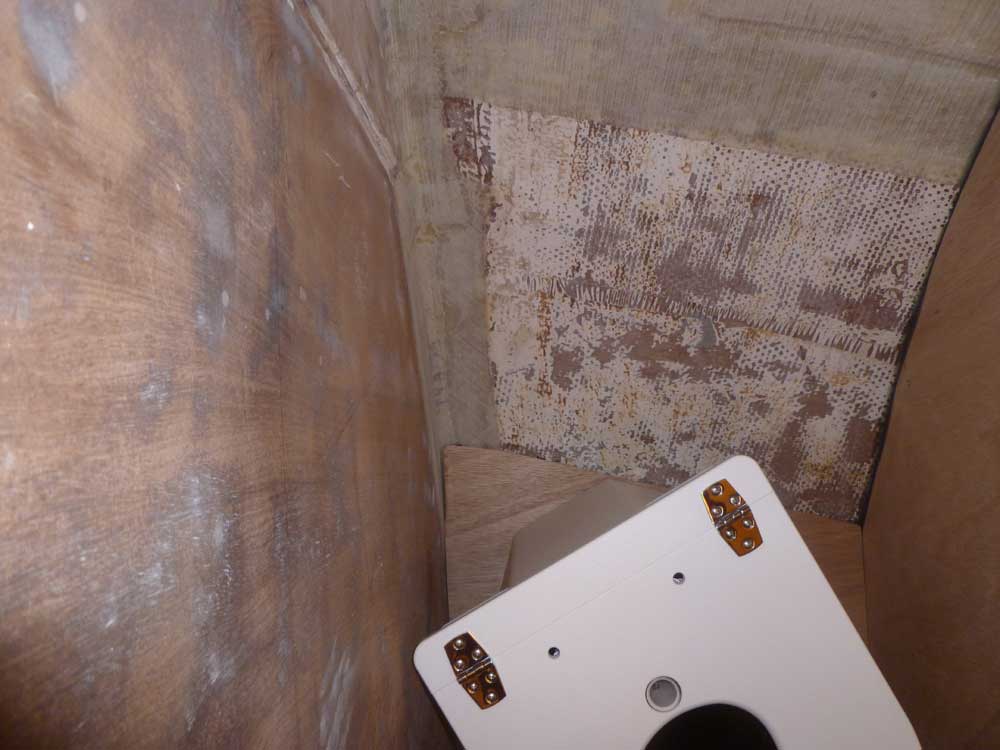
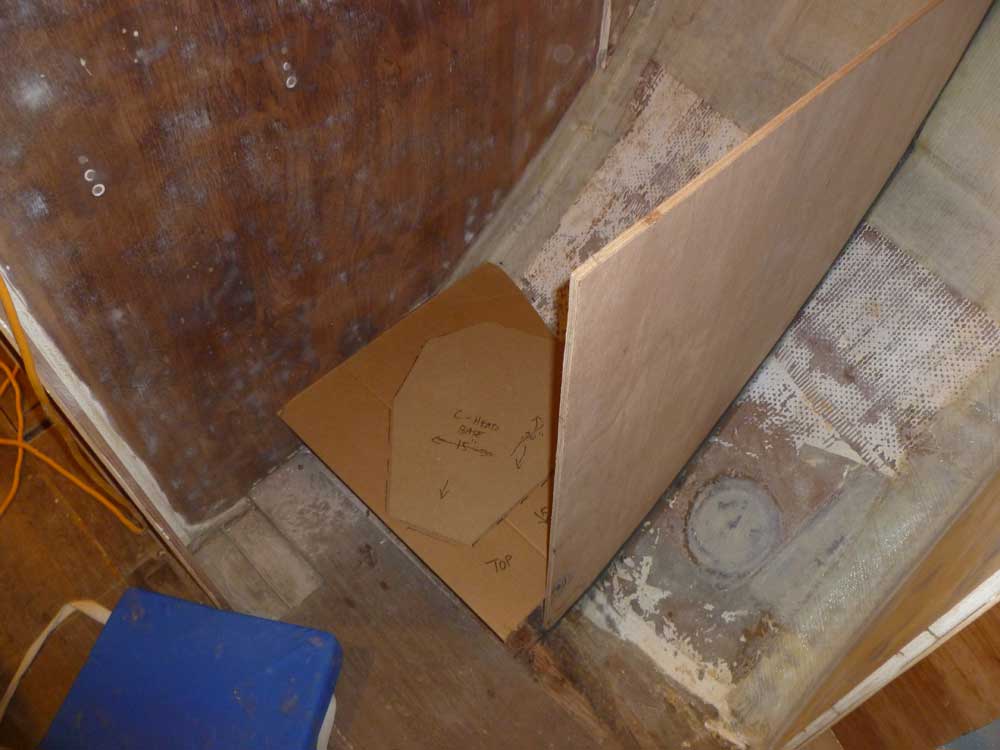
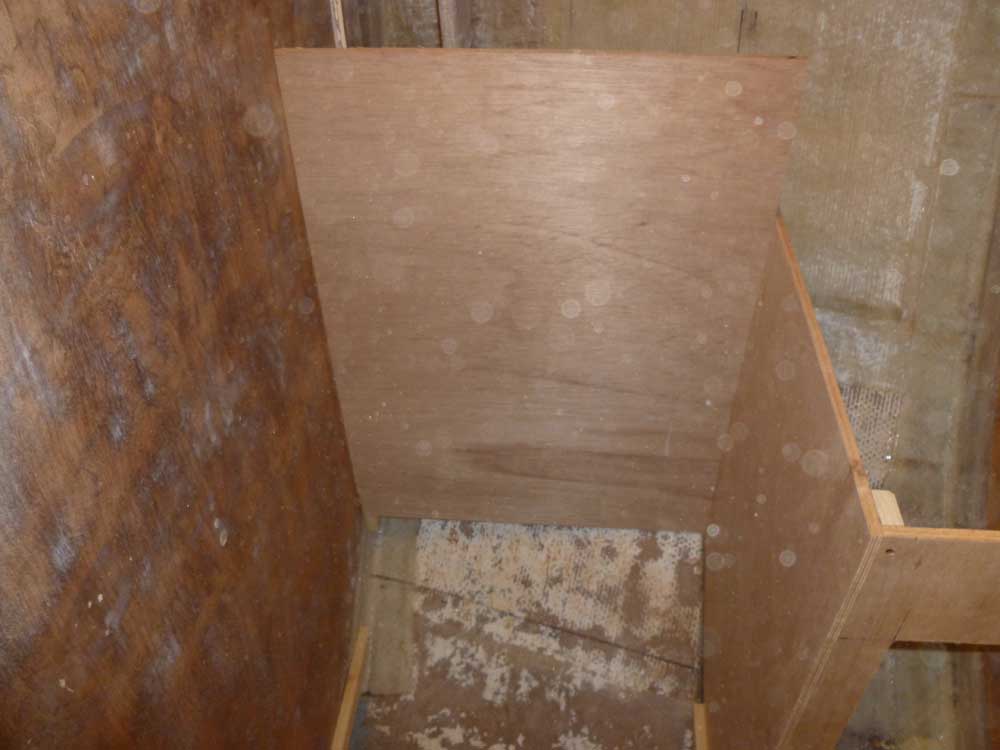
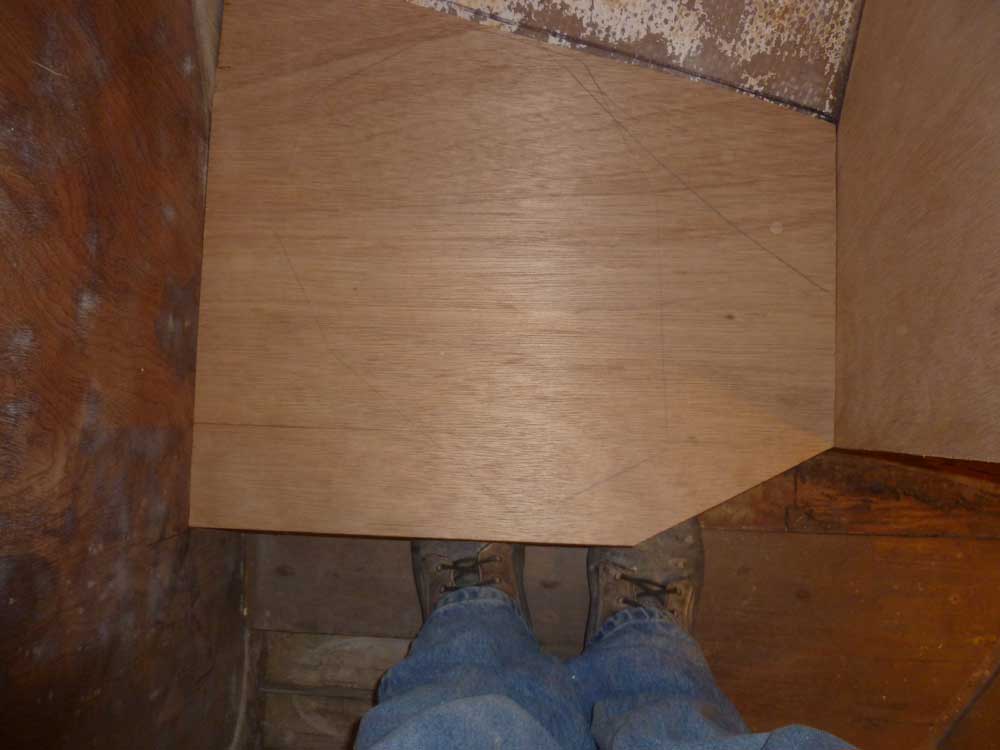
Pleased with the position, I traced the base on the platform for reference. Now, I turned my attention back to the new bulkhead, which I'd left a little wider than need be pending final details with the platform. Using the forward main bulkhead for reference, I marked the final width of the bulkhead, struck a plumb line, and sawed off the excess couple inches.
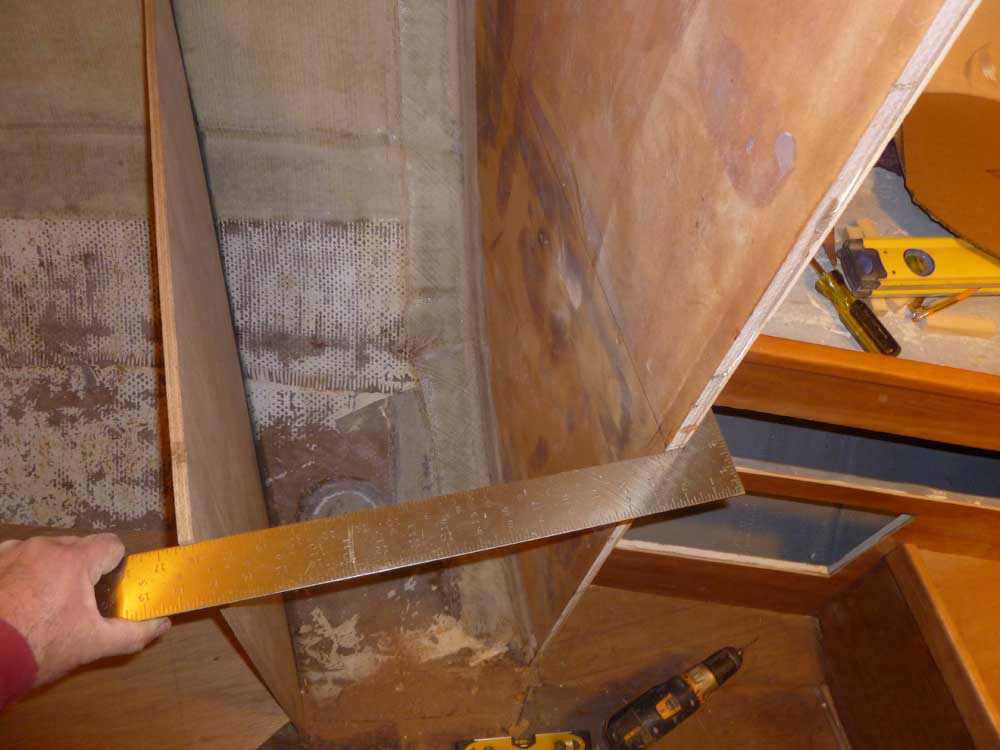
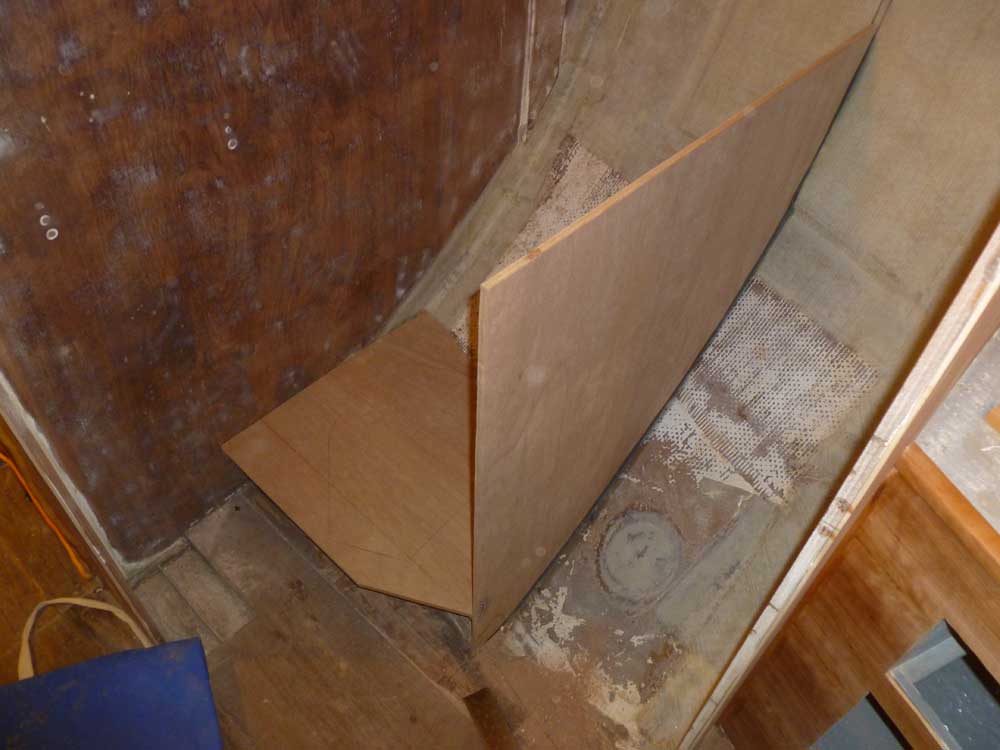
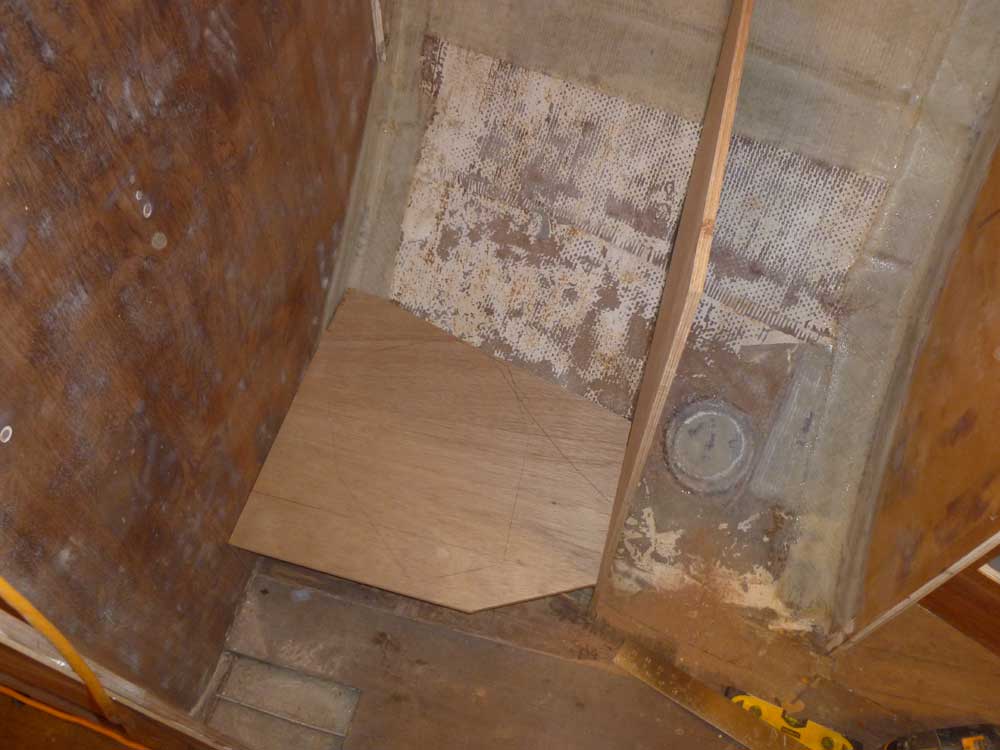
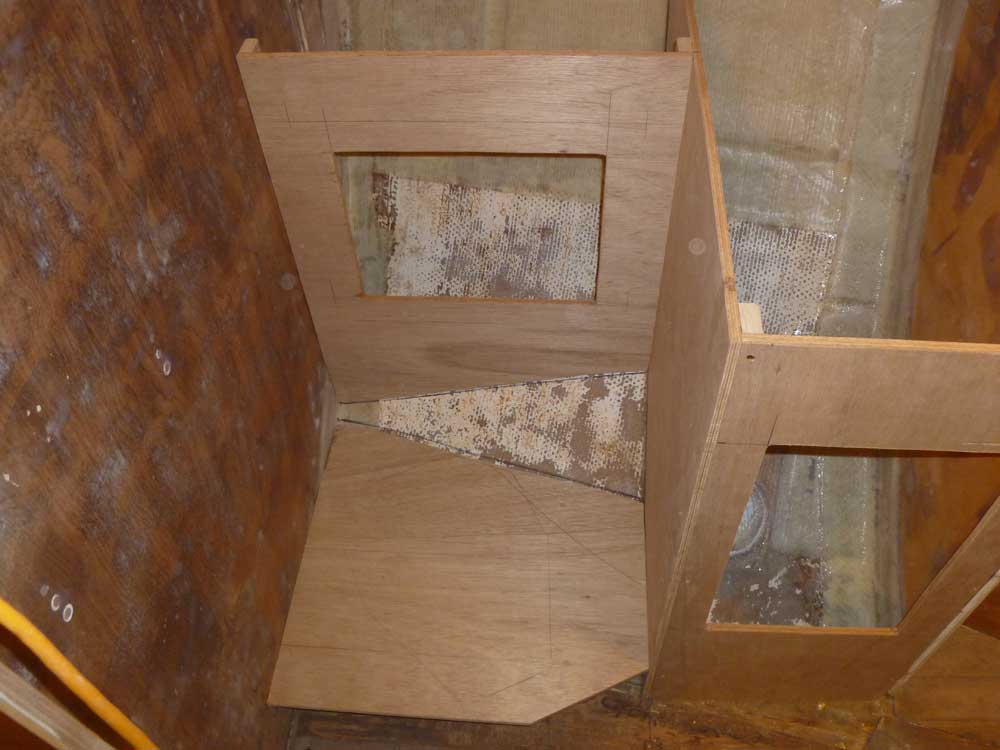
Then, from this new edge, I struck an angled line on the toilet platform. The platform needed its full original width to support the toilet base, but clipping the corner would save room and tie everything together. For the sake of continuity, I paralleled the front of the toilet base when determining the position of the new angle cut. The remaining section of the overhanging platform would eventually form a toe kick, allowing extra footroom beneath.
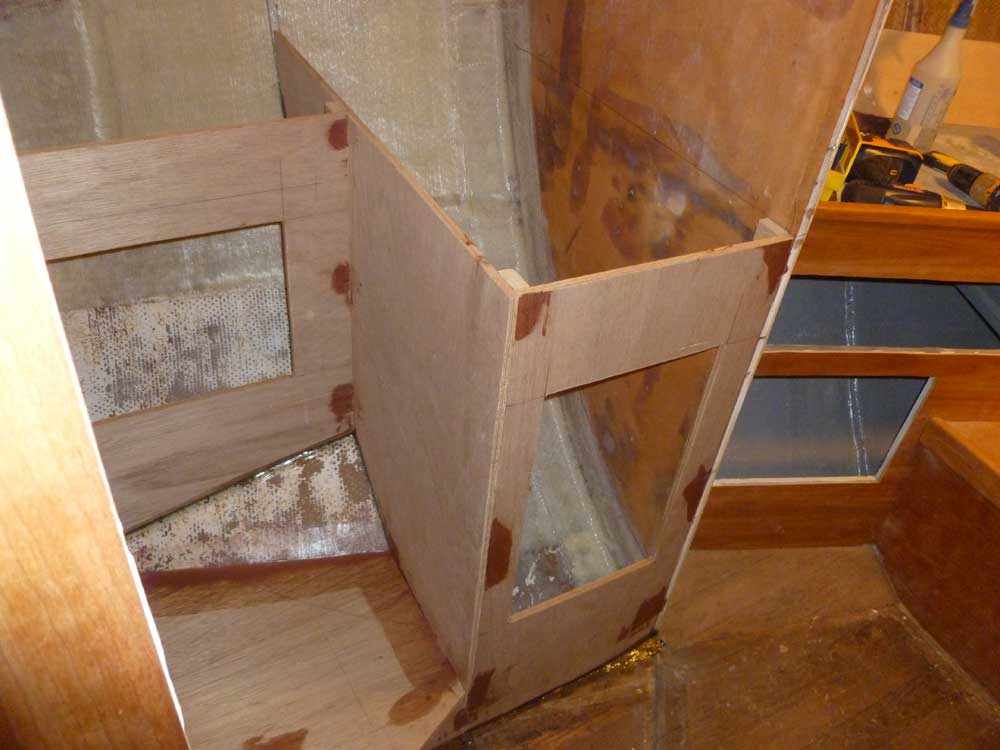
Done with the basic platform work, I moved on to the other portions of the head cabinet, beginning with the face of the forward vanity section. I cut a section of plywood to the correct width, leaving it overtall, and scribed the bottom edge to fit the contours of the hull beneath before cutting the top flush and level. Then, I laid out and cut a doorway opening for access before permanently installing the front with glue, screws, and epoxy at the base.
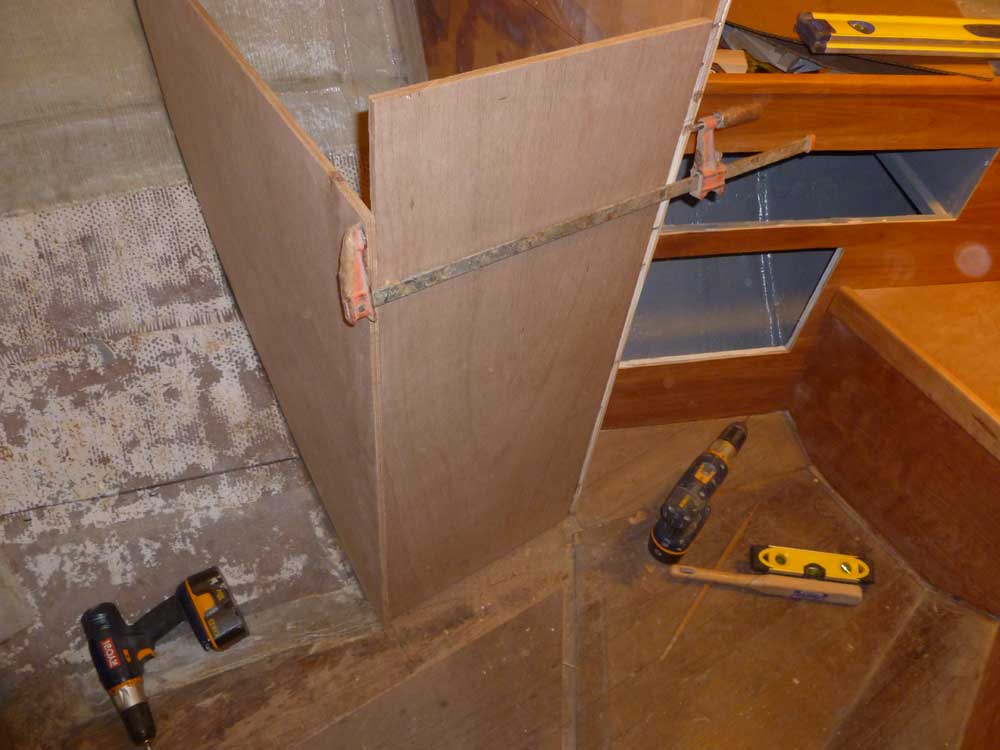
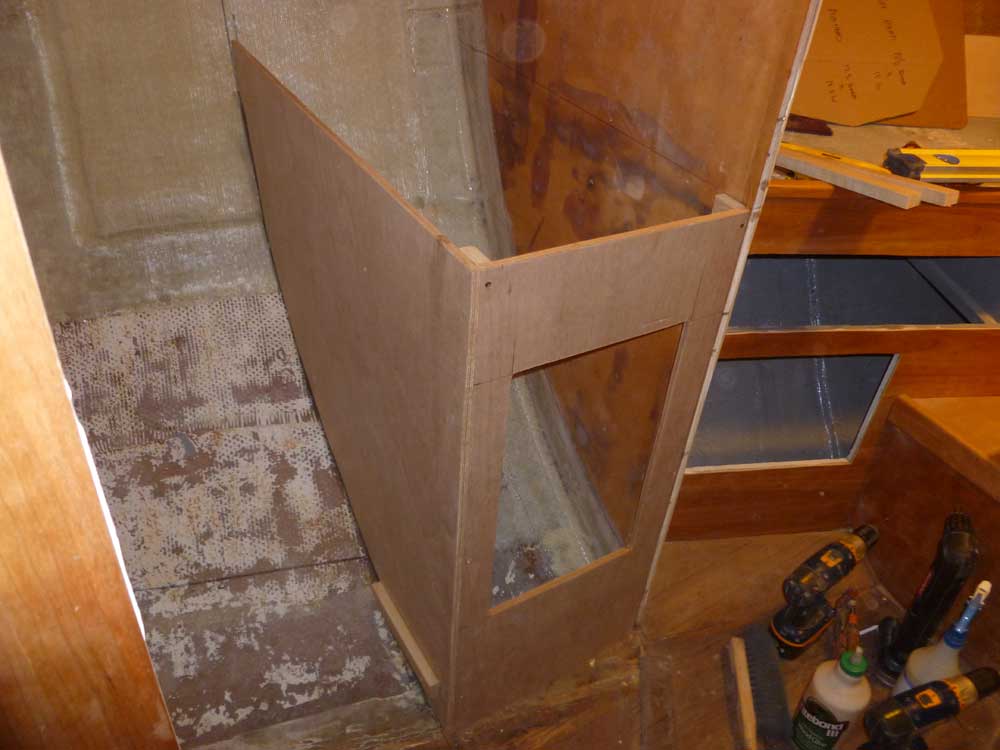
Behind the toilet, I marked the transverse bulkheads for a pair of vertical support cleats, keeping the position just behind where the toilet platform met the hull. After installing the cleats, I cut and installed a back cabinet panel, scribing the bottom to fit the shape of the hull and cutting a large locker door opening for access. I installed the panel with glue, screws, and epoxy at the bottom edge.
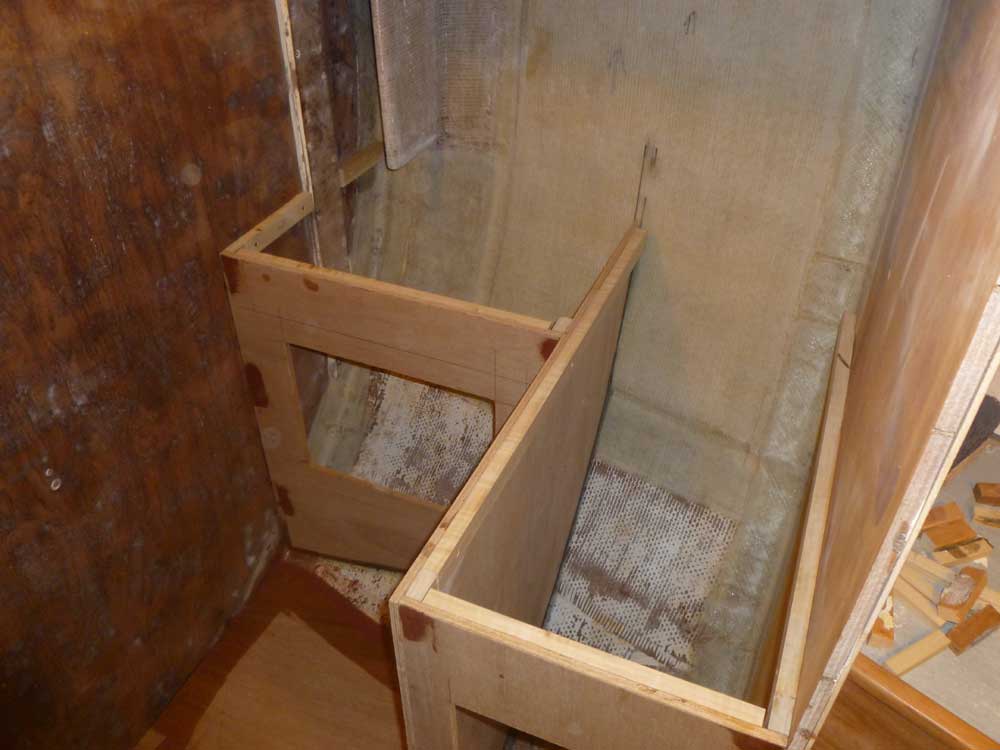
With the main pieces in place (the toilet platform only loosely installed for now), I test-fit the C-head in place once more to ensure good fit, and also that the lid and seat would operate properly and be supported by the vertical surfaces behind.

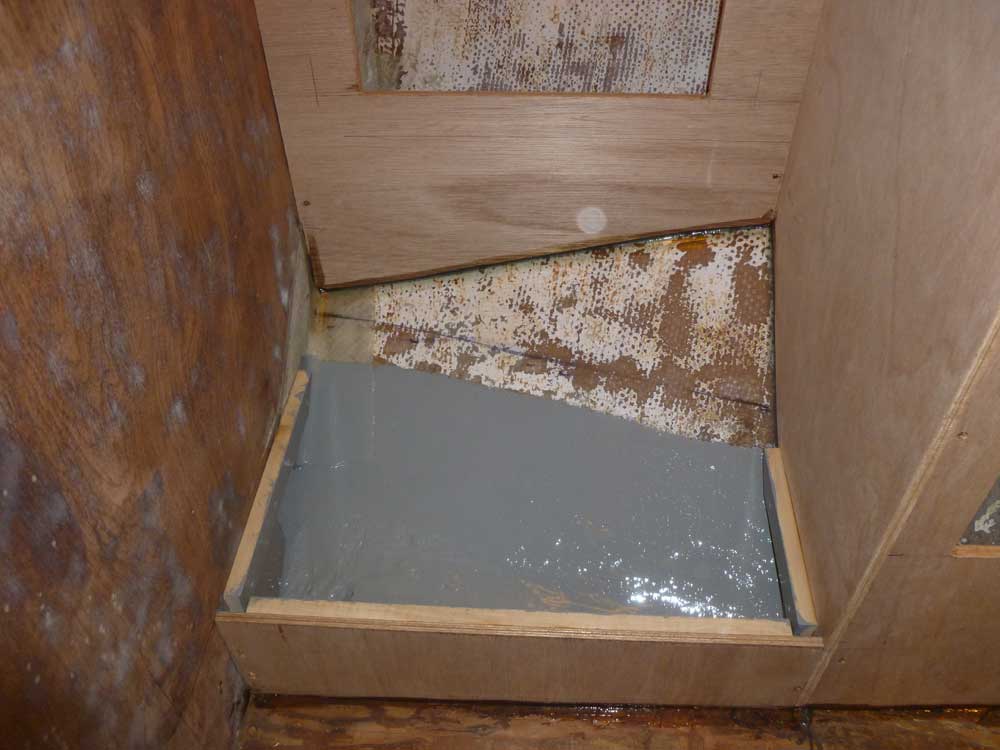
Before installing the platform permanently, I cut a short vertical bulkhead to close off the opening beneath, securing it to vertical cleats on the sides, and with epoxy adhesive beneath. The overhanging platform formed a generous toekick, increasing floor space in the tight compartment while allowing full room for the toilet and comfortable usage.
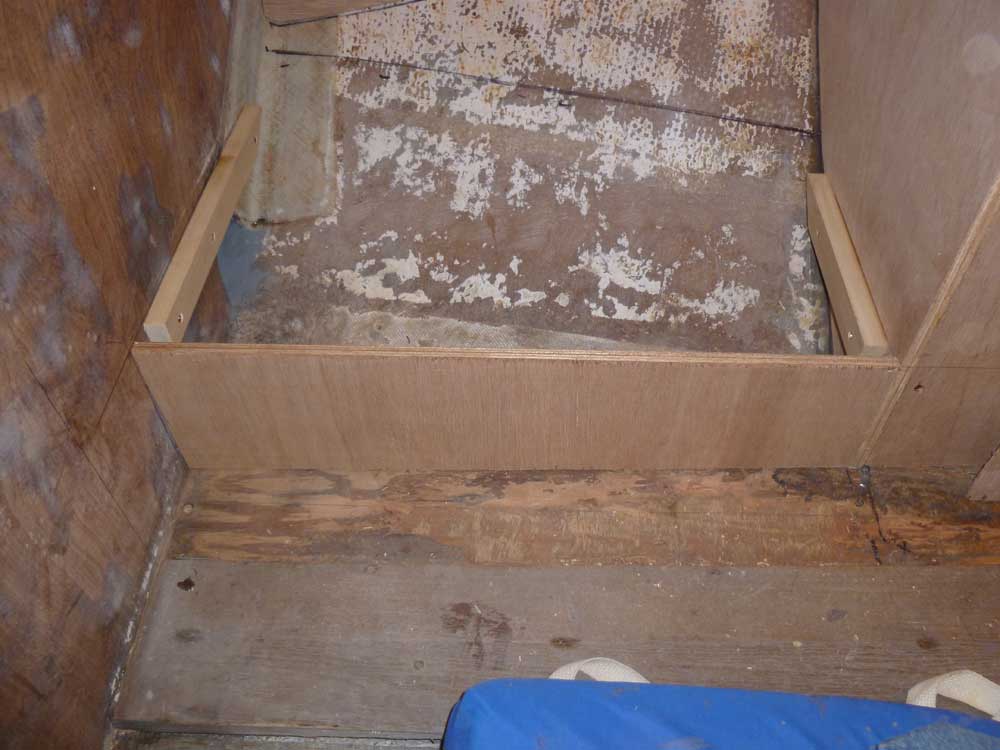
Then, even though this space would be hidden and never seen, I painted the hull and wooden areas for protection, and epoxy-coated the bottom side of the toilet platform before finally installing the platform with glue and screws, securing it to cleats on three sides. I finished up the installation with an epoxy fillet where the platform met the hull, securing the platform there and also providing a smooth transition between the surfaces. I'd tab this later. I used extra epoxy filler to cover the various screw holes in the new cabinetry, which surfaces would later be painted white.
Wrapping up the work in the head for the day, I prepared and installed several hardwood cleats on the adjacent bulkheads and at the top edges of the new cabinets to support the countertop.
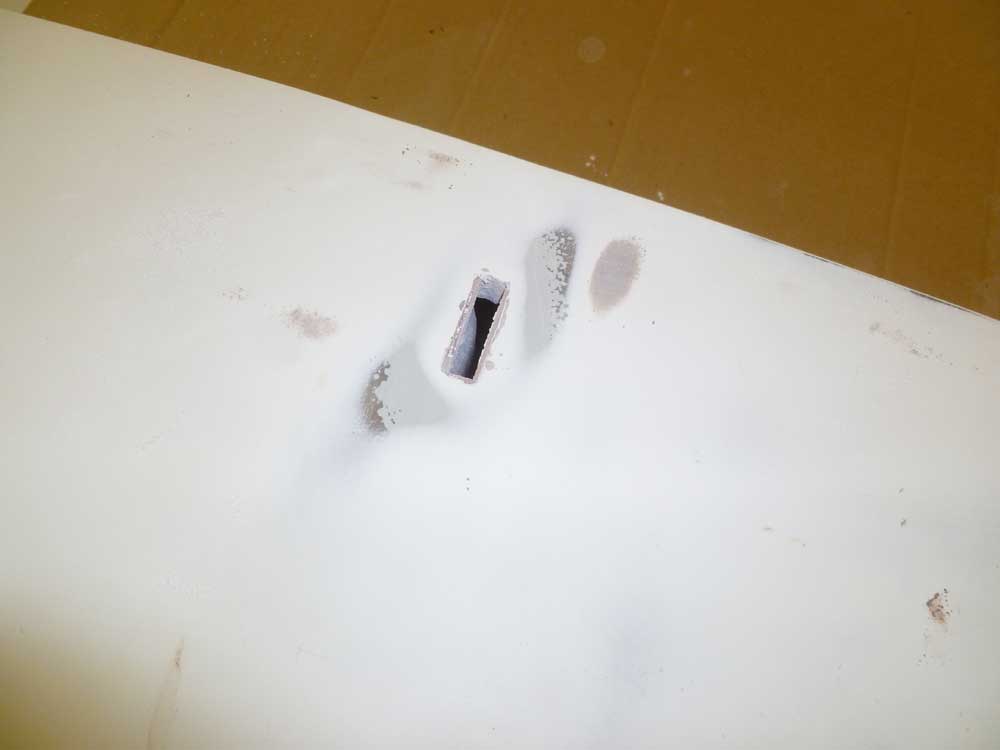
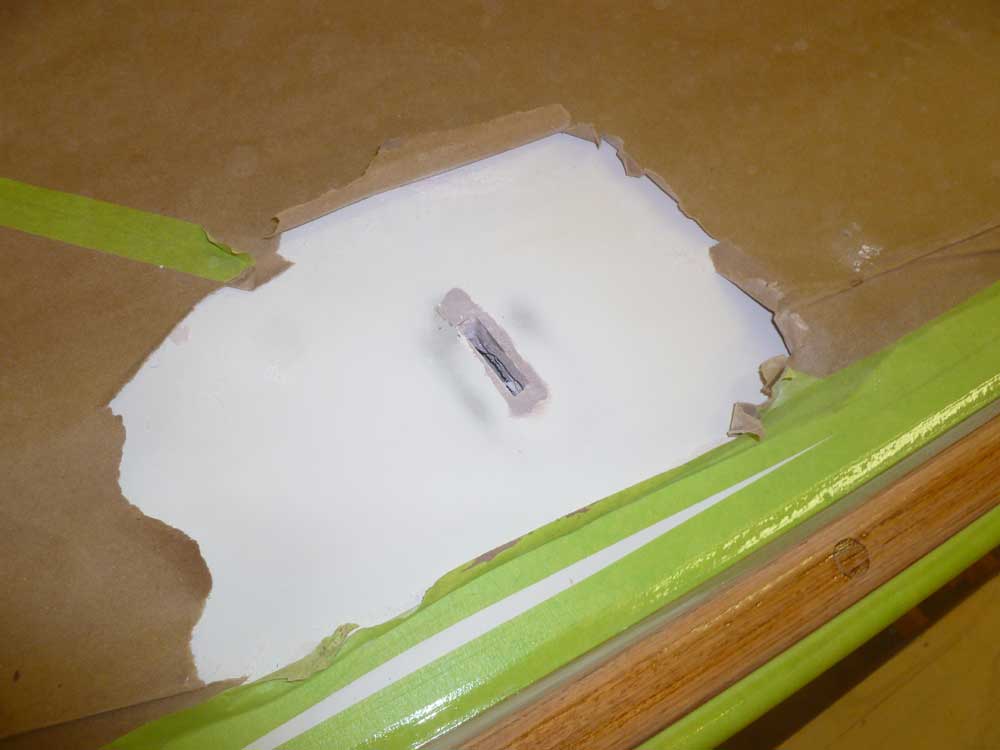
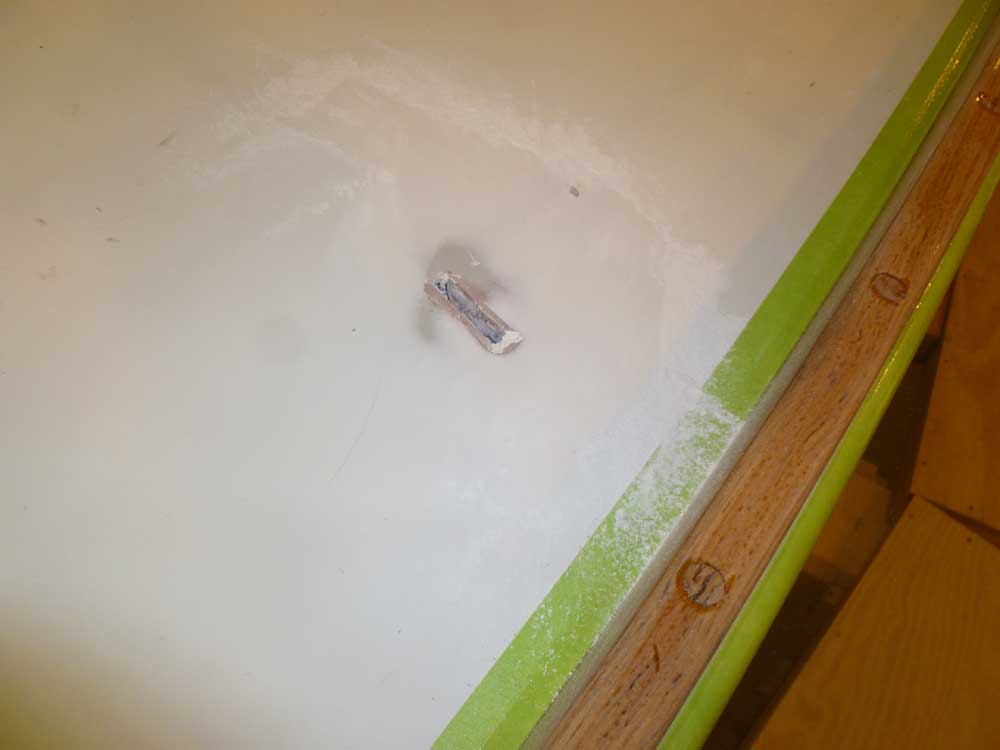
After removing the temporary bolts, I removed the UMHW "chainplates" from the newly-epoxied slots, and sanded the new surfaces smooth with the surrounding decks.
Total Time on This Job Today: 8.25 hours
