
110 Cookson Lane | Whitefield, ME 04353 | 207-232-7600 | tim@lackeysailing.com
Snow Lily | Tuesday, November 6, 2012
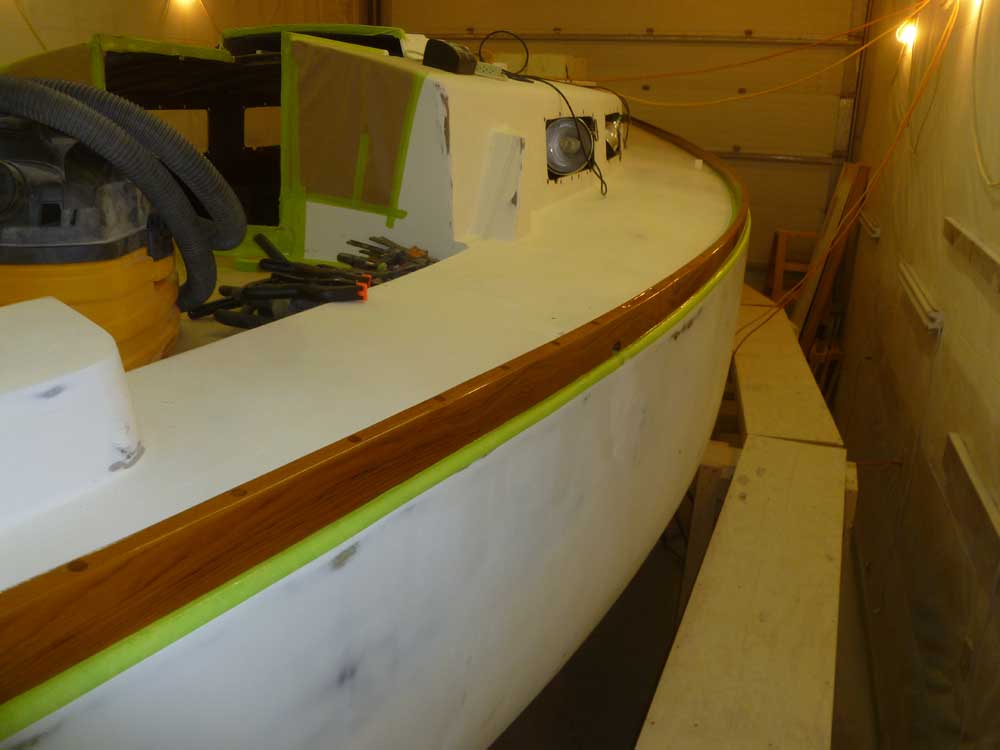
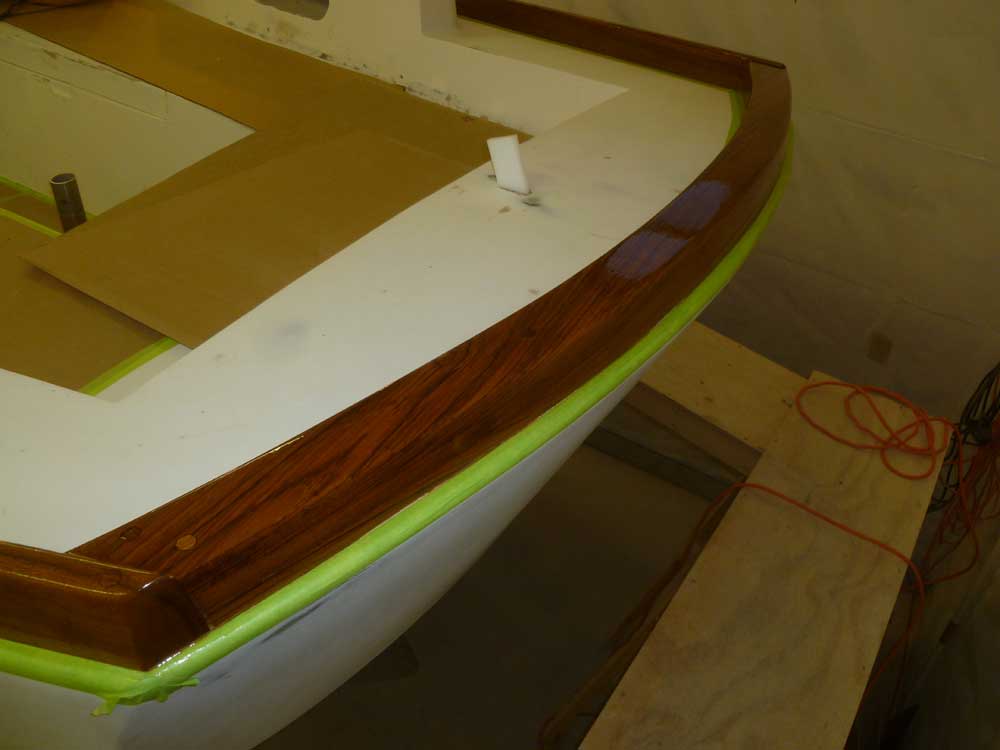
After some research and ordering for upcoming portions of the project, I began work in the shop with the toerails once more, sanding the latest coat of varnish to prepare for more buildup later.
Beginning to gear up for final preparations before deck and hull painting, I turned my attention next to the chainplate slots. The main slots--most notably the port main chainplate, but also the starboard and backstay slots--were significantly oversized and sloppy. I'd started down the road to this project earlier, going as far as building UHMW plastic stand-ins to simulate the actual chainplates, but now it was time to complete the reforming of these slots before priming and painting the deck areas.
To start, I needed to first drill bolt holes in the new port chainplate knee. For this, I used the original chainplate, which I secured through the slot with locking pliers, which held the chainplate in the proper position and height.
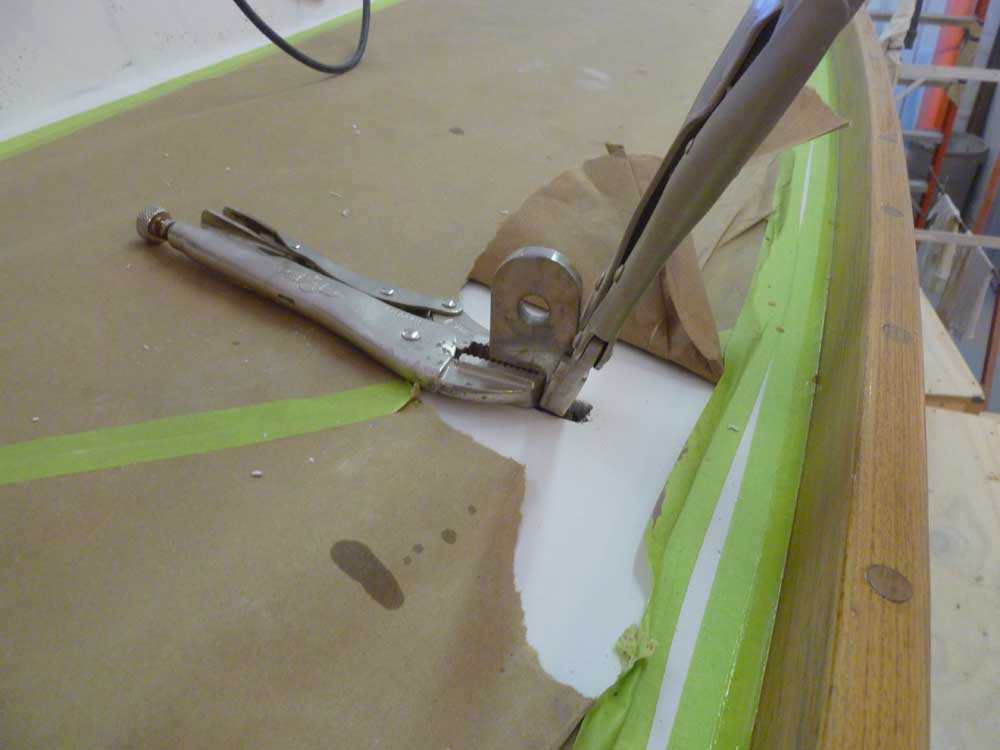
Thusly secured, I drilled all the bolt holes through the knee.
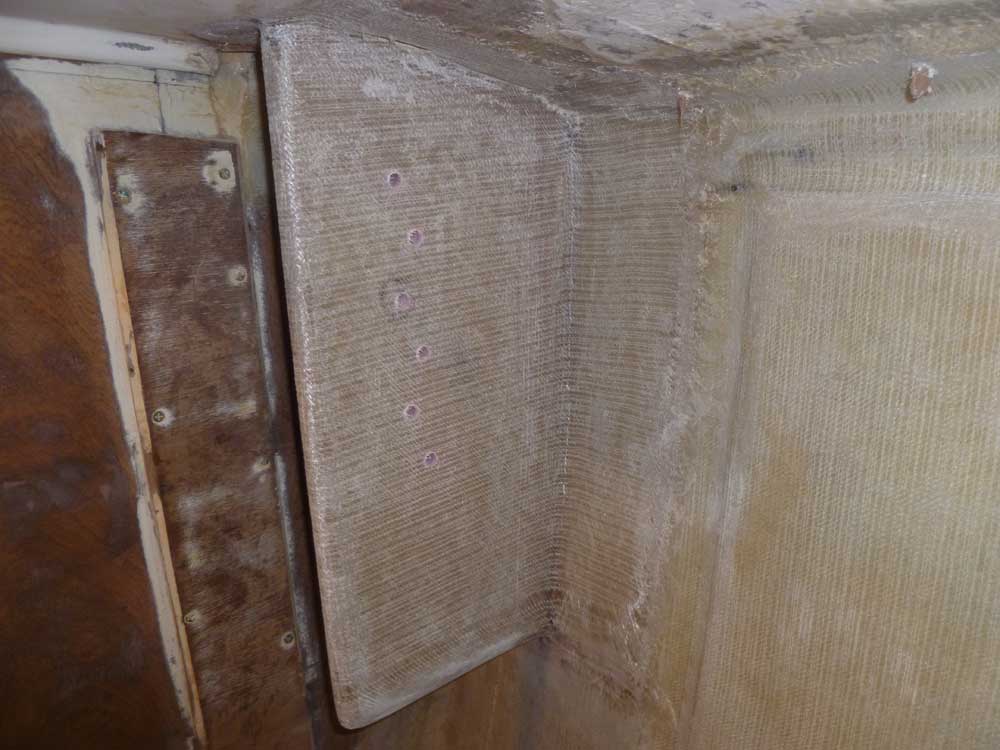
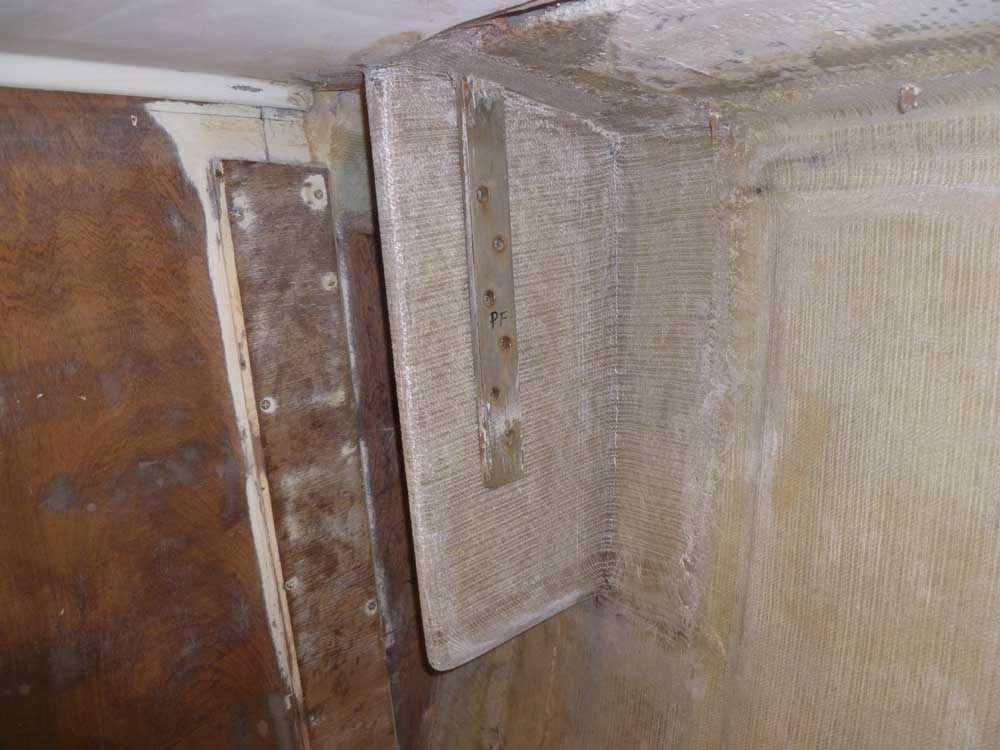
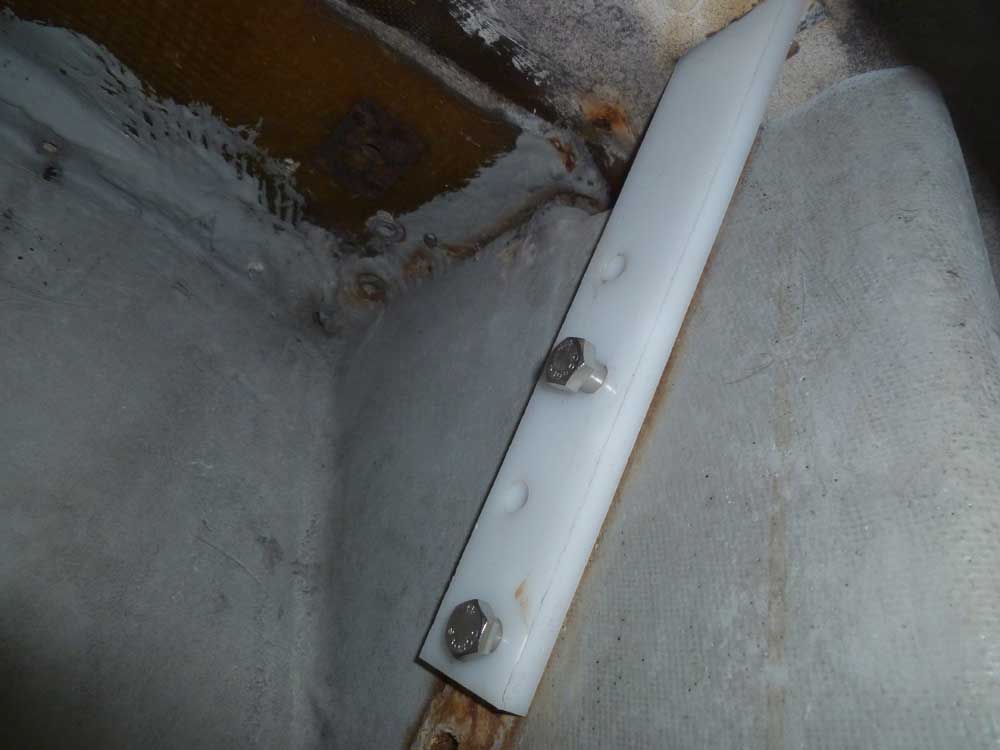
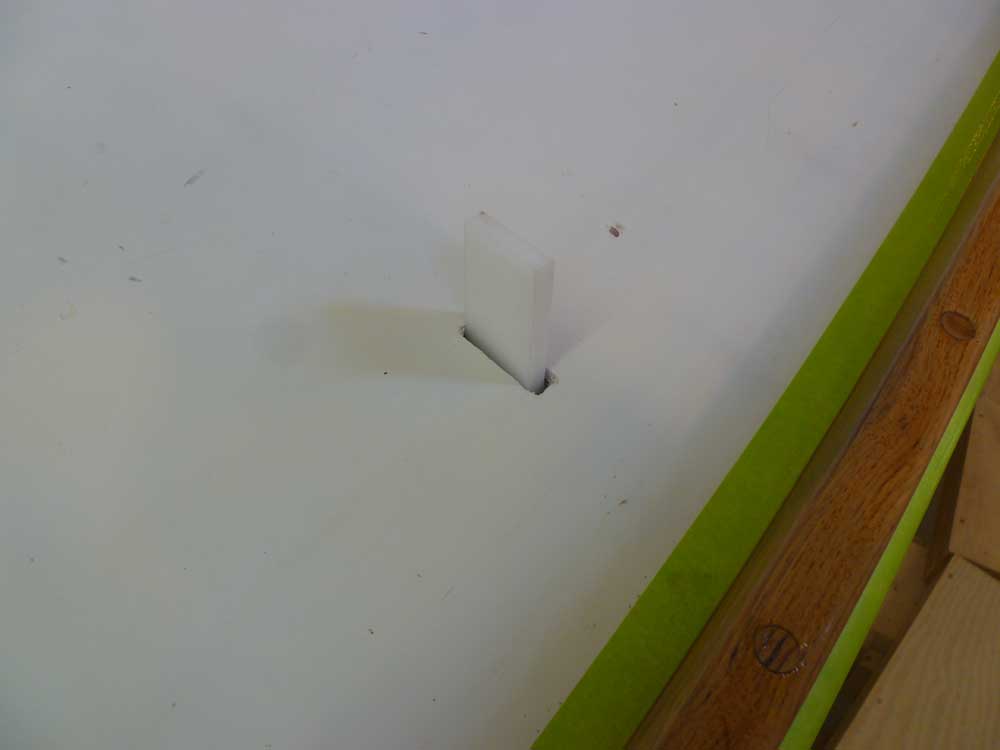
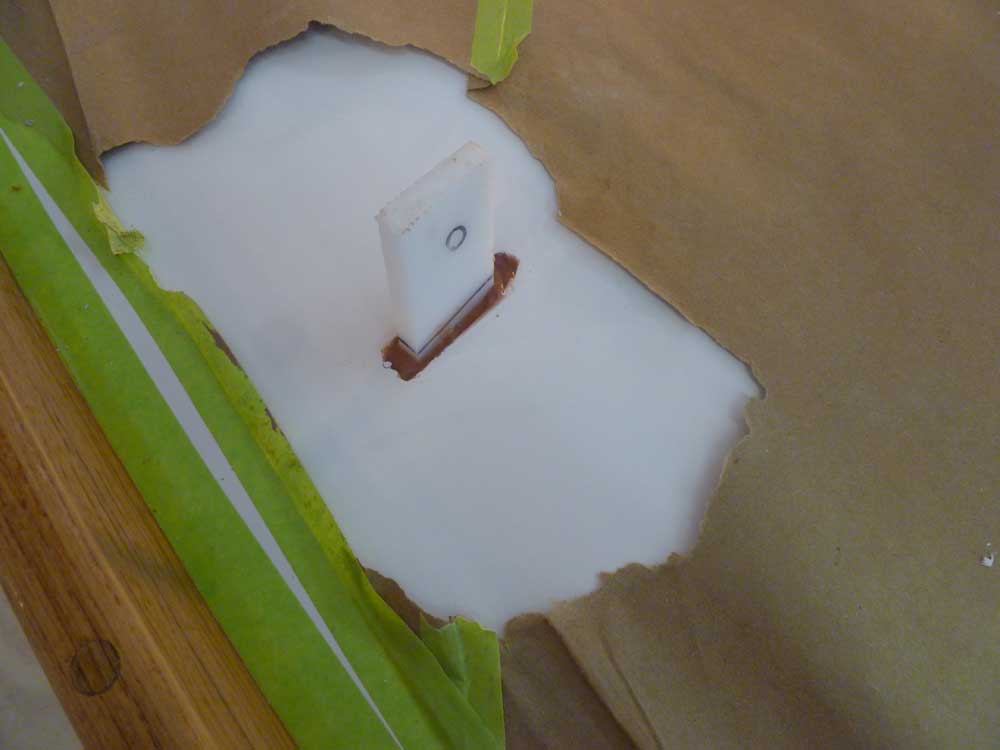
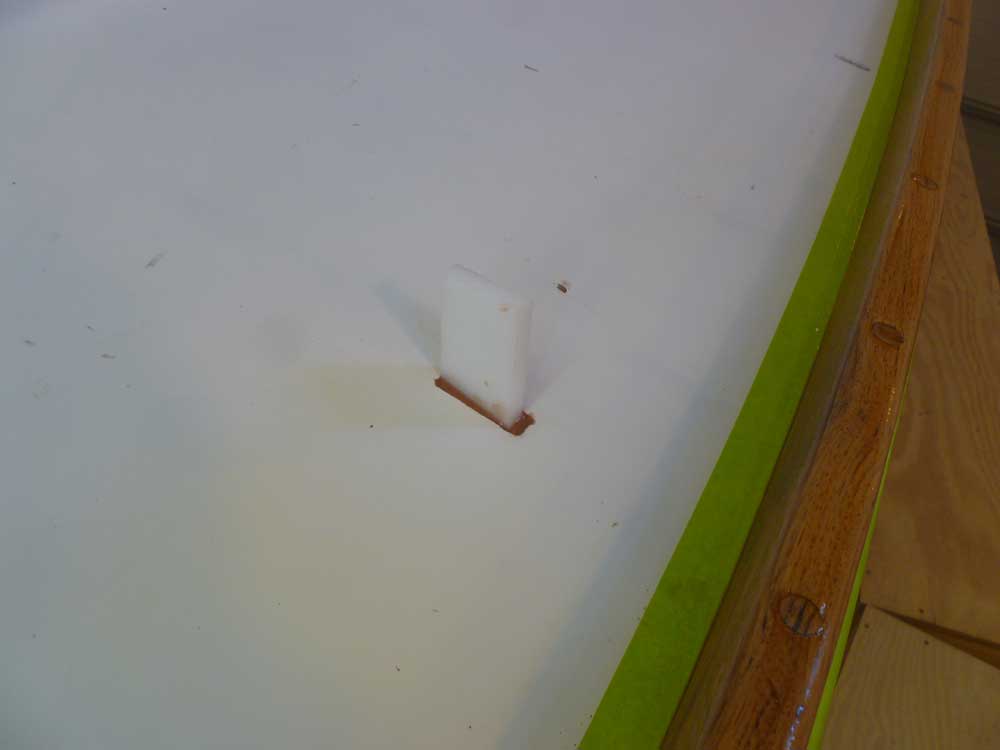
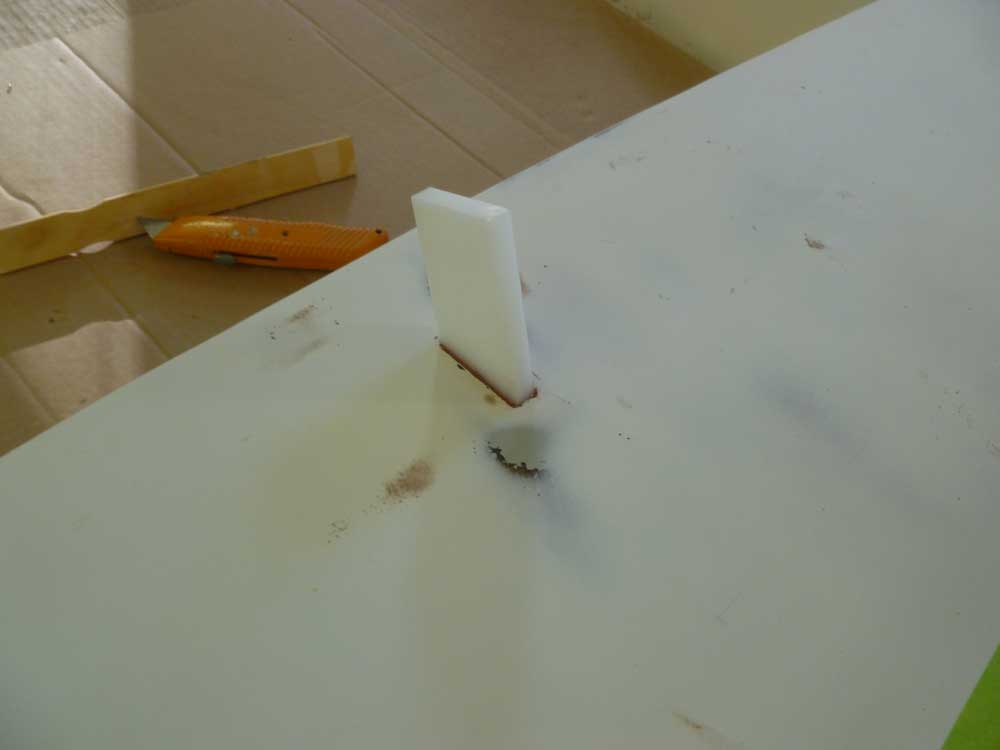
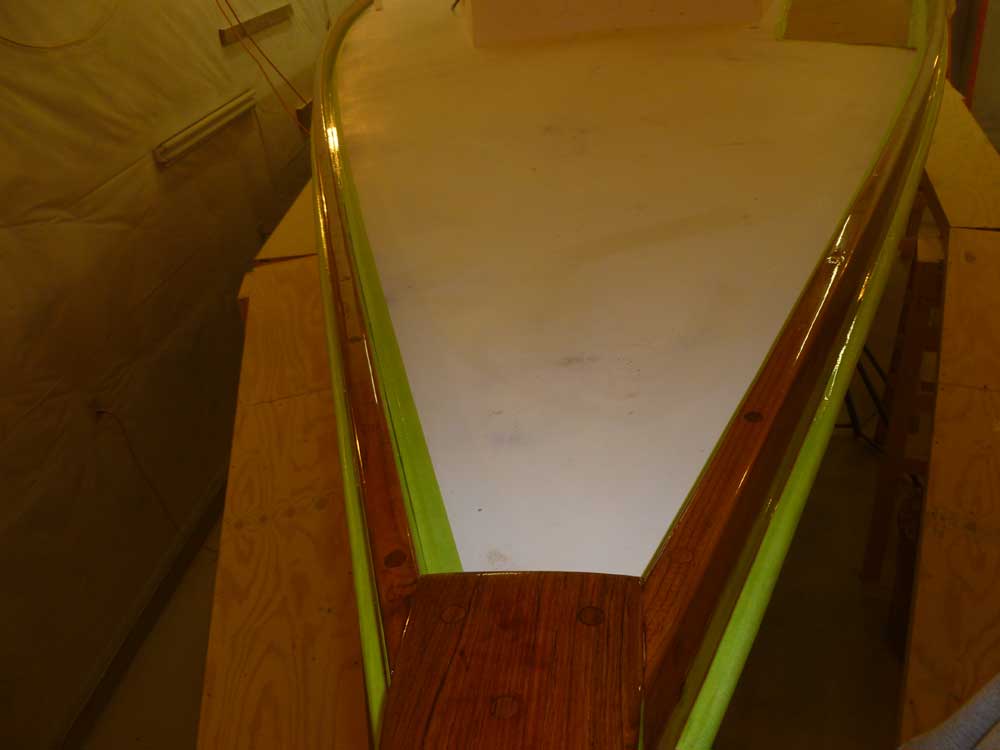
Next, I installed my plastic chainplates--designed to be the same size as the actual chainplates so I could epoxy right up to the chainplate without worry of adhesion--with a couple bolts just to hold each in the proper orientation.
Left to right: port main; starboard main; backstay

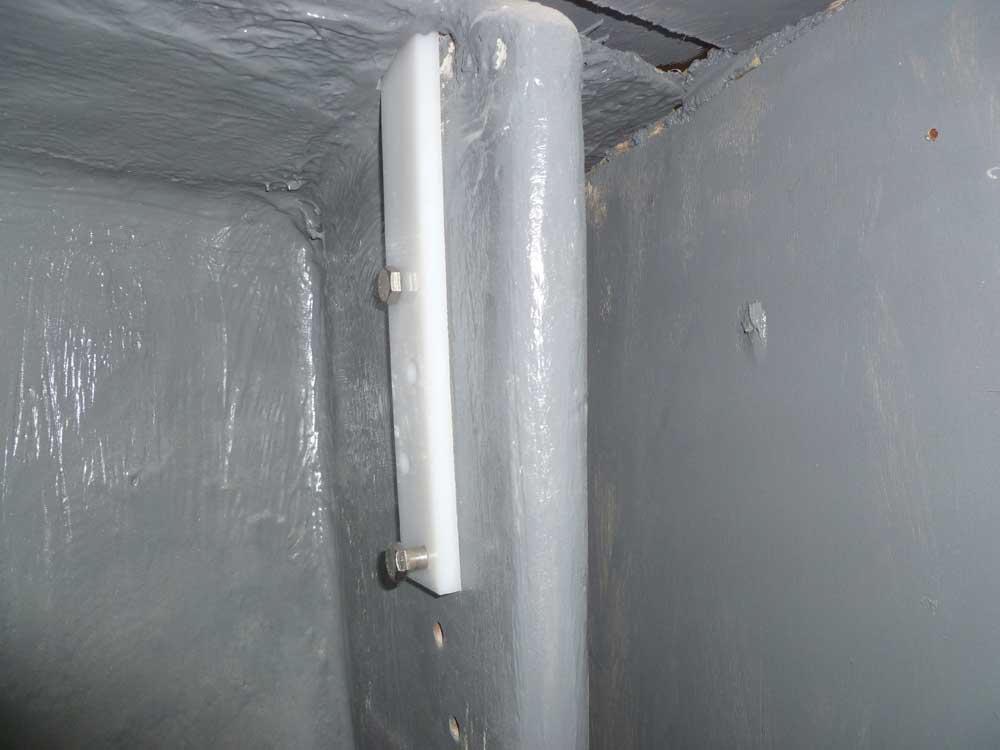
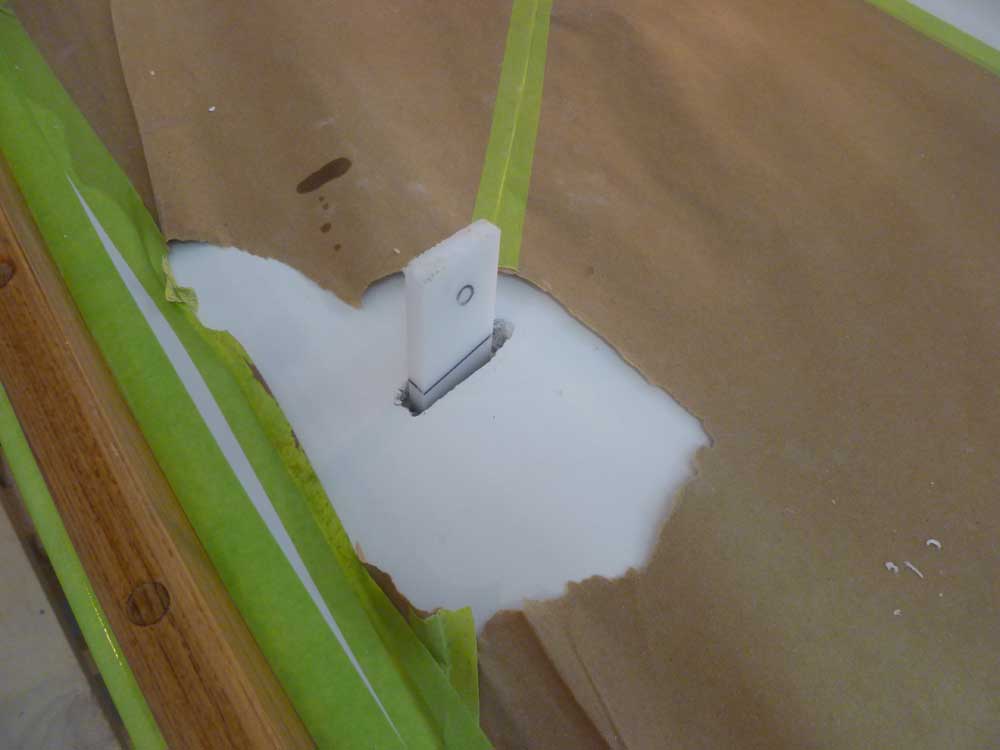
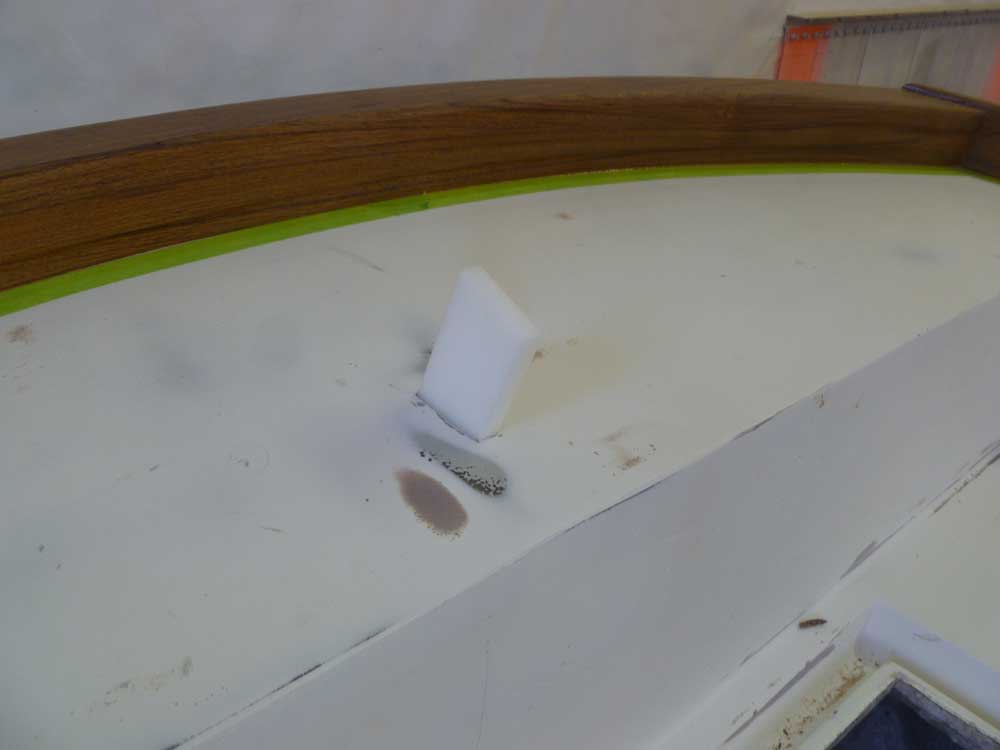
After taping the bottoms of the slots as needed, I installed thickened epoxy around the chainplate analogues, filling the voids to eventually create a solid slot just the right size. It would take a final round of fairing filler later to complete the work.
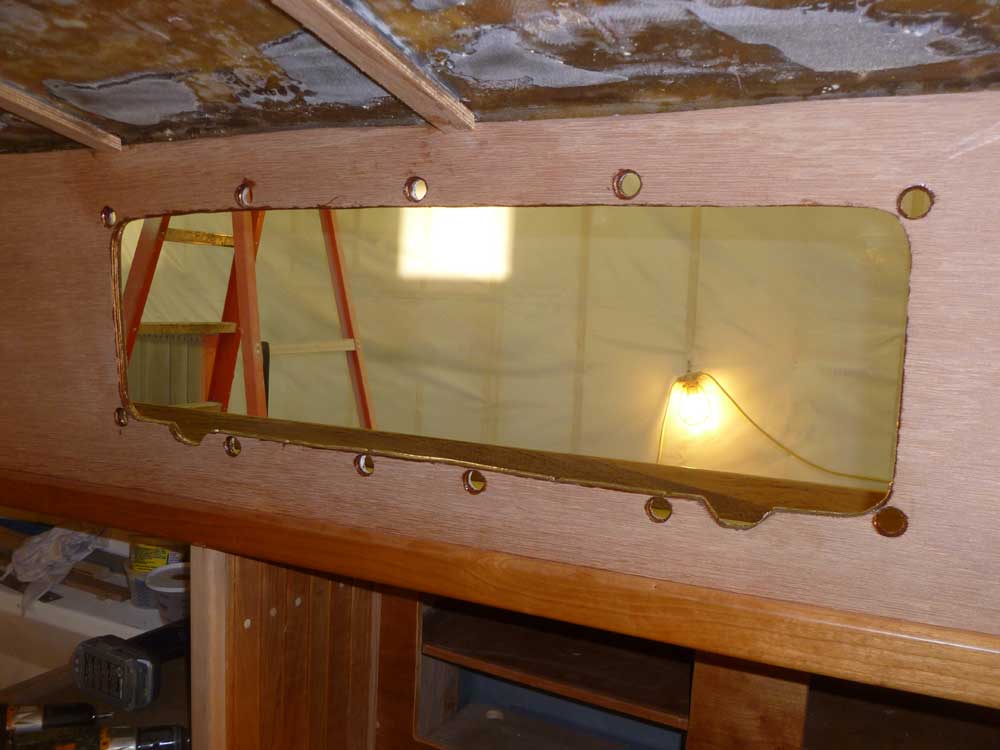
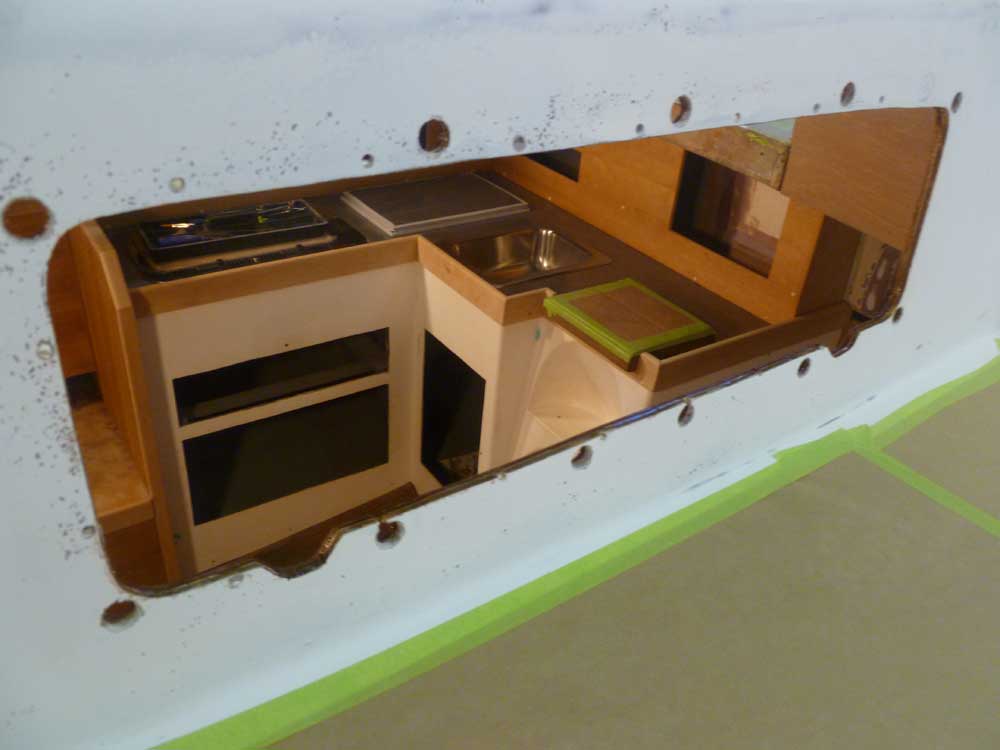
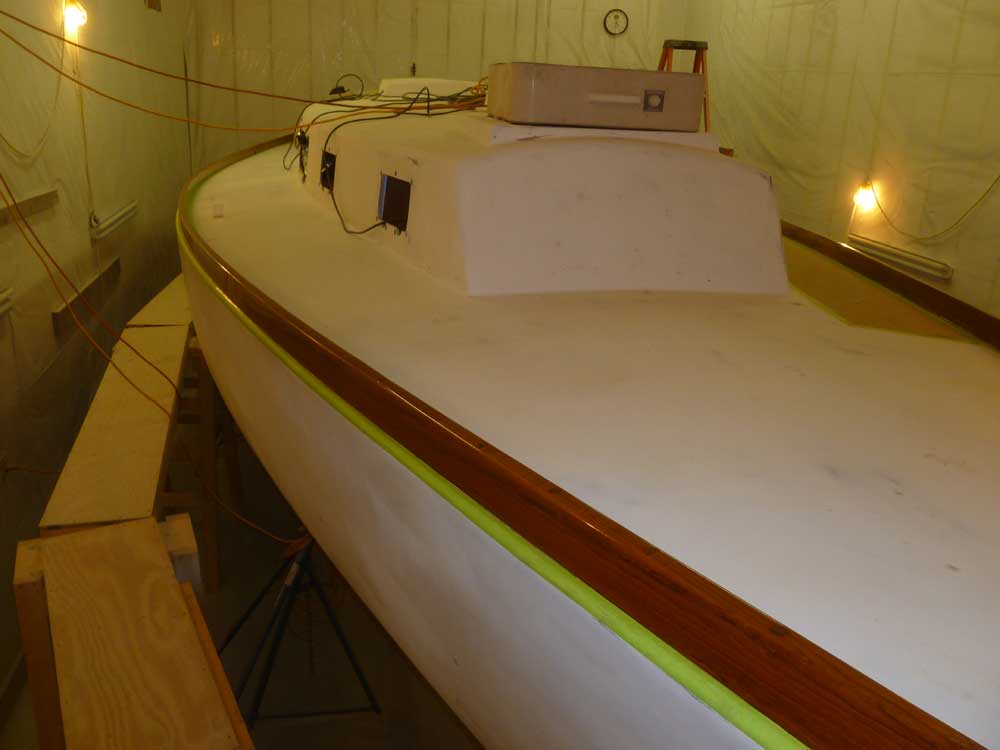
Also on the pre-painting list was to seal the plywood edges around the port openings in the main cabin. Though the ports would be well sealed in place, it only made sense to protect the plywood edge grain in these openings from possible moisture, so with a small brush I applied epoxy to all exposed areas, including within the large holes required for the trim ring bolting studs. I did this for all four openings in the main cabin; the other openings were all solid fiberglass with no wood trim on the inside, so didn't need to be sealed in this way.
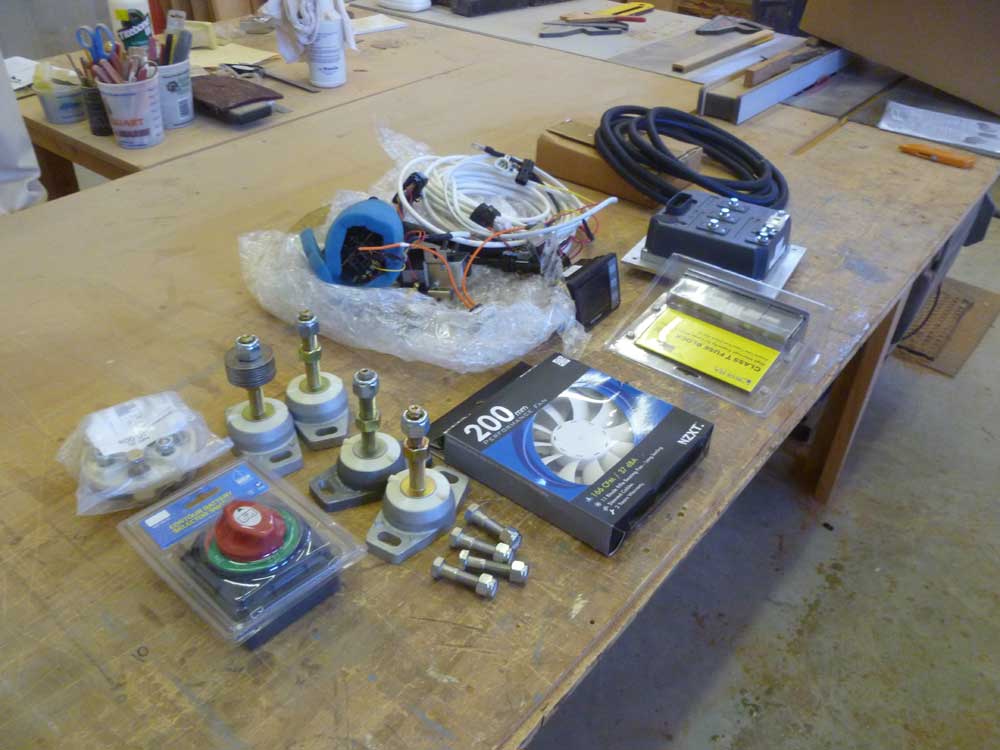
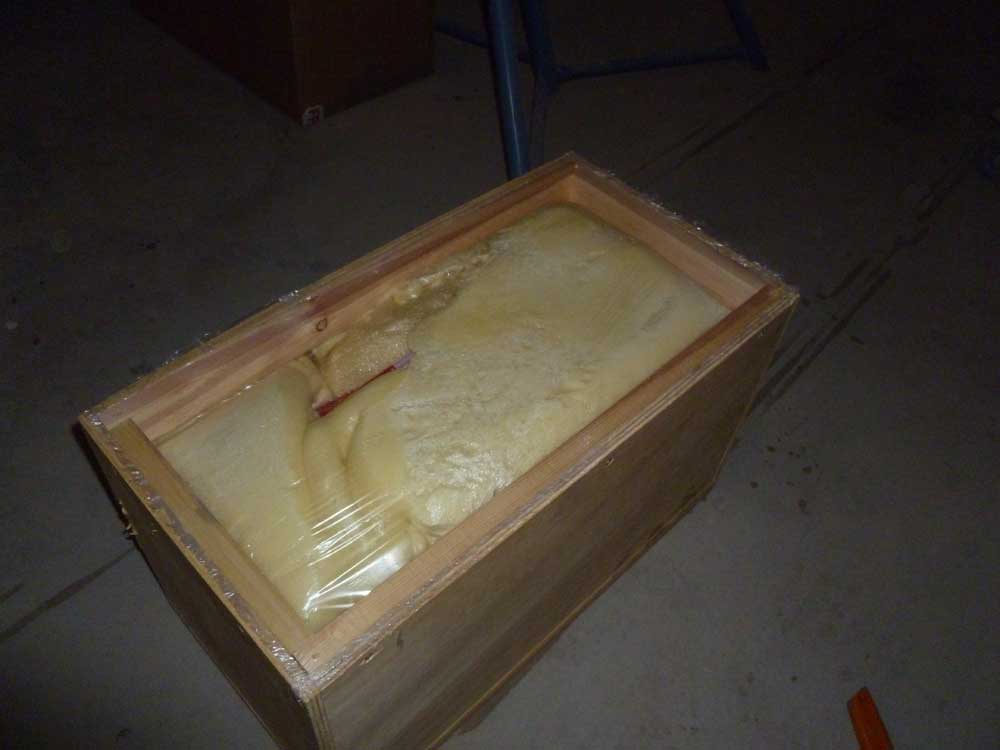
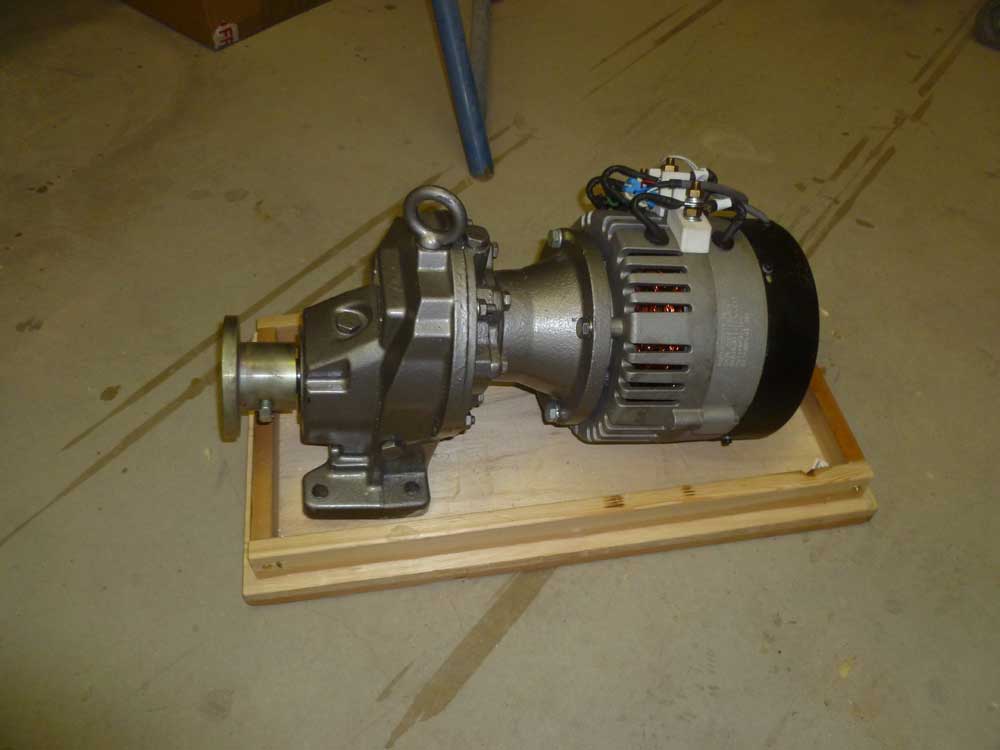
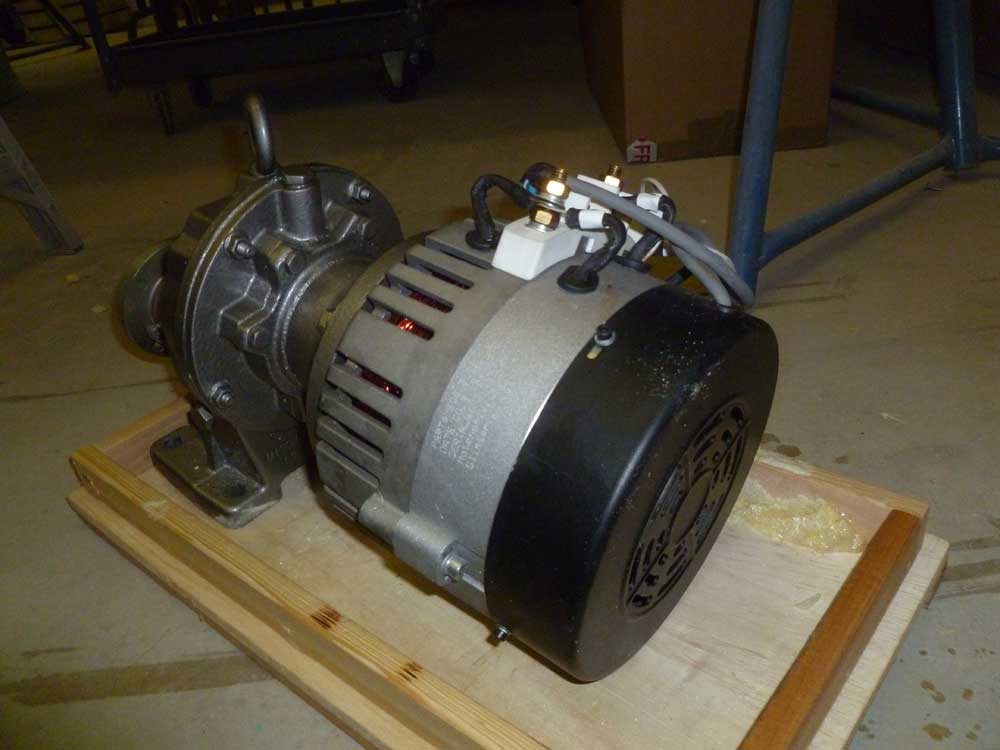
Various components of the new electric propulsion system arrived from Propulsion Marine during the afternoon, and I spent some time unpacking the items for inspection. I'd not be installing most of this for a little while, till after paint, but it was interesting to see the much-anticipated system in the flesh. The electric motor and gear was tightly packed in a box filled with expanding foam, which took a while to carefully remove to access the well-wrapped unit within. Much more on this installation coming up soon.
Later, I applied another coat of varnish to the toerails.

Total Time on This Job Today: 6 hours
