110 Cookson Lane | Whitefield, ME 04353 | 207-232-7600 | tim@lackeysailing.com
To begin, I completed the usual round of light sanding as needed, preparing the port forward sidedeck (first coat of fairing compound), starboard aft sidedeck (newly recored), and poop deck (new fiberglass).
At the same time, I sanded away the paint from a border surrounding the foredeck so I could begin work on that area. I left the remaining deck field areas for stripping another time, as I wanted to continue moving on with the structural repairs, with my goal of having all deck areas (excepting the cockpit) back in structurally sound condition before the end of the week.
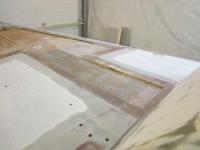
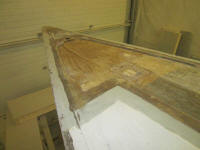
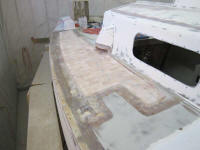
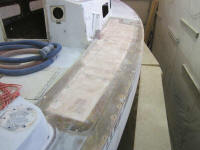
At the foredeck, I prepared a center band of marine plywood to replace the old material I'd removed. After cutting the material to size, I coated all edges and surfaces with epoxy and set it aside to tack up for a little while.
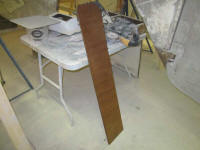
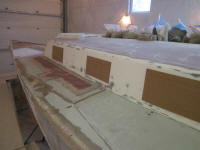
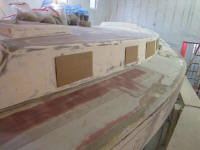
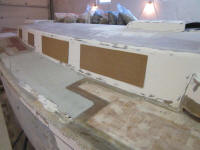
As part of the structural and fiberglass work on deck, the owner and I had been discussing the ports and deadlights. The old port and deadlight frames, made from aluminum, were in various states of disrepair, from merely weathered to completely decrepit and unusable, so replacement in one form or another was necessary. With opening ports from New Found Metals one of the leading candidates, I prepared cardboard cutouts of the two sizes we thought might work best: 5x12 (8 x 15 overall frame size) for the two forward ports, 7x26 (10 x 29-1/2 overall frame size) for the two after ones.
I did not spend a lot of time on the details of the templates: the idea was to show generally the sizes of the proposed ports, not simulate their final appearance. So I didn't cut radii on the corners, and the squareish result didn't enhance the appearance of the boat; one needs to look past this and consider only the general sizing and proportions, the focus of this particular experiment.
The basic sizing worked well in an overall sense. For the moment, I centered the templates over each existing opening, both vertically and horizontally, but there was room for adjustment here and there when the time came for final positioning, so the ports could be arranged in the most aesthetically pleasing and functional way.
The large opening ports to replace the deadlights aft would require enlarging the existing opening a bit, while the forward pair of ports would require smaller openings than those existing; these were modifications I'd need to make during this round of structural work, which is why we were working through the choices now.
Each template included a pencil line demarking the center glass area, with about a 1-1/2" frame width all around.
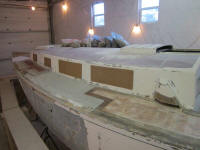
Moving on, I installed the plywood center section of the foredeck in epoxy adhesive, and applied a second round of fairing compound to the port forward sidedeck.
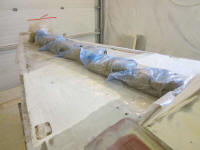
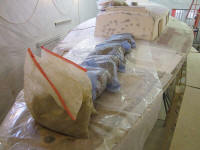
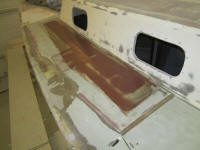
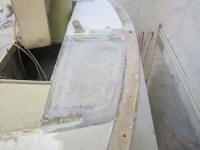
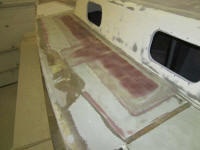
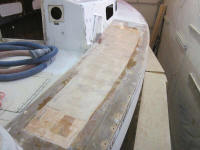
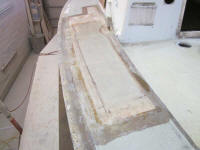
Both after sidedecks required a layer of glass over portions of the core where it was recessed below the level of the adjacent deck flanges. This appeared to be a function of the necessarily narrow flanges. in each case, I templated, cut out, and installed this preliminary layer of material over the core with epoxy resin. Meanwhile, I cut out the two final layers of cloth for both sides, preparing ahead for their installation.
Total Time on This Job Today: 7.5 hours
