
110 Cookson Lane | Whitefield, ME 04353 | 207-232-7600 | tim@lackeysailing.com
Before I could fill in the port openings, I needed some basic molds against which to laminate the new material. I cut four pieces of 1/4" plywood slightly larger than the openings, and covered the plywood with release fabric. Then, I hot-glued them in place inside the boat, adding wooden bracing when I found that the glue wasn't holding the plywood tightly against all edges of the openings.
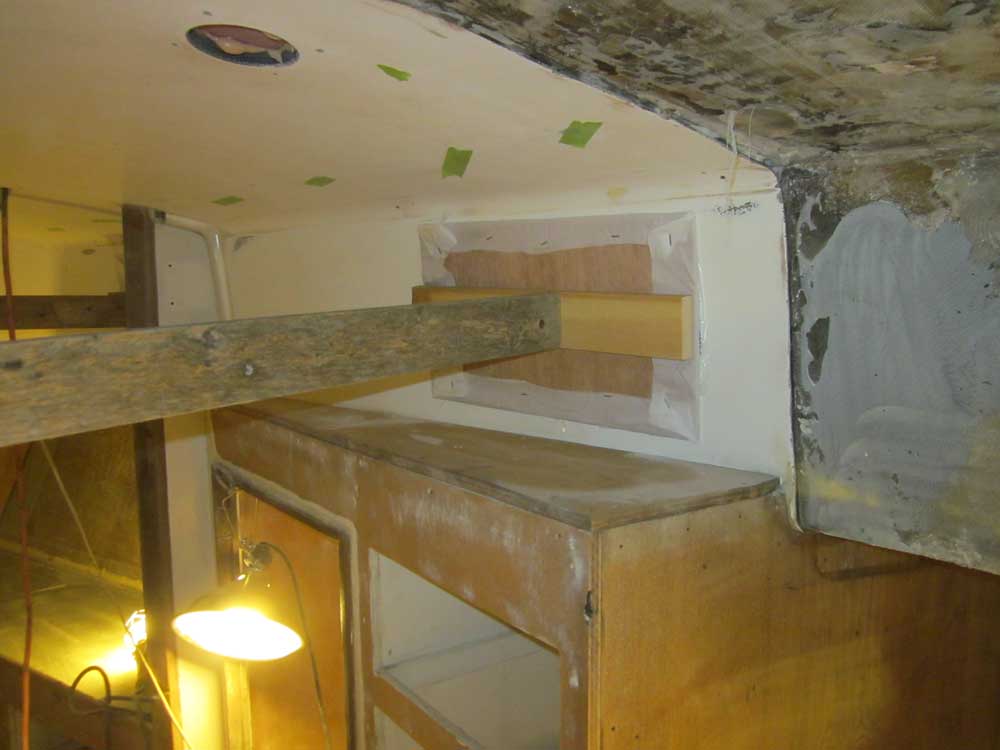
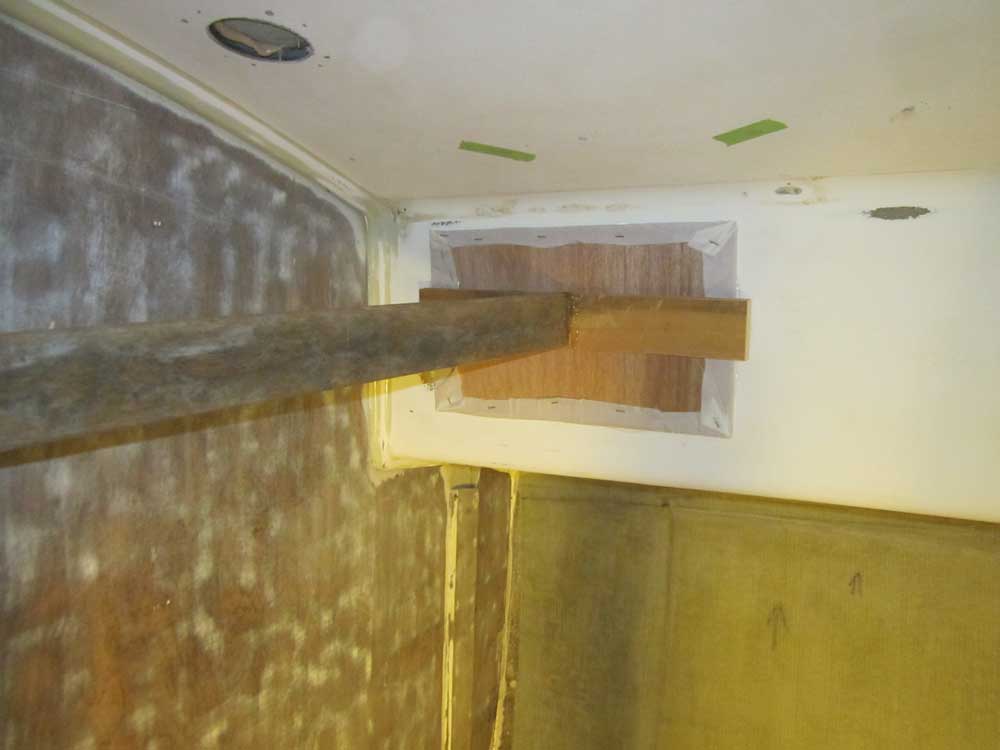
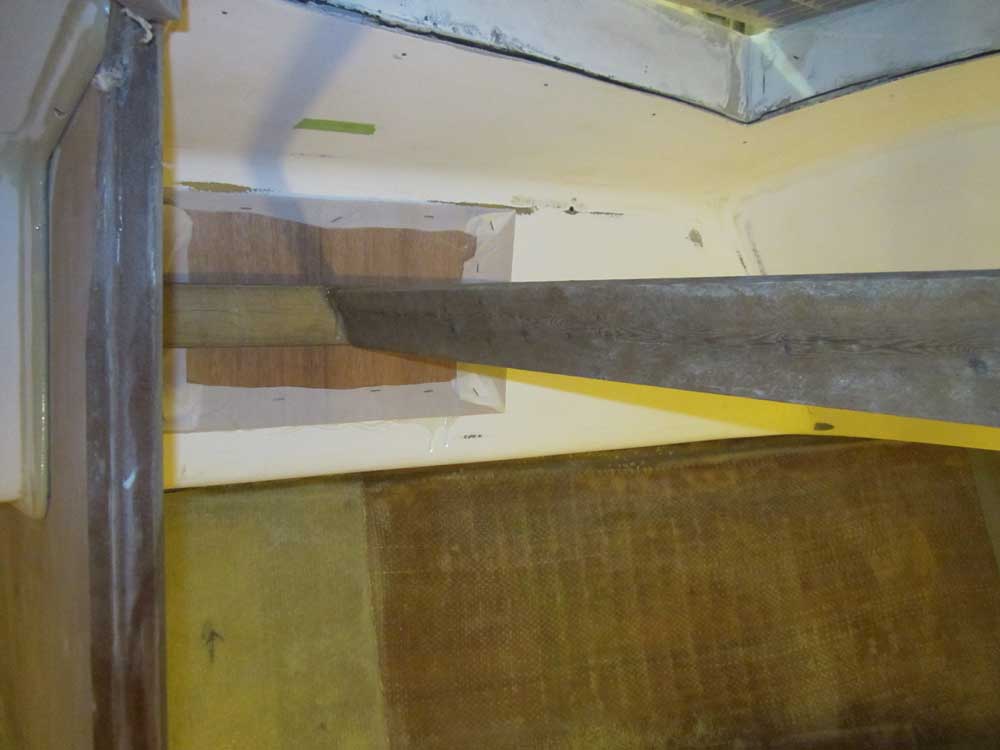
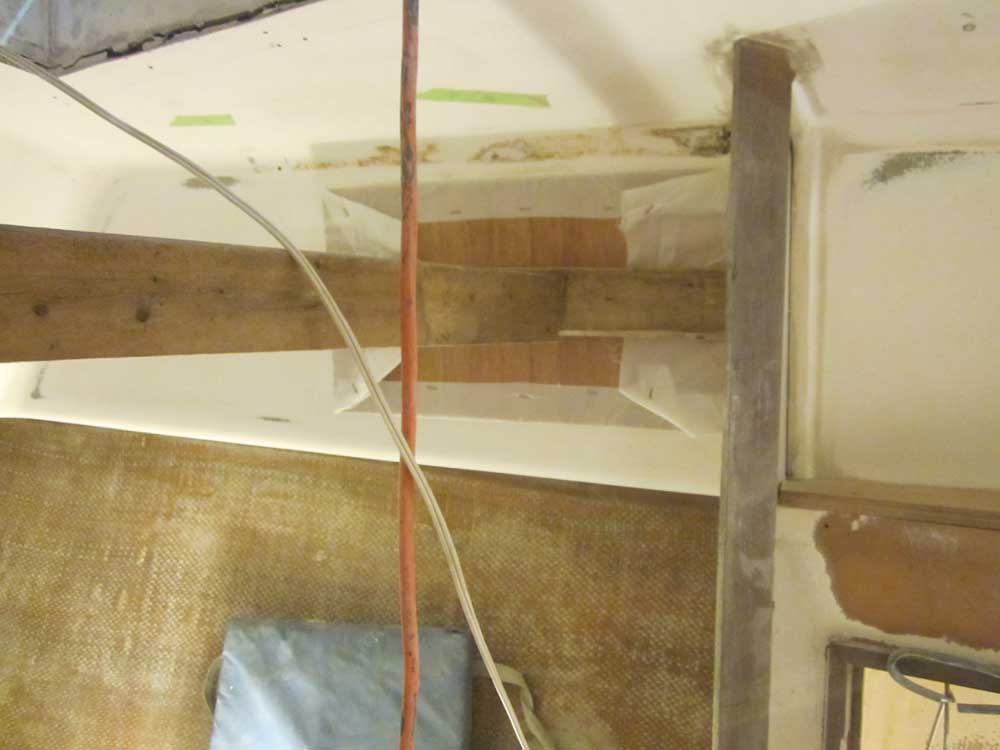

I'd do most of the new work from outside, though to tie in the inside of the liner with the repair I'd previously prepared the edges inside the opening for a single layer of glass to cover and incorporate the seams of the main repair. Most of the new work would eventually be cut away for the new ports.
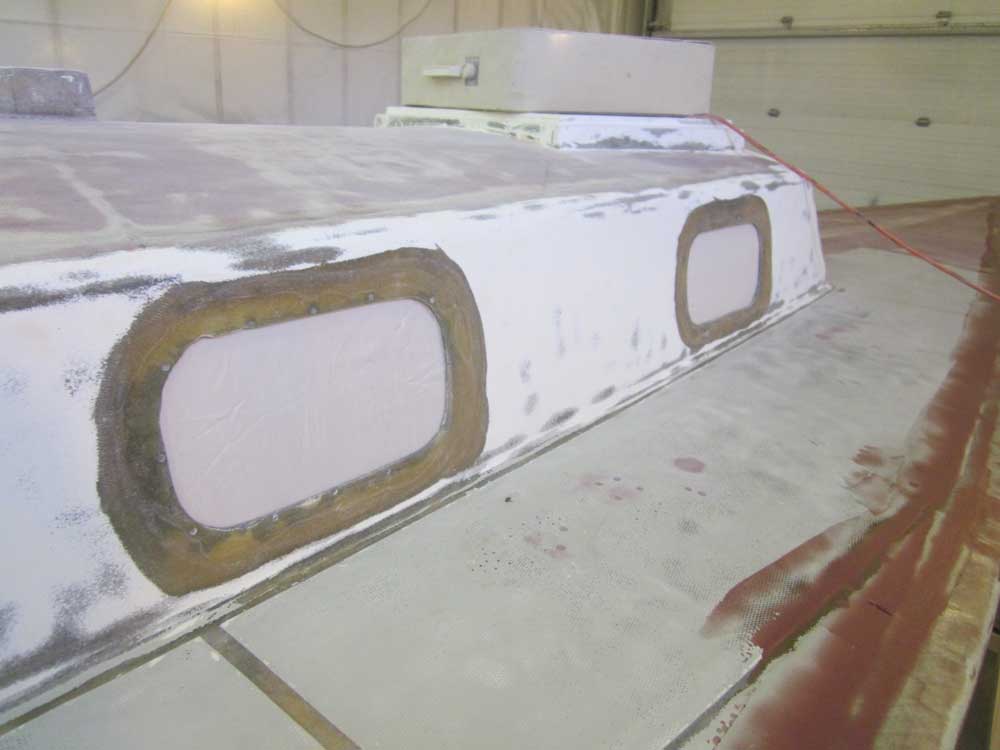
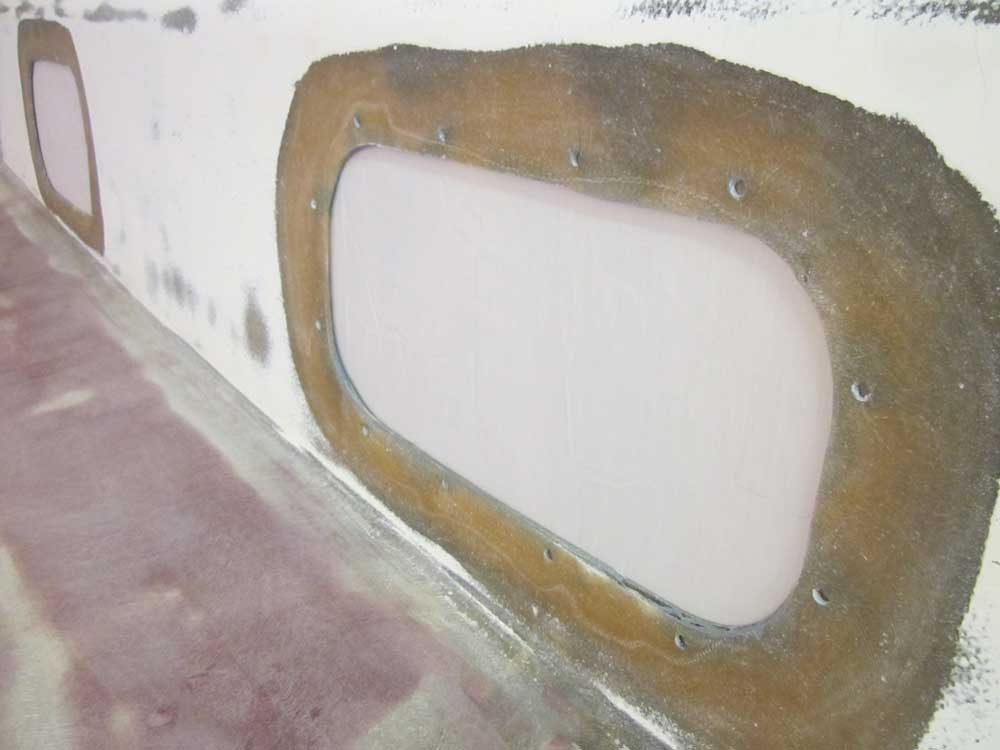
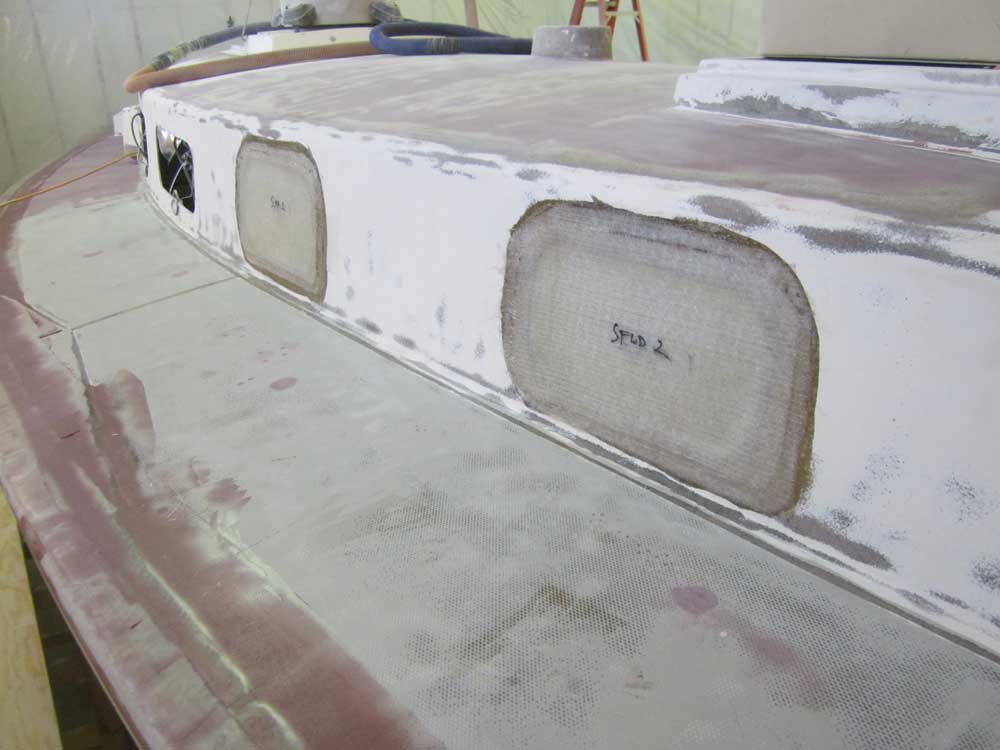
To begin, I installed two layers of stitched fabric inside the center opening of the old holes, to build up some of the thickness required. Afterwards, I filled any small voids around the edges, including the old fastener holes, with thickened epoxy, and also smoothed the transition between the outer cabin trunk and the new material inside, as necessary.
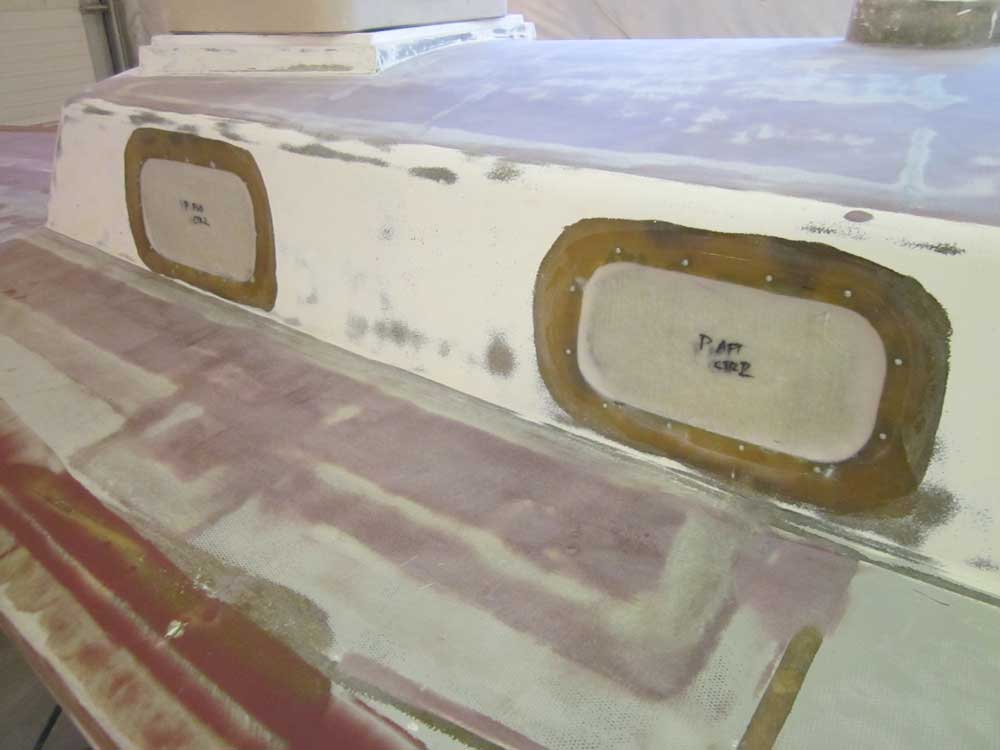
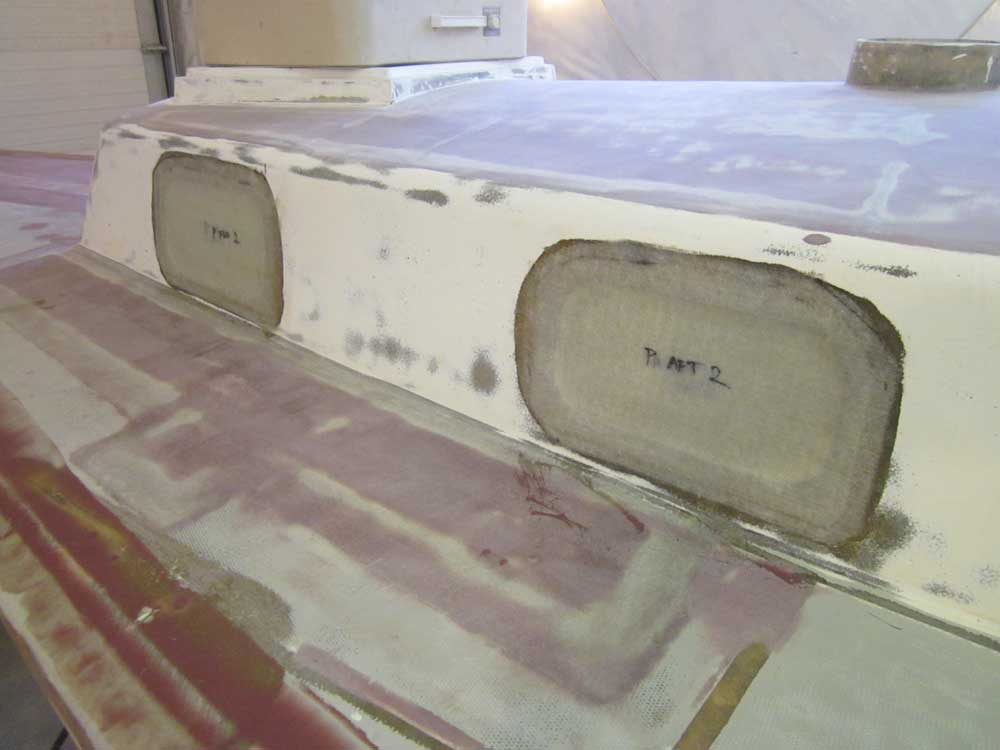
After letting these first applications partially cure for a short while, I installed two larger layers of material that overlapped onto the previously-ground edges around the openings. There'd be more material required to build up the inside area more or less flush, but for now this was enough. I'd install whatever additional material was necessary after the initial repair had fully cured.
Later, in and amongst other unrelated tasks around the shop, I got rid of a pile of old interior parts that had (quite literally) been collecting dust in one corner of the shop since I removed them from the boat. With no plans to reuse any of this material in any way, I prepared it for ultimate disposal.
Total Time on This Job Today: 3 hours
