| Sea Glass Refit |
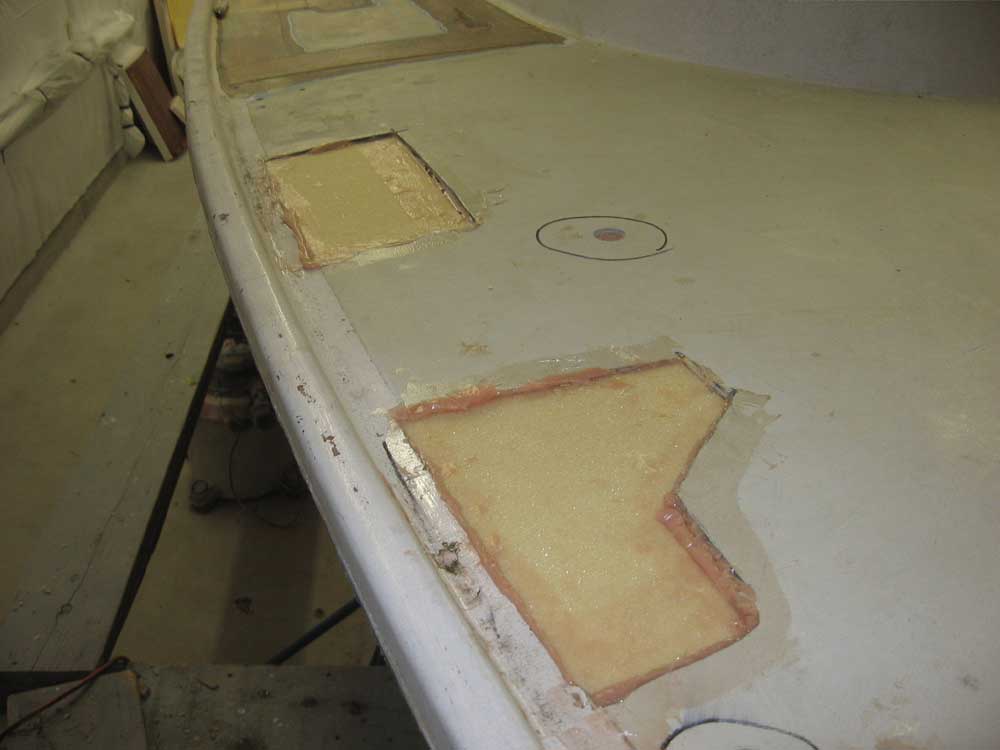
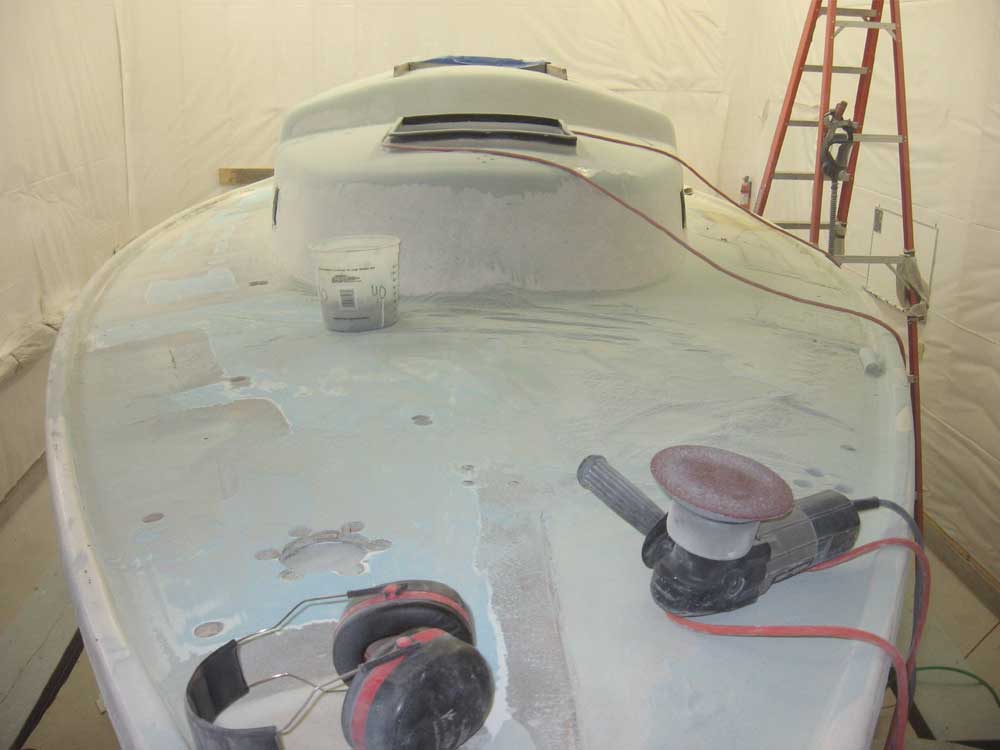
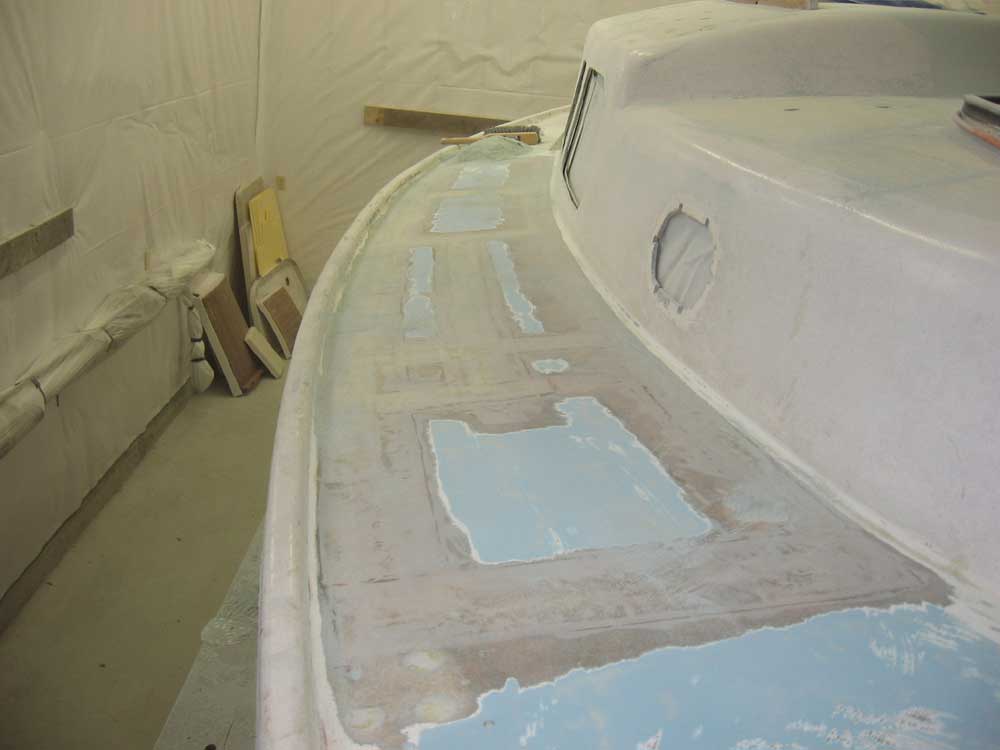
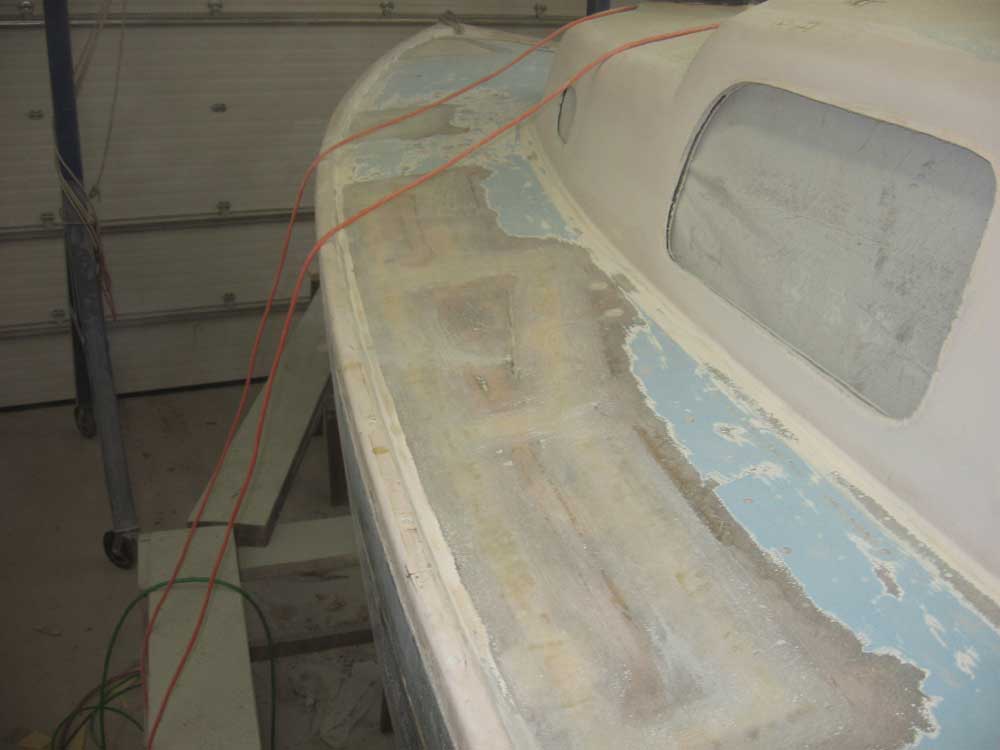
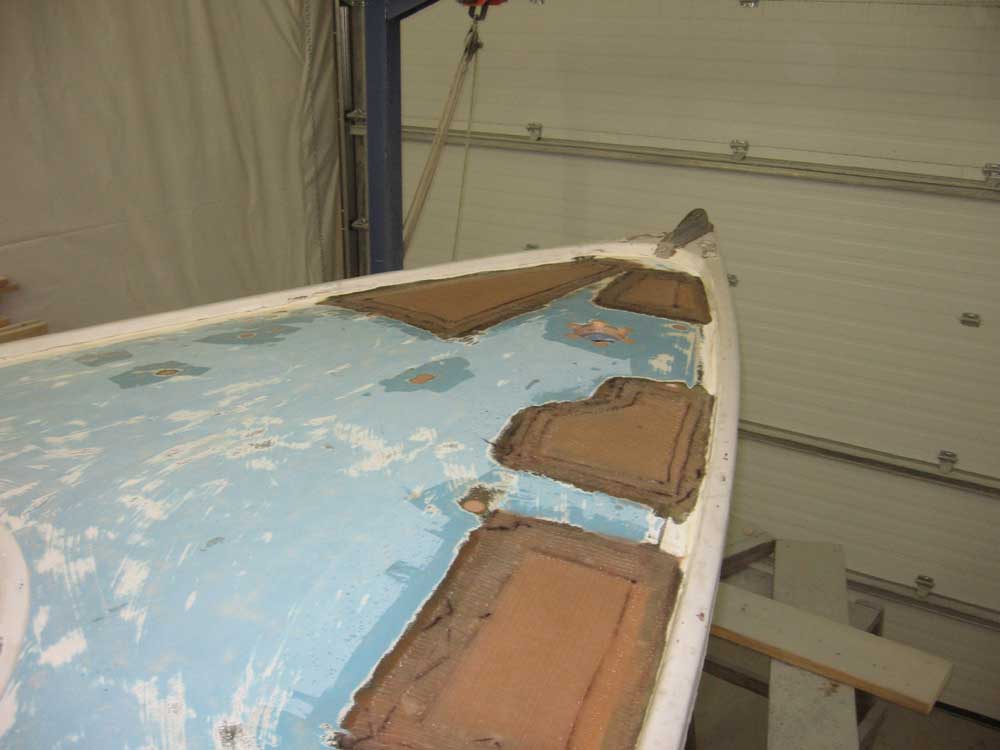
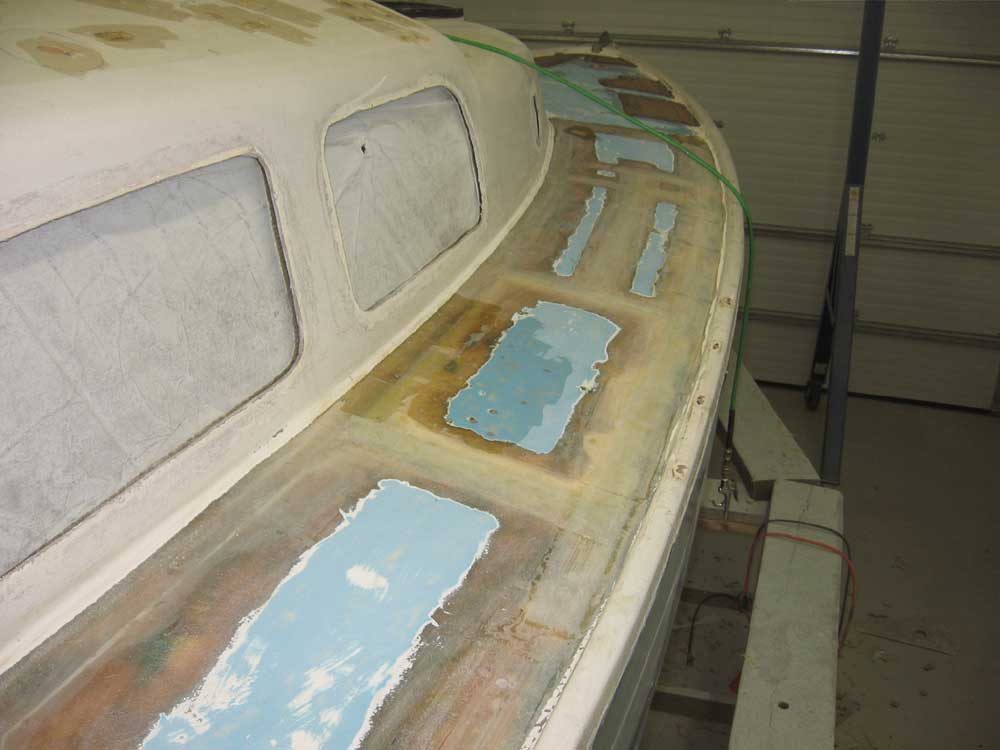
April 27, 2007 Before beginning anything, I took a Scotch Brite pad and a spray bottle of water and washed the new epoxy, as well as all the epoxied areas on the pre-existing repairs on the port and starboard sidedecks. It did not appear that the new resin had been previously cleaned to remove blush, but even if it had, it was prudent to be sure. Yesterday's core installation was cured and successful, so my task this morning was to grind tapers at the edge of the newly-cored areas so that I could laminate a new top skin and tie it in properly with the adjacent deck areas. Then, I tapered the surrounding fiberglass back about 2.5" from the open core to provide a smooth and wide taper for the new material. I continued with the grinding throughout the morning, and removed the old paint and molded nonskid pattern from the other areas of the foredeck, and worked my way down both port and starboard sidedecks, where I ground the pre-existing repairs to smooth the fiberglass and begin the basic fairing process. For now, I stopped at the aft end of the cabin trunk, where the major repair work also ended. |
|
|
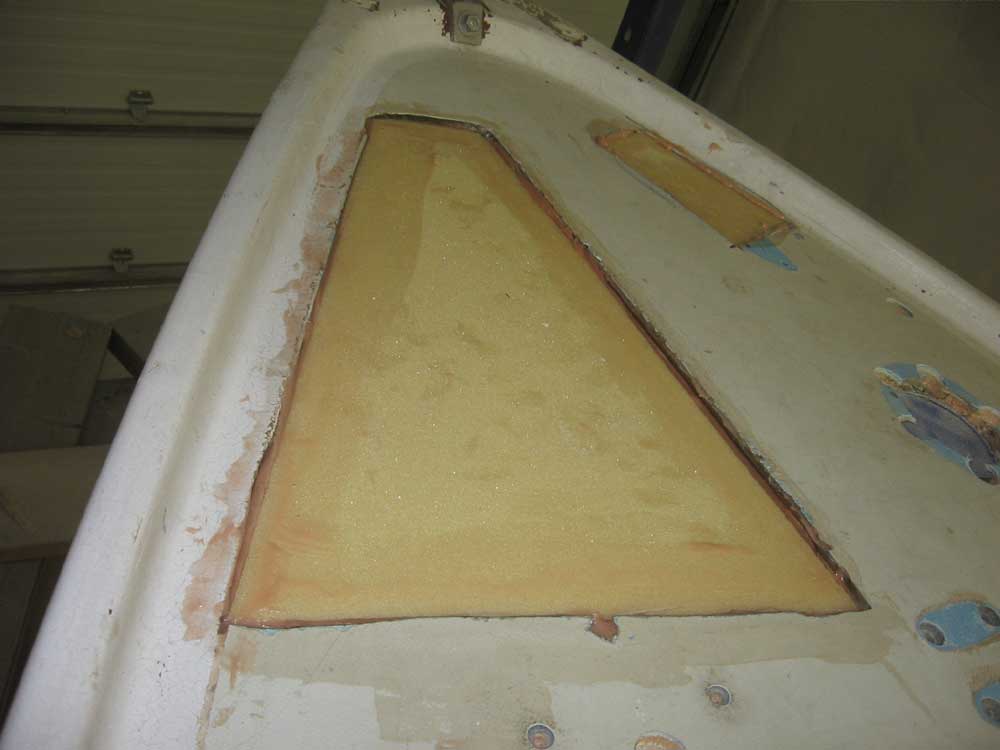
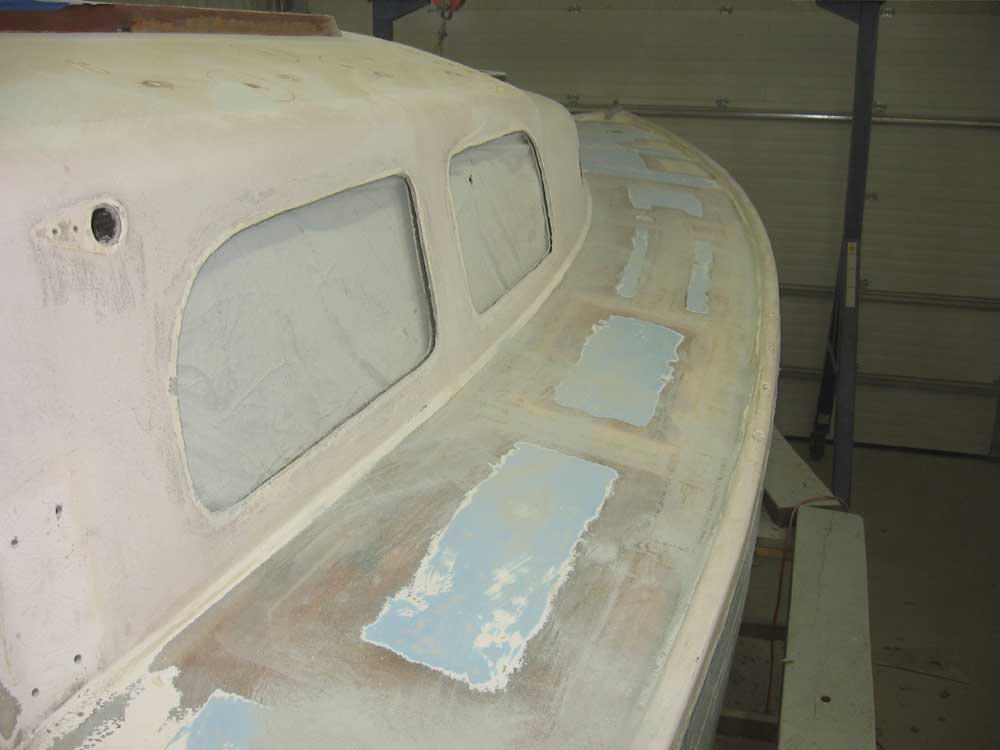
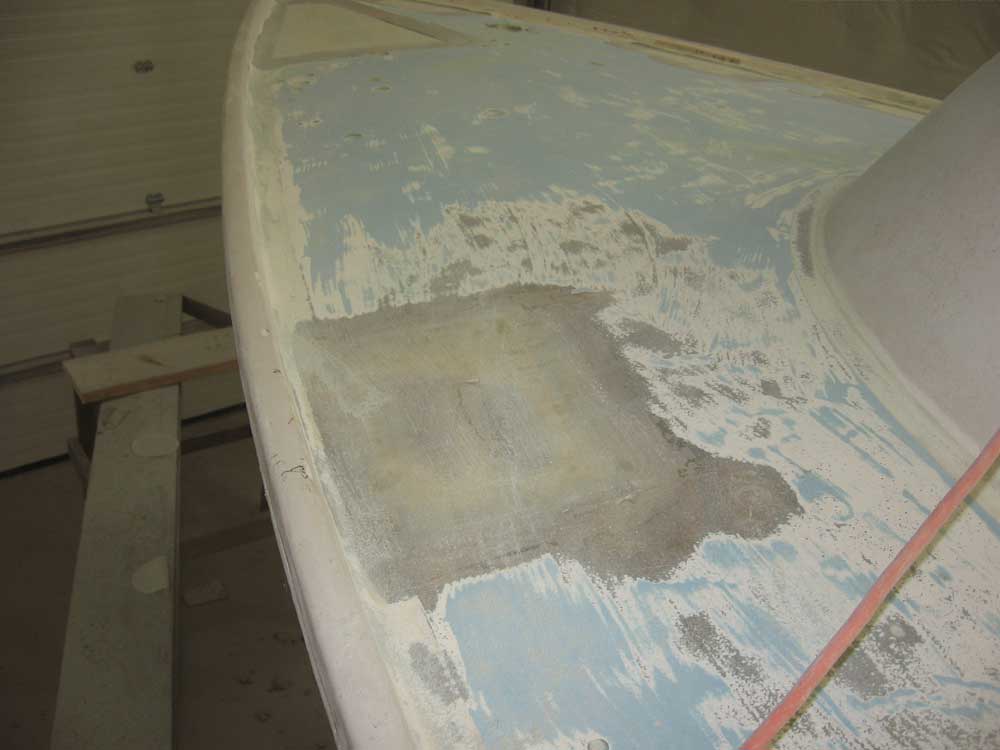
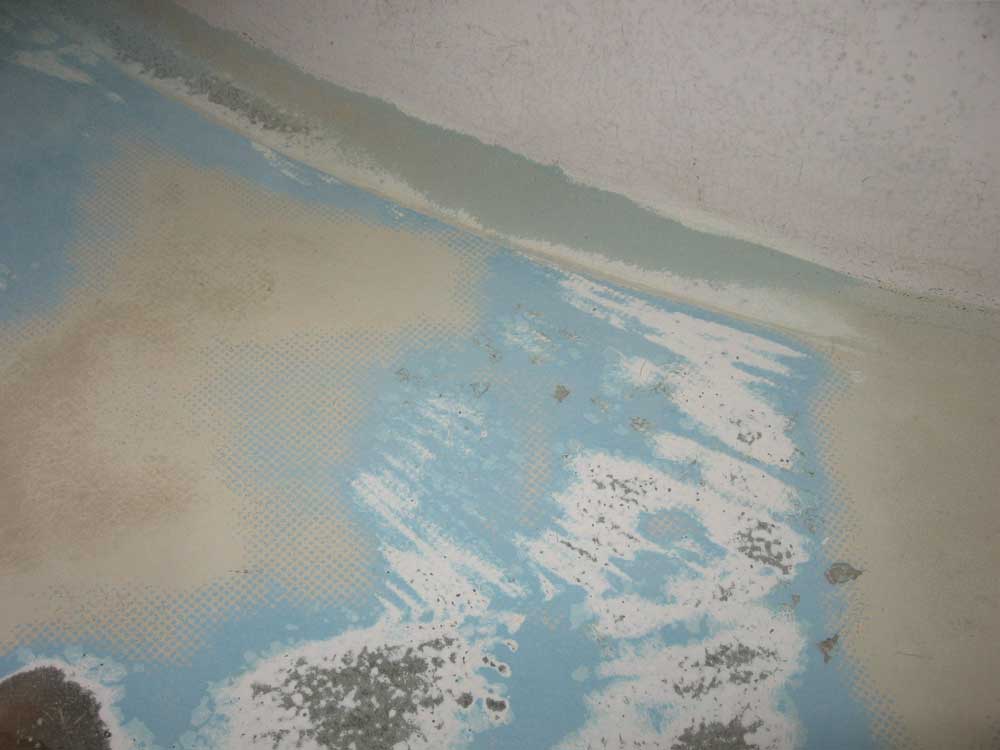
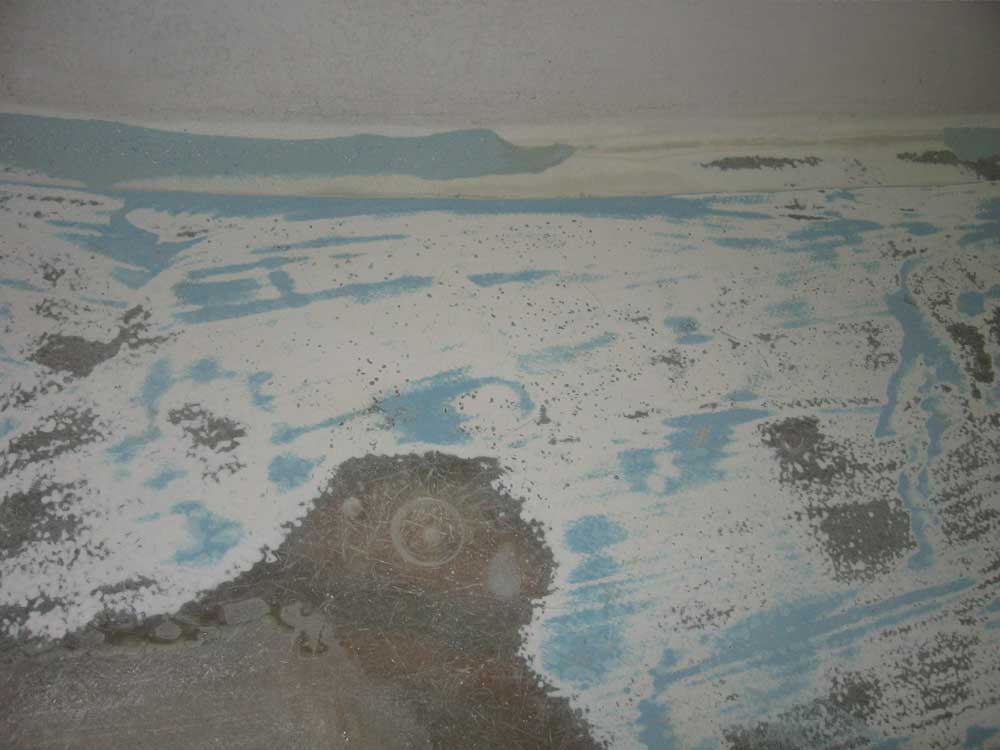
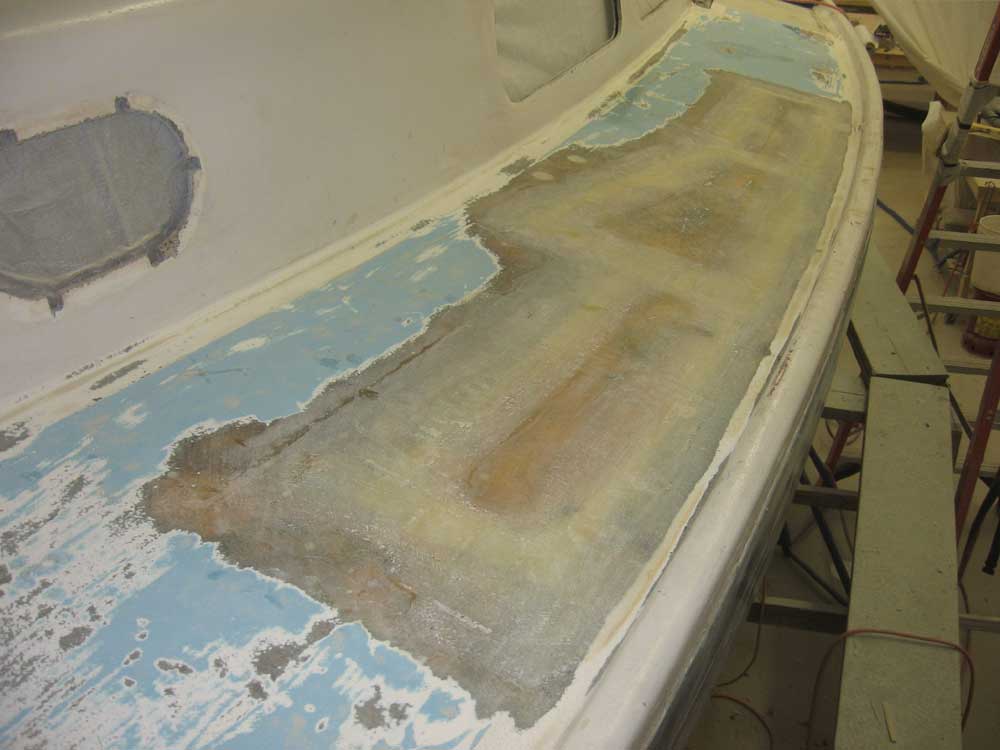
| At the forward end of the port sidedeck, roughly where the cabin trunk ends, I found that the underlying gelcoat layers--the light blue original nonskid gelcoat--was poorly adhered, and I ended up having to remove most of it in order to get back to solid material beneath. Curiously, it was mostly in this area, though I did see signs of this elsewhere. Beneath the blue gelcoat, the white layer of gelcoat in this area was highly porous, with numerous pinholes. |
|
|
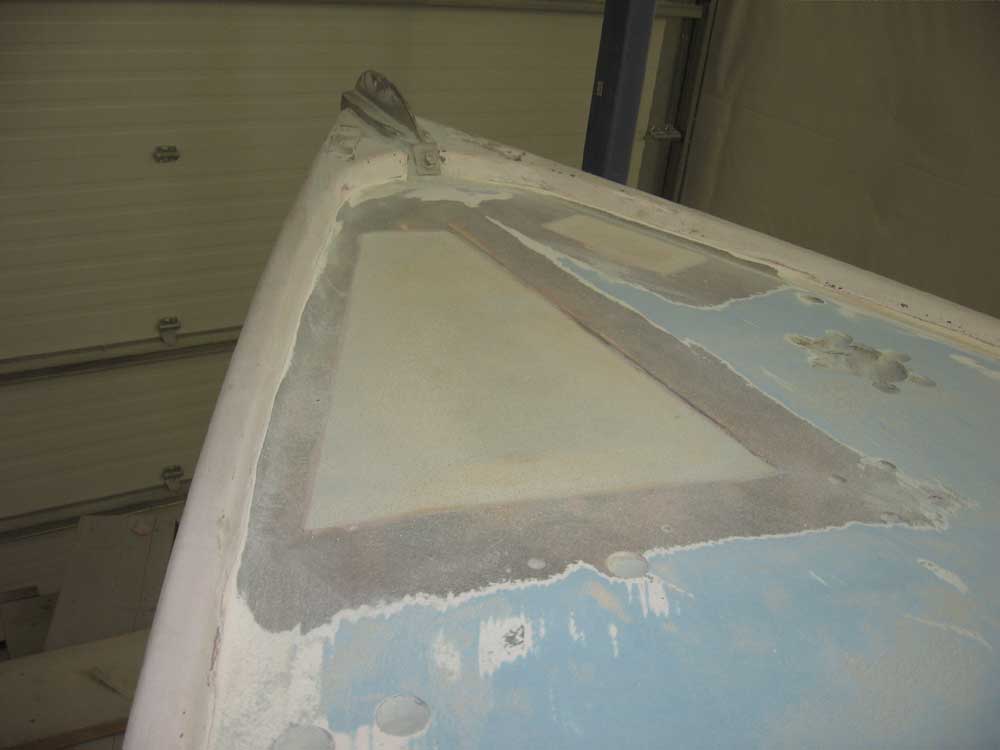
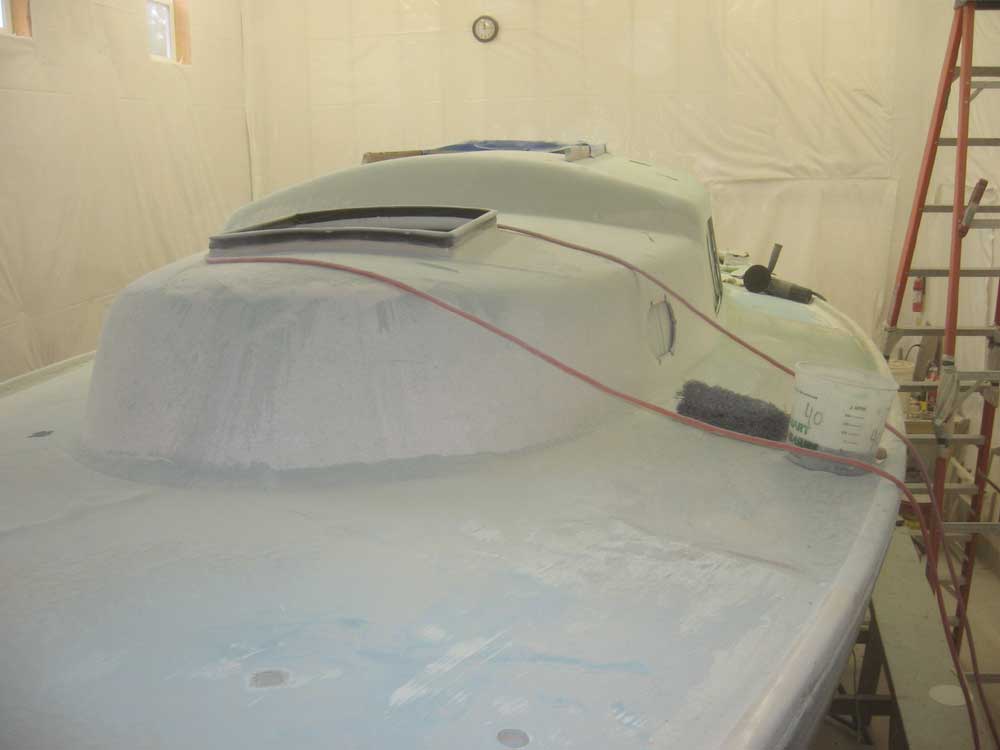
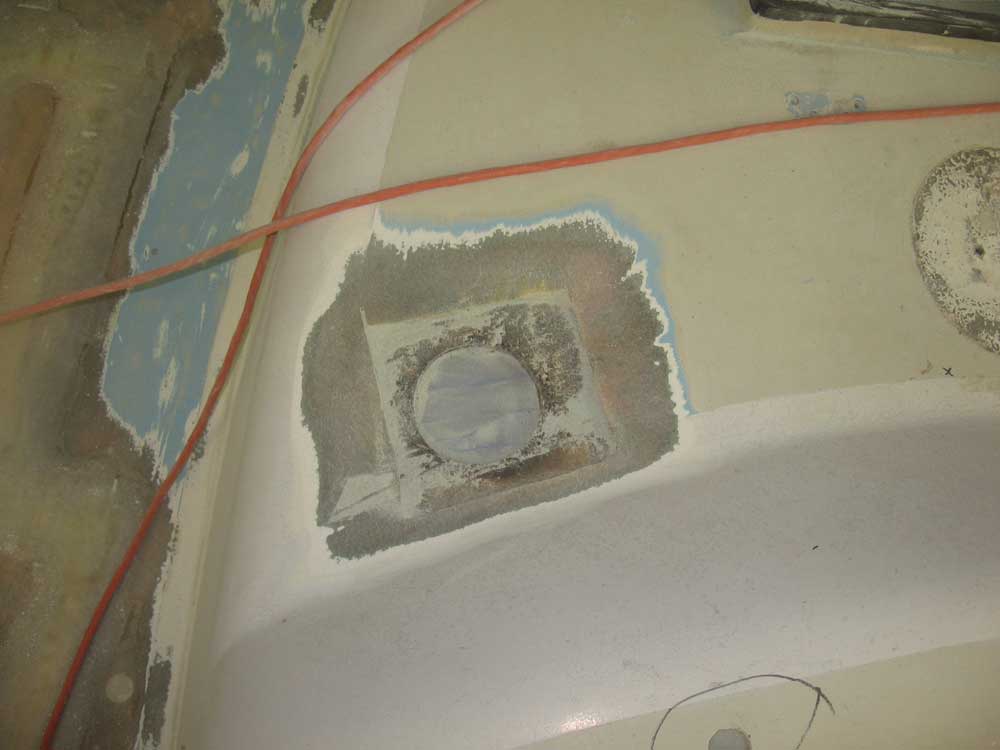
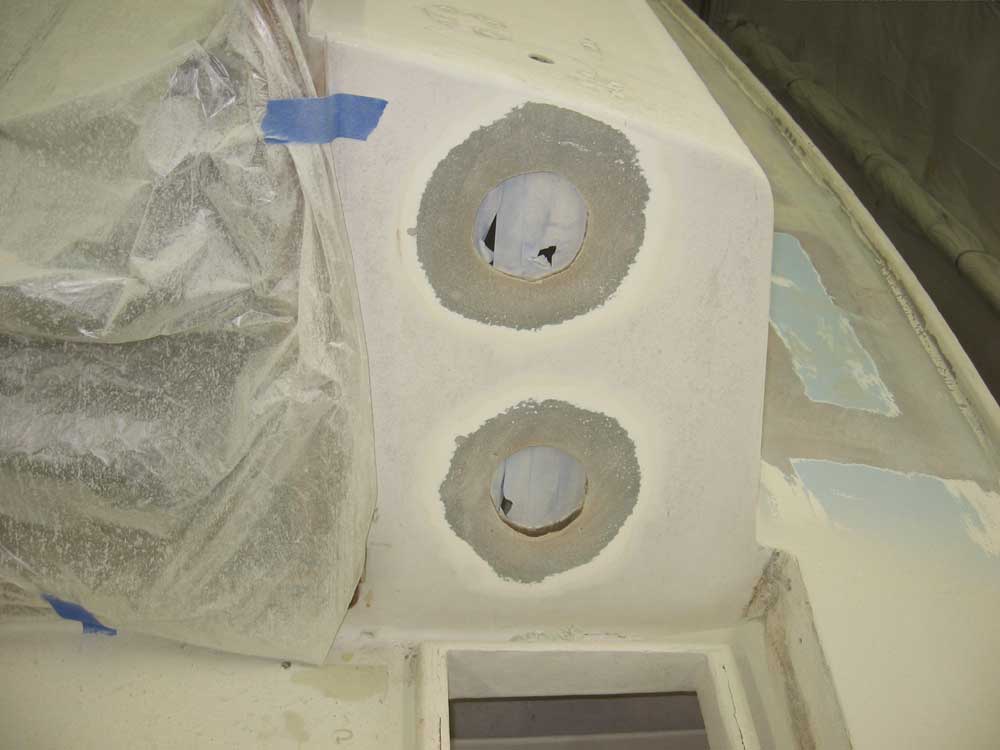
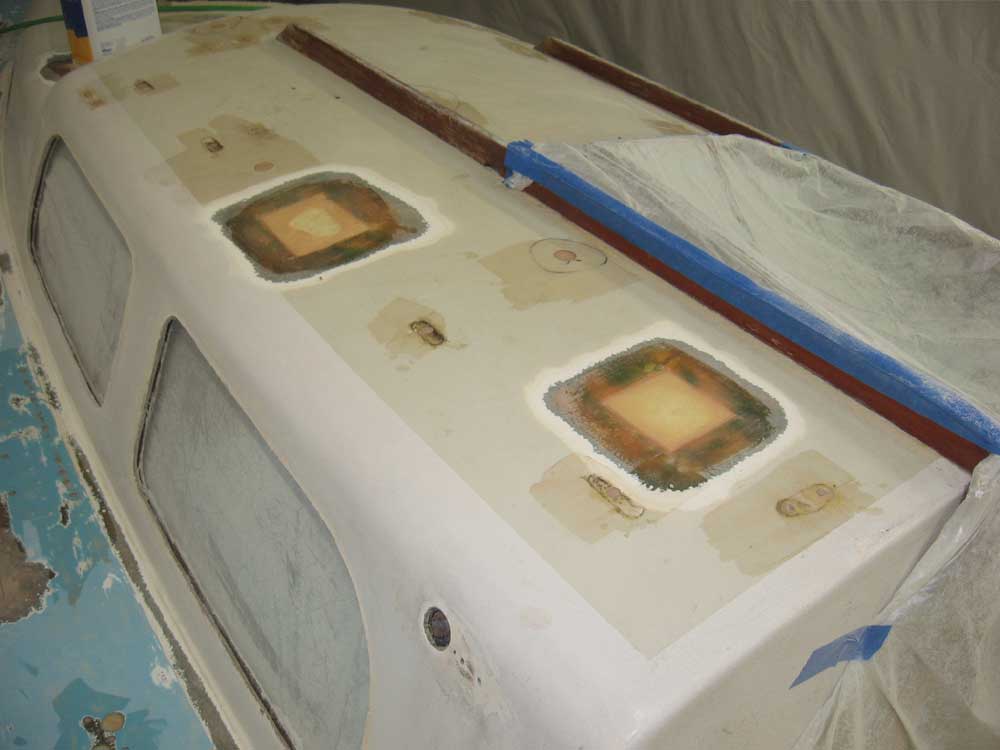
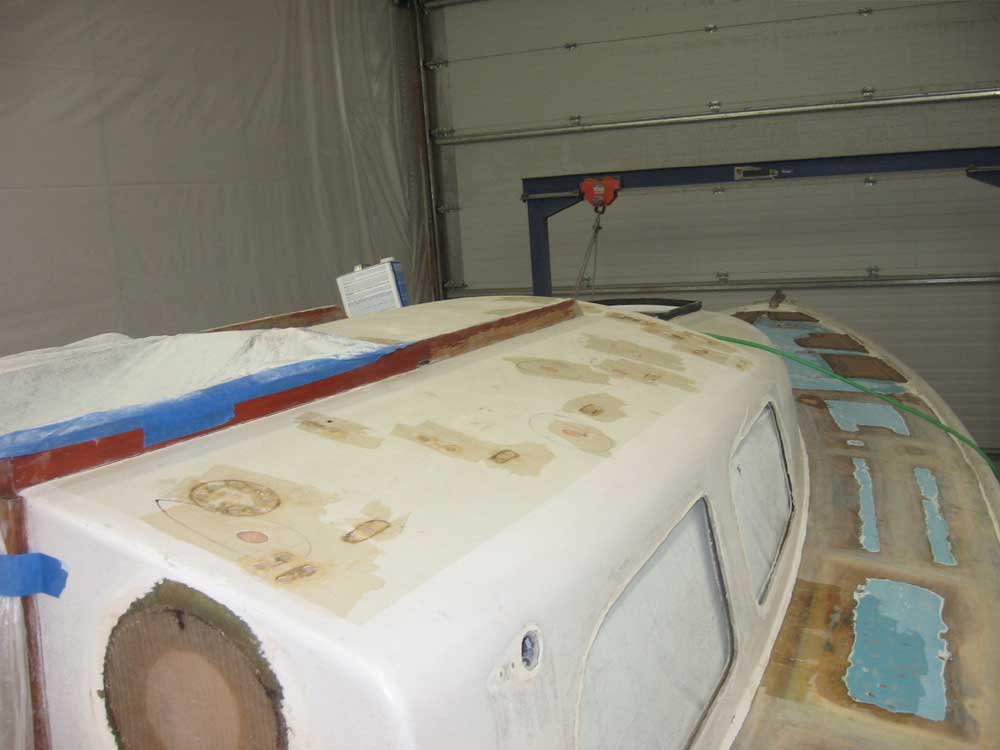
After lunch, I continued with the grinder, this time on the coachroof, where I pre-ground the tapers around the three areas requiring new core (which had yet to be installed). I also ground appropriate tapers into the aft cabin bulkhead around the two large, abandoned instrument holes on the starboard side, so that I could begin patching those. |
|
|
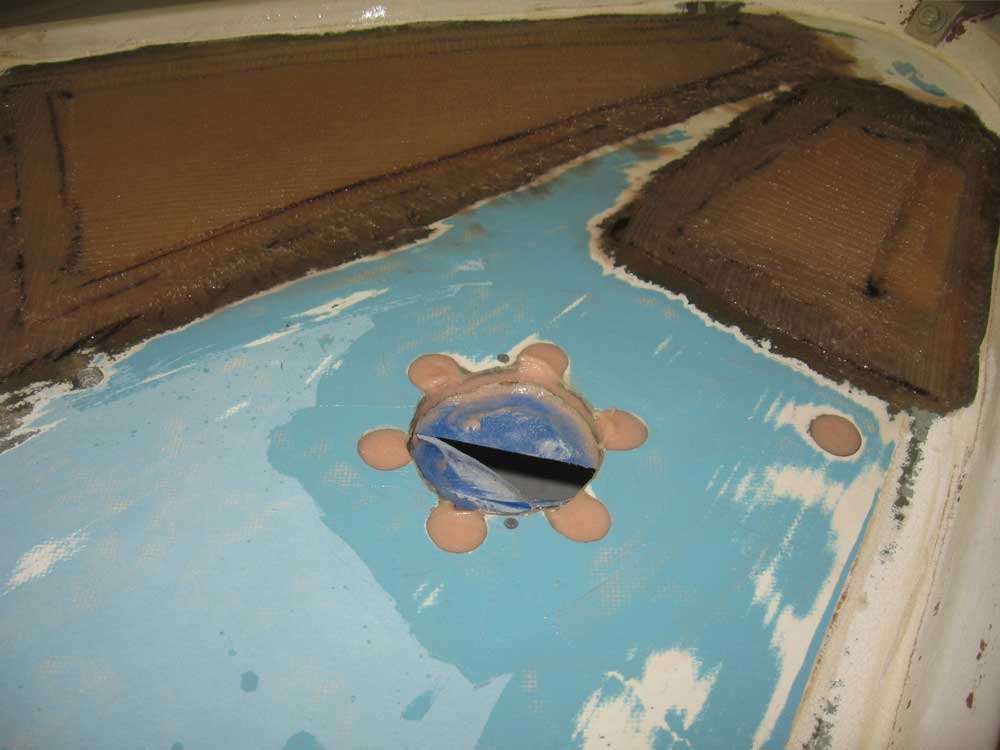
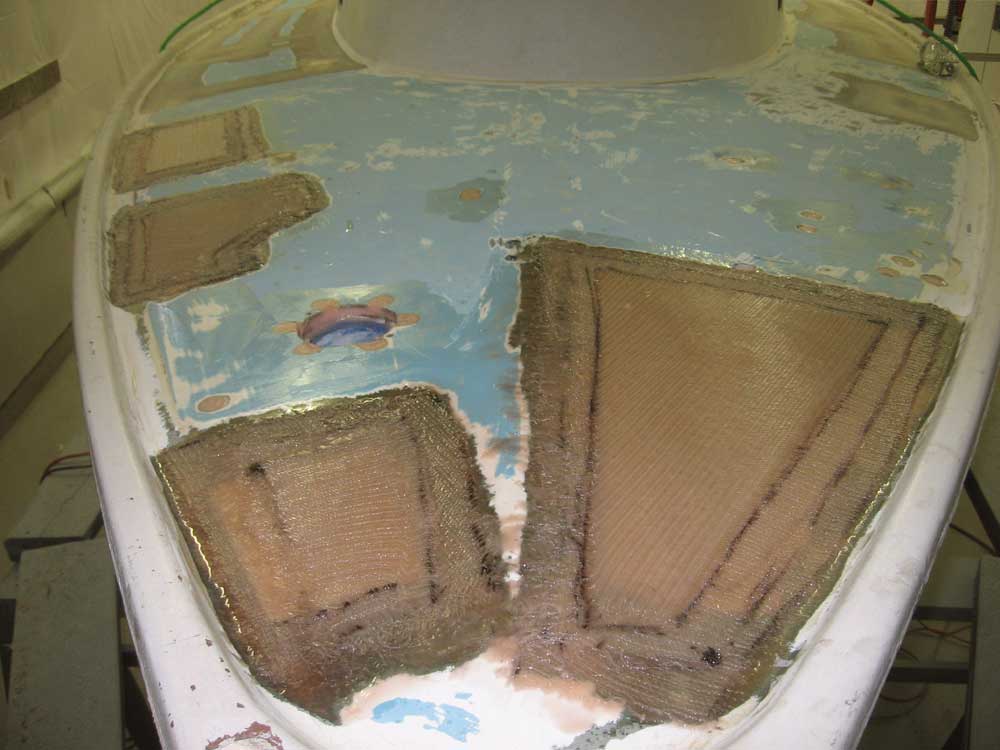
After cleaning up the dust and debris, and vacuuming the deck areas, I spent some time cutting 1708 biaxial material for the new top skin laminations over the foredeck core, as well as the cockpit instrument holes. I cut three layers of the material, which would roughly approximate the thickness of the original top lamination. I installed the three small pieces of Corecell in the openings on the coachroof, pressing them tightly into thick beds of epoxy and weighting as necessary. Then, I laminated the new layers of fiberglass onto the foredeck core, and installed a single layer of 1708 over the two instrument holes in the cockpit; later, once the material is cured, I'll add a couple more layers to complete this, but until the center of the opening had something solid against which to work, there was no sense in trying to complete the glasswork now. |
|
|
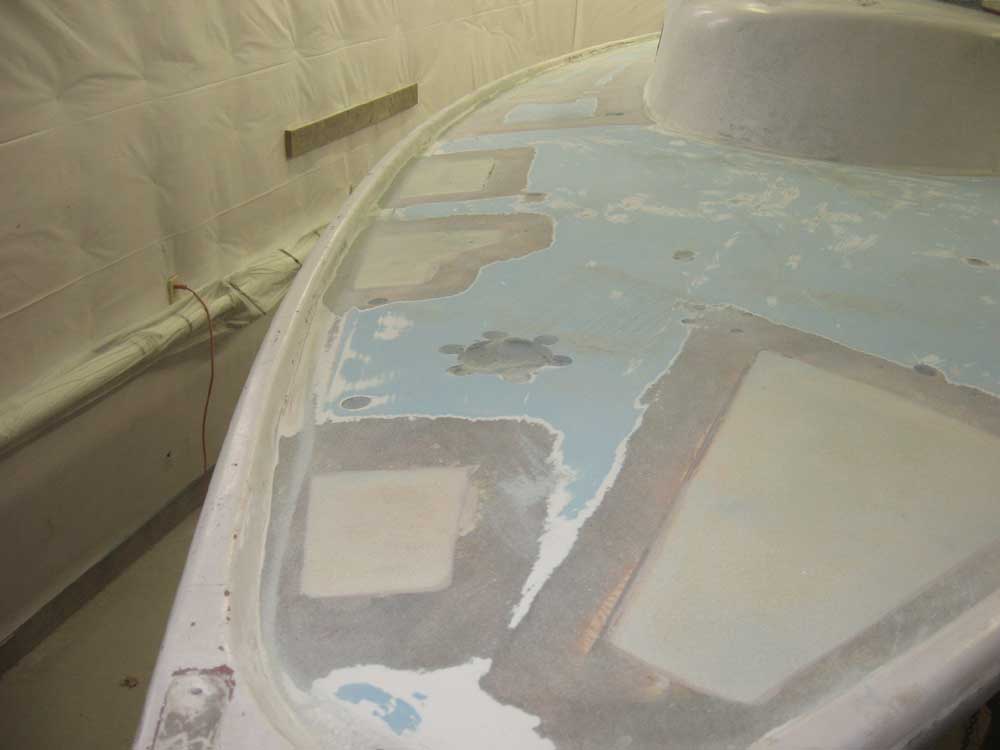
Finally, I went around with an epoxy syringe and injected epoxy into some of the voids exposed by the myriad 1" holes, as required, before filling these holes with an adhesive mixture of epoxy and cabosil, smoothing them flush with the surrounding areas. Later steps will include additional grinding and small rounds of fiberglass over these openings to tie them in properly with the remaining deck. |
|
|
|
|
|