| Sea Glass Refit |
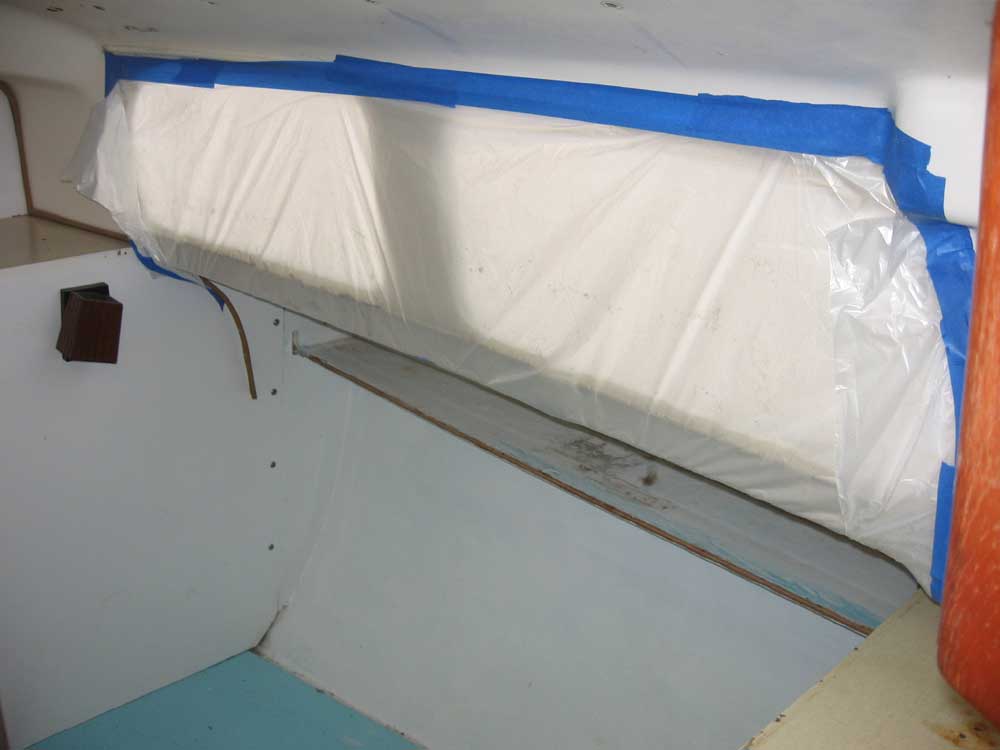
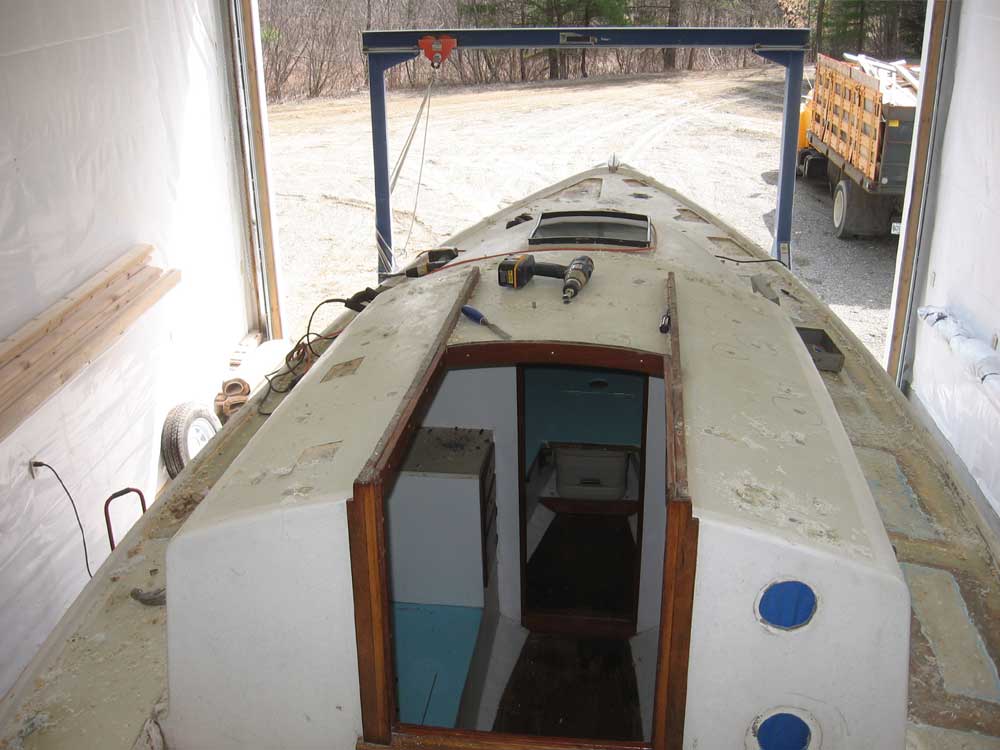
April 26, 2007 In a final bit of pre-project prepwork, I began this morning by covering the ports and other openings with plastic, taping it up from inside, to reduce the amount of dust and debris that would end up in the cabin during the process. |
|
|
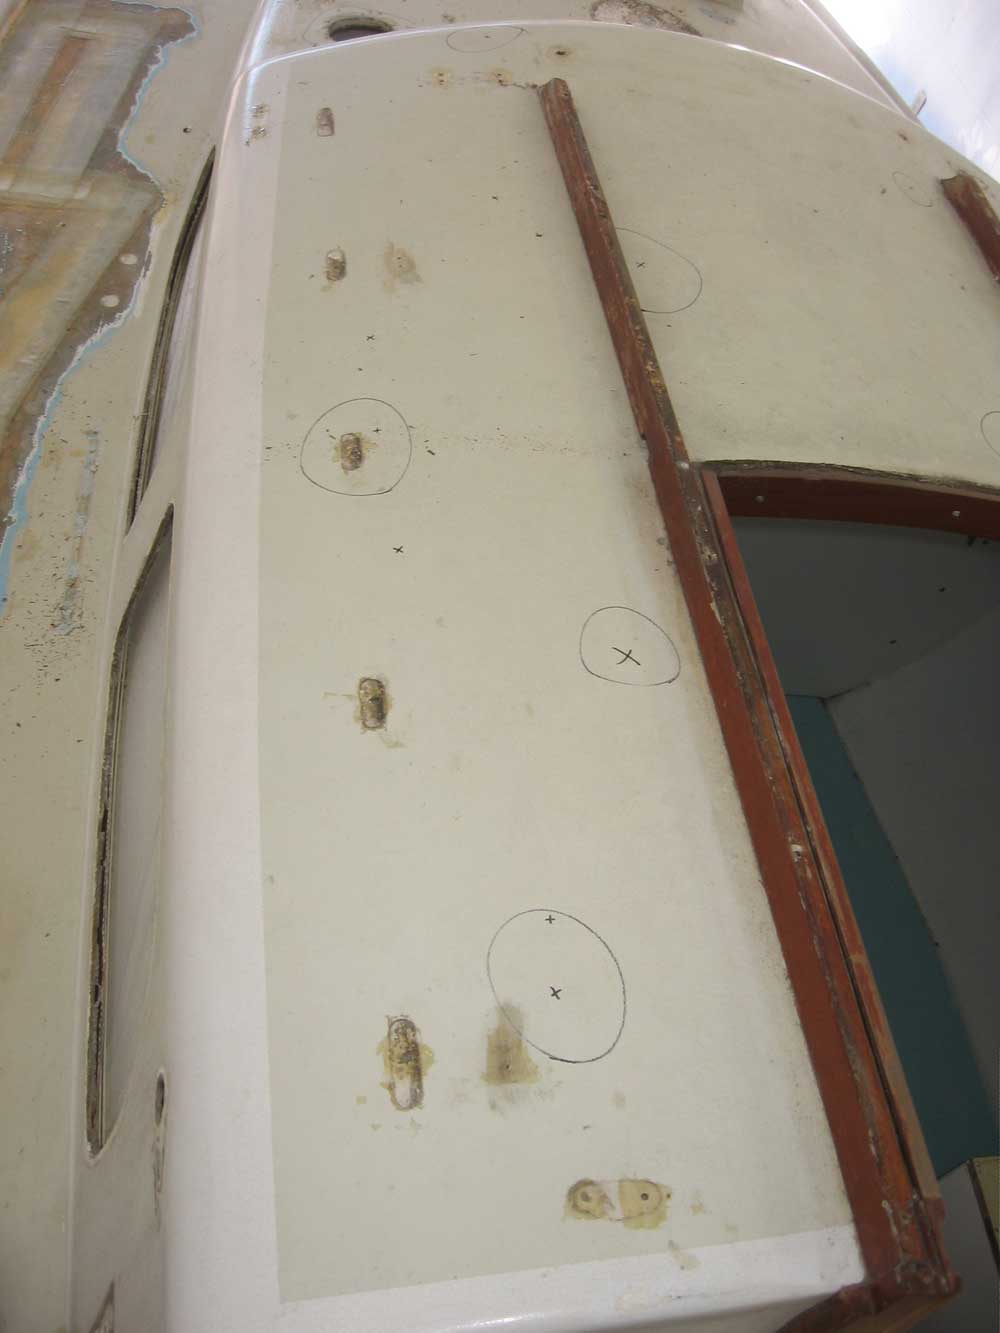
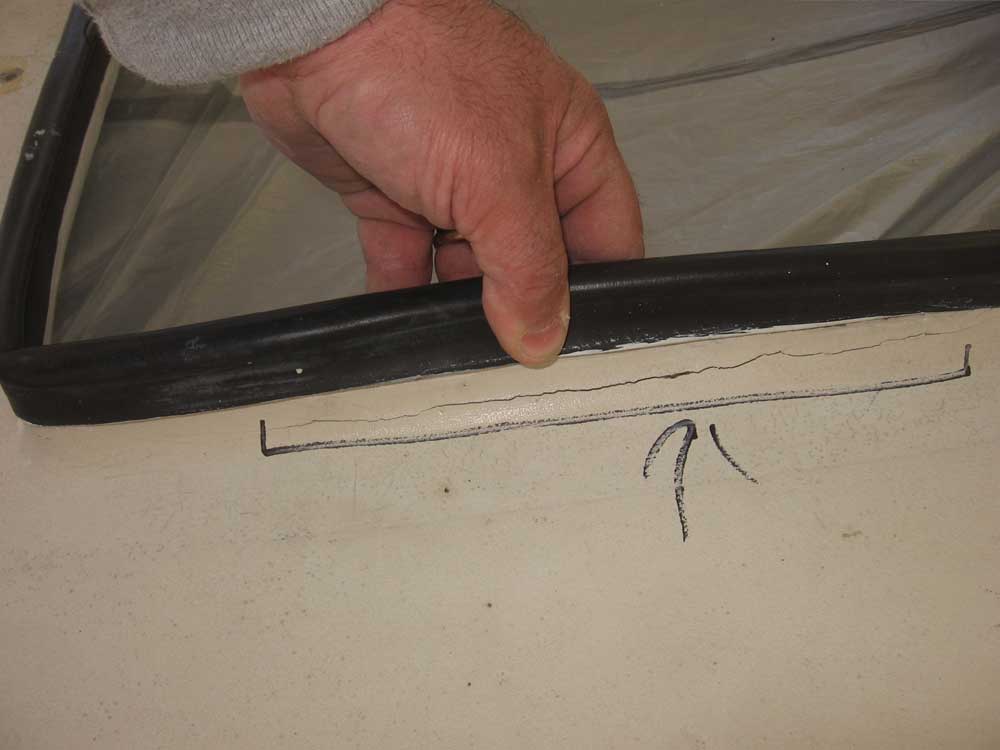
With that done, I moved on to the real project. Armed with my steel framing hammer, I carefully--once more--sounded the entire deck and cabin top and marked all the questionable areas. Fortunately, most of the suspect spots seemed to be simply top-skin delamination--where a void forms as a result of the release of the fiberglass laminate from the core beneath. In some areas, though, there was clearly something more going on. I also located a spot on the forward hatch lip where there was a crack that allowed the lip to flex. |
|
|
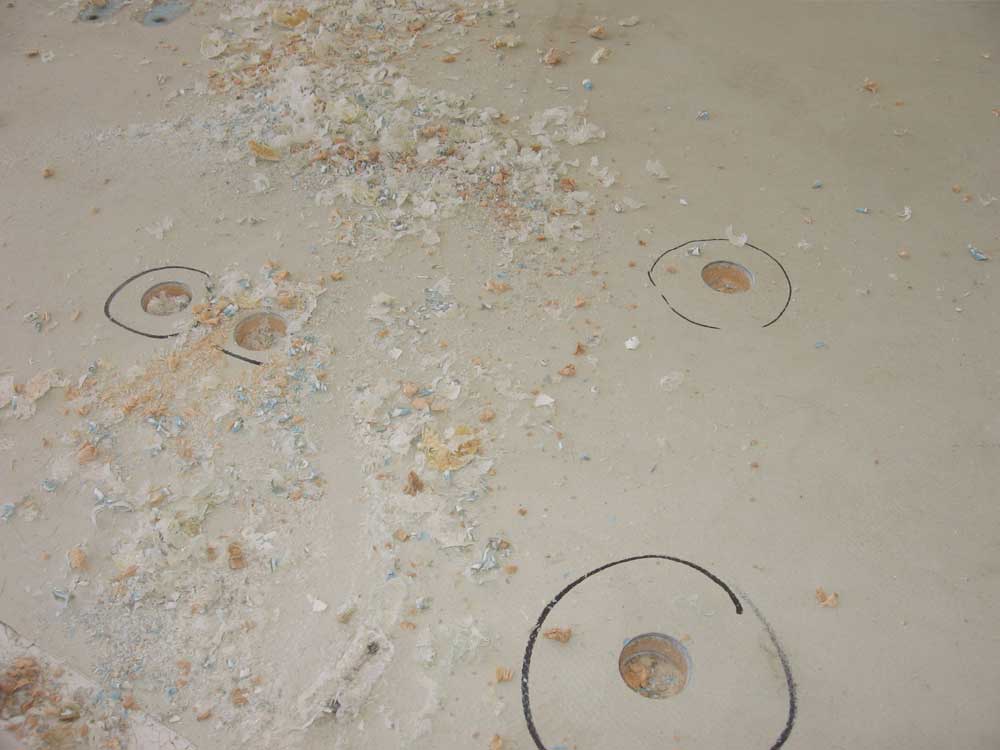
With all the bad spots thusly marked, I began drilling exploratory holes using a 1" Forstner bit to allow for a substantial hole for close examination of the core and bonding in each spot. With my hammer close at hand, I drilled these 1" holes in what seemed to be the general centers of each spot as marked. In most cases, as suspected, the core was observed to be clean, dry, and sound, but with typically small voids noticeable where the bond between core and laminate above had either never been properly formed, or had separated over time. Repairs to these areas would be straightforward--some epoxy injection around the perimeters of the holes to take care of any debonding or non-lamination still in place after the large hole was drilled, followed by filling the 1" holes with small bits of Corecell and fiberglass/epoxy. |
|
|
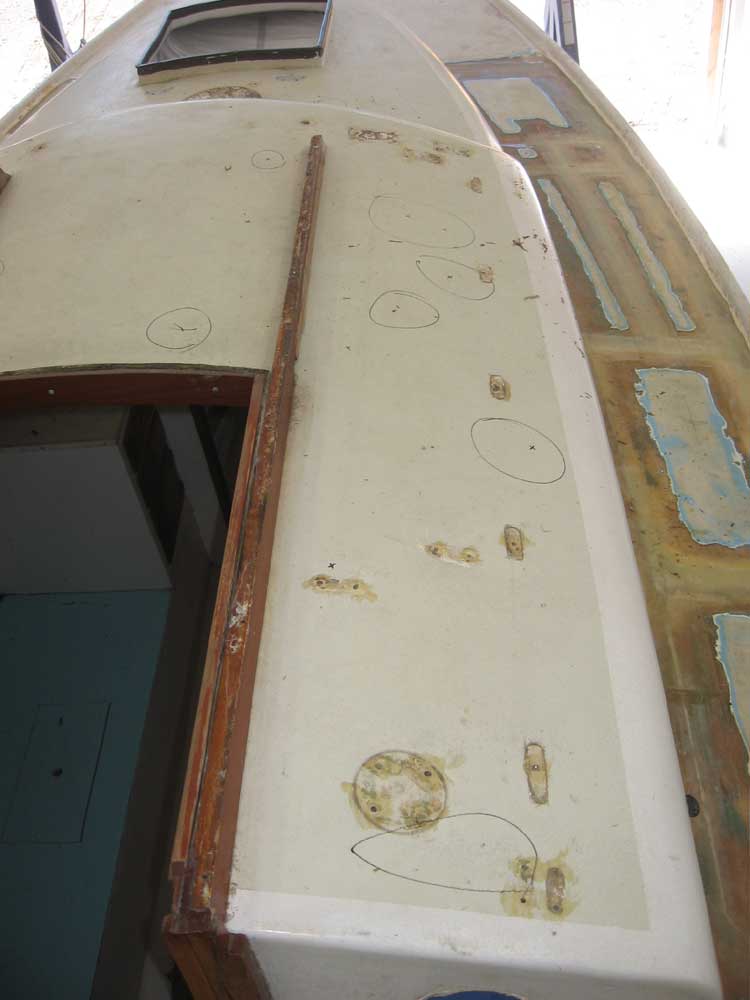
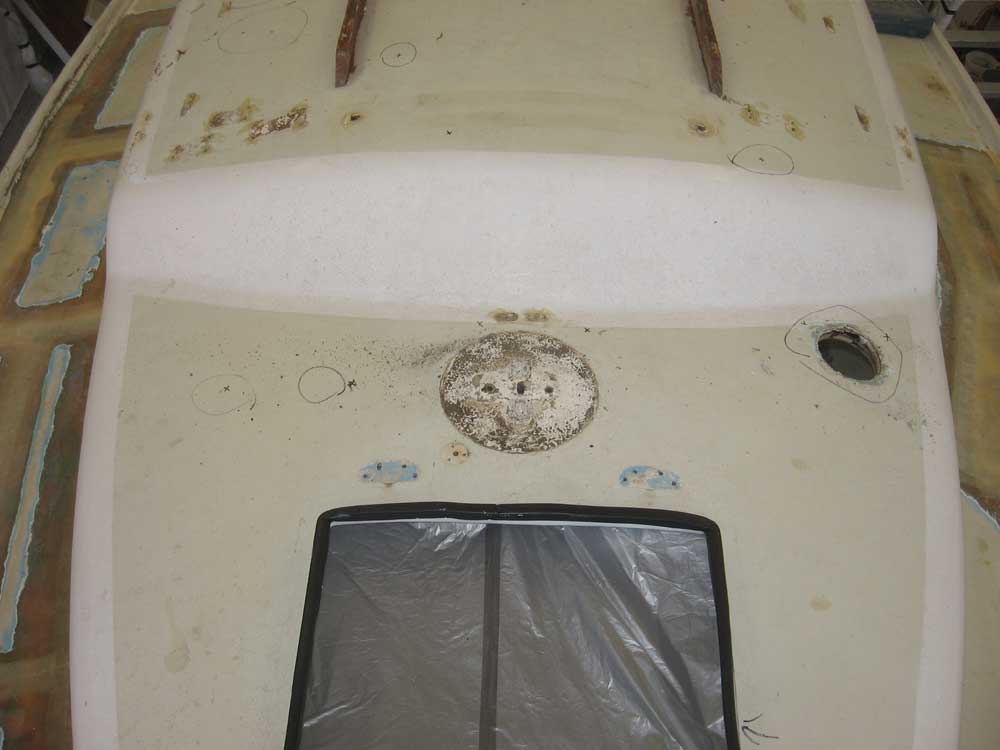
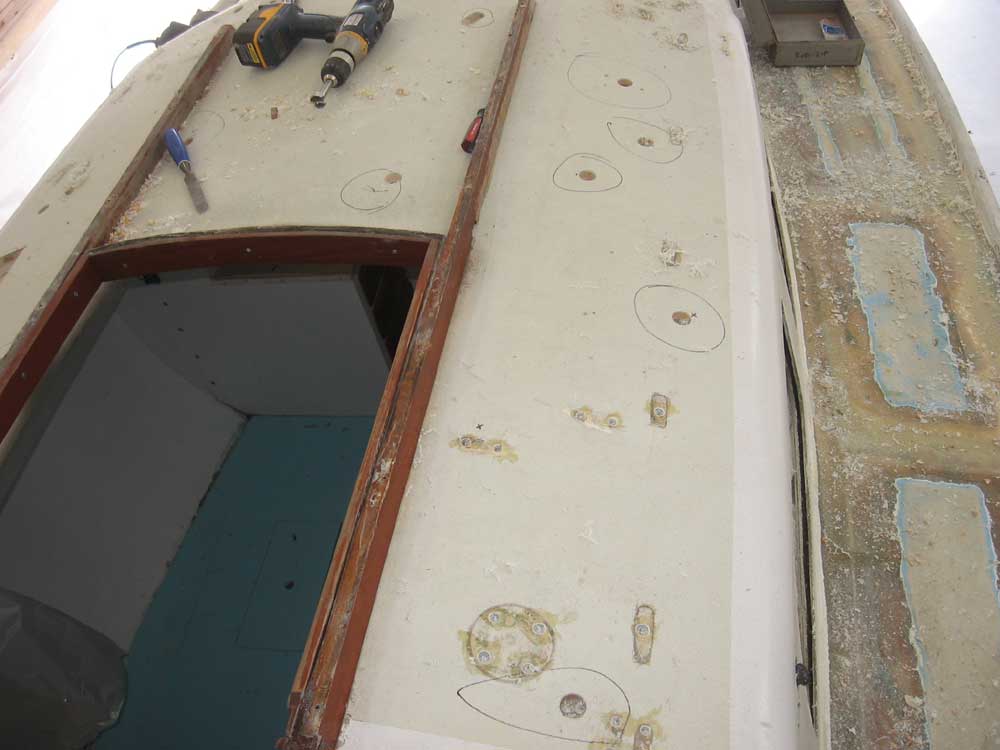
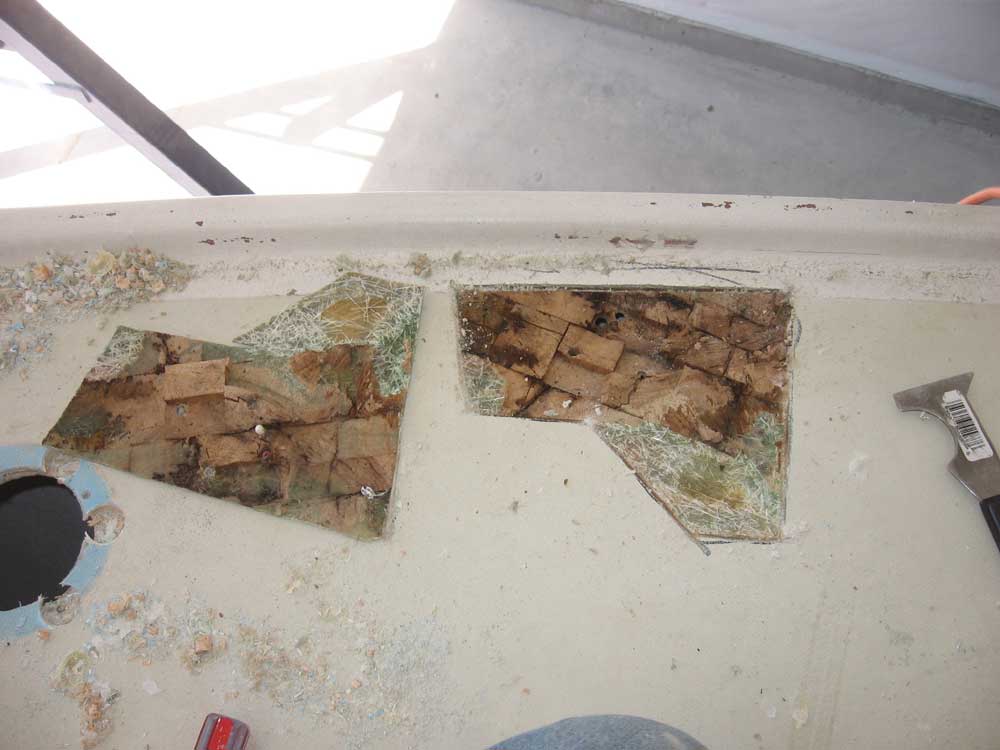
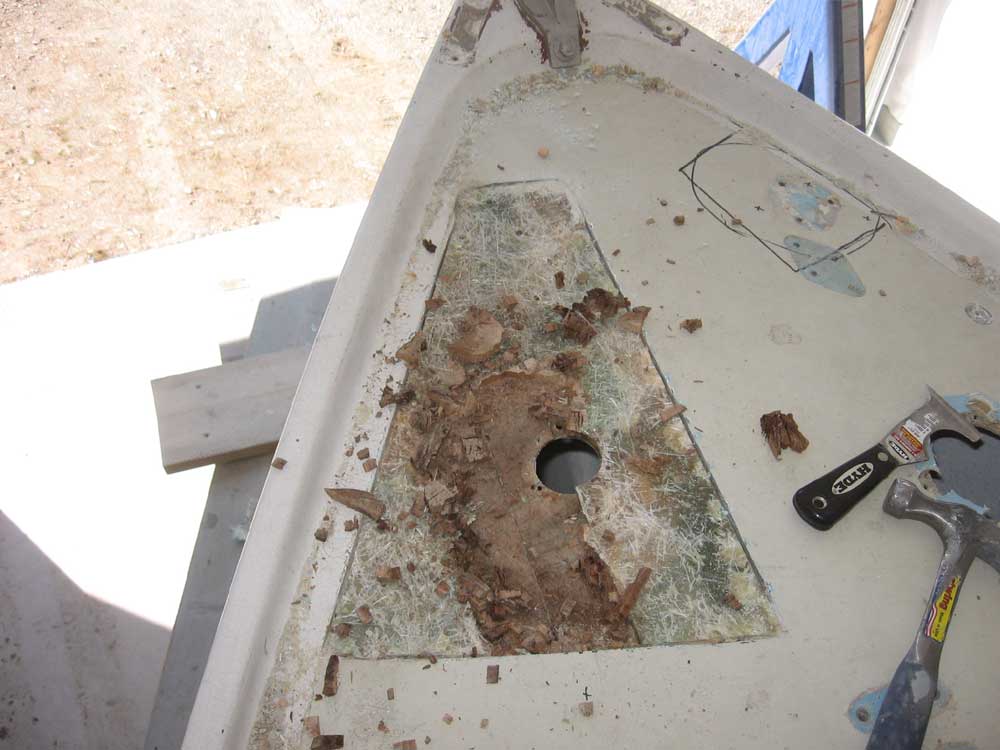
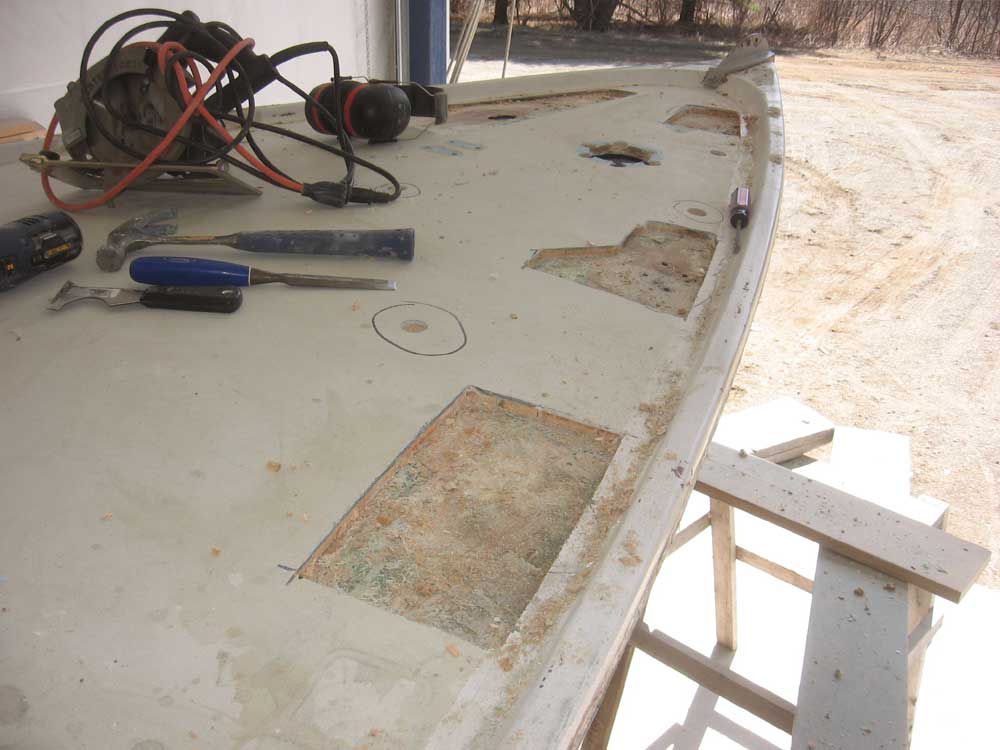
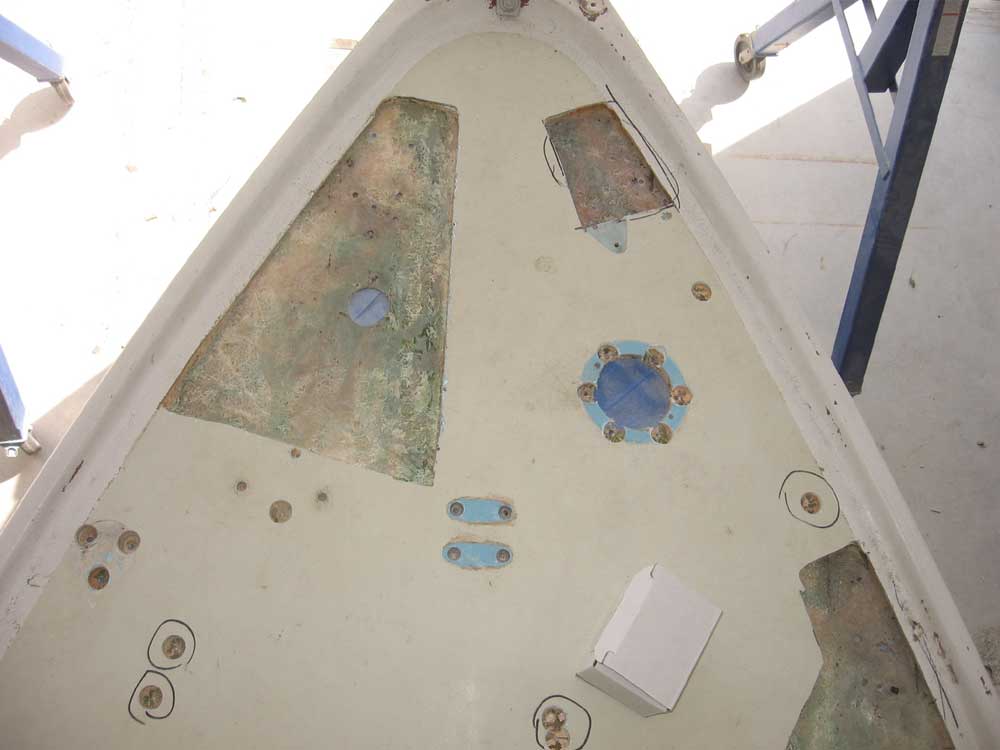
In a few areas, most notably the foredeck in way of the bow pulpit bases and an old deck fill plate, there were indications that the core or non-lamination problems might be more widespread. I began in the same manner, using the 1" bit to open the center portions of the marked areas, but I found damp core in the holes. To determine the extent of the damage, I drilled additional exploratory holes with a 1/2" drill bit till I found clean, bright core all around. Then, I marked a cut line around the areas for topskin removal. Using a circular saw and a Roto-Zip tool, I cut away the top skin around these expanded areas--four such spots on the foredeck, and three smaller ones on the coachroof, including around an old cowl vent that was to be abandoned. Two other areas, both on the port side of the coachroof around old hardware holes, also had showed signs of a more widespread problem when I drilled the 1" exploratory holes, so in these areas I also removed the top skin. I removed all the old core from the opened areas, and ensured that the core around the edges of the openings was clean, dry, and well bonded. Fortunately, dampness and structural core damage was confined to relatively small areas around the original point of leak origin. I will not reuse the old top skins in the repair; instead, I'll laminate new material as required. While I was making a mess, I also went around and, using a large countersink, milled chamfered openings at each existing fastener hole location, as well as some that had been partially filled during previous repair efforts. The chamfered holes would allow for a good bond with epoxy filler as a preliminary filling/fairing step later on. I ground the inner skin on all the opened areas, using a 2" Roloc, to remove all traces of the old core, resin, and loose material. |
|
|
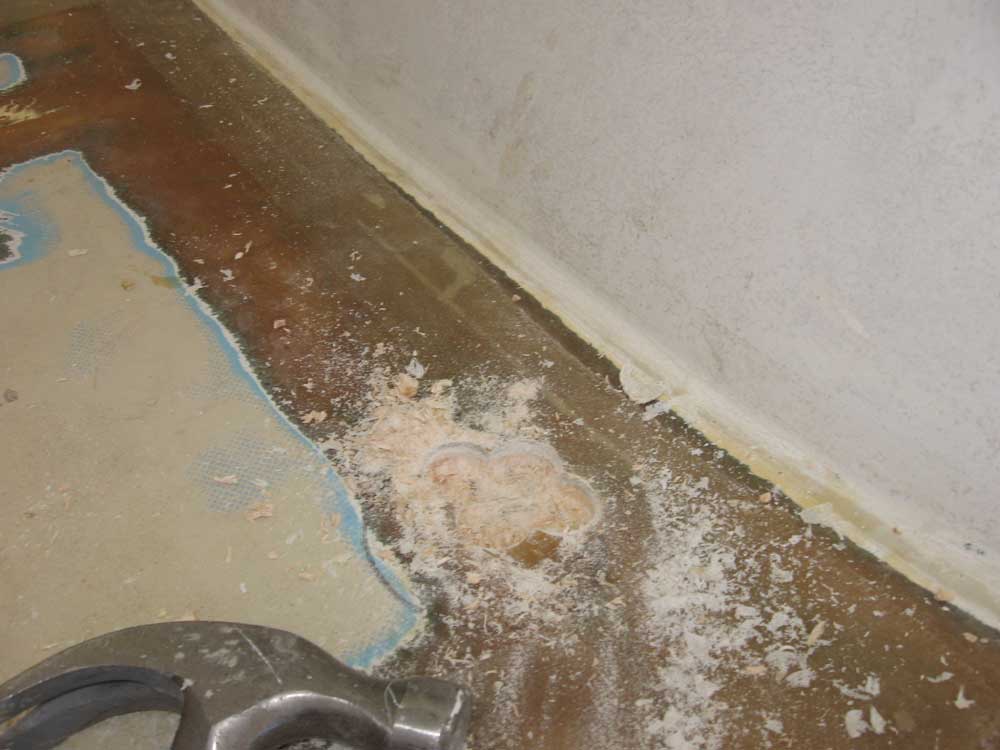
On the starboard sidedeck, towards the forward end of the pre-existing recore repair completed last summer, I found a small void during sounding, and opened this area with the 1" drill bit. In the left-hand photo below the screwdriver tip points to the clear void between the core and top skin. Eventually, I expanded this opening with several more 1" holes to remove the entire voided area; I'll fill this with core, epoxy, and fiberglass. |
|
|
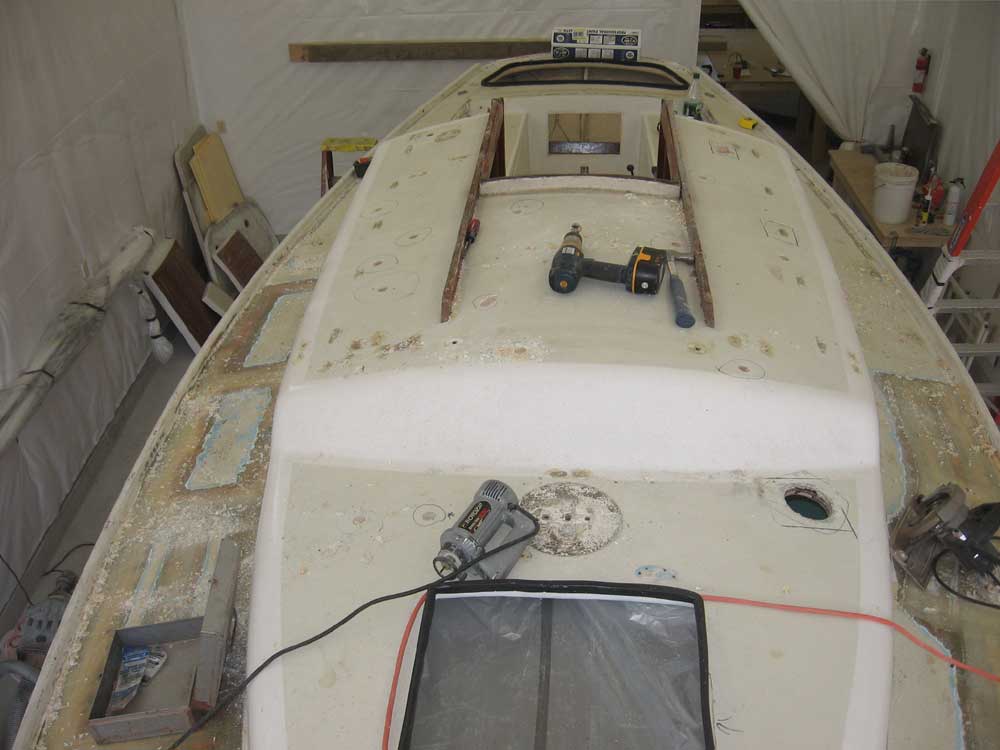
With all the milling, drilling, and cutting out of the way, I vacuumed up the debris from the deck, and then washed the open areas with acetone. To end the day, I cut pieces of 3/8" Corecell to fit the four open areas on the foredeck, as well as the three on the coachroof. Finally, I installed the new core on the foredeck, pressing the core tightly into a heavy bed of thickened epoxy that I spread on the cleaned inner skin. I weighted the core in place with high-tech implements of the building trade, ensuring that the bond was tight and sound in all areas. |
|
|
|
|
|