110 Cookson Lane | Whitefield, ME 04353 | 207-232-7600 | tim@lackeysailing.com
Sailmaster 131 | Tuesday, September 24, 2013
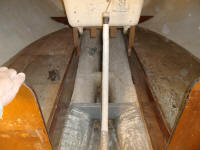
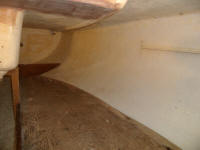
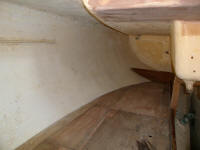
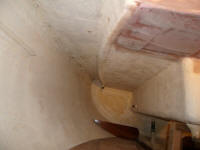
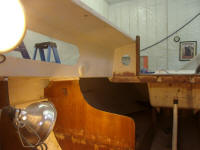
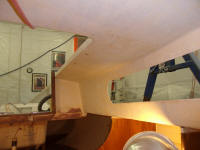
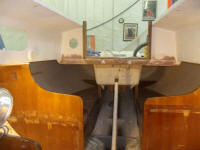
I continued surface prep in the interior, this time in the twin quarterberths and other areas aft of the galley. As before, I sanded all surfaces to remove old coatings as necessary and otherwise prepare for refinishing. Then, I sanded inside all the berth lockers, bilges, and any remaining areas to complete the bulk sanding. Afterwards, I cleaned up the interior thoroughly.
There were a few old fastener holes in the coamings that wouldn't be reused, so I bored out the holes and installed teak plugs to repair them.
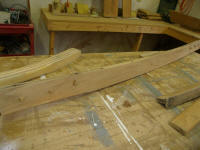
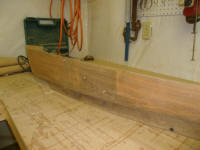
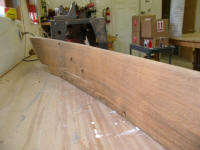
With several other commitments in the coming weeks that would break up my work time somewhat, I thought ahead to the best and most efficient way to move the entire project forward, juggling exterior paint work with the continuing interior refinshing. With a general plan in place, my first step was to prepare the toerails for finishing, as I wanted the finish on these rails before masking up for the hull and deck painting.
The owner selected Cetol Natural Teak finish for the exterior woodwork, which would require three coats according to the product directions. I lightly sanded the toerails to brighten them up and remove any staining from the several weeks of deck work, then, after solvent-washing, I masked off the rails and applied the first of three coats of finish.
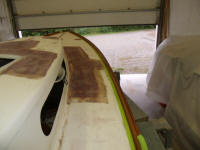
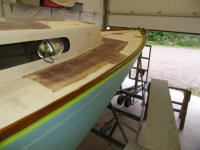
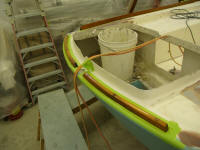
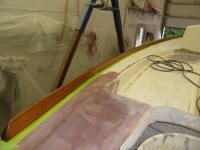
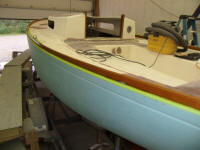
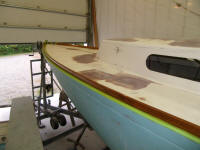
Meanwhile, I prepared the other bits of exterior woodwork for refinishing as well, vacuuming and solvent-washing the pieces I'd stripped and sanded earlier and removing the excess bungs from the fastener holes I plugged. Then, I had time before the end of the day to apply the first coat of finish to the coamings, leaving the half-dozen other pieces for another time.
Total Time Billed on This Job Today: 8.25 hours
