110 Cookson Lane | Whitefield, ME 04353 | 207-232-7600 | tim@lackeysailing.com
Sailmaster 131 | Tuesday, November 19, 2013
After some time away working on another project, I was ready to continue work on the interior finish. The cabin trunk and overhead were complete, along with most of the interior varnish work, leaving the underdeck and hull areas, plus the settee bases and galley, to prime and paint.
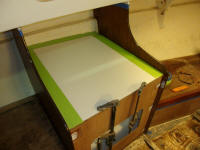
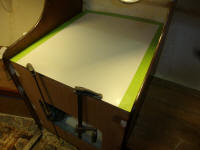
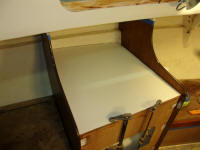
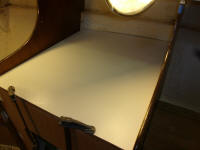
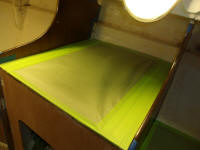
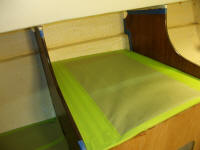
There were several things to do before I could get to the paint. First, I installed the two new countertops in a bed of epoxy adhesive, adding clamps to the inboard edges to keep the panels tightly secured at that joint. Before installing, I masked around the edges of the countertop to keep it free from any epoxy squeezeout; after installation I removed the tape.
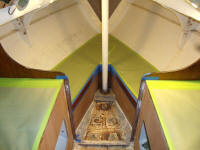
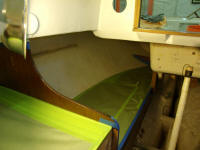
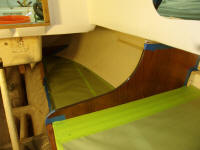
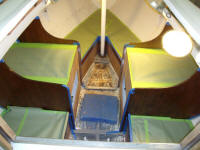
Meanwhile, I masked off for the ongoing paint work, masking around brightwork and other areas, as well as covering the berth tops to prevent staining from drips and spills. I vacuumed and solvent-washed the surfaces to prepare for the upcoming primer and paint. Later in the day, once the adhesive securing the countertops had cured sufficiently, I removed the clamps and masked over the countertops as well. It was too late in the day to begin the paint work, so I'd start that next time.
Planning ahead for the minimal wiring inside the cabin, I installed wire tie mounts with their proprietary adhesive to the well-sanded undersides of the deck, since this adhesive didn't adhere well to painted surfaces.
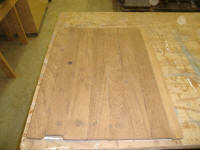
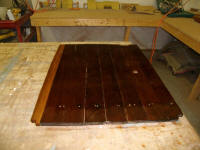
The center section of the cabin sole, to which I'd added a plank to extend its width back to the original size (the original plank was missing), was ready for further work, and I fitted and trimmed the new repair as needed to allow the section of sole to fit in its allotted space. Afterwards, I sanded the section to remove old finish, then applied a sealer coat of varnish.
Total Time Billed on This Job Today: 6.75 hours
