110 Cookson Lane | Whitefield, ME 04353 | 207-232-7600 | tim@lackeysailing.com
Sailmaster 131 | Friday, December 6, 2013
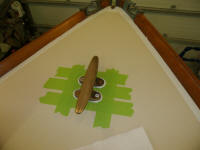
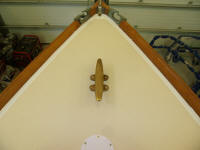
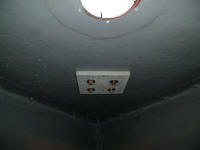
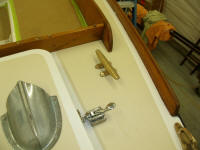
To begin, I installed the bronze bow cleat with new bronze fasteners and a sturdy fiberglass backing plate beneath.
While I was in the area, I cleaned up the excess sealant around the mast step.
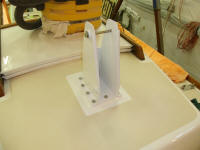
Next, I turned to the cockpit coamings. First, I set up the coamings and the aft coaming to determine where the aft section needed to be, since it was keyed into the side coamings and I'd filled the original bolt holes. Once I determined the location, I removed the coamings, prepared new fastener holes, and installed the aft coaming with new bolts and sealant.
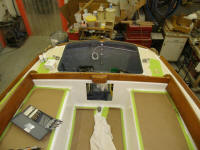
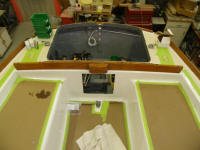
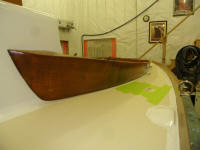
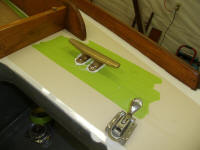
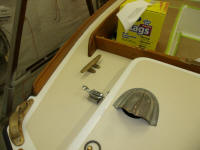
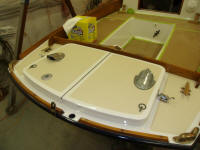
Then, I installed the cockpit coamings with new bolts, adding sealant around the bolt holes and a thin bead along the very top edge of the coaming where it overlapped slightly the sidedecks. I reinstalled various cleats and hardware, insstalled a bronze traveler, and plugged the bolt holes securing the aft coaming to the deck.
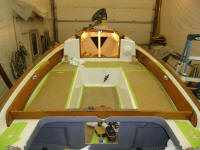
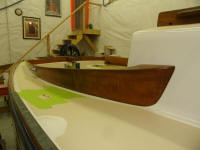
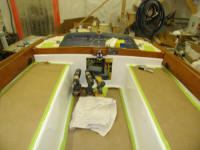
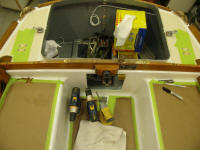
Instead of the original laminated wood winch bases, which were in poor condition upon removal, the owner selected bronze winch bases. I positioned these where the old bases had been, and drilled bolt holes through the coamings to secure the top edges, and marked the deck where the bases would bolt through. Then, I bored 1/2" holes through the deck top skin and core, leaving the inner skin intact, and filled the voids with thickened epoxy, leaving it to cure overnight.
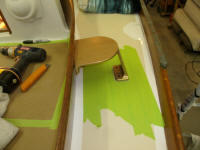
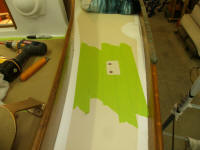
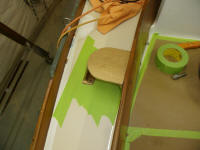
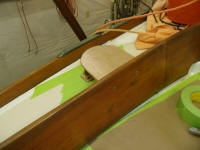
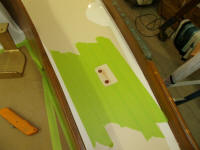
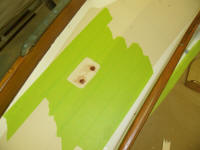
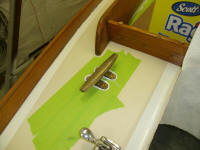
Finally, I installed the two bronze stern cleats with new fasteners, sealant, and backing plates.
Total Time Billed on This Job Today: 6.5 hours
