
110 Cookson Lane | Whitefield, ME 04353 | 207-232-7600 | tim@lackeysailing.com
Sailmaster 131 | Wednesday, December 4, 2013
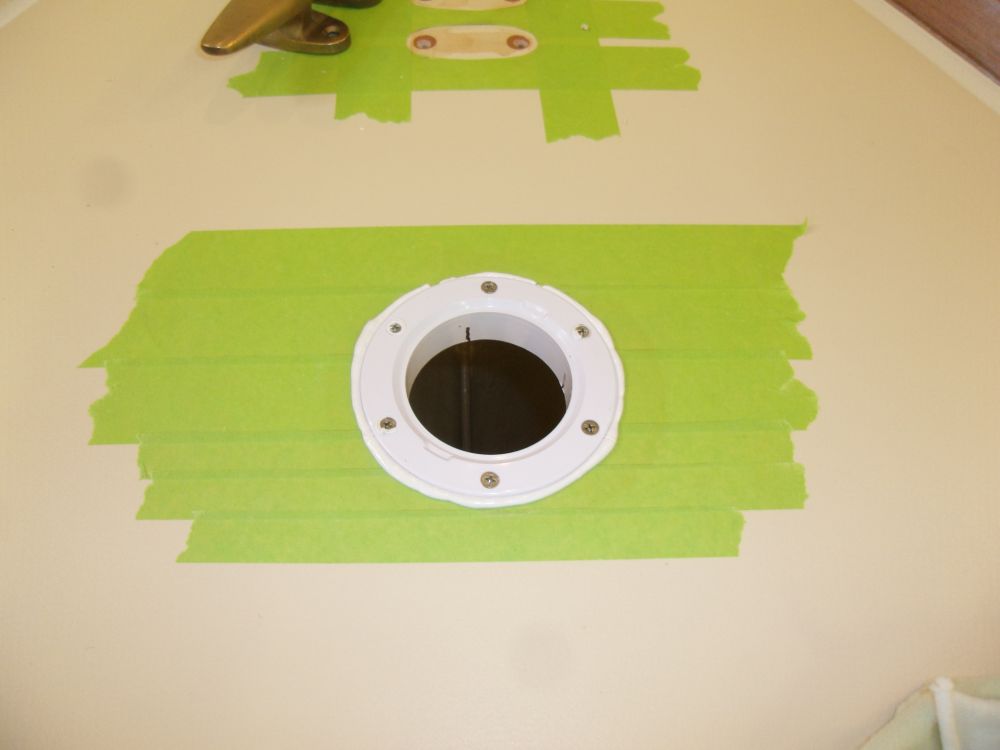
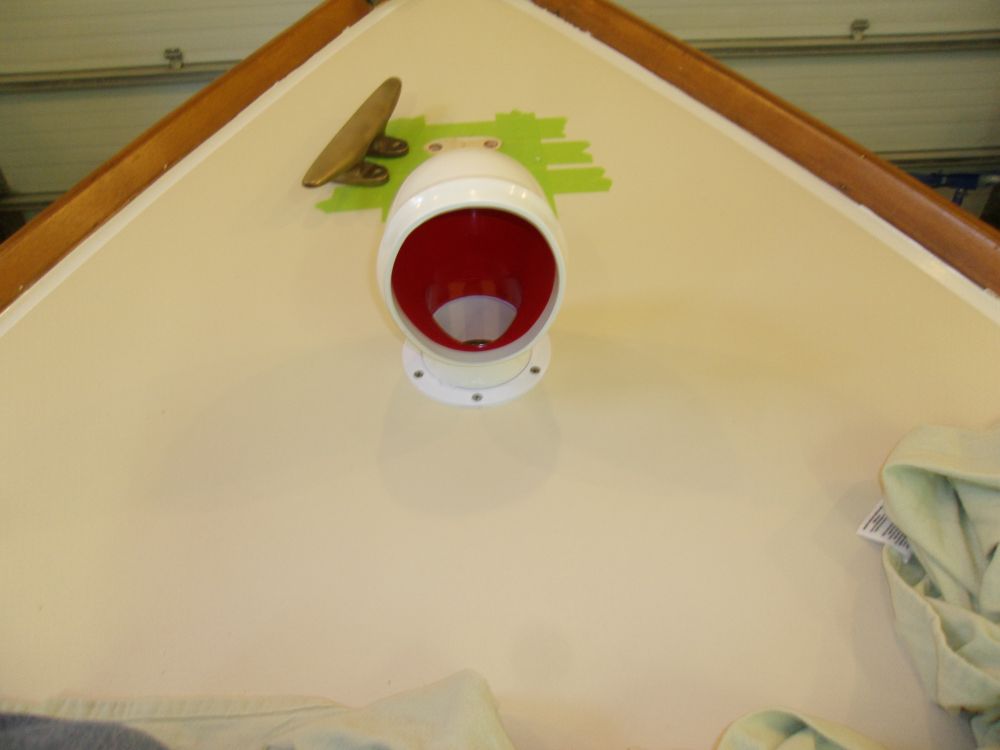
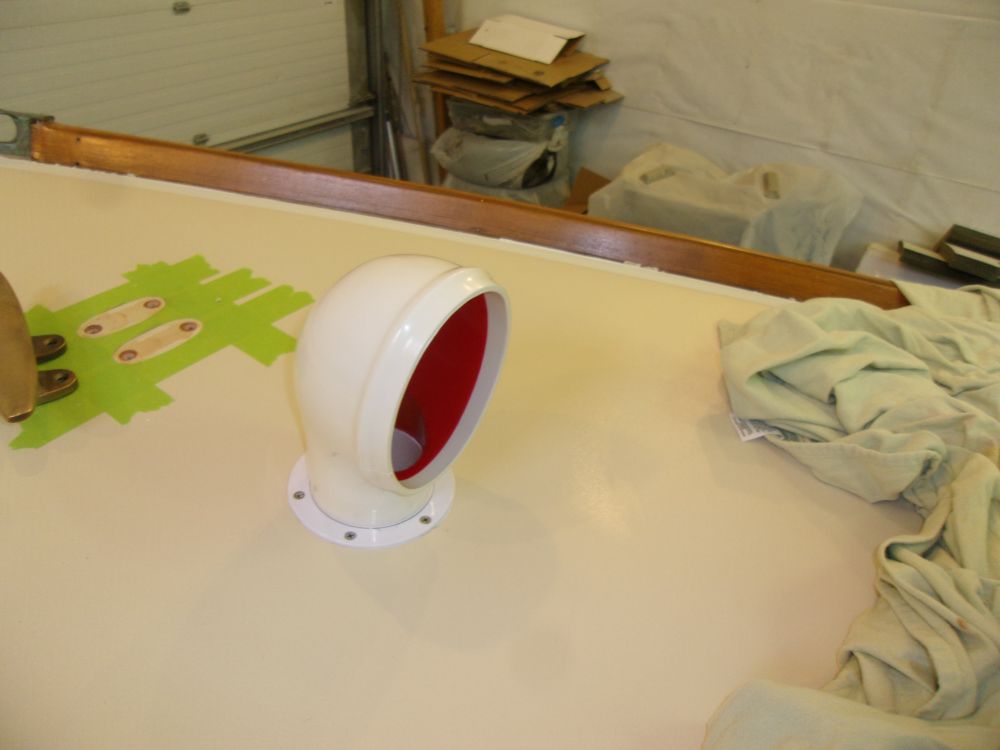
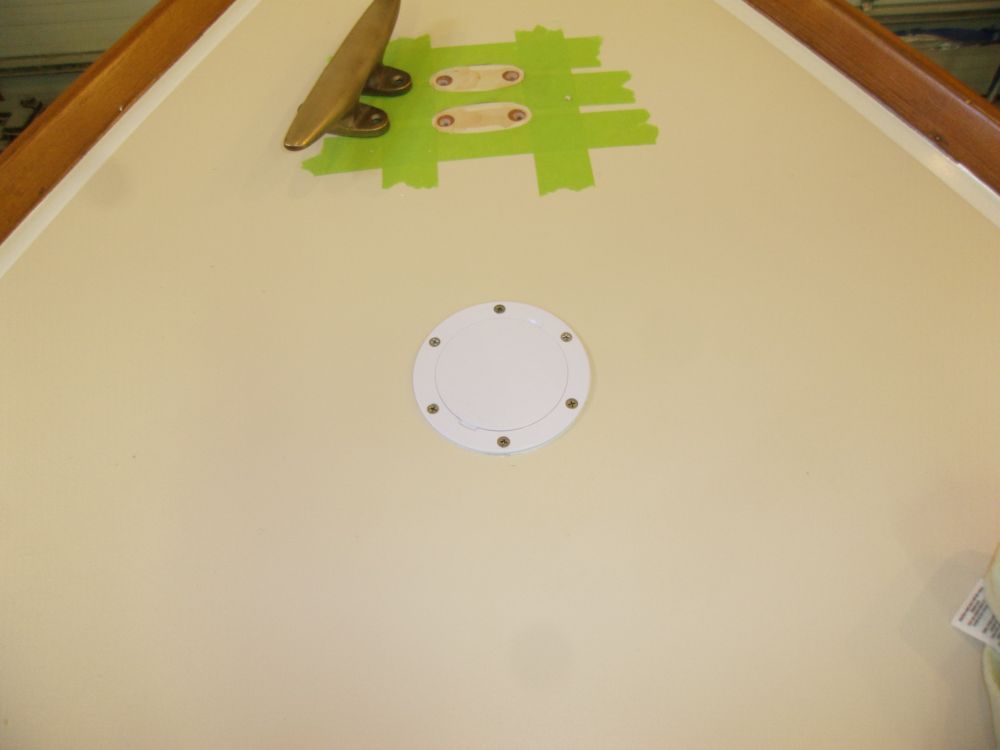
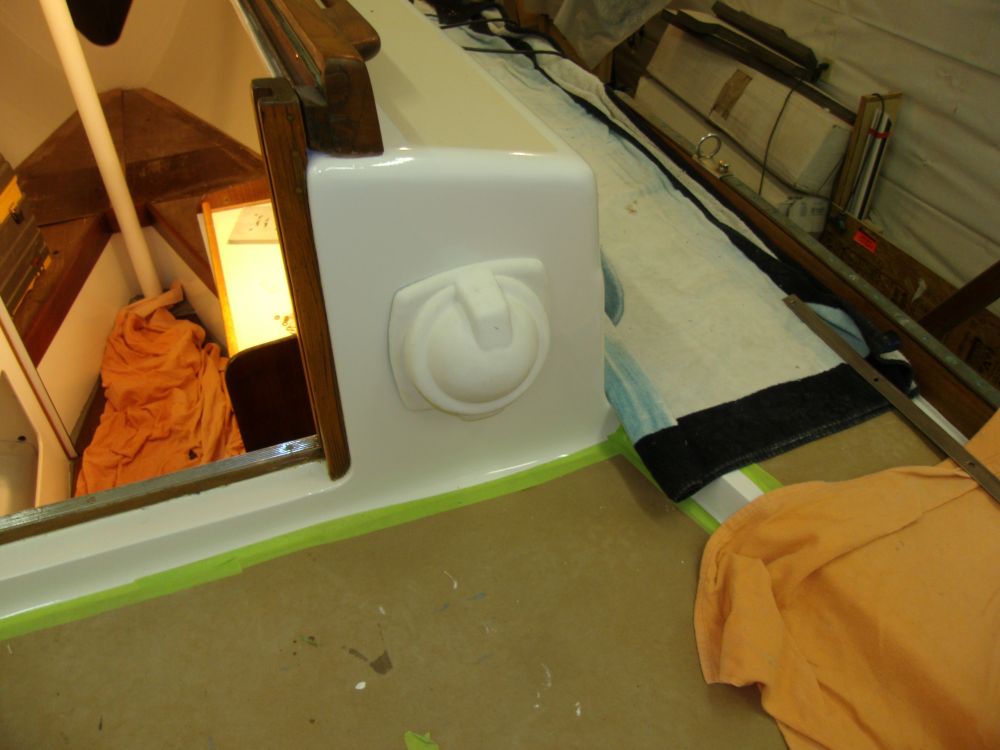
After drilling and tapping for machine screw fasteners, and otherwise preparing the area, I installed the plastic base for the foredeck cowl vent. After testing the vent, I removed it for safekeeping and replaced it with the flat blank that came with the base.

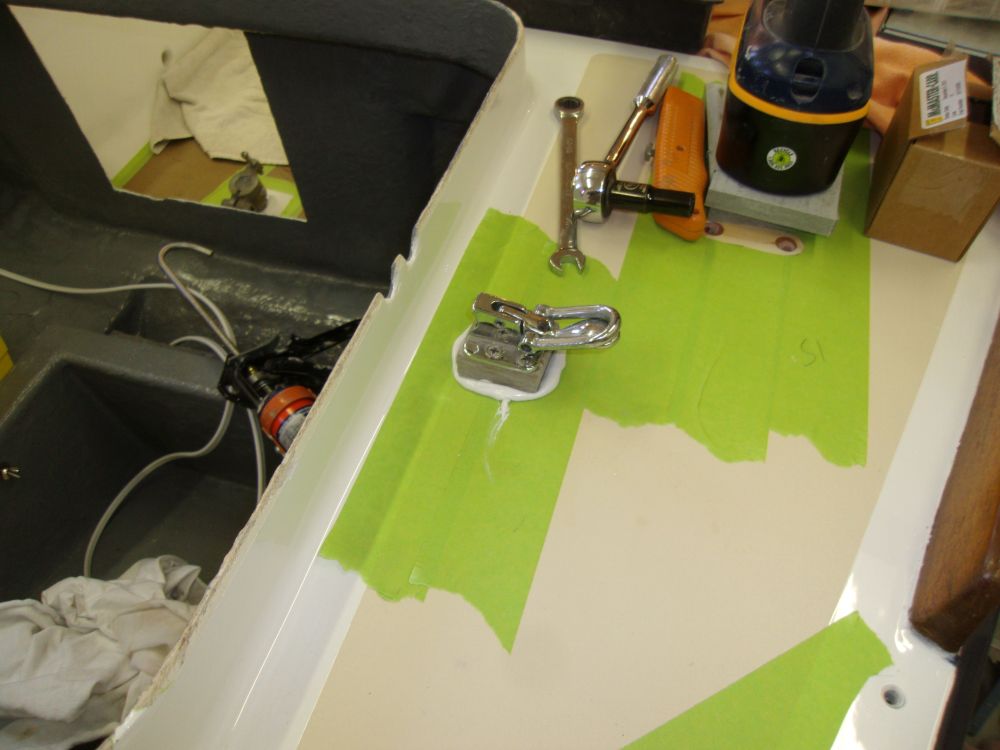
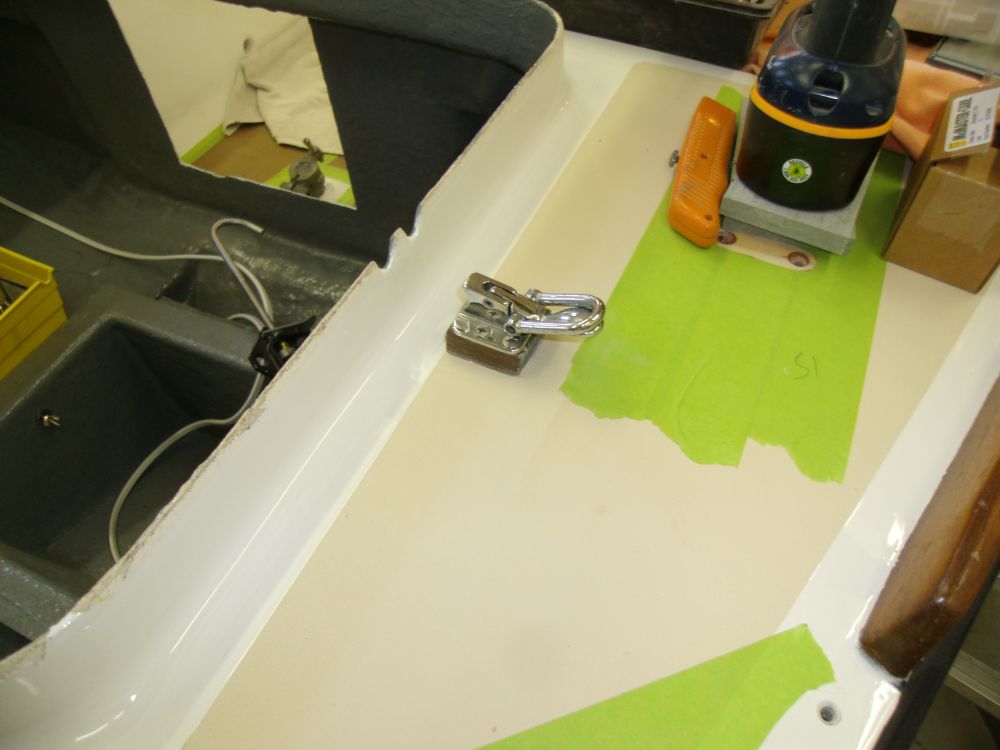
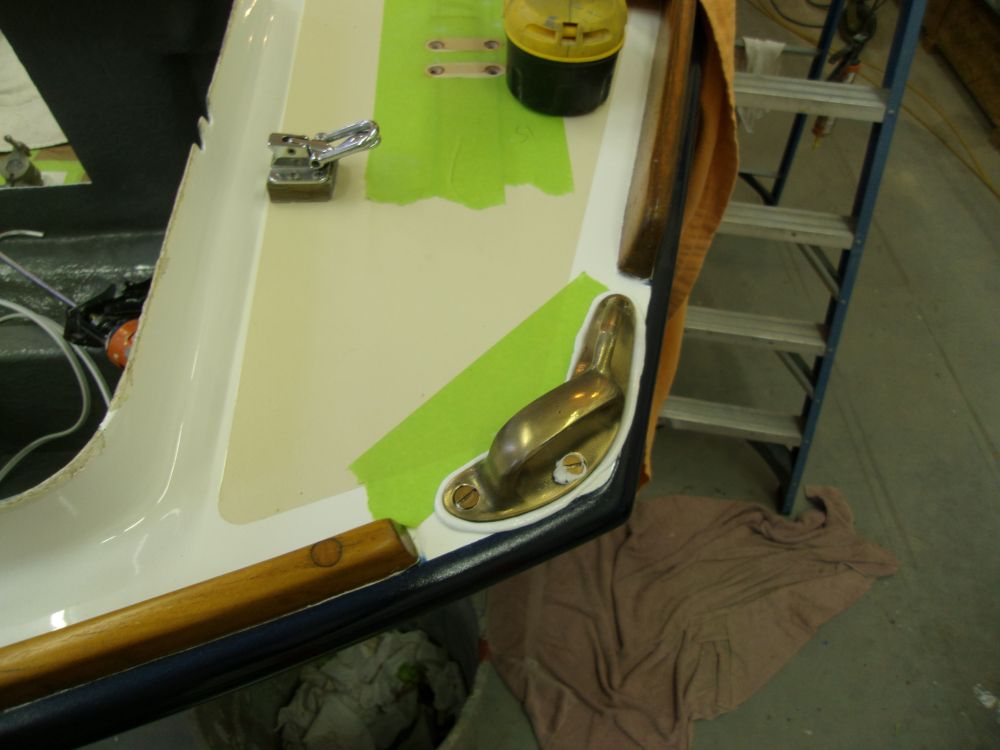
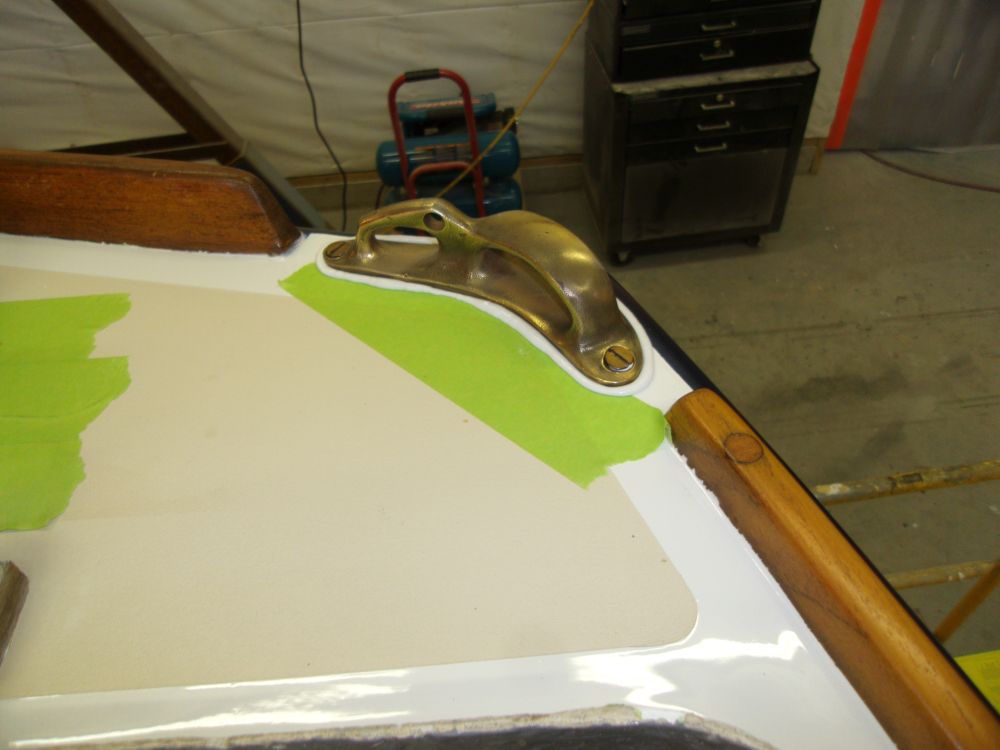
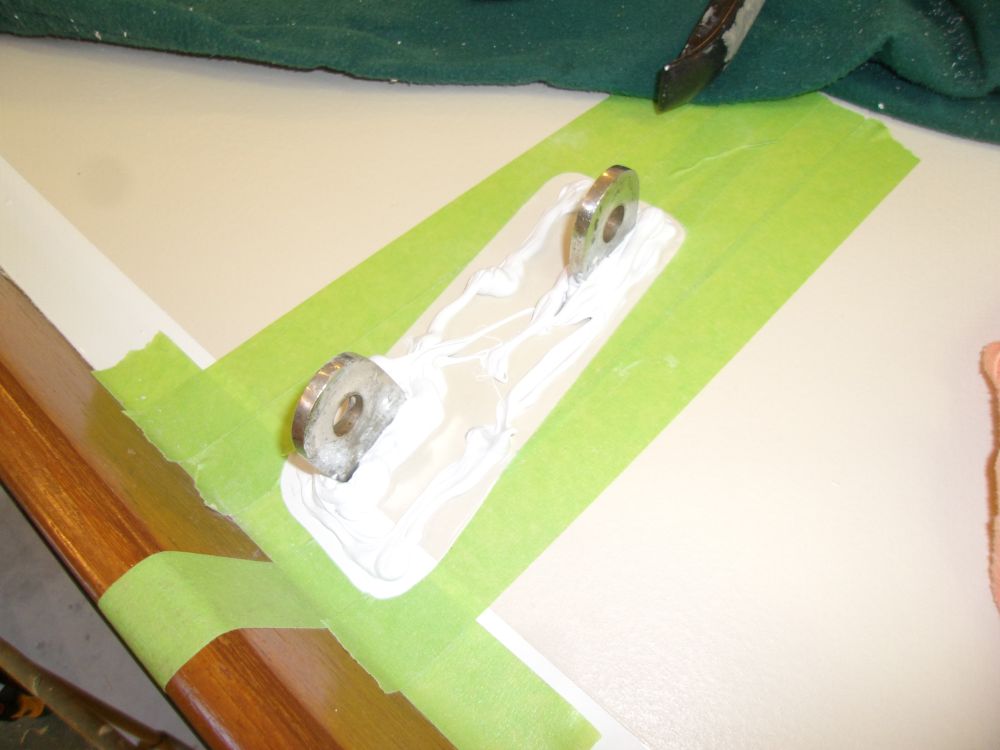
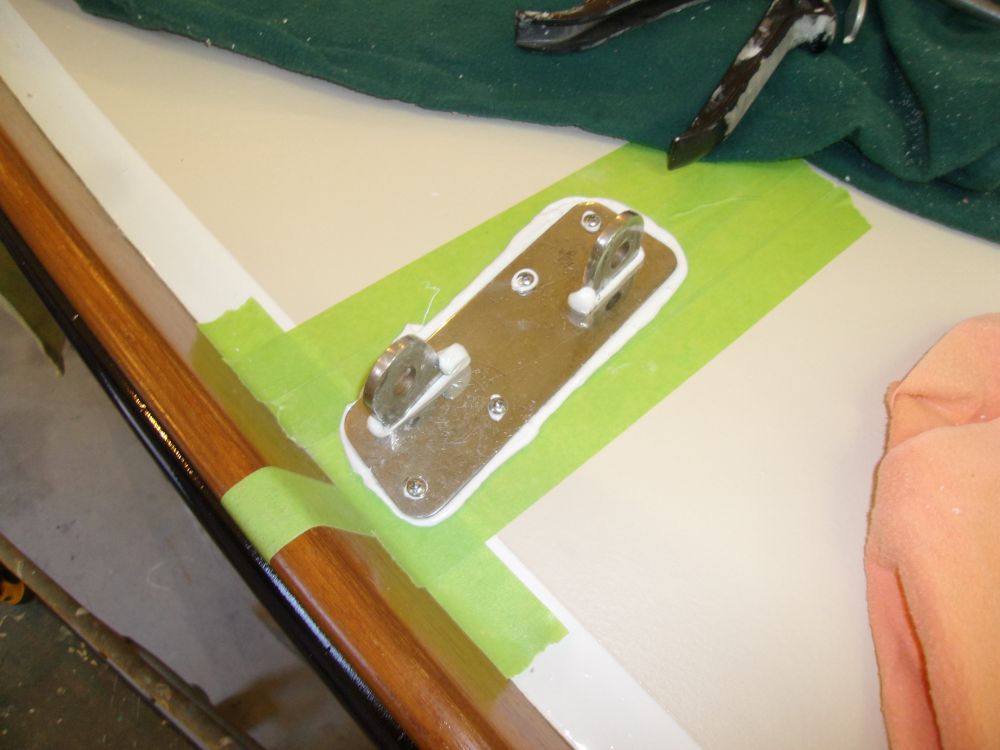
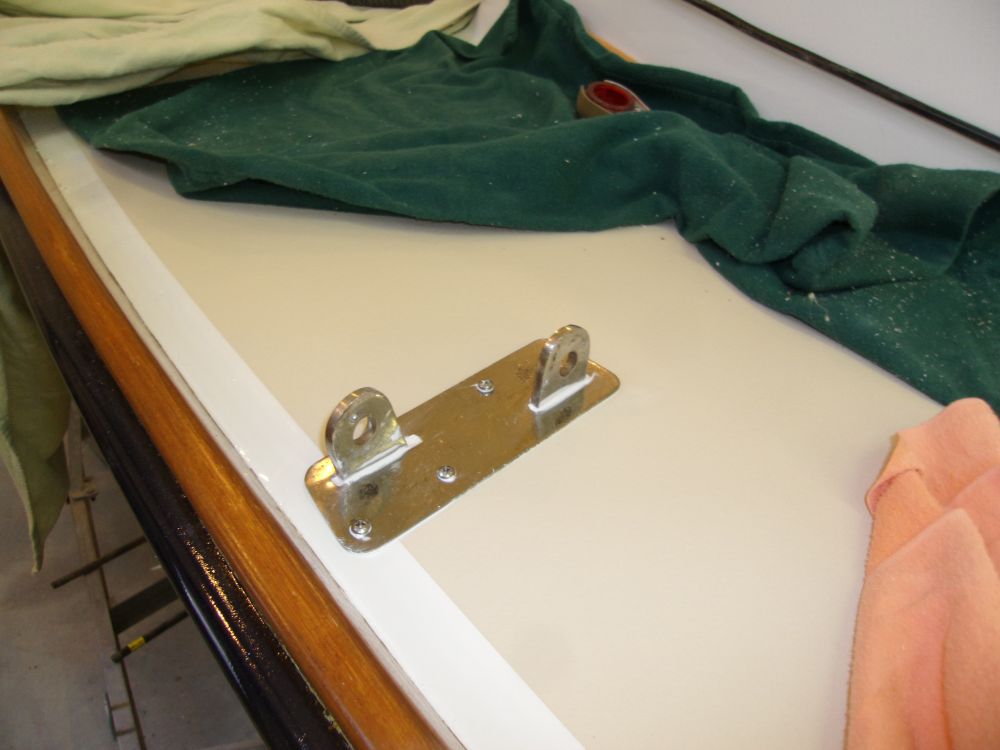
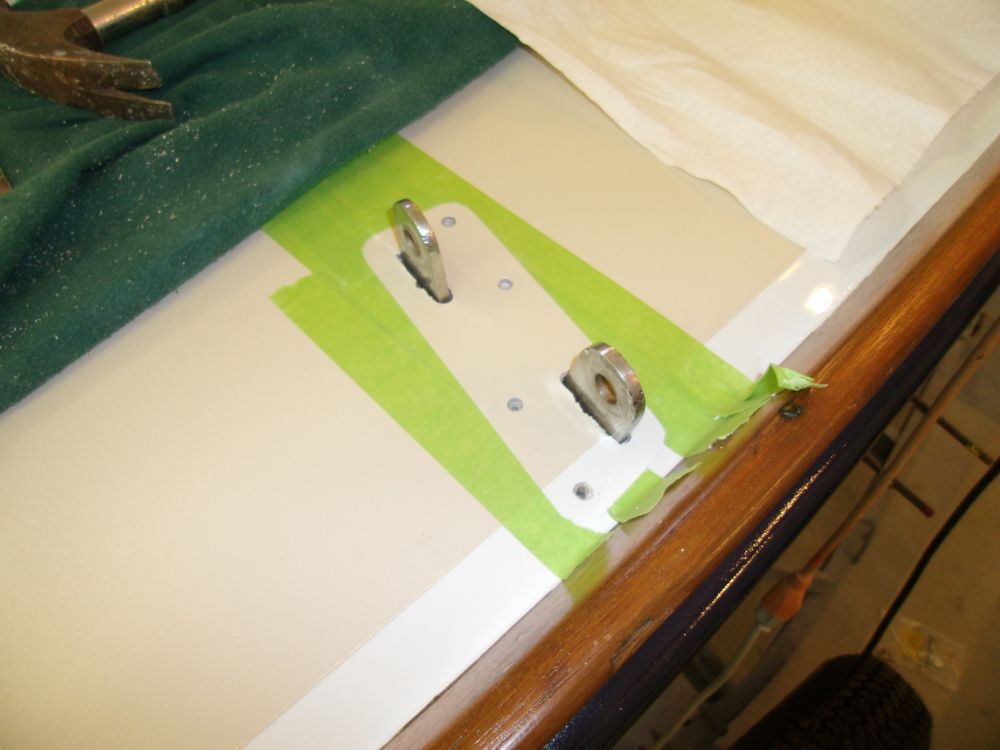
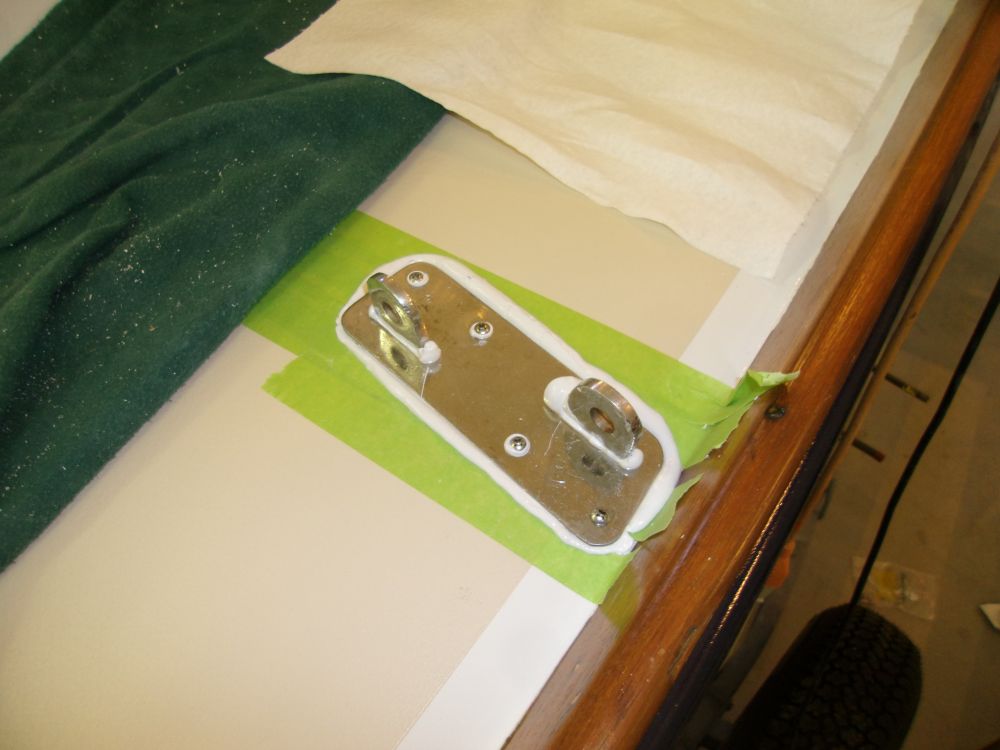
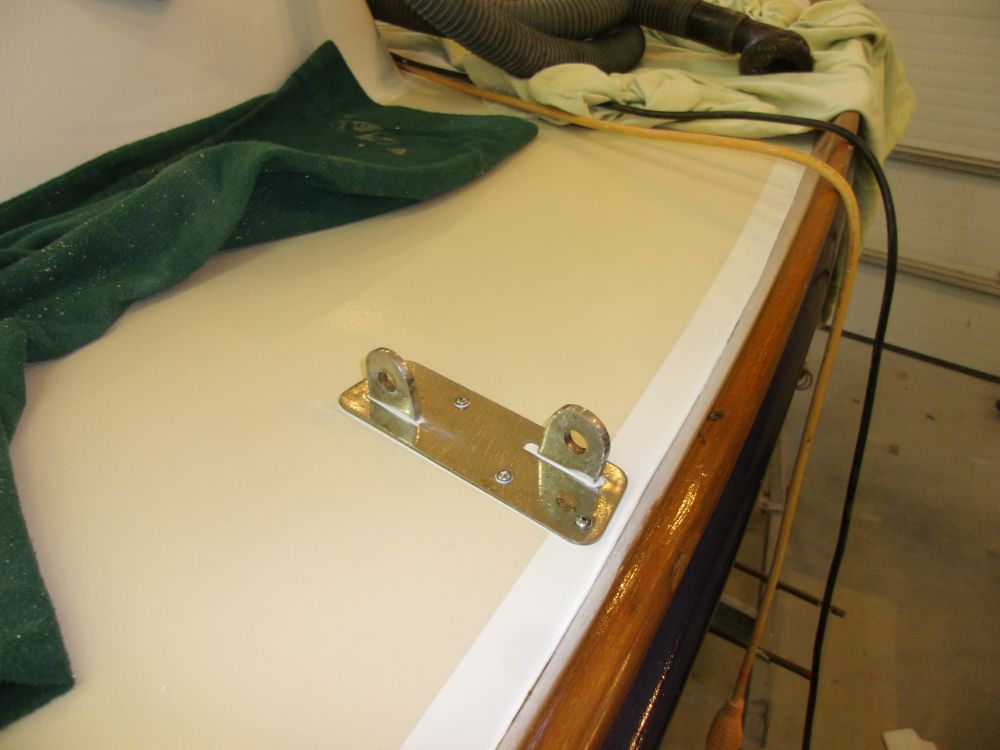
Though I couldn't yet install any of the mooring cleats, since I was awaiting the proper fasteners, I moved ahead with what hardware I could, and installed the engine hatch latches and stern chocks with fasteners that I had on hand.
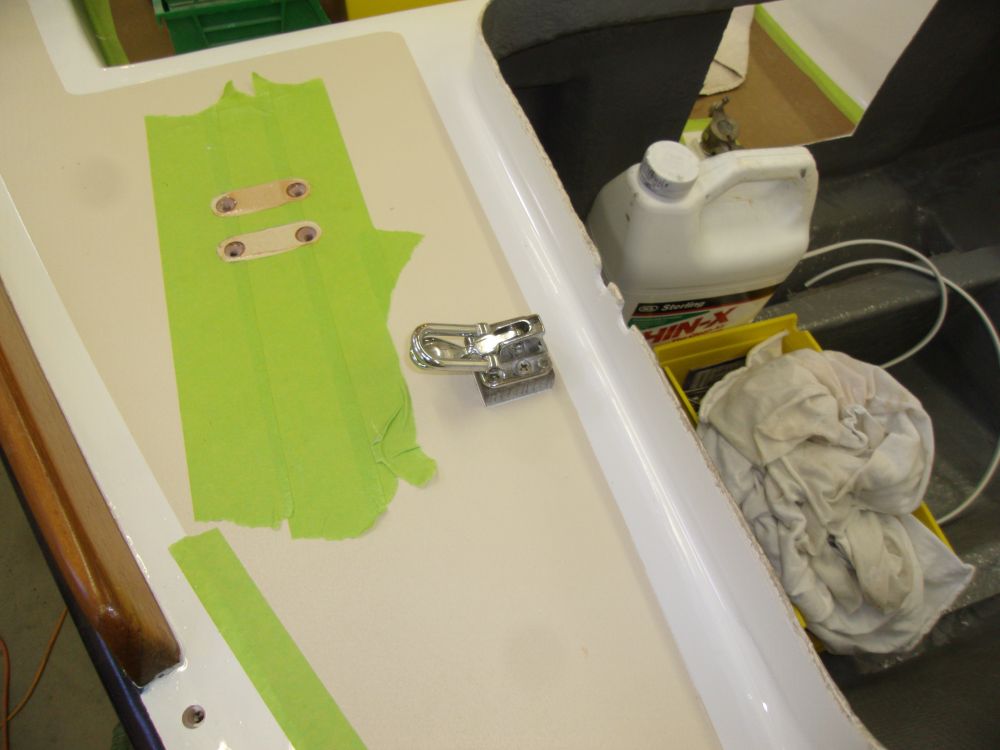


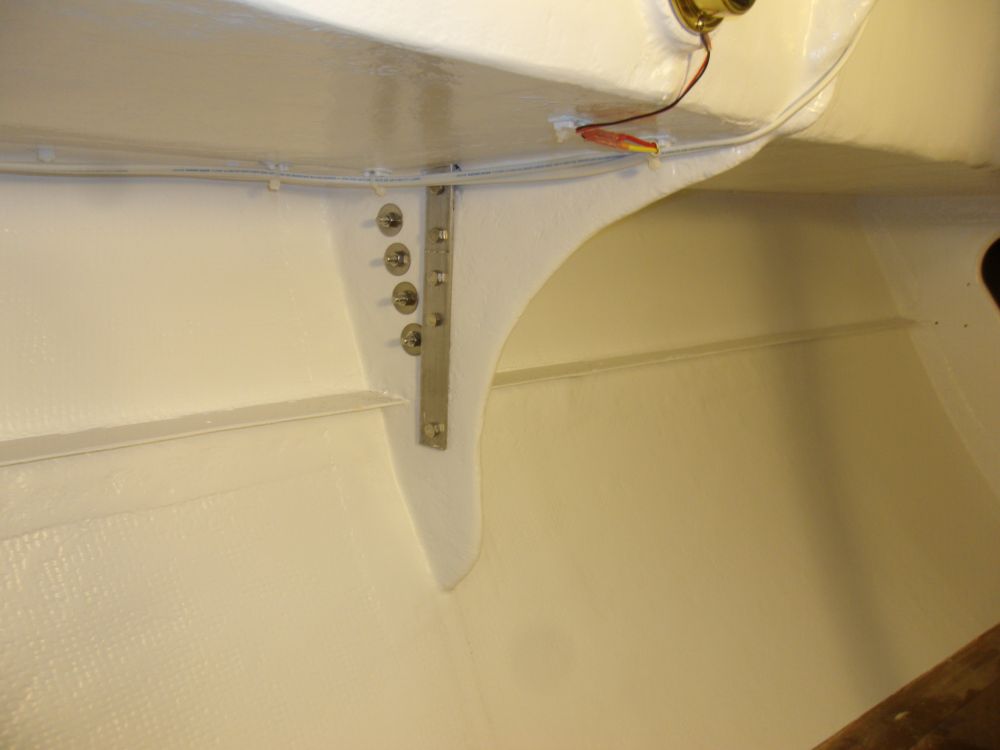
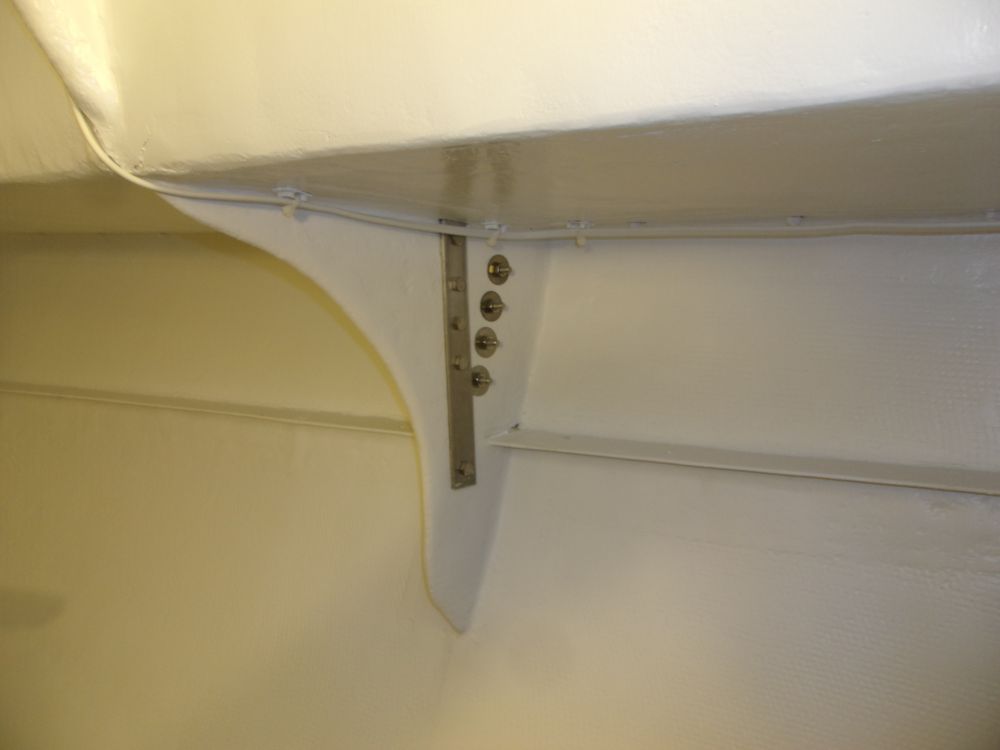
With new stainless bolts and washers, I secured the two pair of main chainplates. Then, I laid out and prepared fastener holes for the deck cover plates, and installed them with machine screws and plenty of sealant
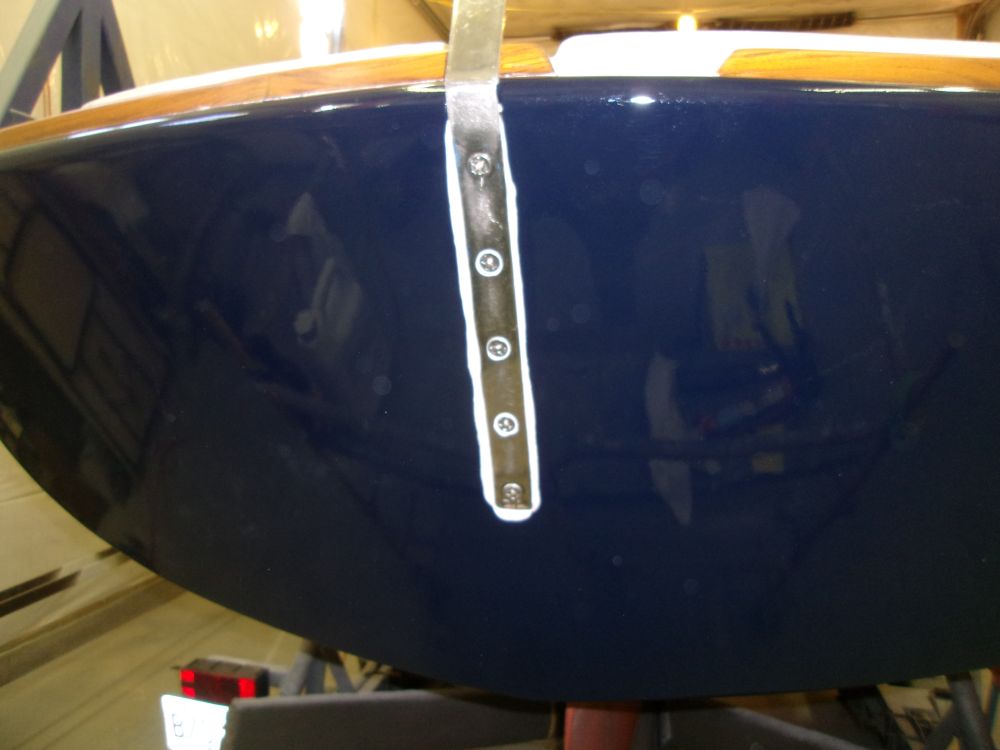
I reinstalled the backstay chainplate with new fasteners and sealant.

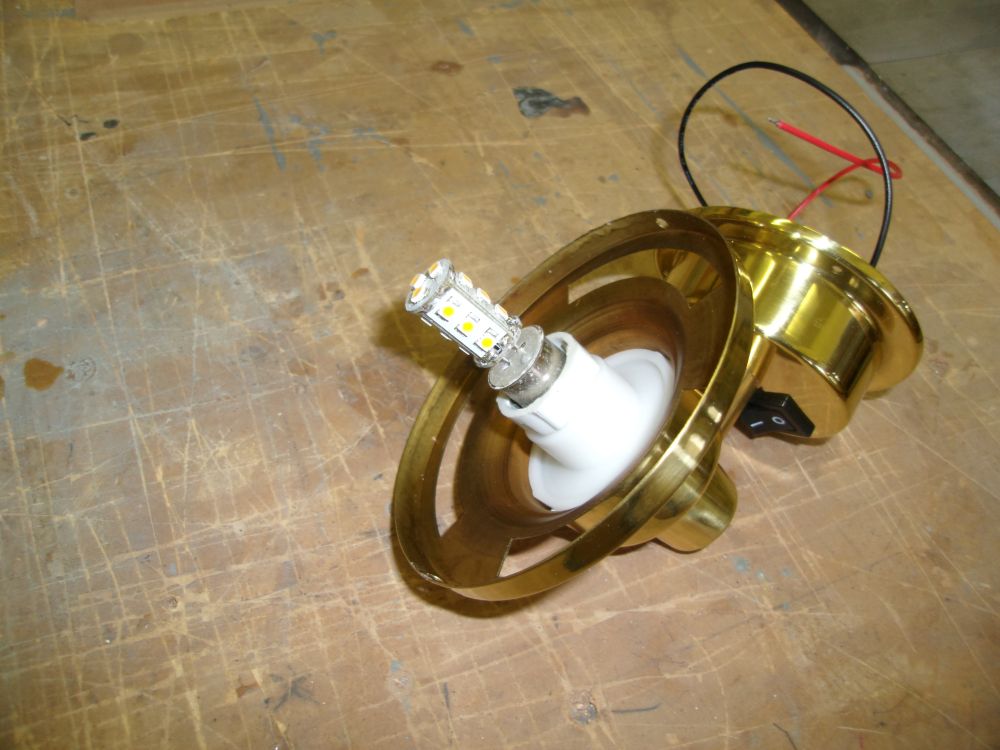
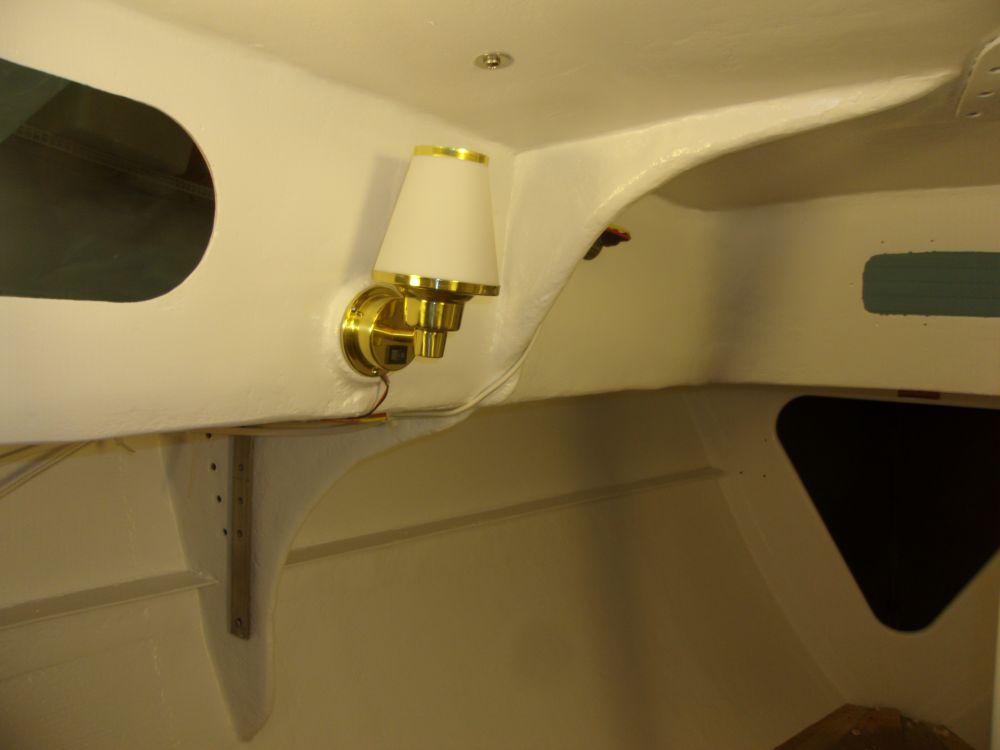
I'd ordered two lamps for the cabin. These came with incandescent bulbs, but with an adapter I was able to change them over to LED bulbs.
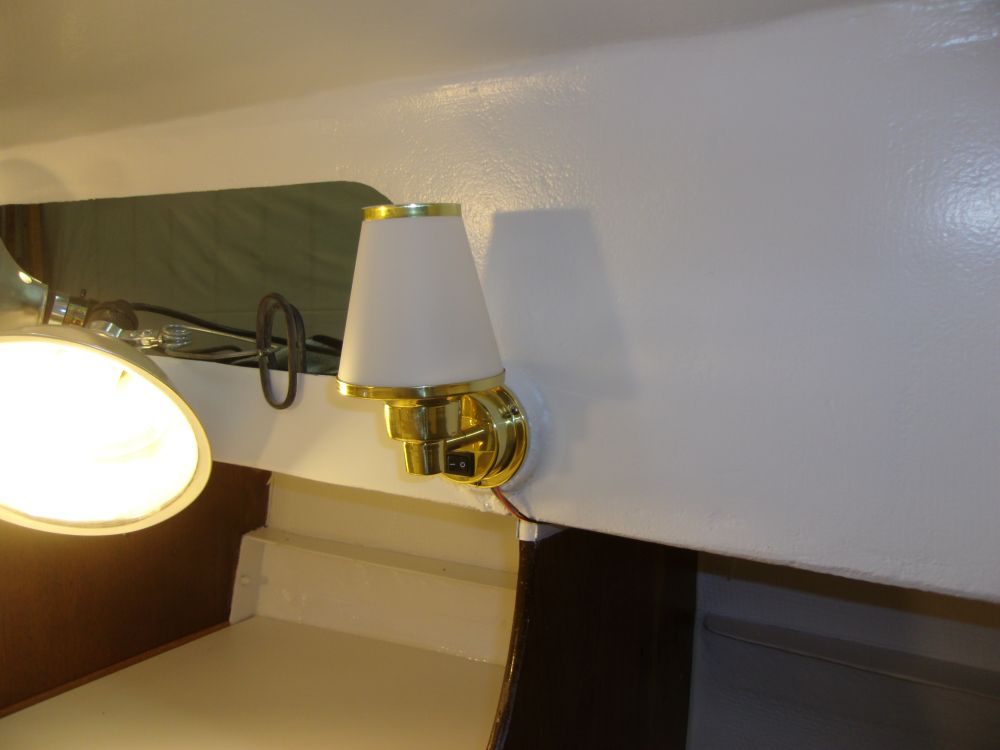
Afterwards, I installed the two lamps and connected their wiring, and tied up the wires as far aft as I could while awaiting the final installation of the electric panel.
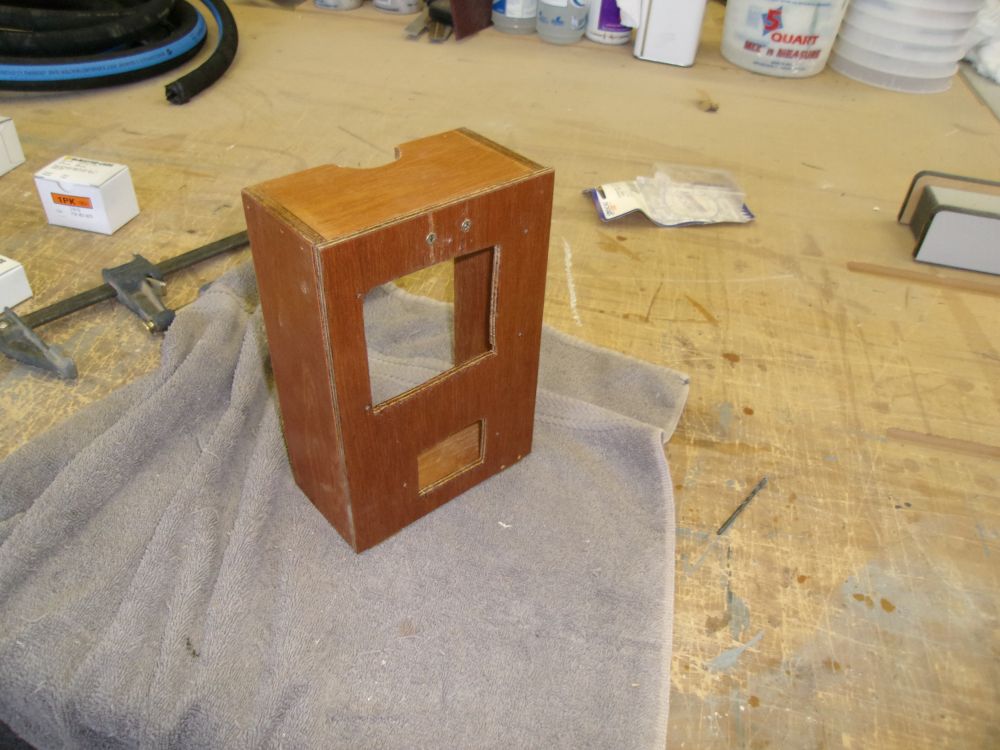
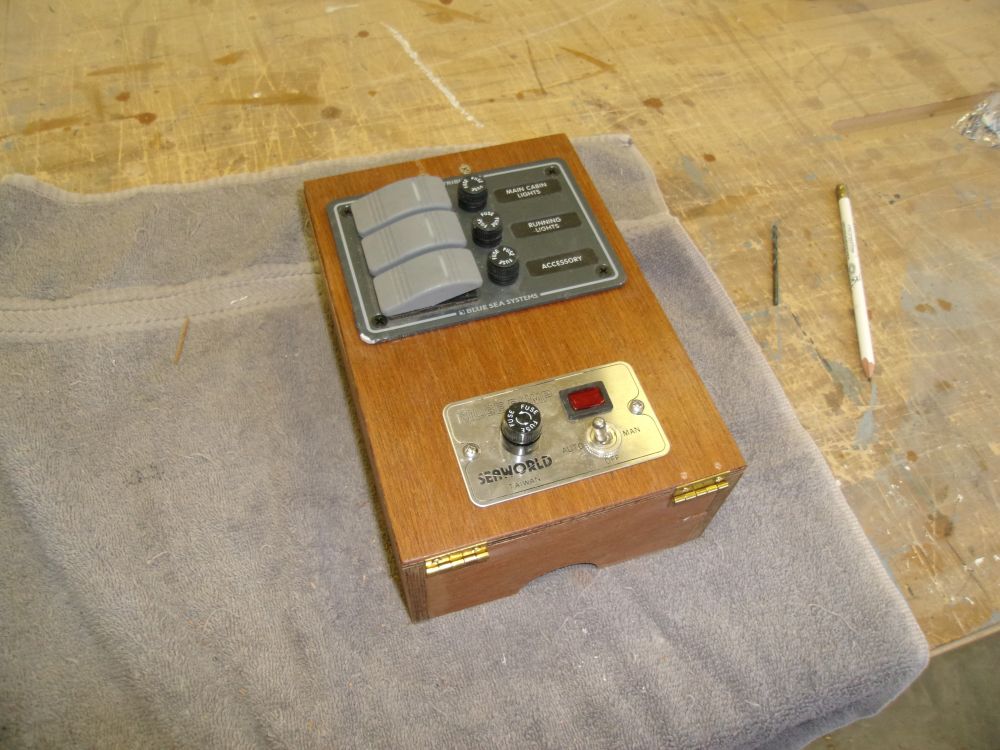
I continued work on the electrical panel box, which was now complete with several coats of spray varnish. I secured the front of the panel with a pair of little brass hinges, and installed a catch at the top to hold the panel in place while allowing easy access within. Then, I installed the switch panel and bilge pump switch.


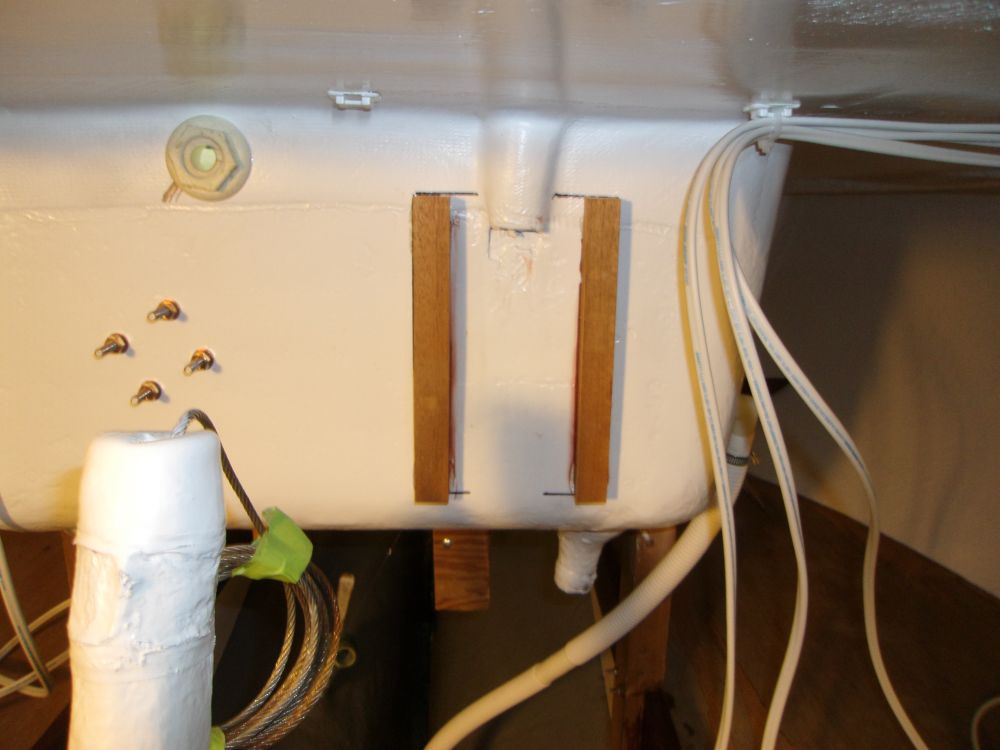
Inside the boat, I used the box to mark its own location on the inside of the cockpit well, as was the original, and, after removing the paint from the necessary areas, installed a pair of hardwood cleats with epoxy (and hot glue to hold them while the adhesive cured); later, I'd screw the electrical box to these cleats to secure it.
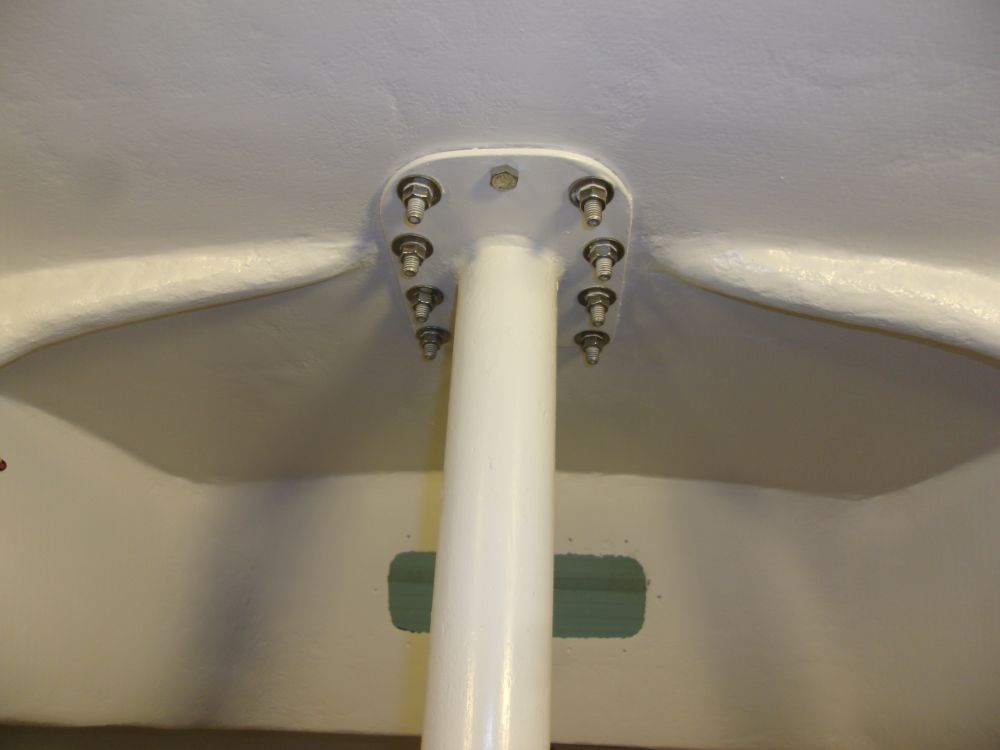
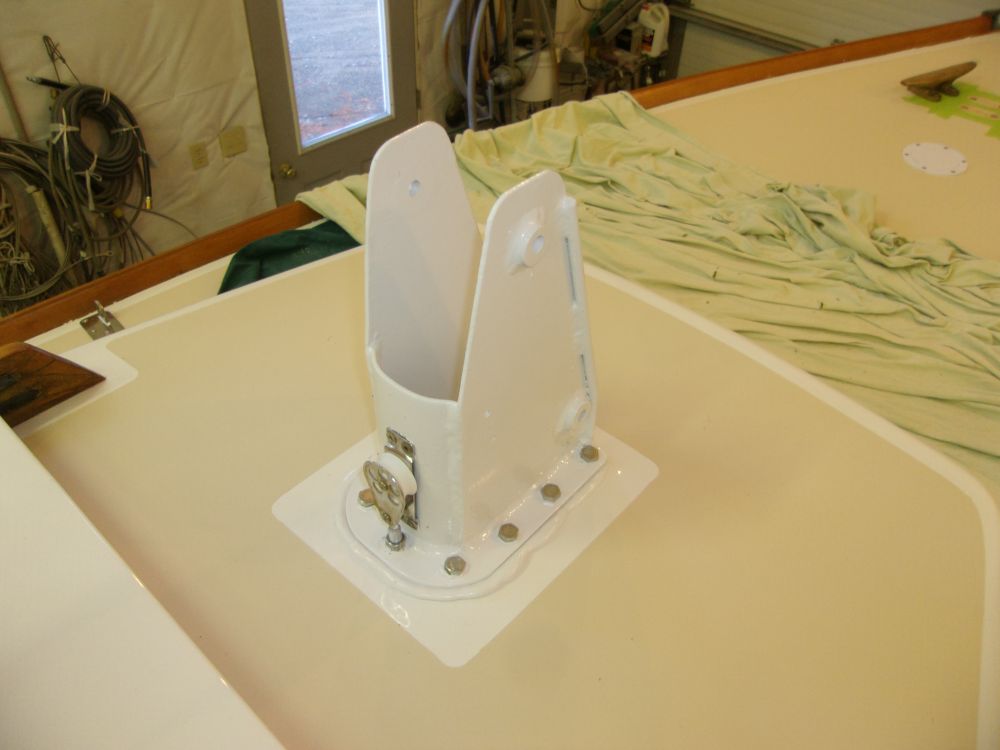
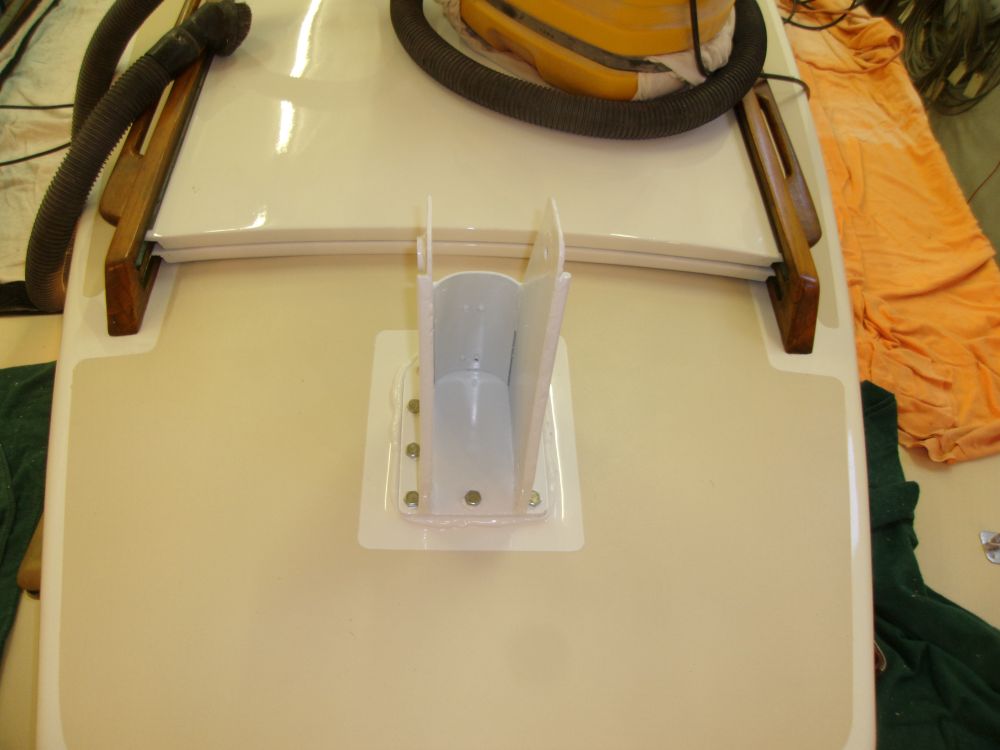
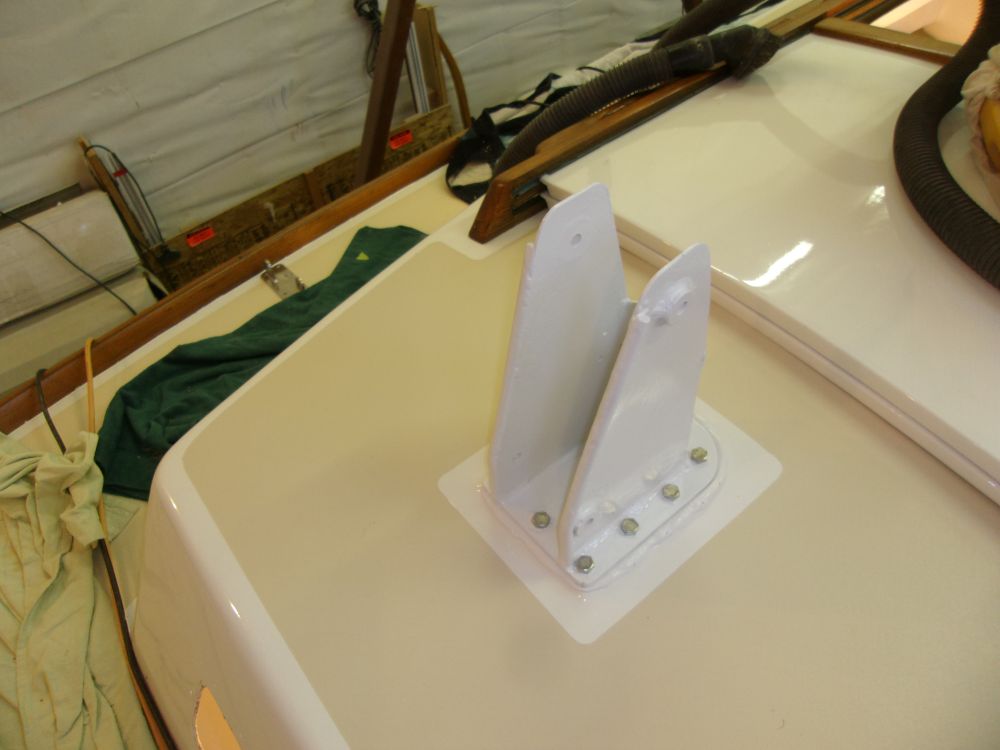
I installed the mast tabernacle with lots of sealant and new 3/8" bolts. Because the paint was still pretty fresh, I elected to leave the sealant squeezeout to cure before removing it to minimize the amount of solvent I'd need lest it harm the new paint.
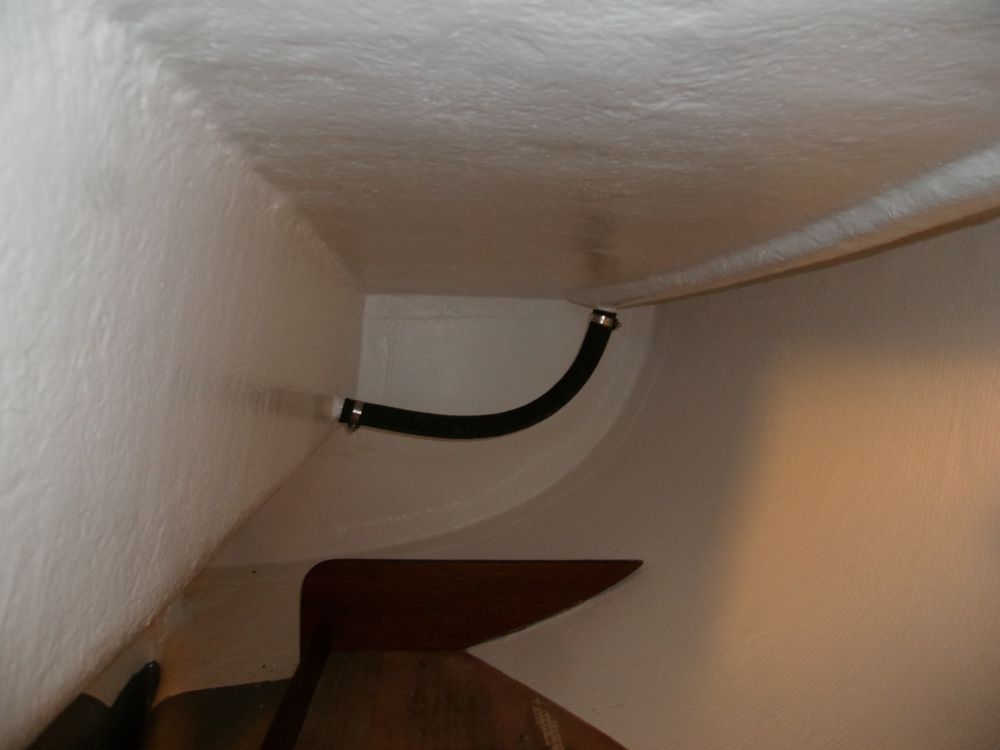
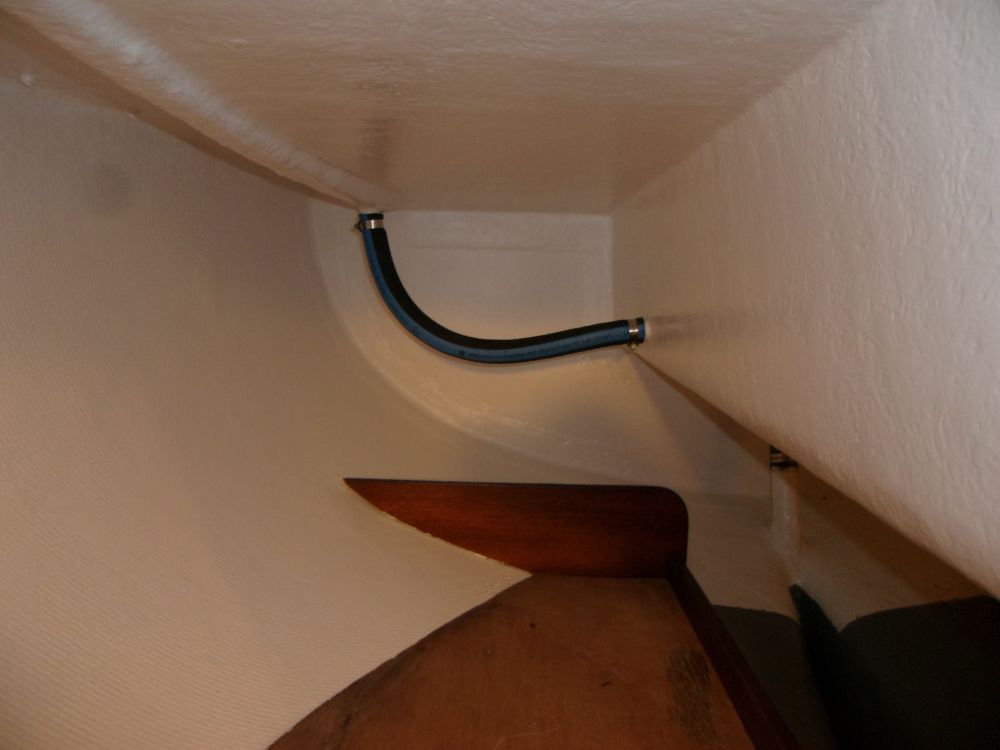
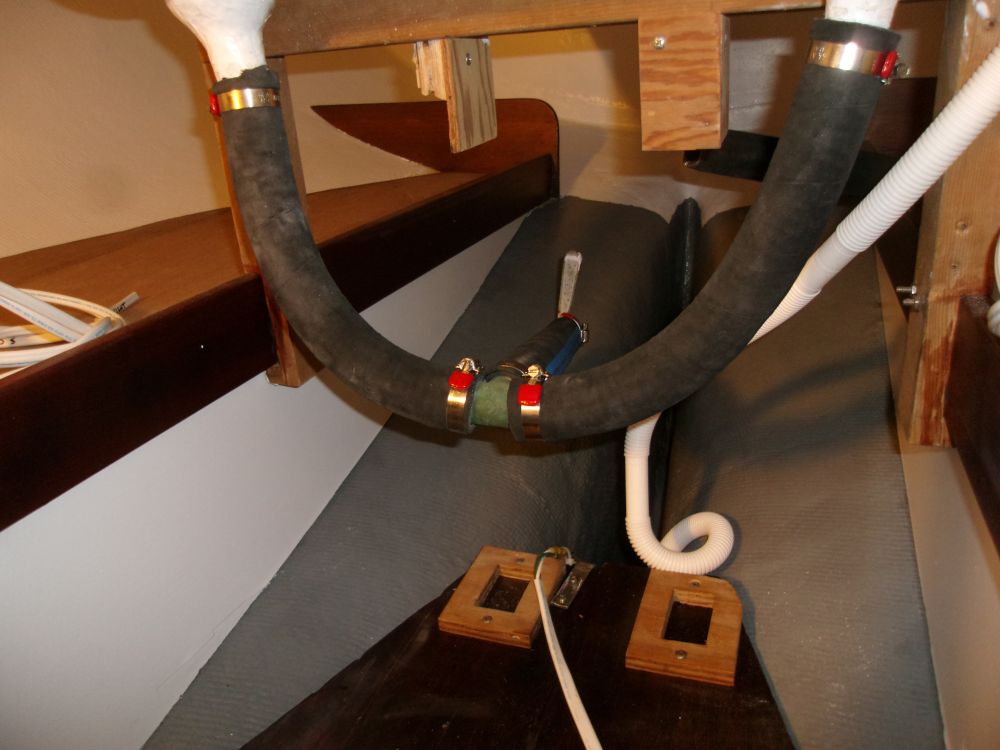
Back inside, I installed new hoses for the cockpit seat drainage system, and for the cockpit scuppers. What should have been a quick and easy task turned, inevitably, more time-consuming since I found the cockpit scupper stubs (fiberglass) had been wrapped with extra material that made them larger than the other pipe fittings to which the hose (1-1/4") needed to attach, so I had to sand down the excess in order to get the hose to fit on the scupper end.
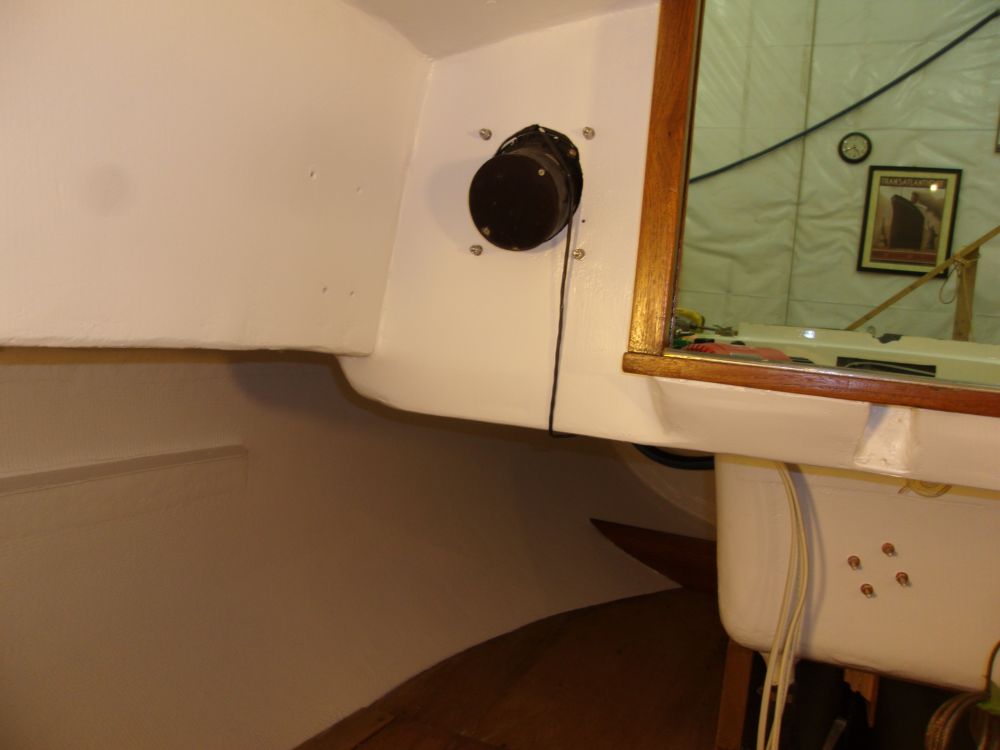
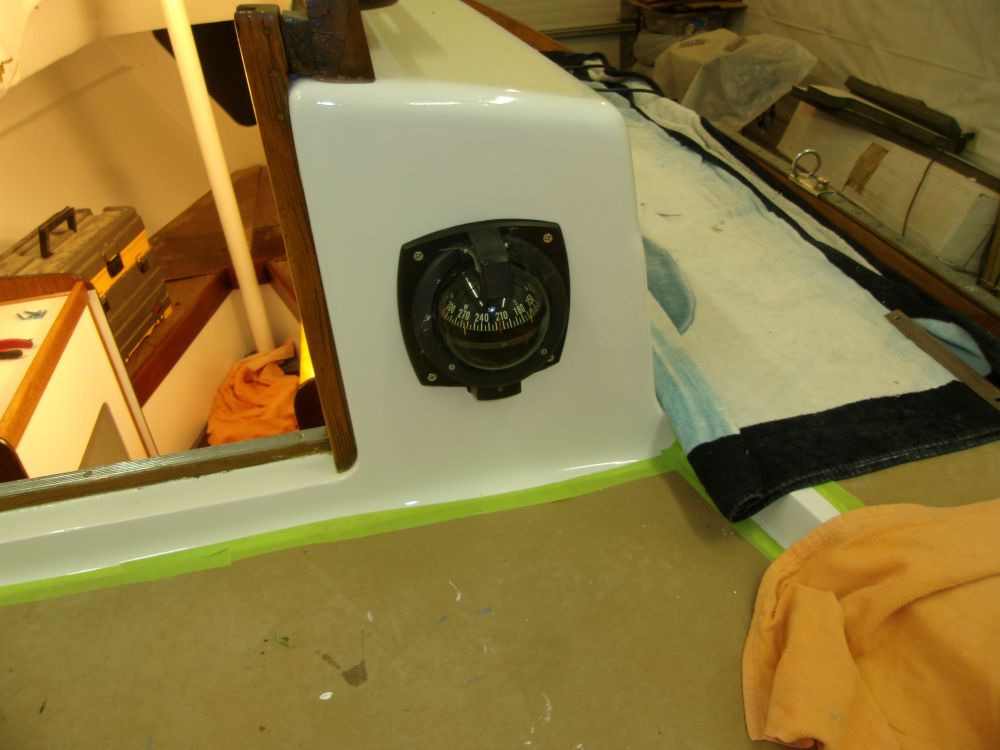
Finally, I reinstalled the compass and ran wiring to its lighting circuit.
Total Time Billed on This Job Today: 8.25 hours
