
110 Cookson Lane | Whitefield, ME 04353 | 207-232-7600 | tim@lackeysailing.com
Sailmaster 131 | Tuesday, December 3, 2013
One thing I'd noticed a few months ago when the boat first arrived here was that the tiller was off-center and not aligned properly with the rudder. There was a simple cause behind this: the tiller head was not secured or keyed to the rudder post, at least not beyond clamping pressure from the tiller strap's bolt. To rectify this, I drilled through the assembly and added a through bolt that secured the tiller head to the rudderpost to prevent it from moving independently.

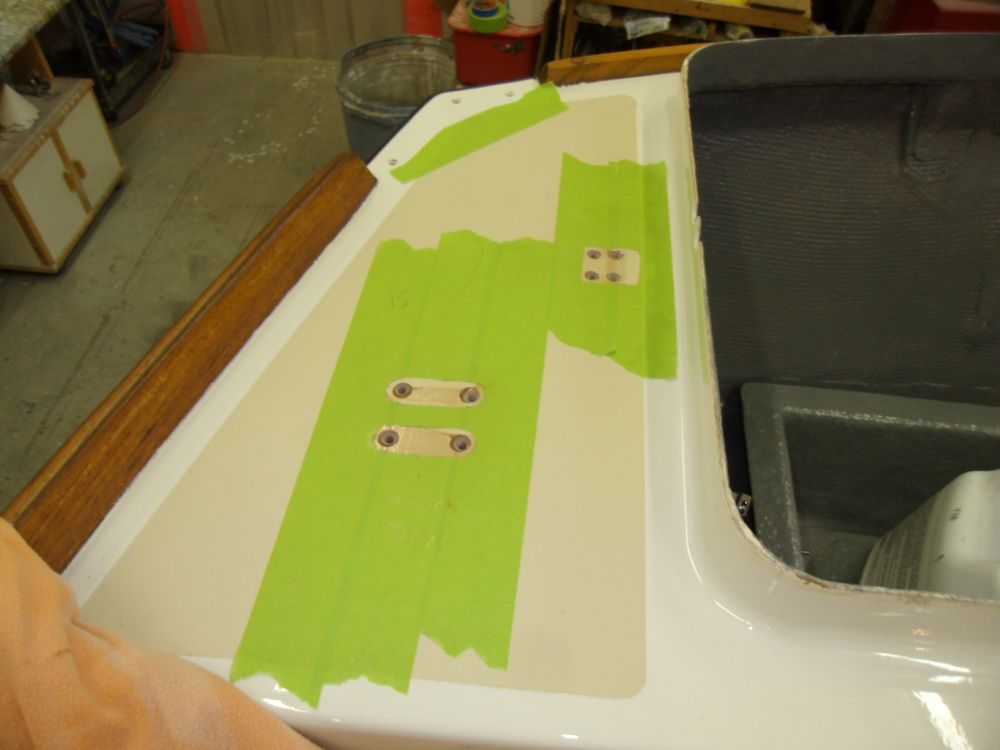
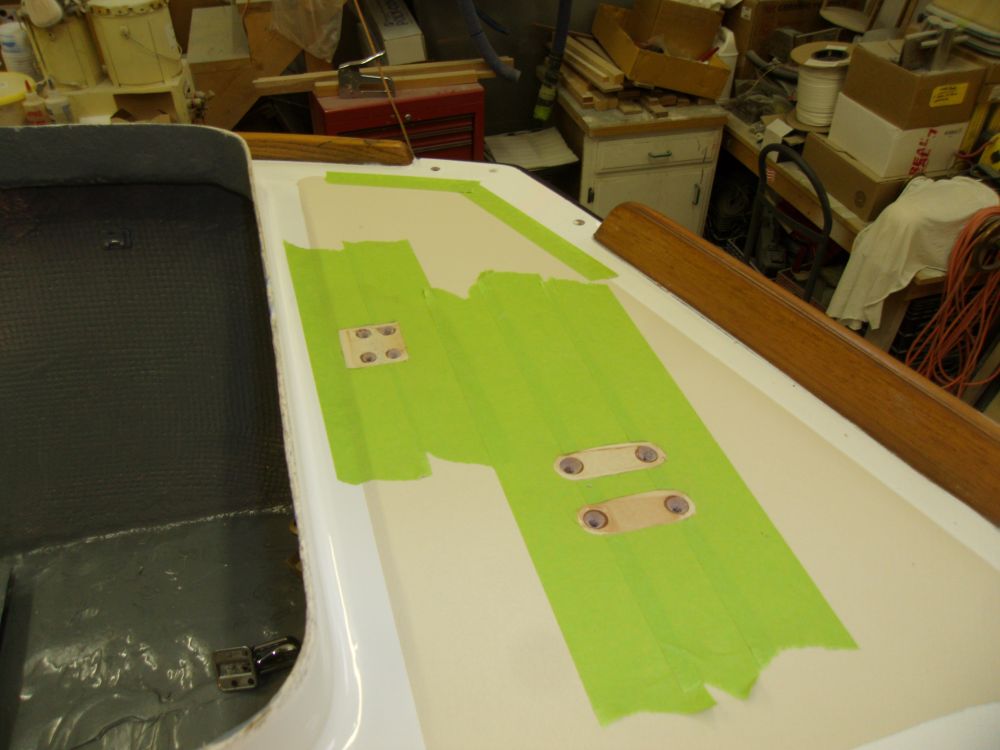
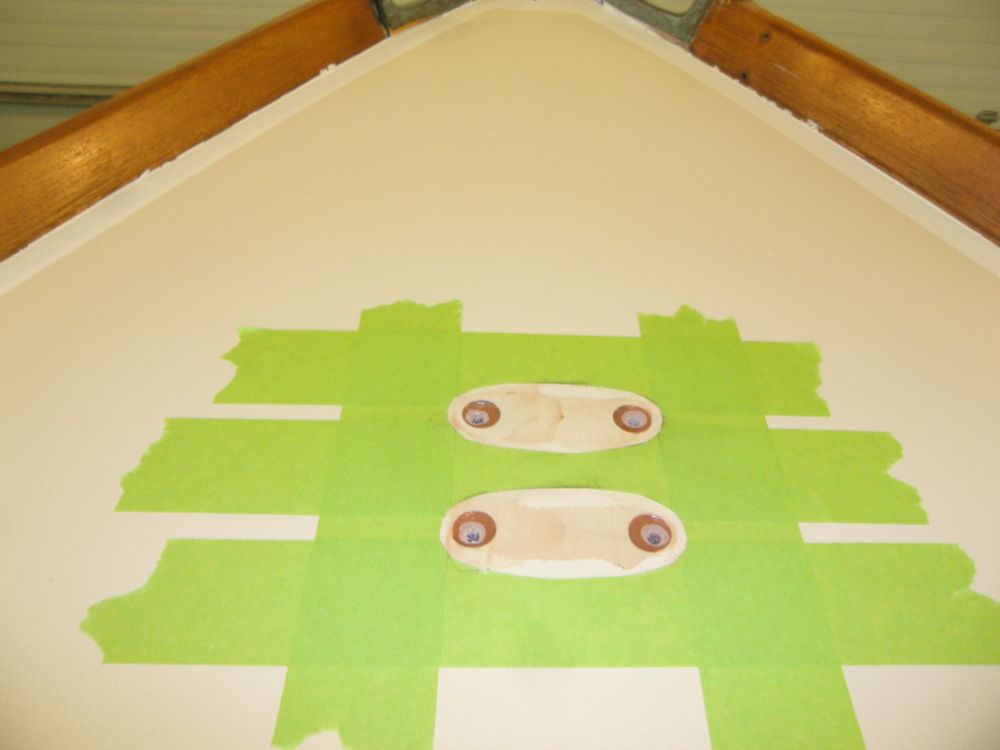
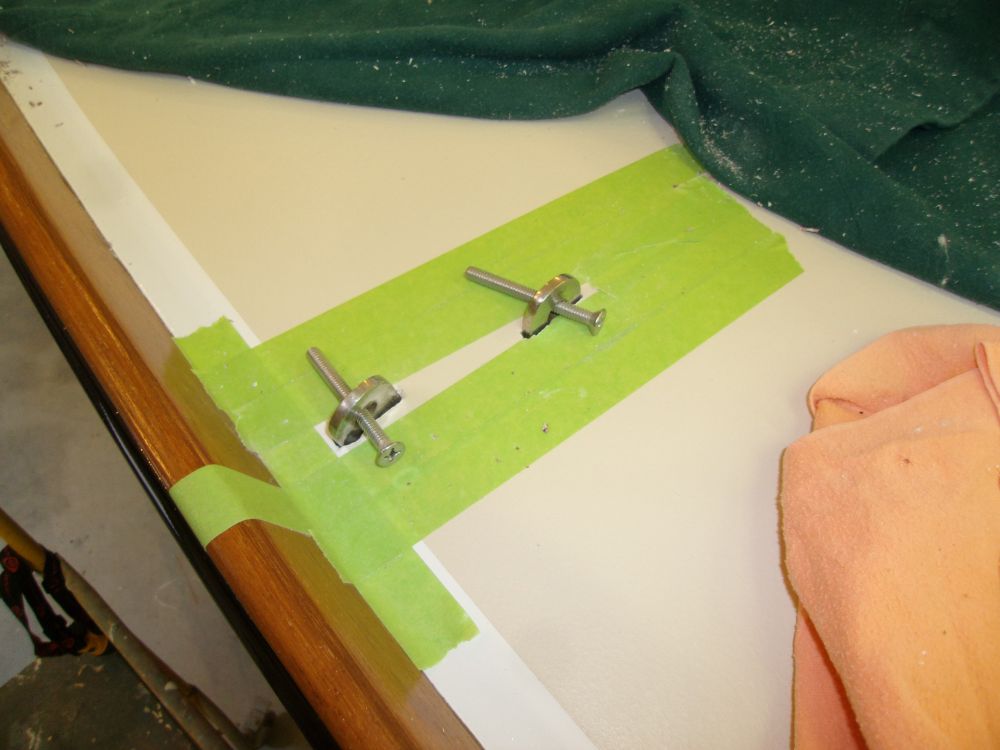
Next, I continued preparations for deck hardware installation. With the epoxy-filled holes now cured, I drilled and tapped the fastener holes for the bow and stern cleats, and engine hatch latches. I was awaiting delivery of new fasteners for these items and would install them once they arrived.
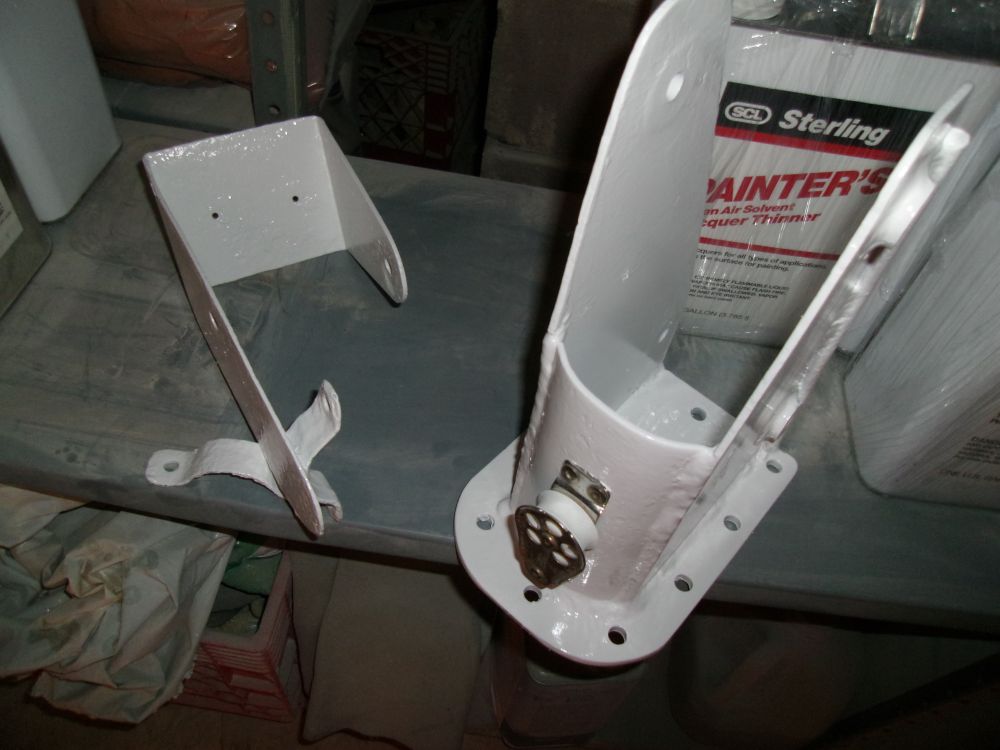
Meanwhile, I applied several sprayed coats of white enamel to the mast tabernacle and centerboard winch bracket.
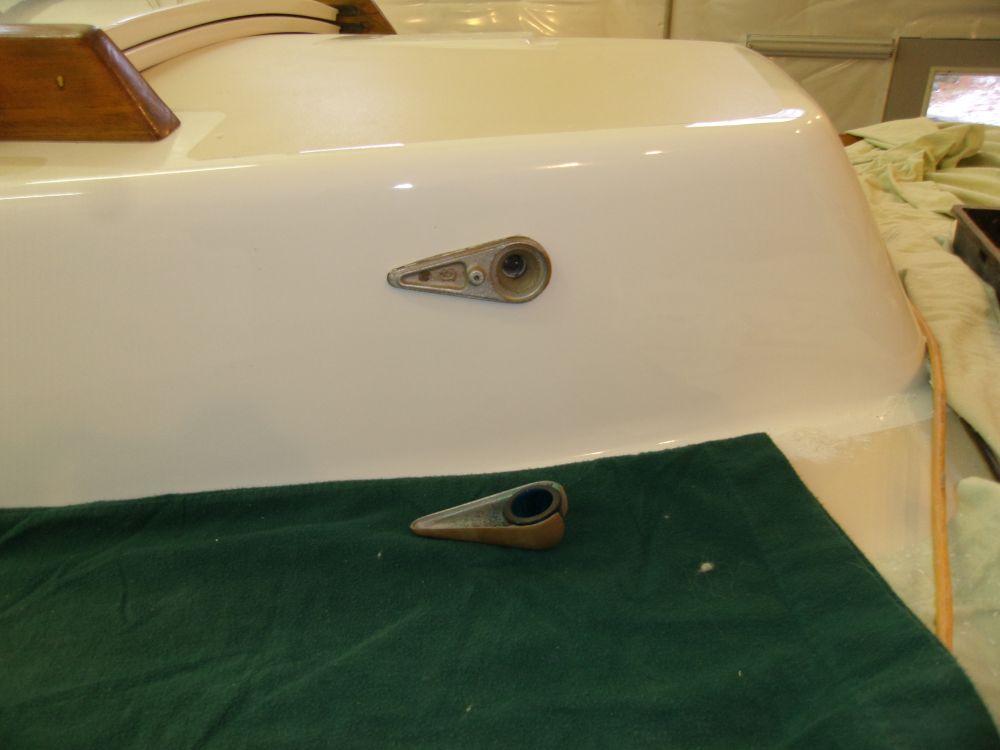
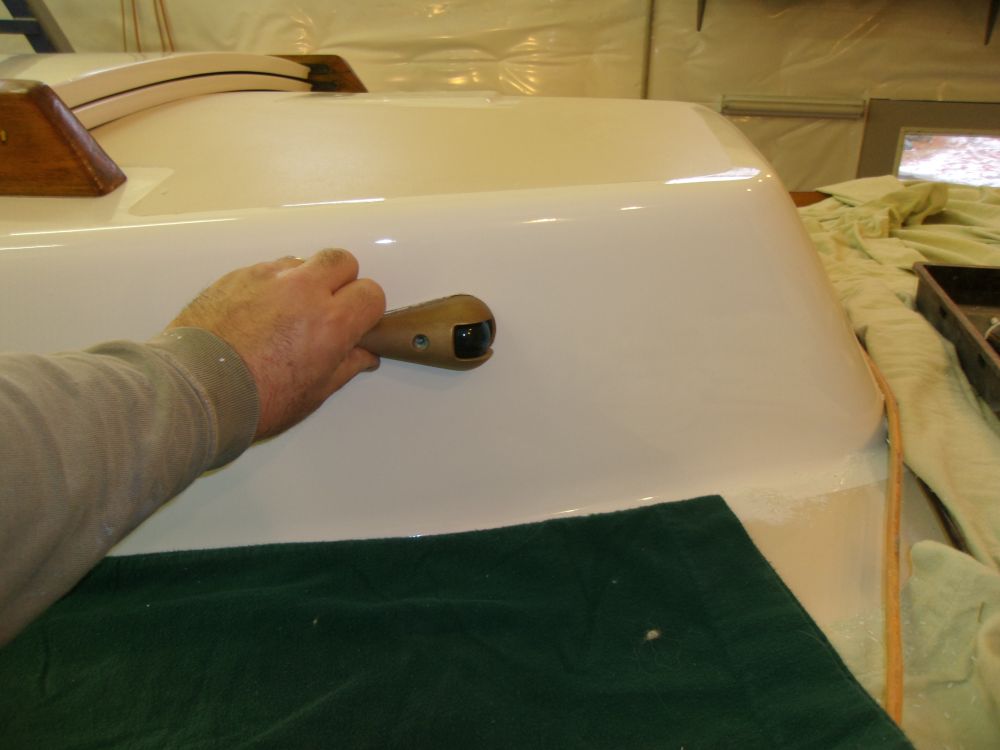
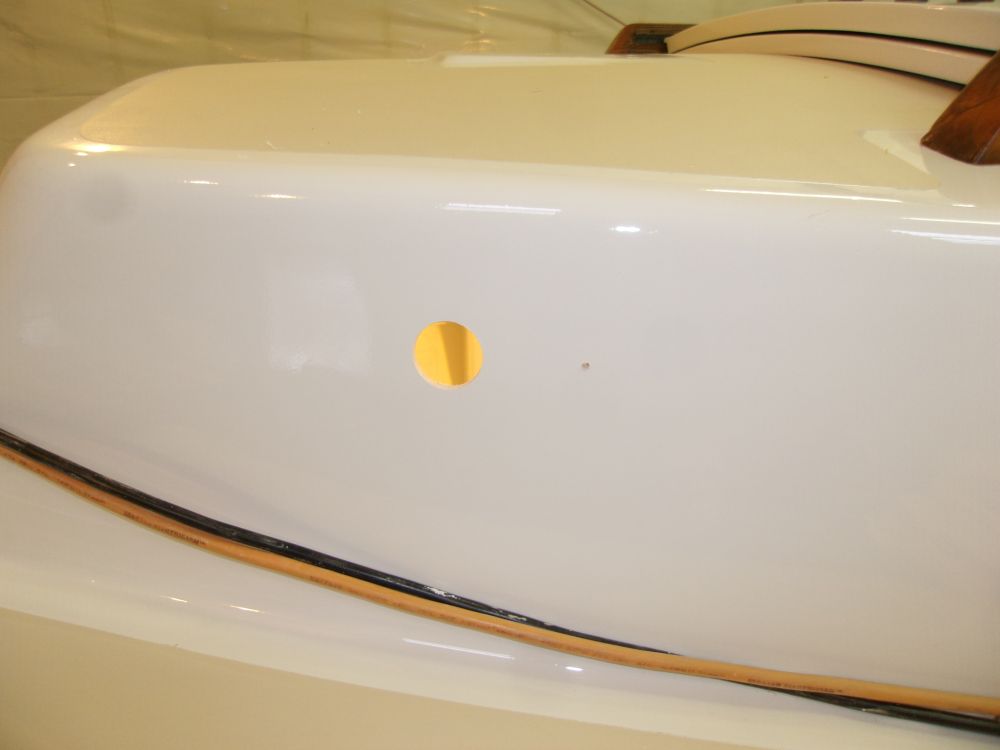
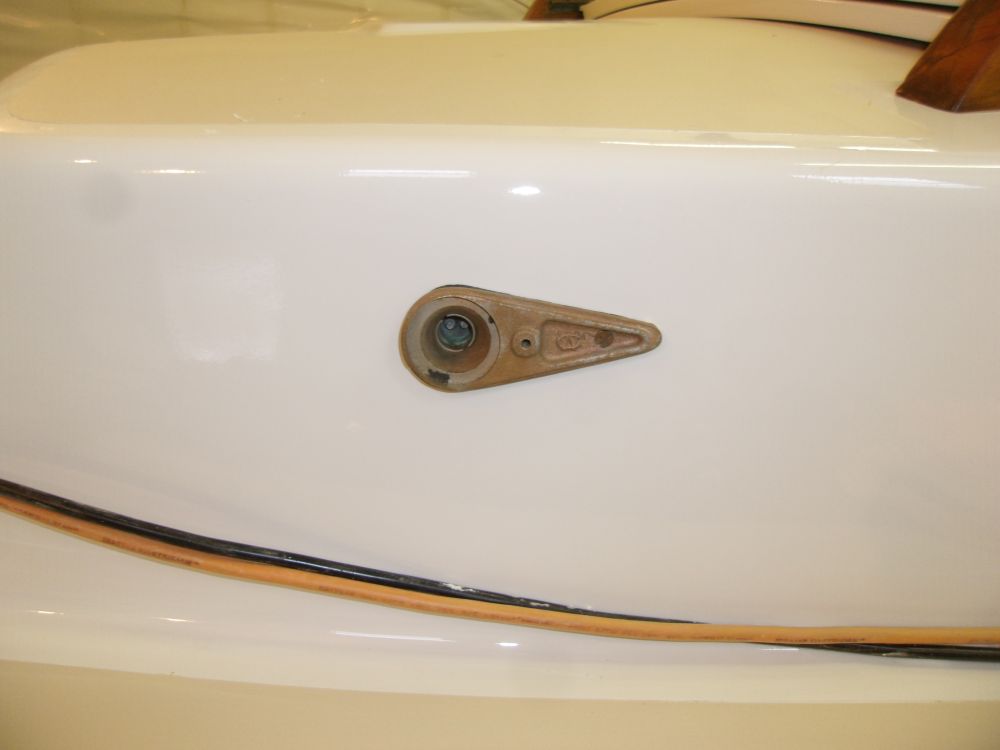
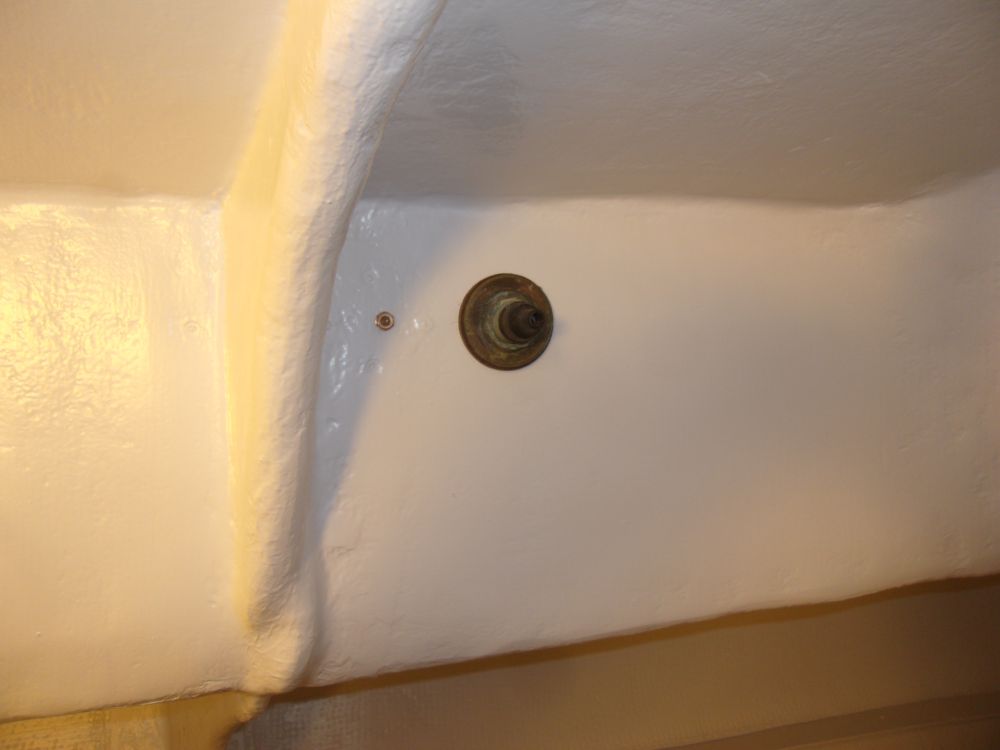
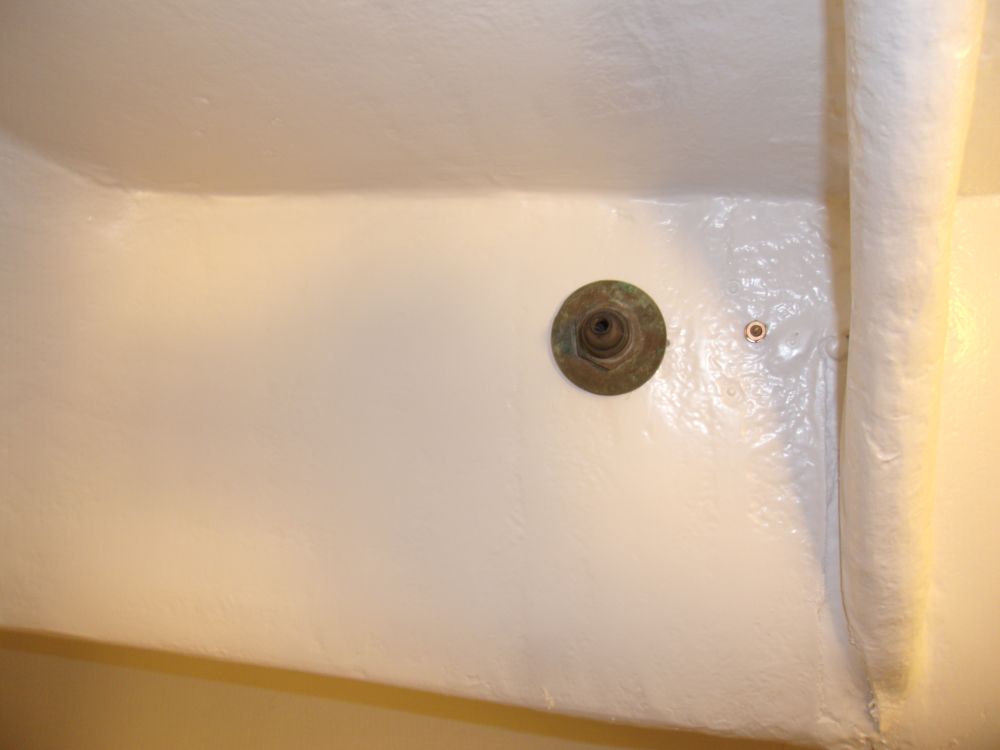
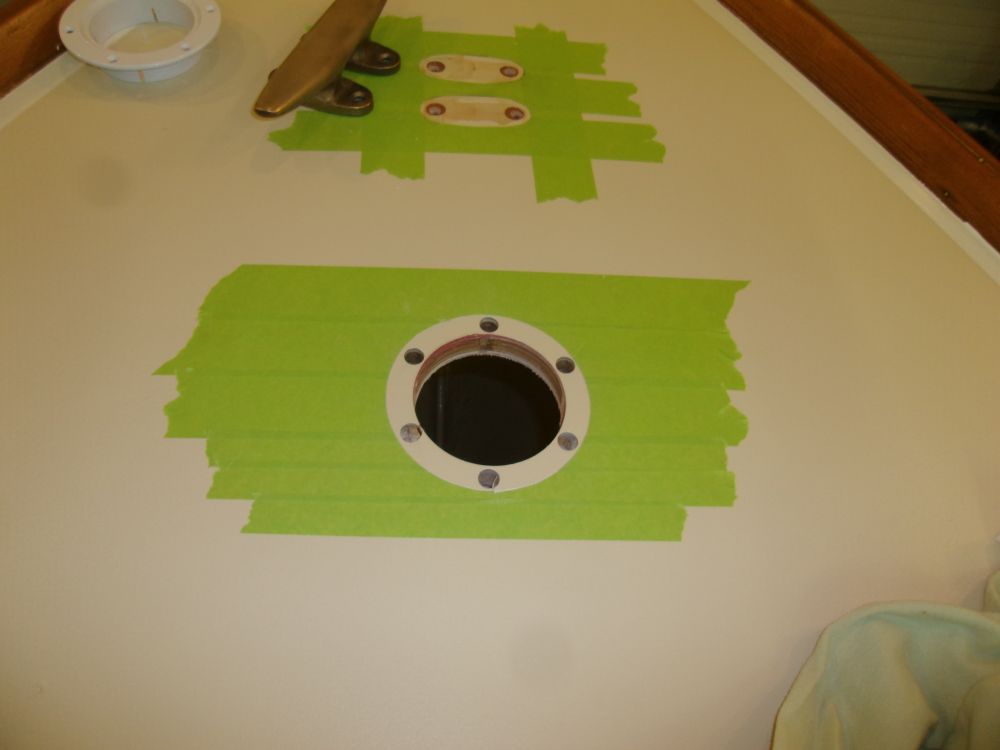
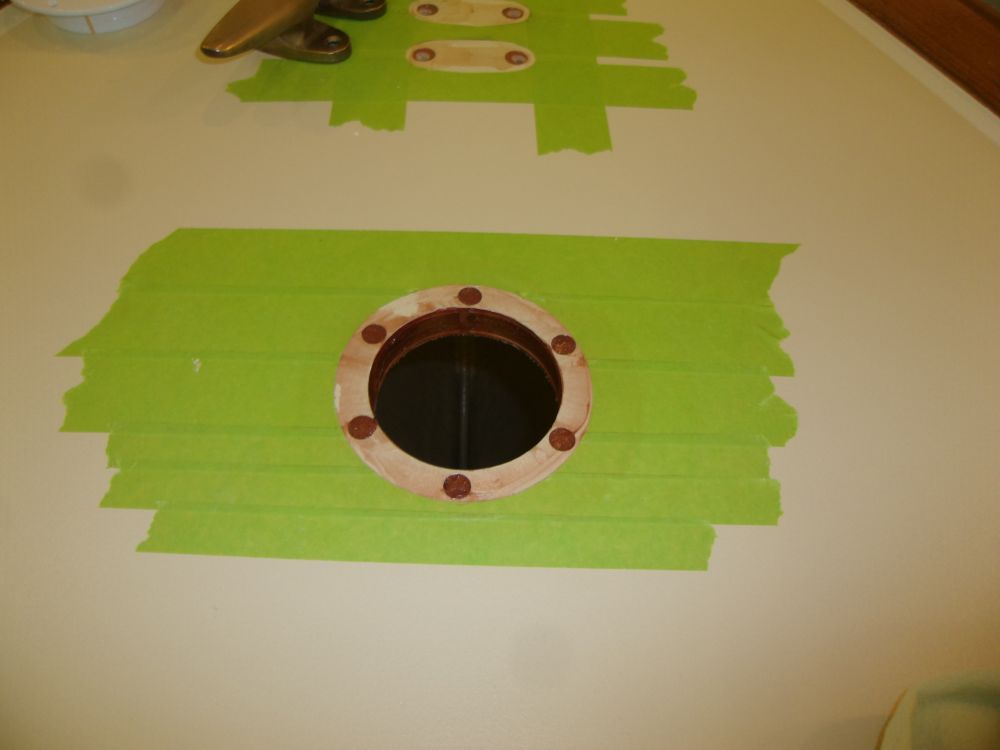
The owners had provided me with a set of nice bronze sidelight assemblies, which I installed on the cabin trunk. Each required a large hole for the light socket assembly, plus a single bolt hole to secure the after end of the units. After installation, I ran wires through the boat and made the connections to the sidelights. There were no bulbs, so I ordered replacements.


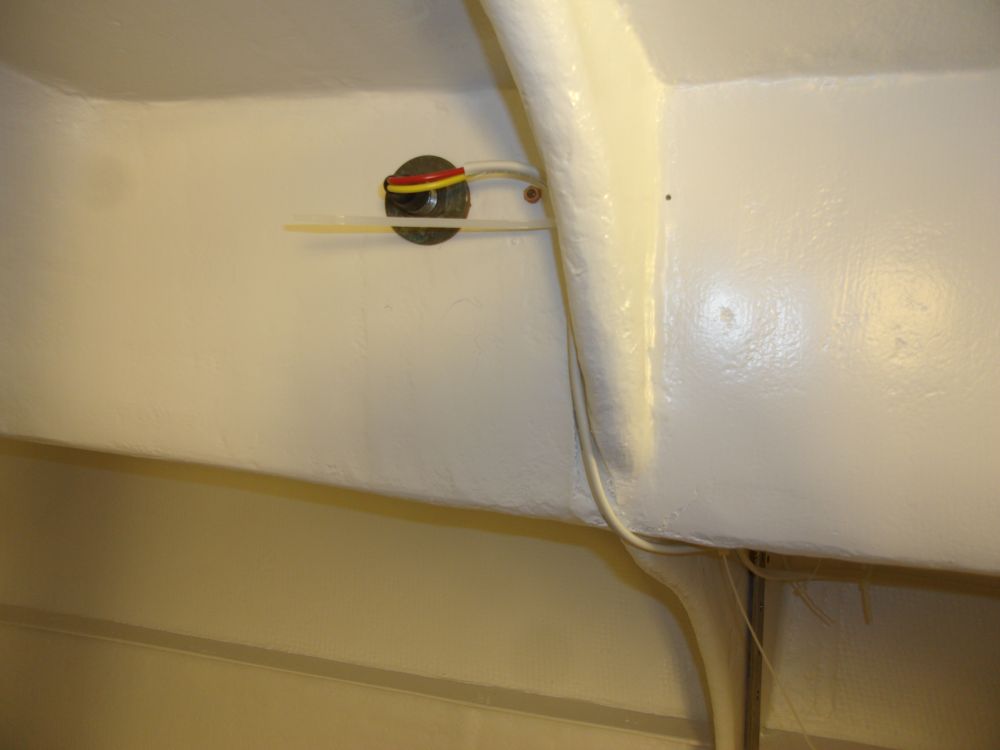
At the same time, I ran rough wiring for the two interior lights and stern light, running the wires through the various cable clamps I'd installed earlier but leaving things loose for now pending final connections later. New interior lights were on order, and I was awaiting a return call from a small company that I hoped could provide a stern light to match the bronze sidelights.
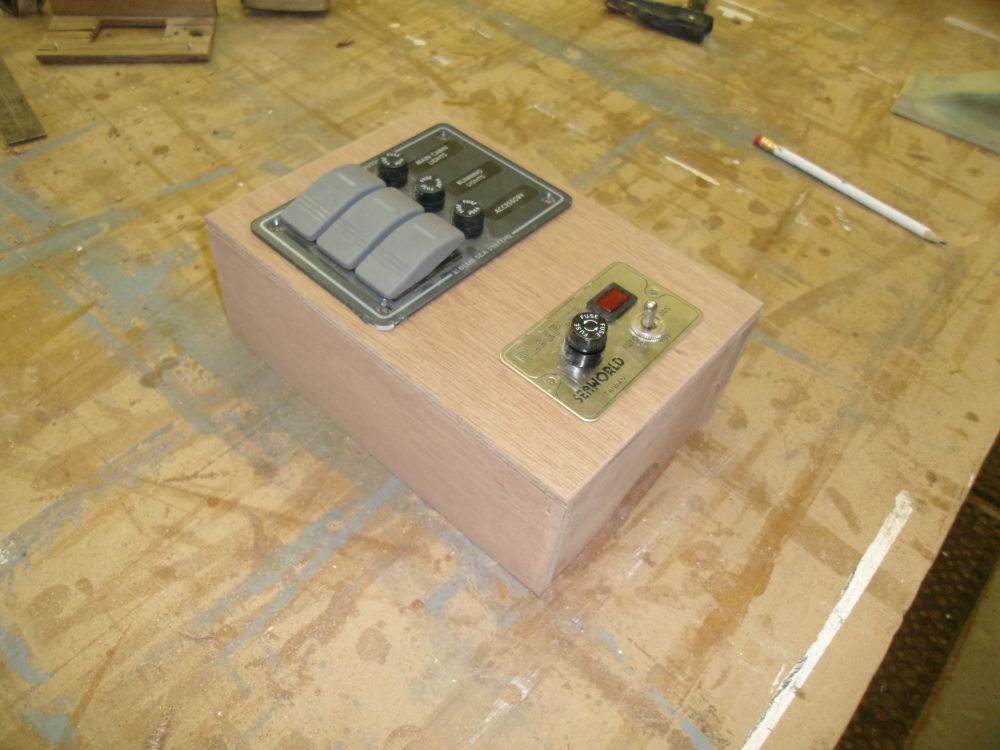
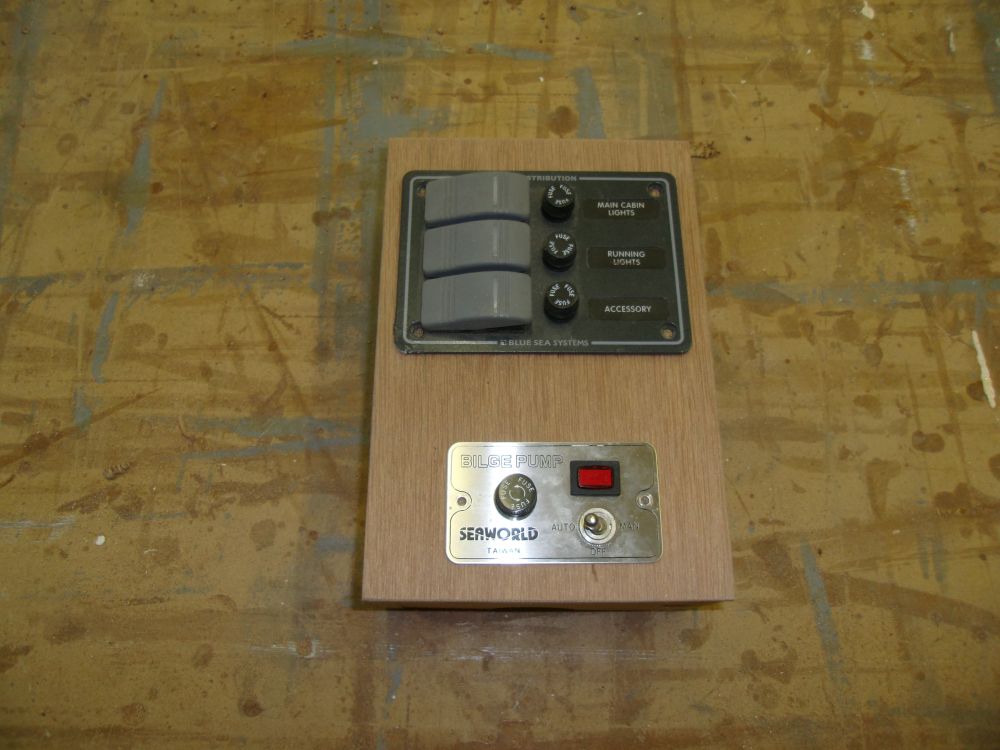
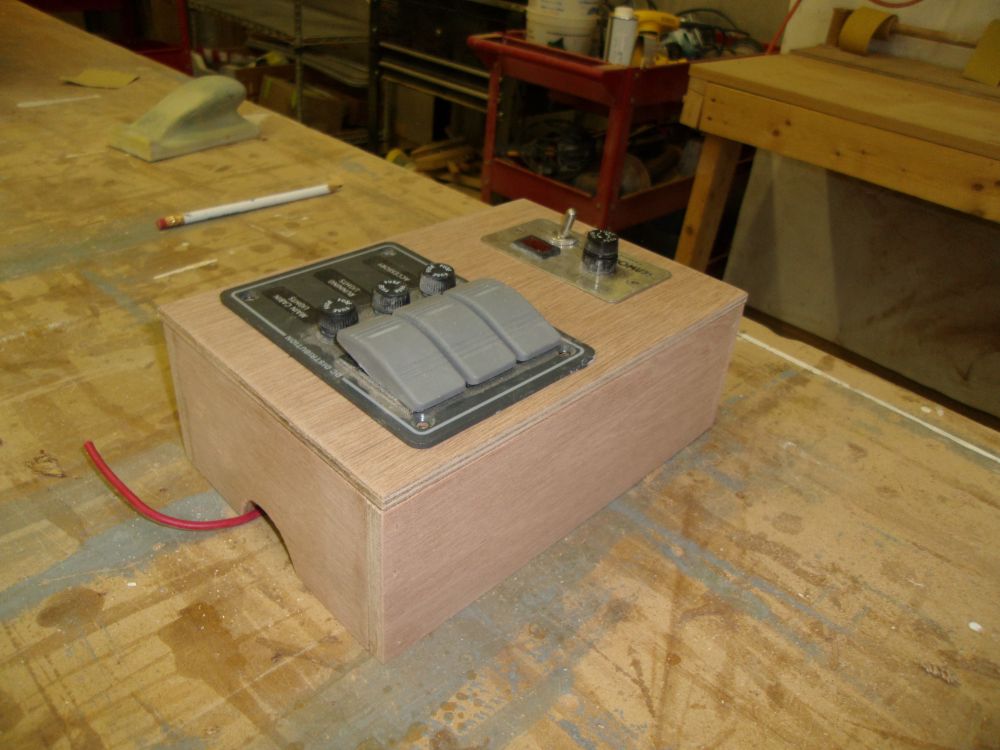
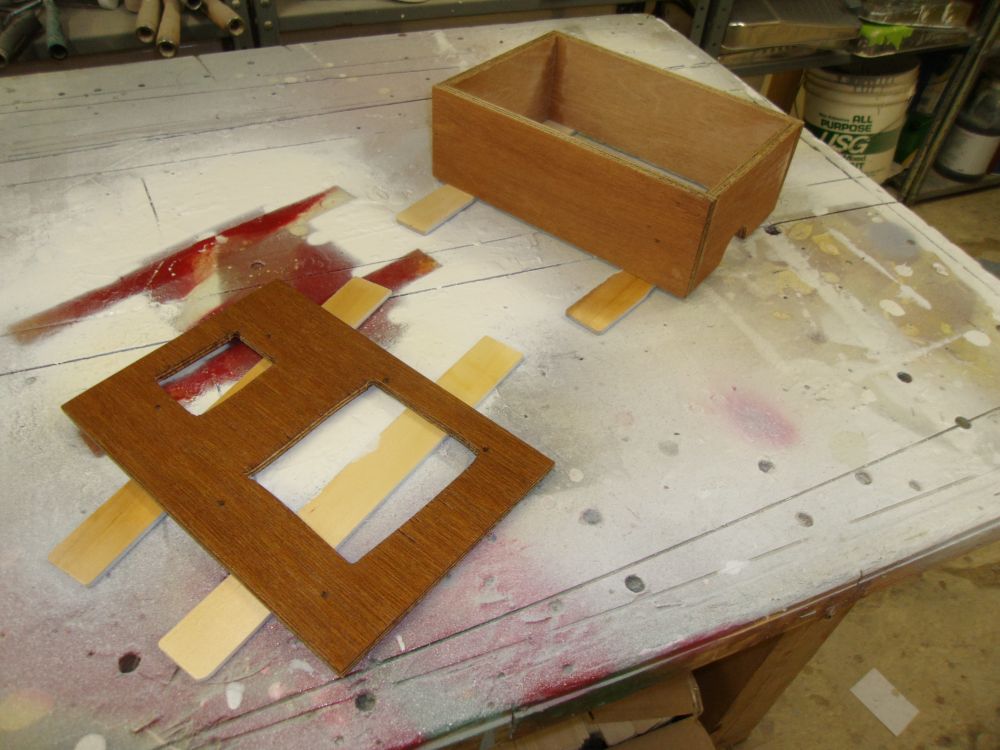
To house a small electrical panel and bilge pump switch that I'd removed from the boat earlier, I built a simple plywood box, similar to the original one, and sent it off to the finishing room for some varnish.
The chainplate slots needed to be cleaned out a little in order to slide in the newly-cleaned chainplates. I slid in the chainplates and held them abovedecks with a screw through the top hole, and left them pending delivery of the new fasteners required to secure them to the knees below.
In the cockpit, I reinstalled the bilge pump drain fitting on the port side, along with the plastic fitting through which the centerboard control line would pass. Instead of the original aluminum cleat for the centerboard line, I found a vintage bronze cleat in my storage room and installed it in the forward end of the cockpit well.

My regular UPS delivery was a couple hours later than usual, common enough during the busy holiday shipping season, but to my dismay I found that the shipment of bronze fasteners I'd been awaiting had not arrived (though everything else did), apparently "not dispatched" from the Chelmsford hub (I think that's corporate double-talk for "oops"). So I'd not have the fasteners for the deck cleats, coamings, and several other things for another day.
However, I received the new cowl vent for the foredeck, and I used up the last minutes of the day drilling the large (3-3/4") deck hole and overboring the fastener holes to receive the usual epoxy treatment--along with the inside edges of the large hole--ensuring that I'd be able to complete its installation next time, along with anything else for which I did have the correct fasteners on hand.

Total Time Billed on This Job Today: 7.5 hours
