
110 Cookson Lane | Whitefield, ME 04353 | 207-232-7600 | tim@lackeysailing.com
Sailmaster 131 | Monday, December 2, 2013
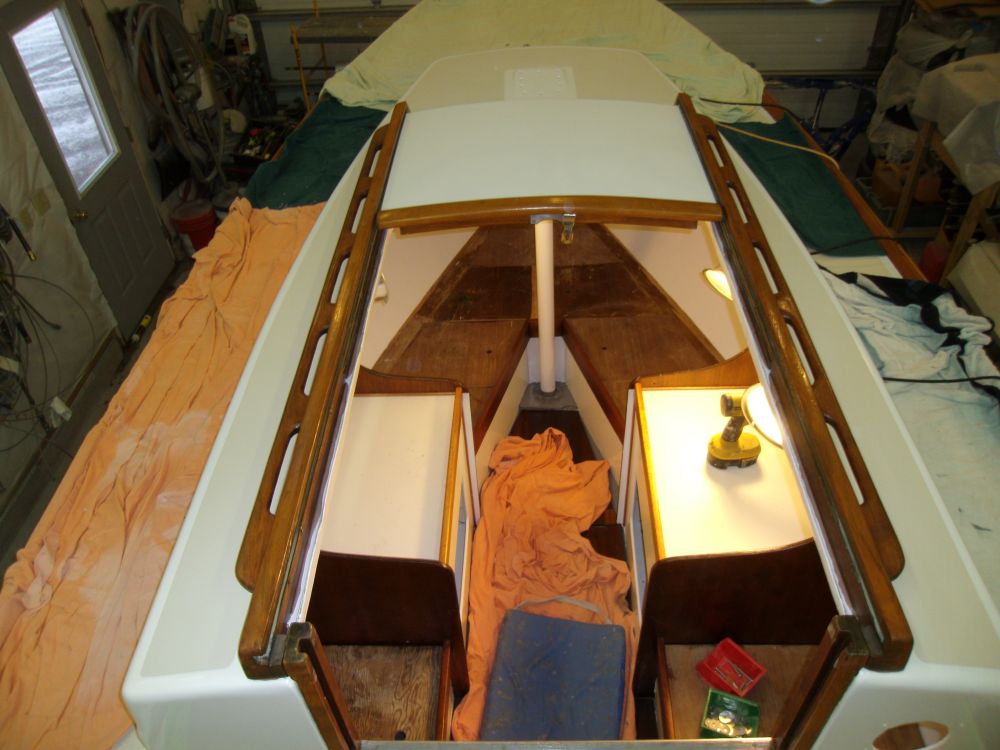
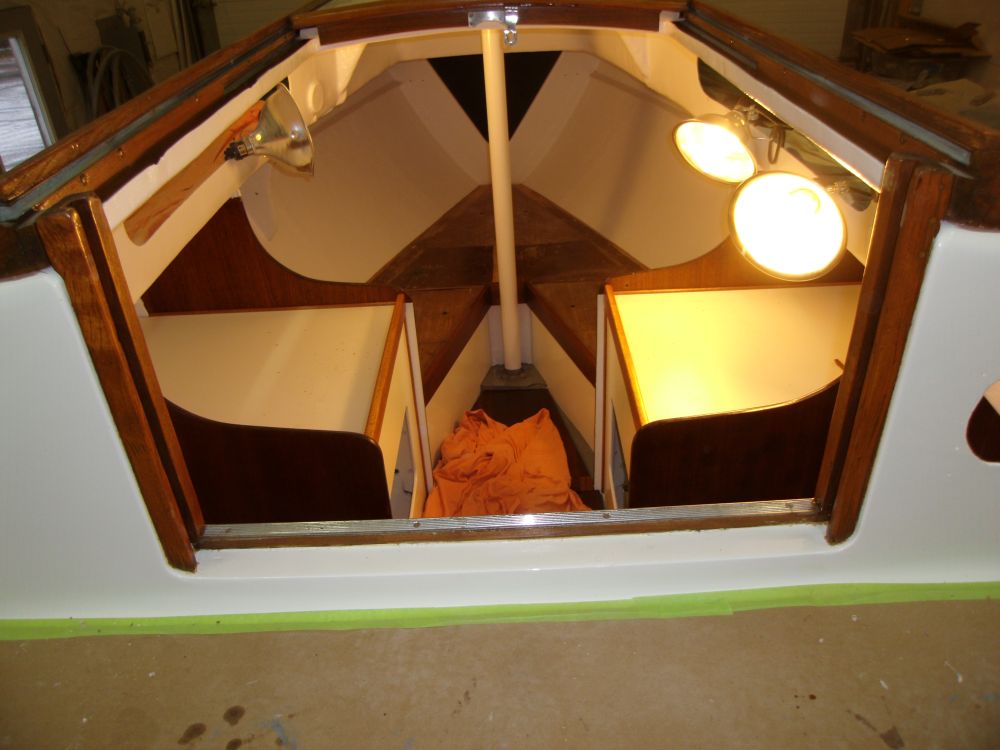
Now that the varnish on the companionway ladder was complete and had had several days to cure, I reinstalled the metal treads and tested the ladder in the boat.

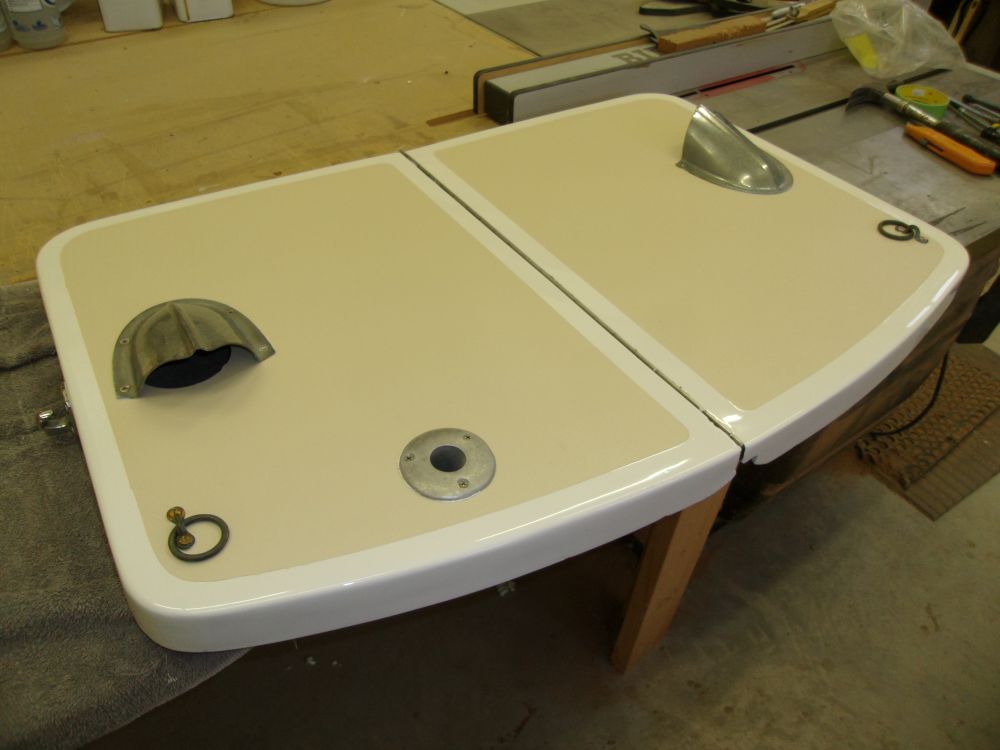
Next, I reassembled the various hardware on the folding lazarette (engine room) hatch, securing the hardware with new bolts and sealant.
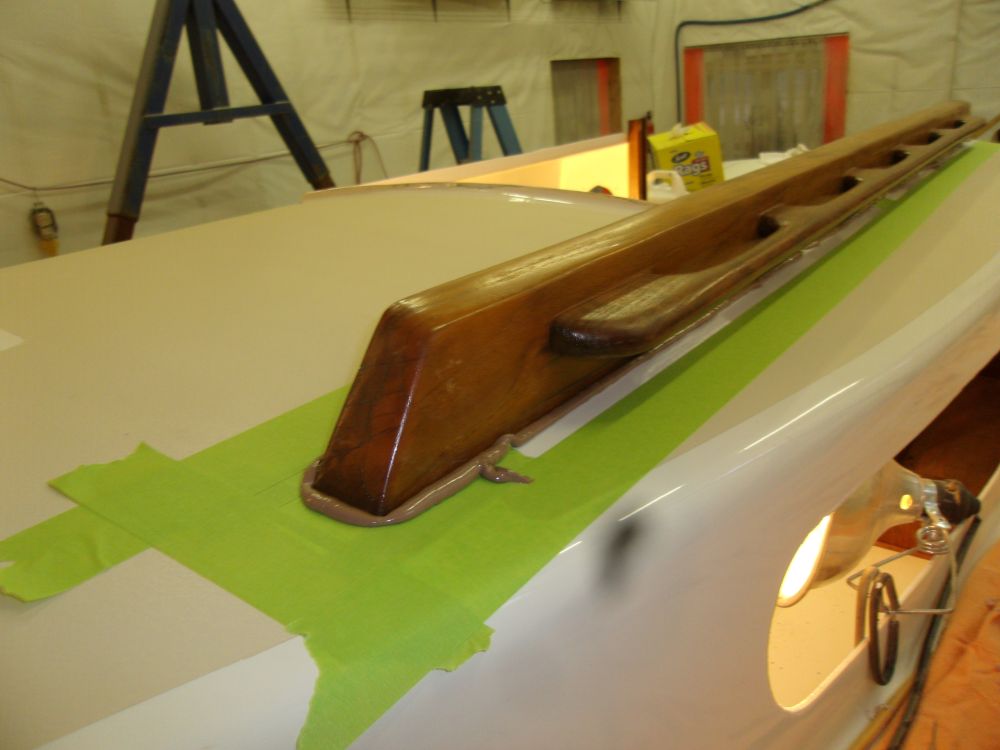
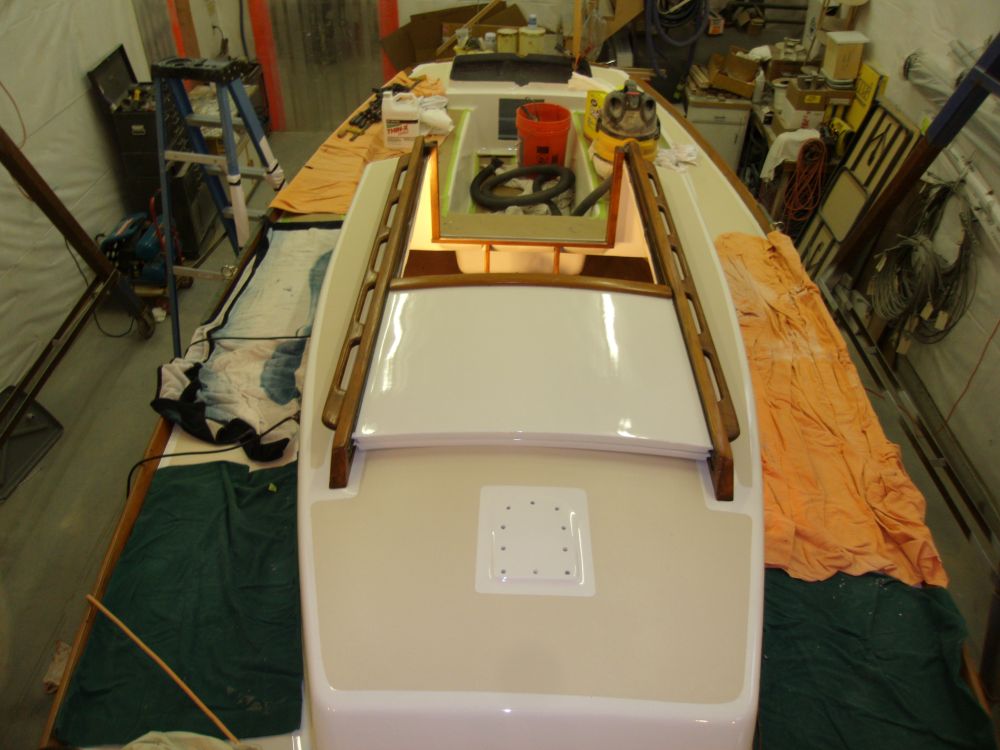
I turned to the companionway rails and sliding overhead hatches, beginning with a dry-fit of the two rails and hatches to determine final placement and alignment. I made various reference marks with tape to help me realign the rails when it was time to permanently install the rails.

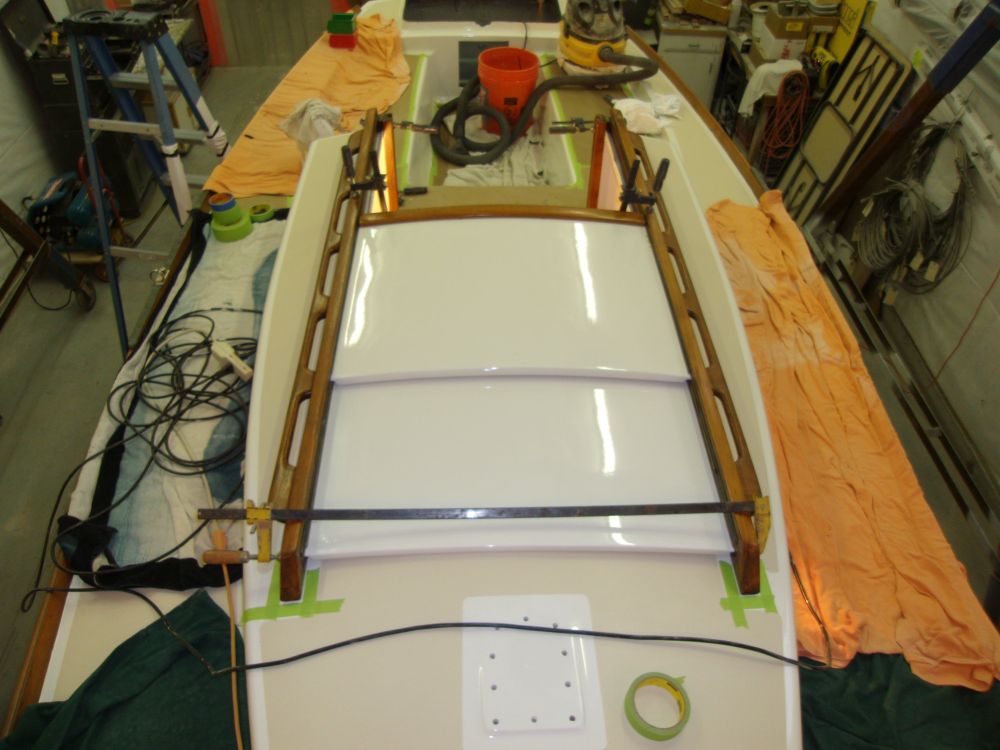
Satisfied with the alignment, and after checking the operation of the sliding hatches, I clamped the rails in place and, from inside, drilled screw holes through the overhead, using the old hole locations as a guide. I removed the rails and made final hole preparations by milling small countersinks at the top edge; the fastener locations already contained solid epoxy, so I didn't have to prepare the holes further.

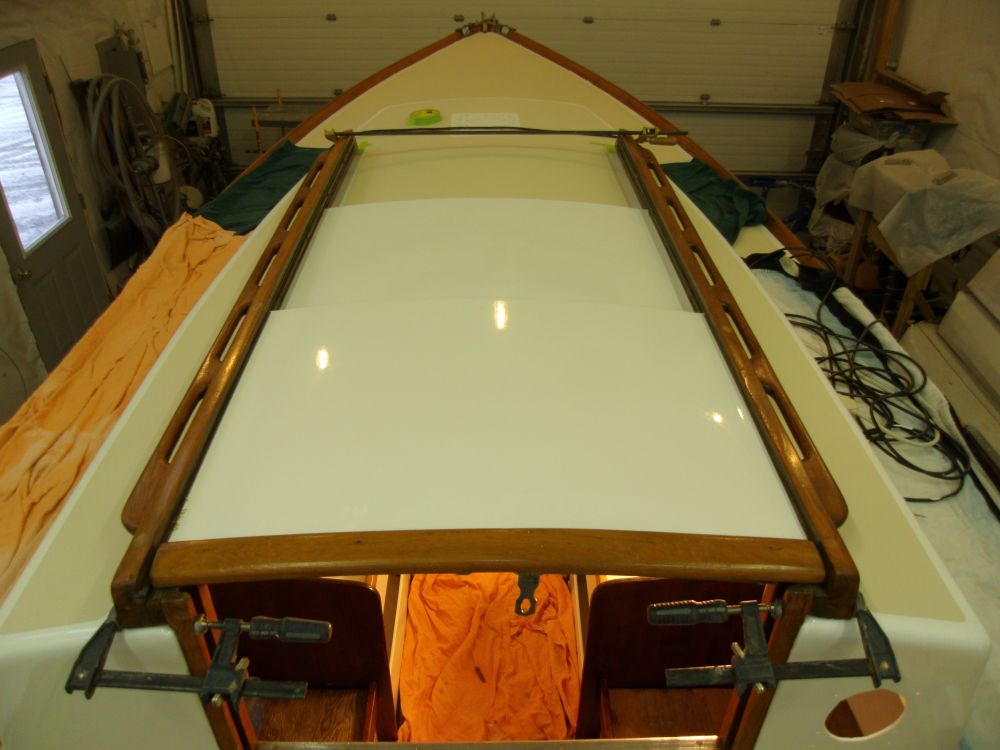
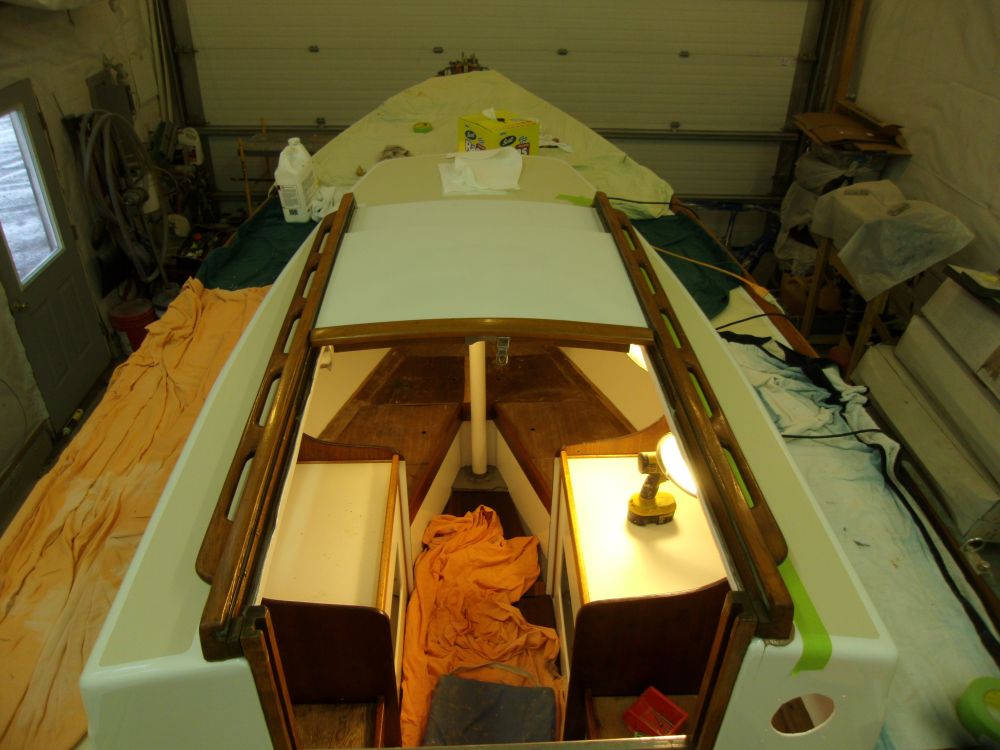
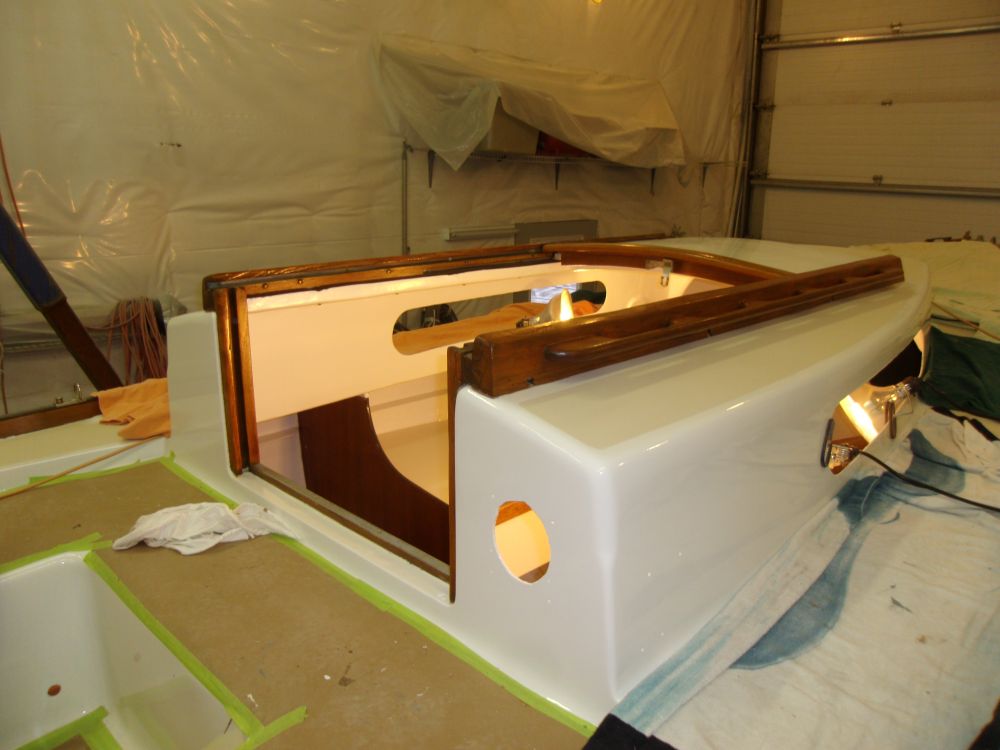
I applied heavy beads of teak-colored sealant to the port side, then installed the rail with 2" screws from below, tightening it securely.


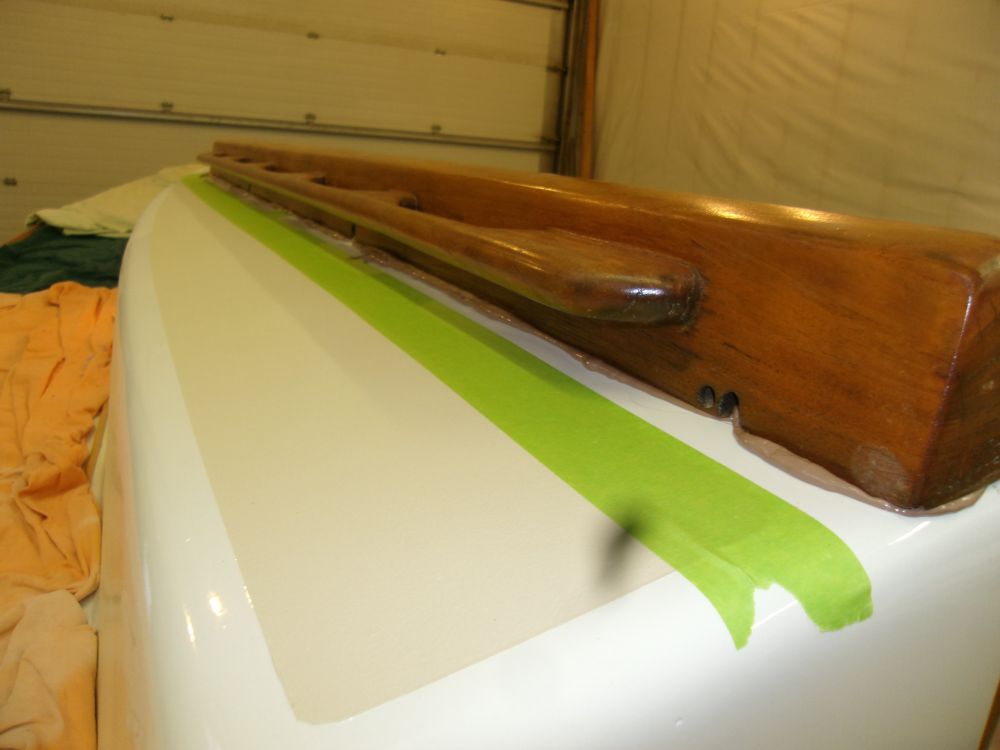
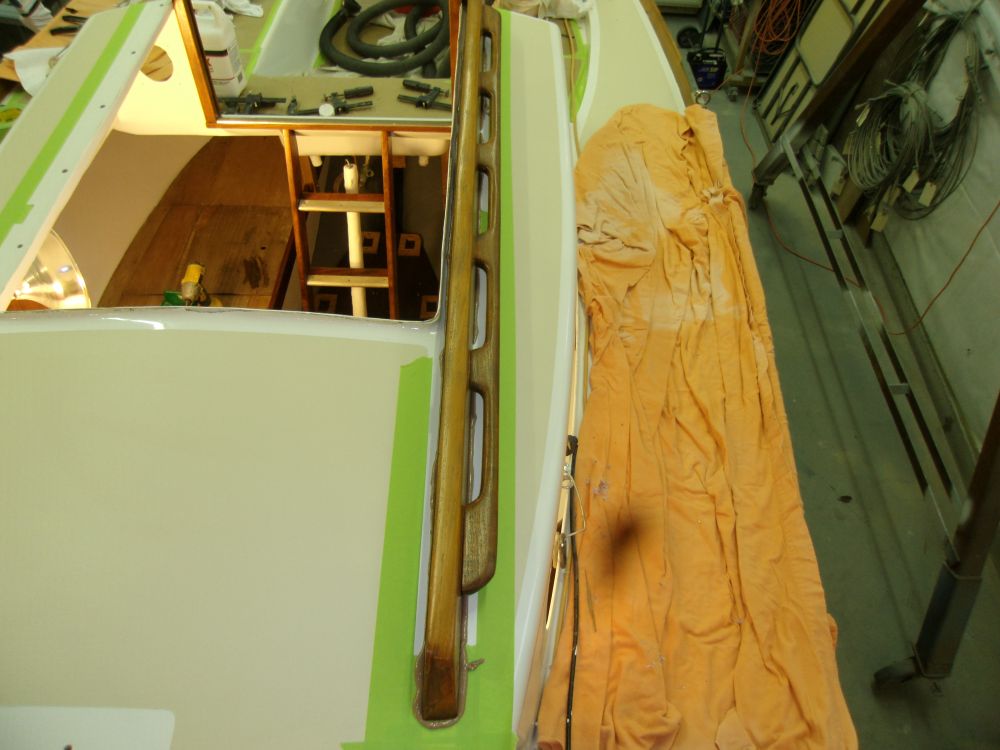
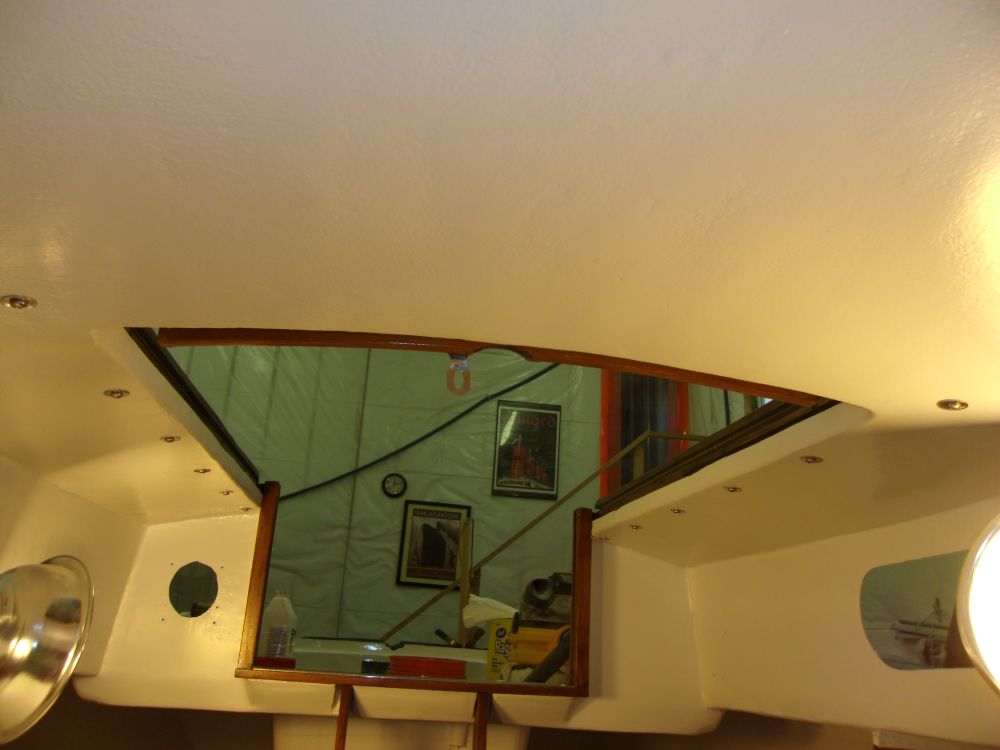
After cleaning up the excess sealant from the port side, I repeated the process on the starboard rail, this time inserting the two-part sliding hatch into its grooves in both sides. I cleaned up the sealant around the outside edges of the rails, but left to cure the squeezeout in the space between the hatch opening and the rails, as this tight area would be easier to clean up once the sealant solidified, and wouldn't pose issues in the meantime.


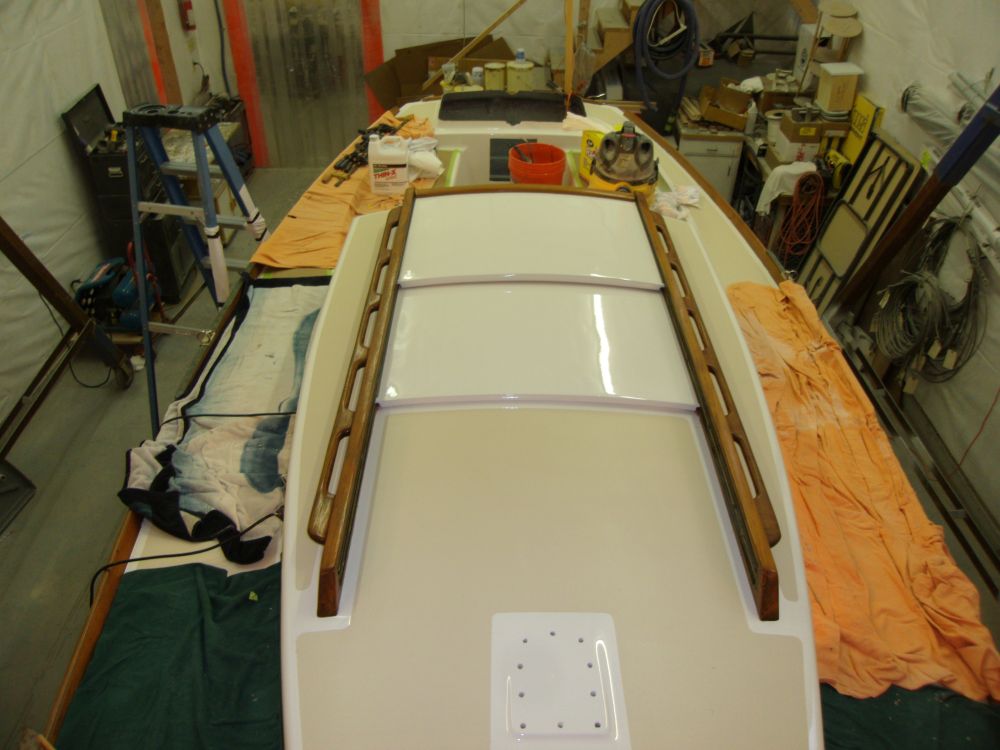
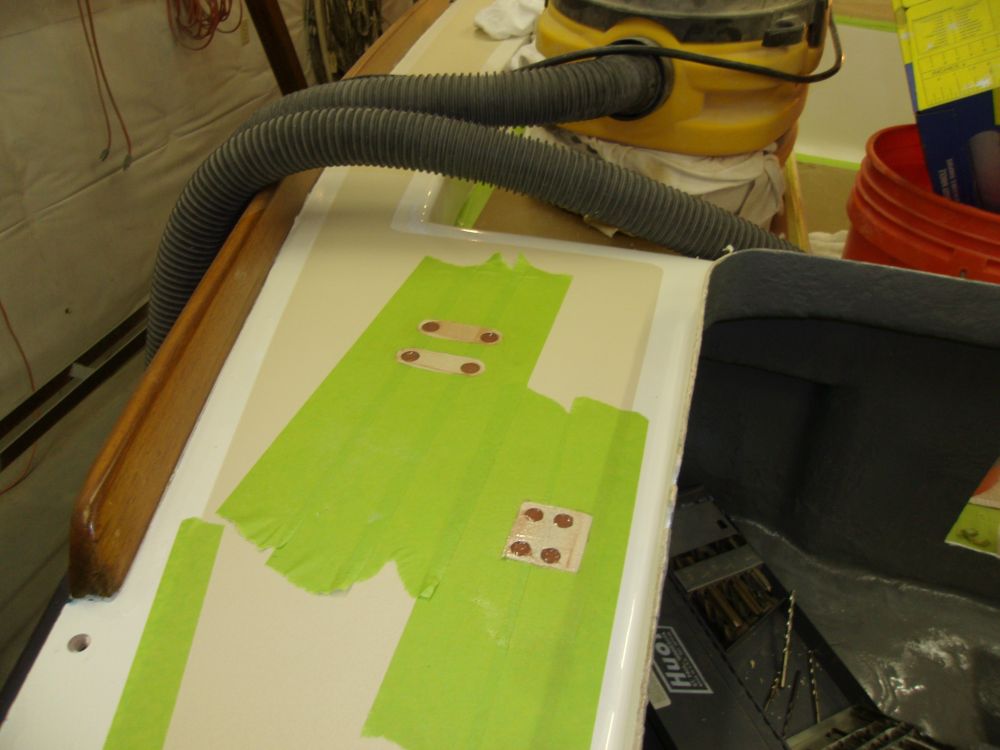
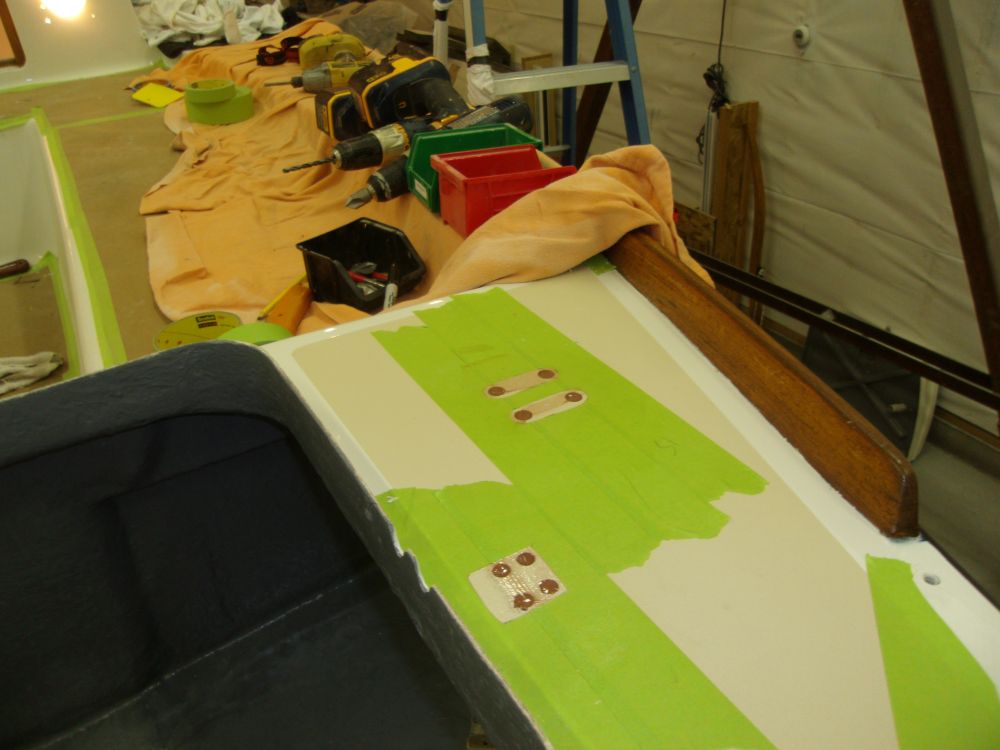
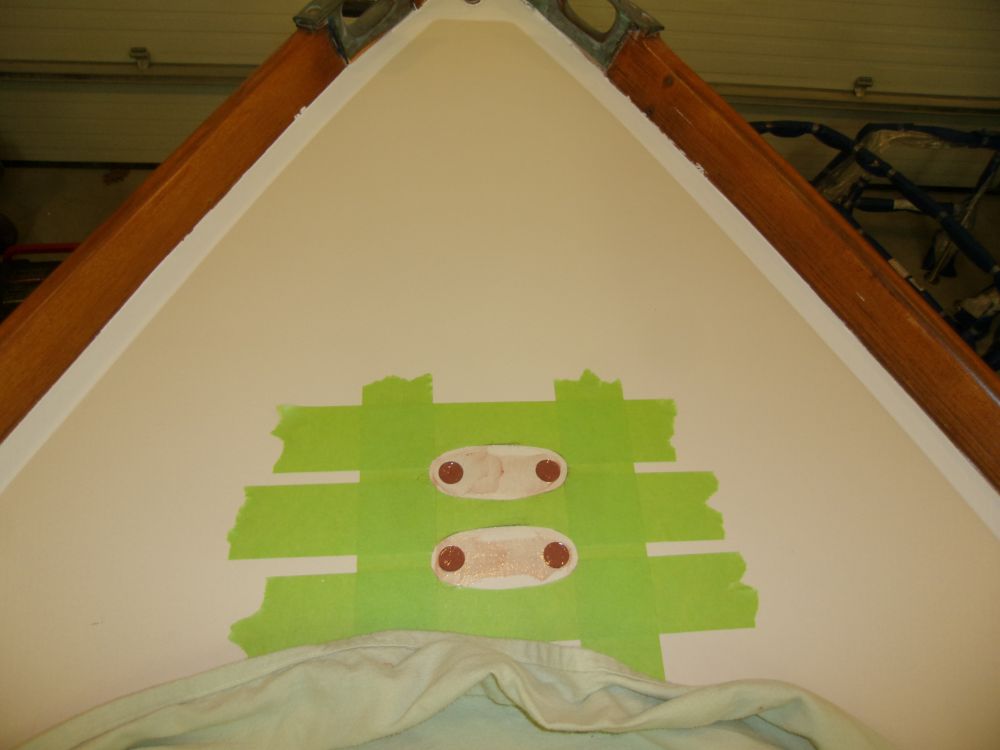
I'd ordered all the new fasteners for the deck hardware, and while I awaited their delivery I began some of the deck preparations for the final installation. Beginning on the foredeck, I determined the position of the bow cleat from below and drilled one reference hole from the chainlocker, then positioned the cleat accordingly and marked the fastener locations. With a 1/2" bit, I overbored the holes, removing the core from around the eventual bolt locations but leaving the bottom deck skin intact.

I also marked the location for a new foredeck cowl vent, drilling a pilot hole from inside the chain locker using the old vent's location as a guide, but waited till the new vent arrived before boring the large hole required to ensure I used the right size hole saw.
On the poop deck, I repeated this process with the engine hatch hold-downs and stern cleats, and predrilled and tapped the fastener holes for the stern quarter chocks (the deck contained no coring at these outer reaches). In each case, I determined the positions of the hardware, masked off the deck for protection, and drilled oversize holes in the deck to omit the coring from the eventual fastener locations.
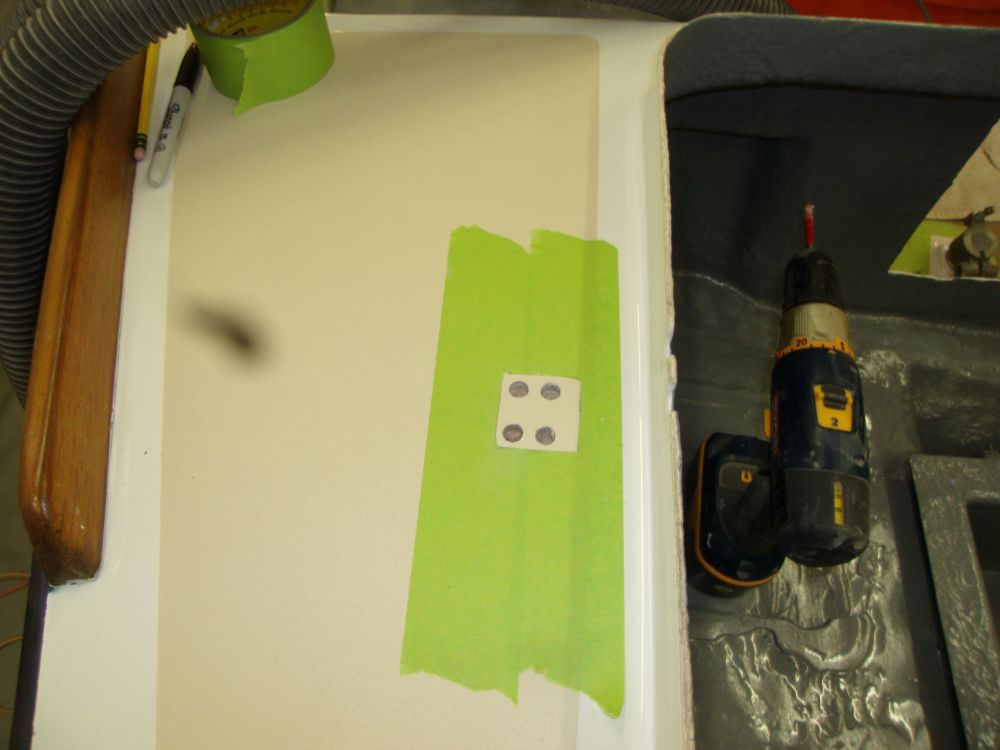
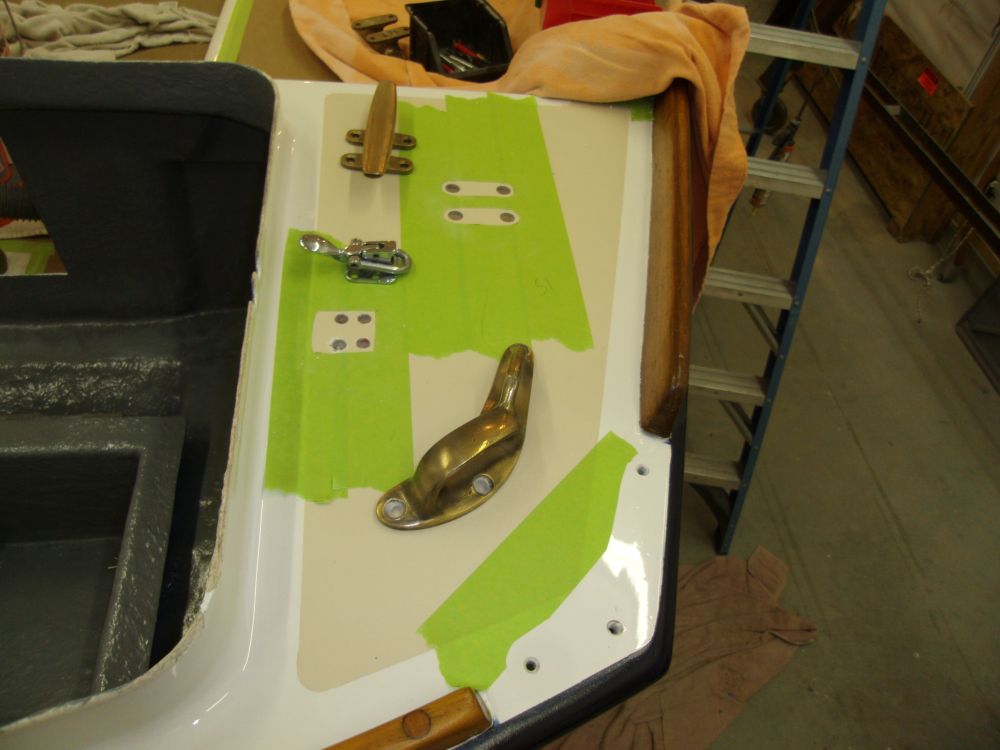

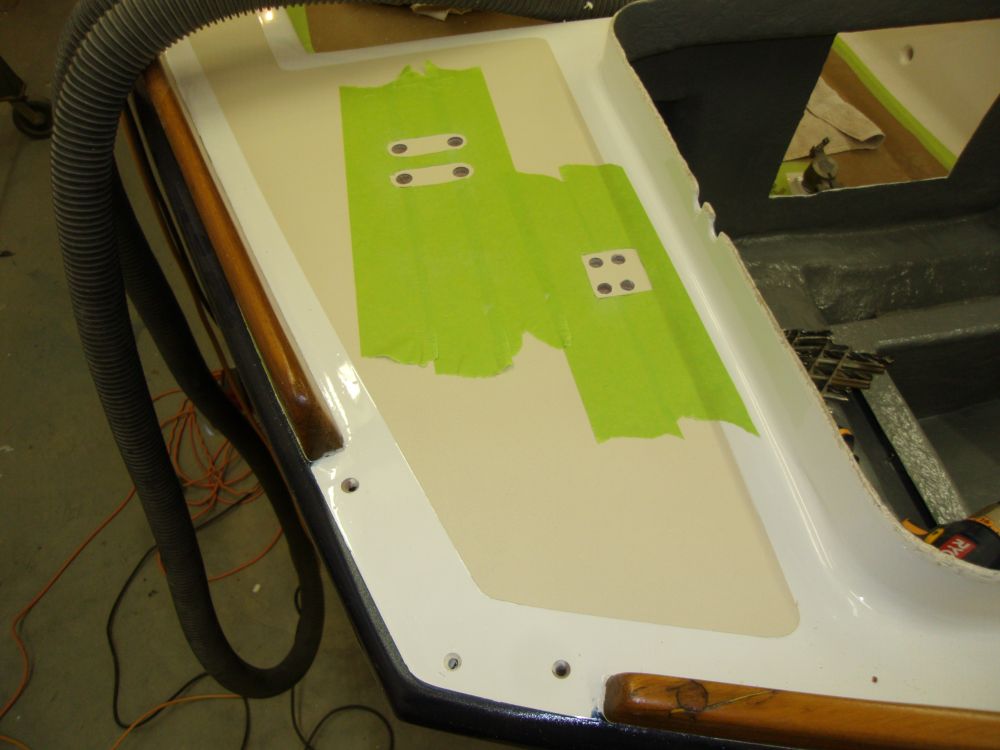

After cleanup, I filled all the new holes with a thickened epoxy mixture.
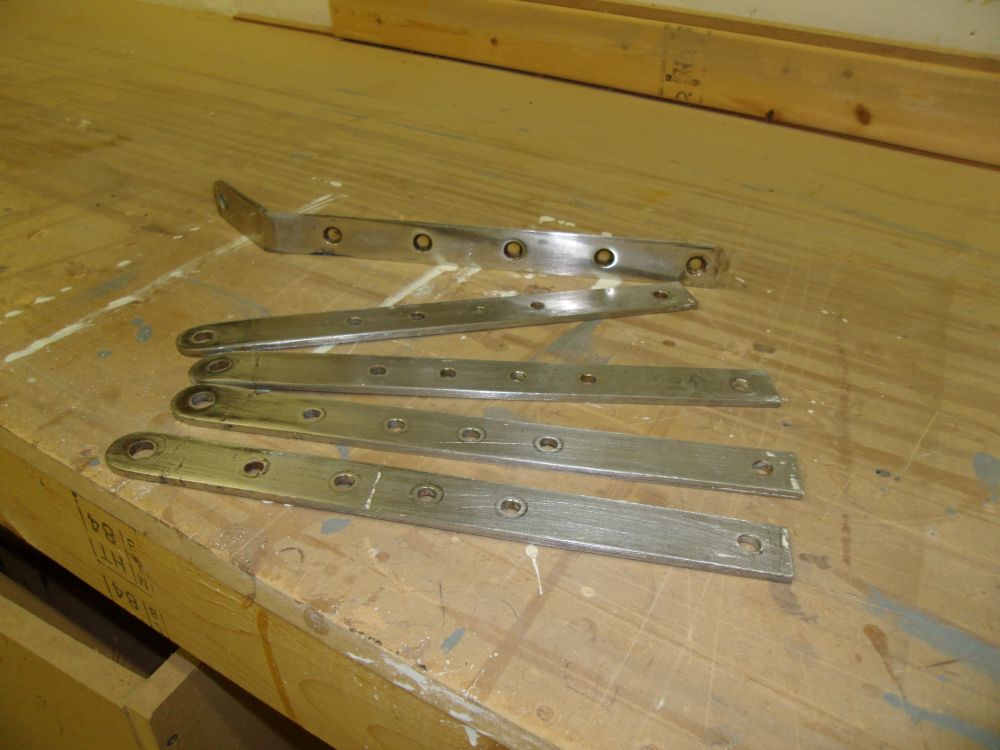
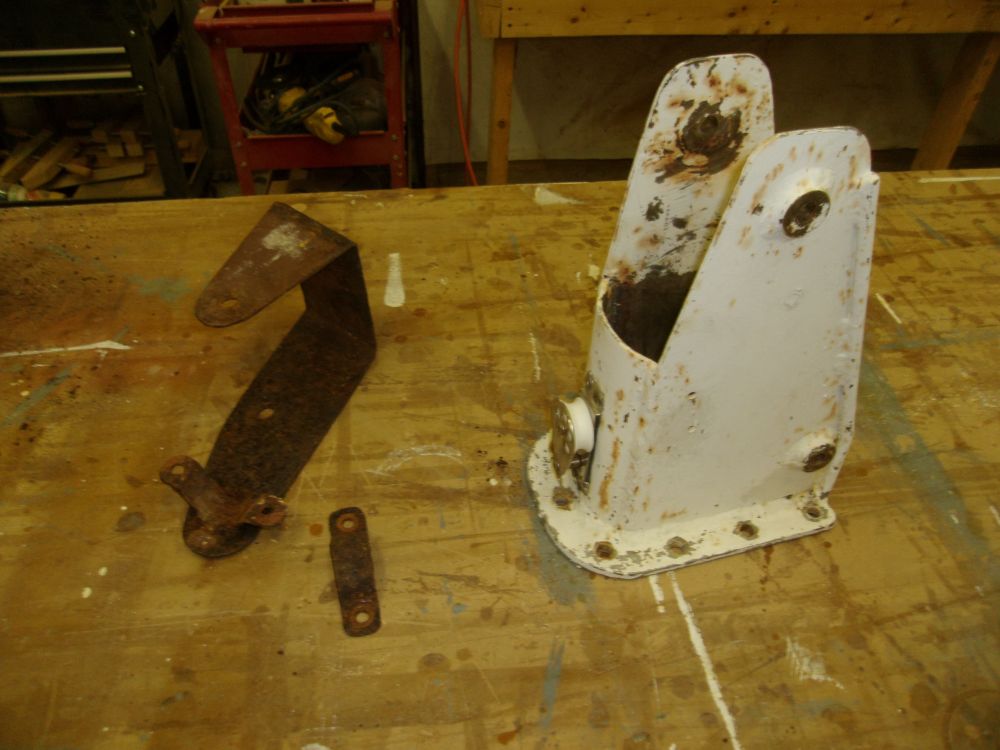
To wrap up the day, I turned to some metal cleanup, including the original chainplates, mast tabernacle, and centerboard winch bracket. The chainplates simply required paint removal and some cleanup.
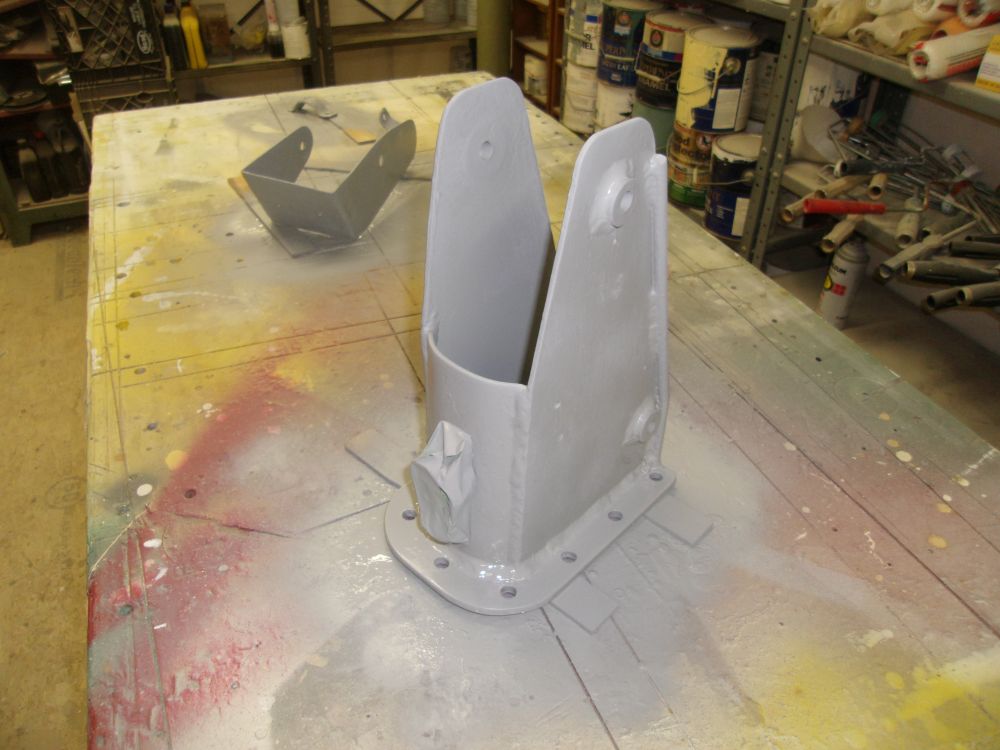
With wire brush, scraper, and sandpaper as needed, I prepared the centerboard winch bracket--heavily rusted but basically intact--for primer and paint, and also prepared the stainless steel mast tabernacle for new primer and paint. Before the day ended, I'd spray=applied a few coats of primer to all surfaces, and left this to cure overnight before continuing.

Total Time Billed on This Job Today: 7.75 hours
