
110 Cookson Lane | Whitefield, ME 04353 | 207-232-7600 | tim@lackeysailing.com
Sailmaster 131 | Monday, August 19, 2013
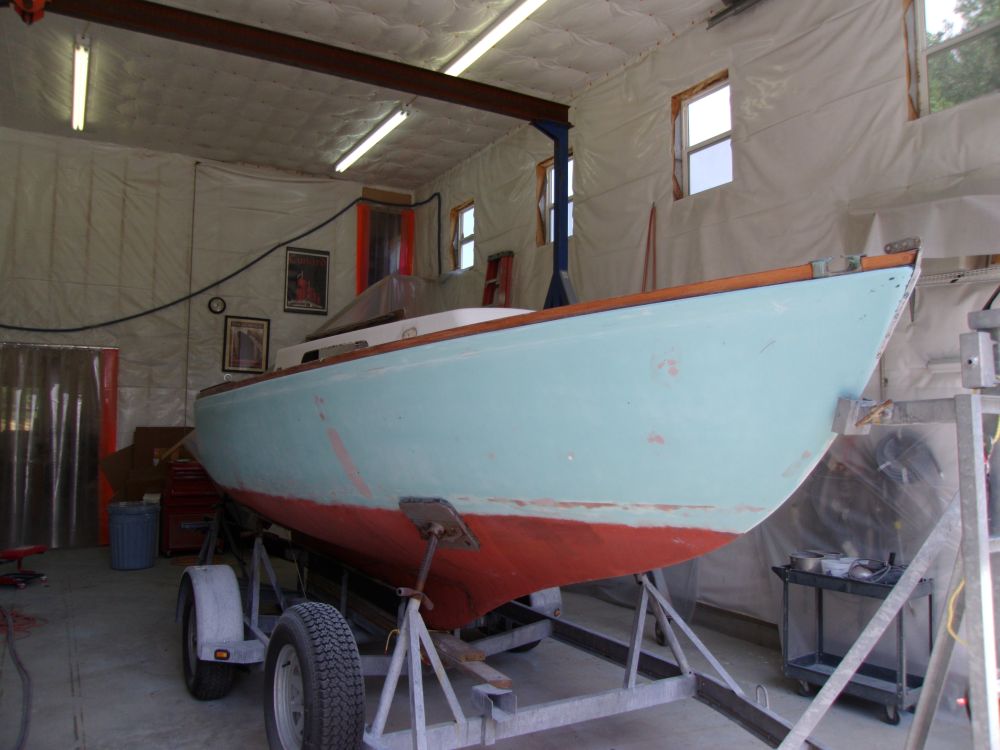
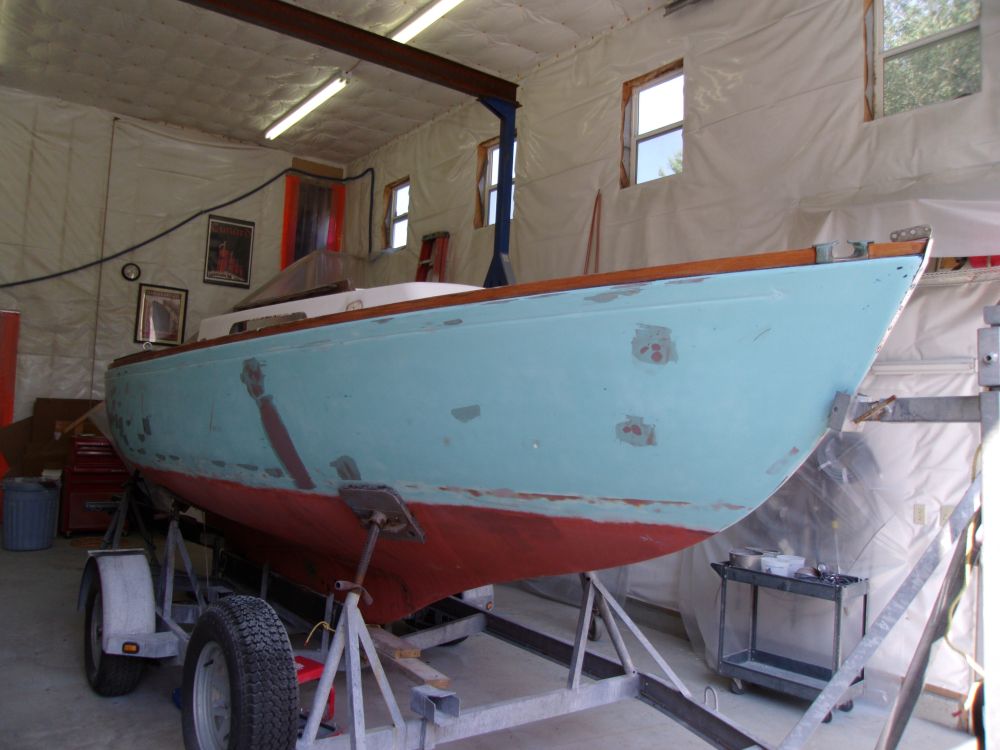
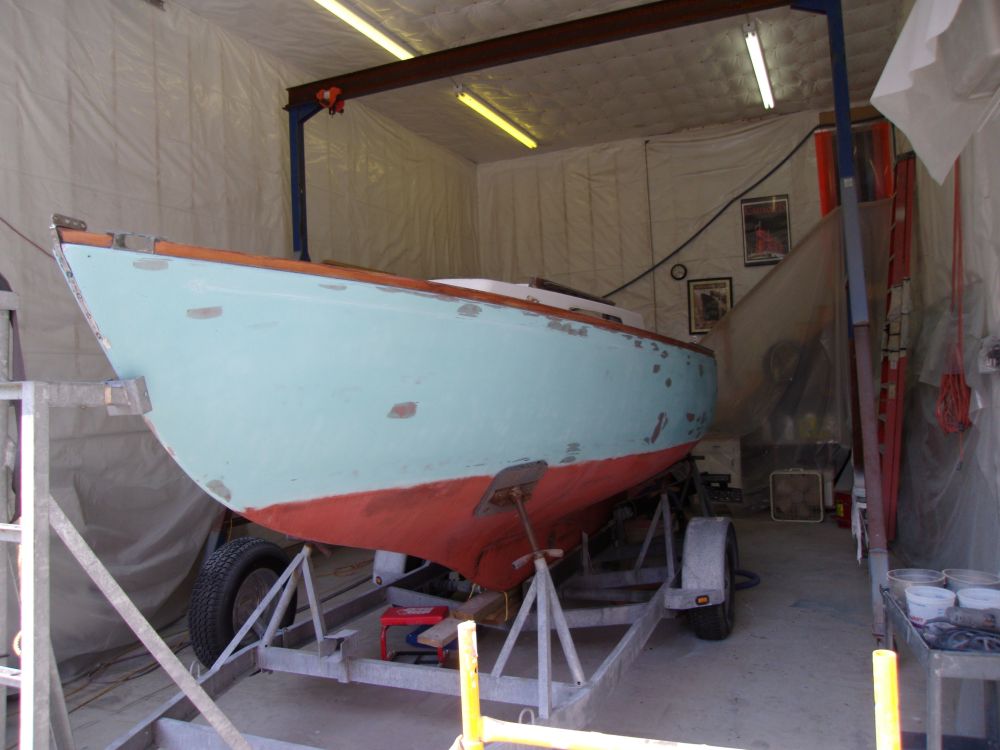
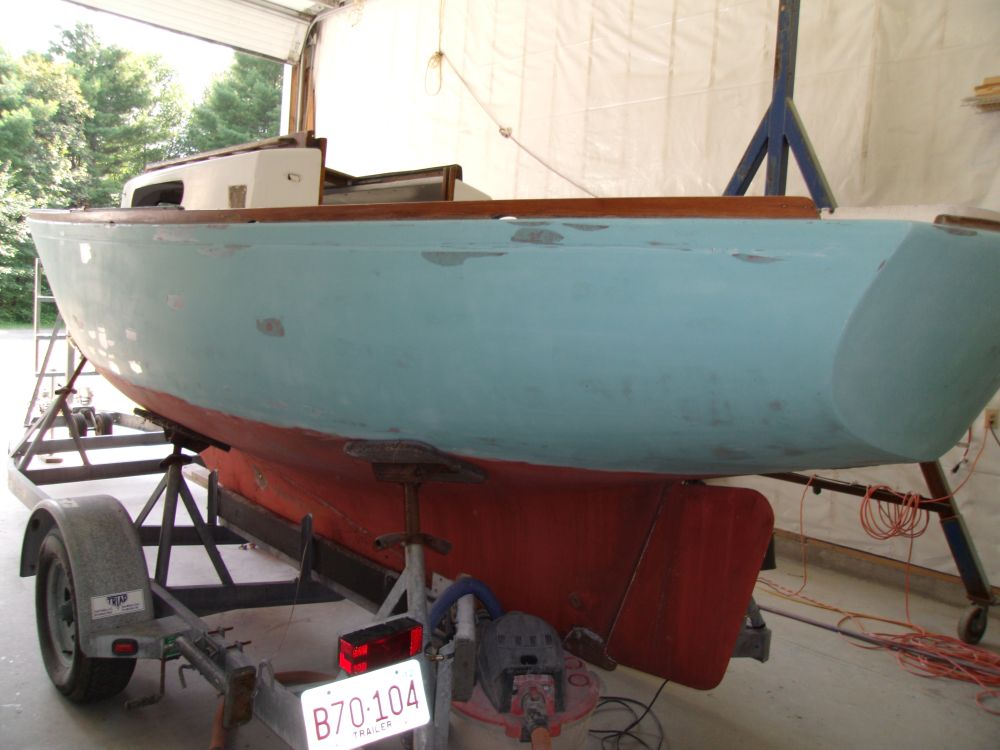
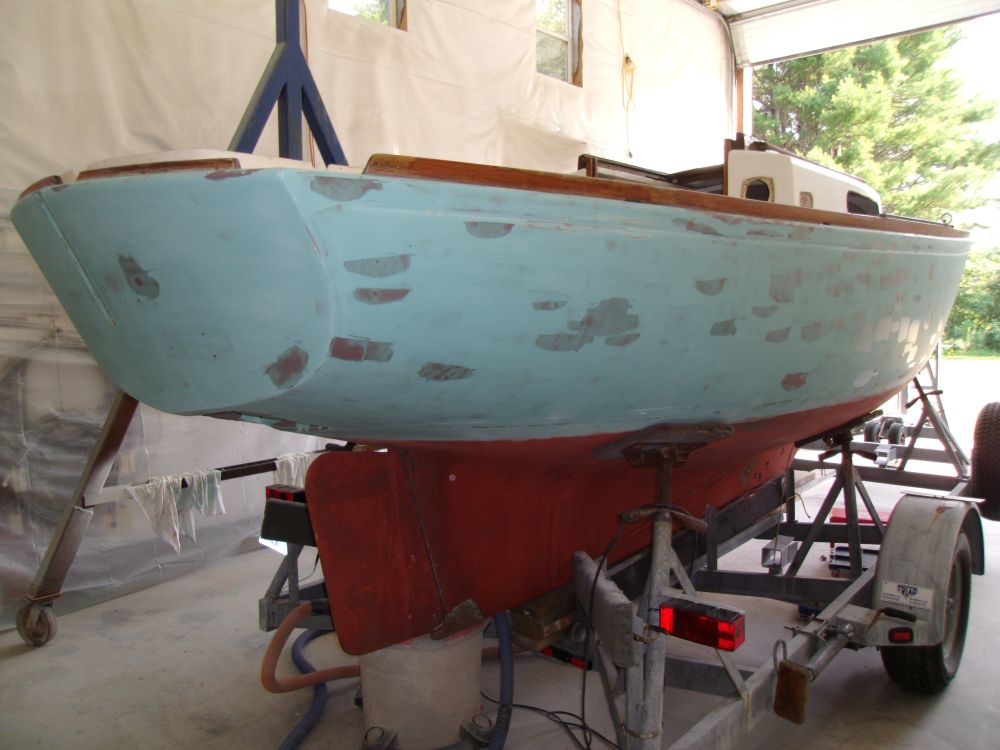
I spent the first part of the day sanding the hull again, this time with finer grit (120) and a 6" random orbit finishing sander. This removed the excess fairing compound from the first application, leaving a few areas requiring additional attention.

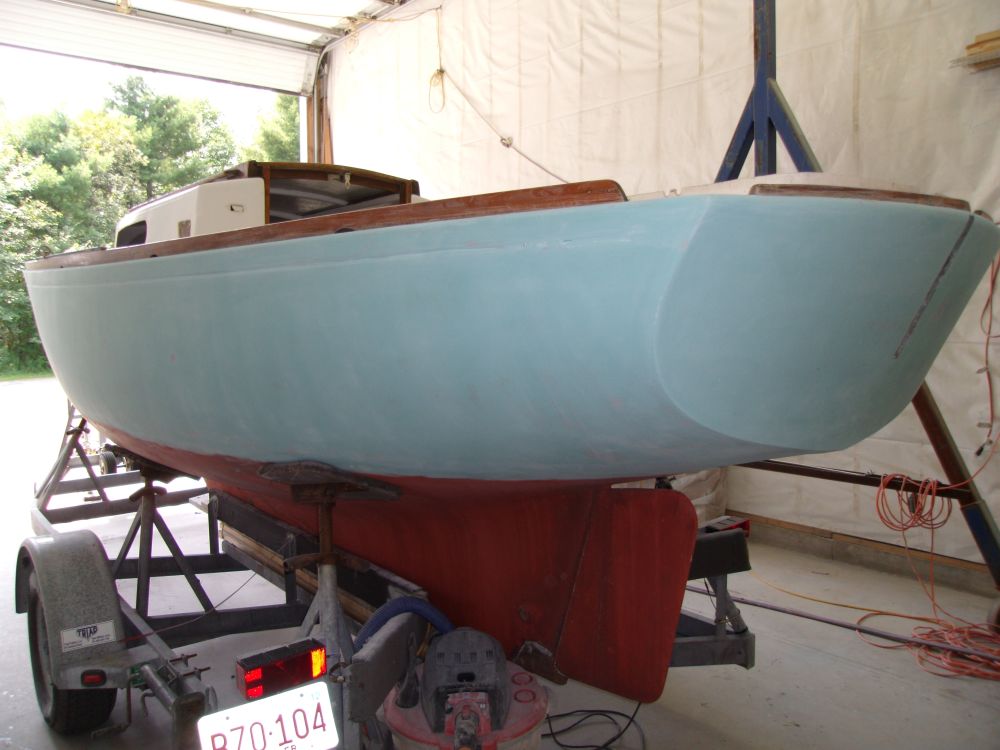

After cleaning the hull and solvent-washing, I applied an additional round of epoxy fine filler where needed--a much less widespread application than the first.

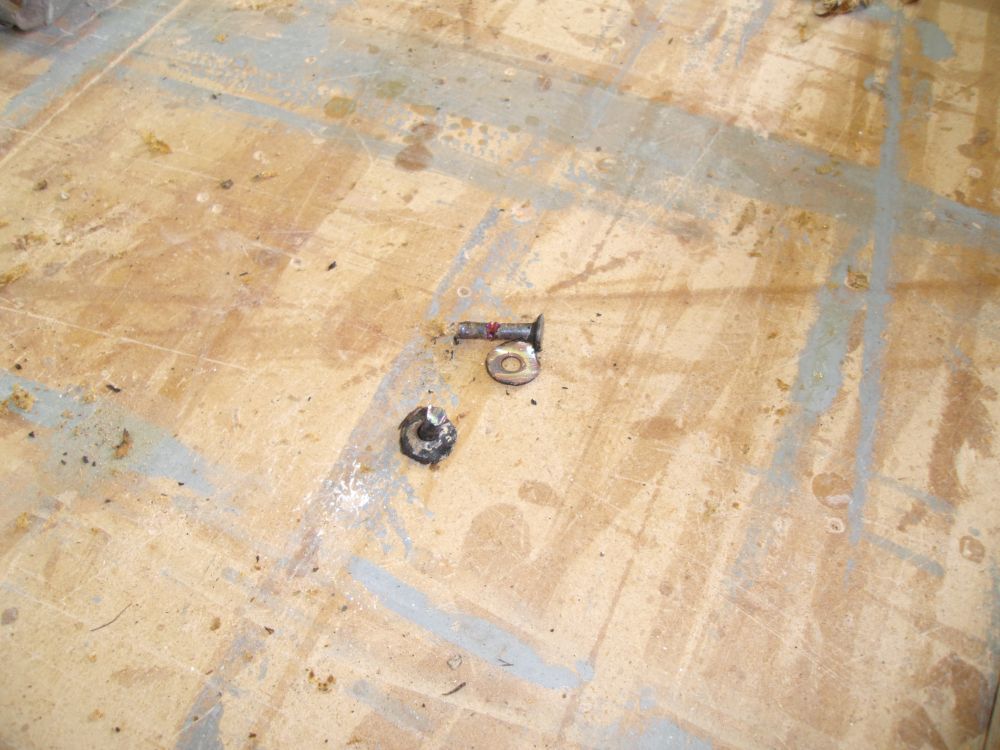
The centerboard pivot pin continued to vex. Information I'd so far found available wasn't jibing with what I was seeing in reality. Some online documentation seemed to point to an internal pin location, accessible from the bilge; that certainly didn't seem the case here.

For better access from the outside, where the ends of the pin were visible,, I unbolted the two keel guides on the trailer, which allowed the boards to drop down away from the pin location.
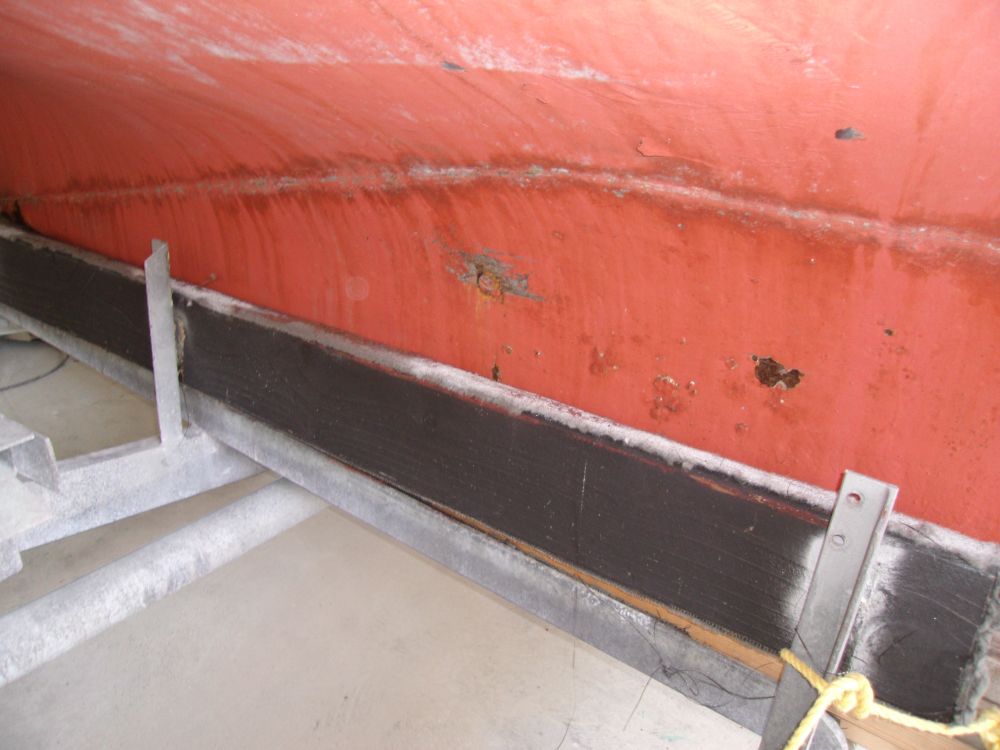
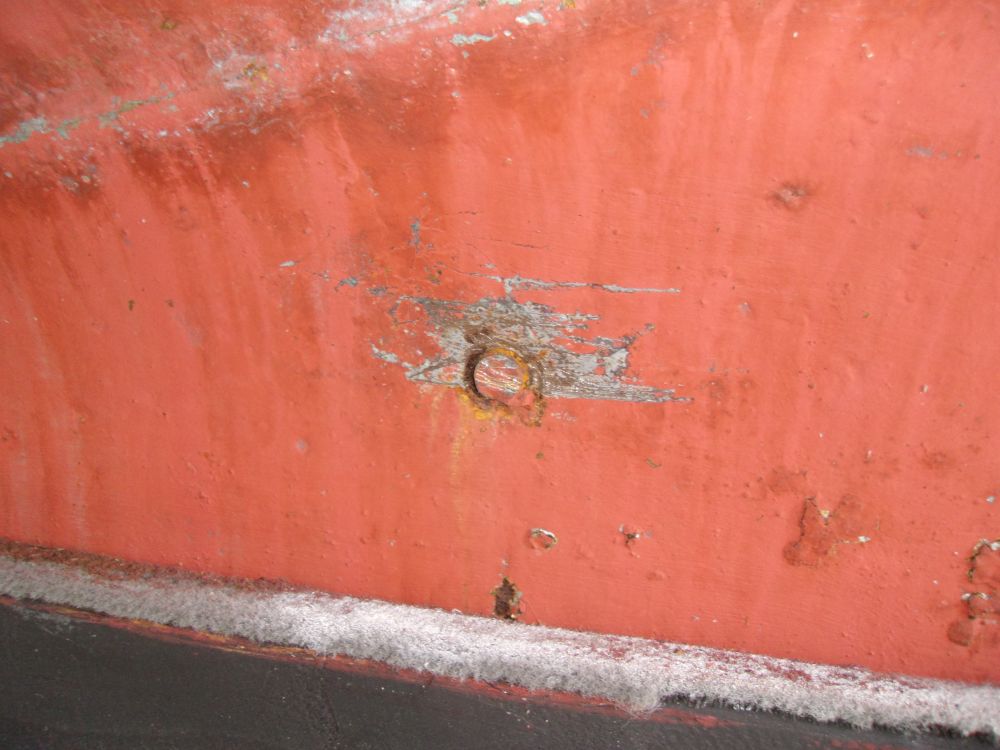

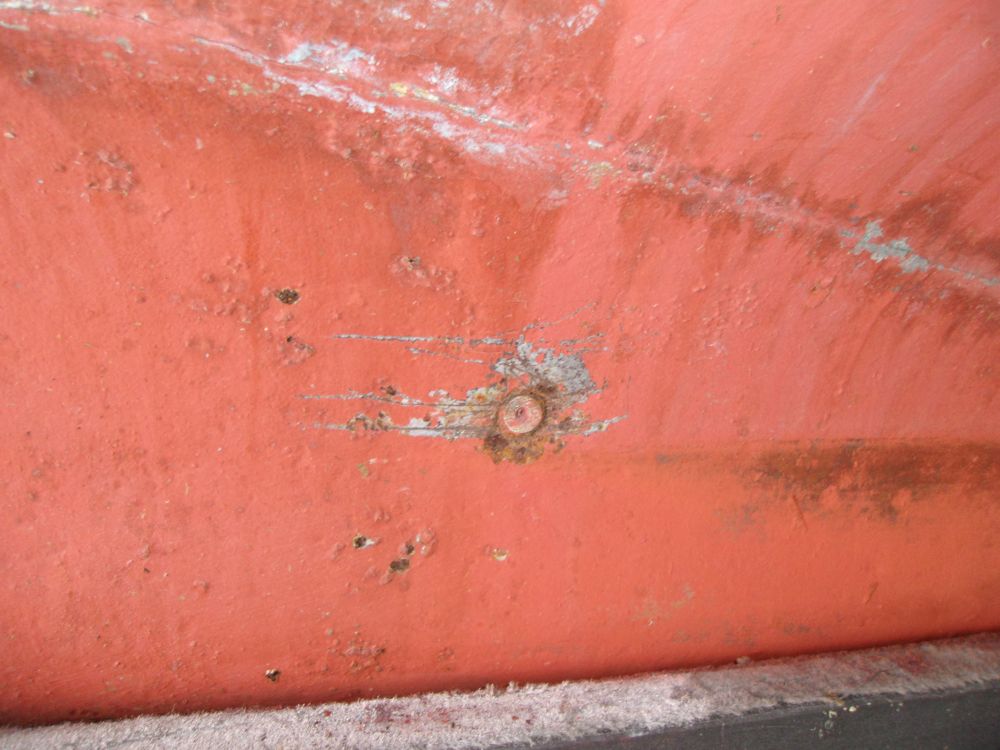
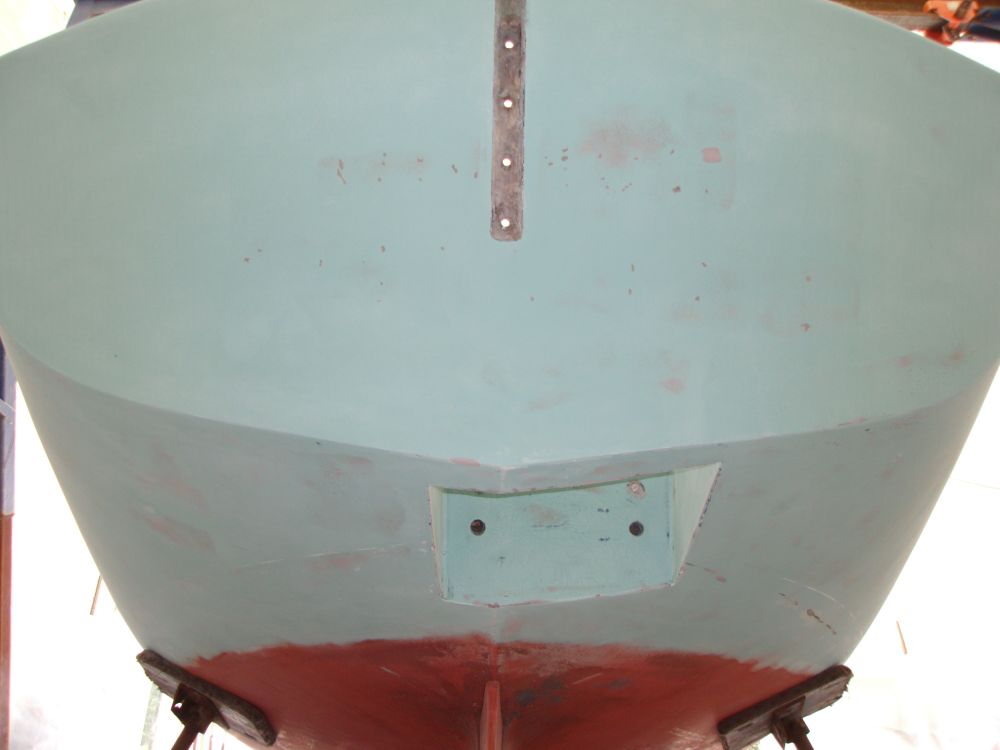
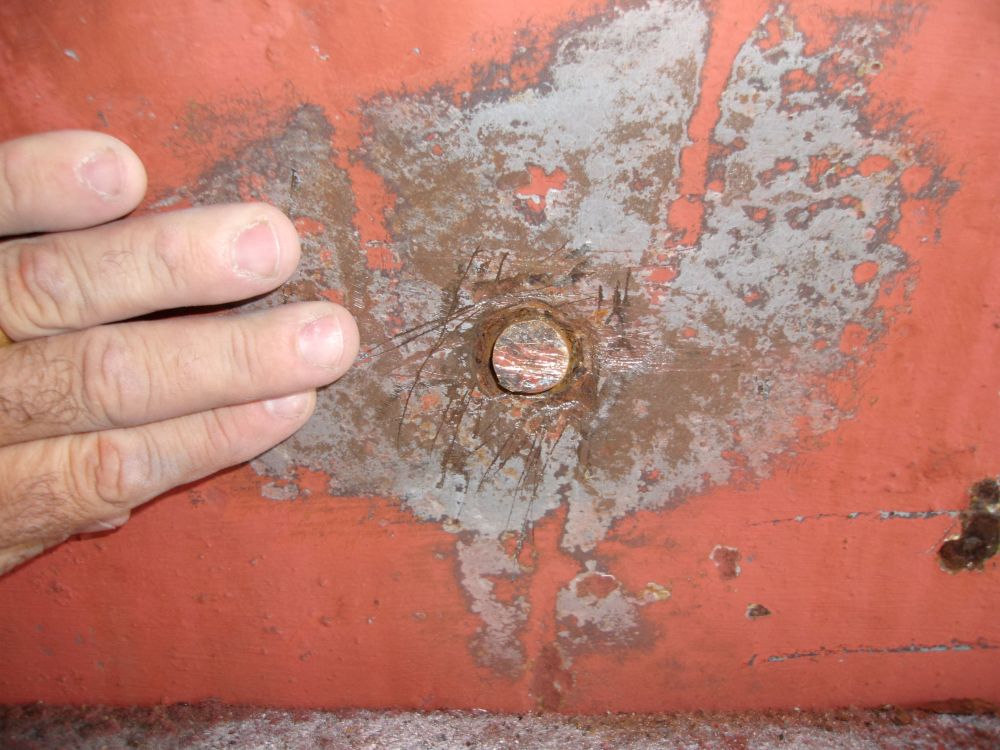
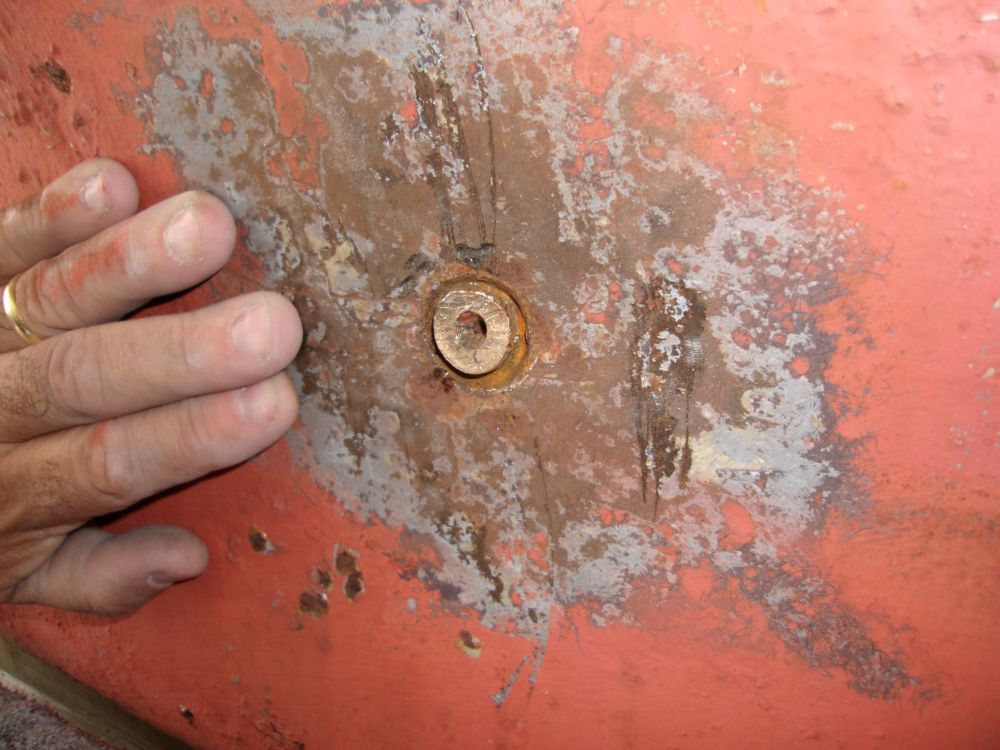
I sanded away the paint from around the exposed ends of the pin, hoping to find some means by which the pin was secured in place. But sanding, scraping, and digging with detail tools didn't reveal any secrets. The pin appeared to be bronze, but was not willing to move; clearing the space directly around it on both sides didn't help. The divot in the port end wasn't threaded either, as suggested by some of the information I'd seen.
Starboard
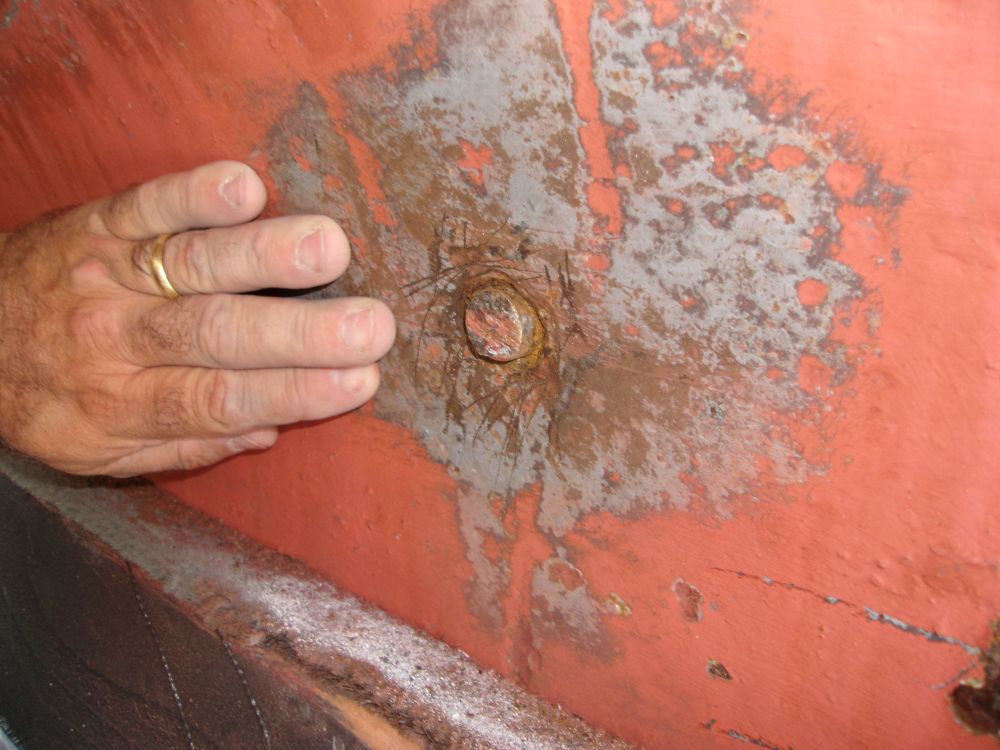
Port

Inside the boat, I thought I'd check to see if there was a glassed-over void in the bilge that would provide access. But some careful exploratory surgery only confirmed that there was no such access here.
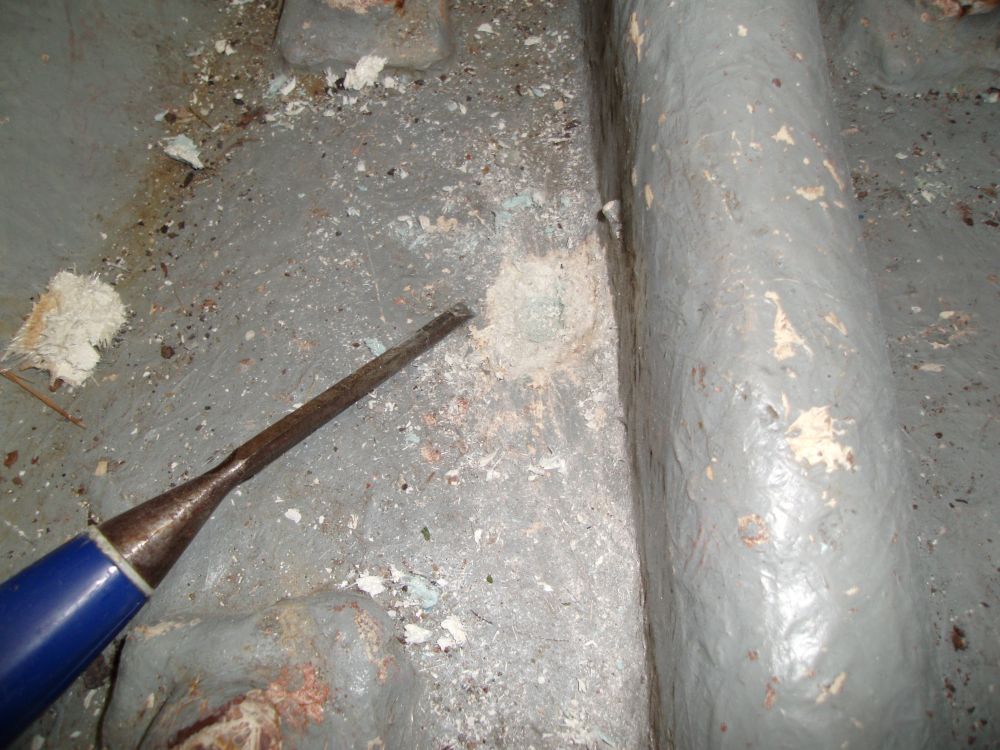
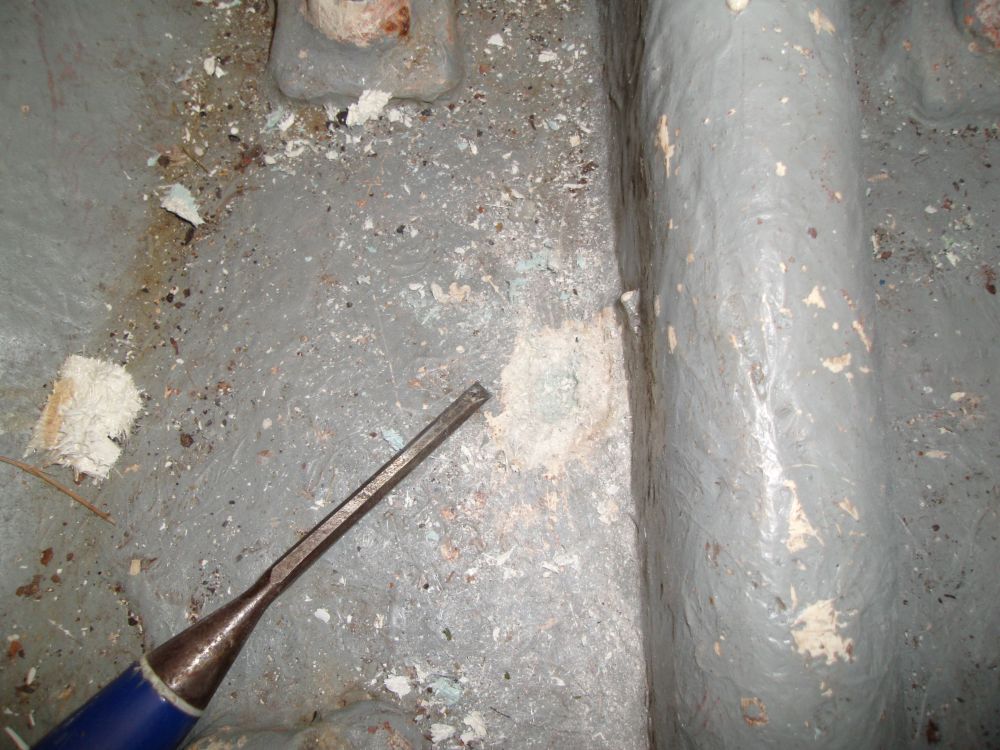
Another possible option was that the pin was permanent, and the board featured a dogleg slot design that allowed it to be removed with the pin in situ, as suggested by some information on the Internet, but nothing seemed to suggest that this was really the answer here, although I could neither confirm nor refute it yet.
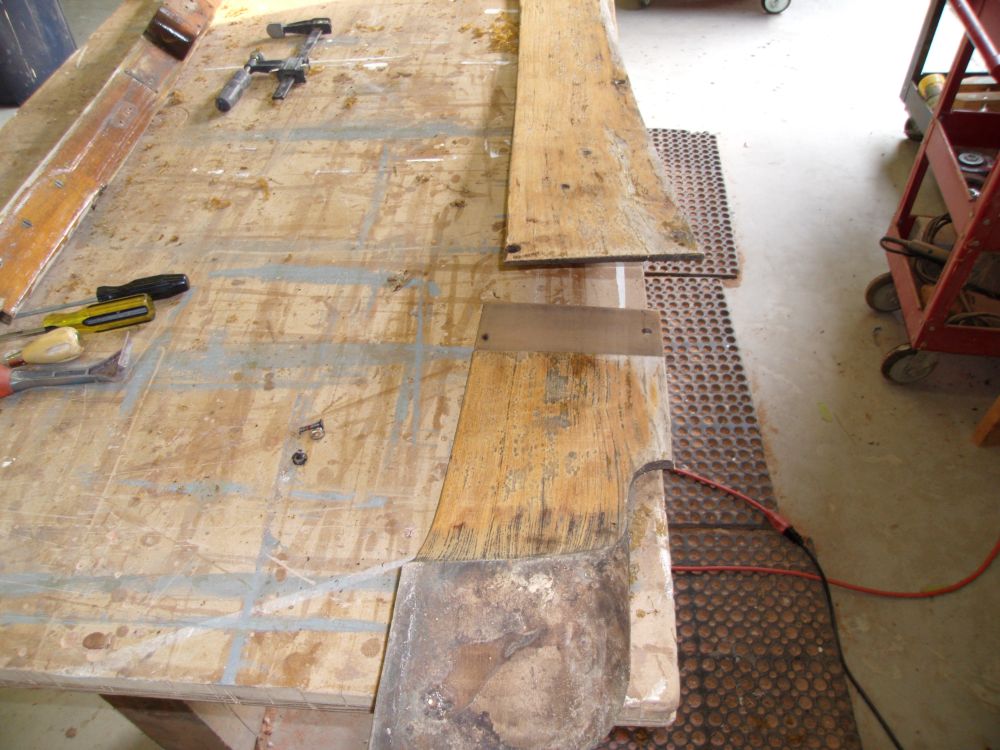
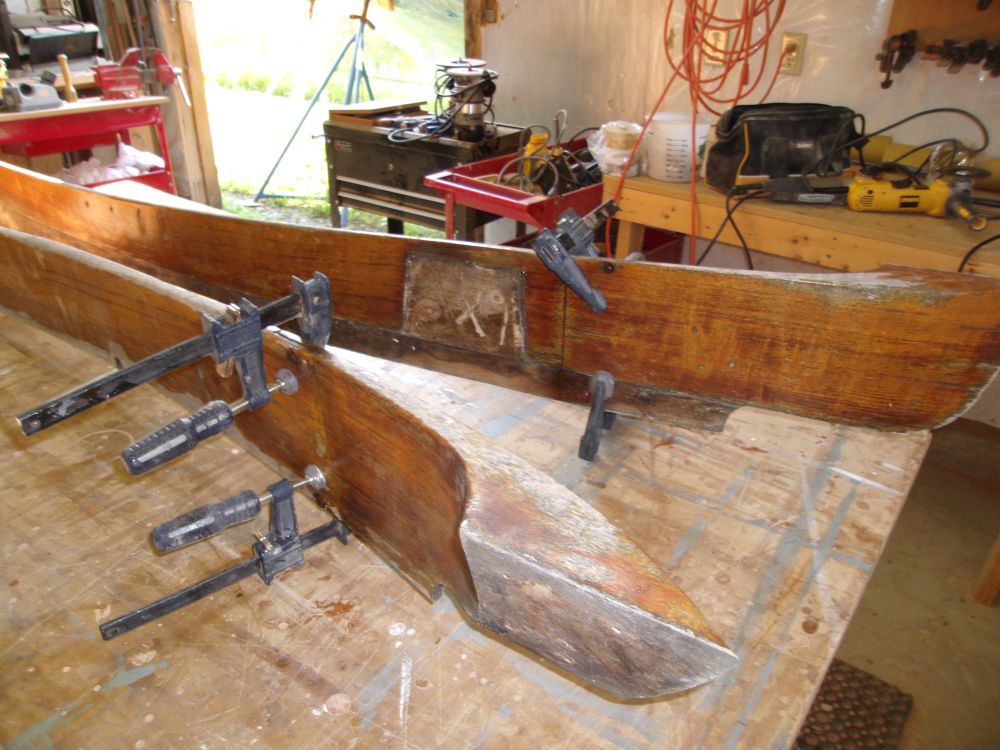
Next, I turned to the coamings. The curved return blocks were formed in a separate piece, and the two sections joined with a rabbet joint near the forward end. The lower half of this joint had been pinned by one of the bolts that secured the coamongs, while the top half featured a peened-over pin that held the joint in place. I removed the pins and opened up the joints, which never seemed to have been glued. Then, with a heat gun and scraper, I stripped the finish from one of the coamings, mainly as a test; the finish came off with ease.
After disassembling both coamings, I sanded cleaned the joints, then glued the coamings back together with epoxy.

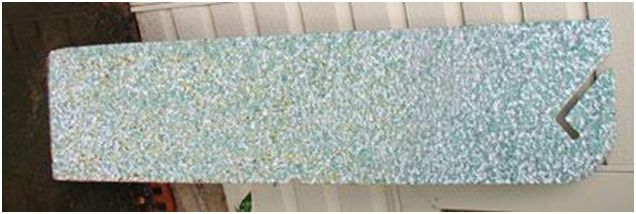
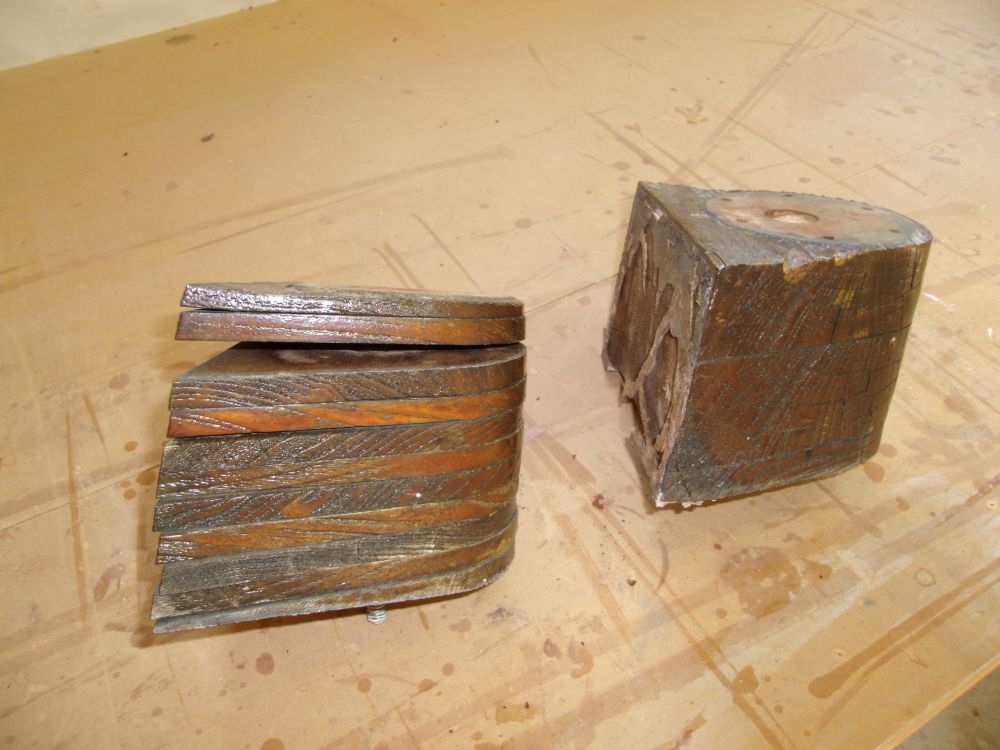
I inspected the winch blocks. One, on the right below, was comprised of three thicker, stacked blocks of wood, and glued together; it appeared original. The other was formed of many slim pieces of wood, which, if they'd ever been glued together no longer were. these blocks would probably be best to replace.

Total Time Billed on This Job Today: 7.5 hours
