110 Cookson Lane | Whitefield, ME 04353 | 207-232-7600 | tim@lackeysailing.com
Sailmaster 131 | Friday, August 16, 2013
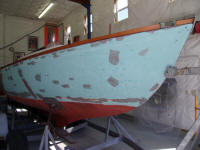
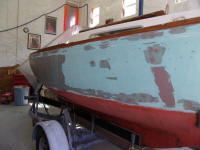
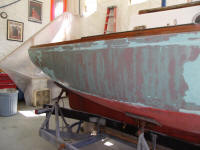
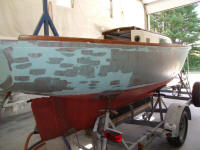
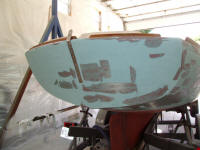
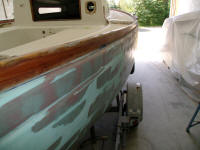
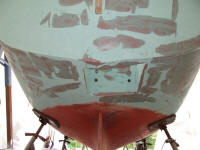
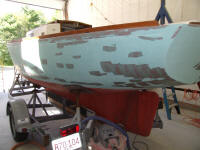
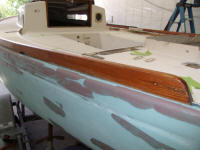
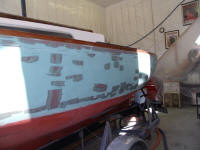
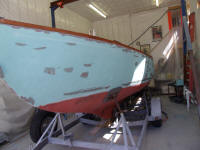
The topsides featured the usual collection of older and less-old dings, gouges, docking scars, etc., some of which had been filled during previous painting efforts, and others requiring new attention. The old gelcoat was also cracked and crazed in many areas, and a large area of the starboard quarter, where the old paint had been blistered and water-filled, contained small pockmarks in the surface.
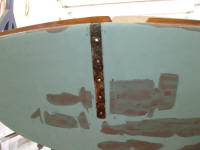
To prepare for the first round of hull filling and surfacing, I used a small disc to ream out the areas in question to provide bonding area for epoxy filler--gouges, loose old repairs, and the worst areas of stress cracking. Afterwards, I vacuumed and solvent-washed the hull, then applied a coat of epoxt fine fairing filler to begin to fill the newly-sanded voids, and also to skim coat over the pock-marked areas, and other areas as necessary.
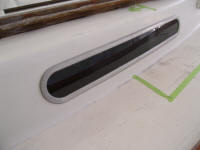
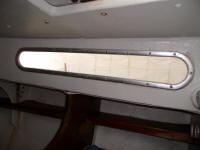
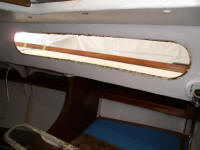
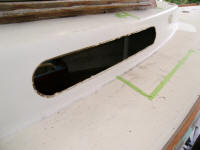
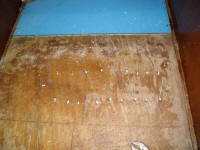
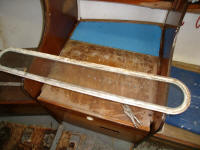
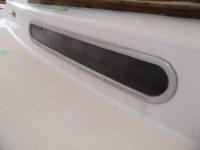
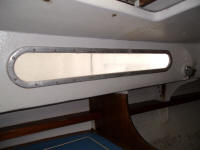
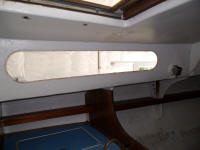
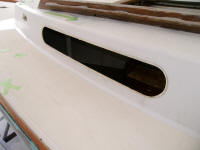
Meanwhile, I continued deck preparations leading up to the repair and refinish work ahead. I removed the original aluminum-framed plastic deadlights from the cabin, reassembling the frames and lenses once removed to keep the screws where they belonged even though the plan was to install a set of bronze frames from an earlier Sailmaster.
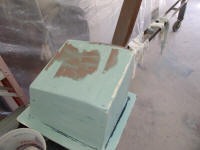
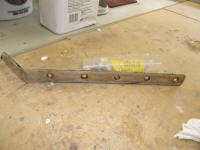
The hinged mast step/tabernacle needed cleaning up and would be in the way of some of the work ahead, so I removed it.
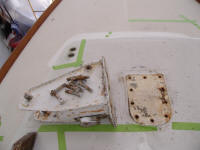
Finally, since it was staring me in the face and appeared easily removable, I removed the backstay chainplate to provide better access for painting and varnish work around its location, and to renew sealant and fasteners.
Total Time Billed on This Job Today: 4 hours
