110 Cookson Lane | Whitefield, ME 04353 | 207-232-7600 | tim@lackeysailing.com
Ms Lynne G | Thursday, September 11, 2014
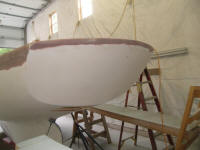
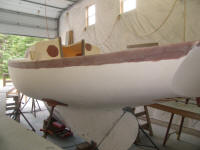
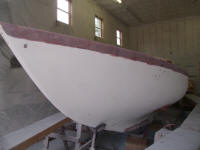
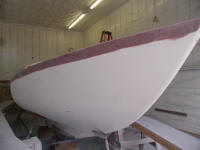
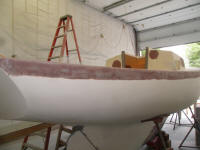
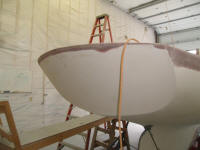
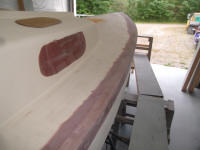
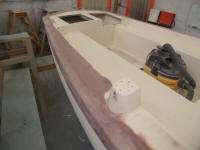
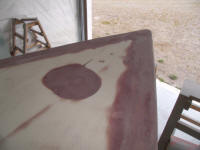
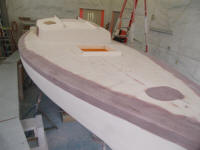
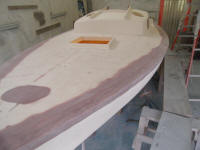
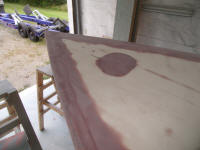
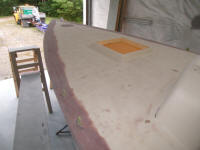
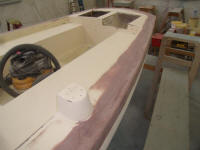
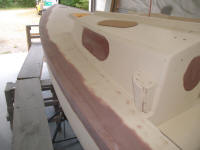
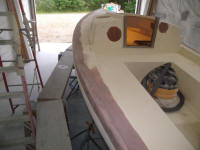
Using finer paper and a finishing sander, I completed another round of sanding on the gunwales, working through two grits up to 120. Along the way, I sanded the nonskid areas that I'd skim coated earlier. This process brought these areas close to completion, with only fine filling and minor fairing remaining, other than the taffrail, which would require a bit more work as it was a day behind the other areas.
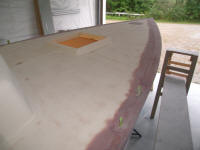
With the major work on the hull-deck joint mostly complete, and just minor work remaining, it was a good time to turn to one remaining job on deck: the cockpit core. Earlier, I'd noted how the deck around the rudderpost was soft and cracked, indicative of damaged core within.
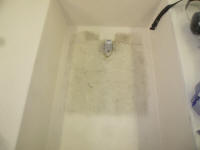
With a saw and small vibrating cutting tool, I cut around the perimeter of the damaged area, cutting a bit outside what appeared to be the boundaries of the damaged core as much as possible to ensure that I'd have good core at the edges of the cutout. Then, I removed the top skin, revealing the core beneath. As anticipated, the coring was badly rotted in the center portions of the cutout, but became dry and sound by the edges, except for a bit along the starboard side. With the area exposed, I dug out the core to the edges of the cutout, and beneath the edge along the starboard side and around the rudder post as needed. The core to port, and forward and aft of the cutout, was dry and sound.
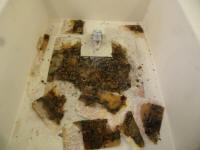
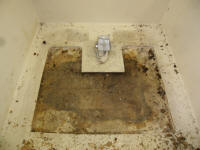
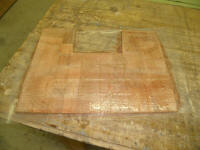
Next, I ground away the gelcoat in a tapered profile all around the cutout, to allow me to tab in the new top skin material properly, and thoroughly sanded the exposed side of the bottom deck skin to remove old core and scrim, and prepare the surface for bonding. Then I cut new 3/8" balsa core to fit.
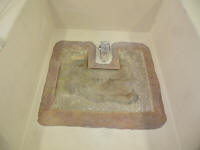
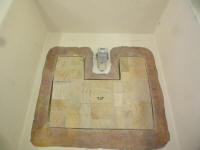
After final preparations and cleanup, I prepared the new core for installation by wetting out the scrim (down) side and edges, and I wet out the inside of the deck opening with unthickened resin before applying thickened epoxy adhesive with a notched trowel. I installed the core and weighted it down to bond it well with the substrate.
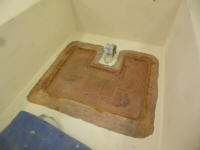
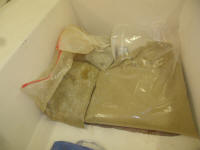
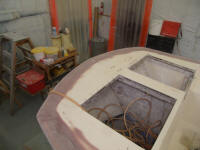
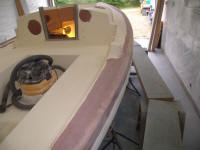
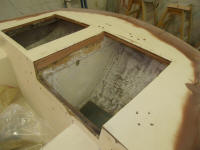
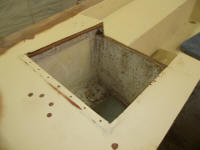
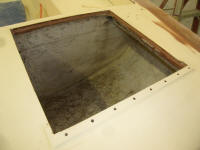
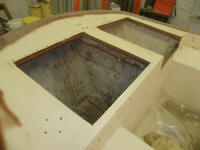
The original builders had left exposed core in the cutouts around the lazarette and engine well hatches, and inevitably there were signs of damage and water intrusion in both openings (along with the lazarette hatch itself, which I detailed earlier). These photos, taken a few days earlier, show the exposed edges and water-stained coring, particularly on the starboard side lazarette hatch.
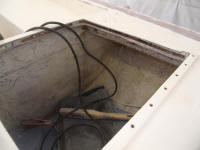
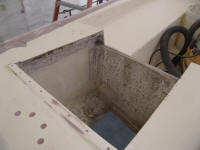
Probing with a reaming tool, I found--happily--that despite the ominous appearance of the core at the edges, there was sound material not far behind, so this obviated any need to perform a significant recore of the area. I reamed out the core from around the openings as needed, digging in till I found sound material in all areas, and thoroughly cleaned out the remaining voids.
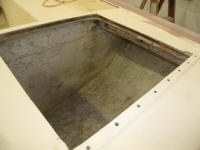
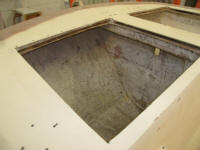
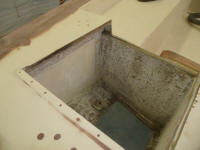
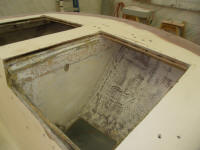
Afterwards, I filled the voids with an epoxy mixture thickened with structural fillers, which replaced the missing core and also would seal up the openings against future water issues.
Total Time Billed on This Job Today: 8
Hours
