
110 Cookson Lane | Whitefield, ME 04353 | 207-232-7600 | tim@lackeysailing.com
Ms Lynne G | Wednesday, September 10, 2014
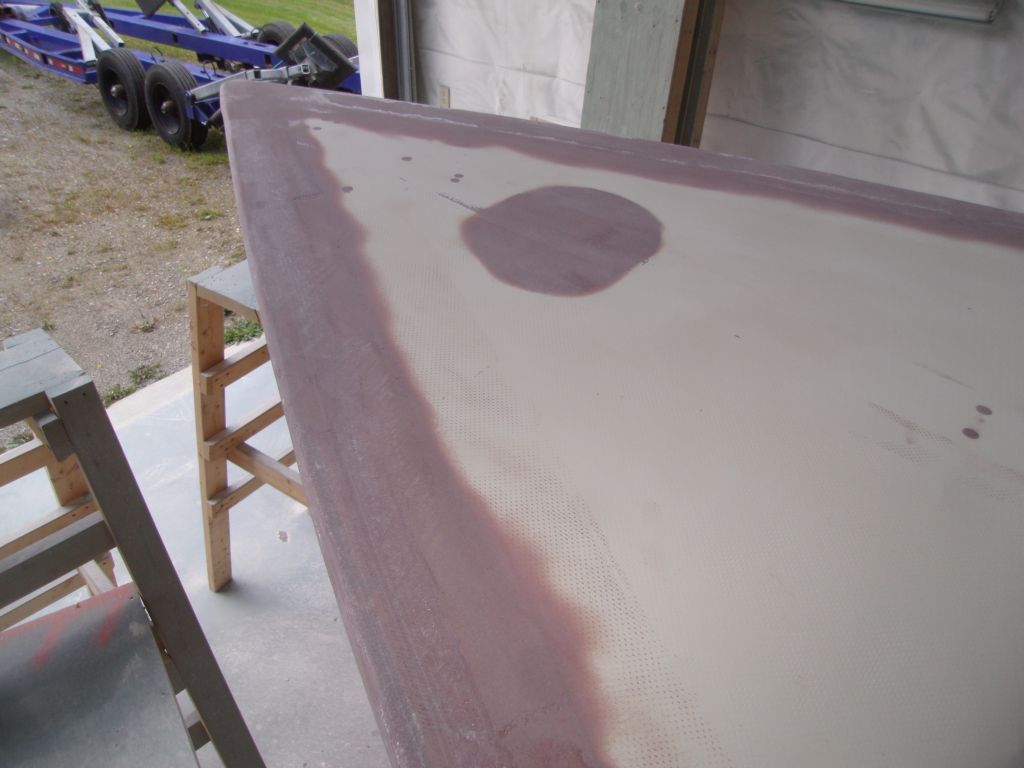
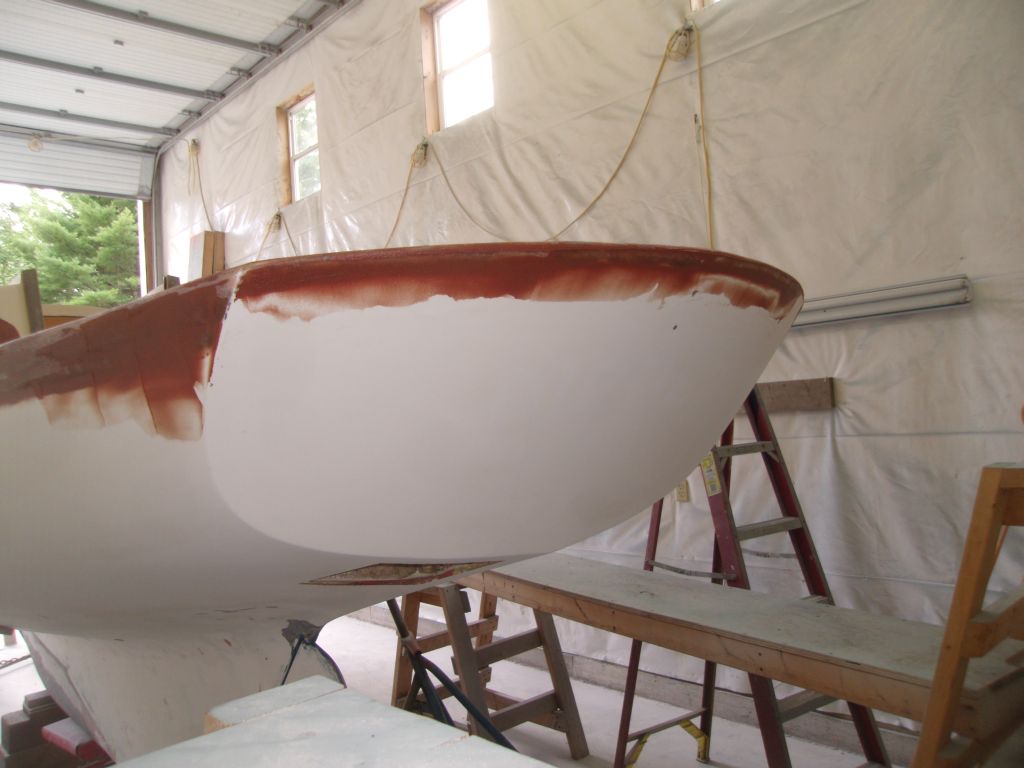
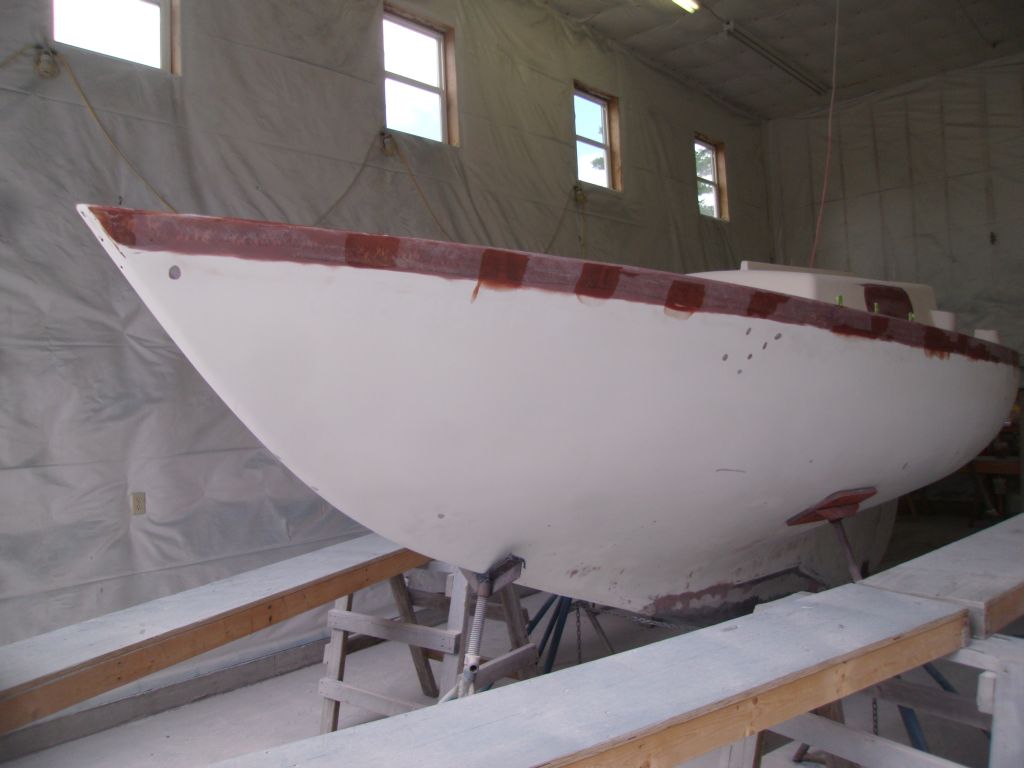
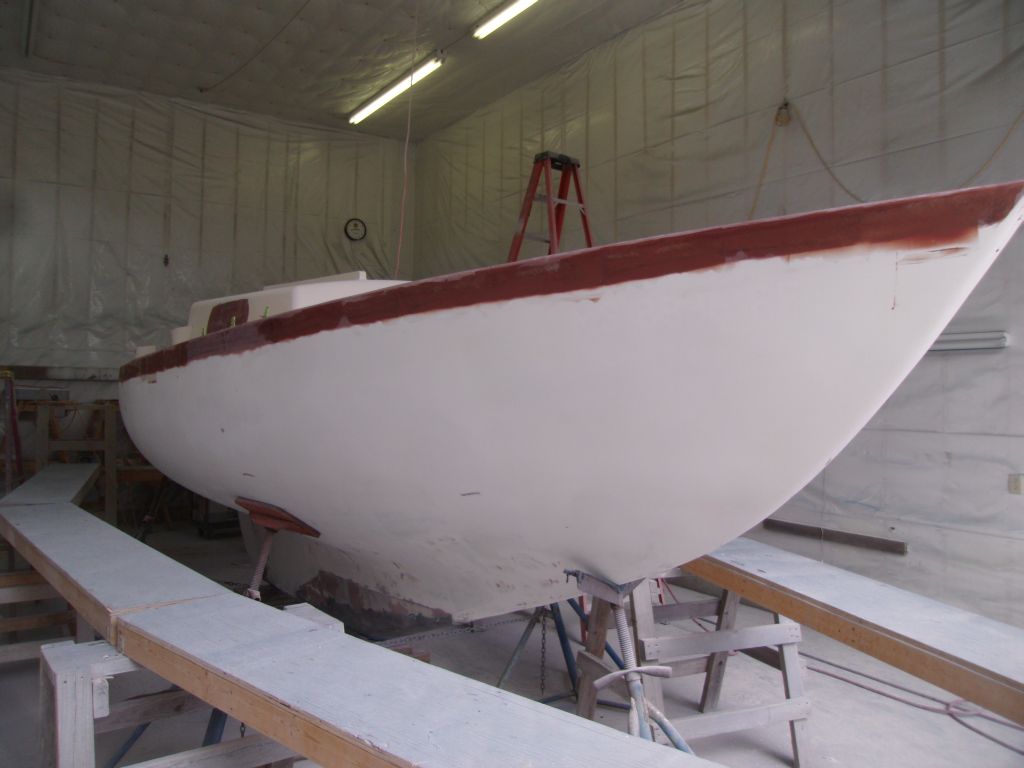
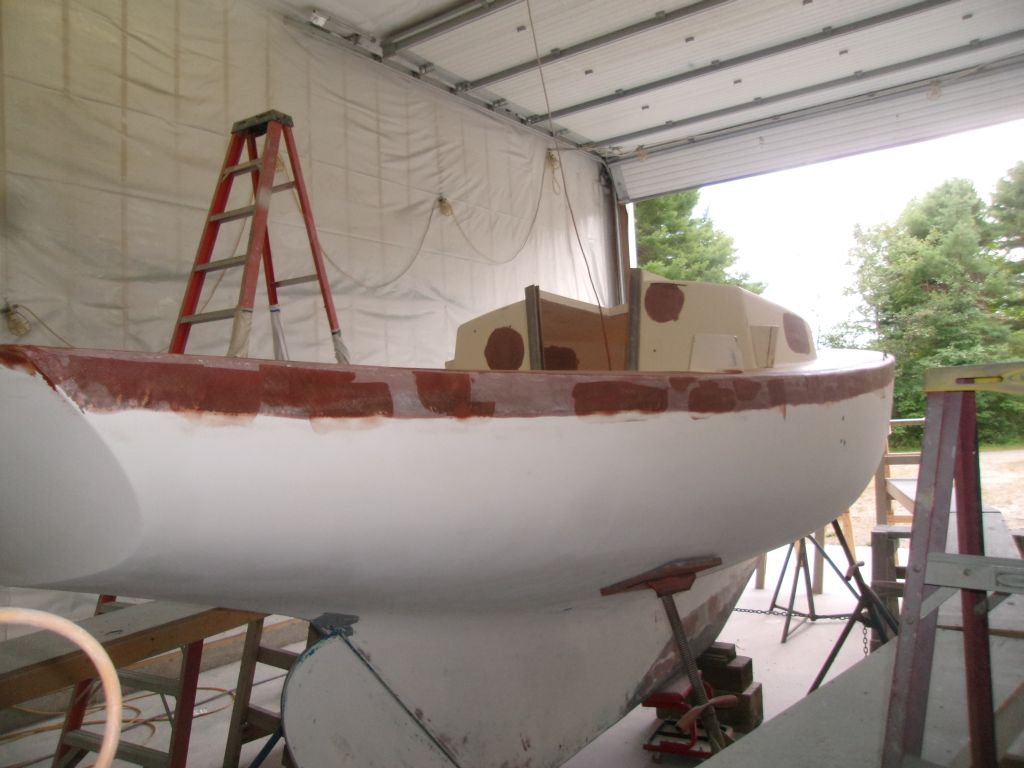
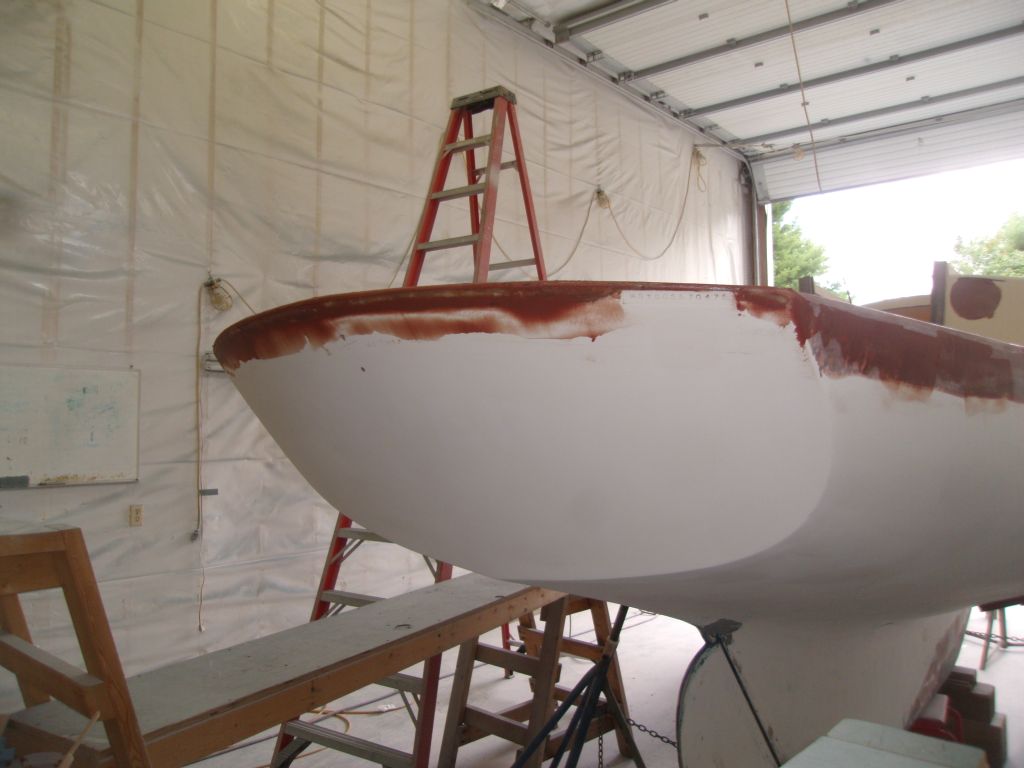
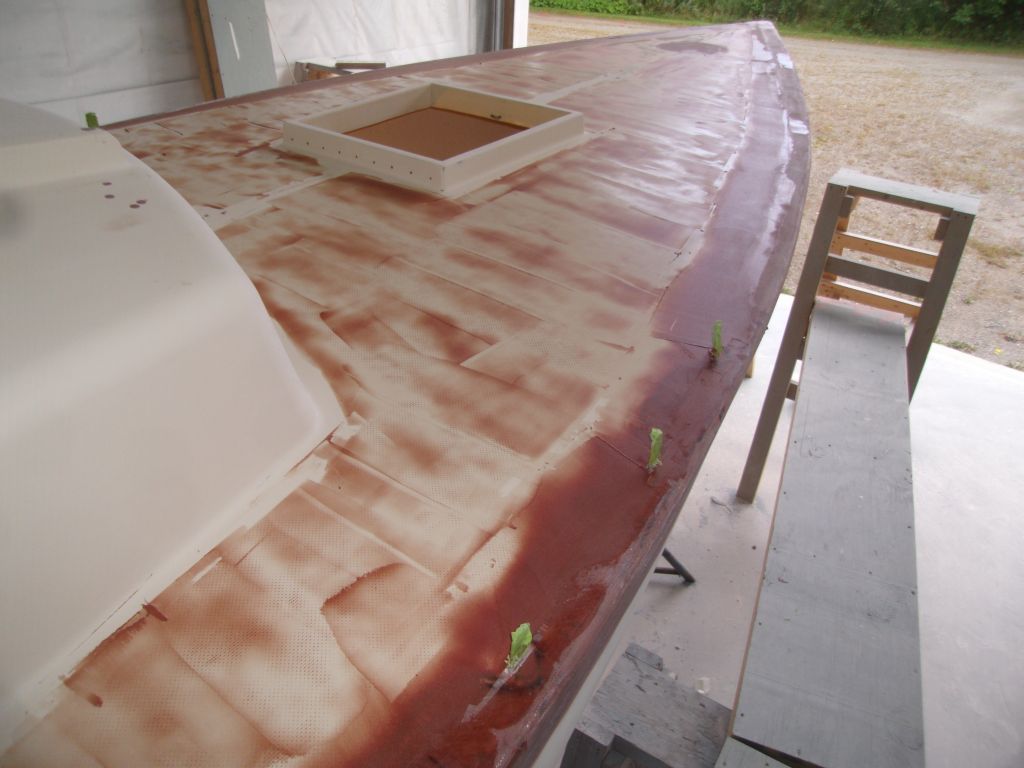
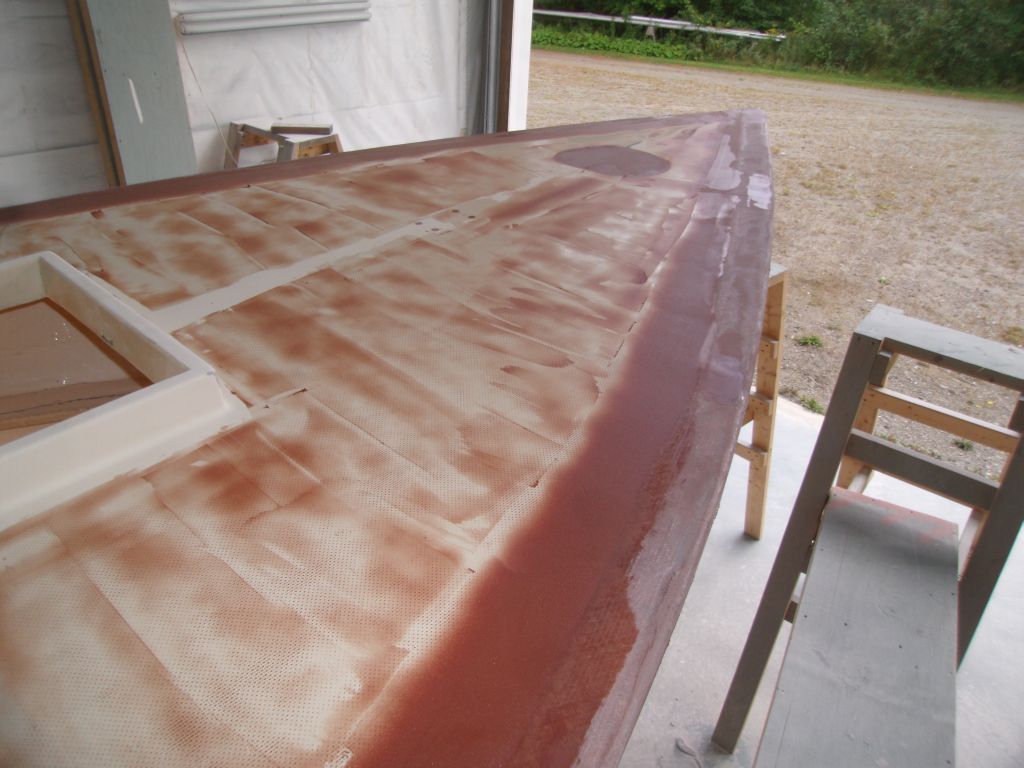
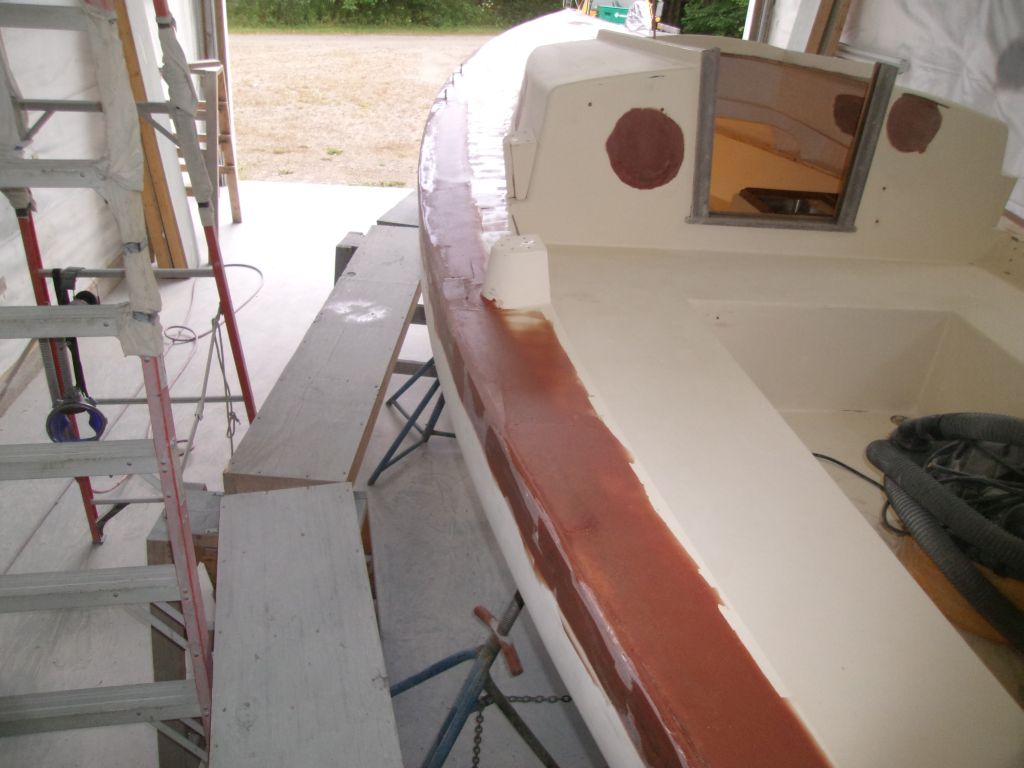
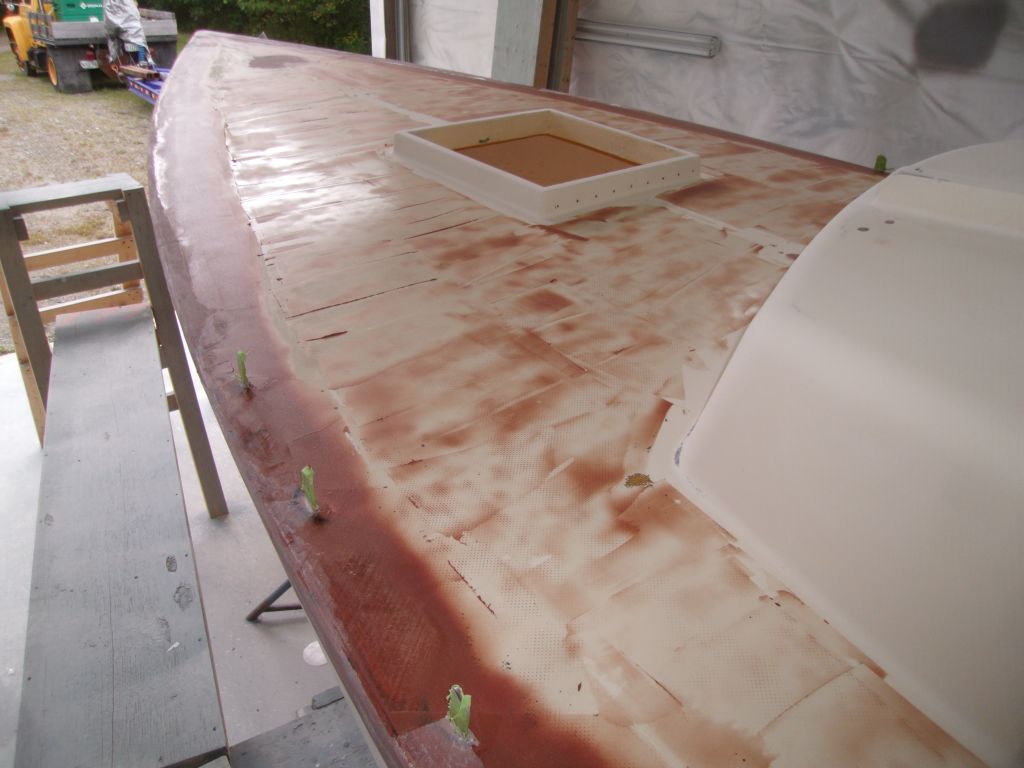
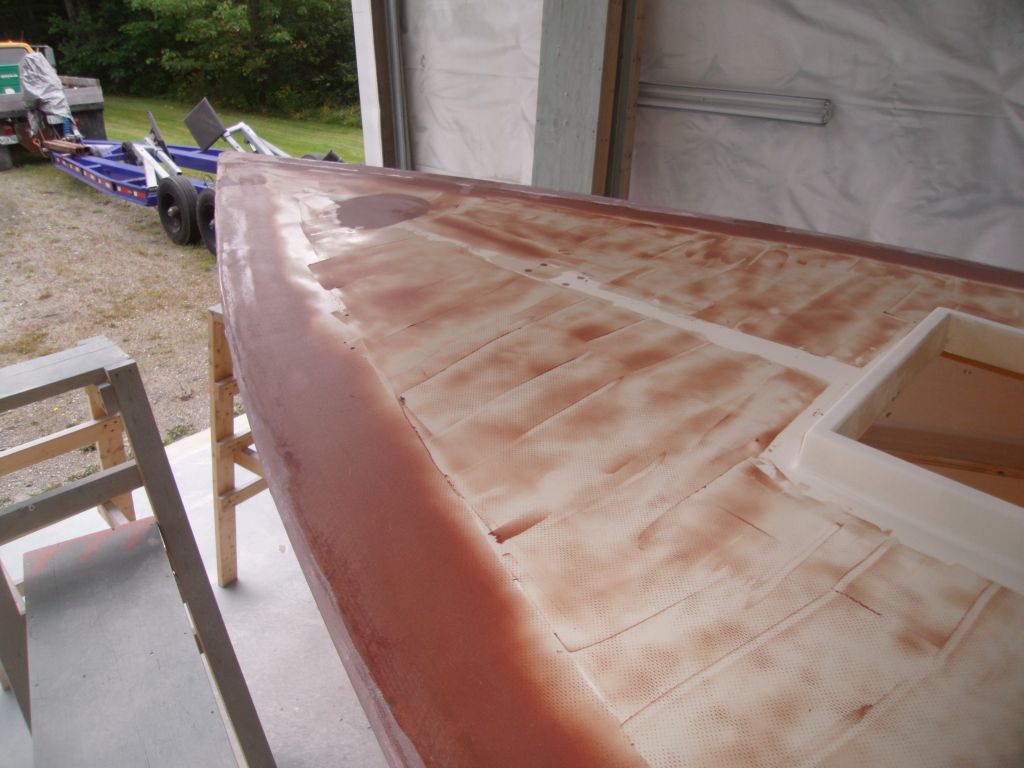
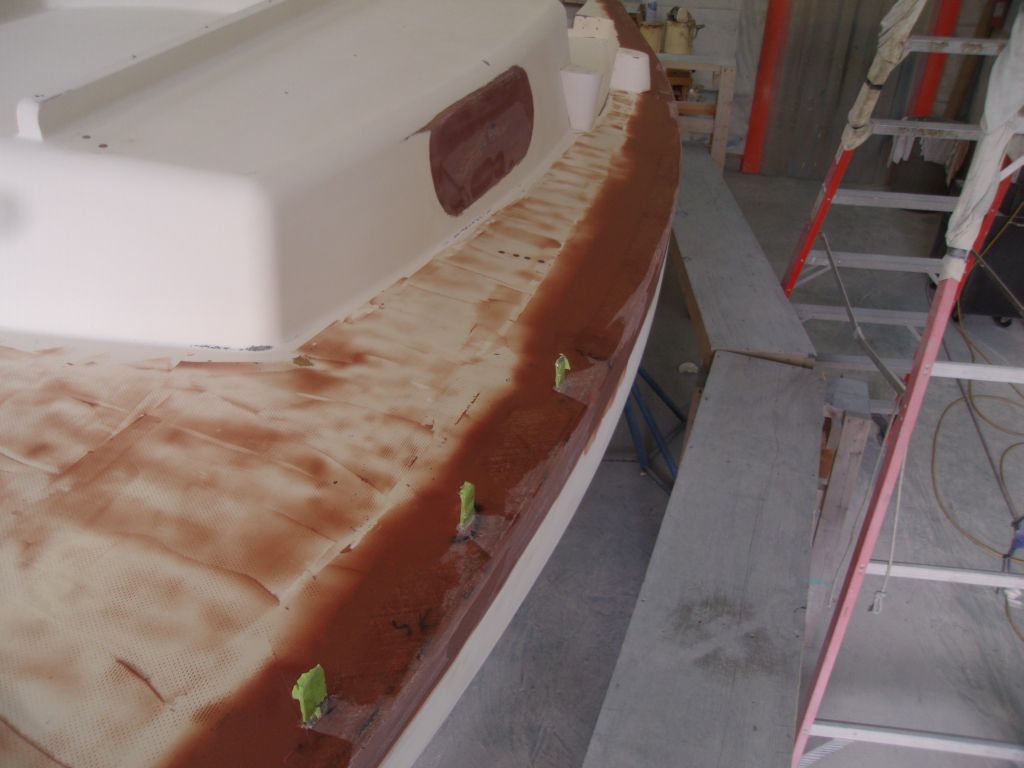
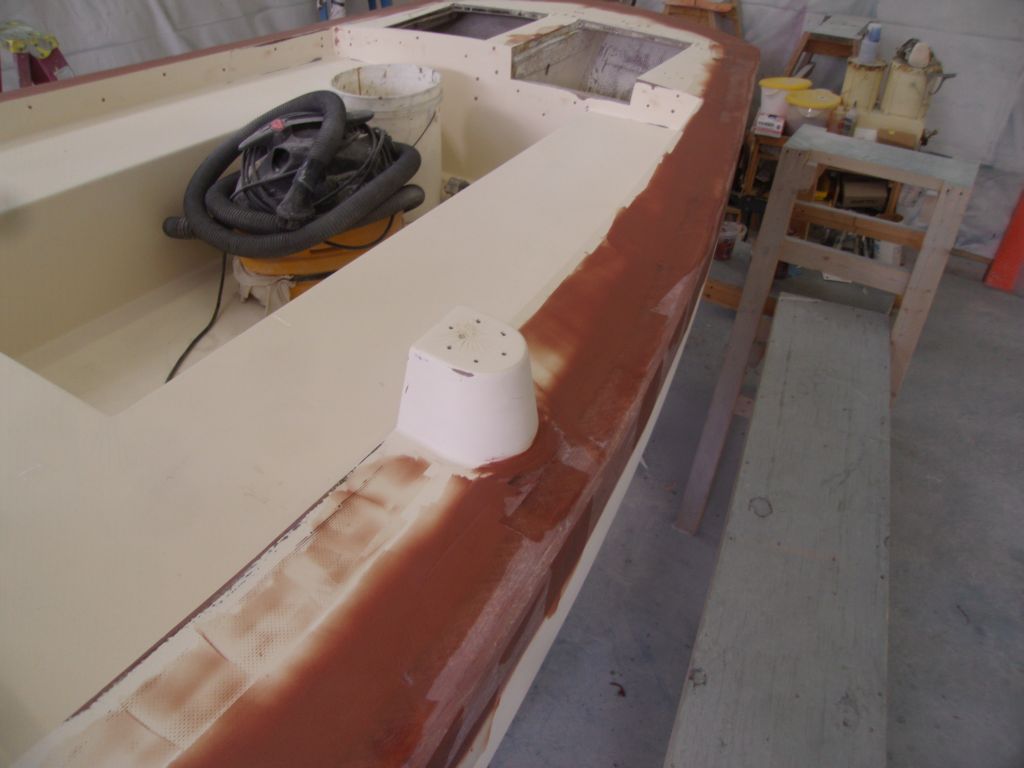
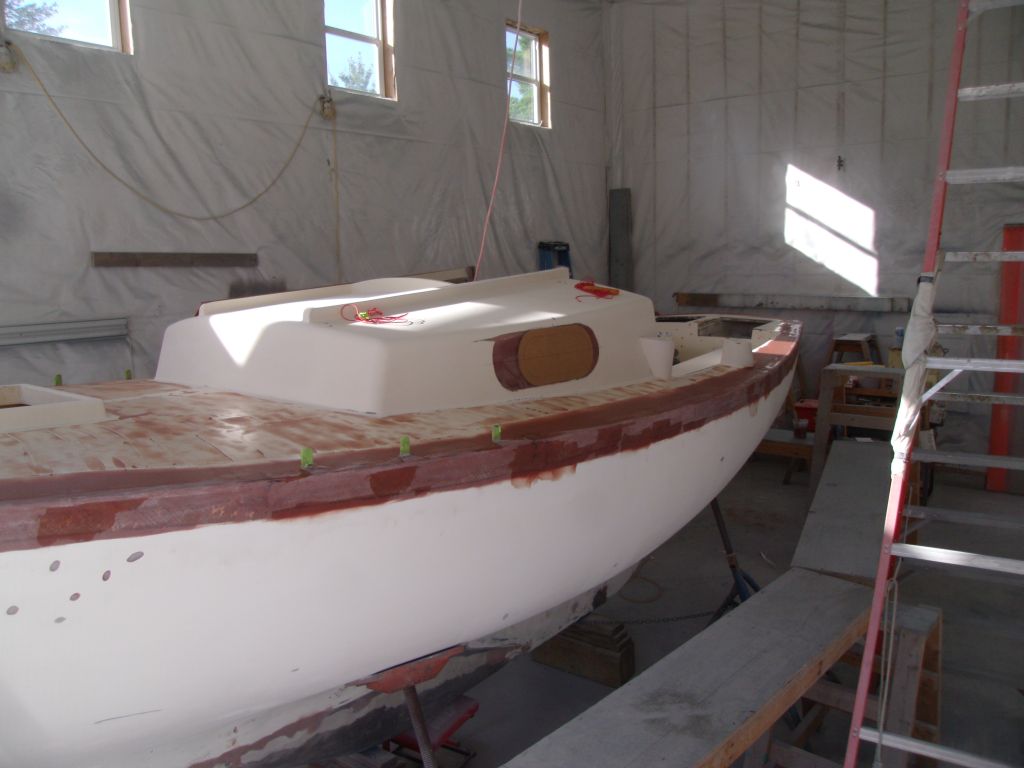
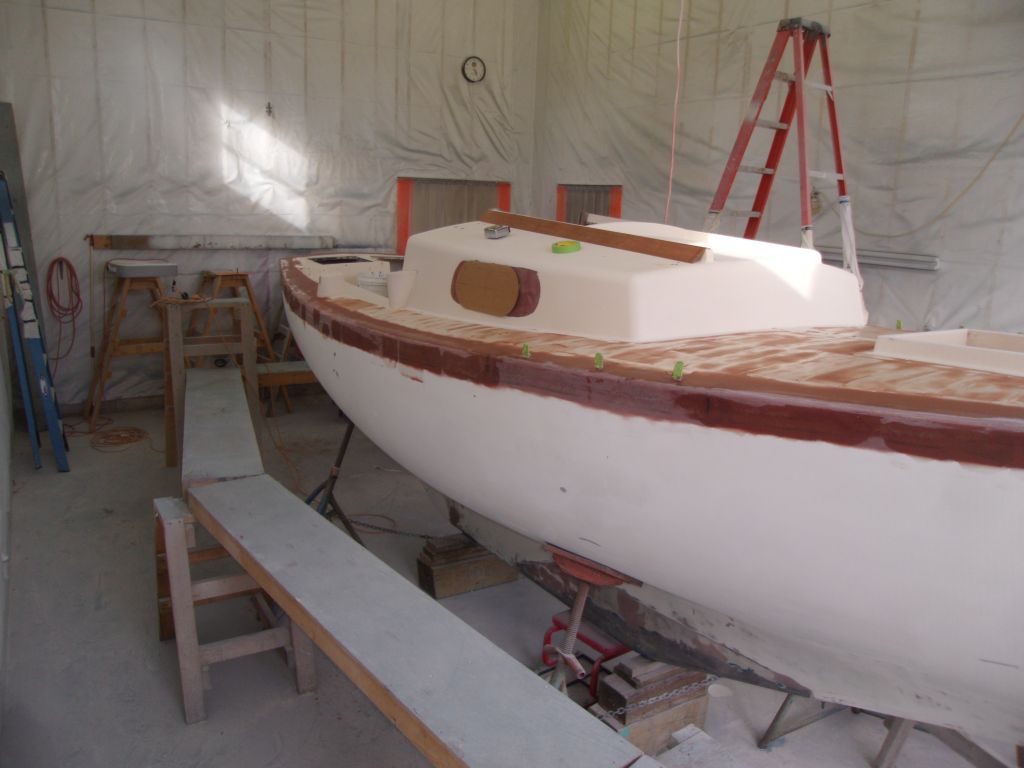
Another round of sanding was my day's first order of business, this time concentrating on the gunwales and their first application of fairing filler. There were various minor low areas along the gunwales, but overall the end result after only a single round of fairing was pleasing.

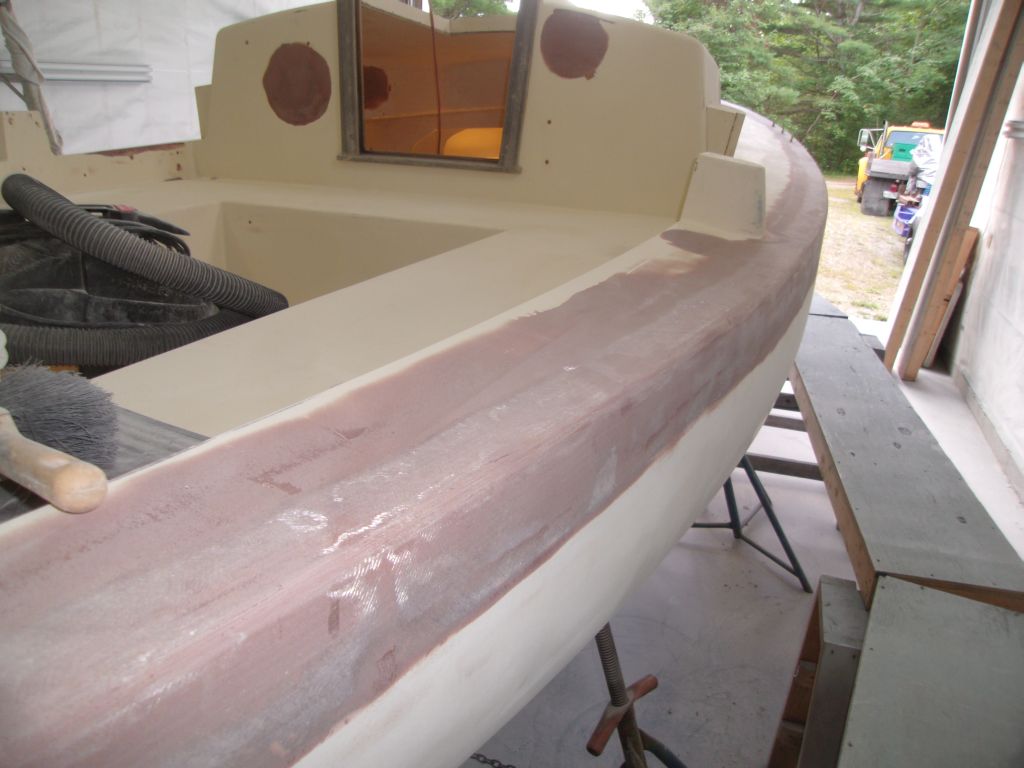


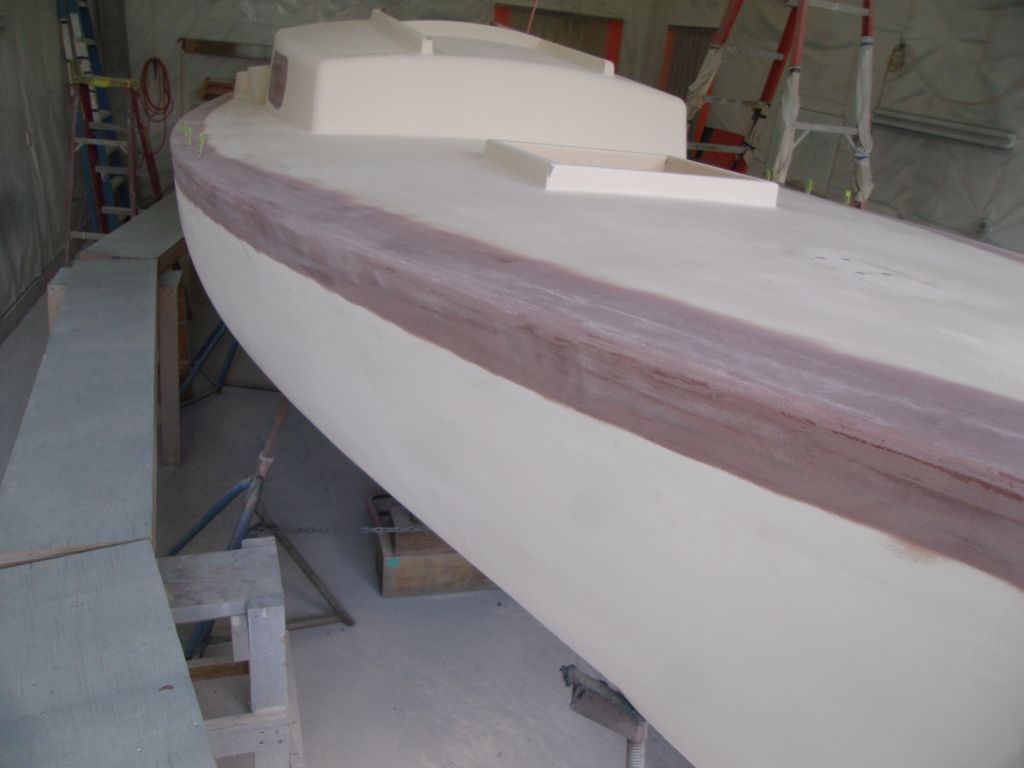
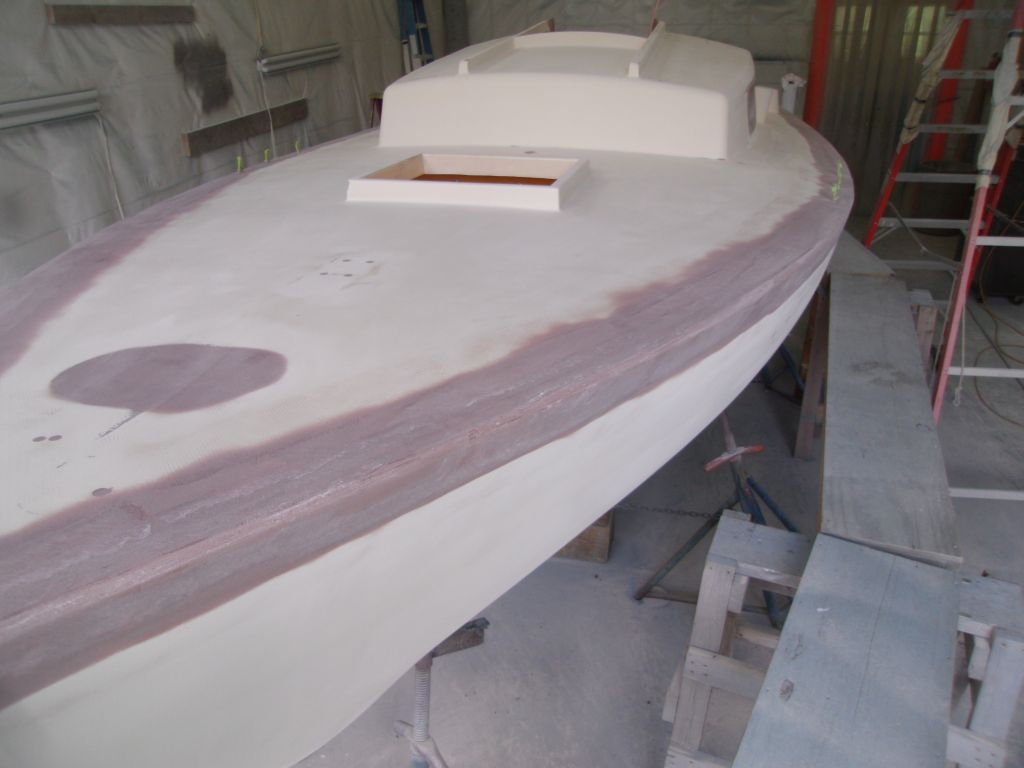


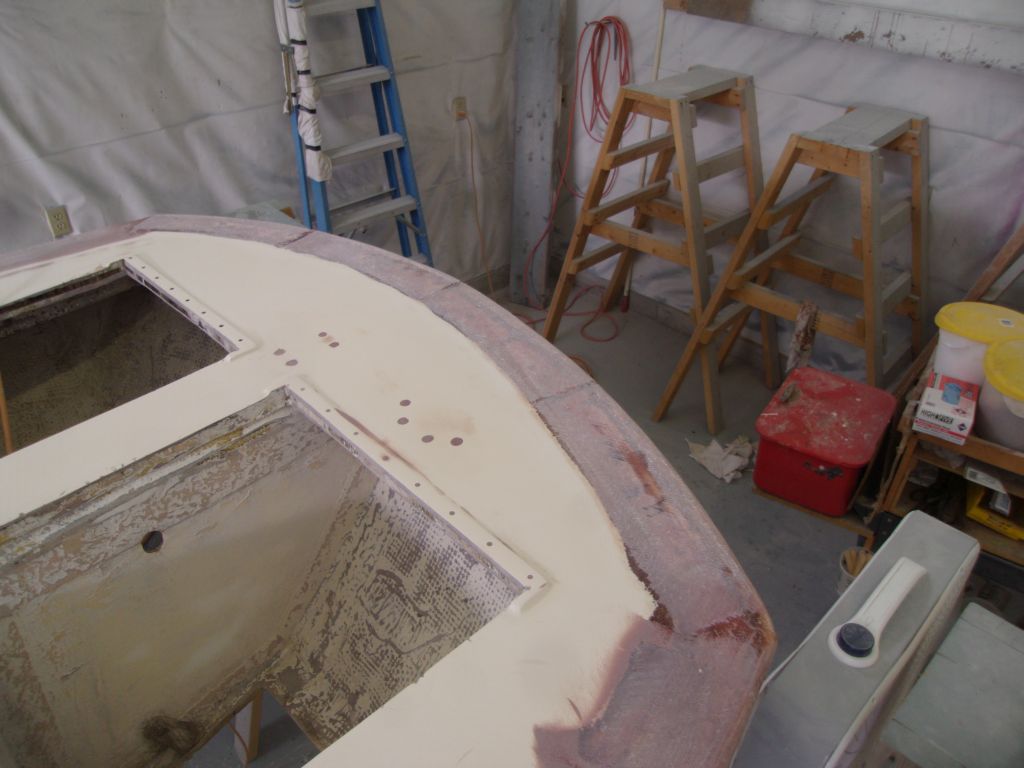
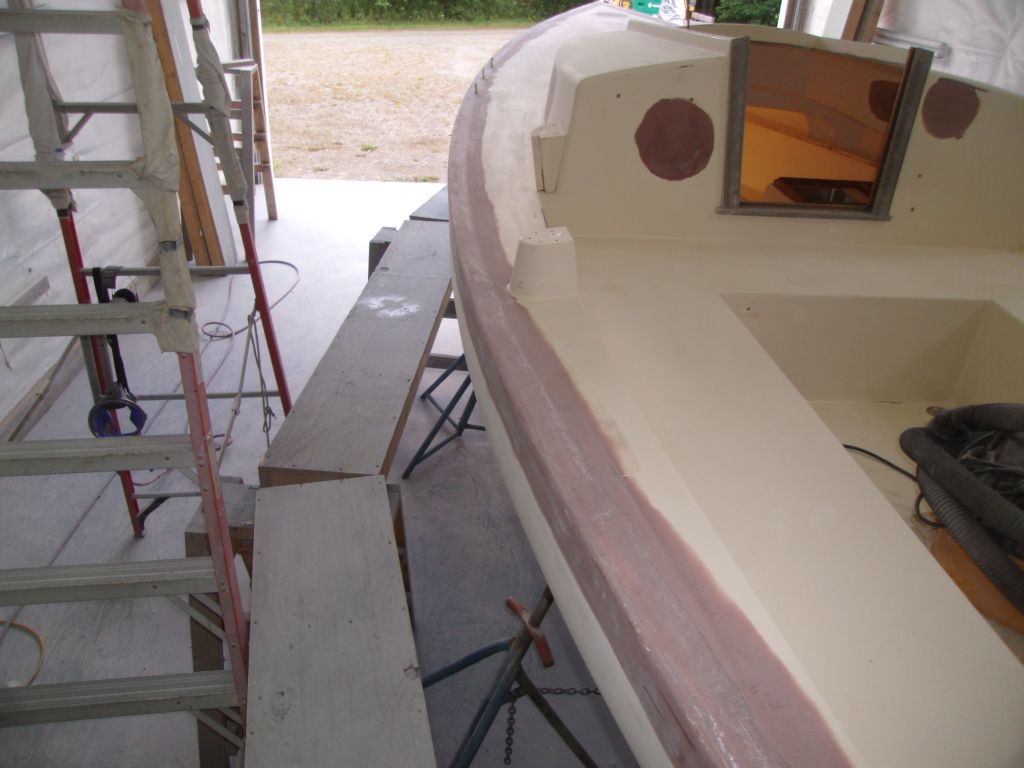

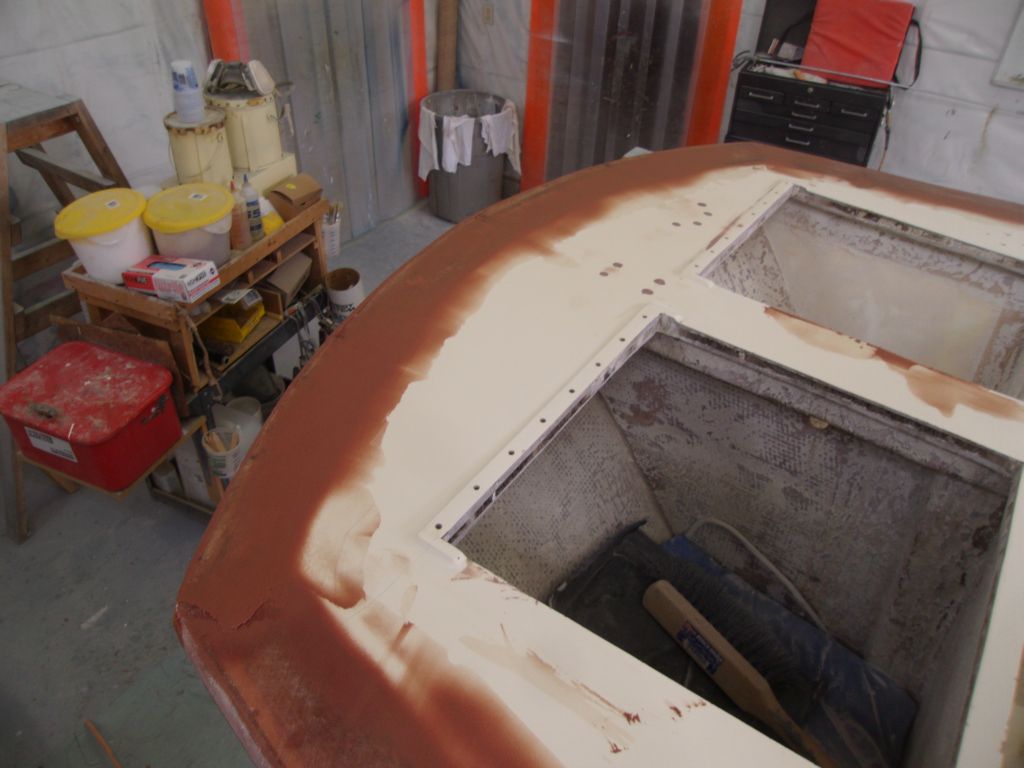
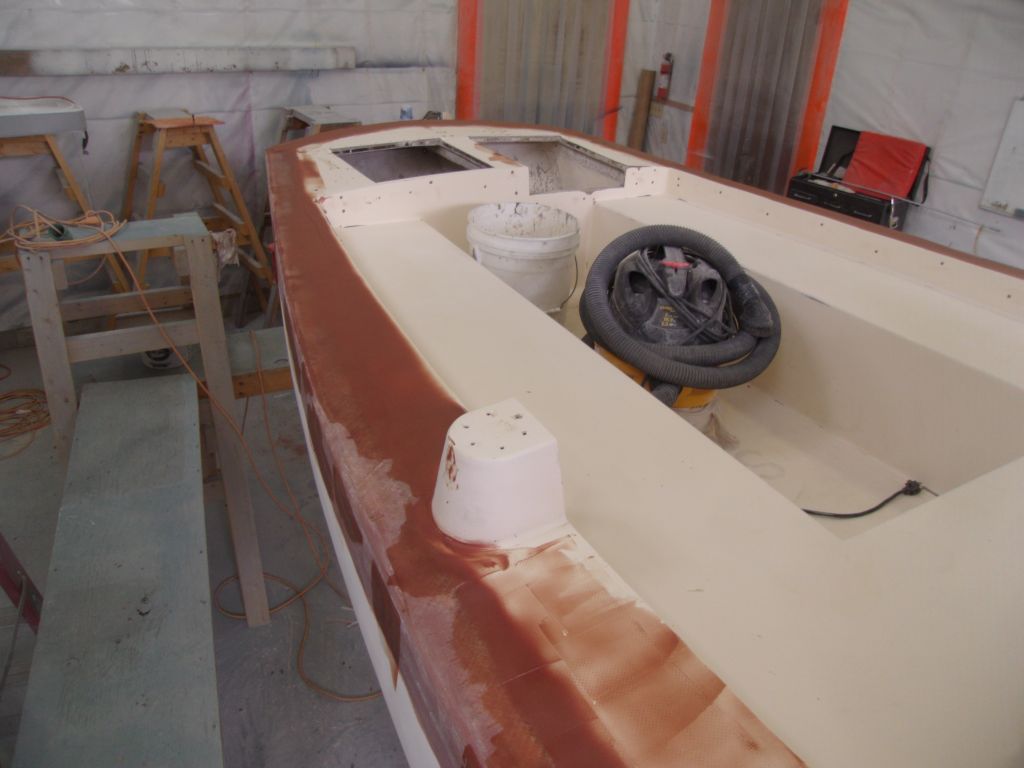
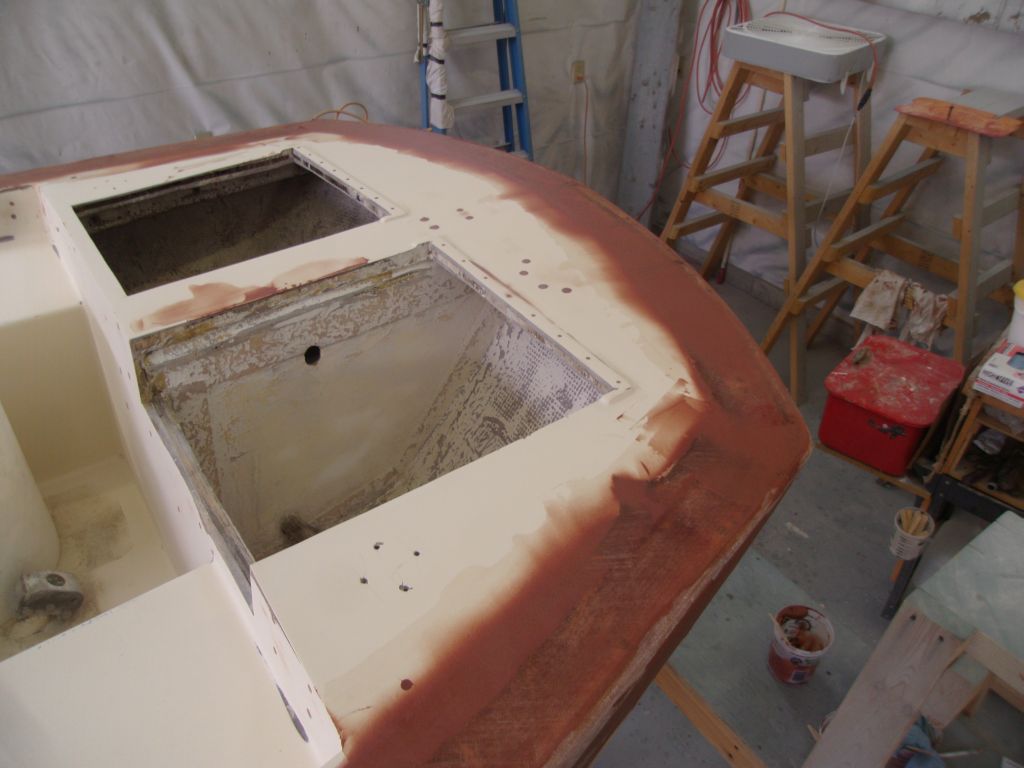
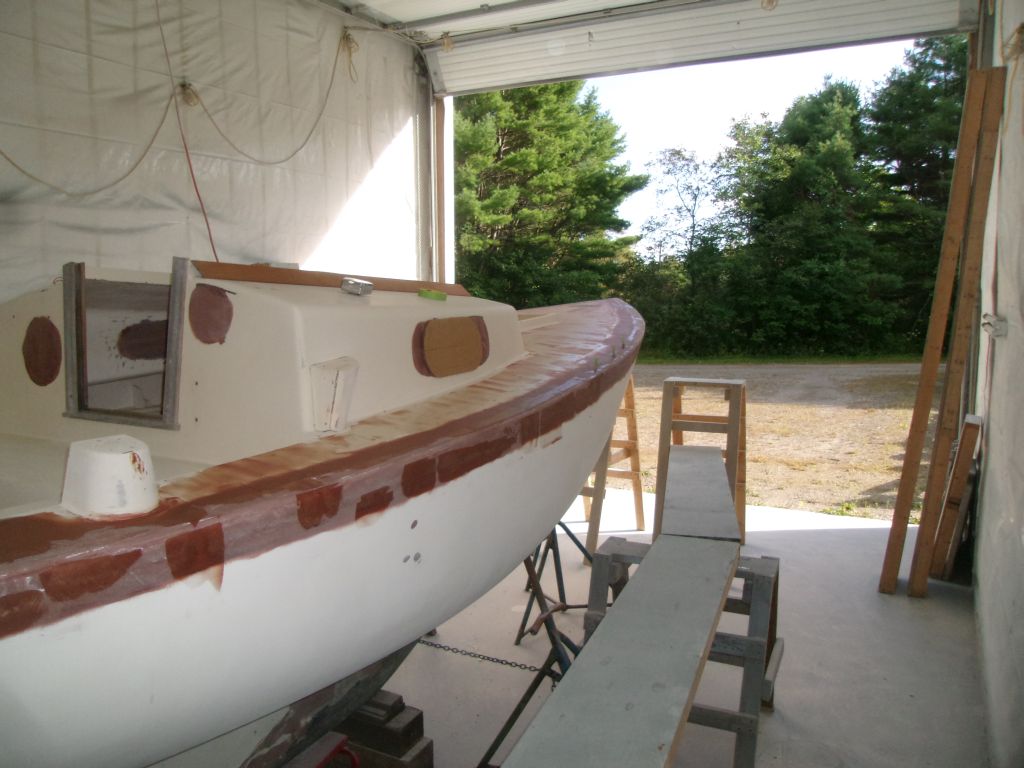
Meanwhile, I lightly sanded--with finer paper and finishing tools--the other areas inside and out where I'd applied incremental amounts of fairing compound as well. The inside surfaces of the patches over the port openings and instrument holes required sanding only to the point that the texture began to approximate that of the surrounding semi-finished gelcoated surfaces, rather than fully smooth and fair.
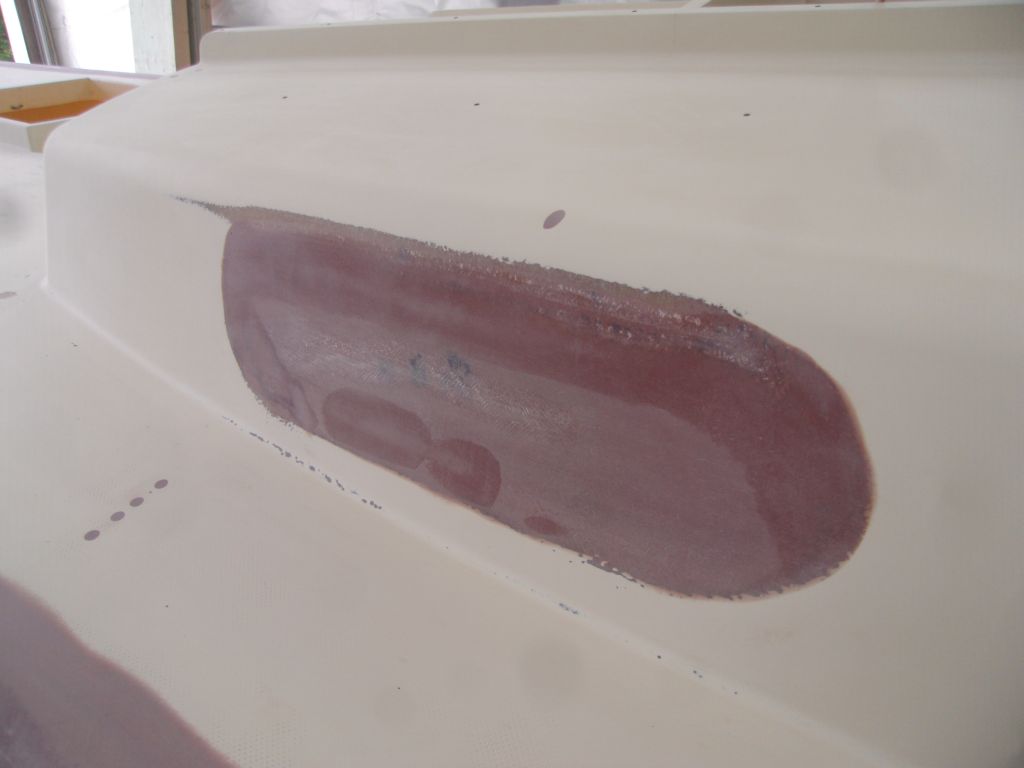

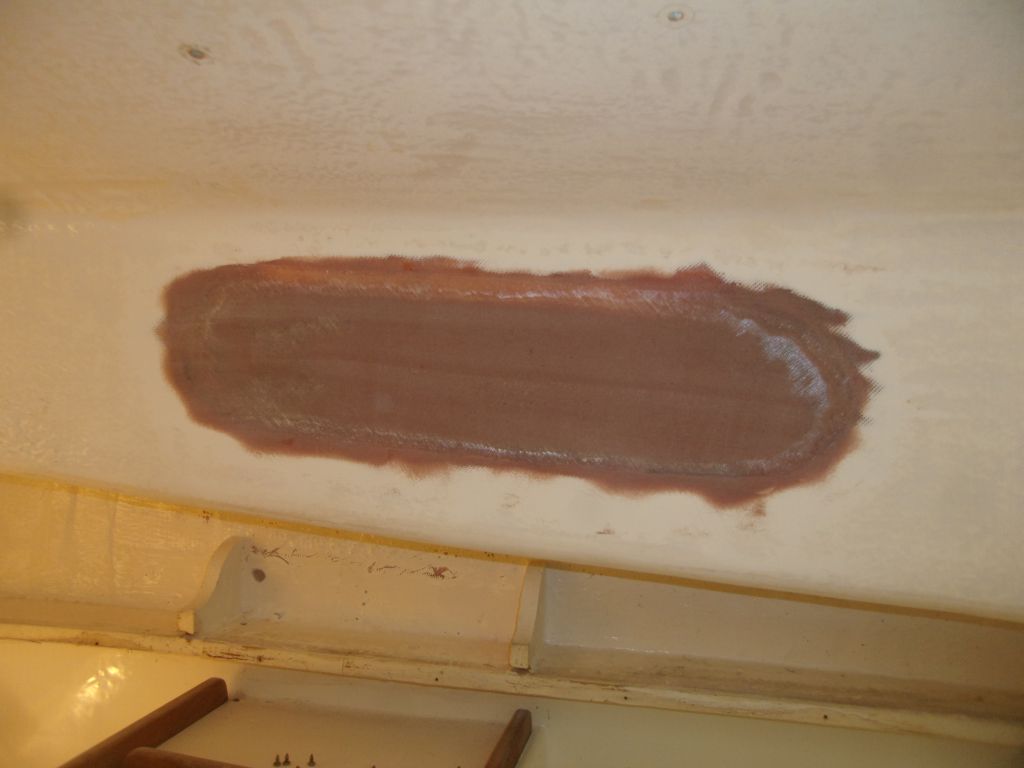
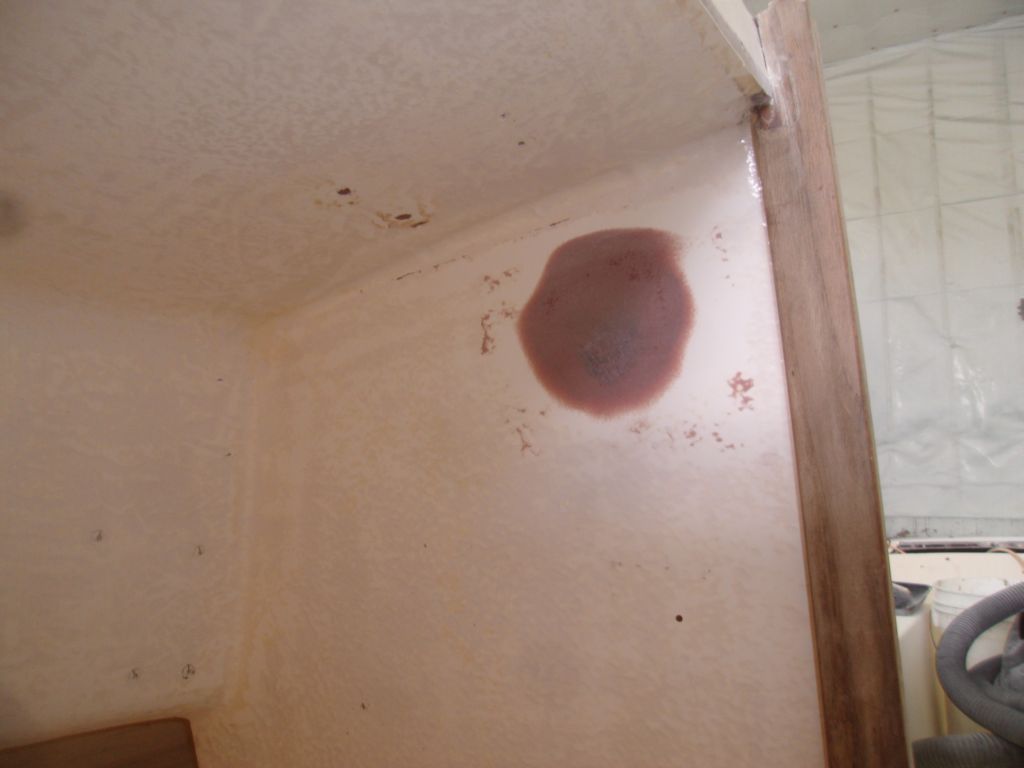
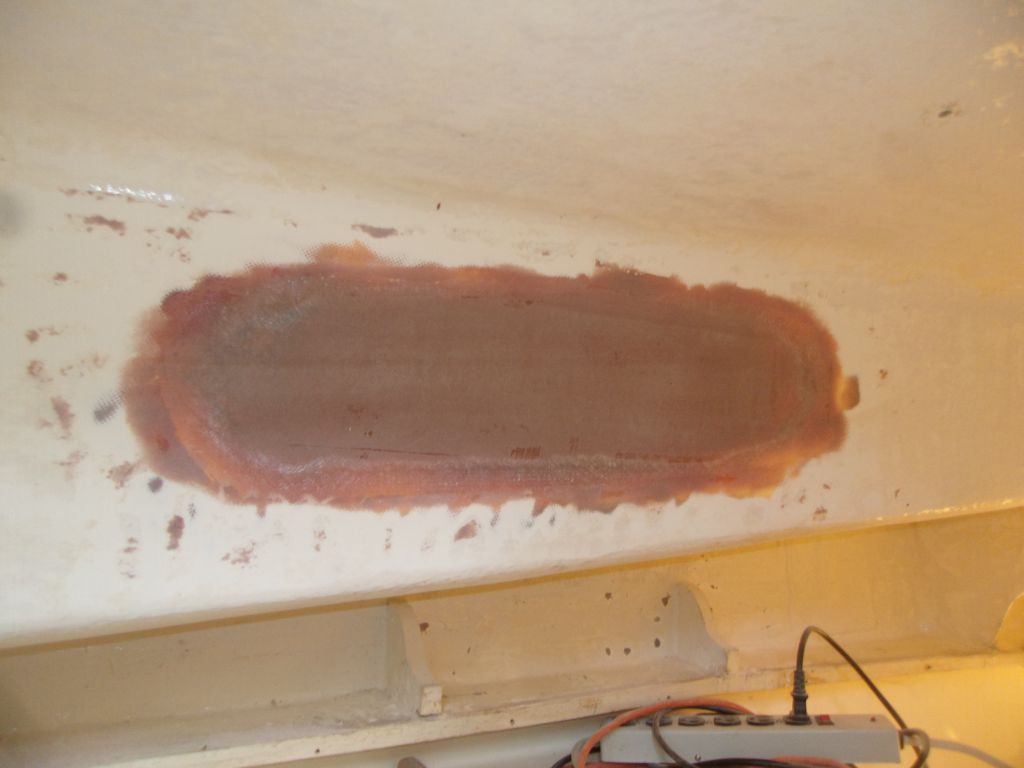

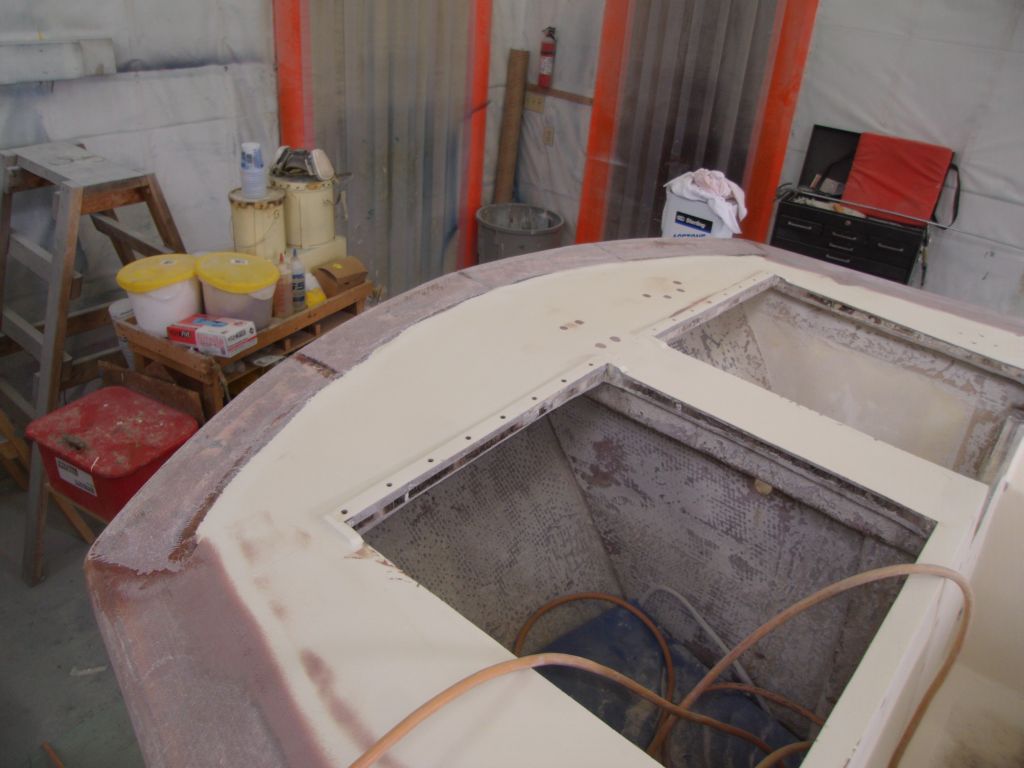
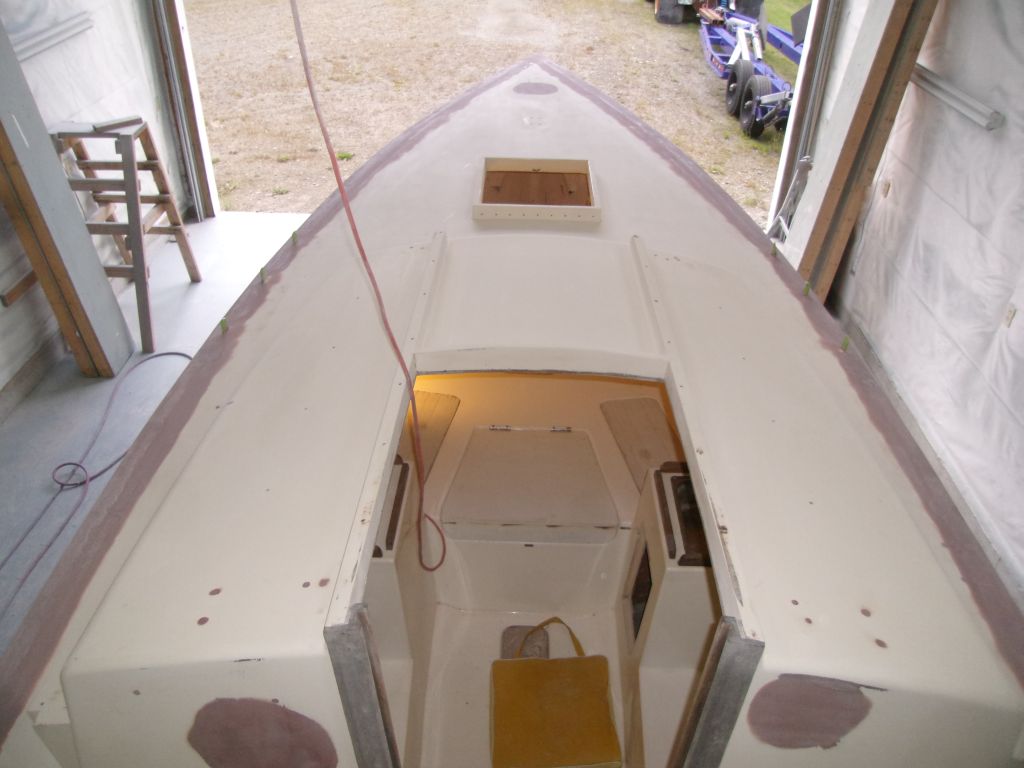
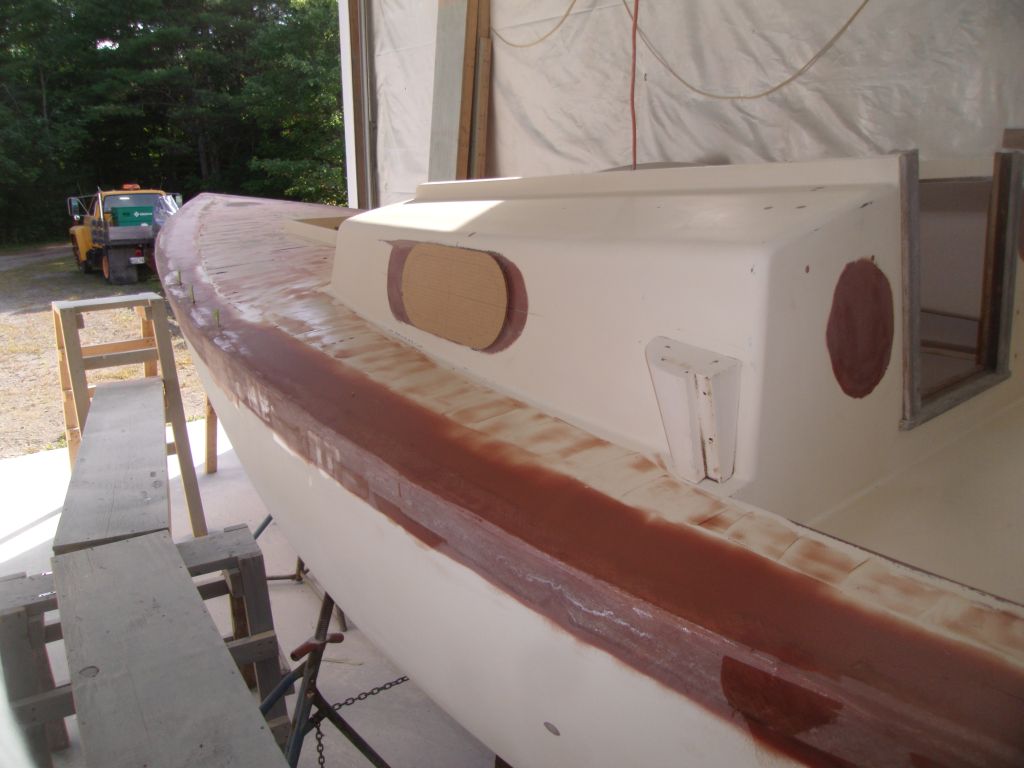
After thoroughly cleaning the deck and hull areas, I applied more fairing filler as needed, concentrating on the known low areas and using a wider trowel as needed (mainly on deck) to feather the new work smoothly into the adjacent areas. At the same time, I troweled a skim coat of fairing filler over the deck nonskid areas, to help fill the remaining areas of molded nonskid that I'd not sanded completely smooth.


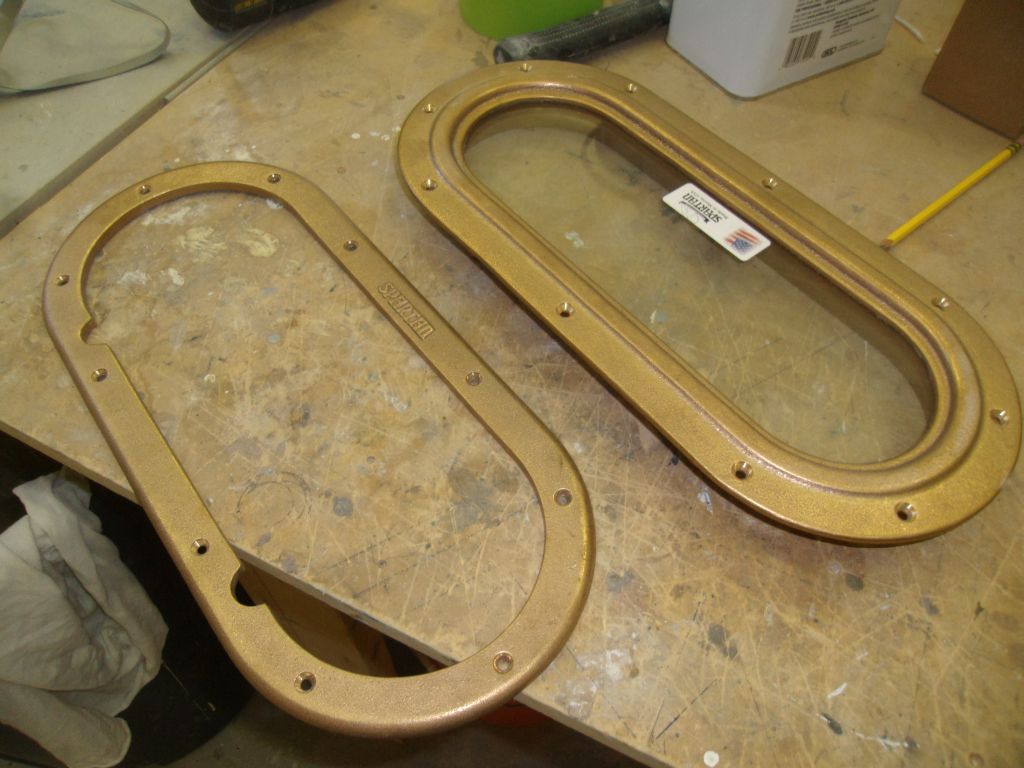
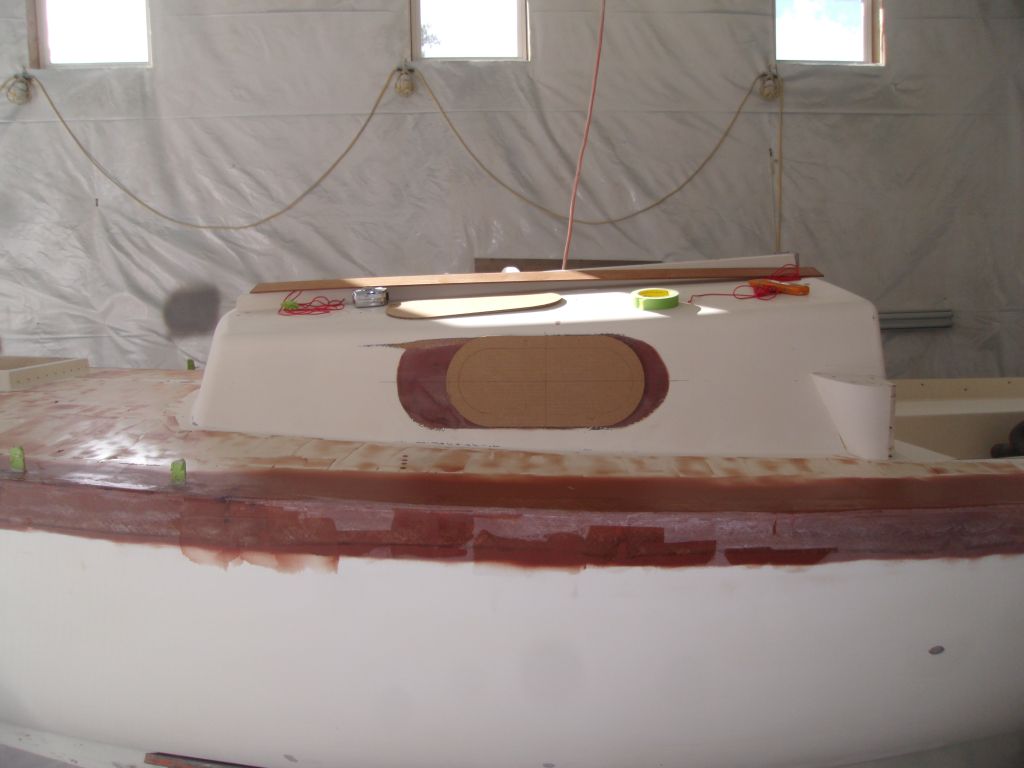
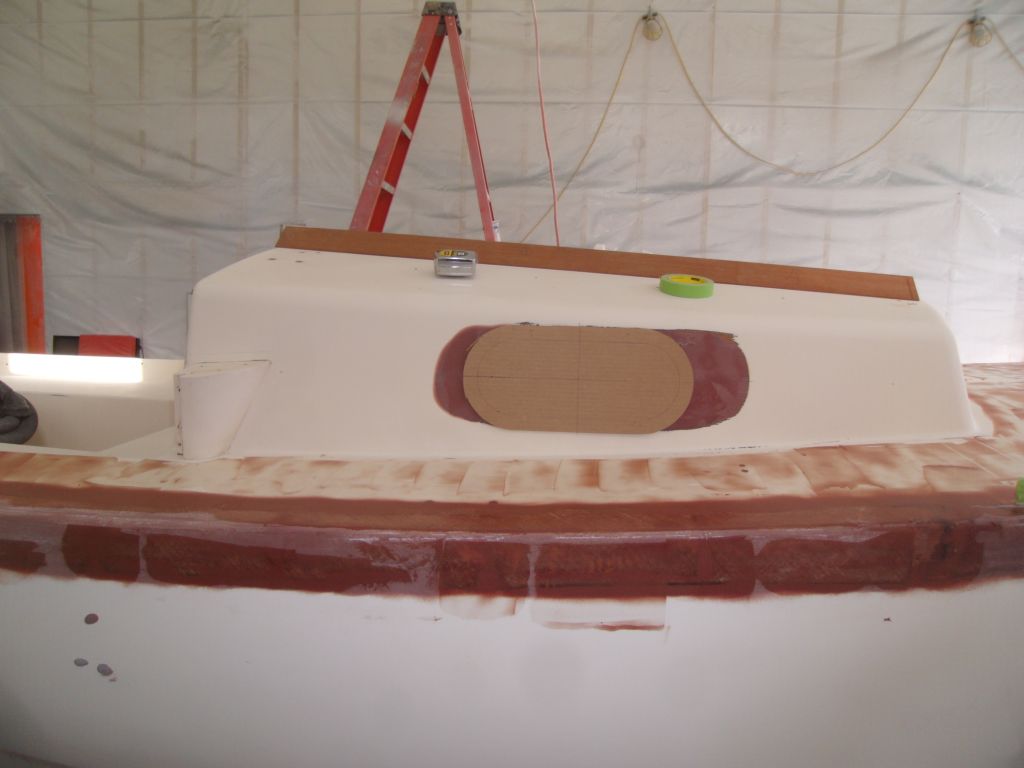
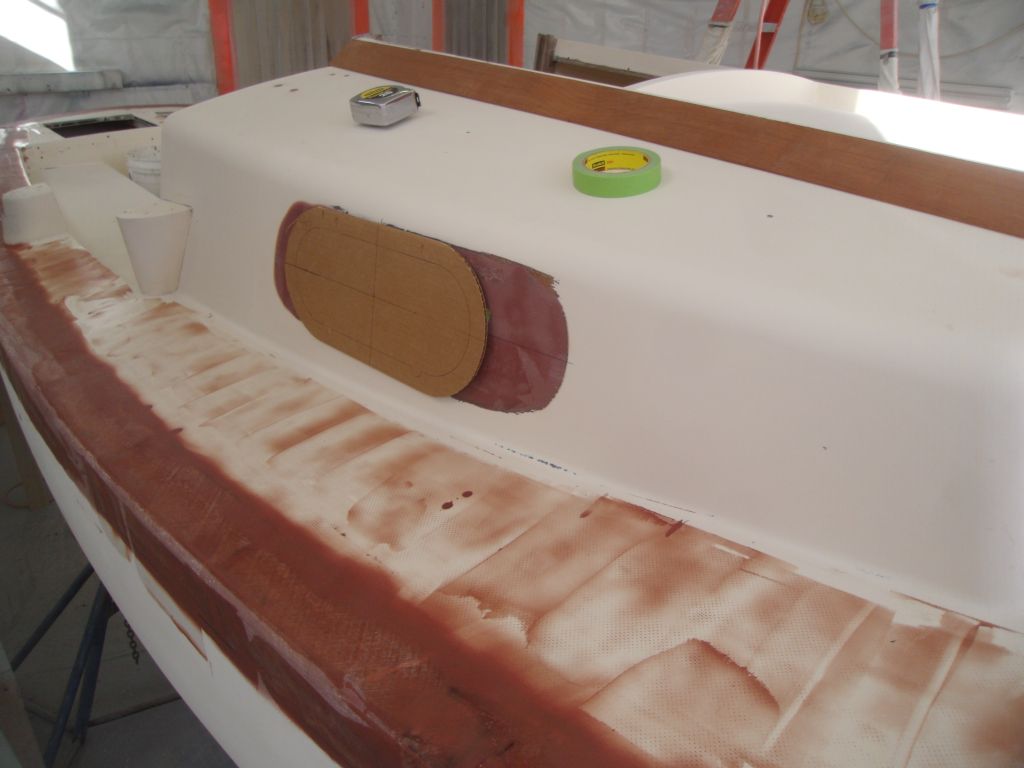
The owners selected solid bronze fixed ports from Spartan Marine to replace the original plastic versions. I chose to fill and patch the old openings entirely to: 1. make the patching and fairing process easier and more effective and 2. to allow leeway in the placement of the new ports without any obligation to the original openings. That said, the confines of the space and logical layout requirements of the small cabin trunk would more or less dictate positioning the new ports in roughly the same position.

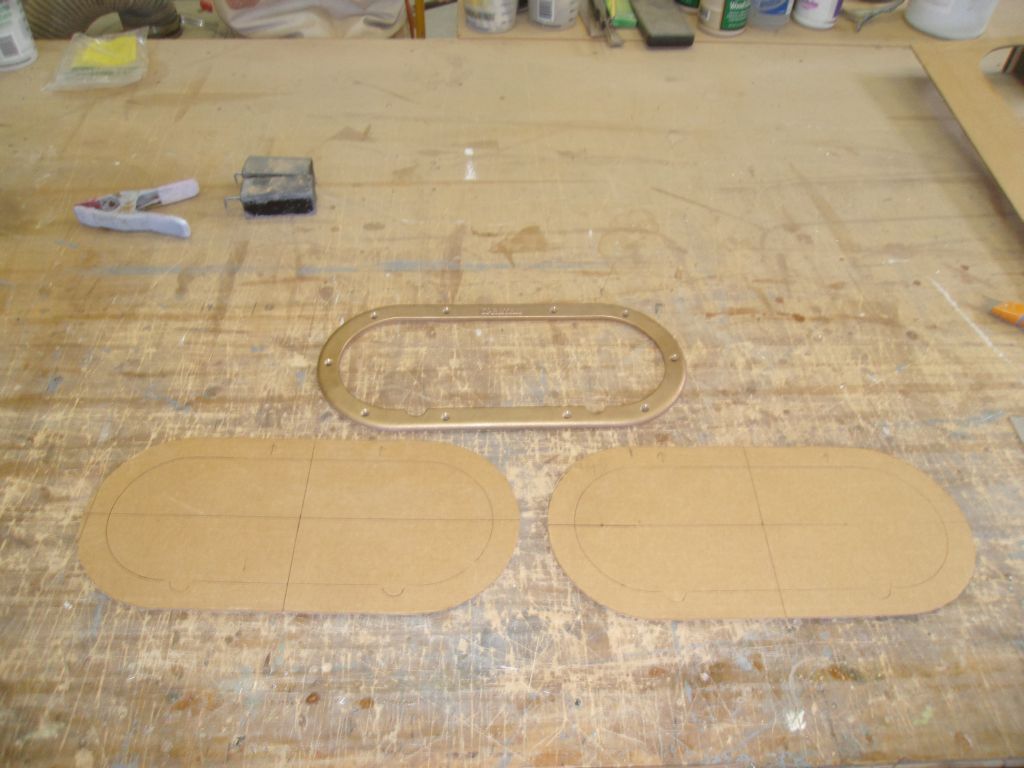
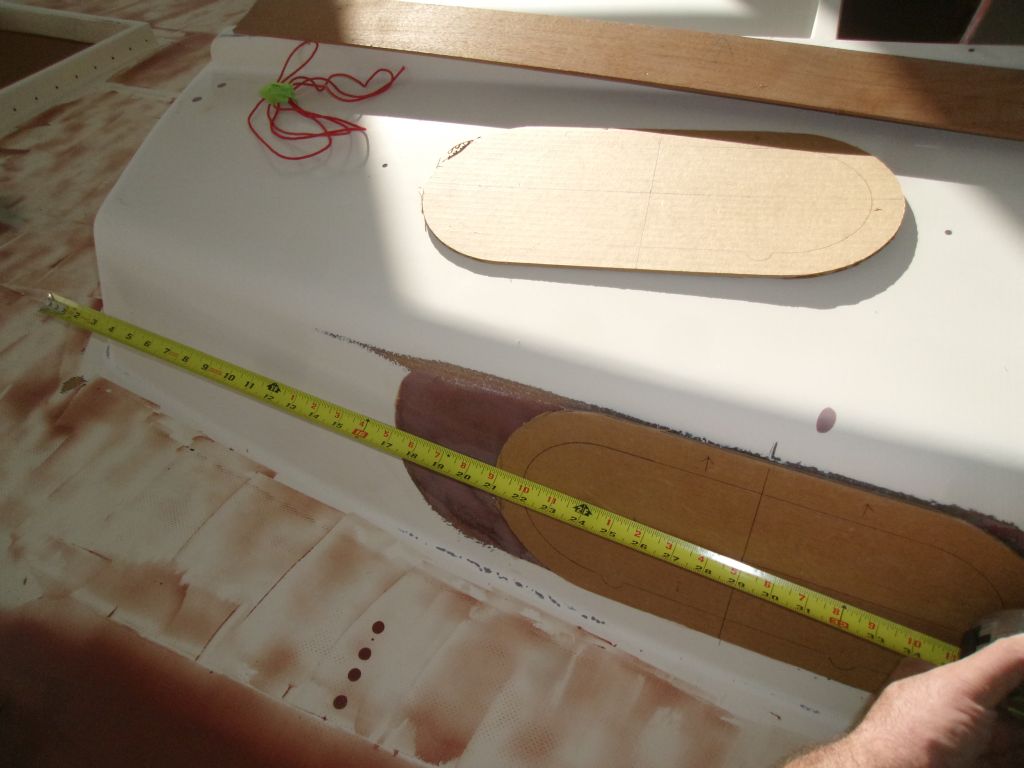
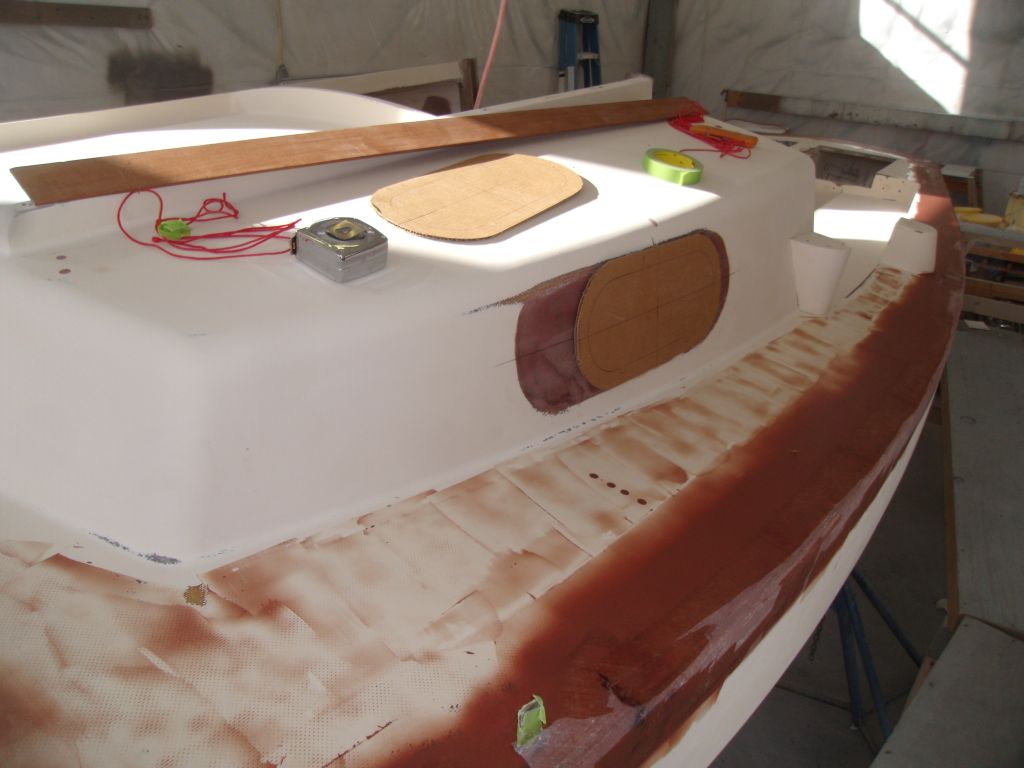
Using the trim ring as a guide, I made a pair of cardboard templates of the ports, to be used first for mockup purposes and then eventually to position and lay out the port cutouts themselves.
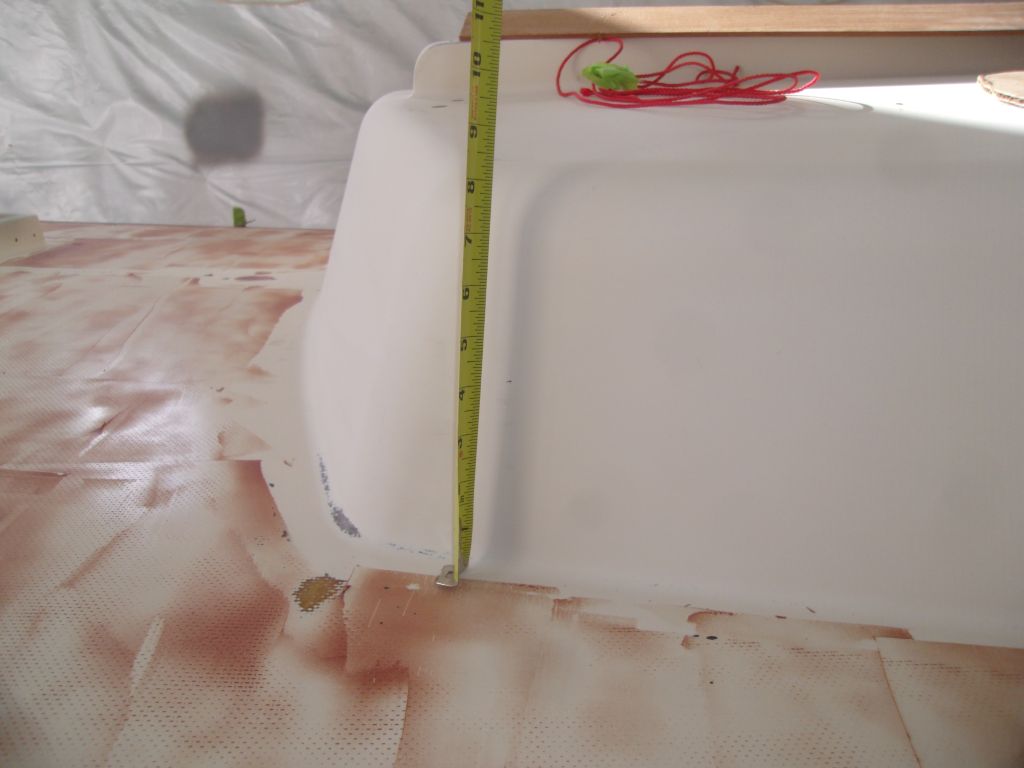
At the boat, I made some basic layout marks. What usually looks best, position-wise, is to align ports along a horizontal centerline struck a between the mid-height of the cabin trunk at its forward and after ends, so this is where I began. I used a string to simulate this line at first, but later used a batten to strike a pencil line as needed. Here, I used a mark just forward of the coaming blocks, since to go to the after end completely would have interfered with the coaming blocks. Similarly, in this instance the shape and size of the cabin trunk seemed to suggest that the ports should be centered longitudinally, so I measured the length of the cabin trunk and made an according mark at the centerline (29").

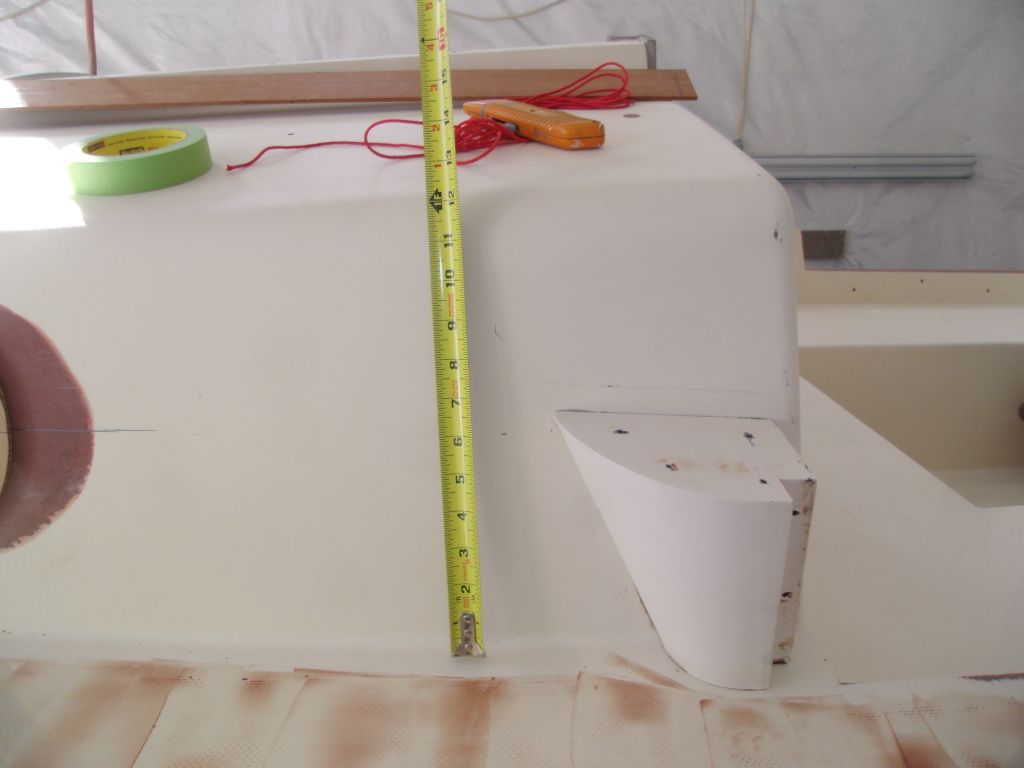

Afterwards, I secured one of the cardboard templates in alignment with the layout marks. The remnants of the old openings might make proper visualization of the new ports' shape and position more difficult.
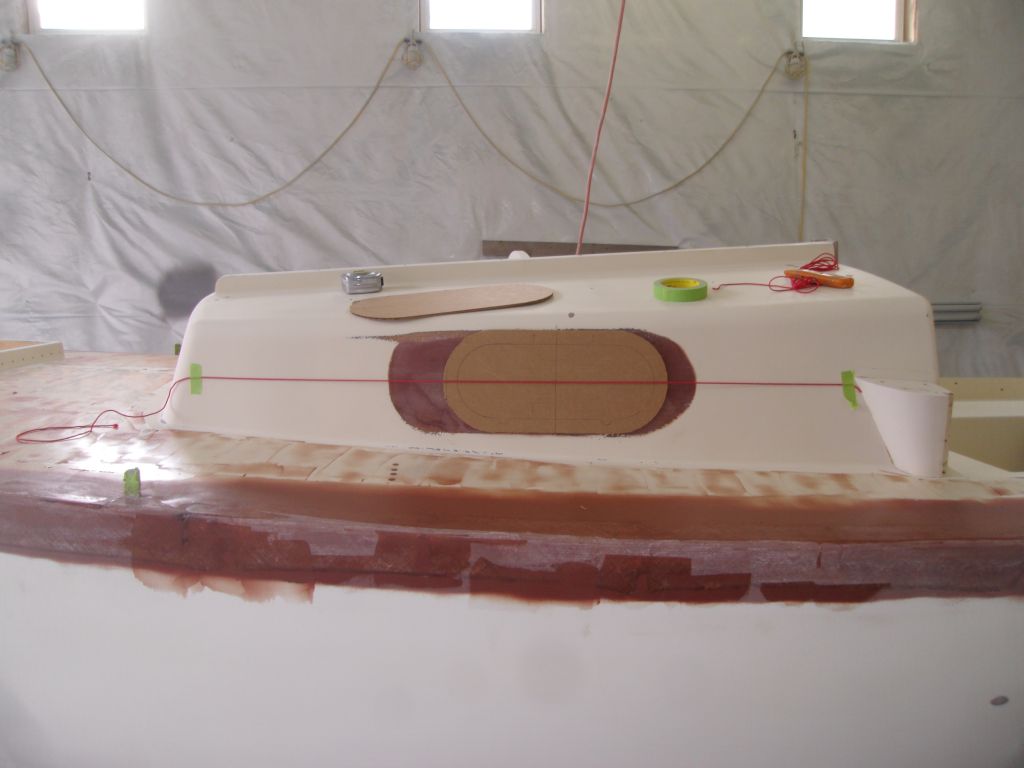

I repeated this basic layout process on the starboard side.

Total Time Billed on This Job Today: 7.25
Hours
