
110 Cookson Lane | Whitefield, ME 04353 | 207-232-7600 | tim@lackeysailing.com
Ms Lynne G | Monday, October 20, 2014
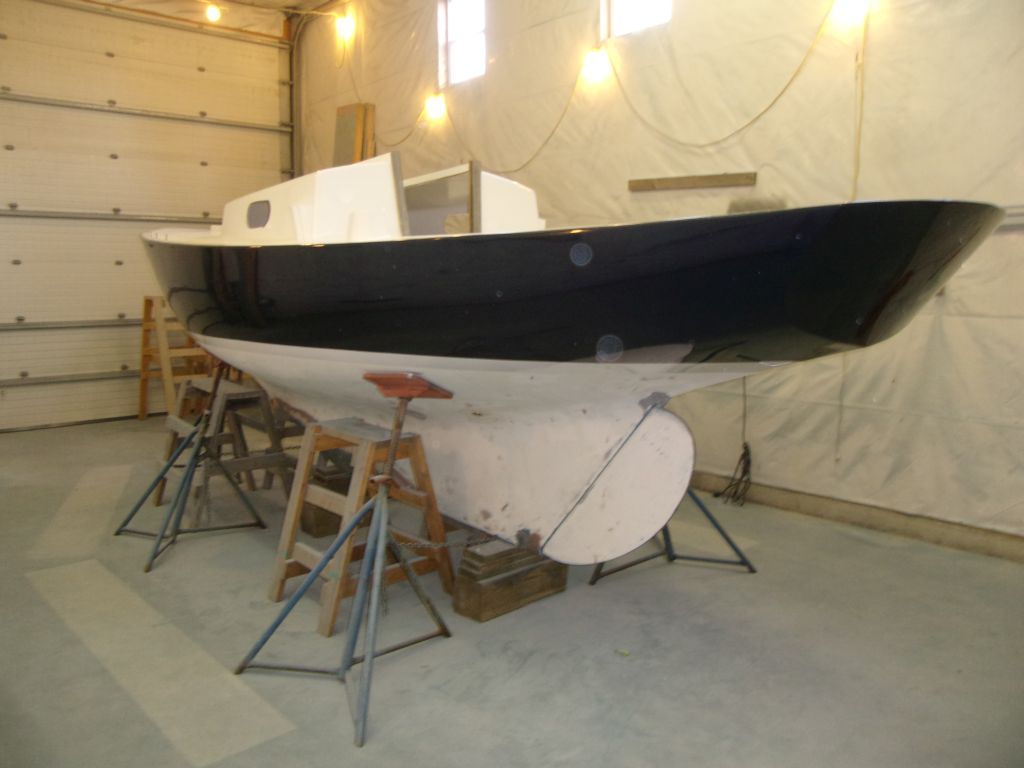
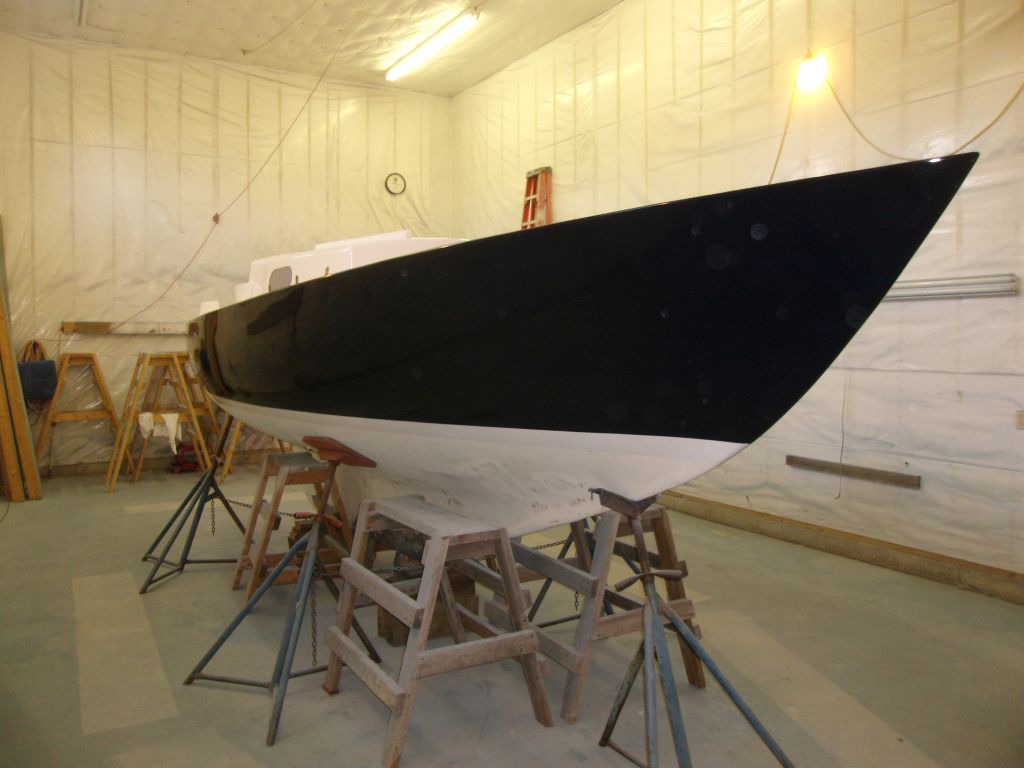
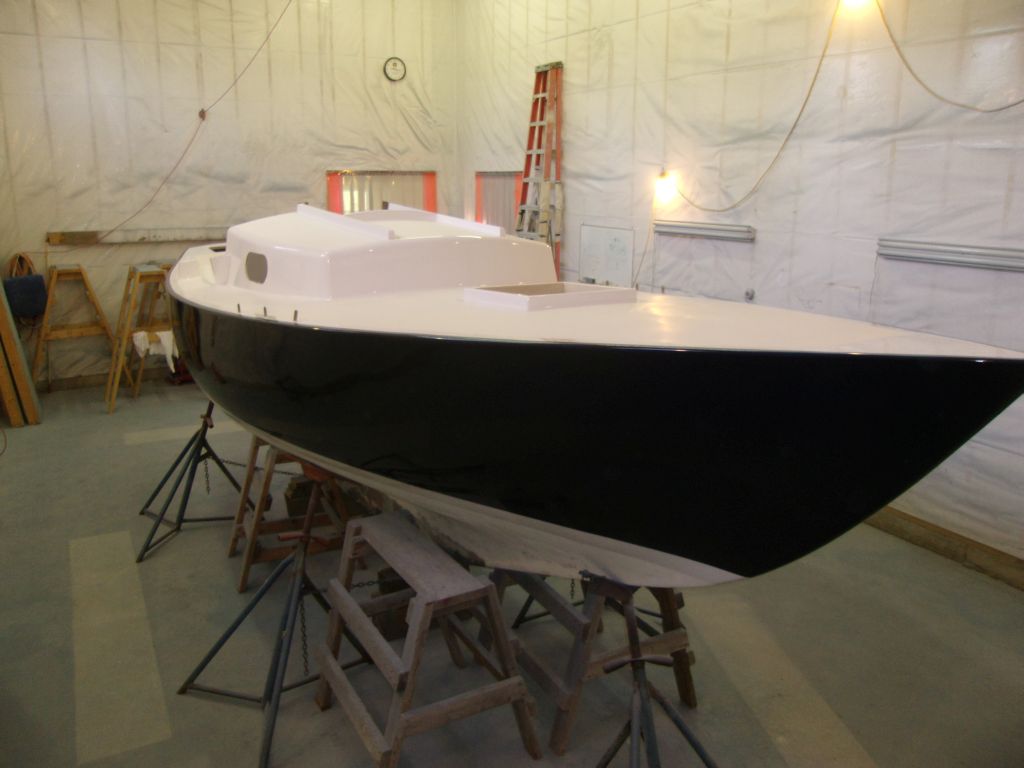
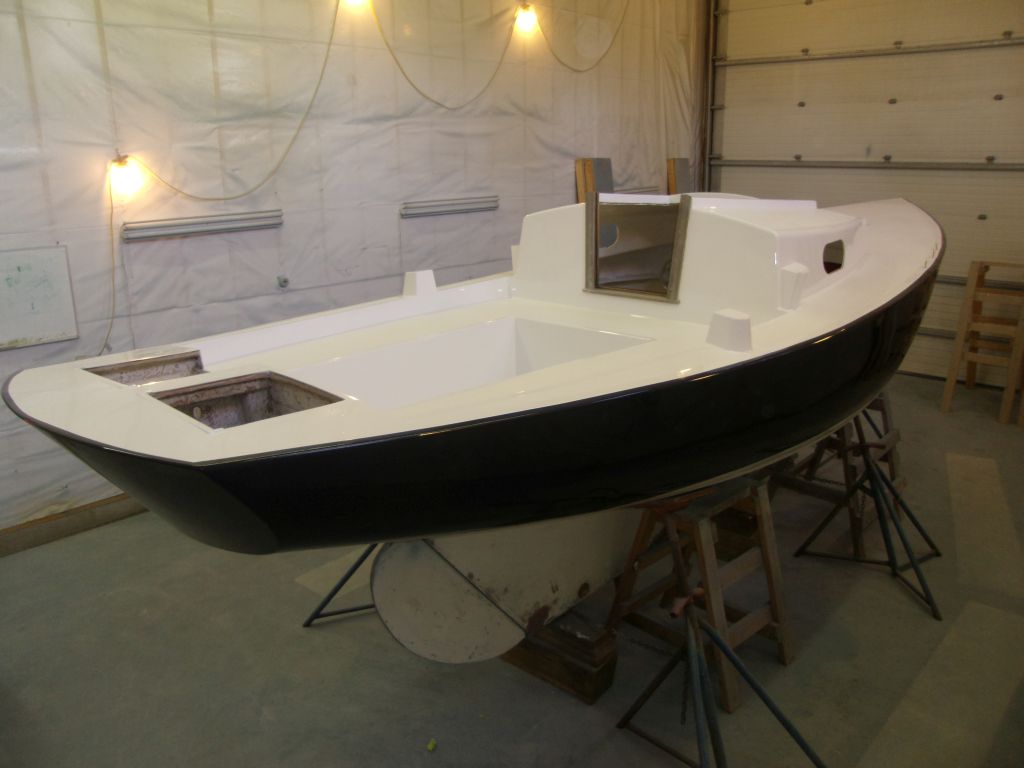
Now that the spray painting was complete, I removed all the tape, paper, and plastic from the boat, revealing the whole thing for the first time.


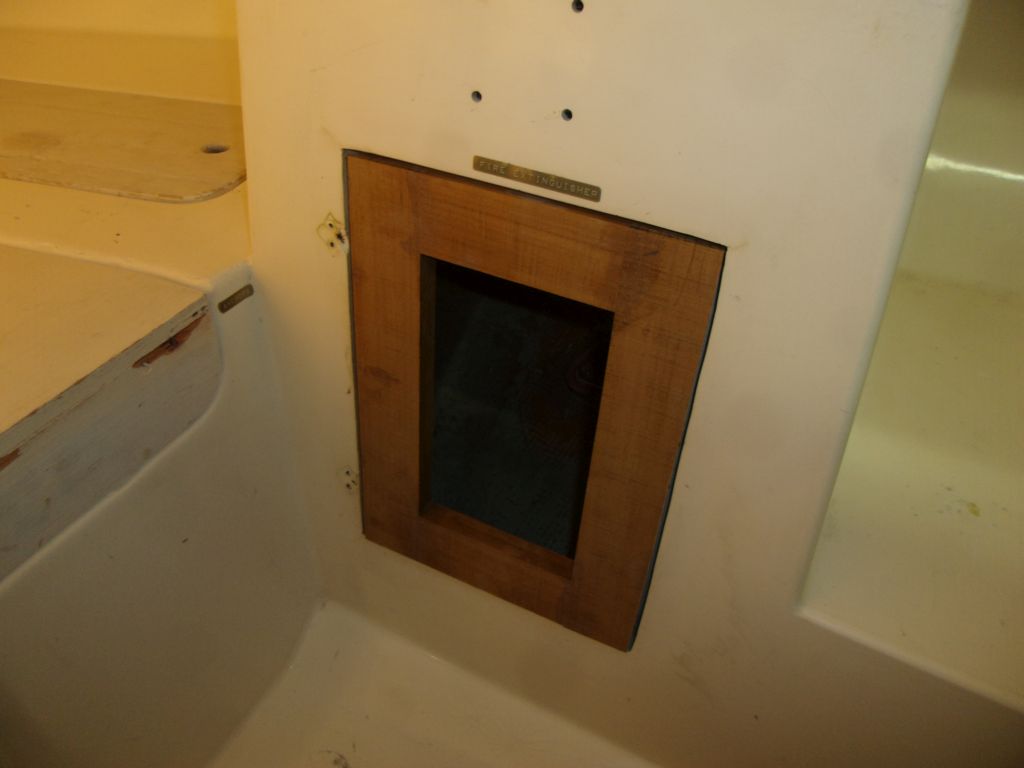
After getting back to normal in the shop, I turned briefly to the raw galley door frame that I'd glued up some time earlier. The molded opening into which the door would fit required that I mill a bevel on the edges of the door, which according to the original door turned out to be 10°. After milling, I test-fit the door--looked good.
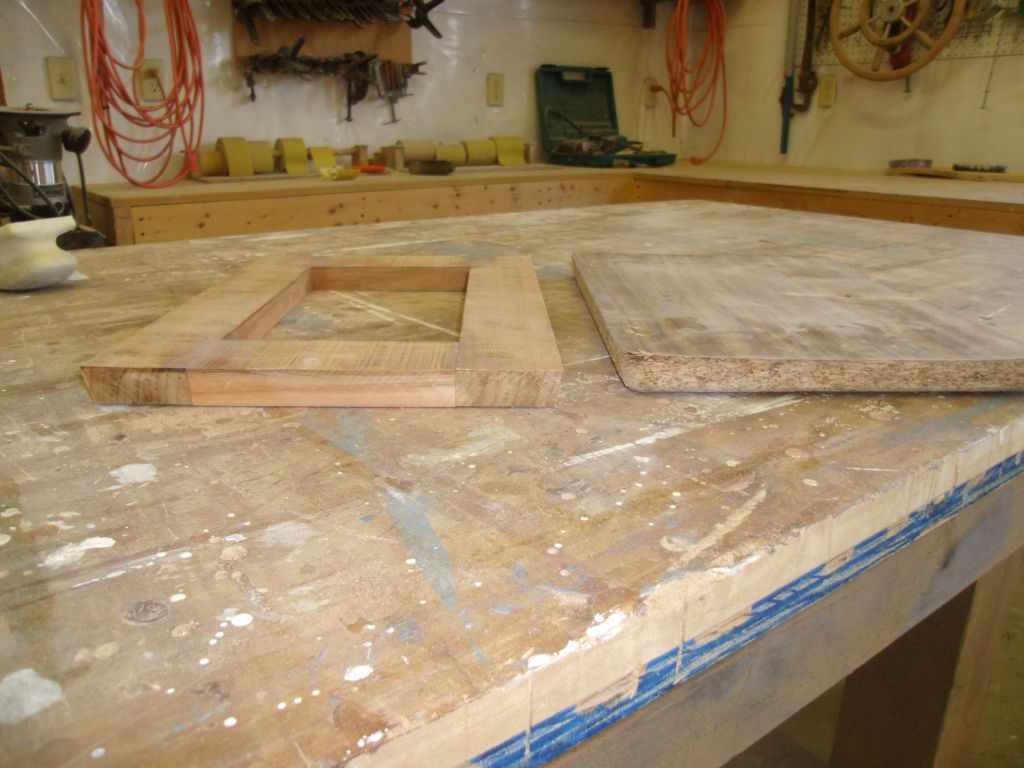
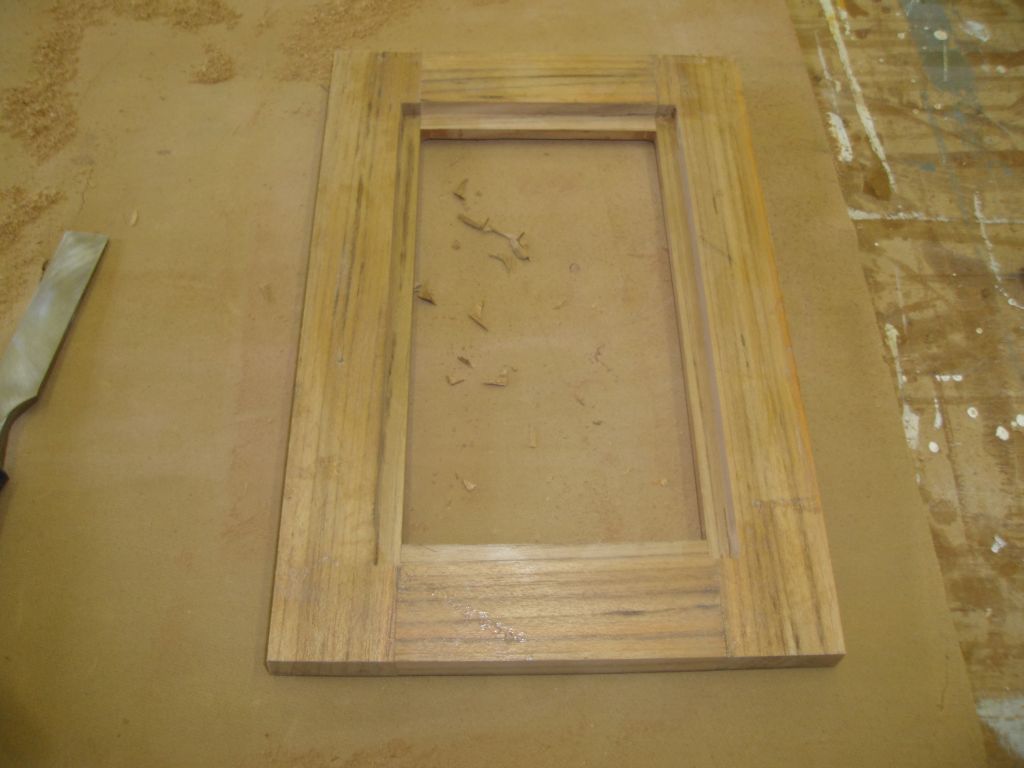
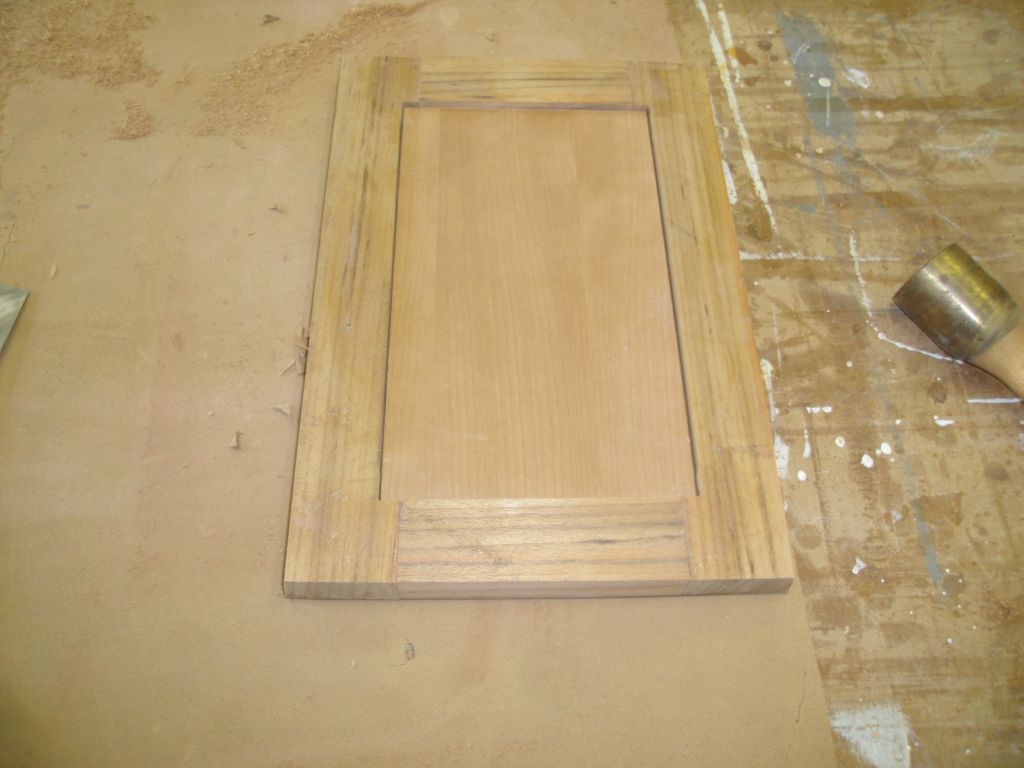
To accept a plywood panel in the center of the door, I used a router to prepare a rabbet on the inside of the door, and cut a 1/4" panel to fit. I'd prime and paint the panel, and the frame would get sanded and varnished in the near future.

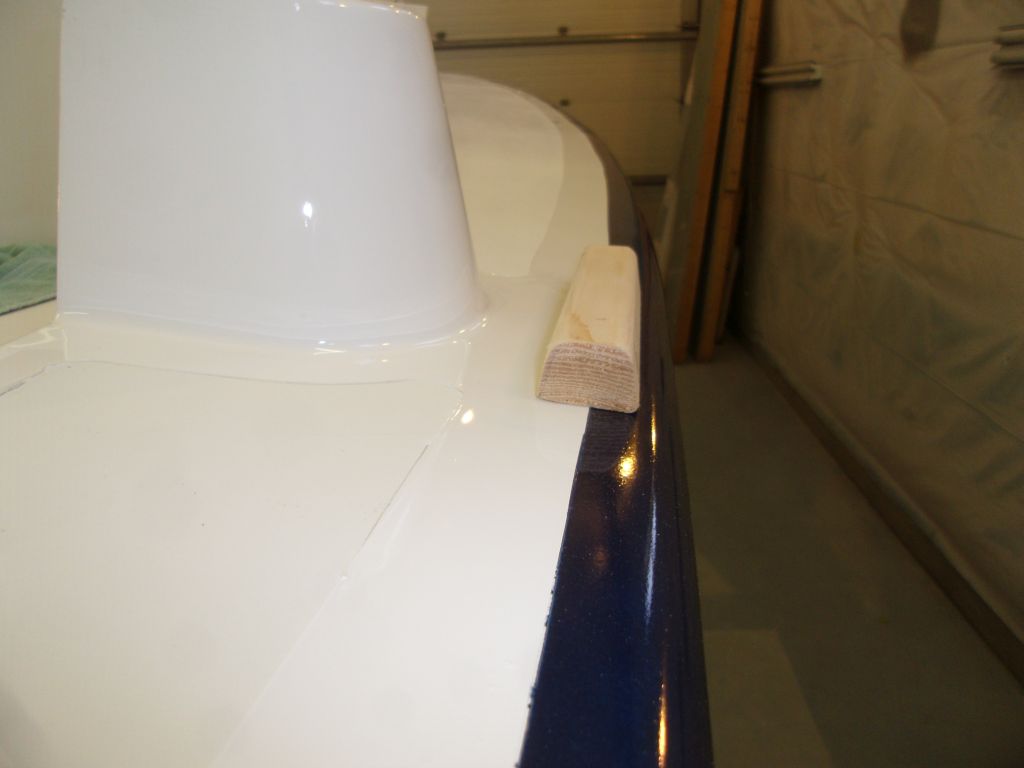
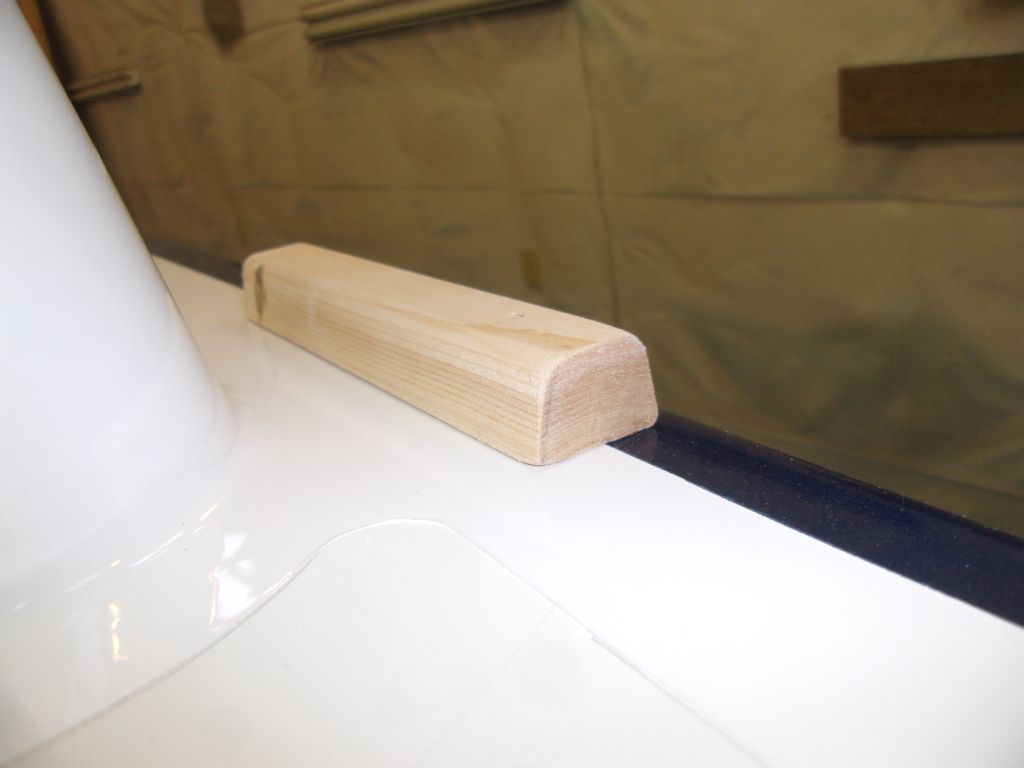
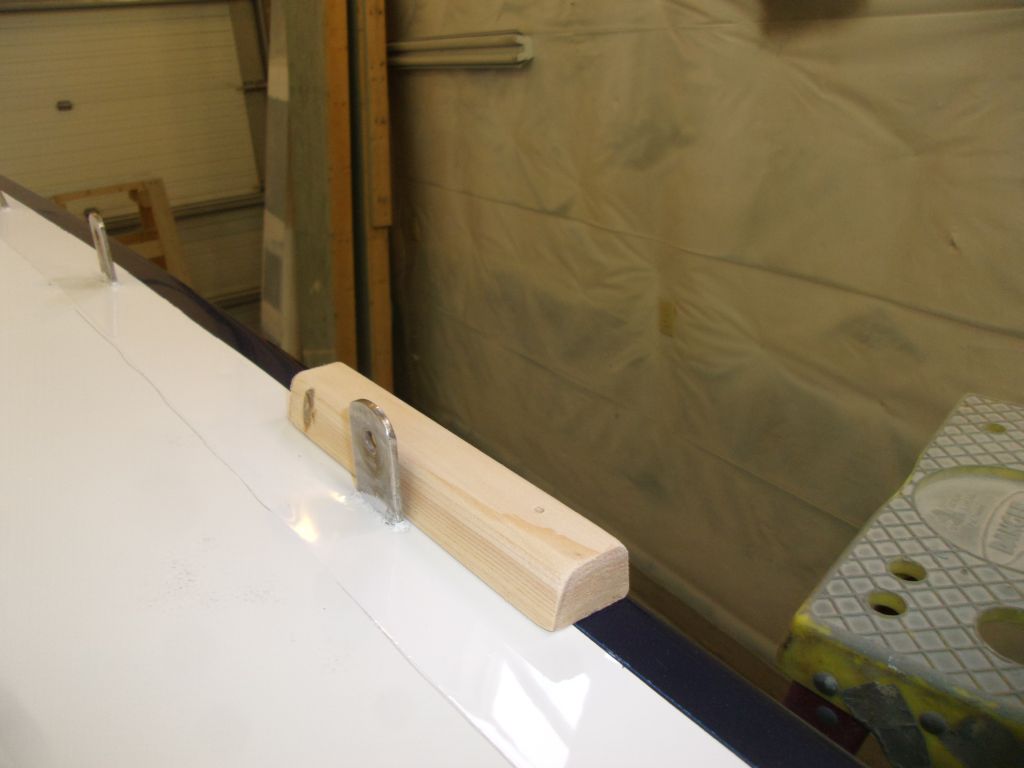
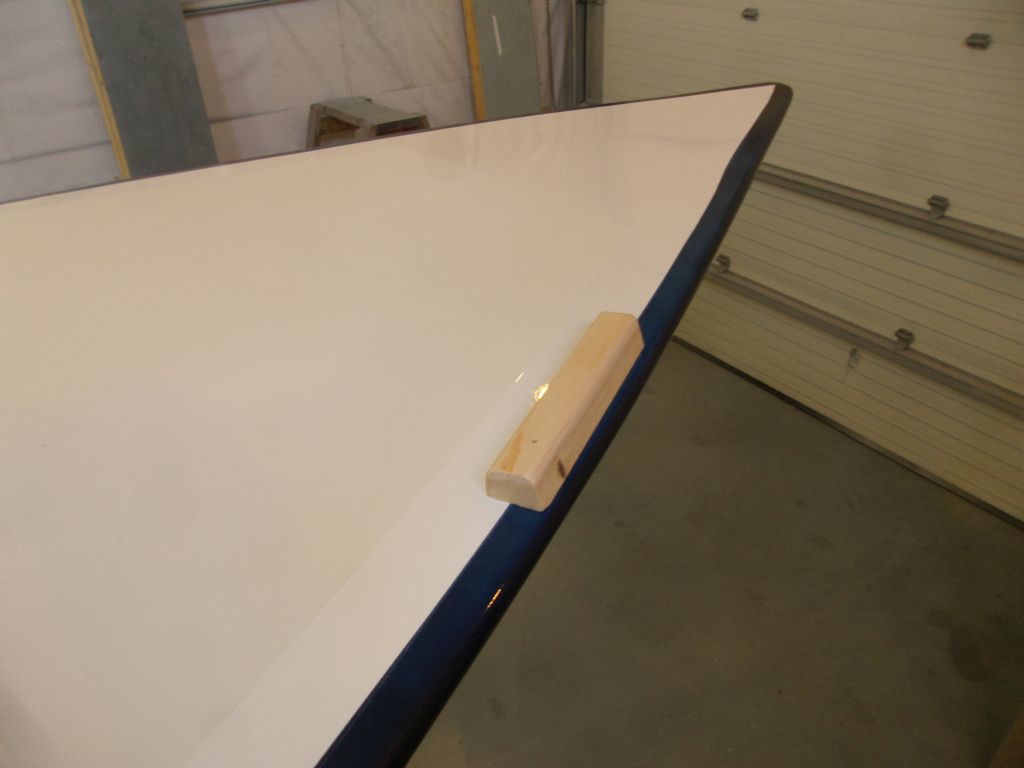
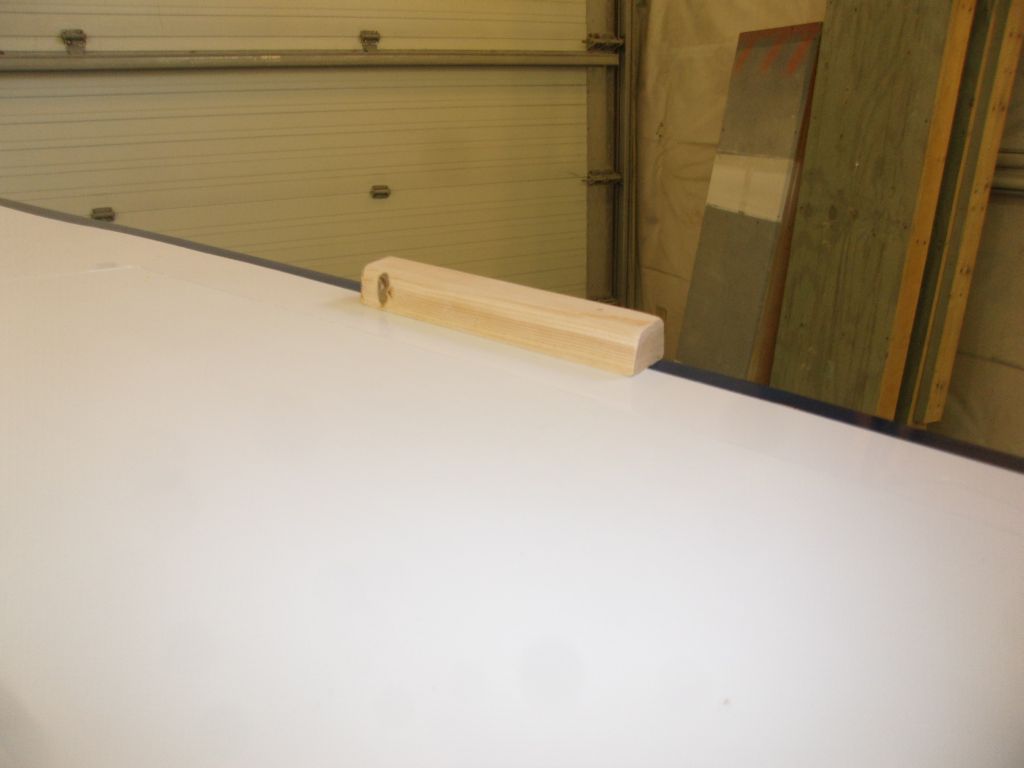
The main focus of my day was the new toerails, which I wanted to complete as soon as possible since several other tasks depended on their installation. Before beginning the final milling, I tested the second profile sample in a few spots on deck to ensure it would work as required.


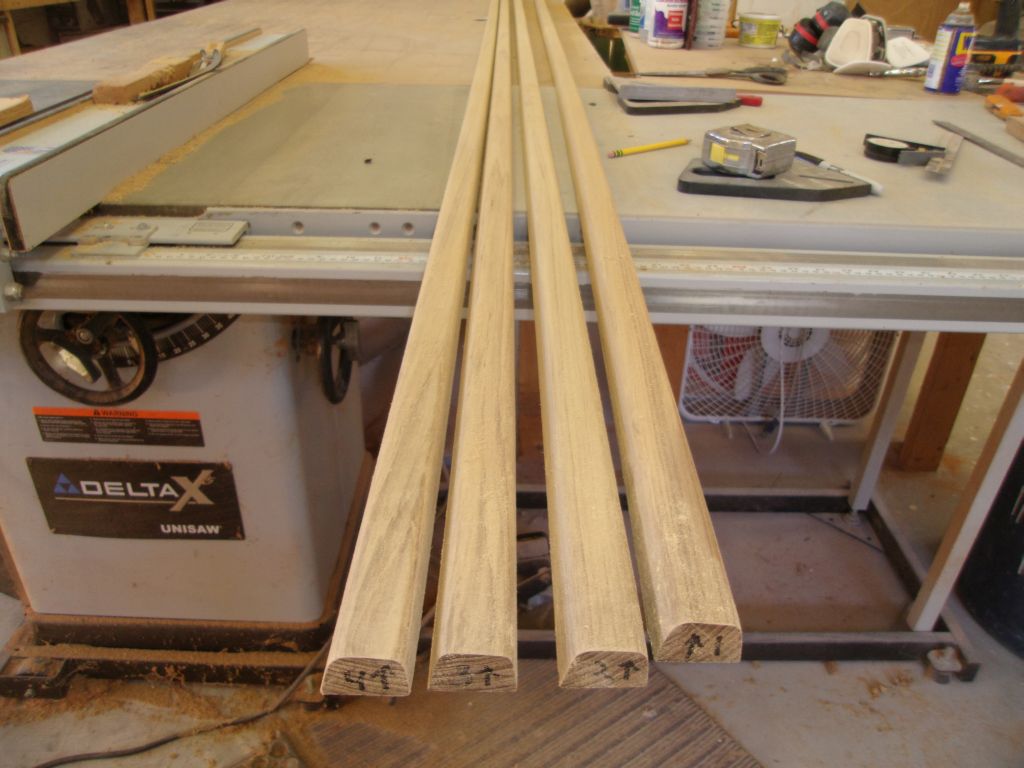
Next, I milled 8/4 teak stock into blanks for the rail, each just a bit oversized for the profile required. There was enough plank width for five sections, though the board was long enough that I'd probably only need four (two for each side). Once I had rough blanks, I trimmed them to the final width required: 1-5/16". I labeled each piece according to its position in the original board, as that would help me keep the most consistent grain together.
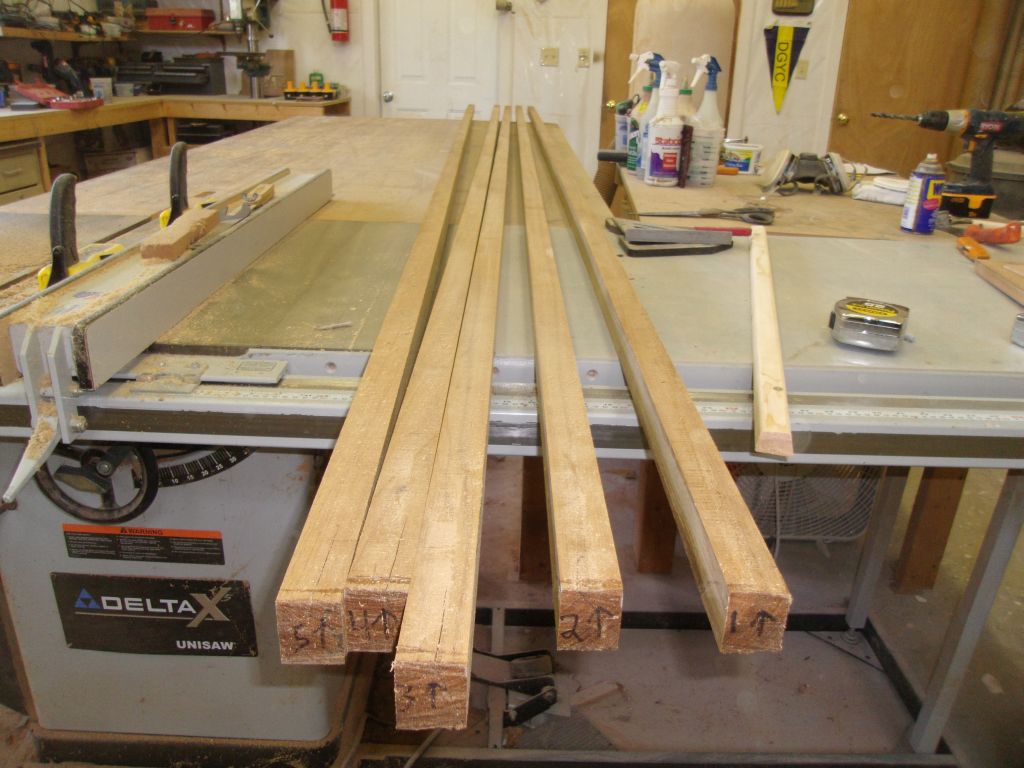
Next, I milled a 5° angle on the bottom (deck side) of each piece, then clearly labeled the bottom face of each piece since I'd be turning and flipping the blanks so often during the milling process.
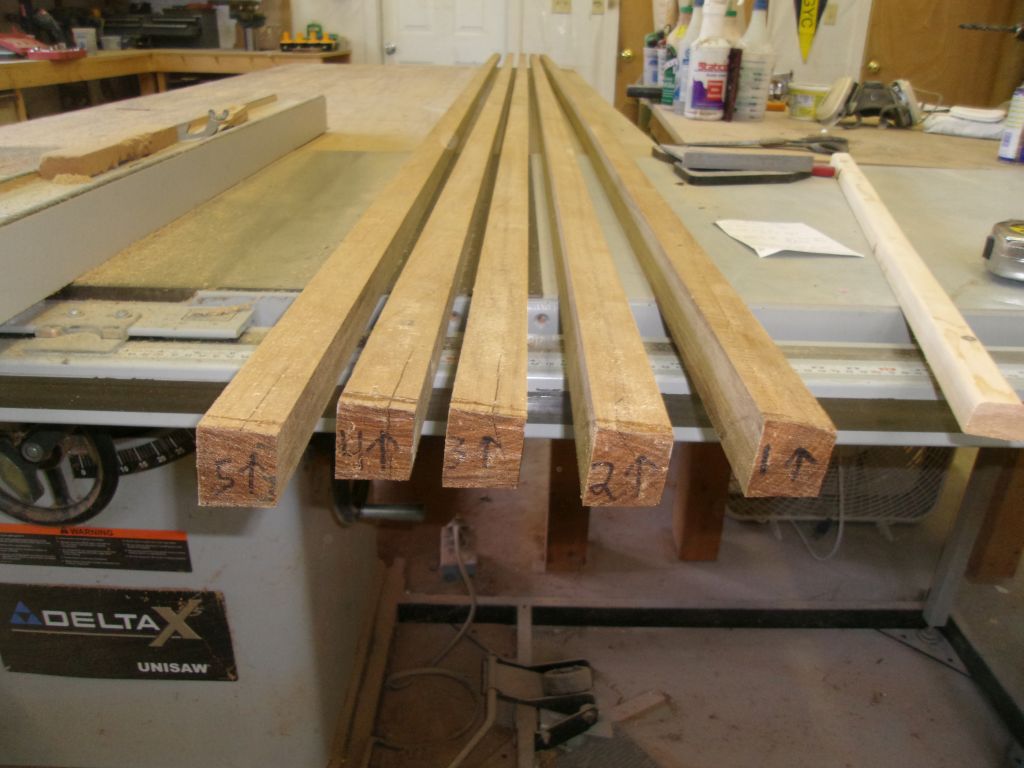
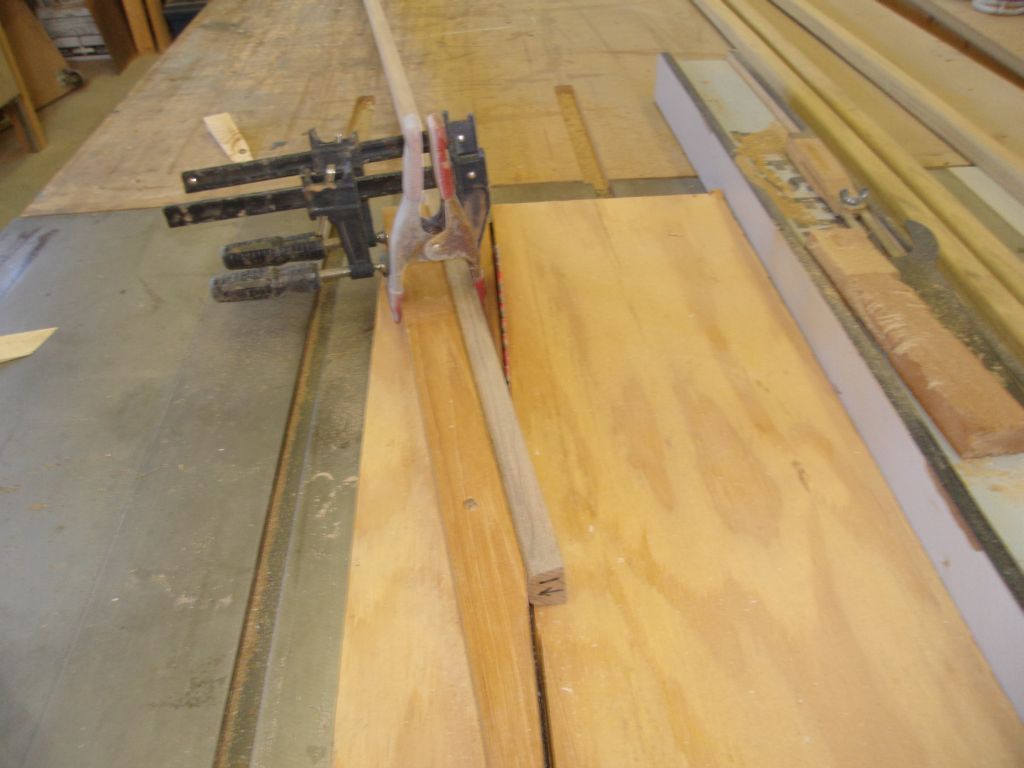
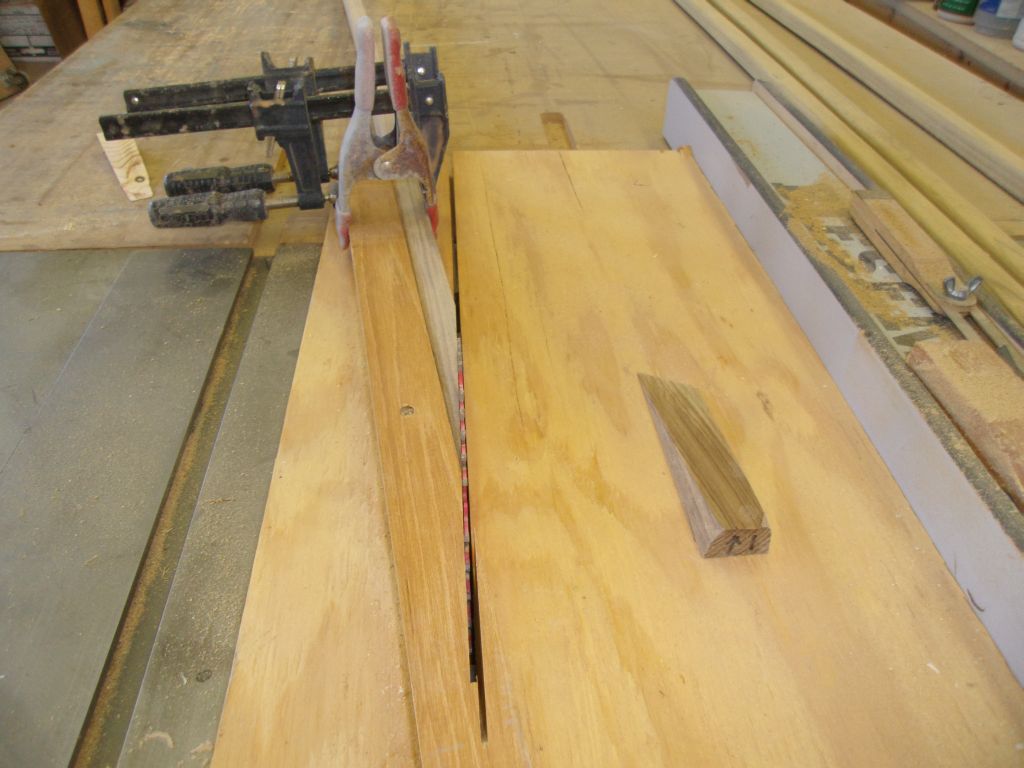
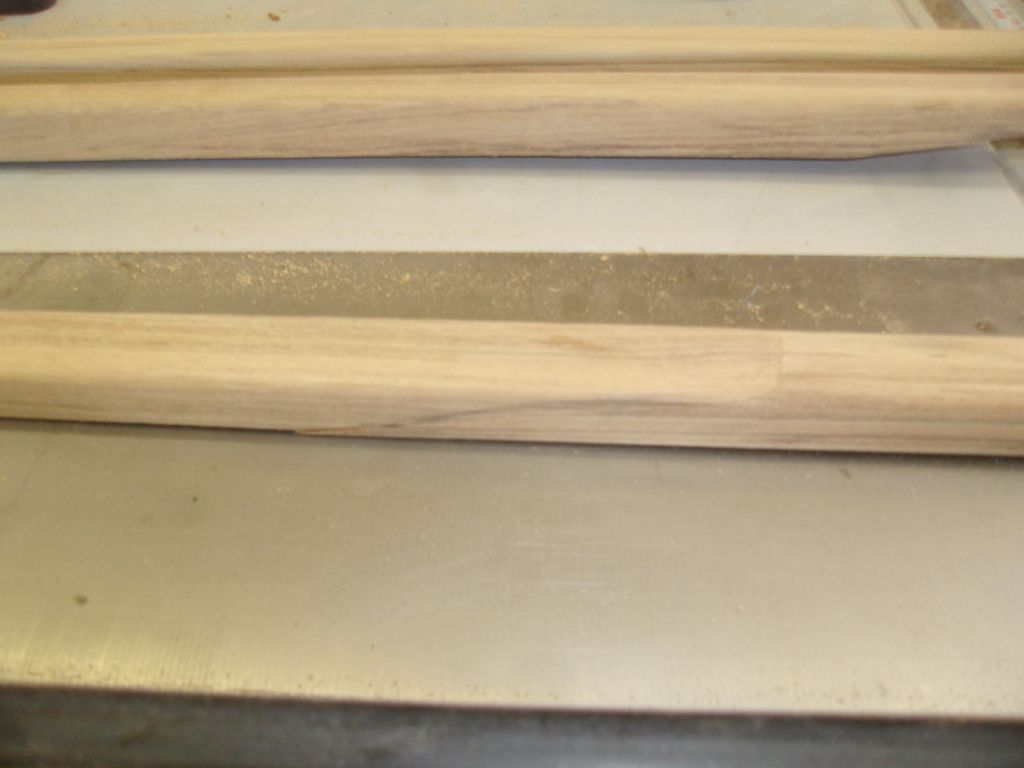
Then I milled the blanks to their final height, which was 7/8" on the outboard side (3/4" on the inboard side because of the bottom angle).

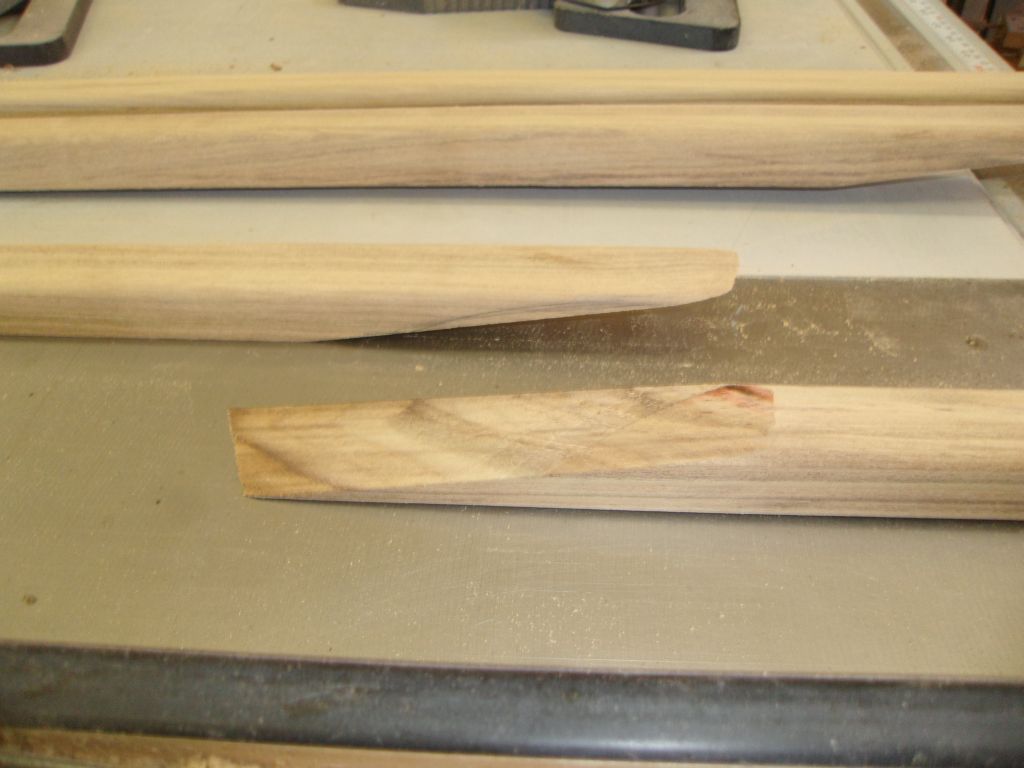
Finally, I milled 10° angles on each side of the rail, creating the final trapezoidal shape. Then, I trimmed the ends of the blanks as needed to remove checks, splits, and rough-milled ends.
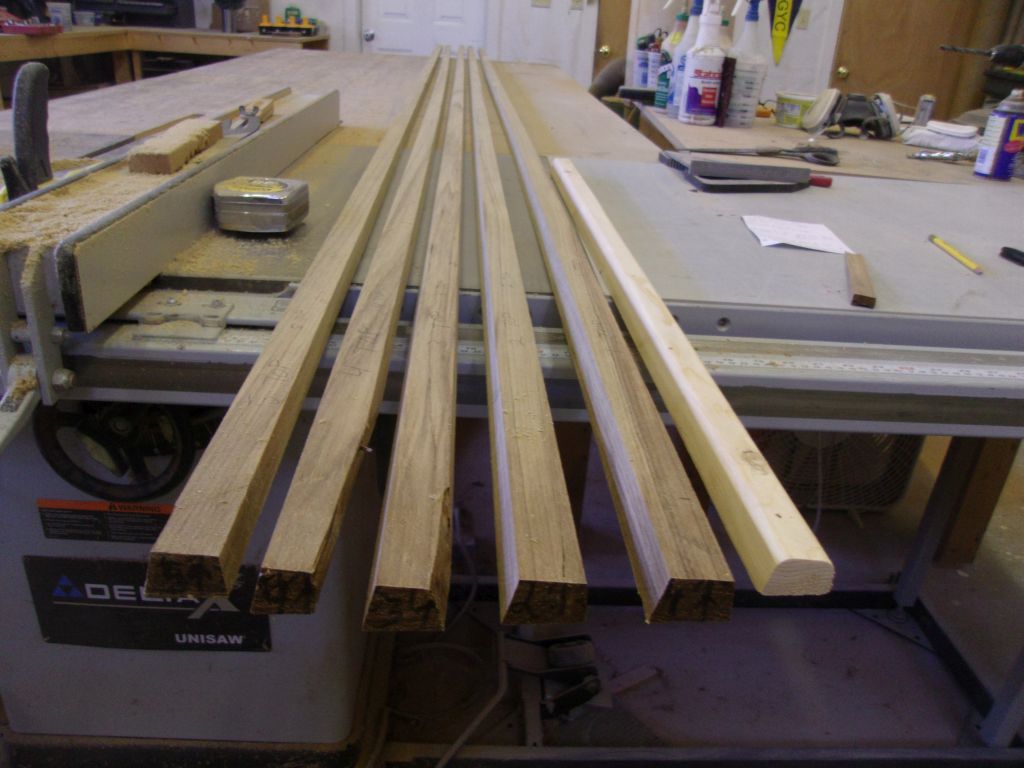

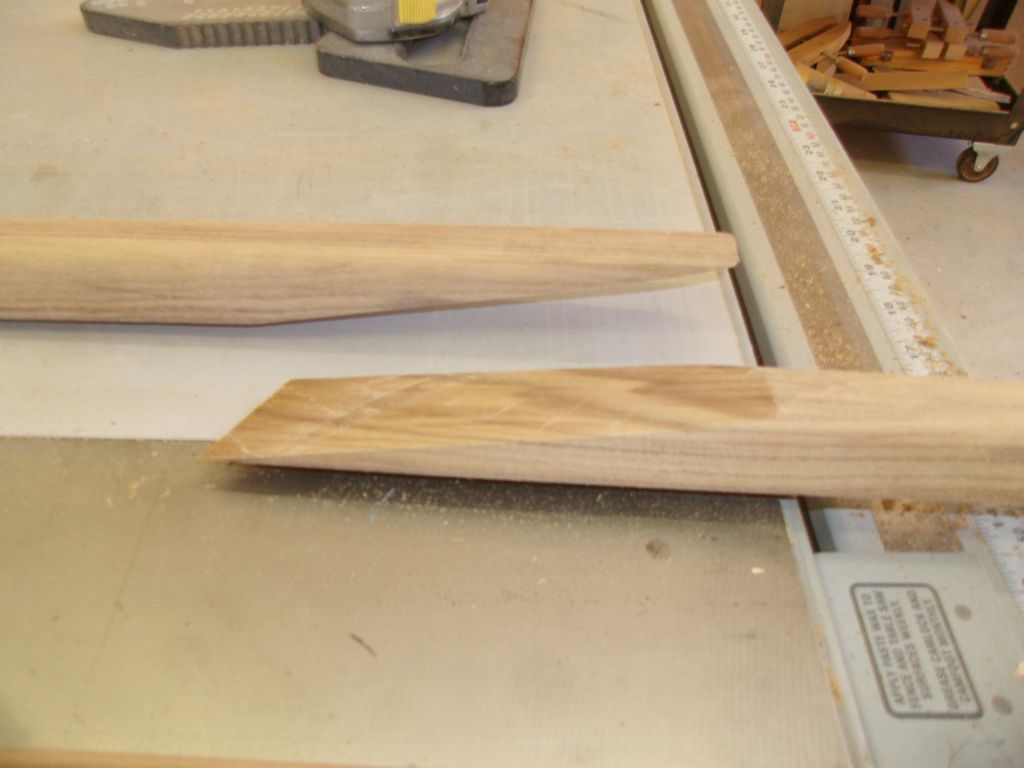
Each blank was nearly 14' long, and even accounting for the length reduction from scarfing (about 14"), I'd have plenty of length out of two sections per side, as the minimum length needed was just under 23' per side; I had over 26', which would leave ample extra length to help with bending and installation. So, reserving the fifth piece as a spare, I rounded the top corners of the four remaining pieces with a hand plane, then sanded the blanks smooth.
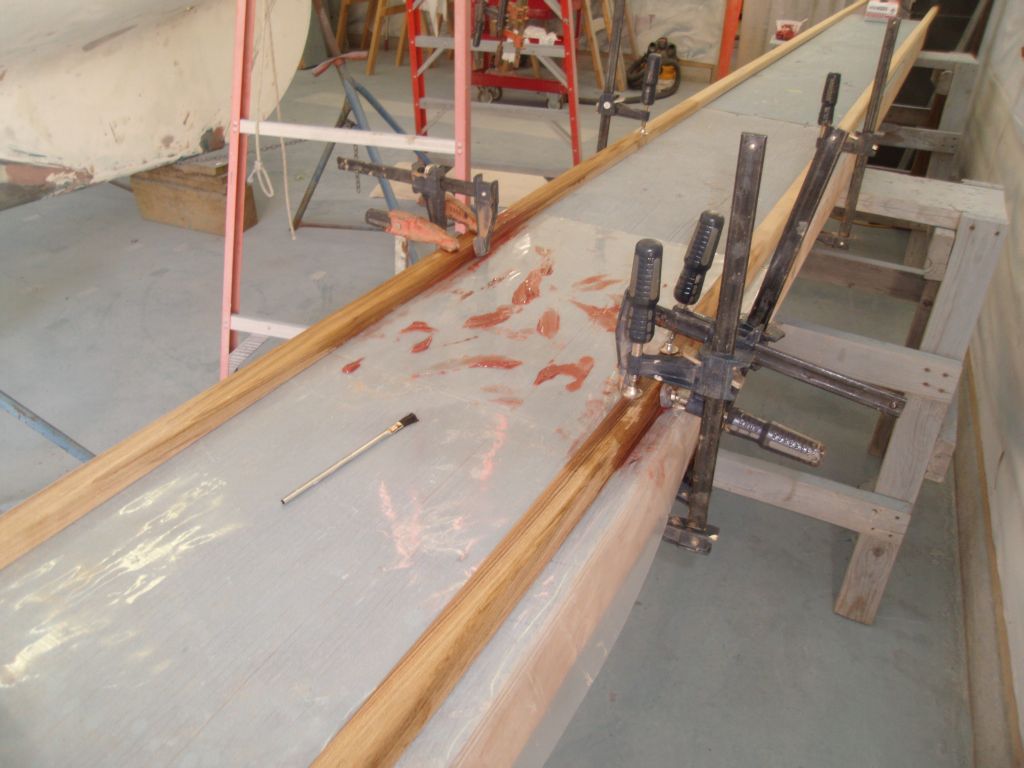
Getting the blanks milled and sanded had been my goal for the day, but I was pleased to find that I was done with the sanding in plenty of time to continue work. I used an 8:1 scarfing jig that I'd made for past projects to cut the mating ends for each side.

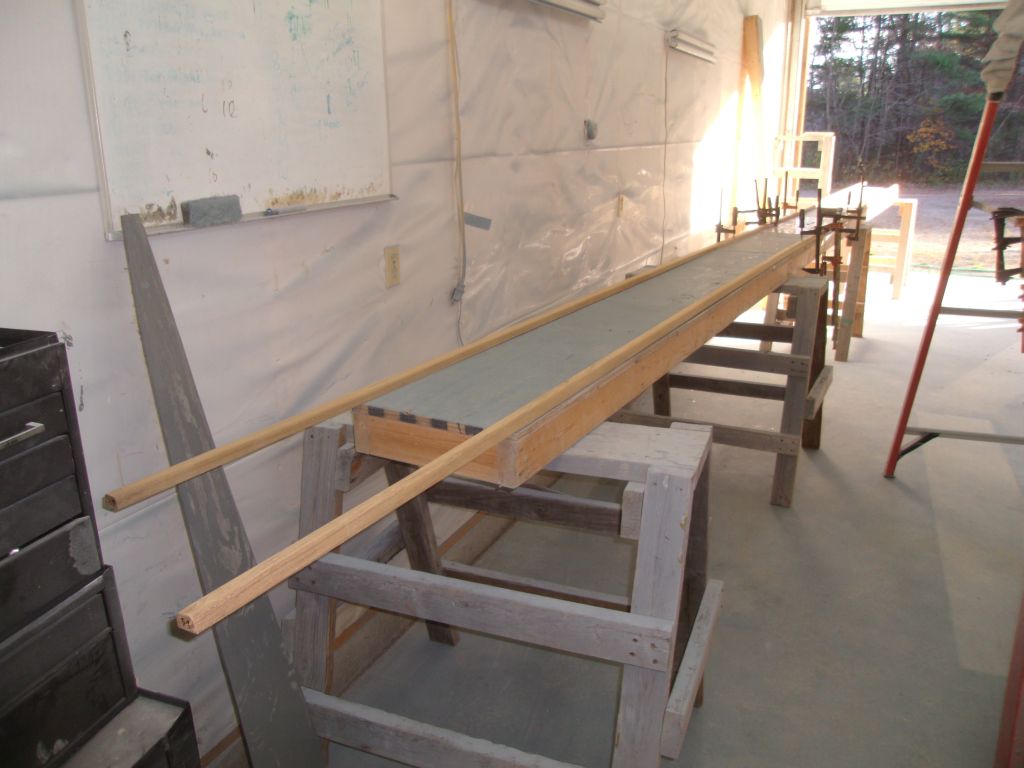
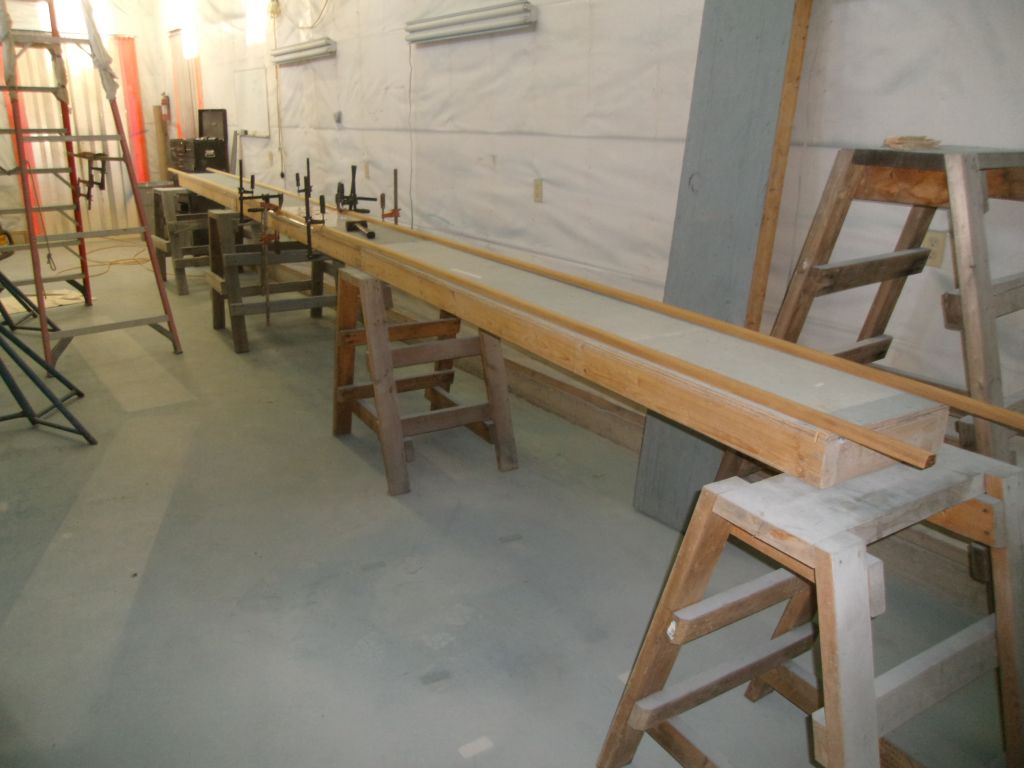
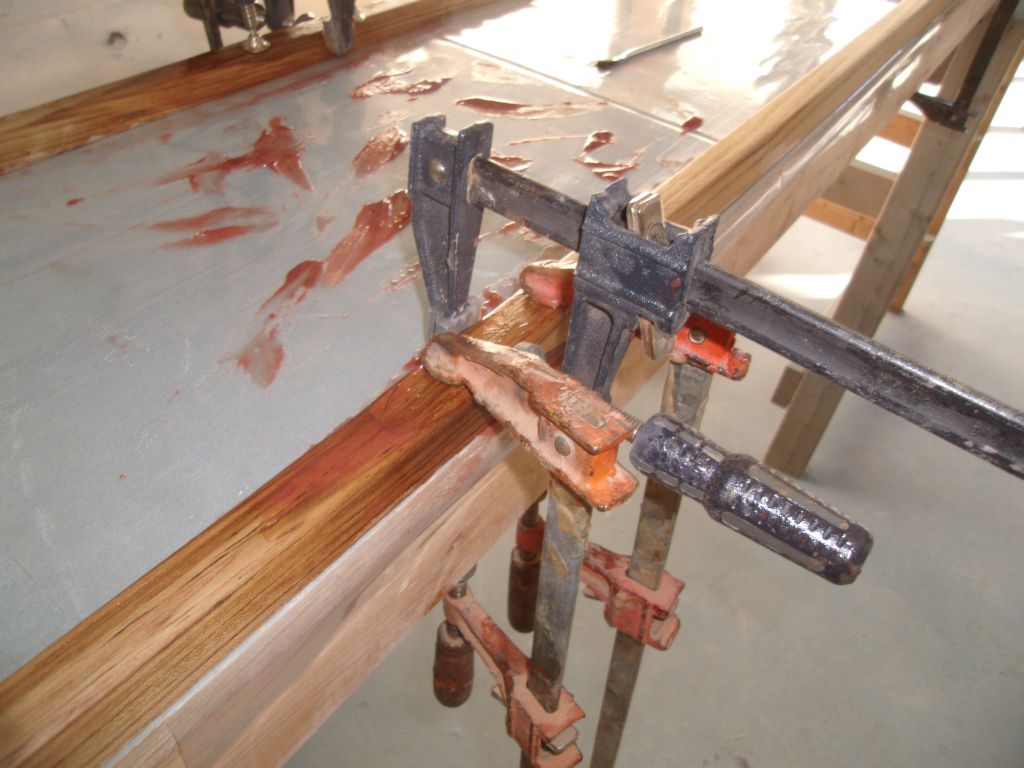
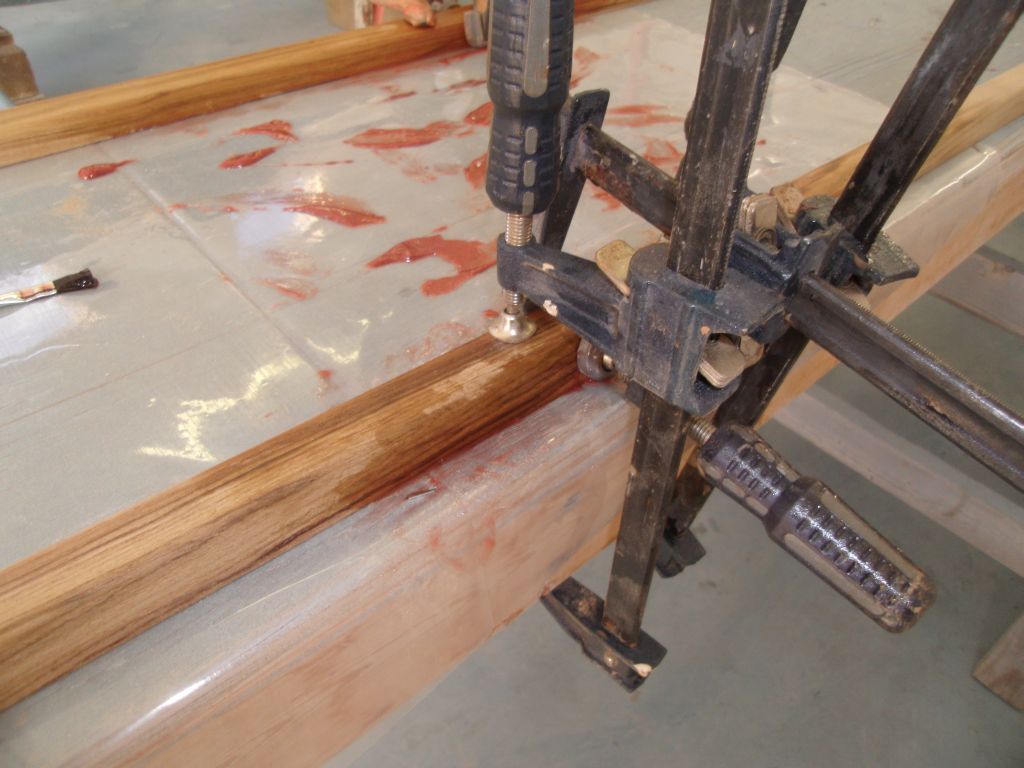
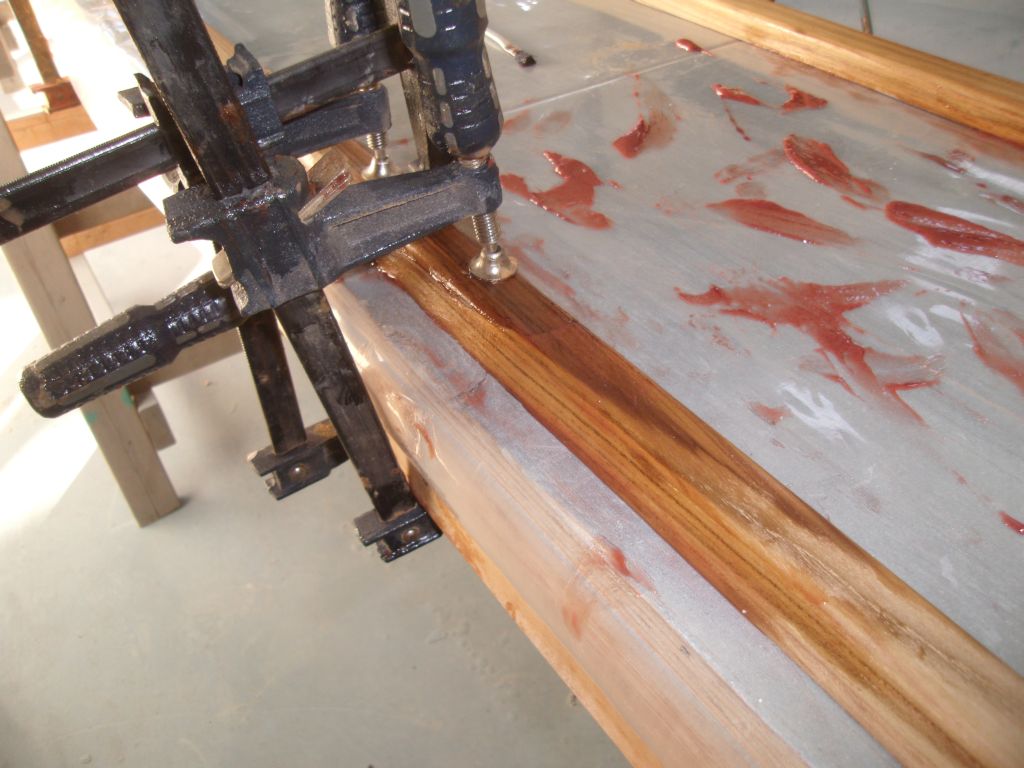
Since the staging wasn't in use at the moment, I used it to create a long table to lay out and glue the toerail blanks, which was more pleasant than working on my knees on the floor as usual. After preparing the bench and cleaning the mating surfaces with acetone, I wet out the joints with plain epoxy before applying some thickened epoxy adhesive and clamping the joints tightly together. The table meant that I could clamp the toerails right to the table, which helped prevent joint slippage and ostensibly made the glue-up easier, though mating slippery angled surfaces like toerail scarfs always presents a challenge. I'd leave the toerails in the clamps for several days to allow the epoxy to gain closer to full strength before I attempted to handle the rails.


Total Time Billed on This Job Today: 8.5
Hours
