
110 Cookson Lane | Whitefield, ME 04353 | 207-232-7600 | tim@lackeysailing.com
Khasanah | Thursday, April 4, 2013
I began the day in the usual way for this sort of thing, sanding the first application of fairing compound on the coachroof, and also the patch over the exterior through hulls.
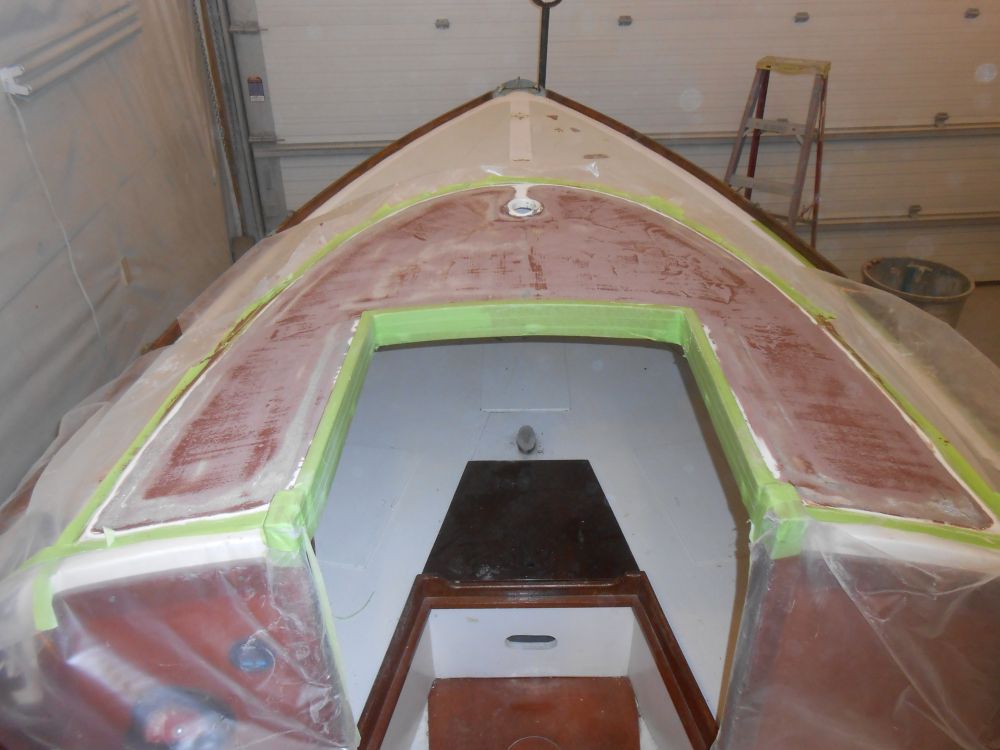
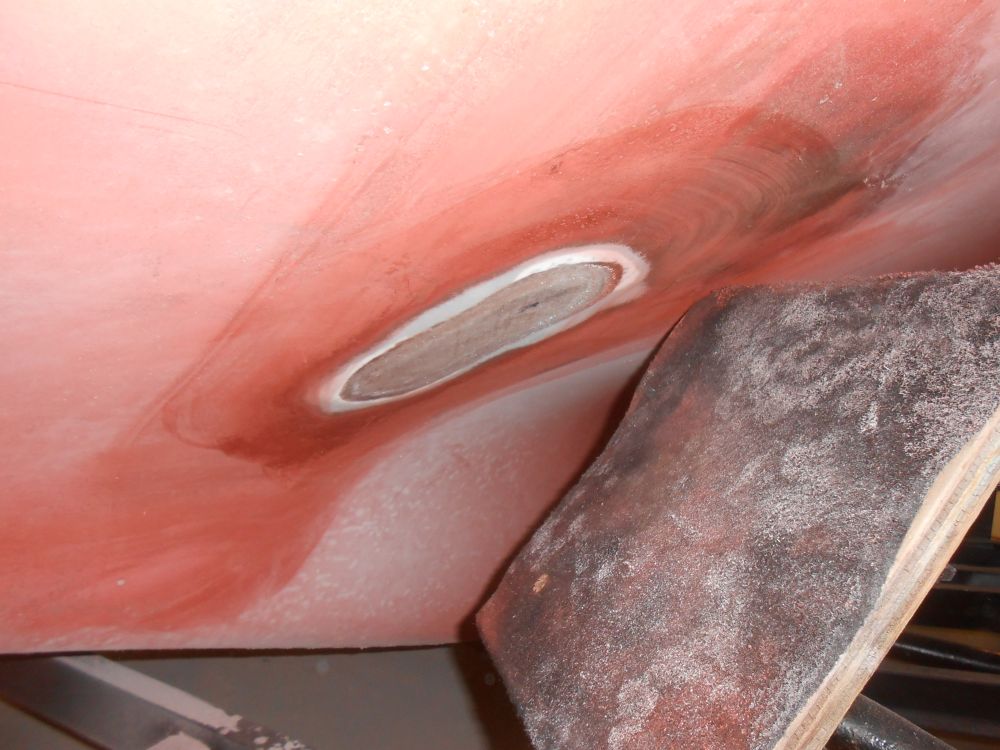
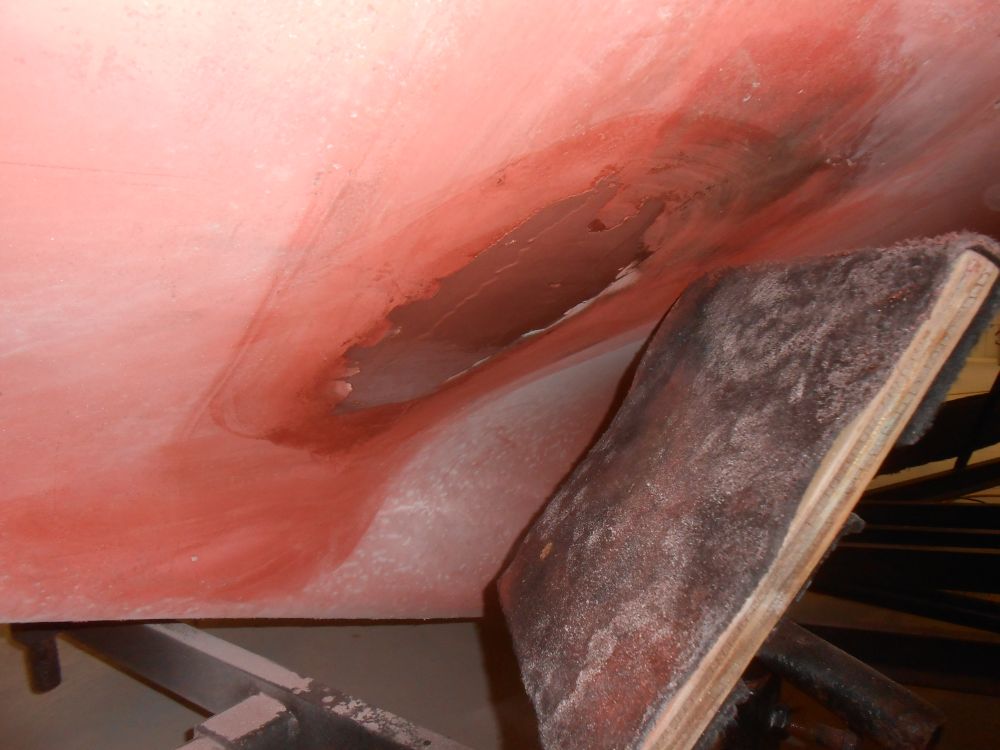
After cleanup, I applied a second round of compound to the coachroof, and the first layer on the through hull patch.
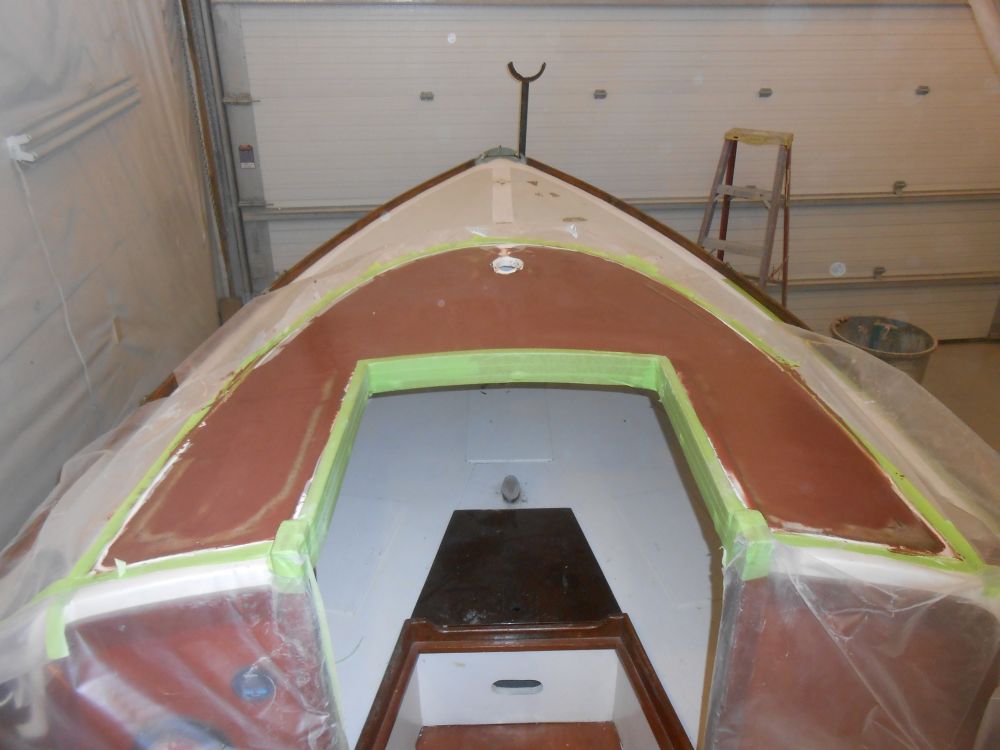
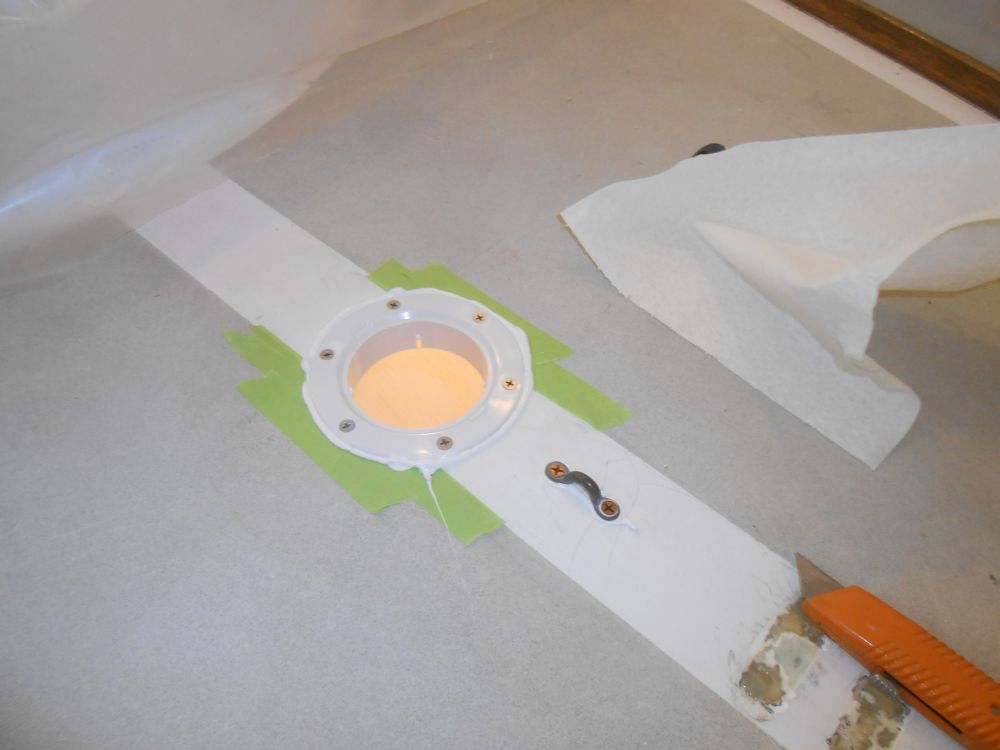
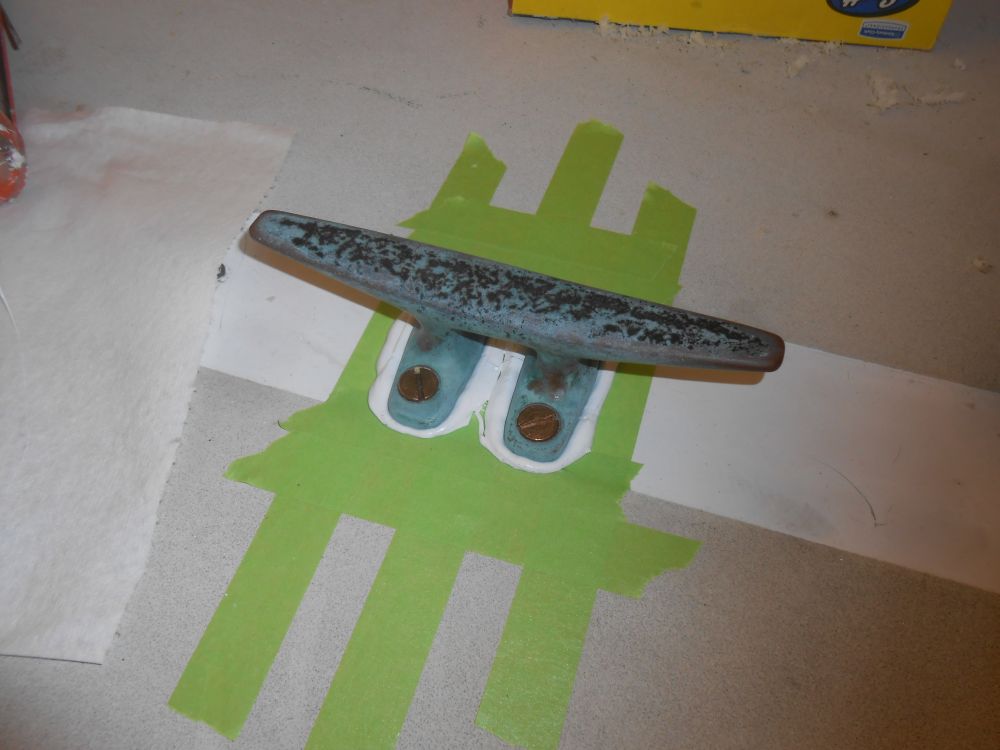
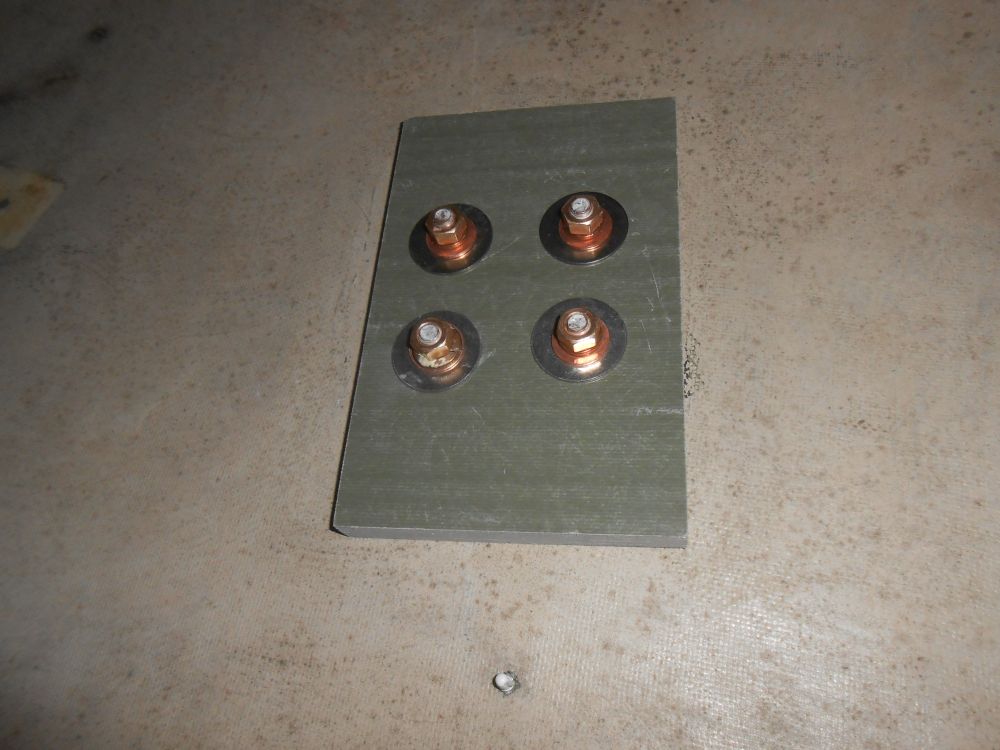
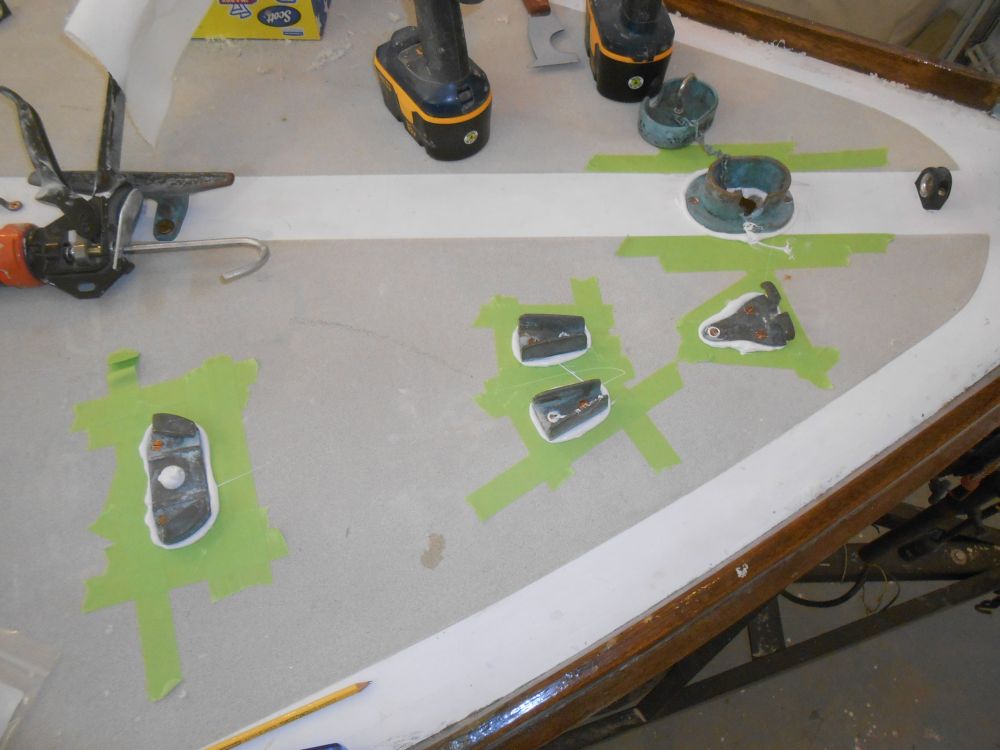
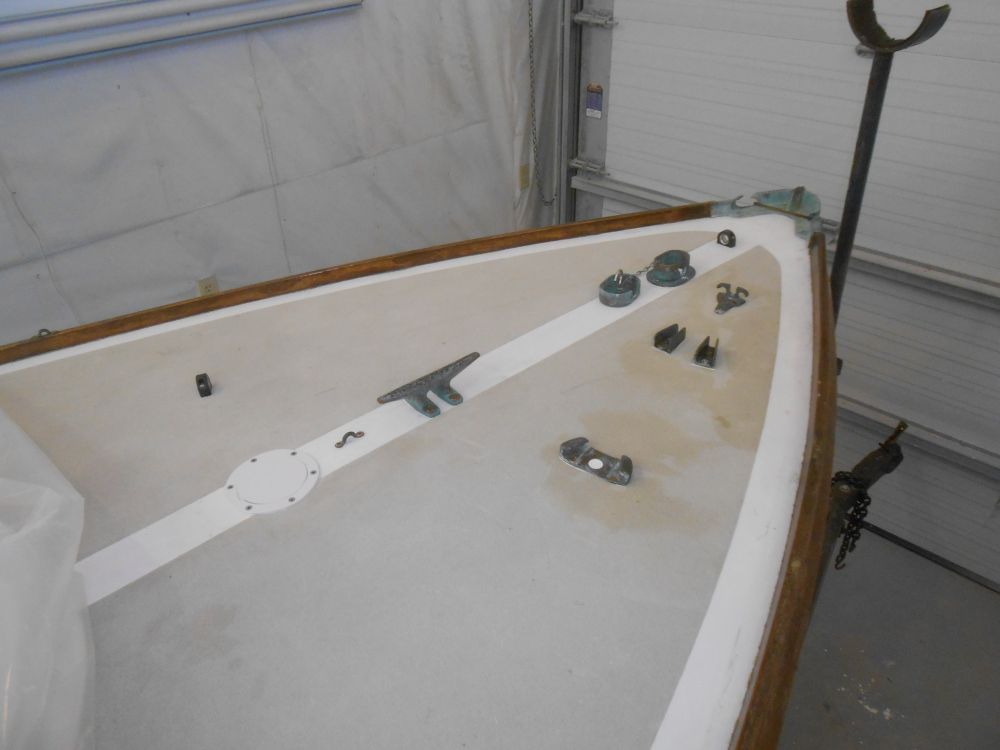
Next, I reinstalled the hardware on the foredeck. In each case, I drilled new fastener holes and tapped the holes for machine screw threads (where applicable), passing the new holes through the epoxy-filled holes I'd prepared earlier. After masking around the fittings as required, I installed them with new bronze or stainless fasteners (depending on the material of the fitting itself) and sealant, with backing plates and/or fender washers beneath, depending on the anticipated loads.


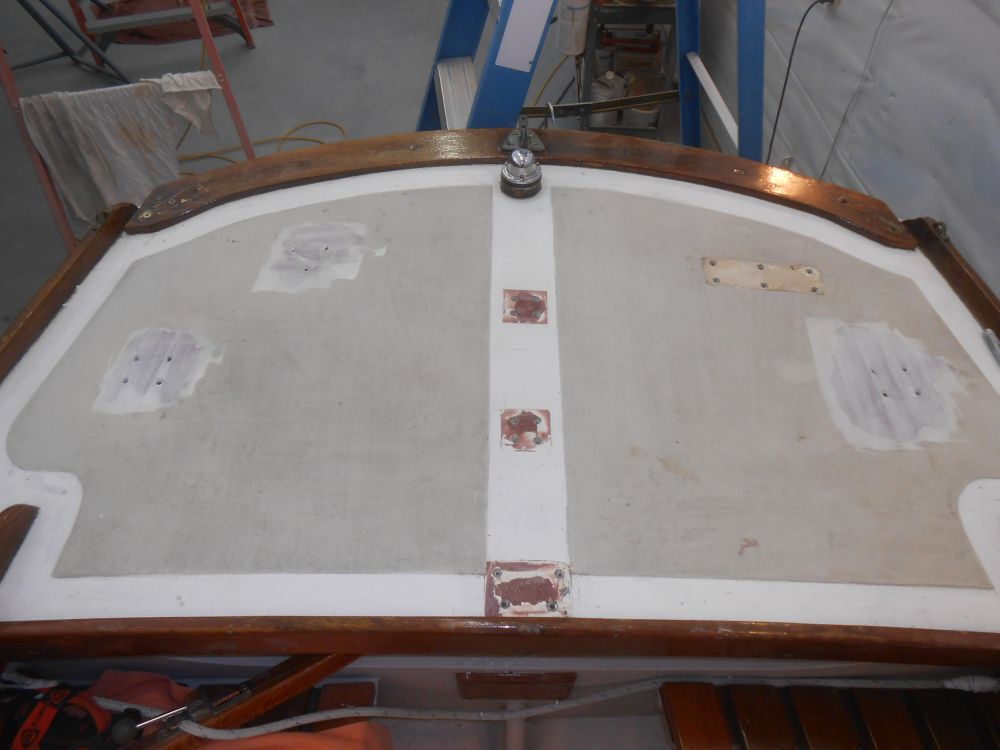
Before I could install hardware on the after deck, I planned to repaint the nonskid to hide various repairs that had been required to hide damage caused by the hardware's removal (thanks to the adhesive sealant used by a previous person). However, I went ahead and marked and drilled/tapped all the fastener holes now so I could lock in their positions while I still had the reference of the old holes visible.
Afterwards, I applied a "tie coat" of primer over the epoxy-based patches, using an epoxy primer; since many one-part paints don't cure properly over newish epoxy, this epoxy-based primer would allow me to overcoat the patches more quickly with the new nonskid paint, while ensuring proper curing.
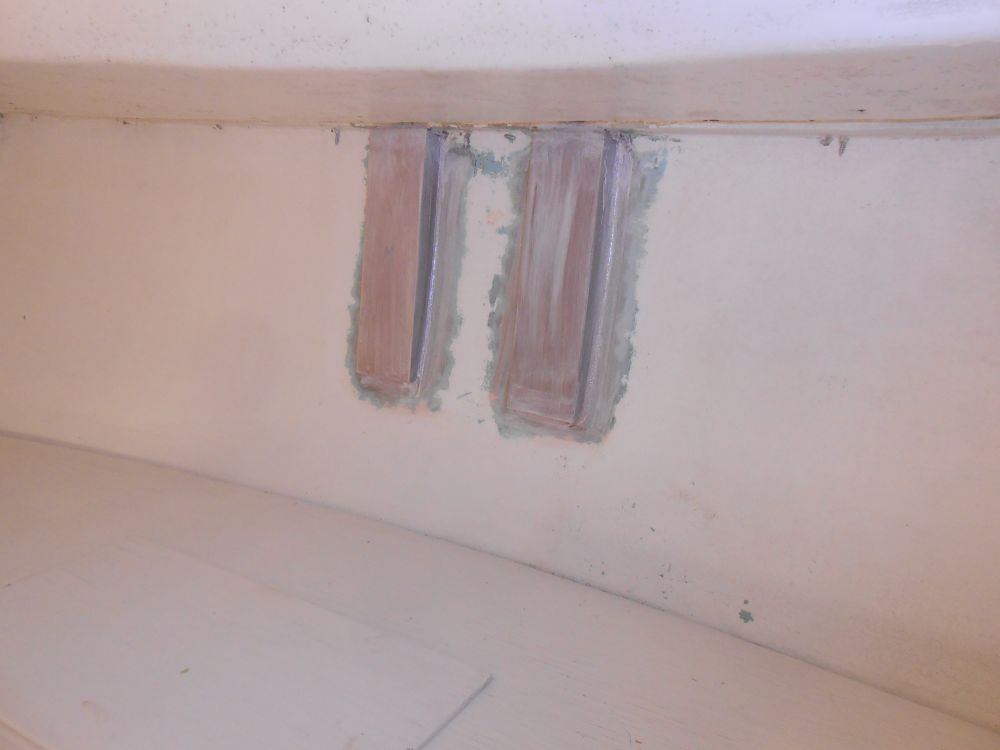
I also applied some of the epoxy primer to the new chainplates in the cabin so that I could proceed with painting those areas in the immediate future.

Total Time on This Job Today: 6.5 hours
