| Kaholee Refit |
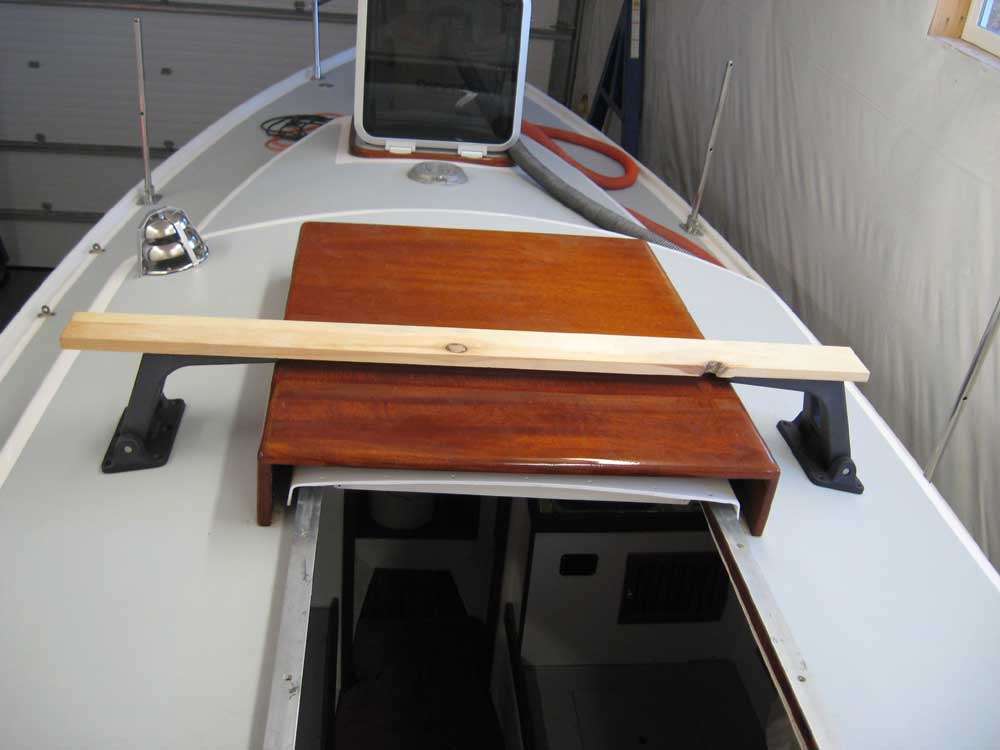
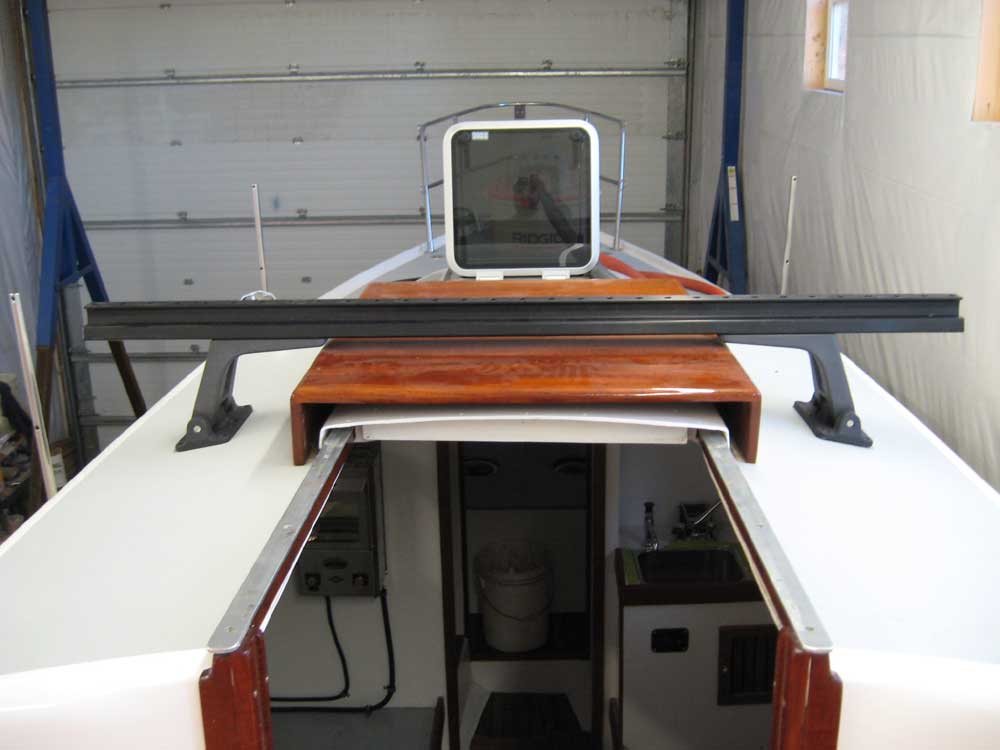
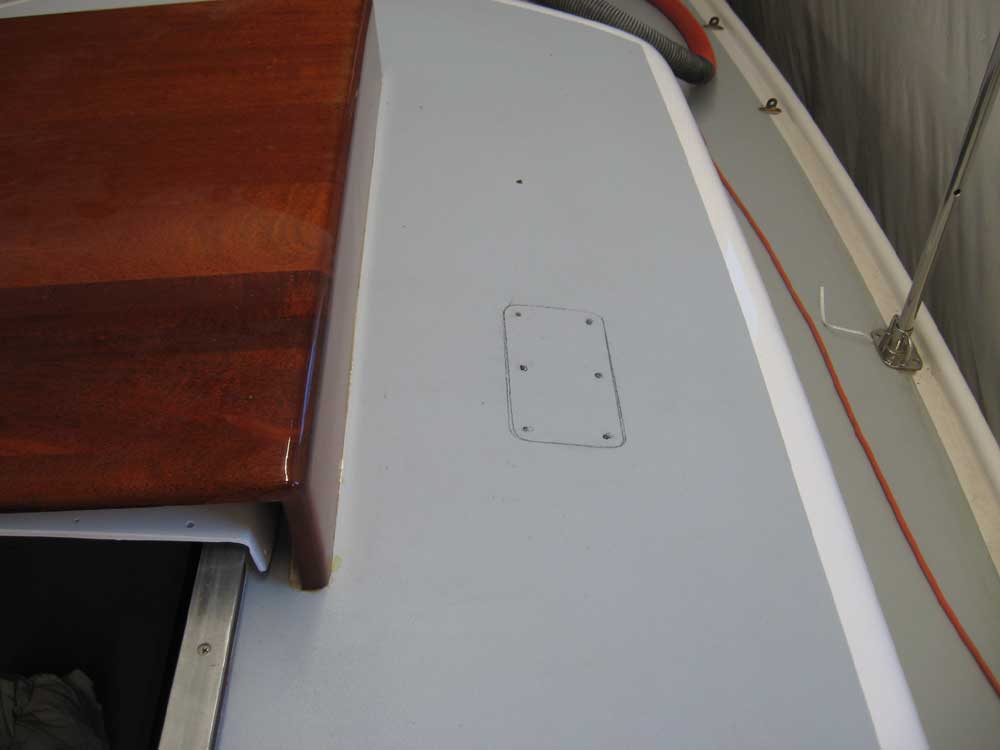
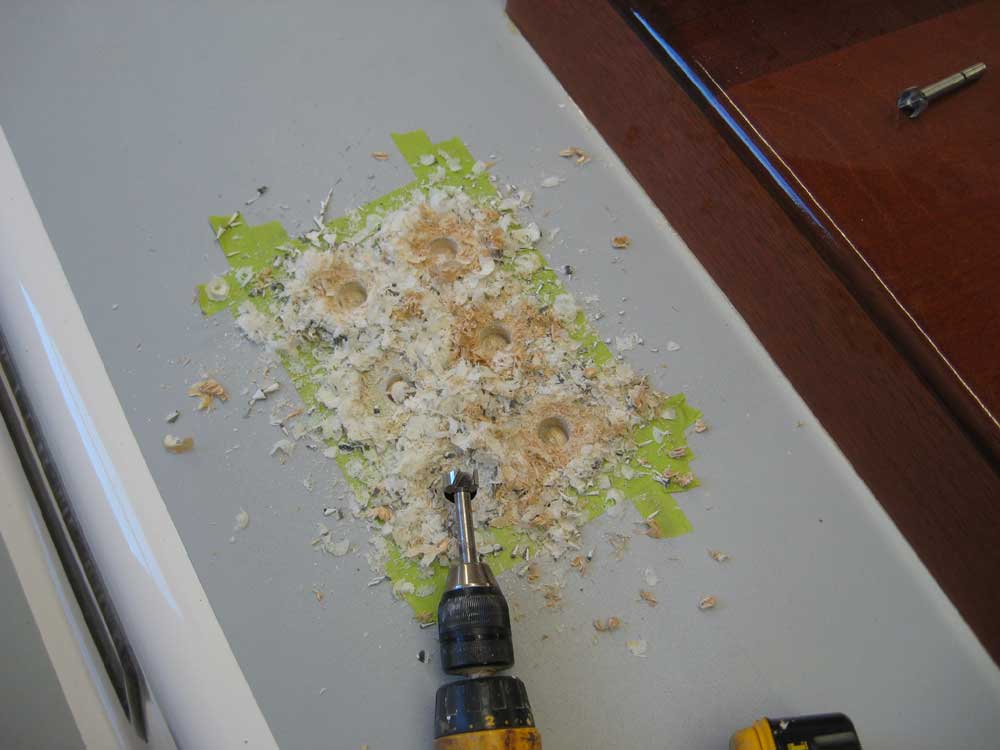
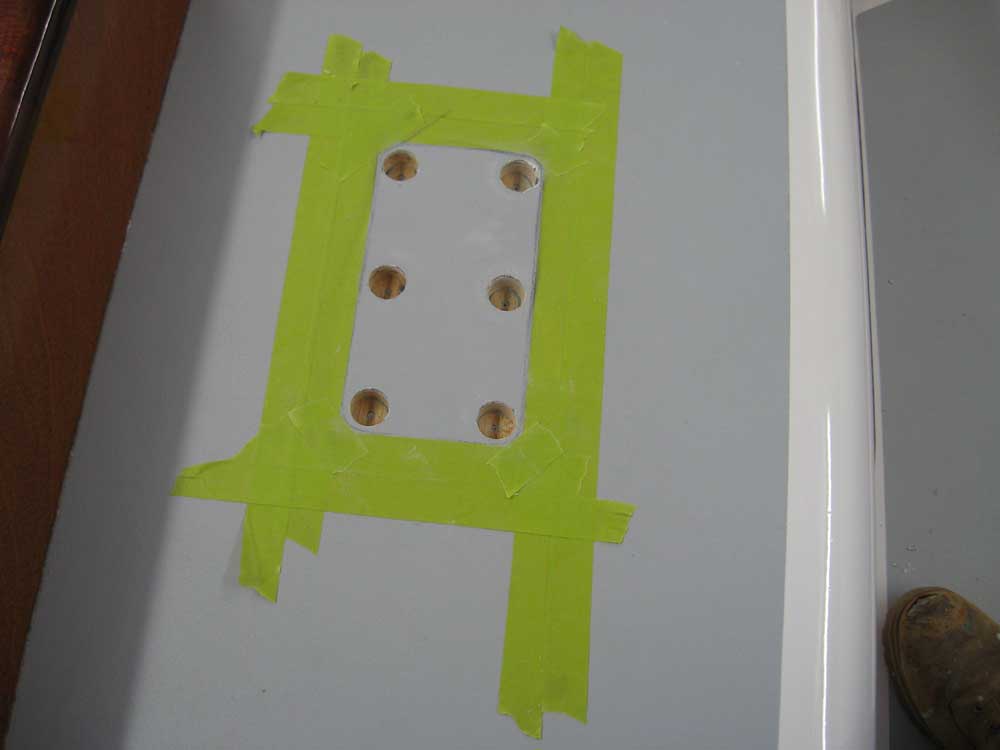
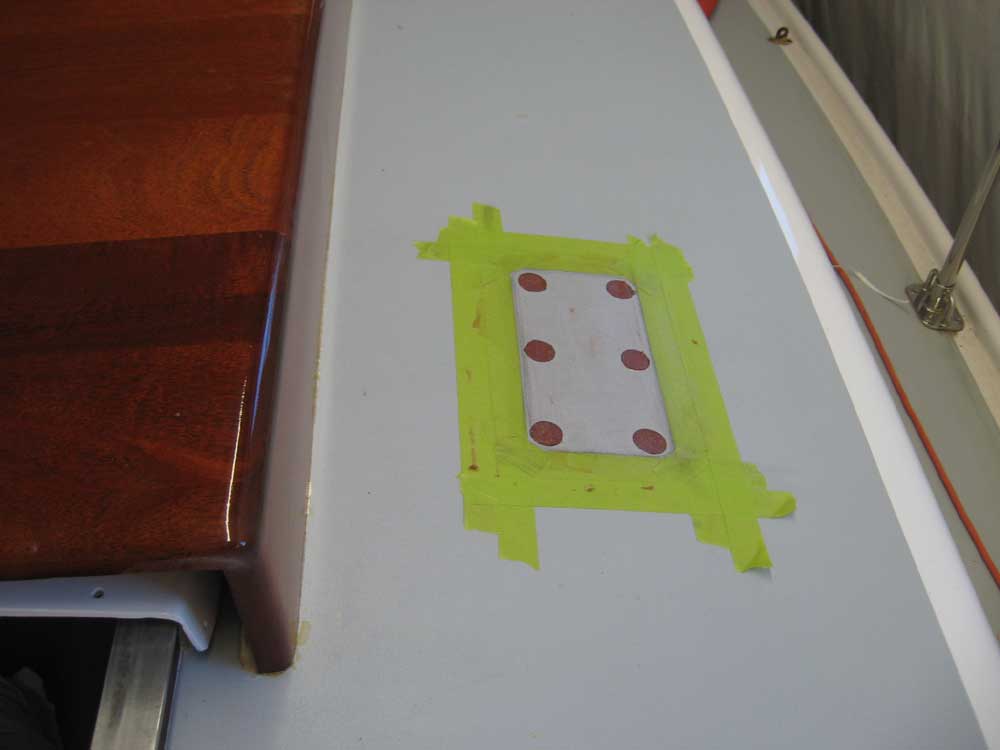
October 30, 2007 During yesterday's canvas templating, we determined the final location for the bridge traveler system on the cabin top, so with that decision made I decided to take advantage of some down time in the morning, while I awaited my delivery of parts and pieces for the engine installation and other remaining systems, and begin the steps in the traveler installation. The chosen hardware is a Schaefer 42-00 bridge traveler system. After double-checking the position, I marked the outline of the bases and the bolt holes on the deck, and then removed the temporary wooden cross piece that we'd installed as a mockup. Next, I bolted the hefty traveler track to the two bases with a couple temporary bolts to ensure that the base placement corresponded with the ability to bolt the track in place; it only required only minor adjustment (1/8" total). Later, I'll have to cut the excess track ends to fit. With the position confirmed and the outlines remarked as necessary, I taped around the perimeter to protect the deck during the next steps, and the bored 7/8" holes at each bolting location, passing through the top skin and core only while leaving the bottom skin in place. The large holes served to delete the core around the eventual fastener locations. Then, in a familiar step, I filled the openings with thickened epoxy. |
|
|
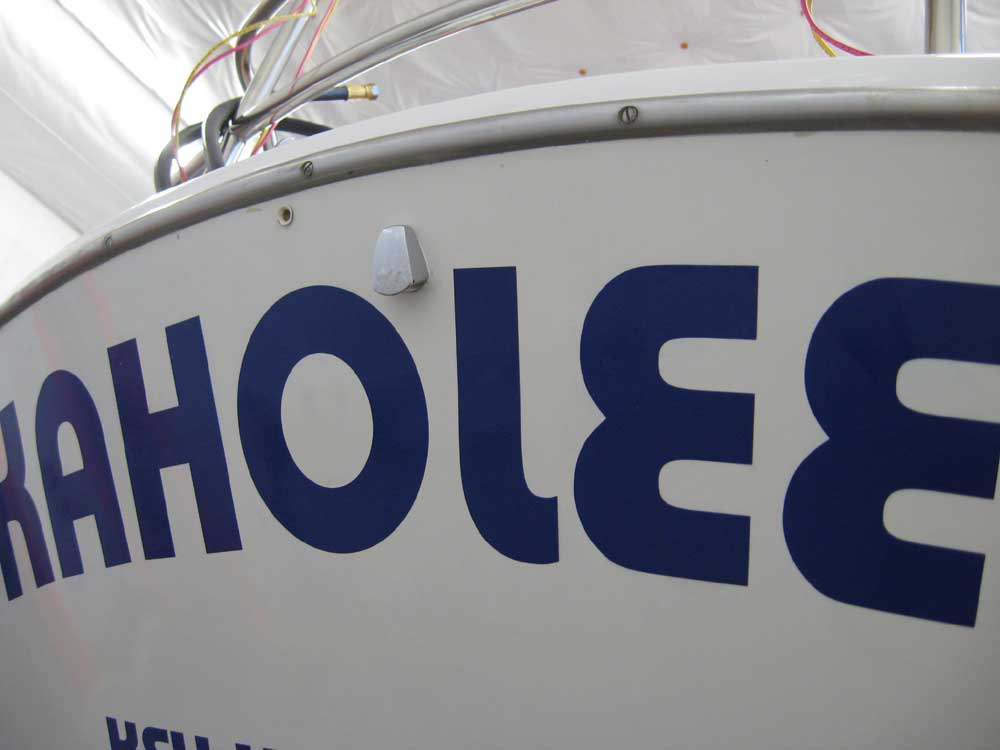
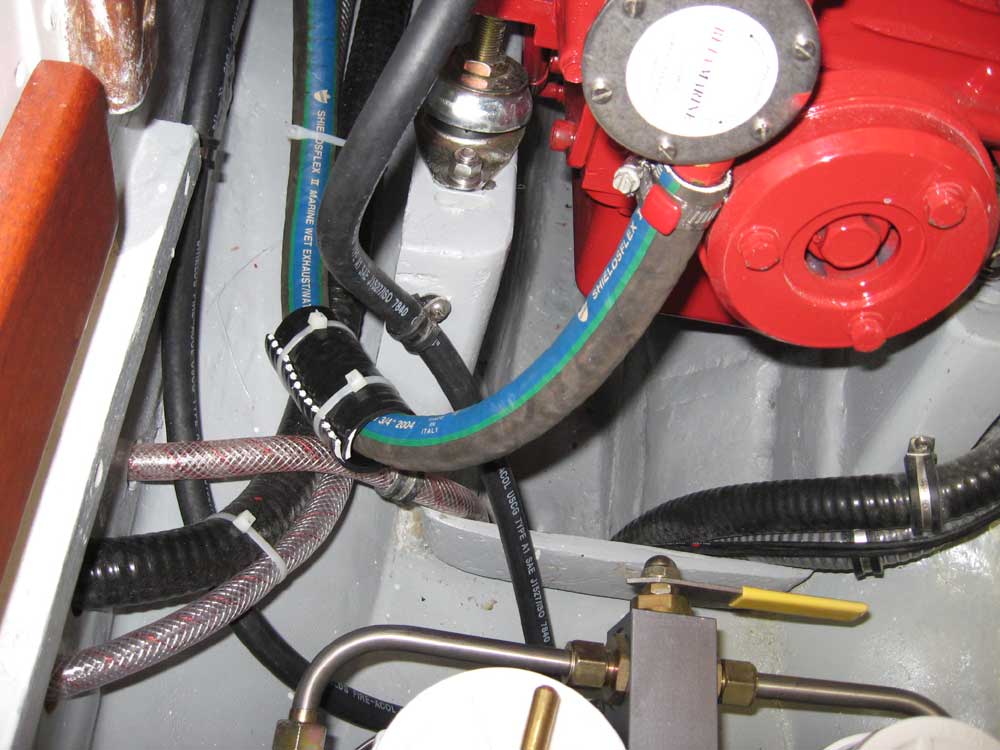
Once my supply of hose, clamps, and other items arrived, I set to work on the remaining portions of the fuel system. I began with the vent fitting; I installed the newly-arrived 90° fitting in the hole I drilled last week (I had to ream the hole out slightly, since the new fitting was a little larger), and installed it as required, with sealant around the clamshell fitting on the outside and some thread sealant on the bronze pipe elbow within. I secured a 5/8" hose barb into the other end of the elbow, and cut and secured the vent line, which I'd previously run. |
|
|
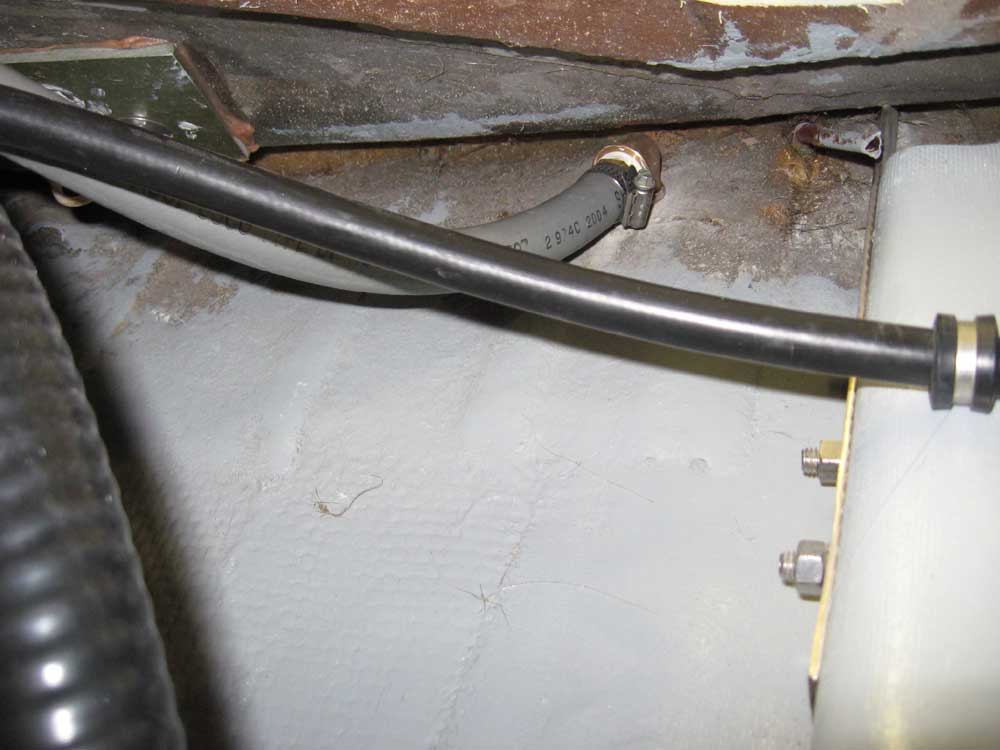
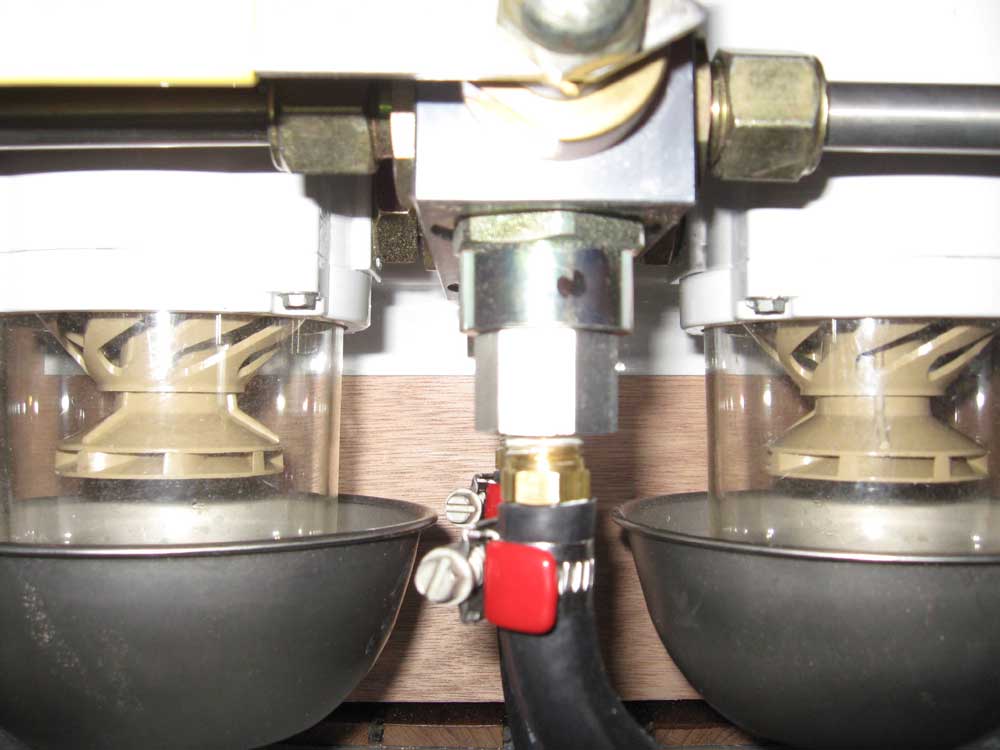
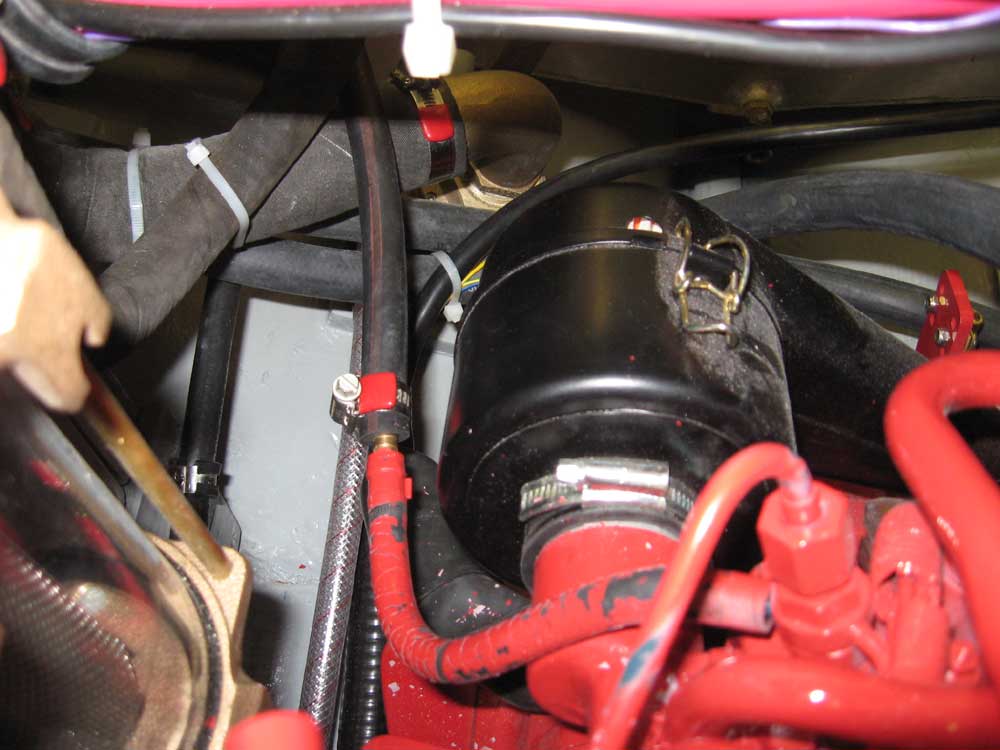
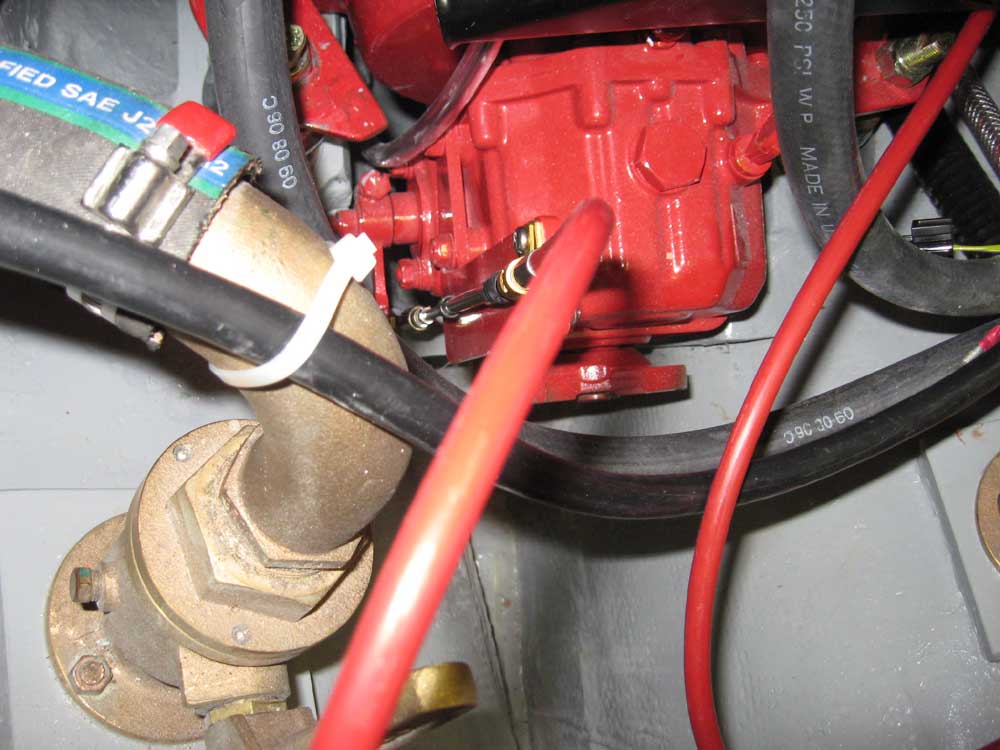
Next, I installed the 1/4" fuel supply and return lines, a relatively straightforward process. At the tank end, I installed a bronze shutoff valve, since the tank was higher than the connection point on the engine, and ran the hoses to and from the double filter setup as required, securing the hoses along their runs with rubber-lined stainless clamps as required. Similarly, I ran the return line from the supplied fitting on the engine back to the nipple on the tank. This completed the fuel system. |
|
|
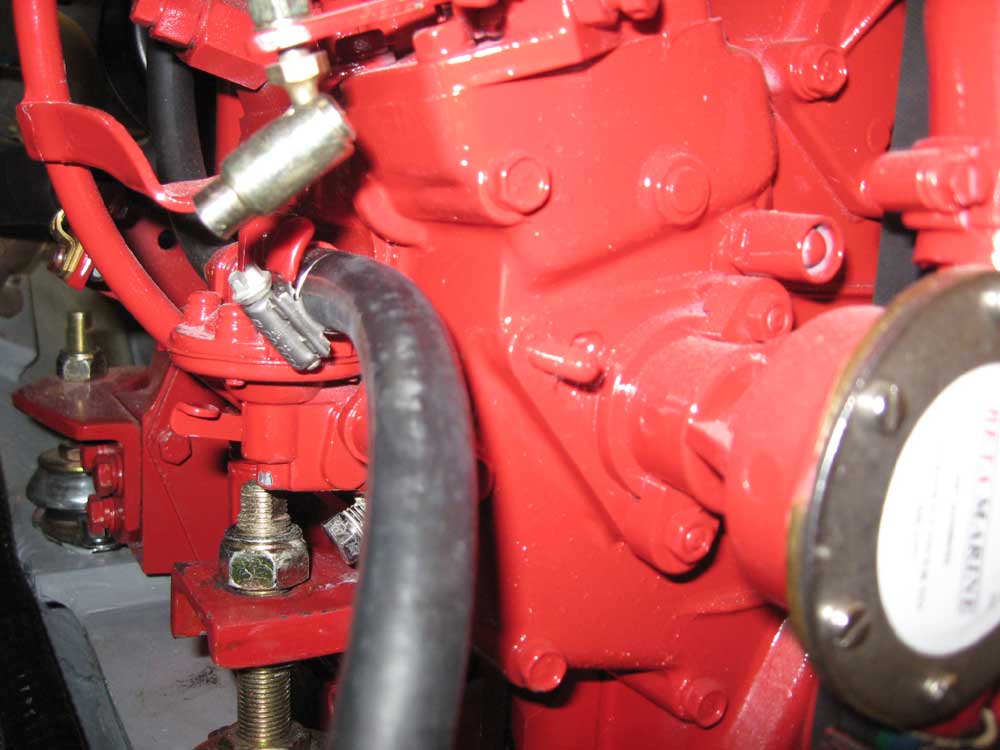
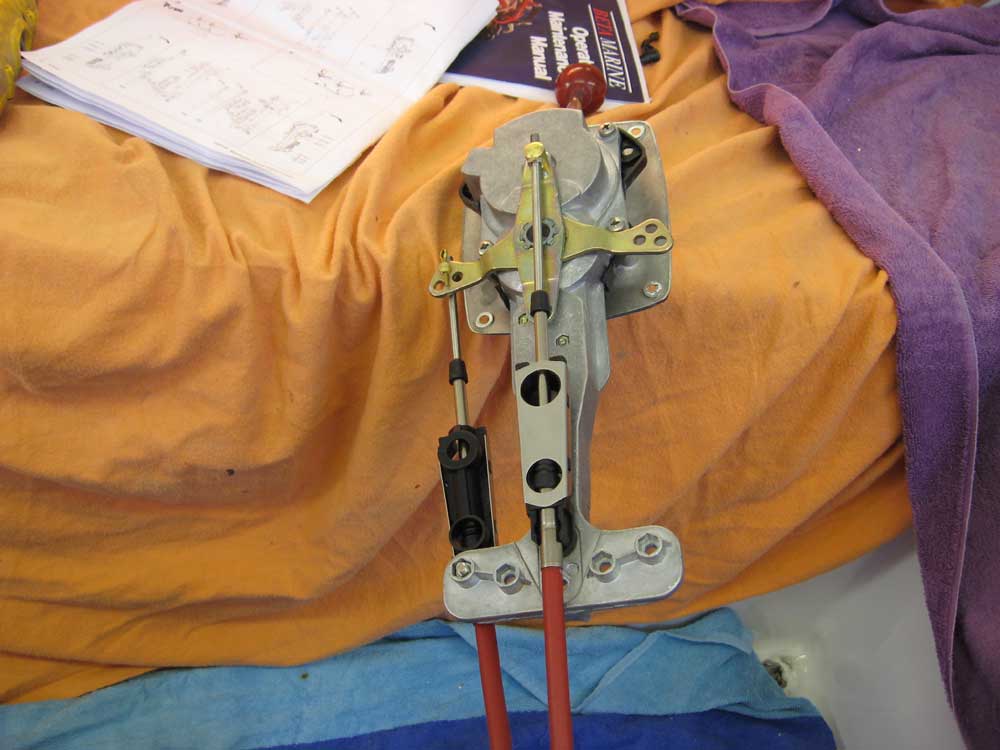
I continued by installing the engine control cables. I began by sorting out the array of parts that came with the Vetus SISCO engine lever, and then made the connections of the control cables to the controls. This is a process that always seems more bewildering before getting underway than it proves to be in practice (it's actually very simple to make these connections). First, however, I had to determine which direction the cables needed to move in order to operate the engine levers properly: push or pull (for forward/reverse or for more throttle). The throttle control clearly required a "pull" motion to accelerate, but I had no idea which way was forward or reverse on the gearbox, since the control lever moved vertically. It seemed to make sense that "up" was forward, which meant that the gearbox cable would also be a "pull" motion. The transmission and engine manuals were no help in making this determination. So I moved forward and attached the cables to the control according to the diagram for "pull" for each cable. Except that dumbly, I followed the wrong two diagrams and actually secured them for "push", so I had to change them afterwards (no big deal...just one of those things). Note that the photos actually show the cables secured in the incorrect configuration, since I switched them after I had taken the photos. |
|
|
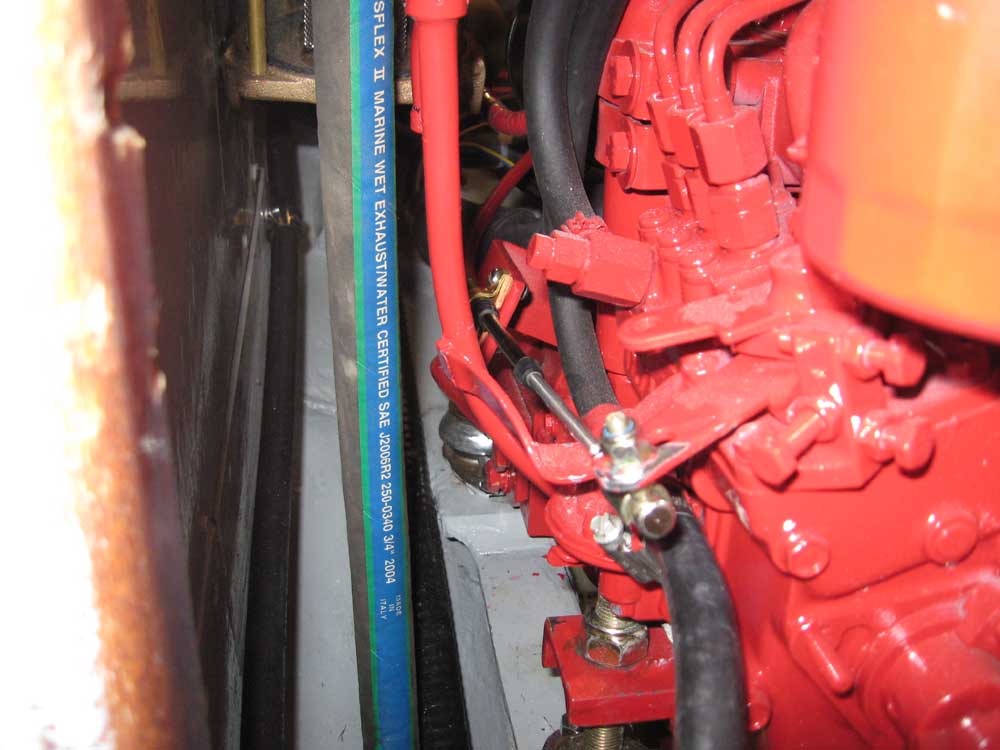
With the connections made at the control, I continued by installing the cables on the engine--another straightforward task complicated significantly by tight access. After some fighting with the tiny parts of the cable clamps, I eventually managed to secure both cables and obtain satisfactory operation from the system, possible minor adjustments for cable travel notwithstanding. |
|
|
|
|
|