| Kaholee Refit |
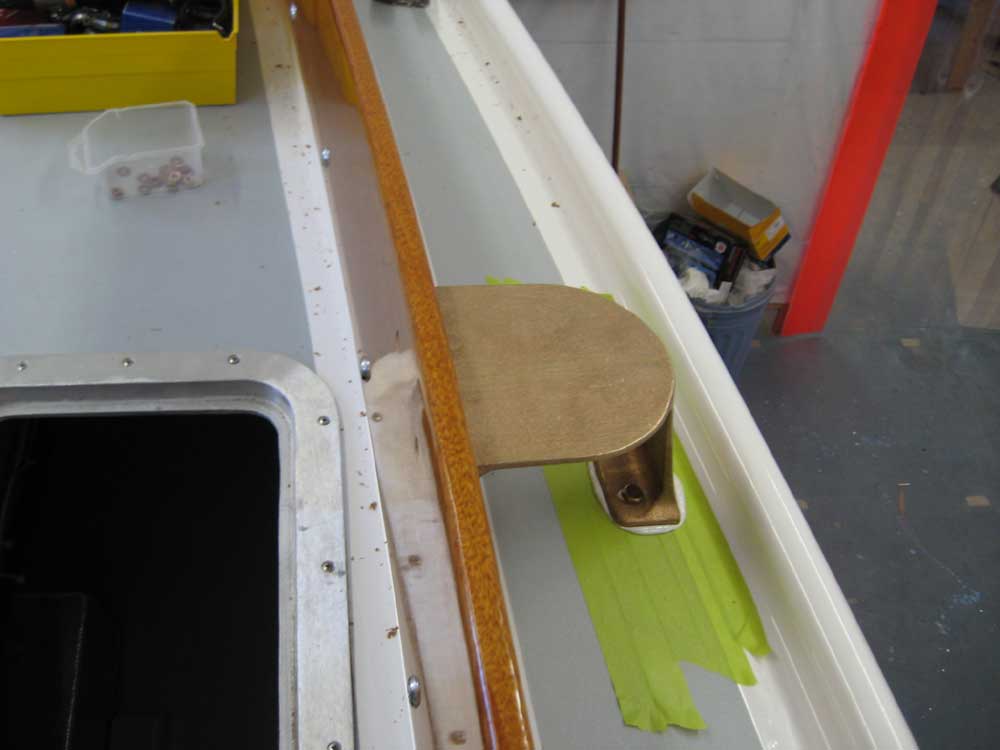
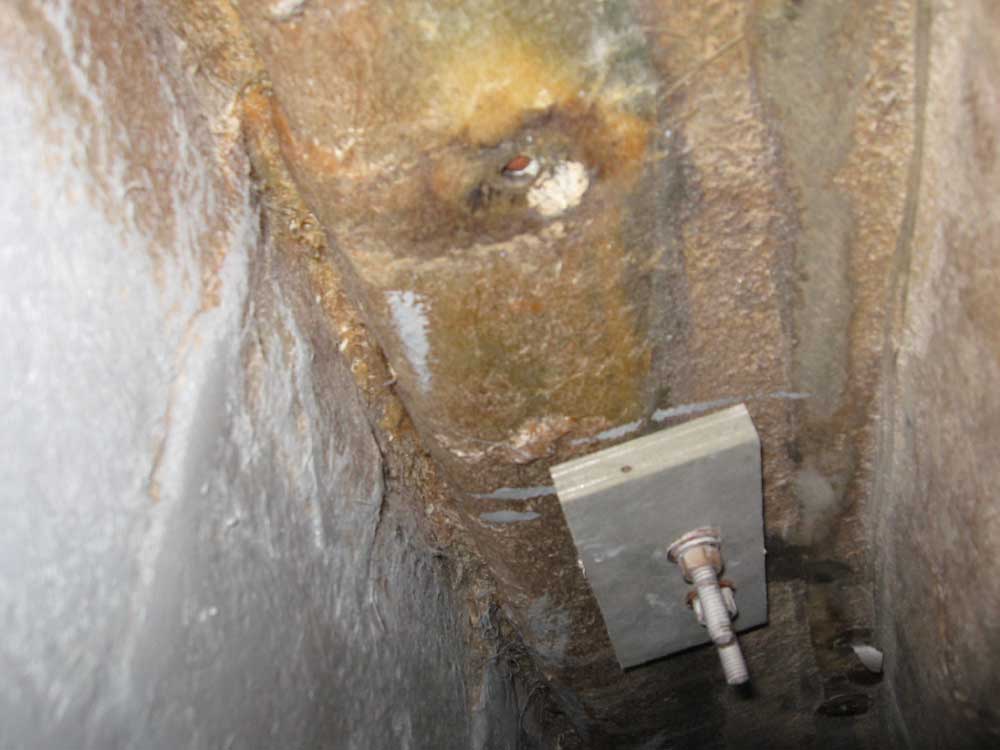
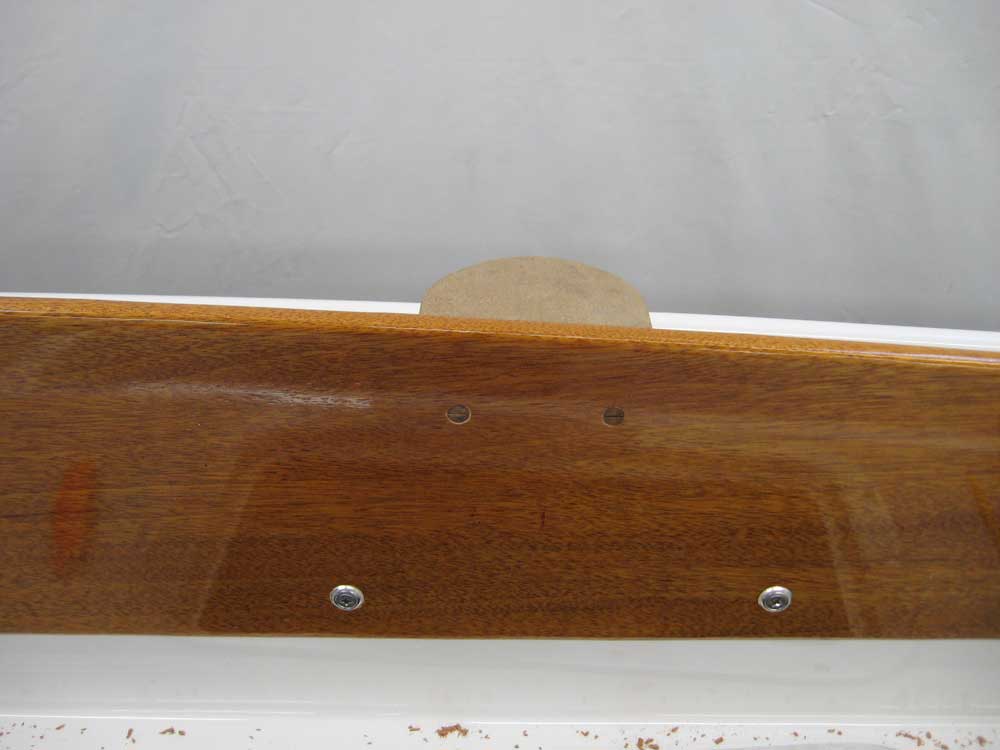
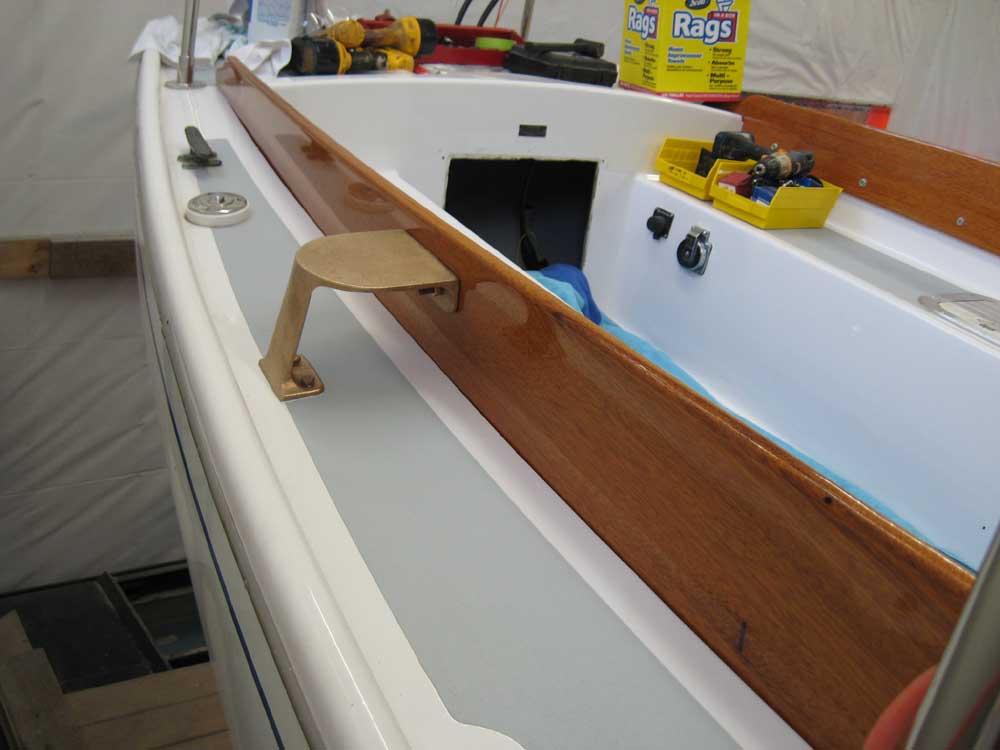
October 29, 2007 Expecting the arrival of Richard Hallett sometime late in the morning to begin the templating process for the dodger and cockpit bimini/enclosure, I was reluctant to dive too deeply into any large projects. This was just as well, since I had little in the way of materials with which to work; I had a wide variety of hoses, clamps, and other supplies on order for a Tuesday morning delivery. However, I did want to get the winch bases installed so they'd be in place as a reference for the dodger template. I had played with the location over the weekend, and with a minor adjustment I was ready to go. The installation was relatively straightforward: two 5/16" hex bolts to secure the base to the deck, with a 1/2" FRP backing plate beneath the deck, and a pair of 1/4" flathead machine screws to secure the upper flange to the coaming. I countersunk the heads of these screws flush with the inside of the coaming. Since this portion of the deck contained no core material, I was able to drill, seal, and install the bases in short order. |
|
|
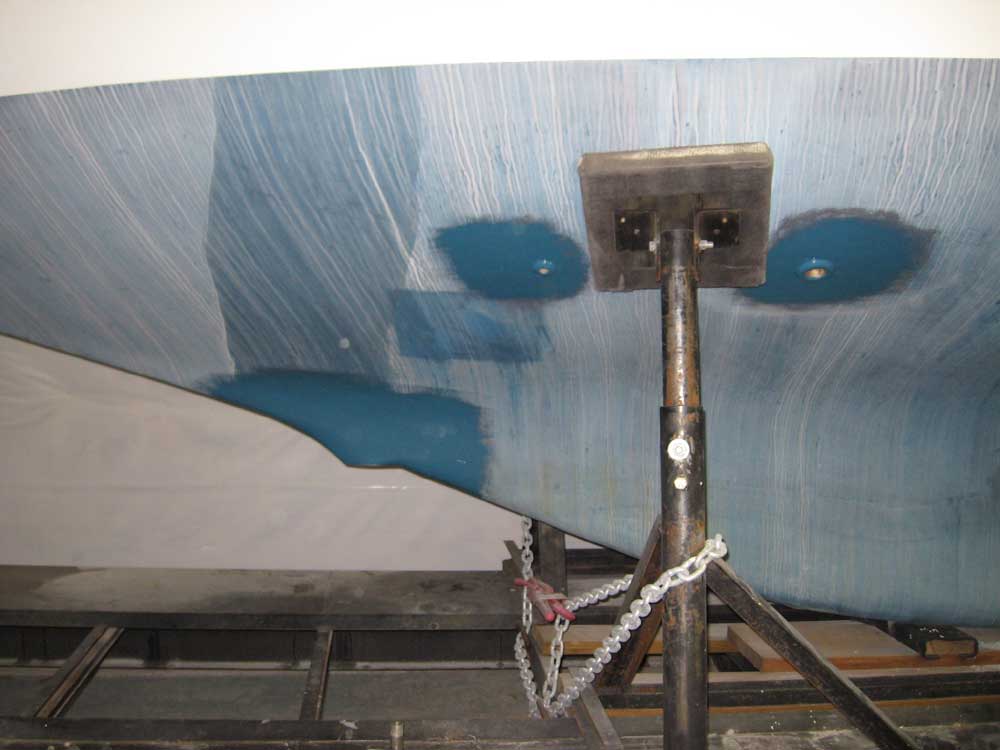
Next, I completed a few basic tasks that seemed well suited to this drifting-sort of day. Since the boat was to go outdoors for storage in the near future, I wanted to paint over the various patches of epoxy on the bottom--around patched through hulls, around the new depth transducer, and so forth; I didn't want the UV-sensitive epoxy to sit out for months. So I applied a coat of bottom paint, purchased in September, over the patches to protect them; later, the entire bottom requires repainting before launching, but it's best to wait on that till later. |
|
|
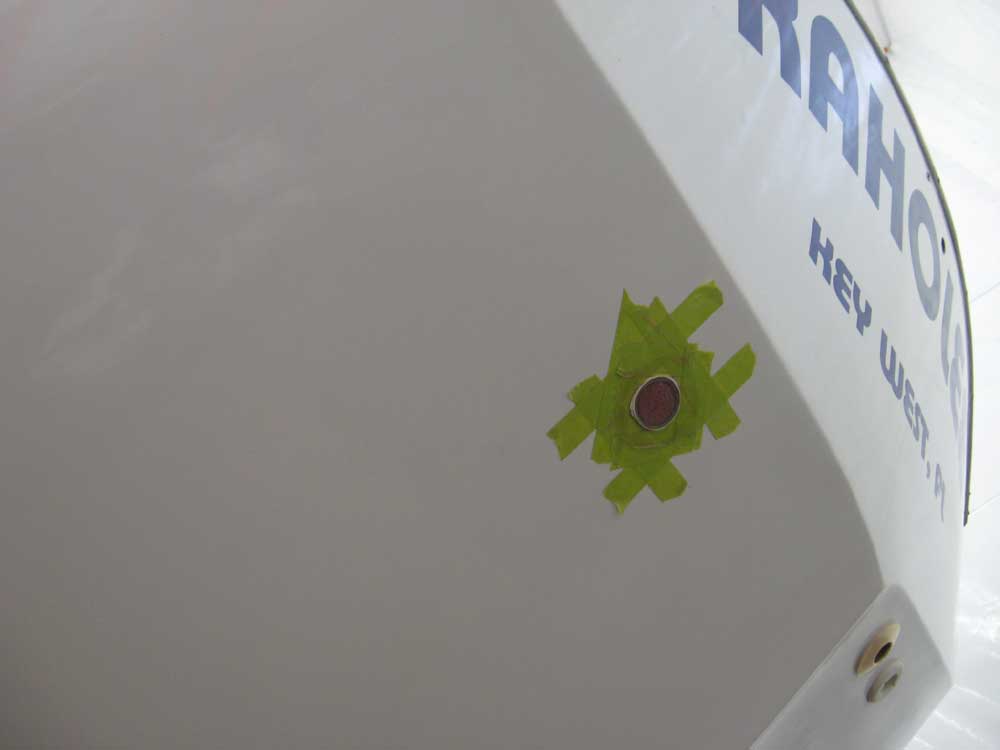
I had a new exhaust fitting on order, since the diesel engine required a 2" outlet, so I took this opportunity to cut off and fill the old exhaust outlet so that I could redrill the new, larger hole for the new fitting. I cut off the protruding fiberglass end of the old outlet, ground it nearly flush with the surrounding hull (avoiding, of course, any contact with the hull paint), and installed some epoxy to fill in the center and therefore provide me later with a bearing surface for the arbor of my hole saw. Exciting stuff. |
|
|
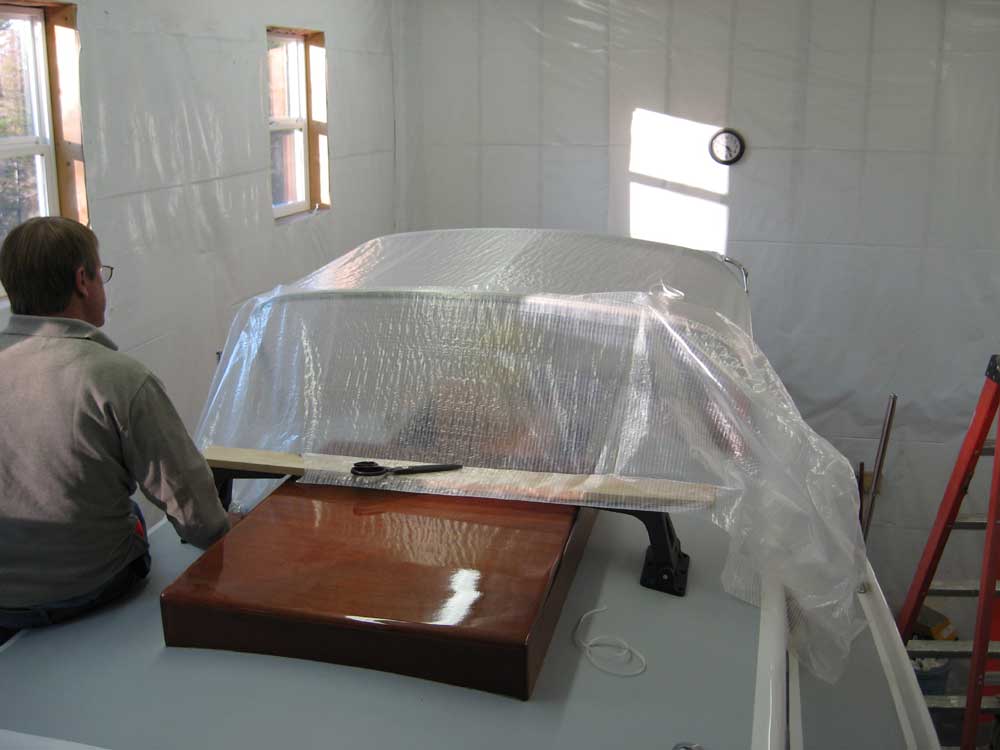
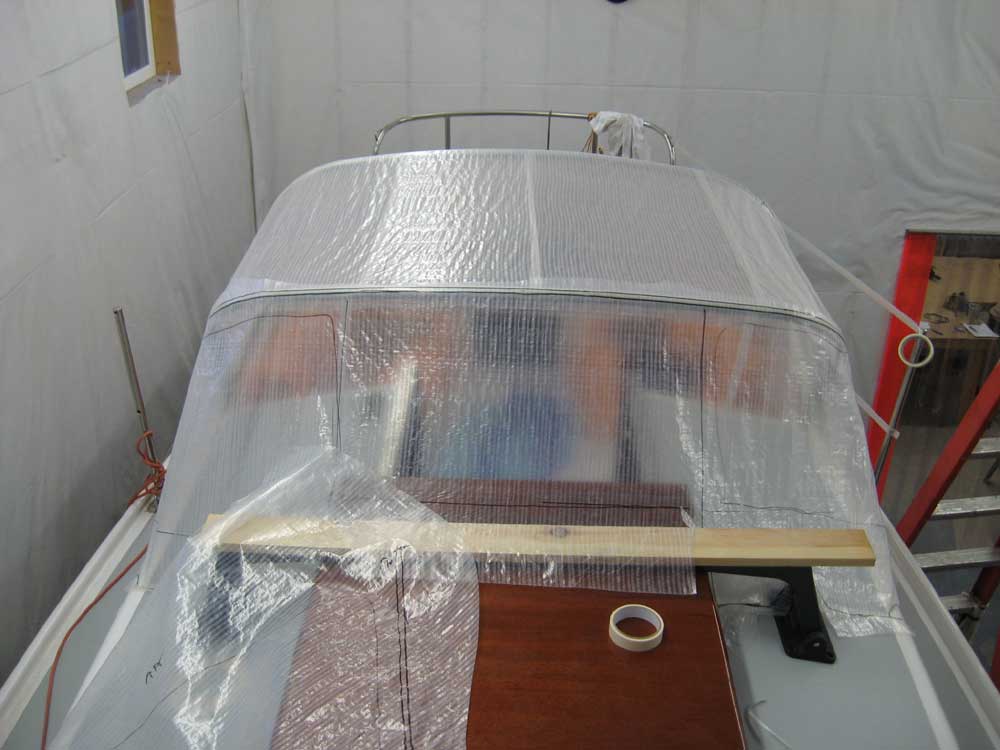
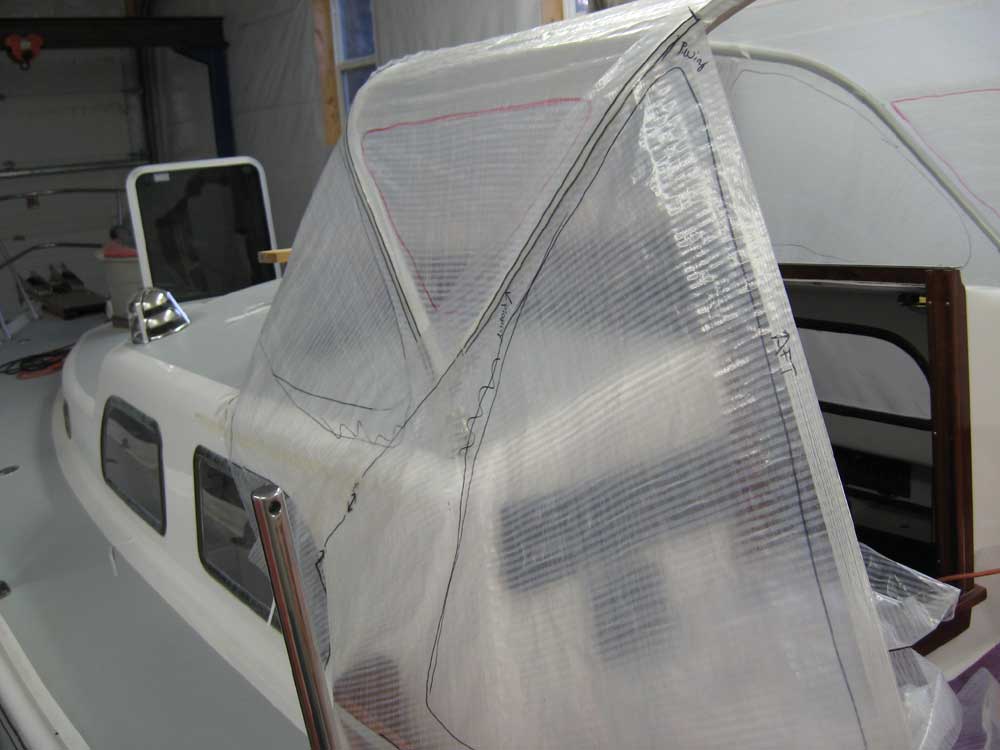
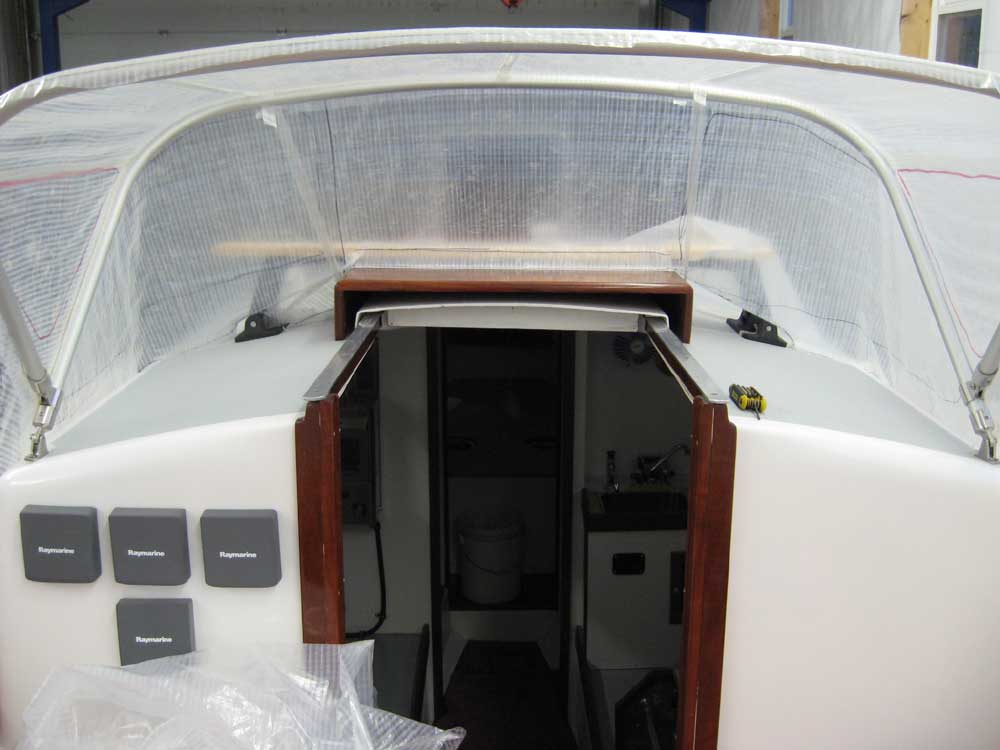
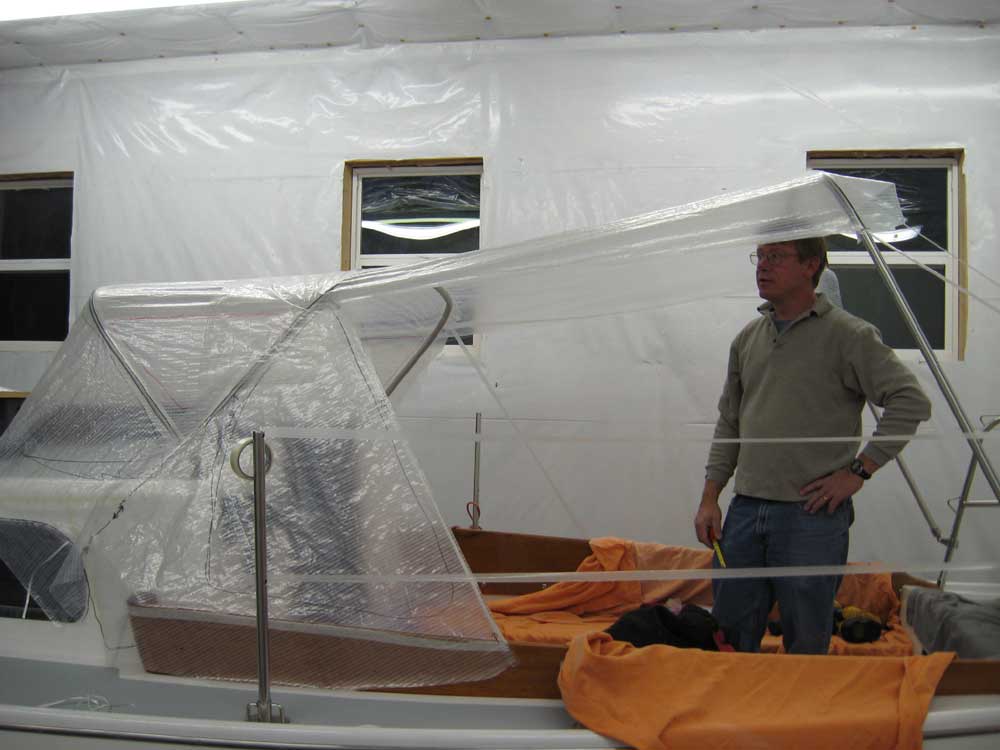
With the holding tank installation coming up soon, I also took this moment to paint the inside of the locker where the tank would go, save for a strip where I thought I might need to install some epoxy adhesive. I don't seem to have a picture of this on hand. As it happened, Mr. Hallett was rather a bit later than I'd expected, and didn't arrive till 1500. Since I'd planned to take care of non-related administrative tasks while waiting for his arrival anyway, I didn't do any further projects on the boat during the day. Once he arrived, I stayed on hand to make some decisions about the dodger design, height, and general arrangement. Here are some photos of the dodger template during the process. The dodger and bimini are designed around the relatively new H2ube framework invented by Hallett--a very slick system. |
|
|
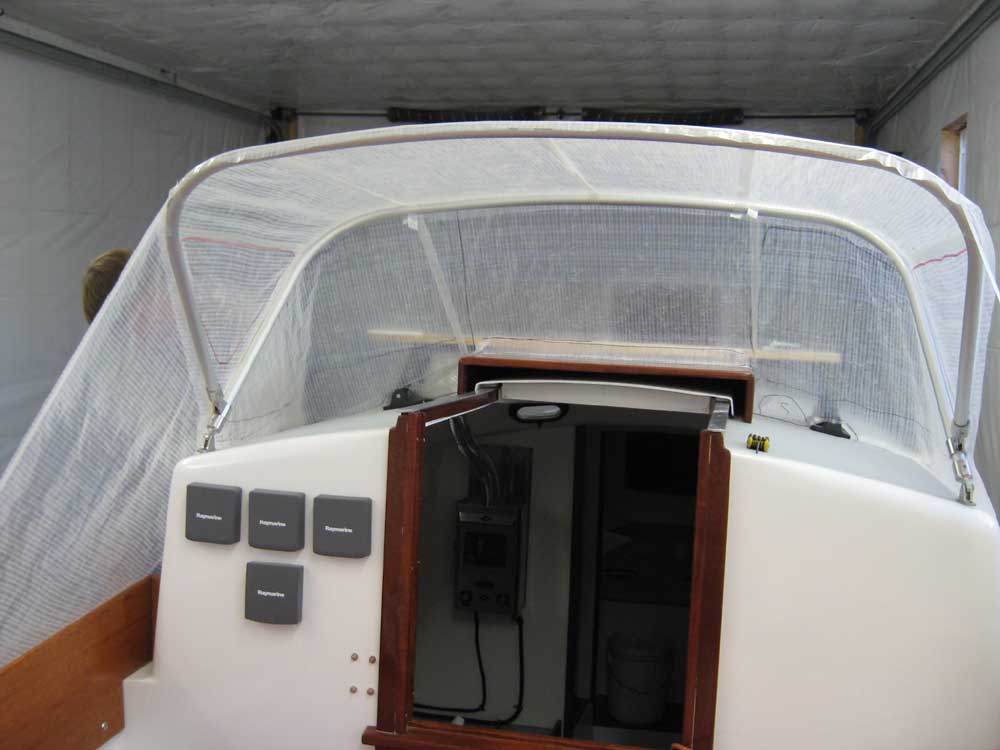
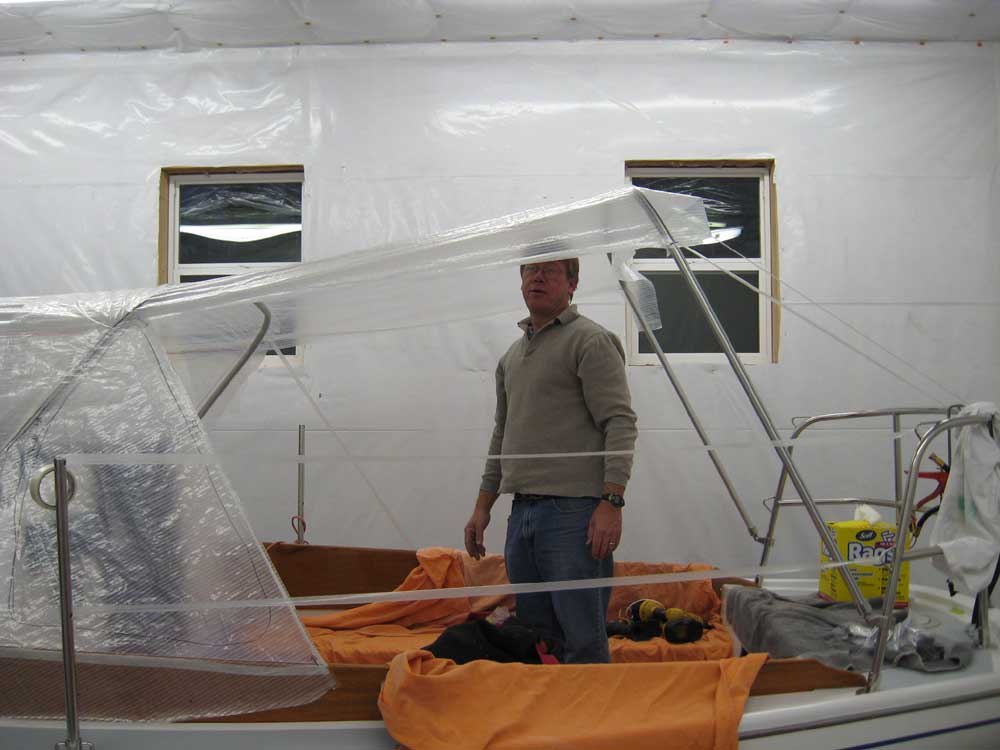
Once the dodger was templated, we turned to the bimini top. A variety of factors came together to make the ultimate position of this a question for now: overall height, angle of the forward-facing aft bow (support tube), and so forth. Since adjustments to the basic position and height of the bow would not affect the shape of the top itself, Richard went ahead and templated the top, subject to final approval; the side curtains could be templated later. We ended up with a top that allowed standing headroom at the aft end of the cockpit, and about halfway forward. Any higher, and not only would it look very odd, but it seemed it would interfere too significantly with the boom. Even at this height, there's a potential for interference, but there's no way to know for sure, and adjustment of boom length or height may be something that's required later in order to accommodate the top no matter what. |
|
|
|
|
|