| Kaholee Refit |
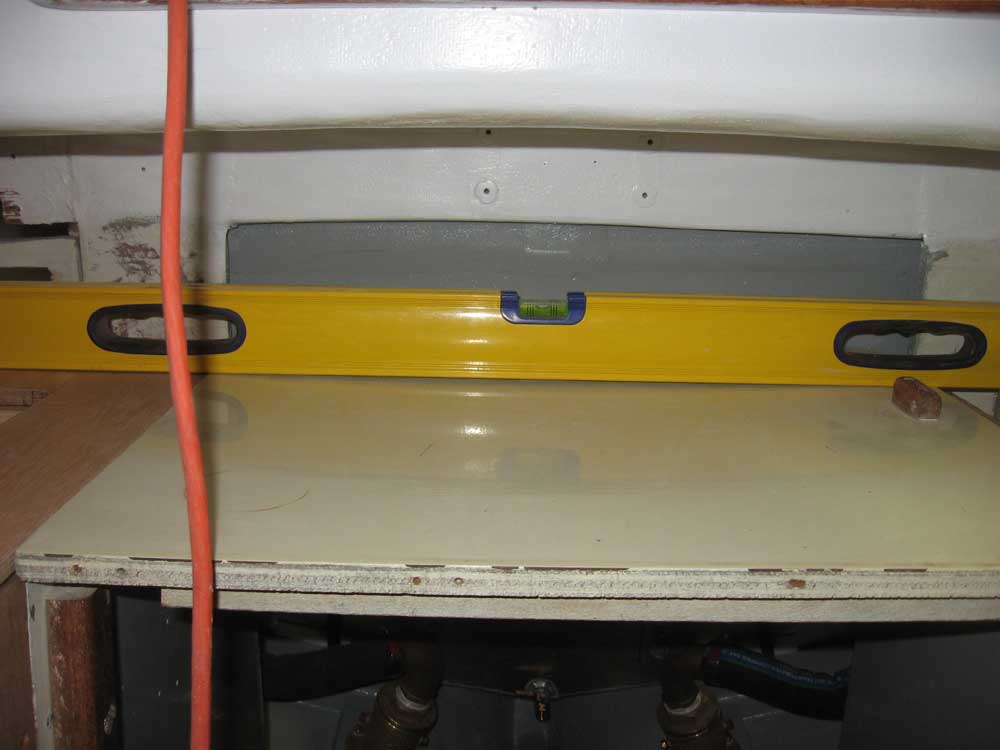
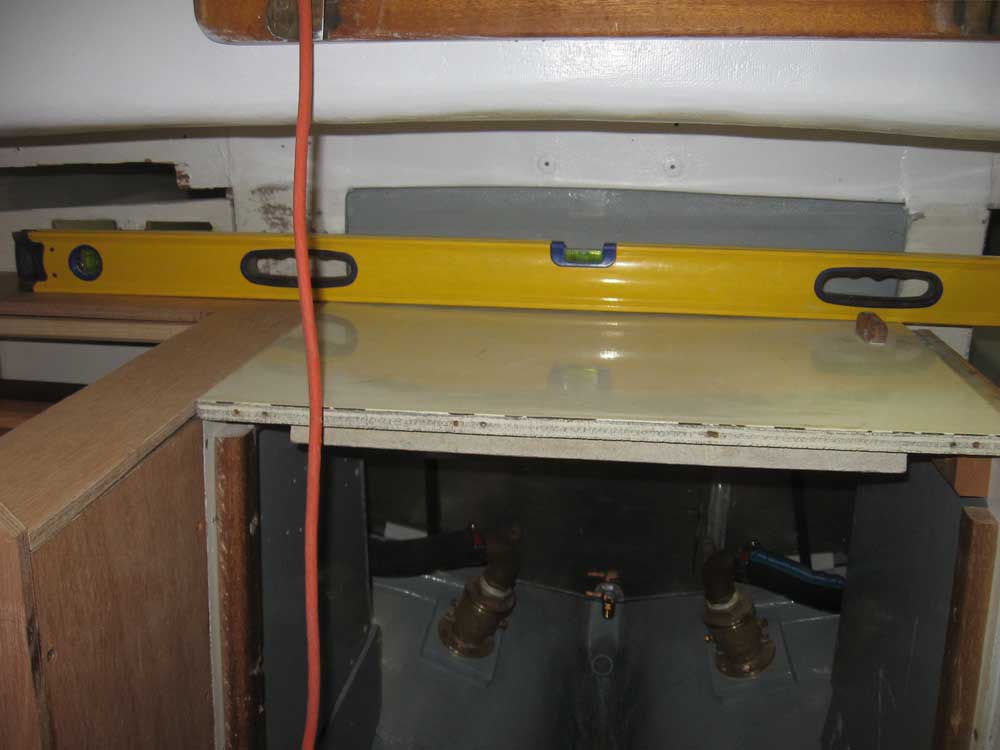
March 21, 2007 I continued this morning with the new interior structures. With the major work wrapped up on the starboard side, I turned to the simpler cabinetry to port. To begin, though, I first had to address the top of the engine box, which, as I noted earlier, was off-kilter and out of level. I needed it to be level and even with the top of the new, adjacent galley countertop, and this meant that I had to raise and replace the cleats on which the top rested--a simple enough chore that was complicated only by the challenge of holding things in the proper alignment without a spare set of hands or so. The top ended up about 1/2" higher than its original position on one side. There's also a bit of sag to the top that I'll address later. |
|
|
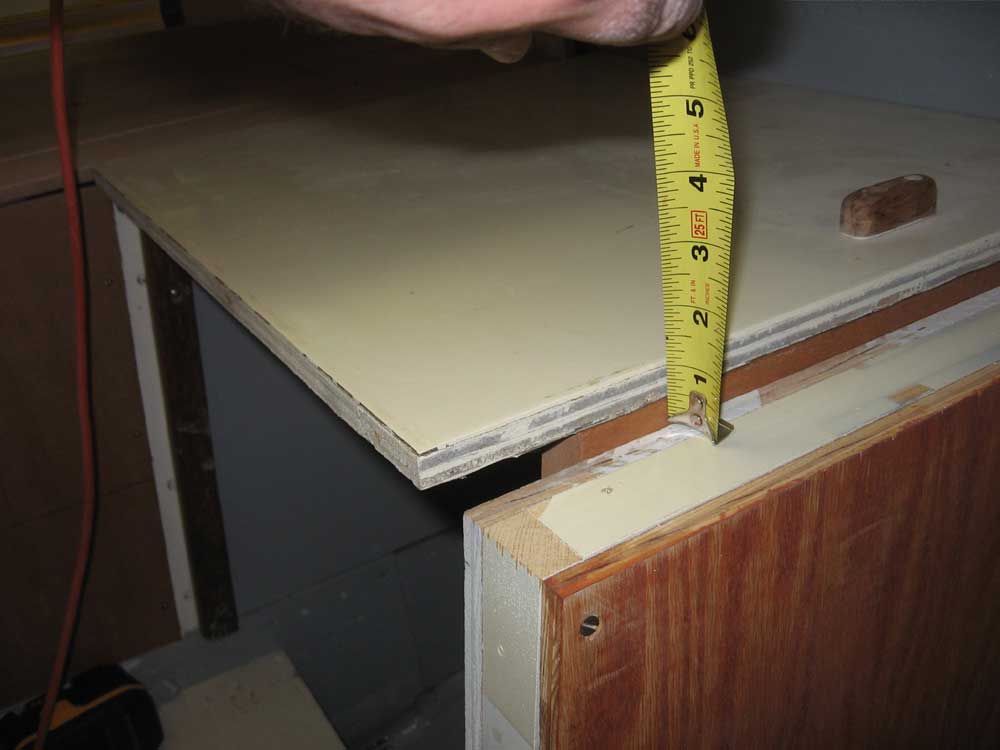
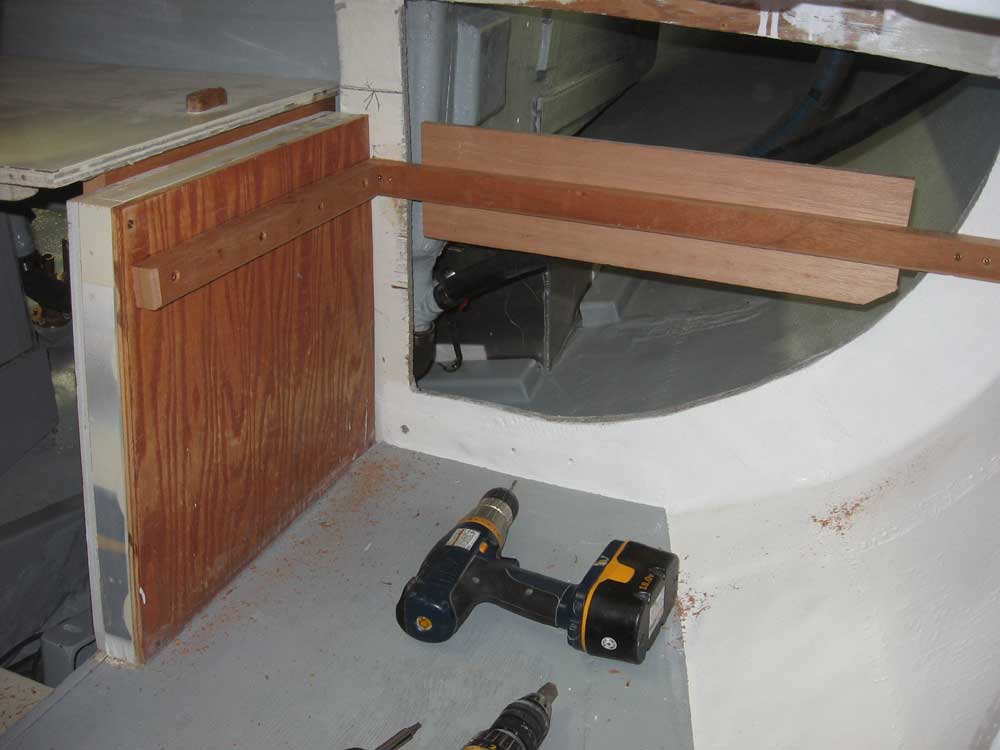
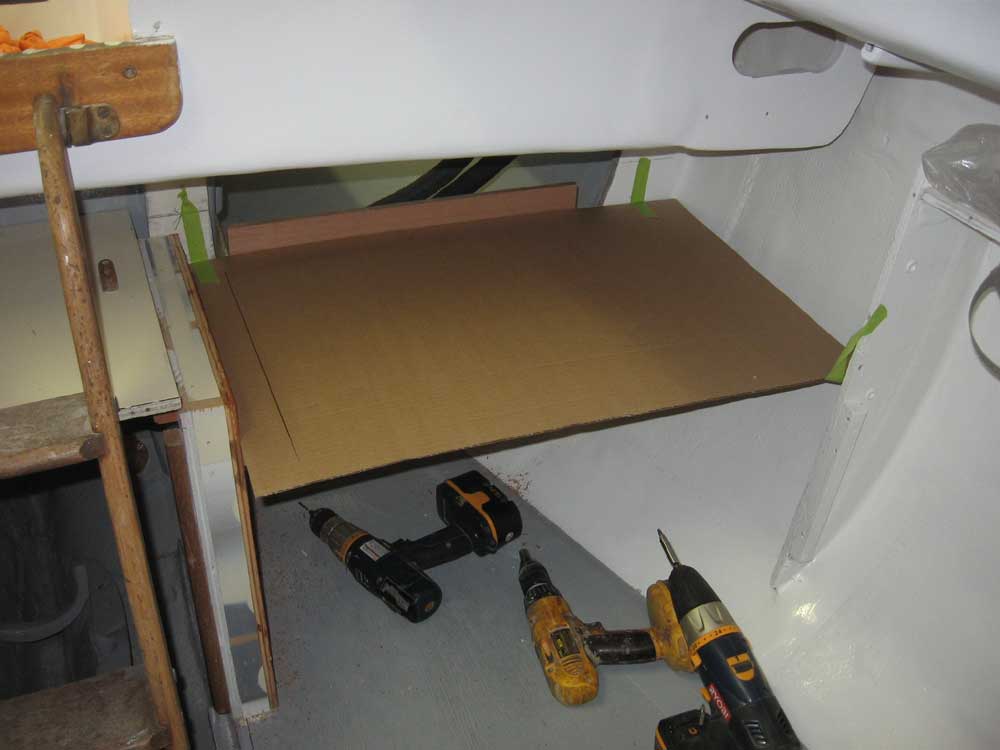
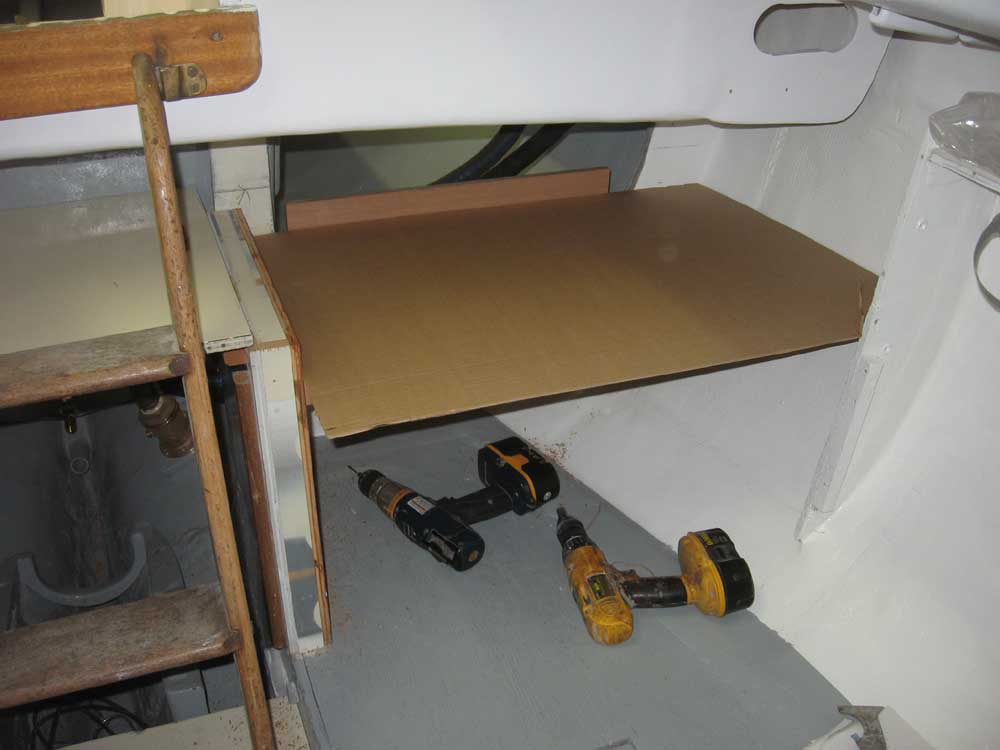
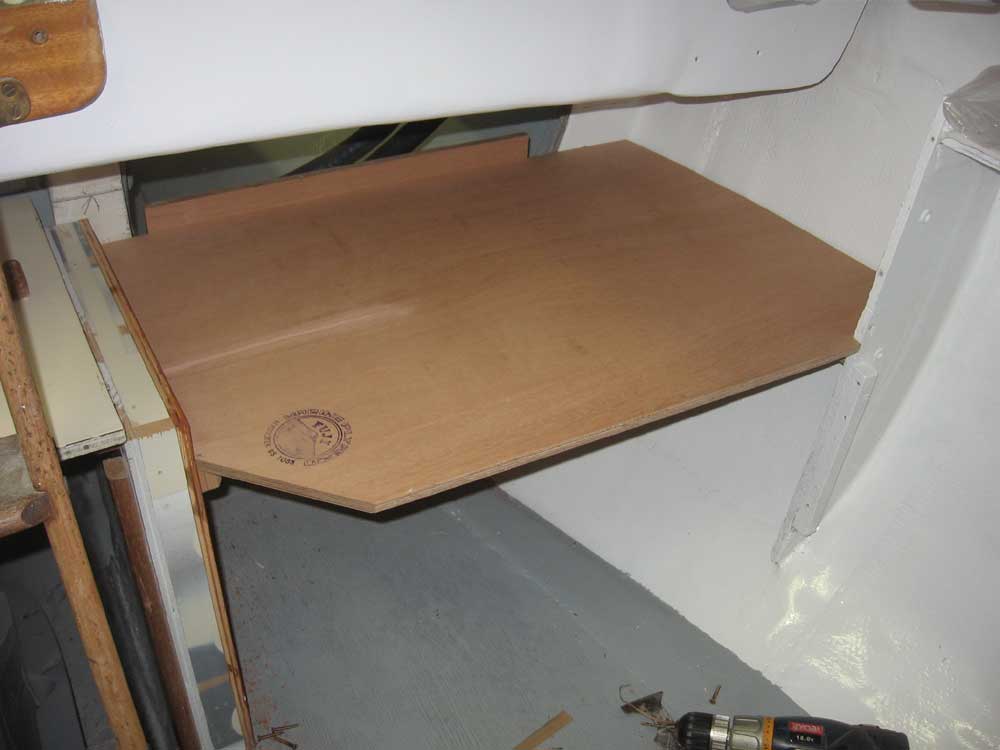
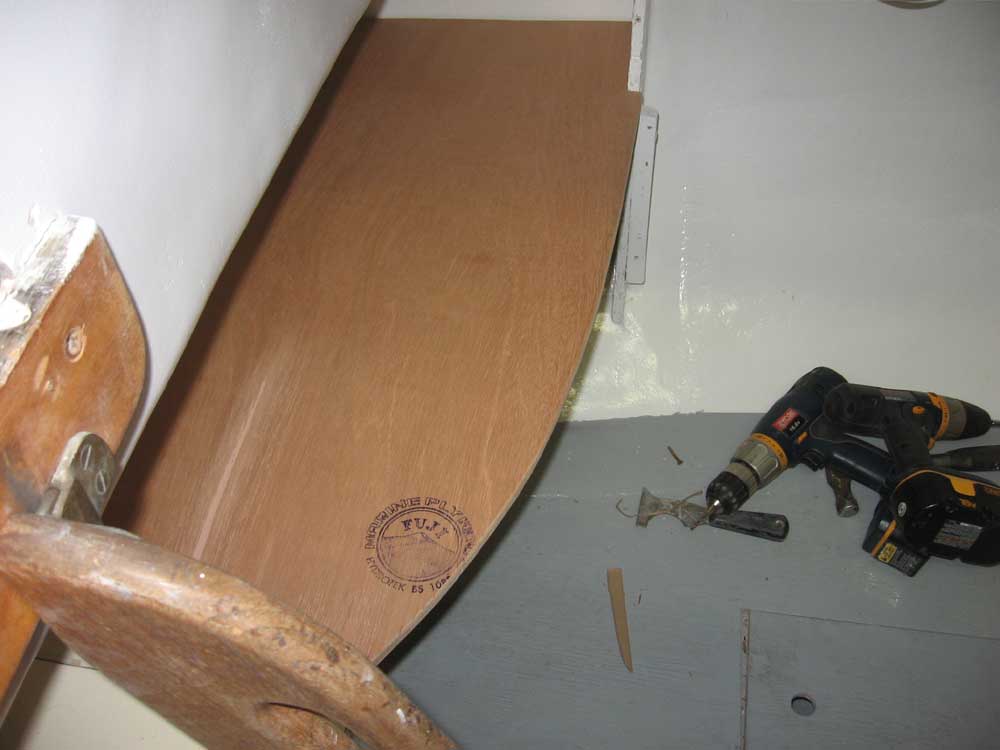
I needed to address the engine box now because my initial thoughts were that the deck/navigation/electrical area at the aft end of the cabin to port would also be flush and level with the engine box, and to lay out the new construction I needed the reference points. After I finished leveling the engine box cover, I marked a level line across the port aft bulkhead. Since we intended to locate the electrical panels in the space above the desk, I needed to ensure that there was enough clearance to accommodate the 7" tall panels that we had recently chosen (and ordered). Unfortunately, there wasn't enough clearance if I held the new desk level with the engine box, so I determined what an appropriate height would be and marked out some new lines at the lower level, which allowed for about 8.5" of "headroom" above the desk--plenty of space for the panels. For the transitional area between the engine box and the new nav area, I planned on installing a partial solid bulkhead, and possibly a clear spray shield that would help protect the vulnerable electrical gear from nuisance spray. But that will come later. With the layout lines in place, I installed cleats on the aft bulkhead and along the edge of the adjacent engine box. On the aft cleat, I included a plywood backer that would be handy later for securing additional plywood panels that would finish off the raw opening. I installed the cleats with glue and screws, and then cut a piece of cardboard slightly undersize to function as my initial template for the desk. With the cardboard taped in place, I scribed the hull shape on one end, and marked a line parallel with the engine box--which wasn't square to the aft bulkhead (or vise-versa), then transferred these marks to another section of cardboard to form an accurate template for test-fitting before cutting the plywood. I made some adjustments to the second template, and then cut 12mm Meranti plywood to the appropriate shape. |
|
|
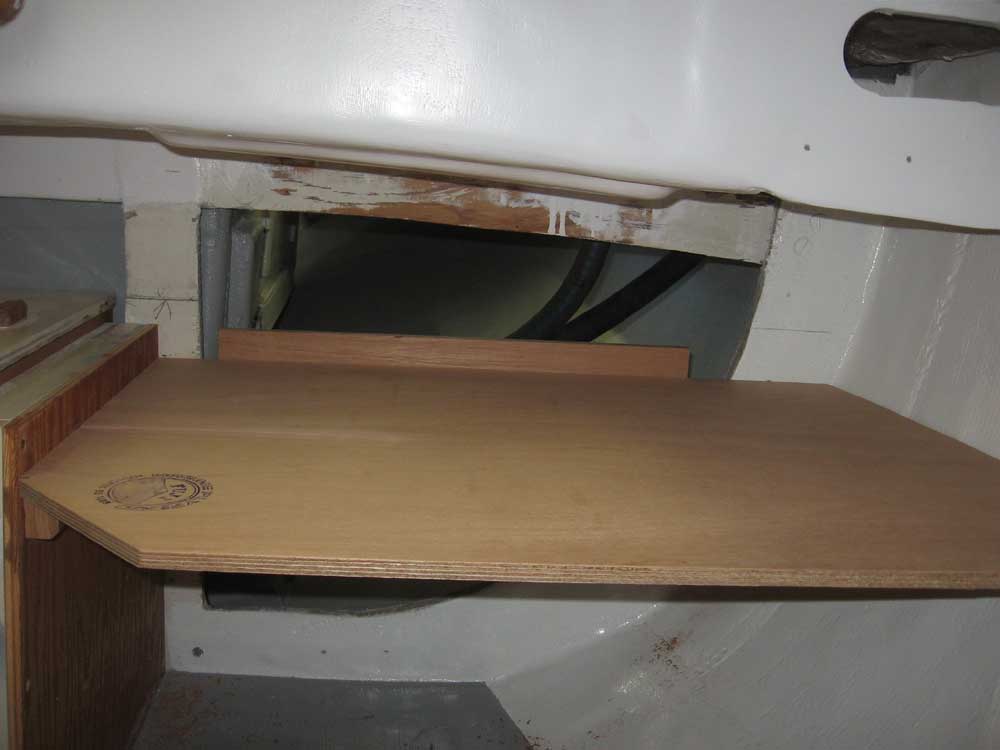
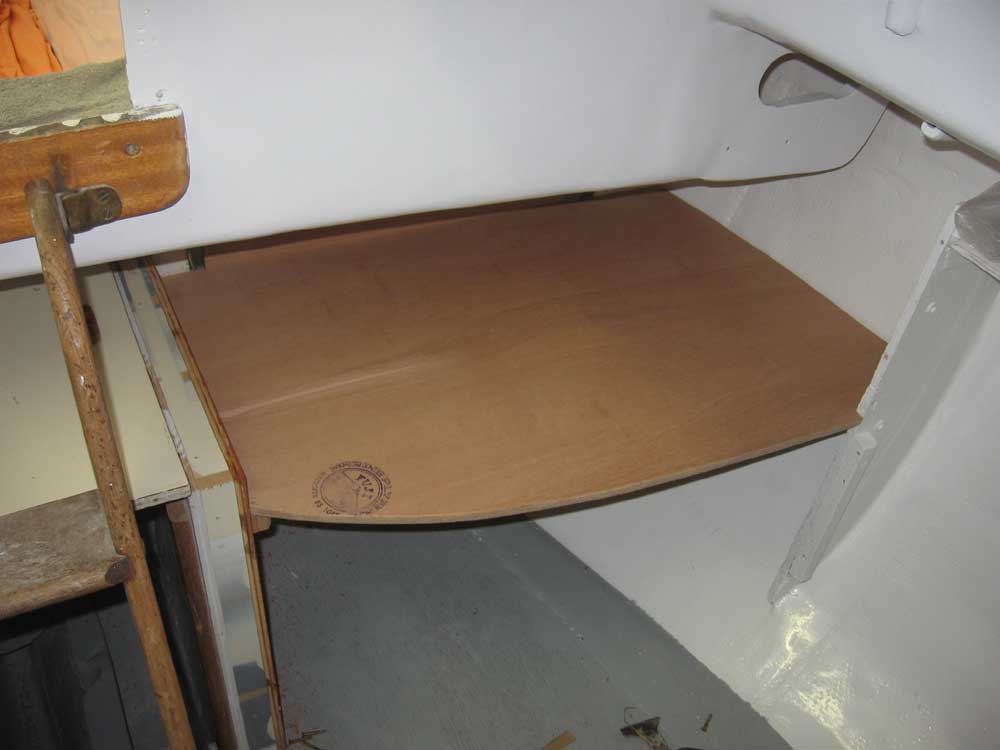
With the plywood cut to the proper overall size, I could now mark for, and install, a final supporting cleat on a small bulkhead that defined the outboard forward edge of the desk. The idea was to keep the area beneath the new desk clear so that the port settee would remain long enough to use as a sea berth, so the support for the new area could come only from the sides. The cleats were adequate for this purpose. To complete the basic work here, I needed to deal with the square corner at the inboard side of the desk, which overhung the engine box and looked terrible. I had never intended to leave it this way, and my first thought was to cut a 45° angle on the corner, which I did. |
|
|
I didn't think that looked quite right, so I decided instead to create and cut a smooth curve on the top, running from the corner of the engine box to the small bulkhead against the hull. With a plastic spline and weights, I laid out the curve and cut it. I thought this looked much better, yet still retained the functionality of the desk and didn't remove too much of the valuable workspace. |
|
|
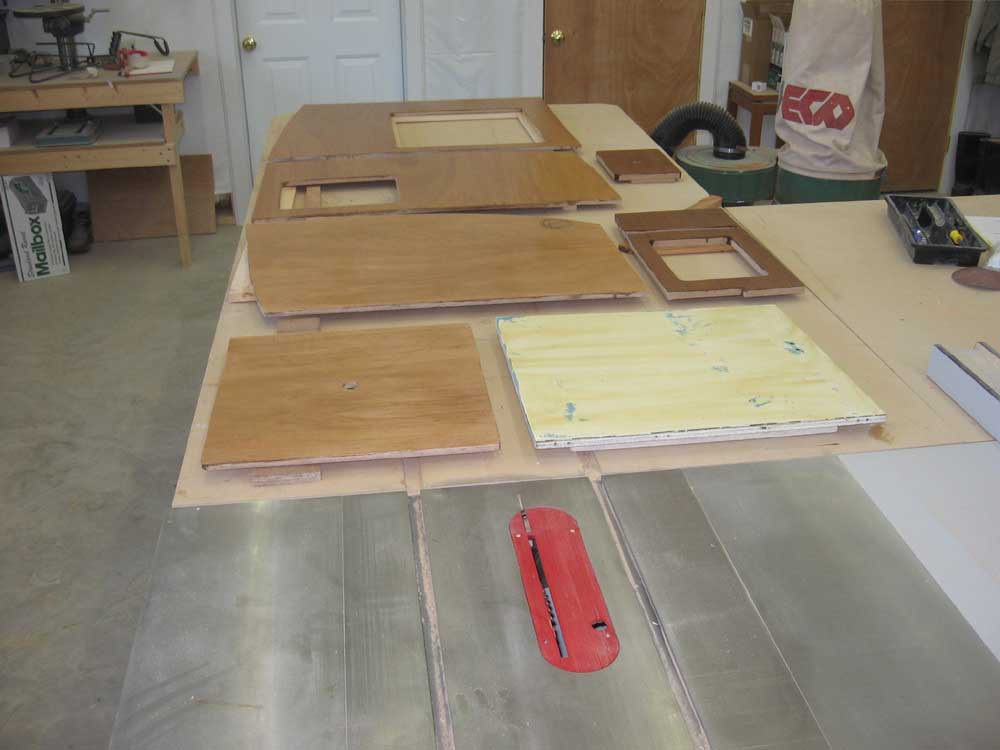
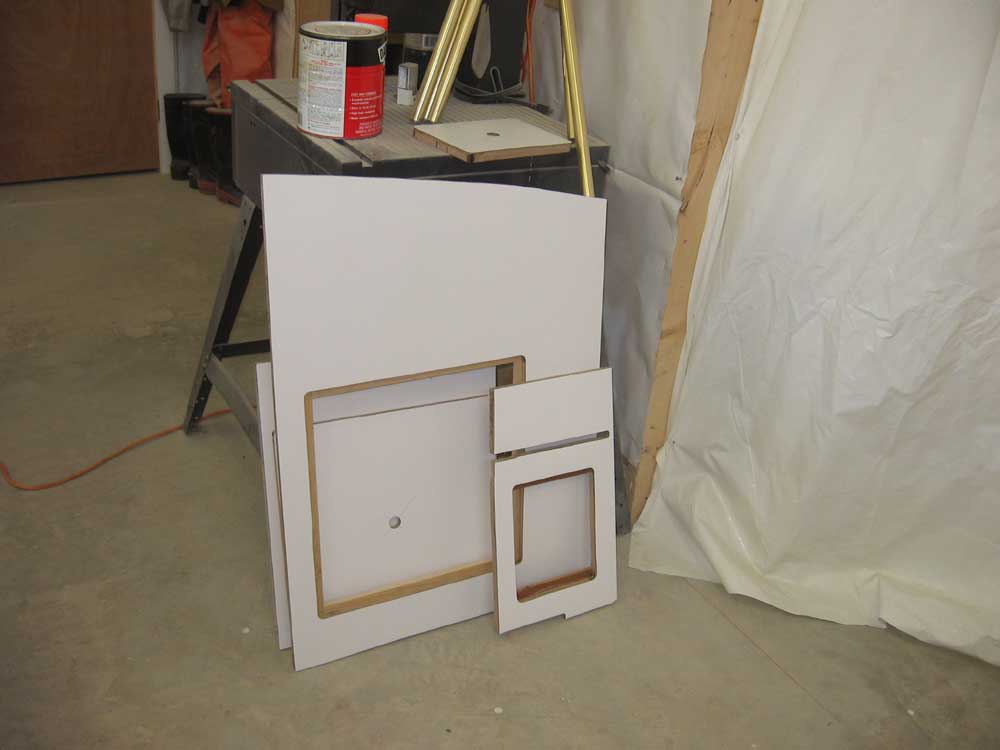
| With all the countertop fabrication
complete, it was time to install Formica on all the new tops. We
selected plain white for the countertops--which, coincidentally, I
happened to have on hand. All of the pieces requiring Formica
would fit on a single 4x8 sheet, so I laid the pieces out on my
bench--in an appropriate pattern and all shimmed to the same height--and
applied contact cement to the countertop pieces and the Formica sheet.
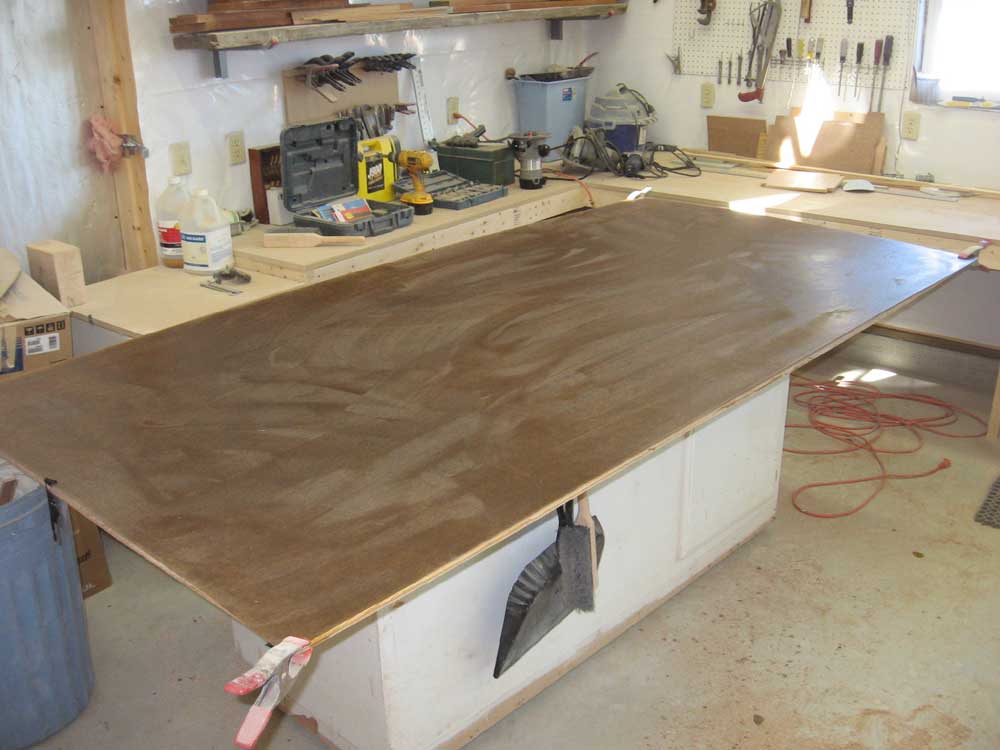
(In this case, it actually was Formica brand.) When the glue dried, I carefully installed the large sheet atop the numerous small pieces and rolled it into position; then, I used a laminate trimmer to cut out the individual pieces before then continuing to cut out the hatch and sink openings as required. |
|
|
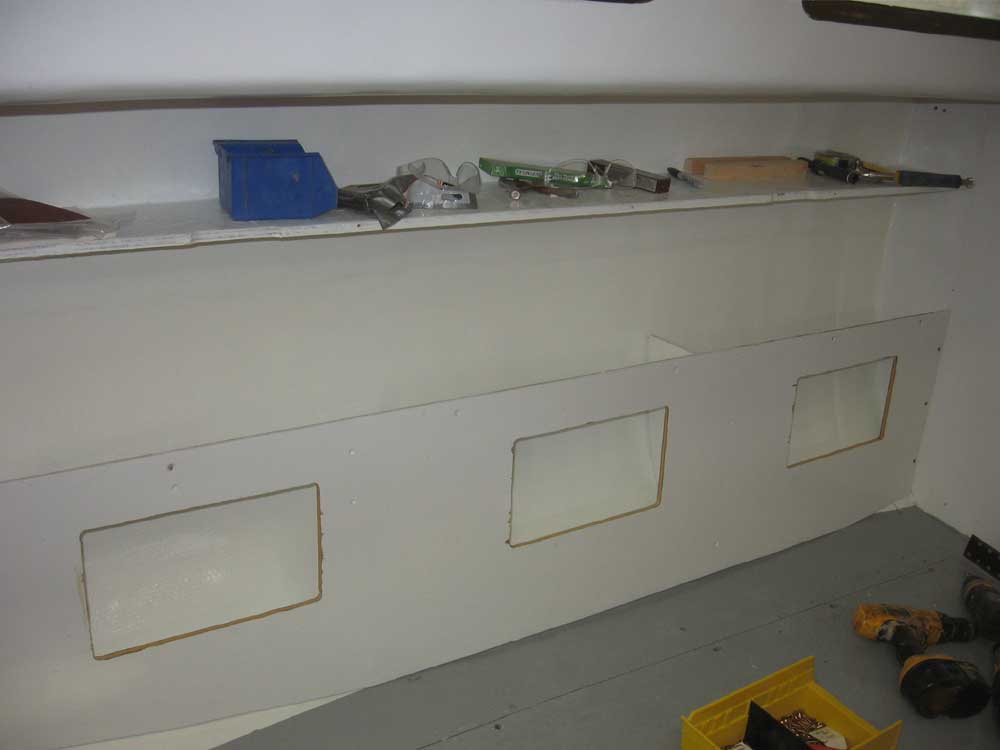
Finally, I got to work on the port settee back, using the original plywood structure. I cut three hatch openings in the piece to provide access behind, since we planned another permanent shelf above (as on the starboard side), and then installed the settee back with glue and screws, preparing it for the next construction steps tomorrow. |
|
|
|
|
|