| Kaholee Refit |
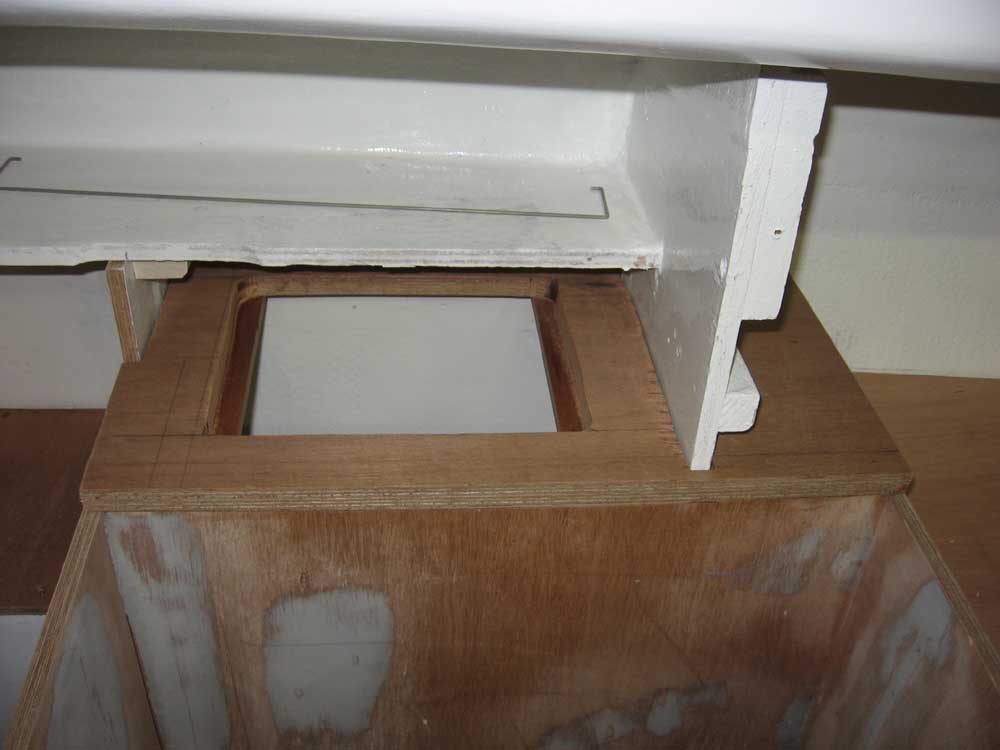
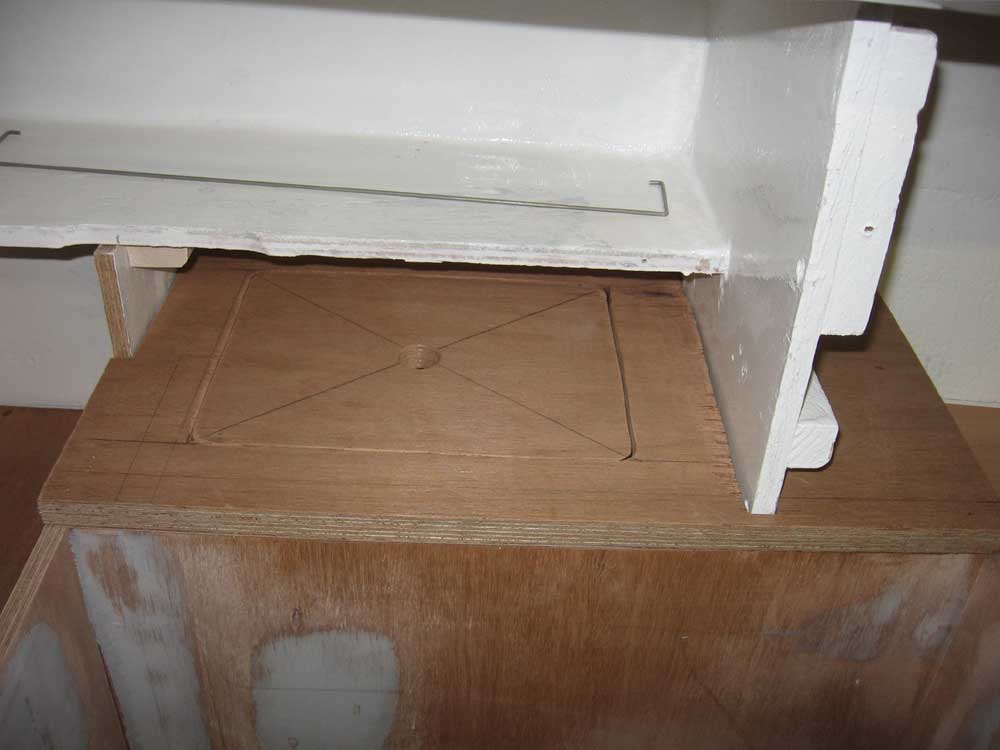
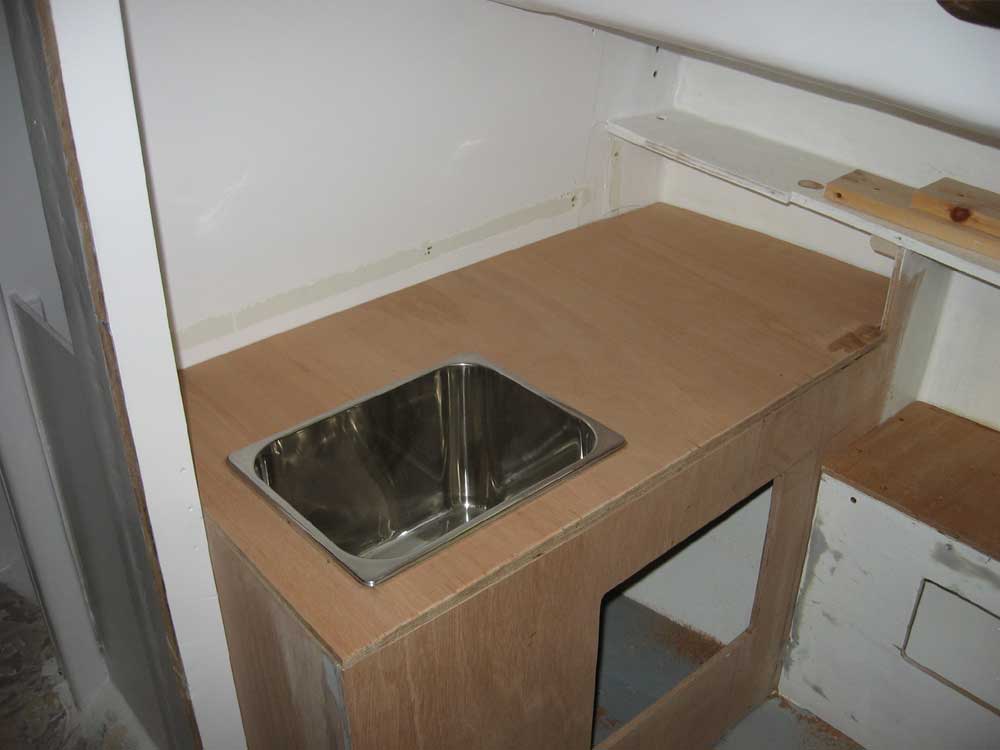
March 20, 2007 The small countertop outboard of the stove, which I cut last night, required just a bit more fine-tuning to the fit this morning. In addition, I also cut out an access hatch and installed cleats to support it. |
|
|
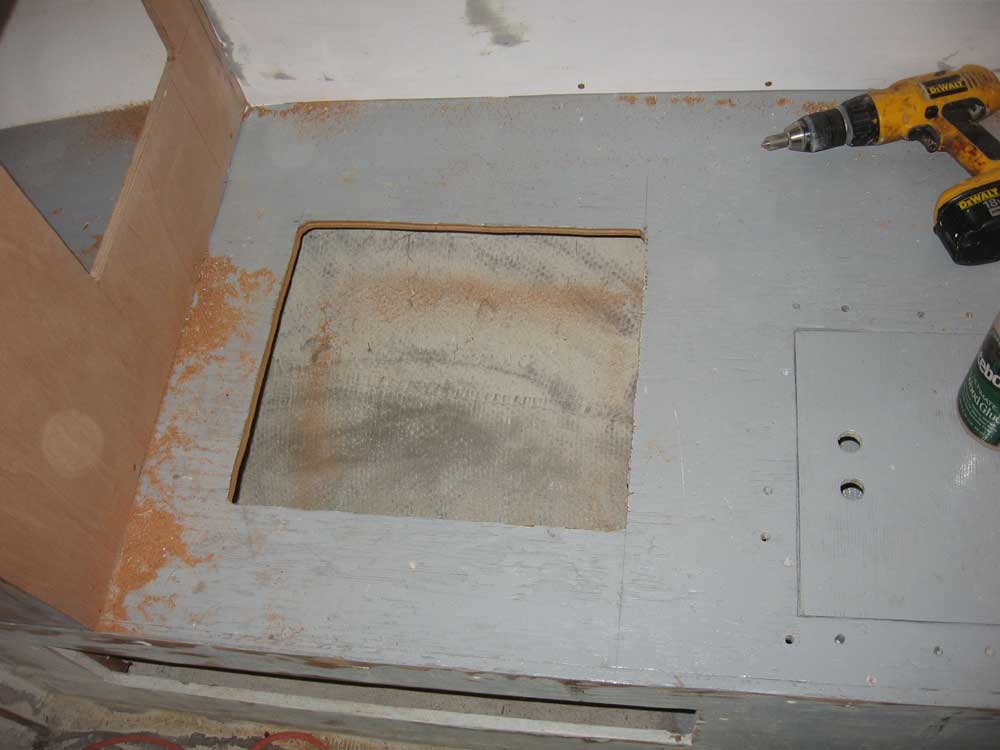
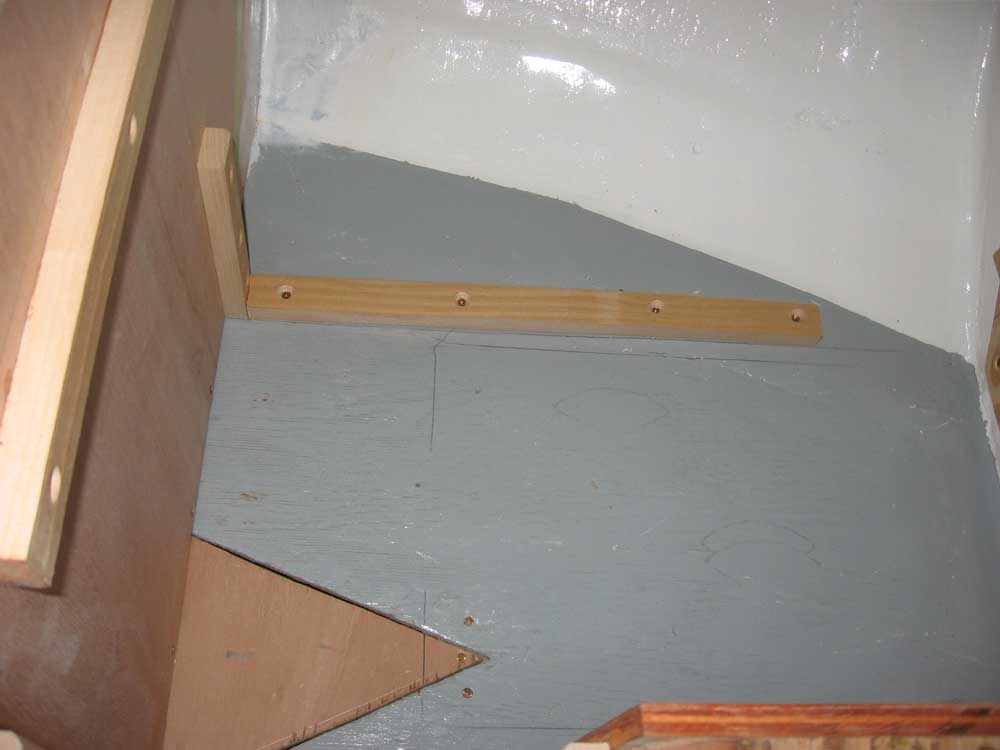
Next, I cut another access hatch in the starboard settee, allowing access to the useful storage area beneath. This was just one of those things that should have been easier than it was--and it was basically easy-- but things conspired against it being quick. First, I ran the jigsaw into a T-nut that someone had installed beneath the settee, and that I didn't know existed. This broke the blade. Then I couldn't get the blade remnants out of the chuck without tools, so down for tools went I. Finally, I got a new blade in and cut the remaining hatch without incident. Then, I installed cleats with glue and screws, and installed the hatch once more. Later, I'll paint out the newly-exposed hull areas inside the locker. |
|
|
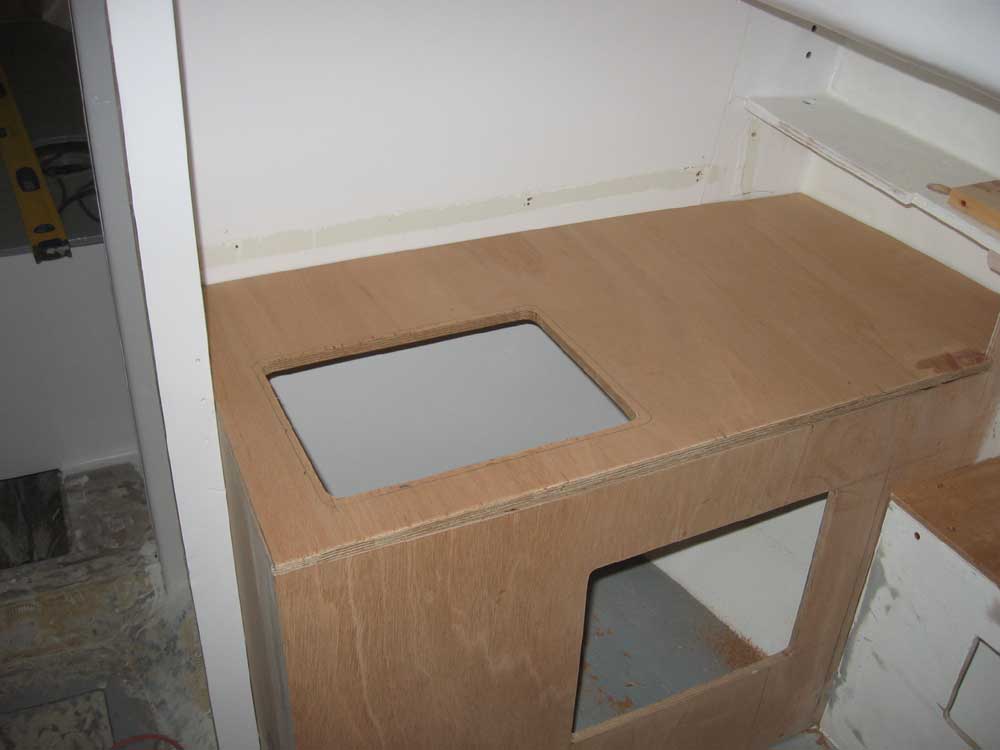
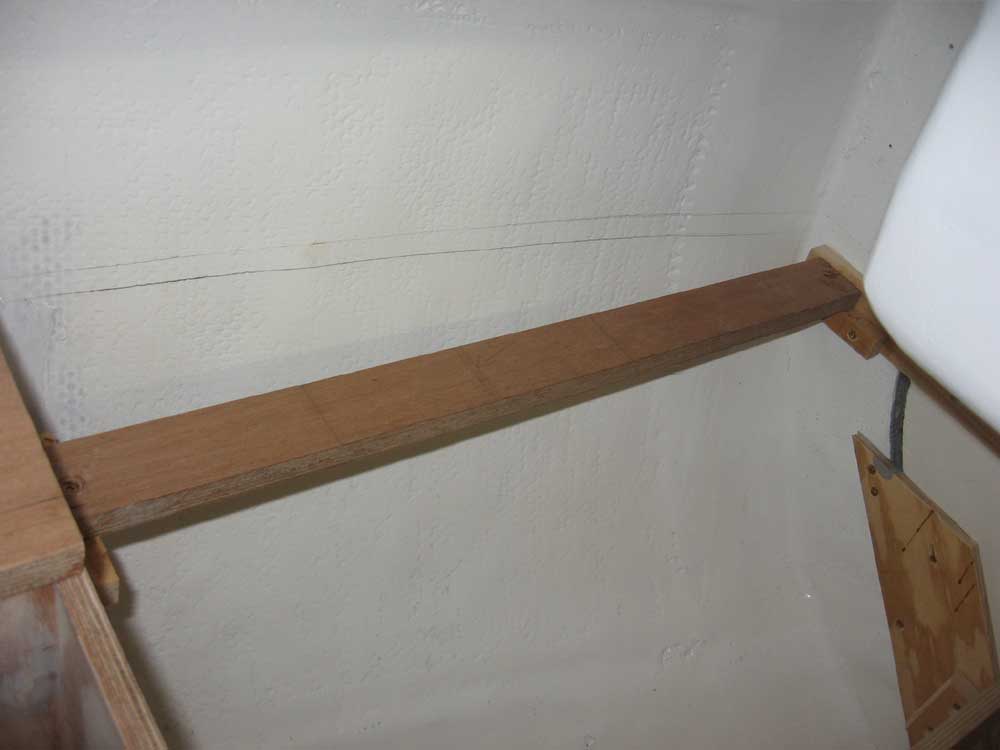
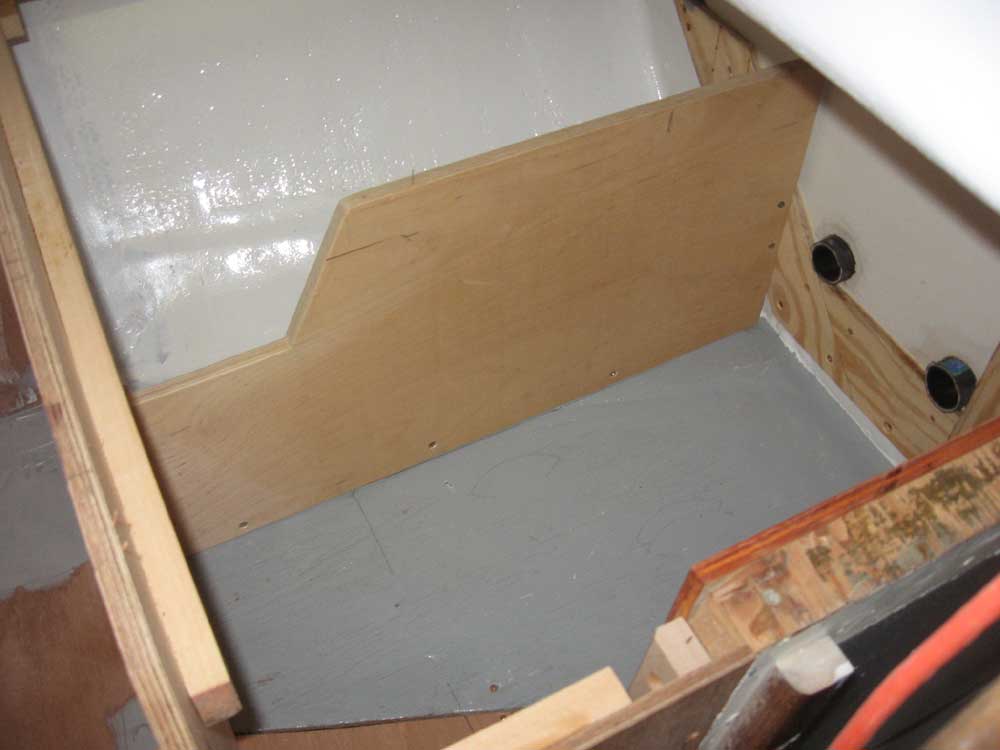
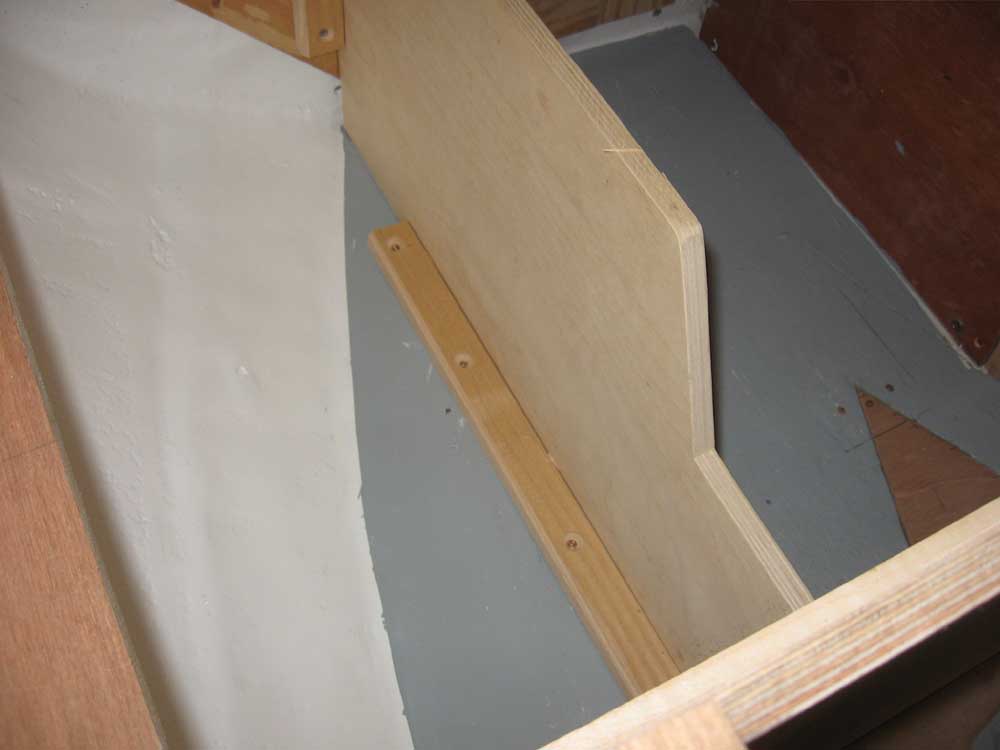
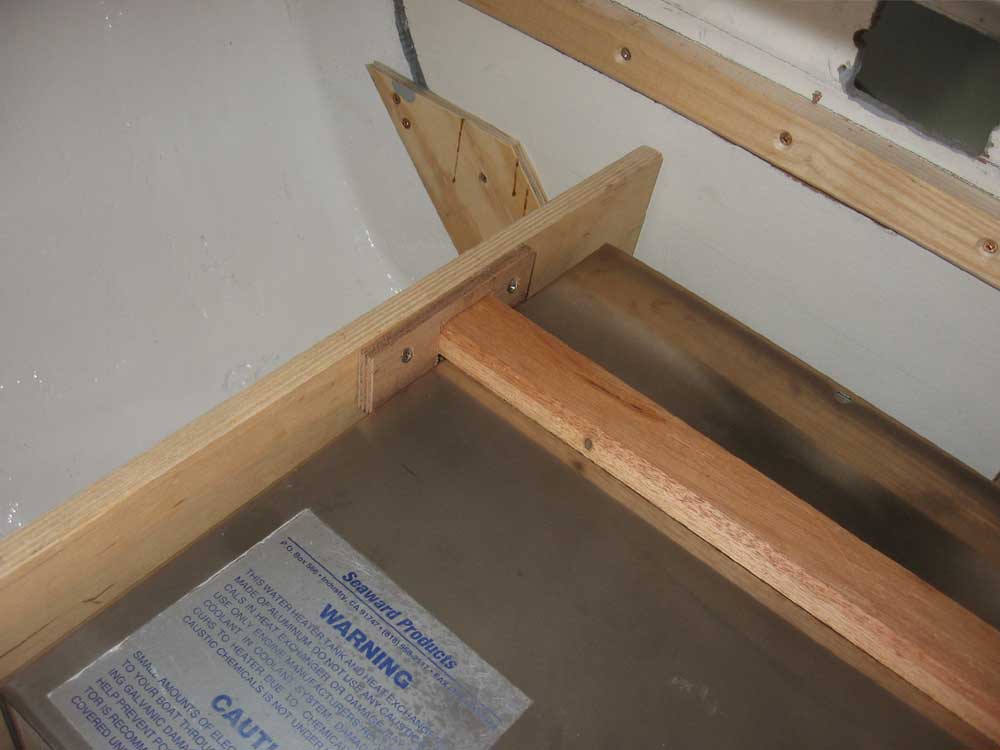
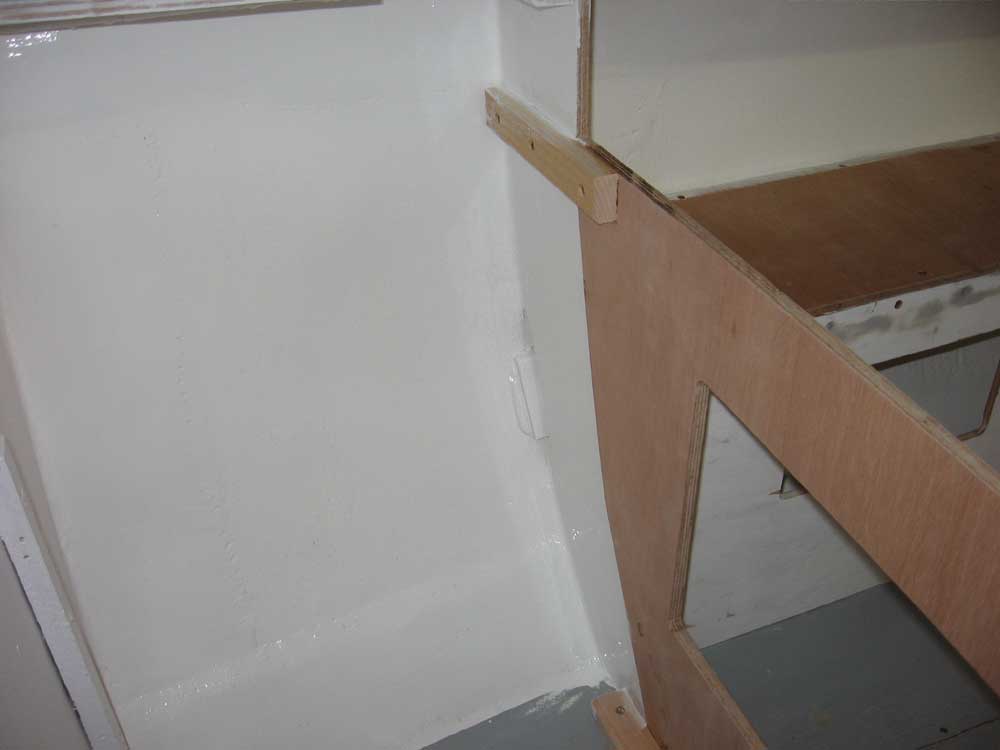
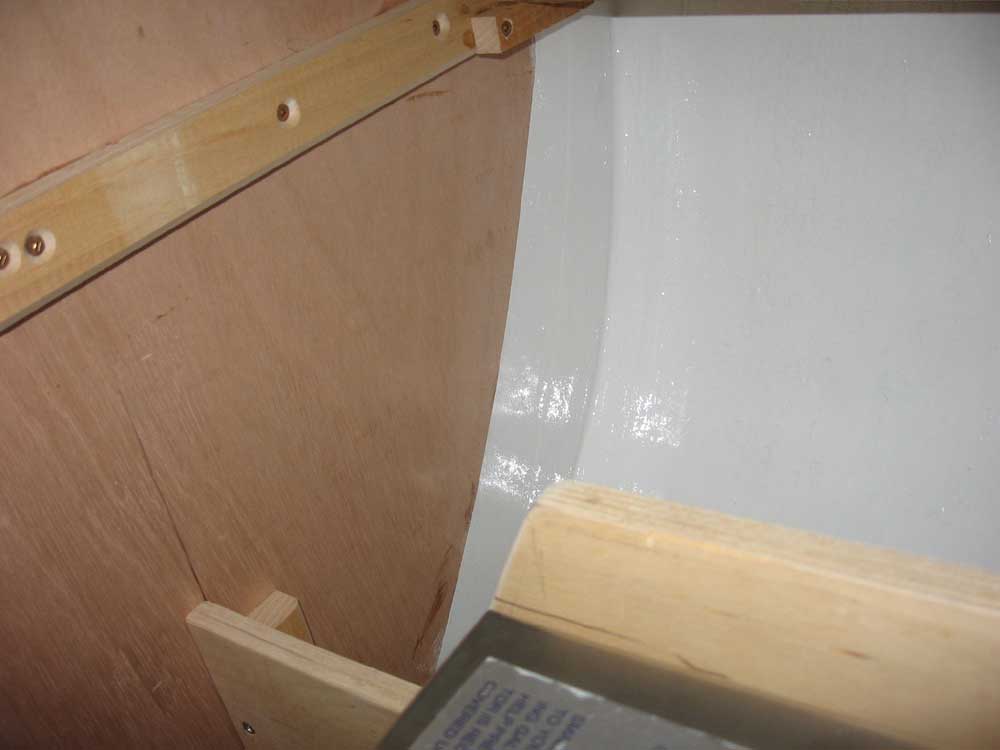
Before I could install the countertops permanently, I had some more work to do inside the galley cabinet. Despite the fact that I configured the countertop to allow for maintenance and eventual replacement of the hot water heater, I knew it's be far easier to install it before the countertop. Plus, I needed to build a divider inside the cabinet to protect the water heater from whatever contents ended up in the locker later. I built a divider from plywood and secured it to the bottom and sides of the cabinet with cleats and screws. To improve access to the outboard storage area, I cut out a section of the divider forward of the hot water heater. To help support the outboard edge of the countertop, I installed a brace near the hull, supported by some additional cleats, glue, and screws. I chose this instead of installing a cleat on the hull itself since, frankly, I thought it would be just as effective with less work. I also located and cut the hole for the galley sink in the sink cabinet top. |
|
|
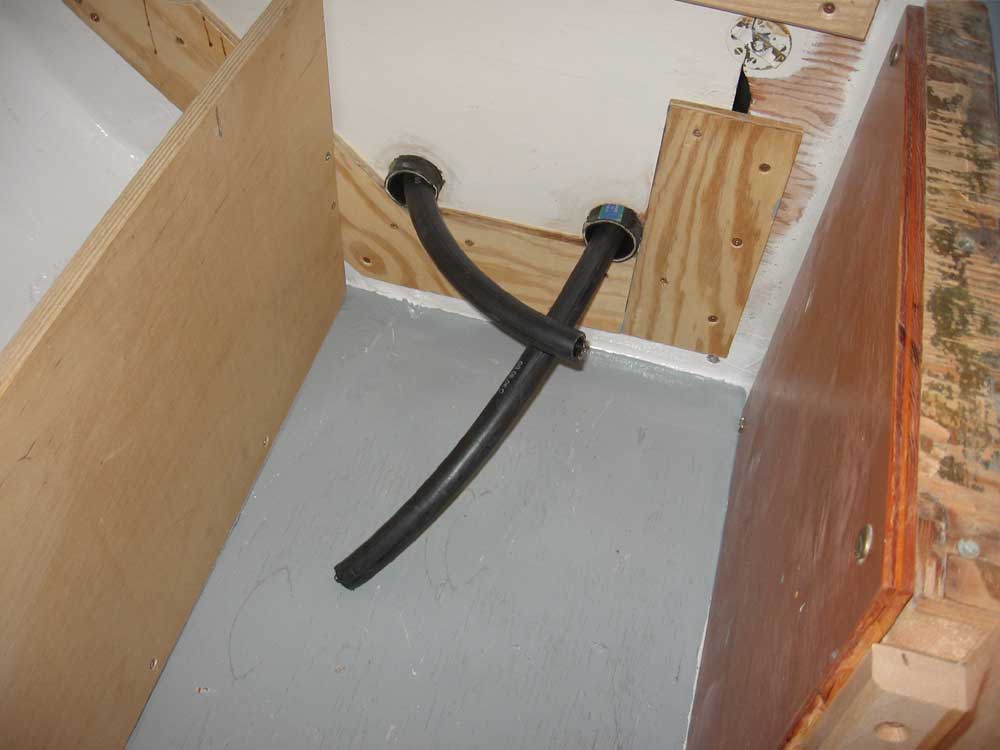
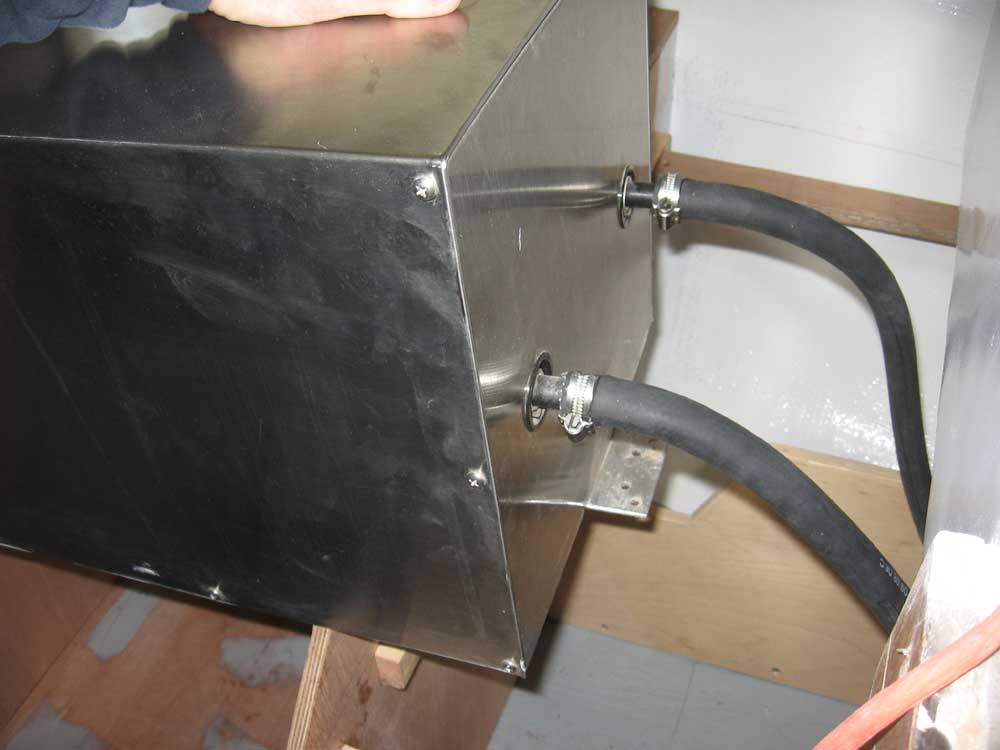
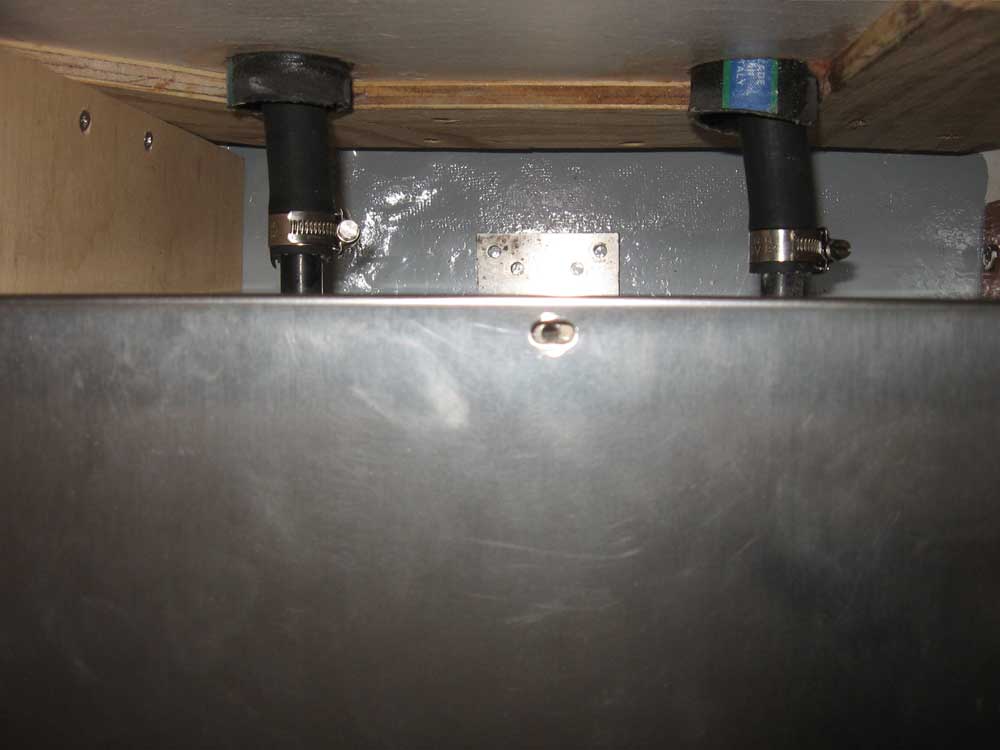
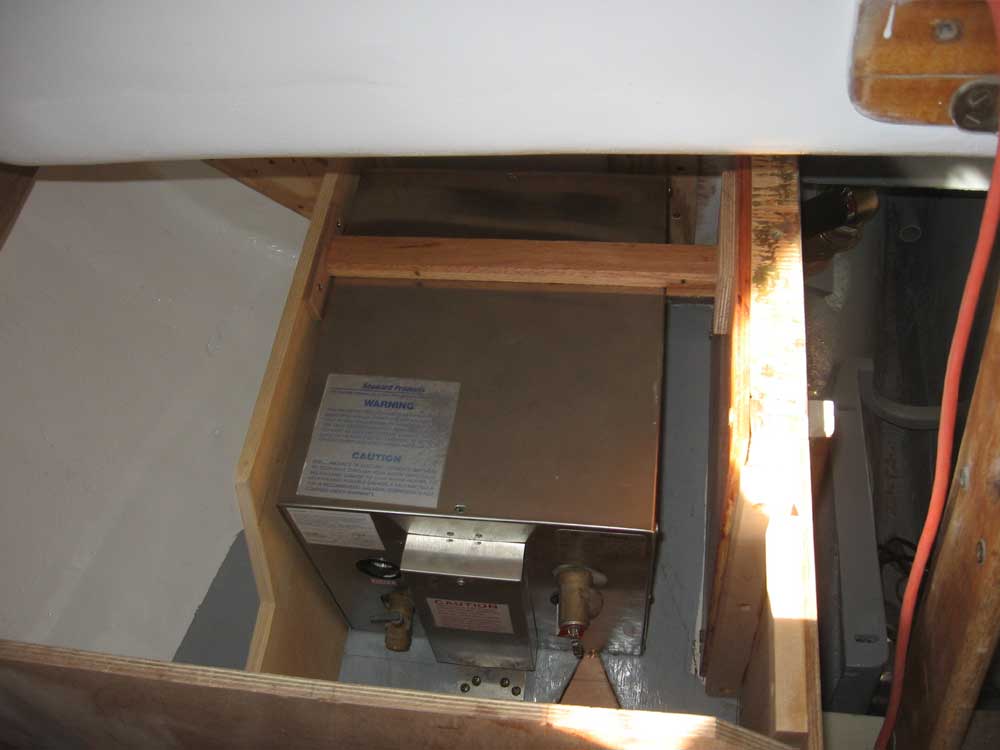
With the internal cabinet work complete, I installed the water heater. First, I ran lengths of 5/8" hose through the lined holes in the cockpit locker bulkhead, and clamped them to the connections on the back of the tank. Because of the overhanging bridge deck, there was no way to do this with the tank in place, as there was no access to this part of the tank, so I pulled lots of hose through and clamped it to the tank out in the open. Then, I fed the hoses back through as I lowered the tank into the space. Eventual removal of the tank will require cutting or disconnecting these hoses at the engine, or in the cockpit locker, before the tank can be pulled forward--a small and necessary concession to the space at hand. Again, with no access to the back side of the tank, I couldn't use the built-in mounting flange. So I secured the forward flange with screws, as it was easily accessible, and then built a wooden hold-down clamp further aft on the tank to hold that portion securely in place. I located the clamp, and designed its installation, so that it could be removed easily enough through the countertop hatch if need be. |
|
|
I finished up the day with a few minor odds and ends, like painting out the edges of the insides of the sink and galley cabinets in way of the tabbing. I also installed a final stainless steel bushing in the fuel tank, at the tank drain location, and then threaded in a brass shutoff valve for the drain. |
|
|
|
|
|