| Kaholee Refit |
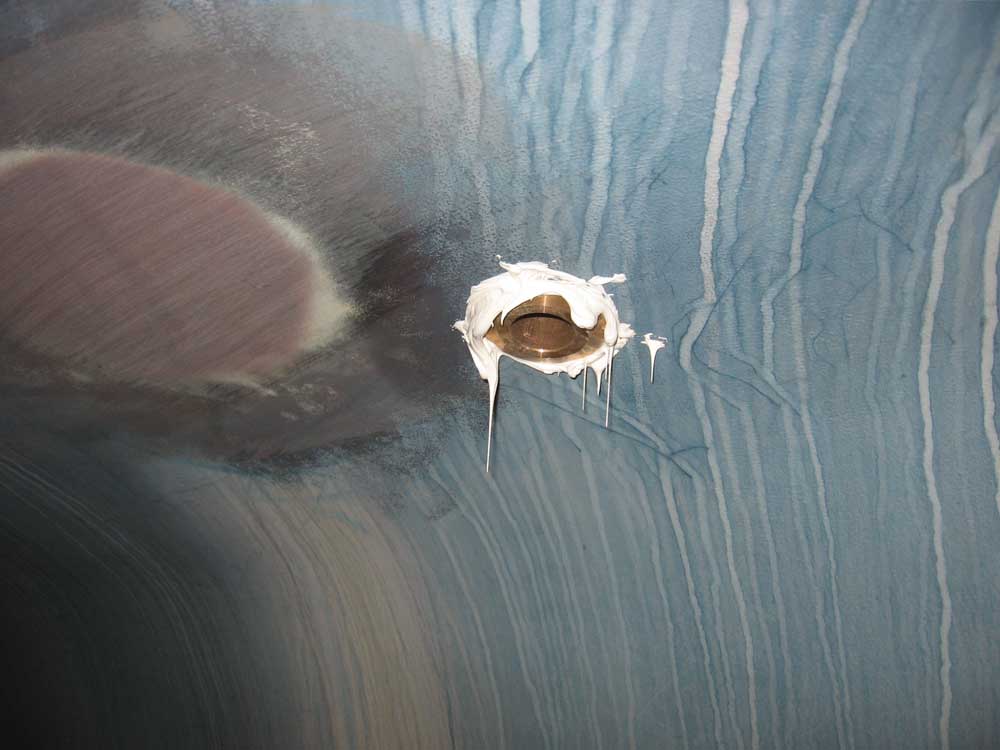
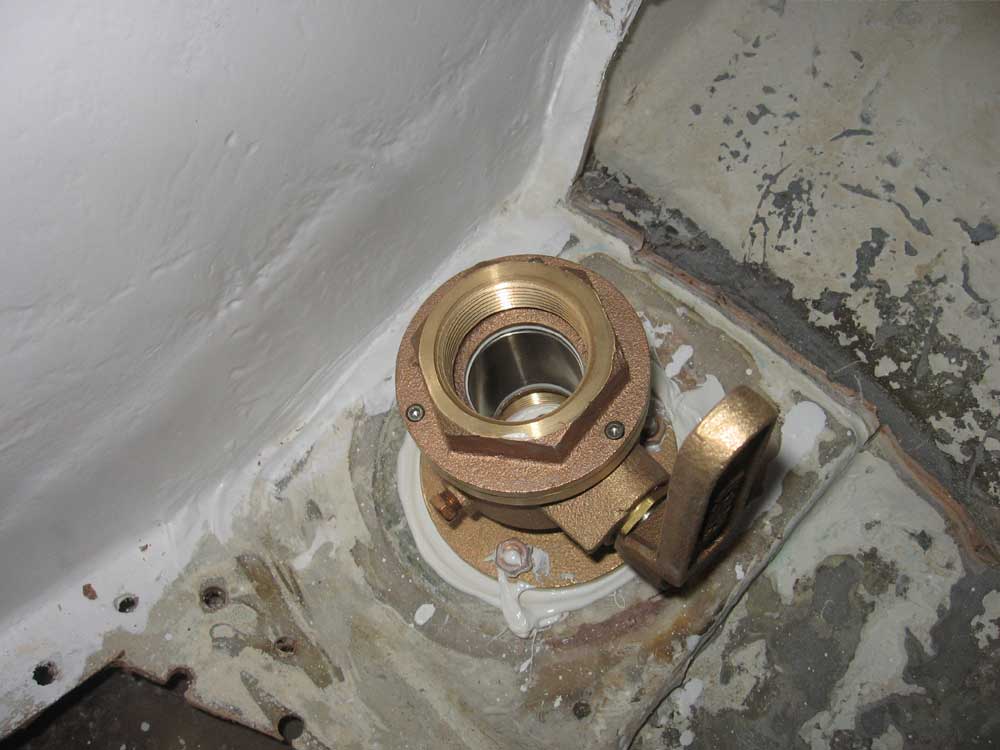
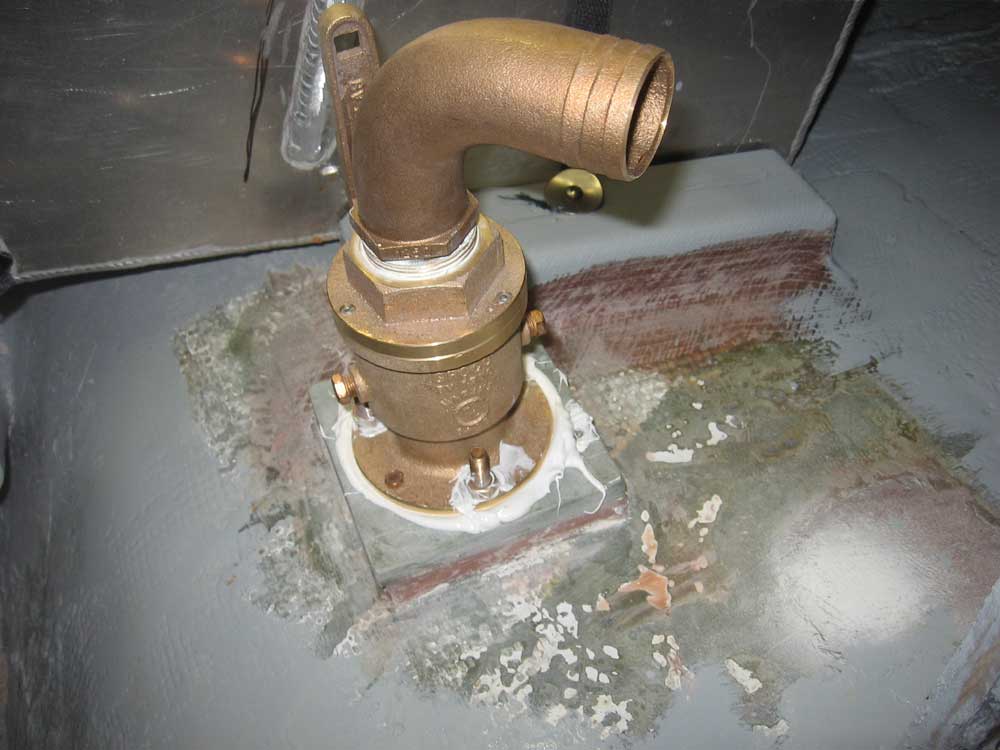
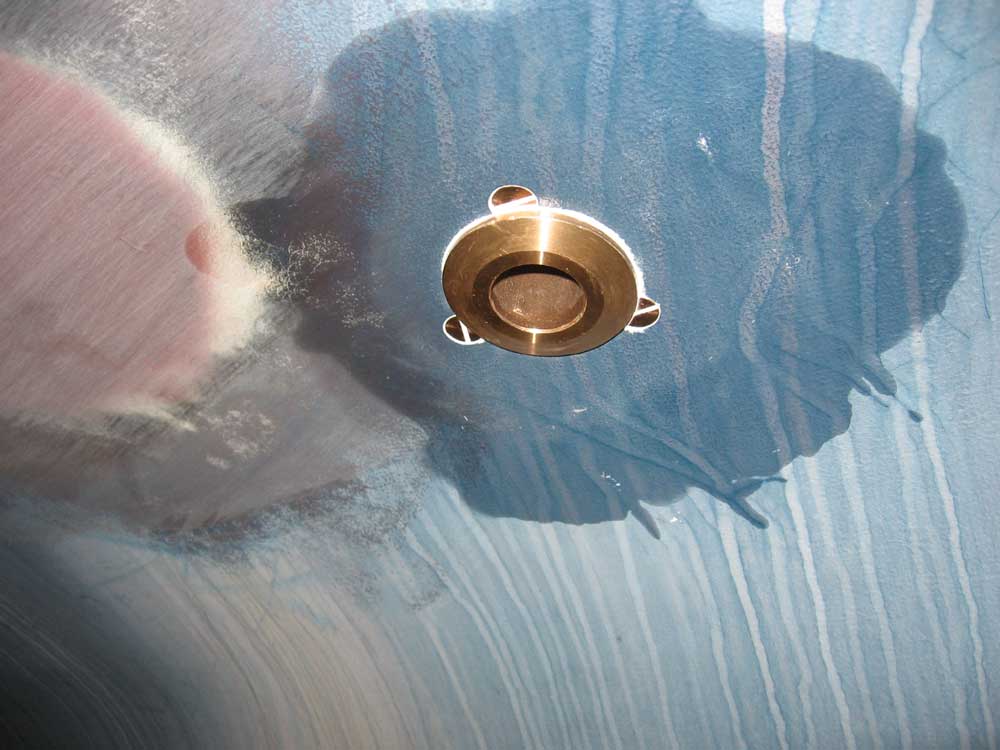
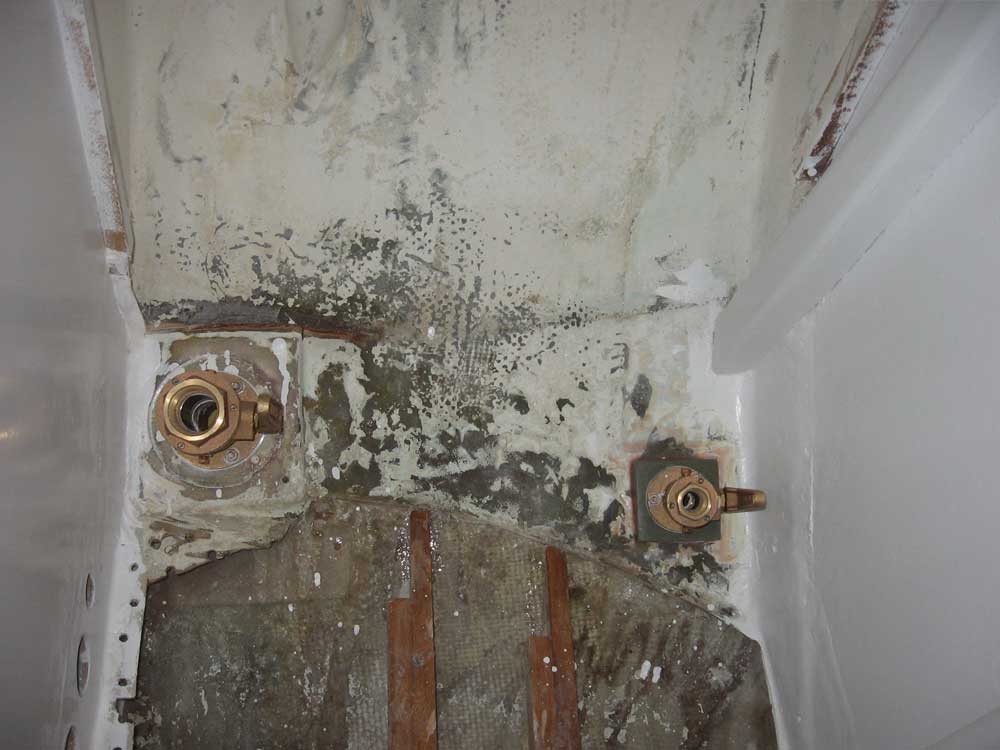
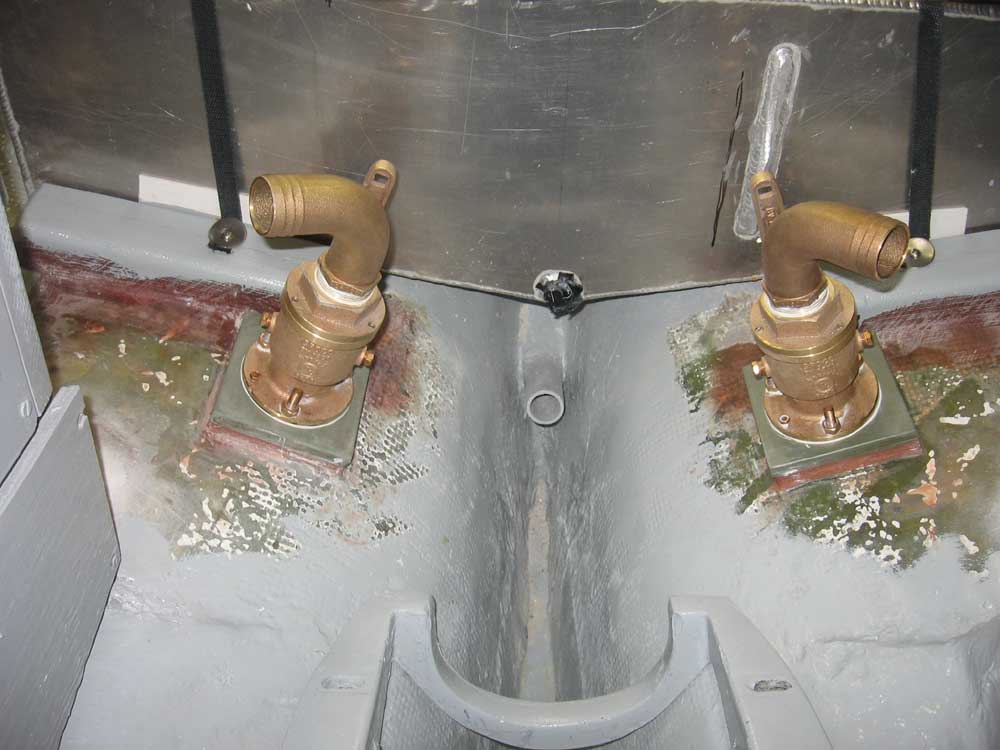
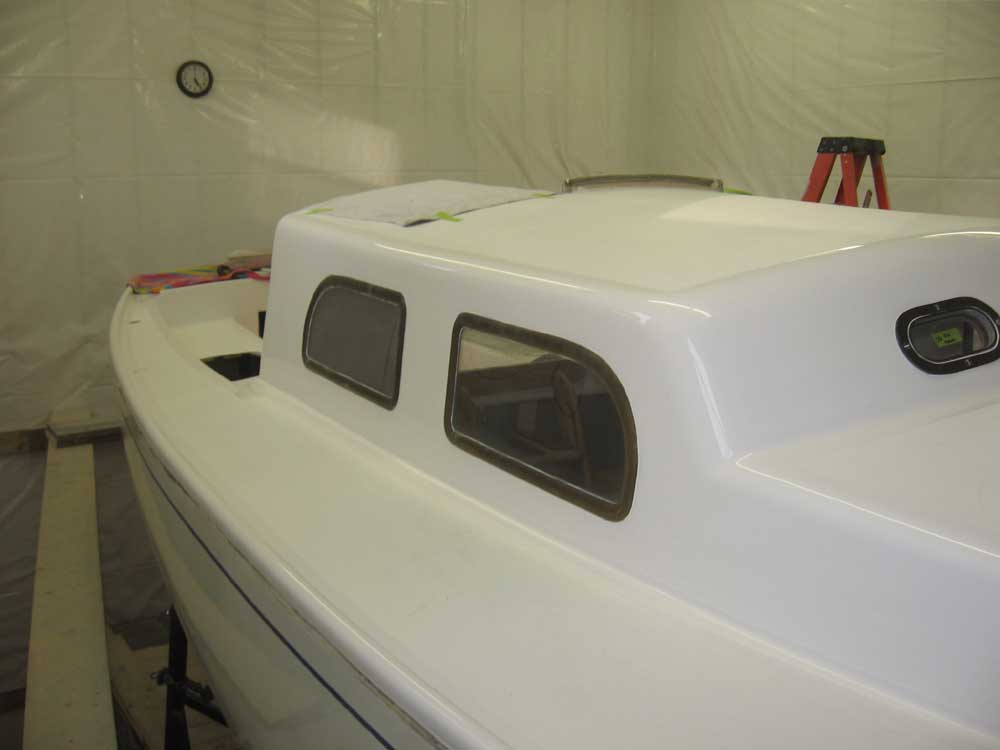
March 12, 2007 Today, I elected to bring in some help for the installation of the ports and seacocks. While much of the work could be done alone, it was clearly easier and quicker to have a helper; in addition, it's simply not possible to put the large deadlights in by oneself. Nathan and I got started around 0830 with the seacocks and through hulls. This job went pleasingly fast, since much of the preparation work was already complete. However, on the first one, the engine intake, we discovered that the boltholes I had drilled were at a slight angle, which required reaming one of them out a bit--a small issue, but one that caused that installation to take nearly as long as the remaining four combined. We installed the through hulls, through bolts, and seacocks in a heavy bed of 3M 4200, a polyurethane sealant that is touted to be somewhat more removable than the venerable 5200, which is essentially permanent. It was easy to work with and easy to clean up. It took the two of us just over an hour to complete all five through hull/seacock installations. Later, I'll trim off the excess from any seacock bolts that extend too far past the nuts, such as those on the scupper seacocks. |
|
|
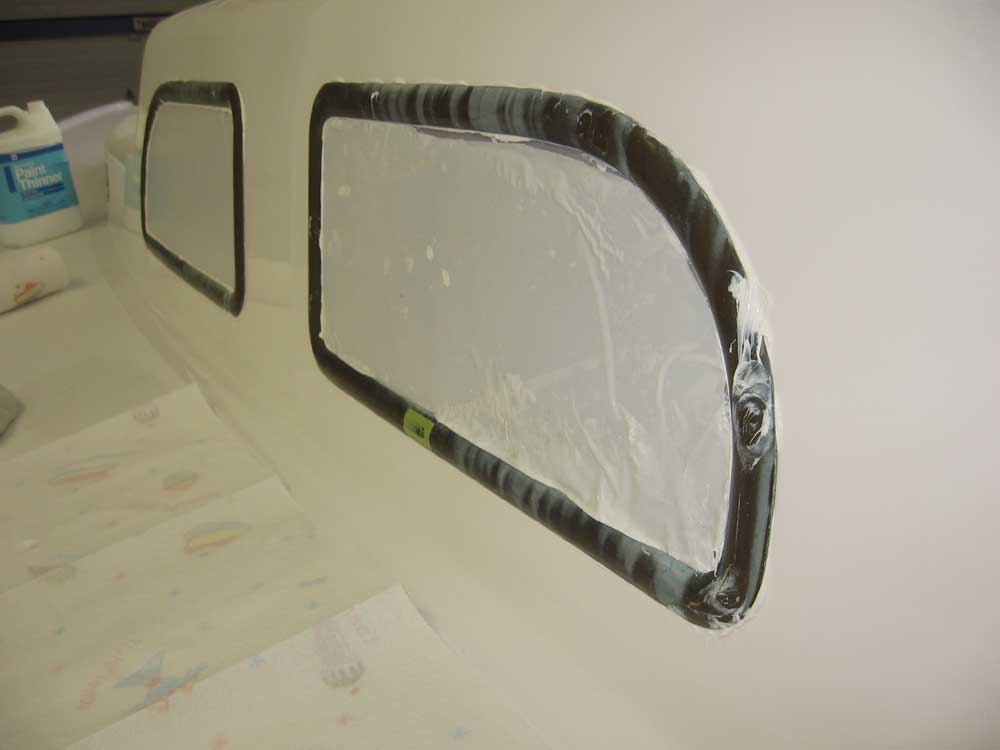
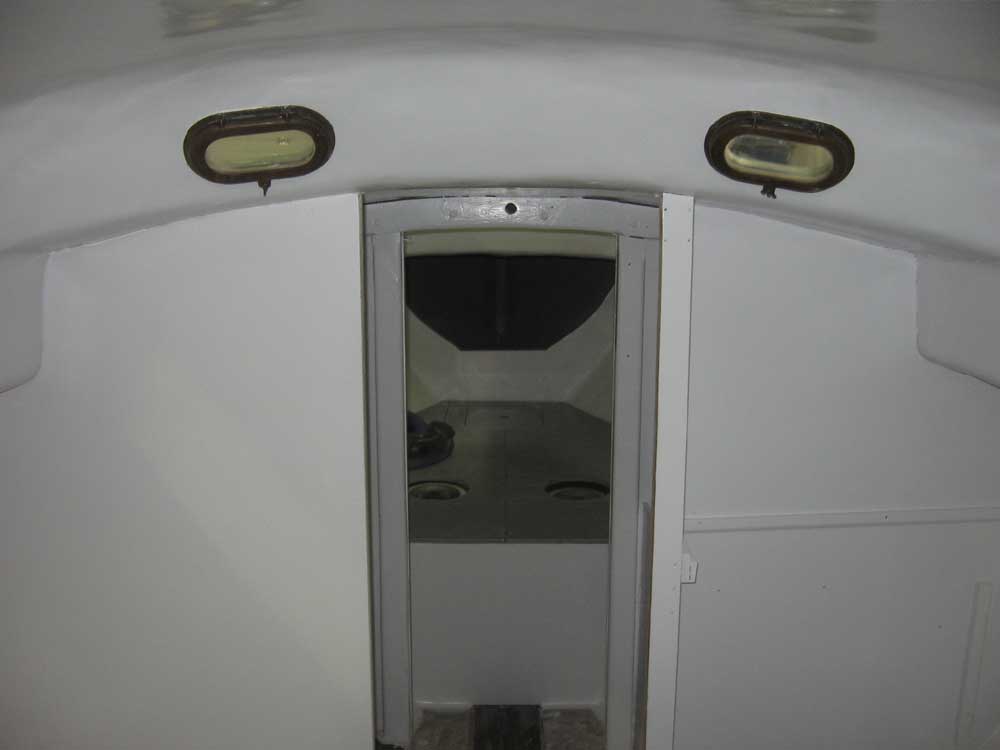
Next, we turned our attention to the large fixed ports in the saloon. These ports have a well-deserved reputation for being extraordinarily fussy and challenging to install, thanks to very fine tolerances in the port cutouts, deadlight frame flanges, and the depth of the blind screwholes. Pearson Triton ports feature two more-or-less identical frames with a slim cast flange into which the Lexan fits; from the inside, one inserts machine screws that are intended to thread into the shallow recesses in the outer frame, thereby pulling the entire arrangement tightly together. The potential difficulties are numerous, but generally center around the fact that because of the low-profile shape of the outer port frame, there simply isn't any depth for screws to be threaded very far, even under ideal circumstances. So if the port frames aren't (or can't be) pulled closely enough together, the threads may not engage at all; if a longer screw is used, the threads will usually bottom out before pulling the frames tightly together, which usually leads to pushing the outer frame out rather than pulling it in. Having all of the original screws marked for their proper locations certainly helped, but we ran into difficulty on the very first one because of an alignment issue between the three separate parts (inside and outside frames, and Lexan) which prevented the final screw from gripping. In attempting to move things around, one of the other screws sheared its head; we were left with no choice but to pull the sticky, caulk-covered port out of the boat so that I could remove the remains of the broken screw before attempting another fit. It took a long time to clean up the sticky butyl caulk from the port. I chose butyl rubber caulk for the four deadlights, since they contained Lexan, which is adversely affected by what would have otherwise been my sealant choice: polysulfide. Thanks to Nathan, you get a picture of me hard at work on the yet-to-become-frustrating first fixed port, armed with my grubby screwdriver. |
|
|
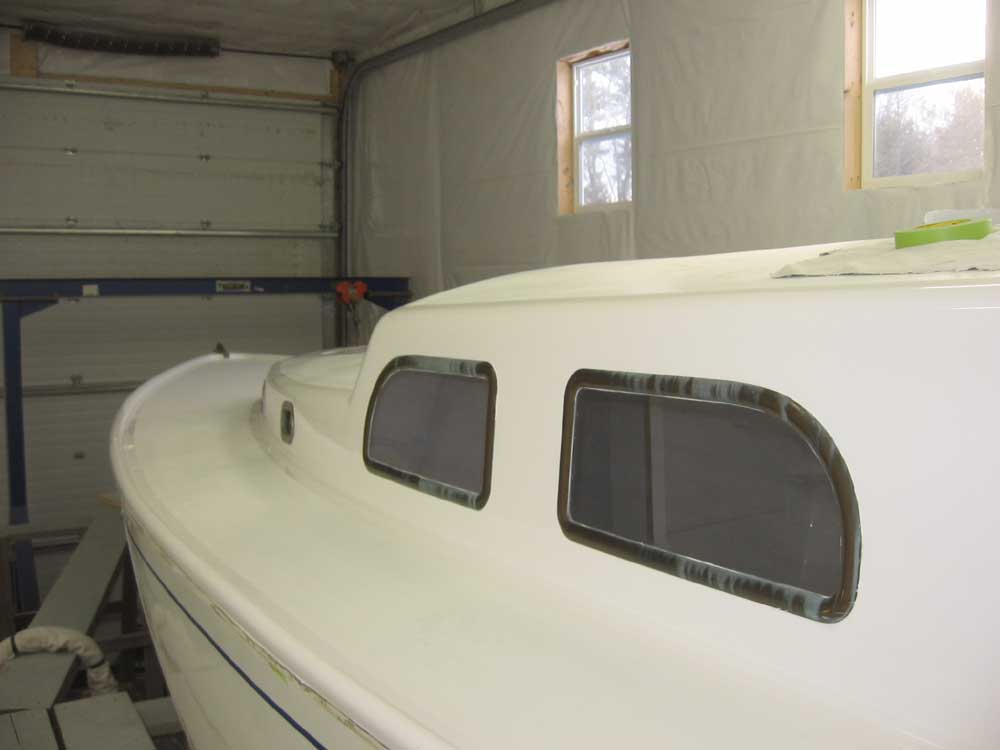
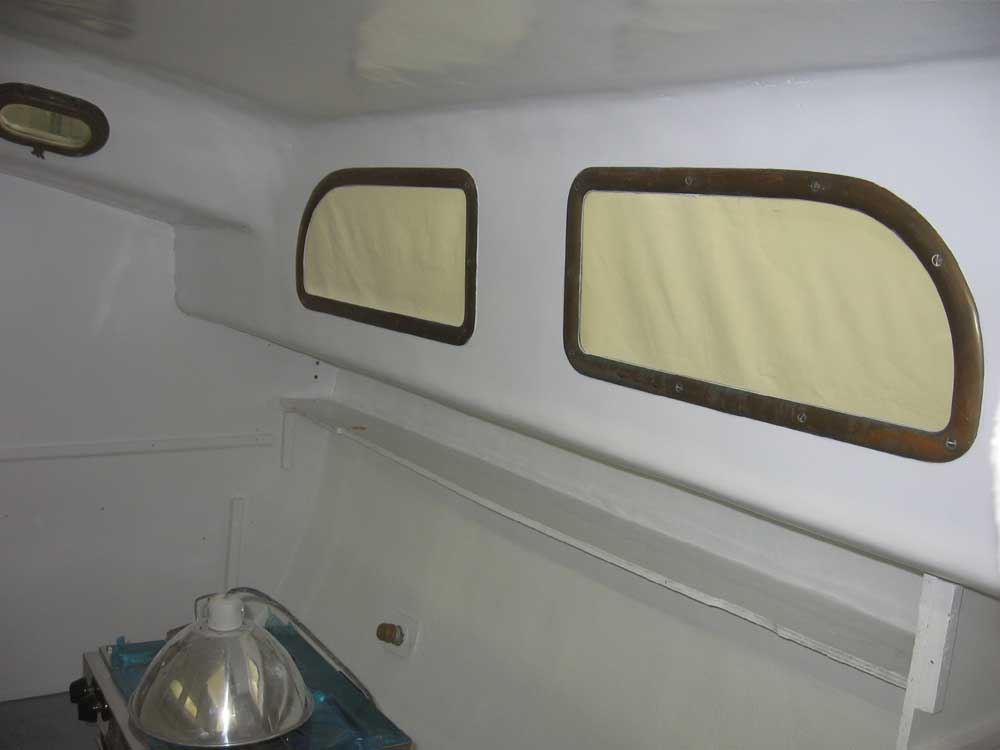
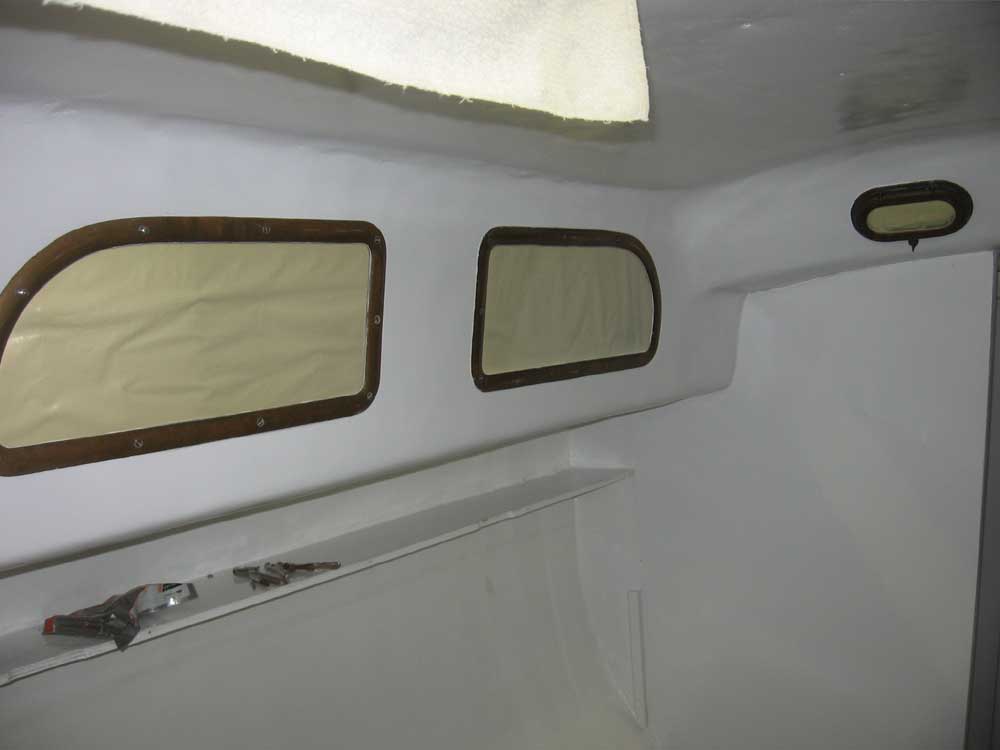
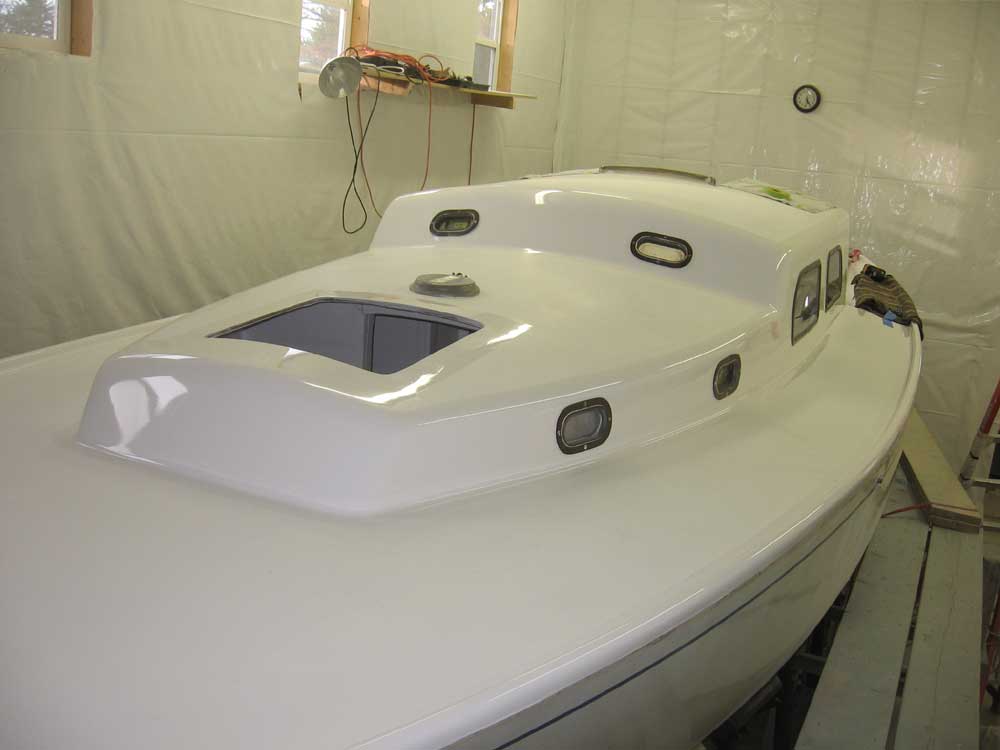
With the frustrating failure of the first port's installation close at hand, we proceeded with the other three deadlights, and fortunately had better luck with these, thanks in part to the lessons learned with the first one. Averaging about 10 minutes per port, we quickly installed the other three, and then returned to the first, troublesome, one and reinstalled it. Because one of the original screws had been missing (with a longer stainless steel screw in its place) when I unwrapped the ports originally, and because of the one screw that I sheared--plus an additional screw that got lost somewhere along the way--I needed to use three temporary, longer bolts to help secure the port, using nuts threaded onto the bolts to pull the port frames together once I had bottomed out the long screw. Much later, when the caulk has had lots of time to cure, I'll come back and replace these temporary stainless steel bolts with cut-to-fit bronze ones to match the remainder--one at a time to prevent the frames from separating during the process. Once we had all four deadlights in, we cleaned up the excess caulk, a time-consuming process with the stringy butyl, and then moved on to the six bronze opening ports forward. |
|
|
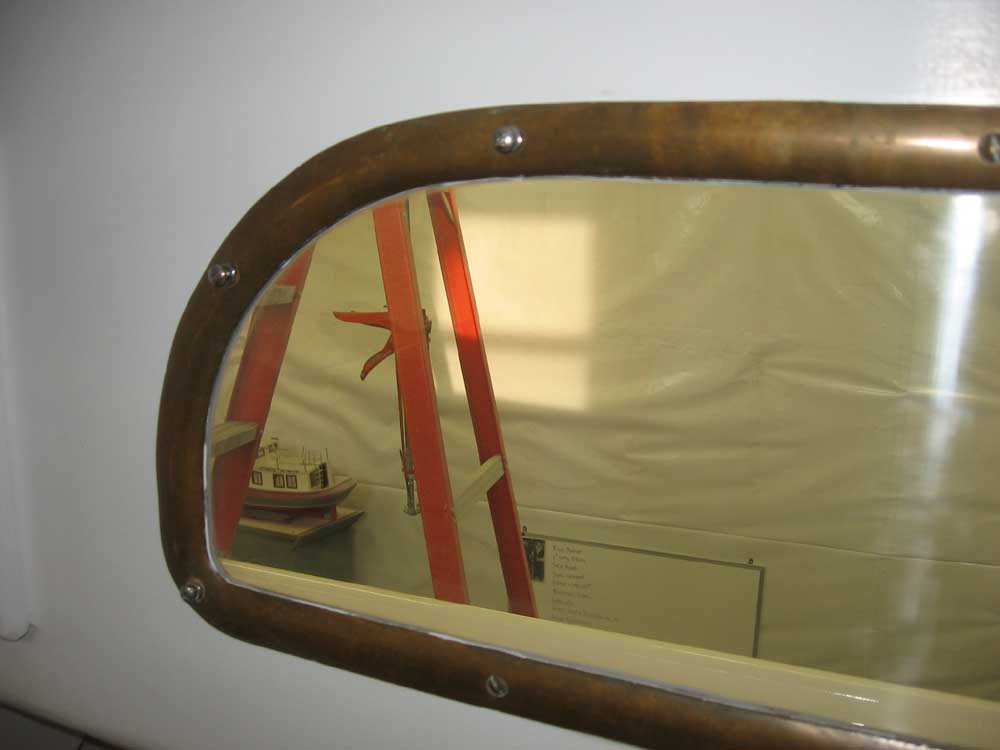
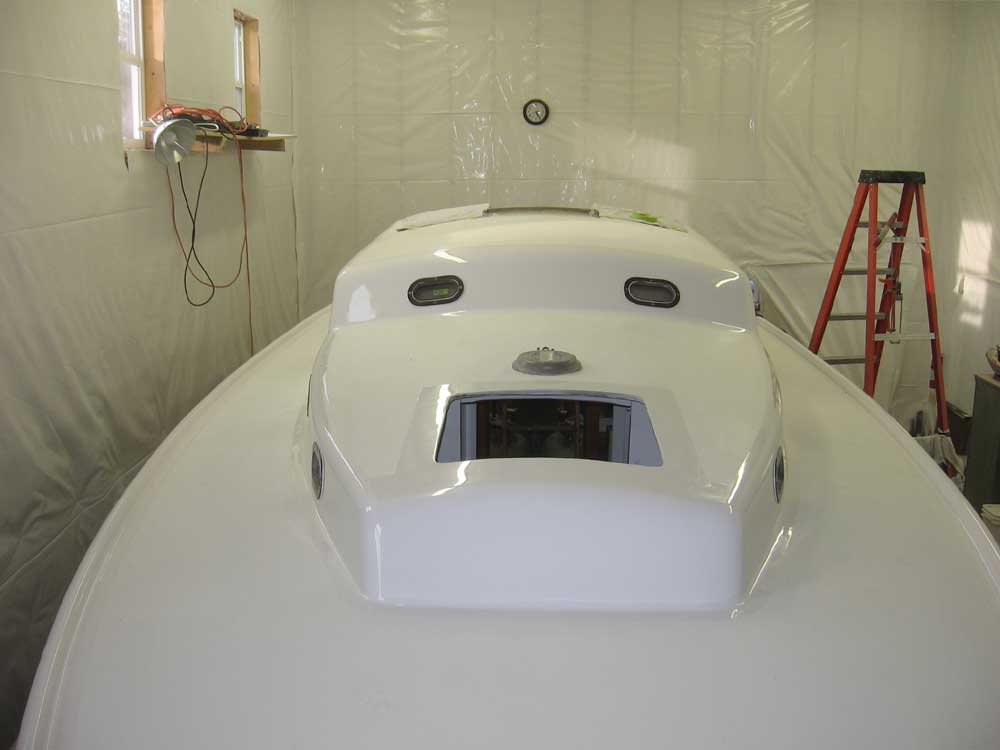
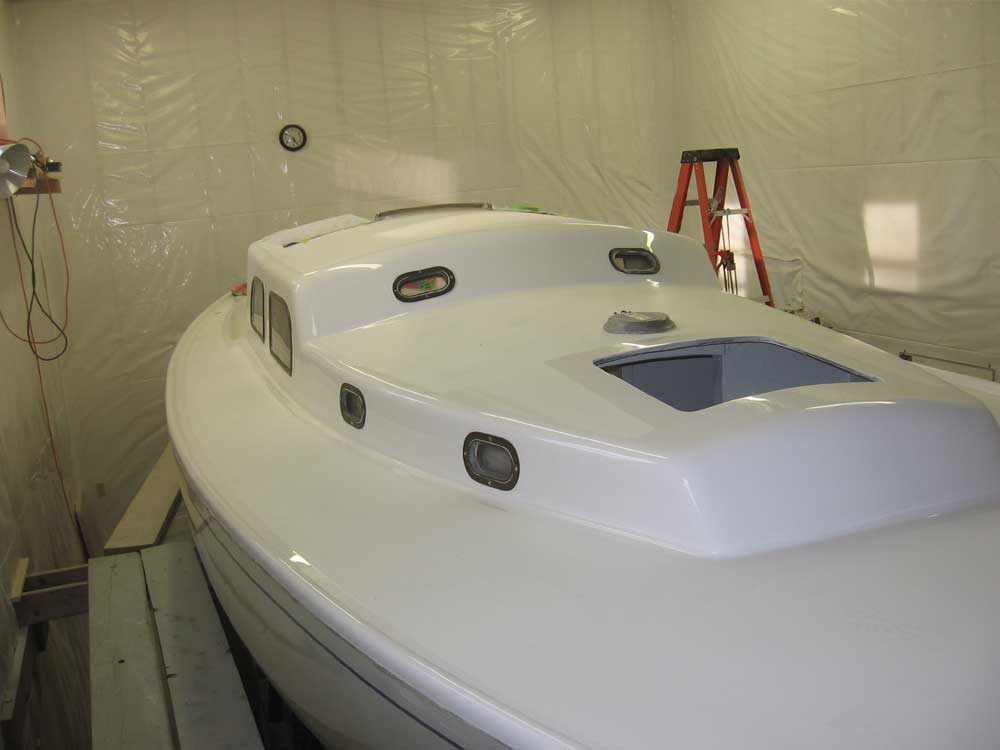
I expected the smaller ports to be easier to install, and because they contained glass and no plastic, I chose to use polysulfide caulk for these. We began with the two forward-facing ports on the cabin trunk. On Kaholee, the opening ports are of an older single-dog design that features an internal housing, which one inserts from the inside of the boat, and an external trim ring, which secures to the inner housing with four screws; the screws pass through four holes in the fiberglass, and this arrangement, once more, allows little in the way of adjustment room. Once more, there was a problem centering around getting the screw threads to properly align and engage with the threaded housing; on the first port, we managed to eventually get the screw to engage, but on the second forward-facing port, I had to custom-cut a new screw that was just barely longer than the original, since no amount of pushing, grunting, twisting, or realignment seemed to be able to allow us to engage the final screw. The new screw might have ended up being about one thread longer than the original; the first new screw I cut ended up just barely too long, and bottomed out before cinching up the flange. Such are the fine tolerances at play here. In any event, without further ado, we installed the remaining four opening ports in heavy beds of polysulfide, and then cleaned up the excess--a much easier process than cleaning the butyl. The owner elected to retain the aged bronze patina on the ports, a wise decision both from an appropriately aesthetic point of view as well as, more importantly, from the viewpoint of ease of maintenance. I did notice during installation, however, that the rubber seals on the opening ports were badly aged, so they'll require replacement. |
|
|
|
|
|