| Kaholee Refit |
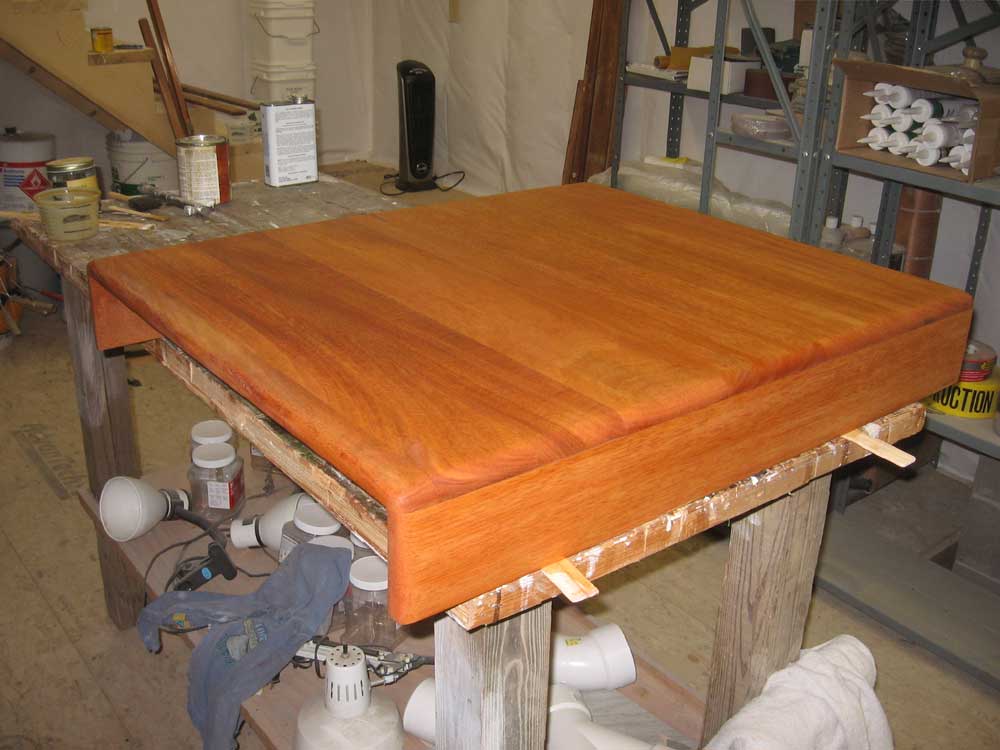
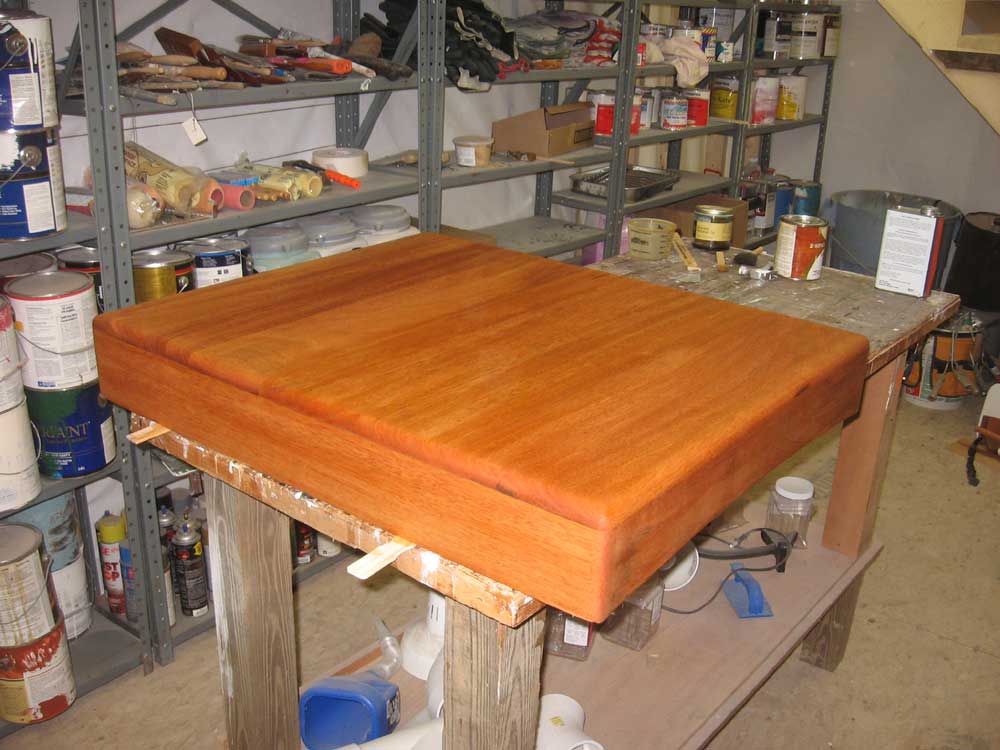
April 16, 2007 I began this morning on the sea hood. With a large router and a 3/4" roundover bit, I rounded the top edges of the sea hood, and then used a 1/2" roundover bit to round the vertical corners and back edge of the top. Then, I sanded the entire thing smooth to 220 grit, cleaned it up, and applied the first coat of varnish, inside and out. |
|
|
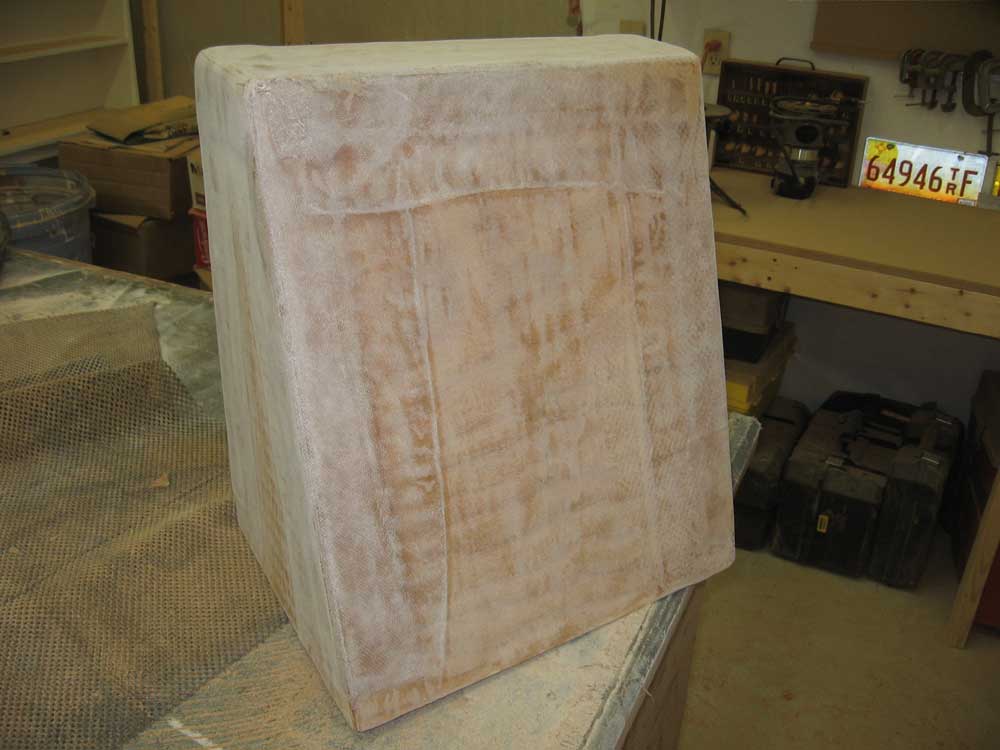
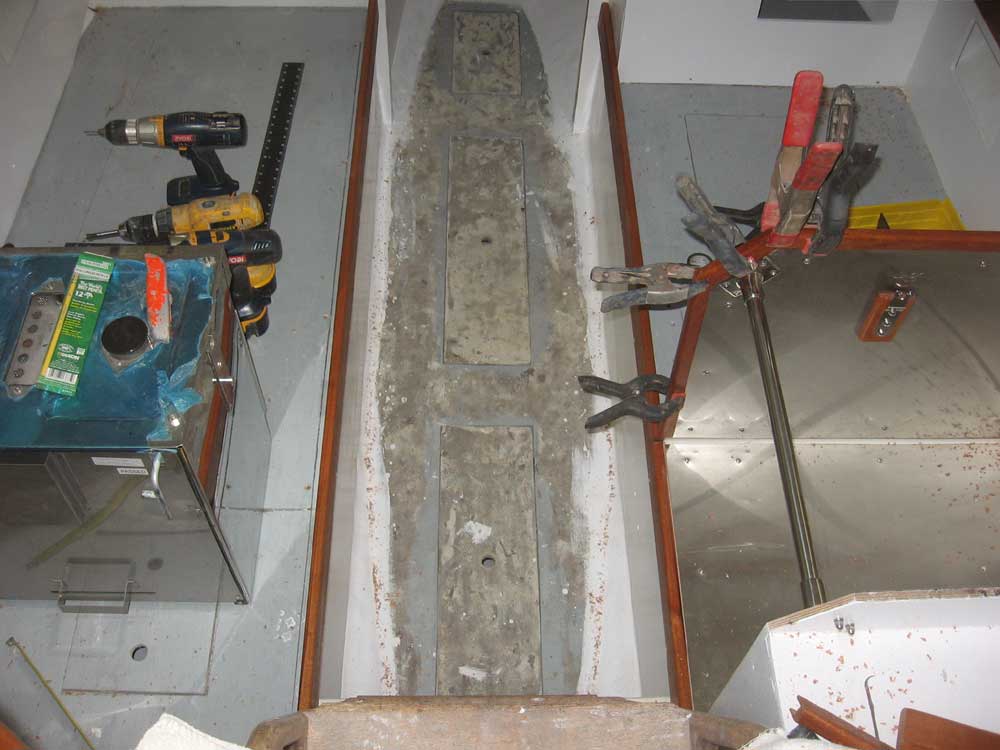
While I had the sanding equipment close at hand, I also hand-sanded some of the interior trim pieces to prepare them for a coat of satin varnish before installation. Then, I water-washed and sanded the holding tank to clean up the fiberglass tabbing and prepare it for additional steps. |
|
|
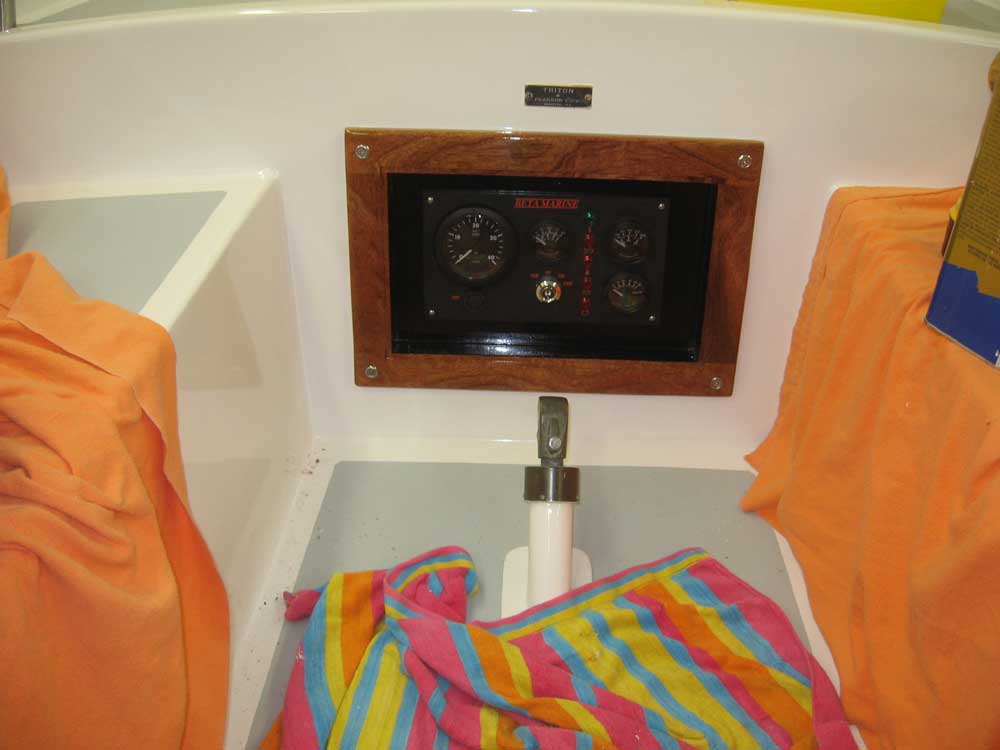
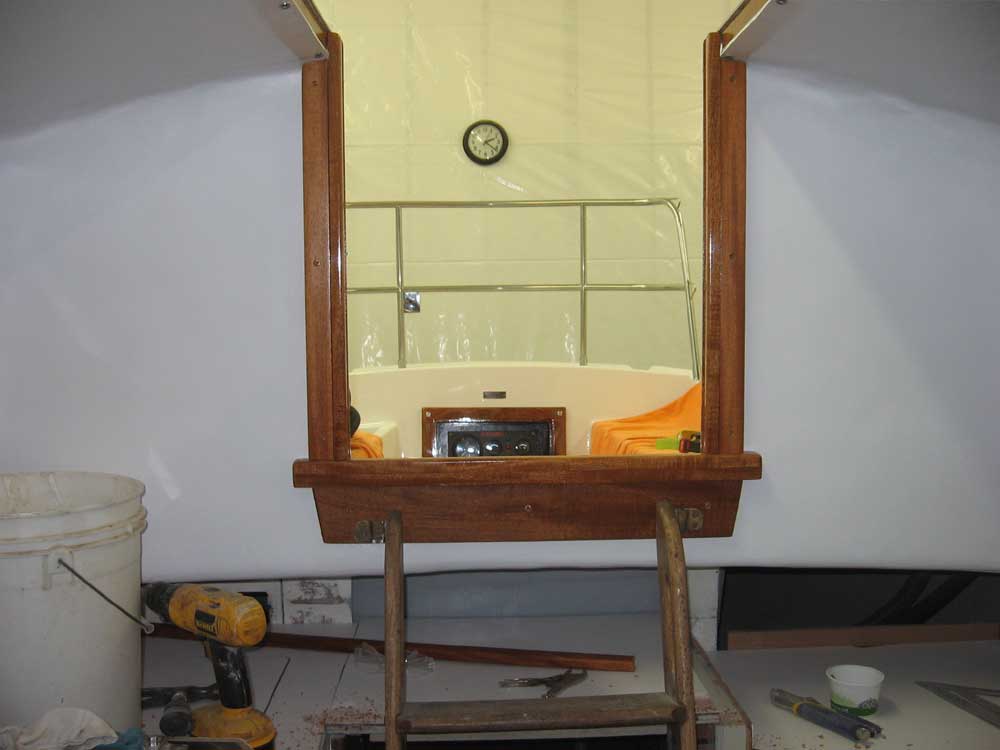
Since it was time to close up all the openings in the boat that might allow water in once the boat moved outdoors for storage, I prepared the engine instrument panel surround for installation. The Beta Marine instrument panel didn't come with a gasket, so I purchased and applied a self-adhesive foam rubber gasket around the back of the panel and installed it in the wooden surround with four screws. Then, I installed the surround in a bed of polysulfide caulk in the opening at the aft end of the cockpit, securing it with four screws so that it could be removed in the future if better access to the lazarette was required. Before installing the surround, however, I prepared a clear Lexan panel to cover the opening and provide a modicum of splash protection to the gauges. I cut the panel to the proper size and aligned a stainless steel piano hinge, which I secured to the Lexan with small dabs of epoxy since the plastic was too thin to allow for the use of screws. I left this to cure. |
|
|
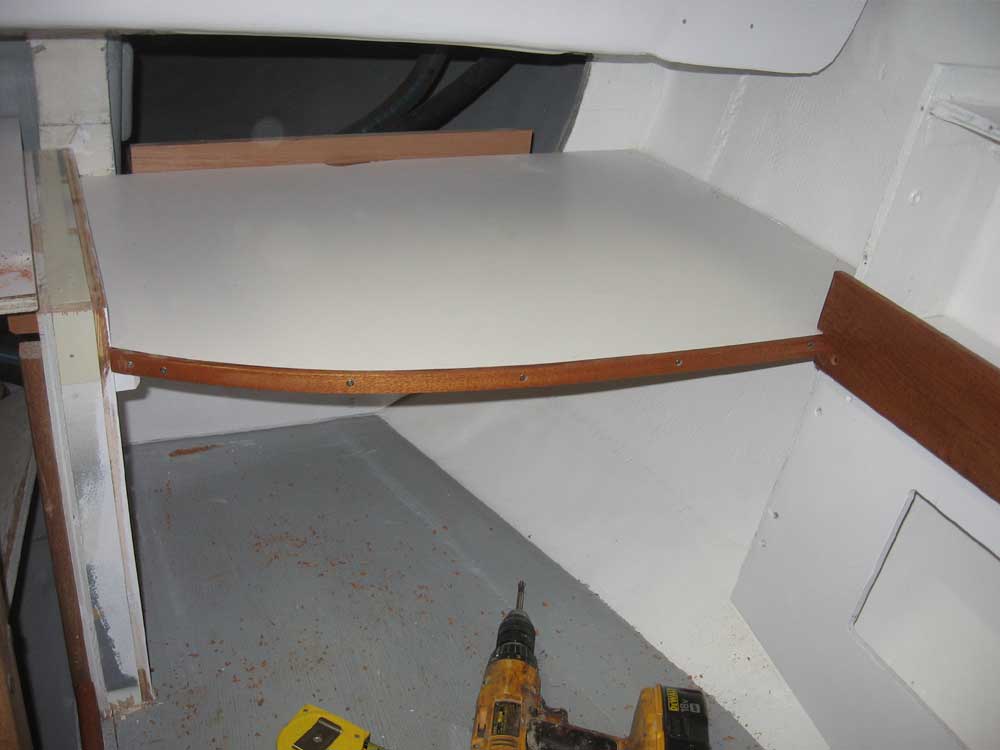
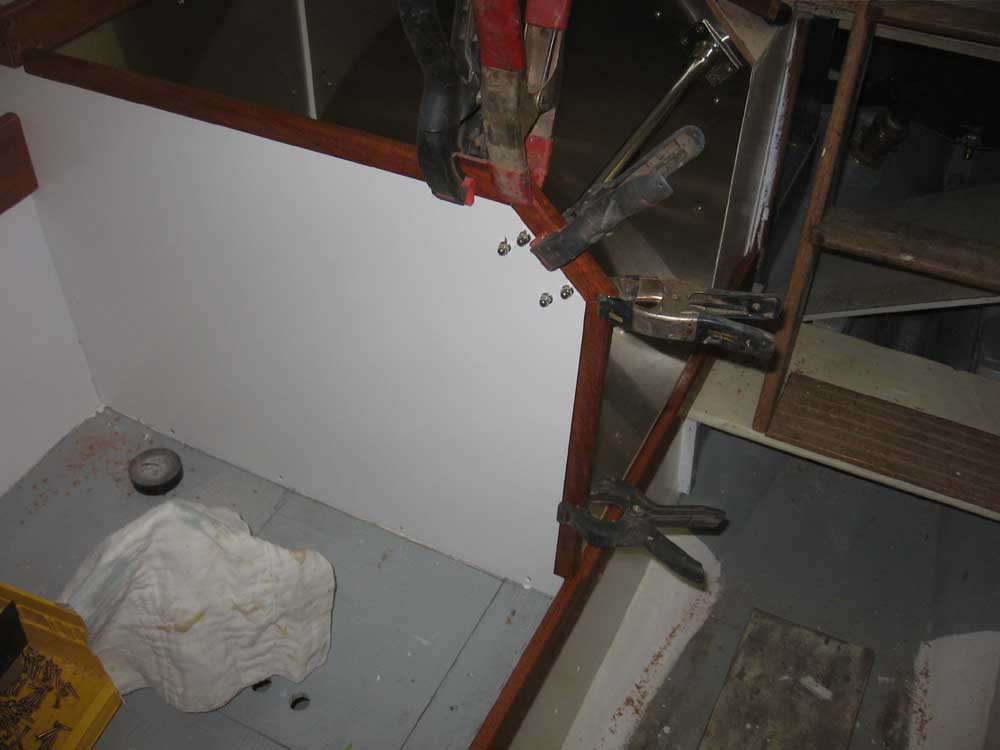
I permanently installed the companionway hatch and slide rails, using screws from beneath and polysulfide, and then continued work inside with more of the trim--the interior of the companionway, the companionway ladder supports on the new interior stool, and some additional trim pieces around the stove, as well as the fiddles for the settee cushions. This trim all requires bungs in the screw holes, a light sanding, and application of a final coat of satin varnish before it can be called complete. |
|
|
The first coat of varnish on the sea hood had dried enough by the end of the day so that I could apply a second right over the top, which I did; I also varnished the trim pieces I sanded earlier in the day. |
|
|
|