110 Cookson Lane | Whitefield, ME 04353 | 207-232-7600 | tim@lackeysailing.com
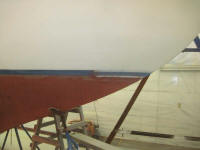
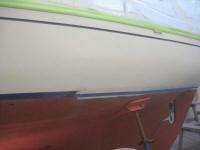
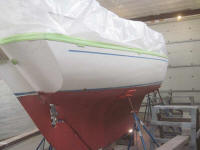
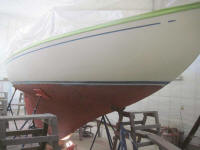
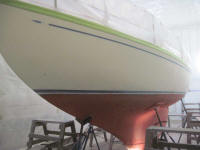
I spent the day sanding the hull. To begin, I sanded all around the waterline, removing the existing painted boottop and an inch or two of bottom paint. As expected, this revealed the original gelcoated boottop beneath, the effective waterline having been raised substantially in the past as needed to reflect the boat's actual waterline. Later, I'd strike new lines using the reference measurements I'd taken earlier as the starting points.
Once I'd removed the old paint from the boottop and waterline, I sanded the entire hull with 80 and 120 grit paper to remove what remained of the gloss from the original gelcoat and prepare the substrate for high-build primer.
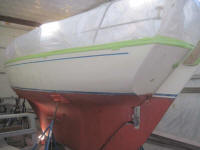
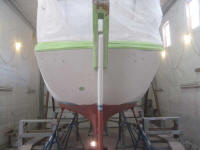
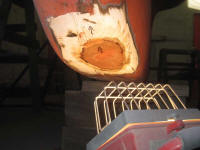
I had enough time left in the day to begin the patch to the keel damage, which seemed to have stopped its discharge. I installed some thickened epoxy in the depths of the opening I'd created earlier, covering and filling the (as far as I could determine) concrete within the cavity, then applied one layer of fiberglass over the area, extending to the edges of the ground, tapered area. I refrained from additional material at this time lest the combination of the epoxy fill and fiberglass become too warm during curing, but there'd be substantially more fiberglass to come in the near future.
While I was at it, I filled some small low spots in the fairing filler I'd applied to the lobster buoy tab on the trailing edge of the keel, which I'd sanded earlier during the hull sanding.
Total Time on This Job Today: 6.25 hours
