

|
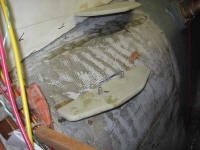
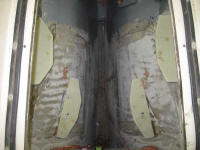
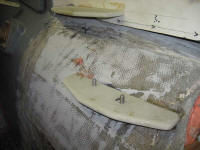
Equinox Project | Thursday, March 5, 2009 I had some commitments away from the shop during the afternoon, so I had only a few hours in the morning to get anything done. I got started by removing the engine template and braces, now that the basics of the foundation were tacked in place. My next steps on the foundation pieces would be to clean and sand the area to remove any hardened epoxy that ended up where it shouldn't have (twisting the epoxied-up engine template into place during yesterday's installation caused some epoxy transfer to adjacent parts of the hull because of the tight confines), and then to install epoxy fillets top and bottom on each of the four foundations before installing several layers of heavy tabbing to secure the foundations in place. Following that, as needed, I planned to install additional bracing beneath any overhangs to provide the requisite stiffness and strength. But that would all come tomorrow, or shortly thereafter. |
 |
|
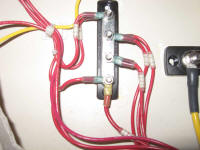
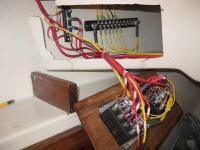
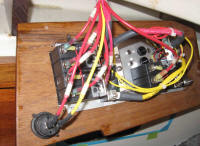
With my limited time availability today, it seemed the perfect morning to continue work on the electrical connections where I left off. I spent the remainder of the morning making up the positive connections on the starboard side of the boat. For the cabin lighting circuits, I ran all the fixture conductors to a small buss that I installed earlier, and then ran a single (one size larger) conductor from the buss to the appropriate circuit breaker on the panel. For the other, individual, circuits, I ran each to its appropriate breaker. I also made up the main panel feeds, as well as short lengths of the larger cable to create jumpers between the two sides of the 8-position panel, as they were not interconnected as provided. I had just enough time to complete all the connections and secure the wires, but not enough time to install the panel permanently. I also wanted to secure a few more areas of the completed wiring to the boat with wire ties and mounts, but would wait until the next time I needed a number of mounts installed before doing so, to avoid wasting expensive mixing tips for the 2-part adhesive on only 2 or 3 mounts. |
 |
|