
|
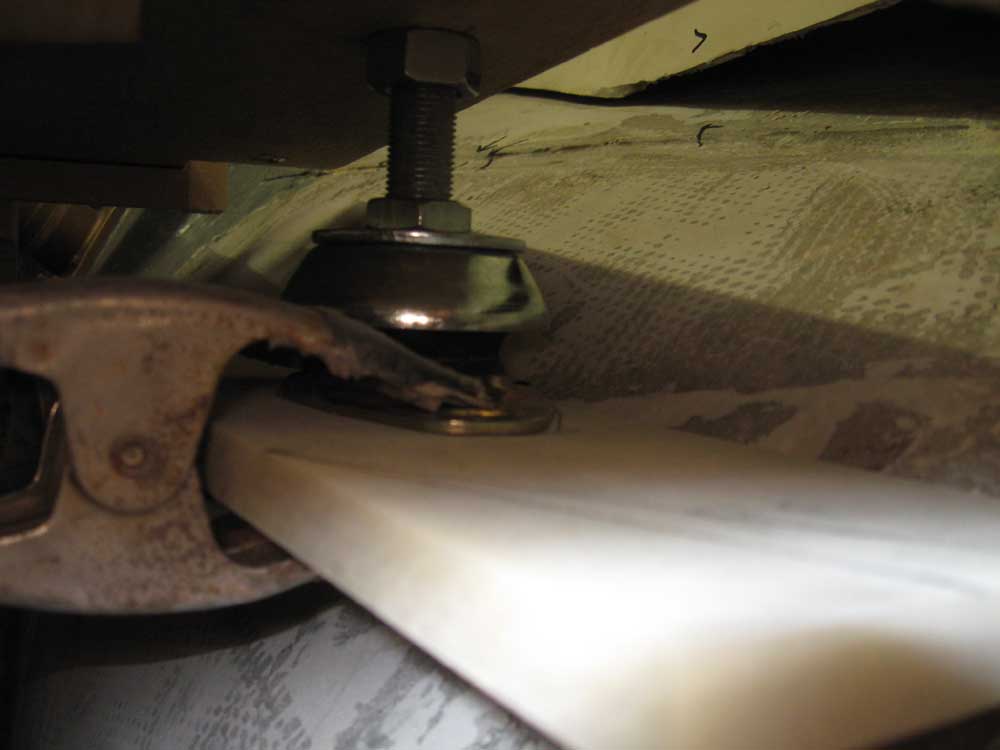
Equinox Project | Wednesday, March 4, 2009 I spent most of the day fabricating and beginning to install the engine foundations. For the material, I chose 1/2" G-10 laminate. With the material now on hand, I began by sanding both surfaces to remove the factory smooth, glossy finish. With the engine template in place in the boat, and with the forward flex mounts installed beneath, I used a bevel gauge to approximate the angle of the hull, and then cut one of the G-10 sheets with the saw set at that angle, giving me two beveled pieces, one for each side. To allow for the thickness of the fiberglass tabbing that would eventually secure the foundations, I lowered the forward flex mounts 1/4" from their middle-of-the-road adjustment where they had been; this would have the effect of lowering the foundation blank by a corresponding amount, so that when I added several layers of tabbing material to the top, the eventual final height would end up back where I wanted it. I determined the overall size and shape of the forward foundations over the course of the morning and several struggles to manipulate the still-oversized blanks within the tight confines of the engine room, beneath the template, and in and around the braces holding the template in place. After making a few reference marks, I was able to trim the blanks down closer to their final size, at which time I could clamp them beneath the flex mounts to hold them in position for some of the final fitting steps. |
 |
|
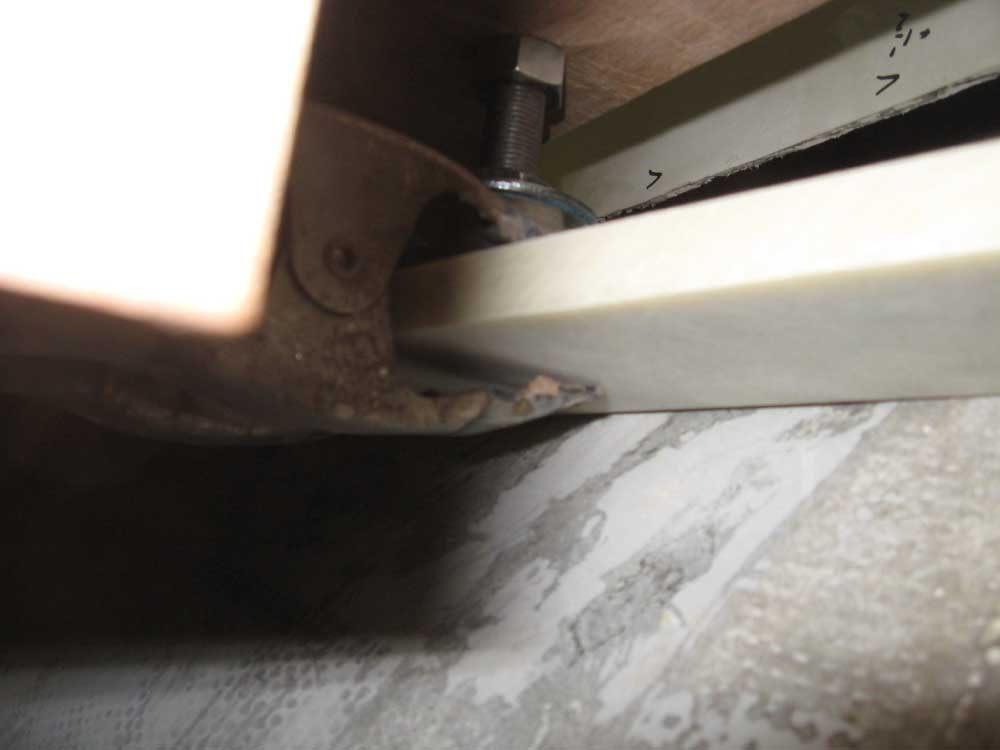
When I had things aligned the way I wanted, I carefully traced some of the flex mounts' shape (that which I could reach) on the top of the blanks, so that I could remove things to the bench and drill holes for the mounting bolts for the flex mounts. Because of the shape of the hull, and the position of the mounts, there wouldn't be room to insert through-bolts and nuts after the foundations were installed, so instead I drilled and tapped the holes for 3/8" bolts, and inserted the 1-1/4" long hex bolts from the bottom up, leaving the studs exposed at the top. Proper alignment of the bolt holes was critical to allow the maximum potential for adjustment later within the slotted confines of the flex mounts' mounting holes. With the mounting holes drilled and tapped, and the blanks secured in place (with the bolts temporarily screwed in from the top for this purpose), I test-fit the blanks in the boat again to ensure proper fit and to double-check the final cuts and shaping that I wanted to do on the blanks. To wrap up the fabrication of the forward blanks, I trimmed off some of the excess material to taper the ends, and rounded over all the corners and edges with a sander. |
 |
|
Next, I turned to the after foundations. Because I'd have to have some custom metal extenders made for the after pair of mounts, I wouldn't be able to determine the final location of the flex mounts until the engine went in and the new flange mounts were installed; therefore, I needed the after foundations to allow room beneath for nuts, so that I could drill the mounting holes where the needed to go and still secure the engine properly. After some test fits and making some new pencil marks using the reference lines I'd marked the other day, I determined the location of the aft foundations, and, after sawing up some G-10 blanks, cut and fit the pieces as needed; the engine room was asymmetrical, so the foundations ended up being different widths from side to side. As with the forward foundations, once I had the basic size roughed out, I tapered the blanks at the ends and rounded over the edges as needed. The position of these aft foundations was such that the after corners sat on the curved hull, while the forward sections were elevated. Later steps in the installation process would see additional reinforcement and support beneath both sets of blanks, but especially the after ones. |
|
|
|
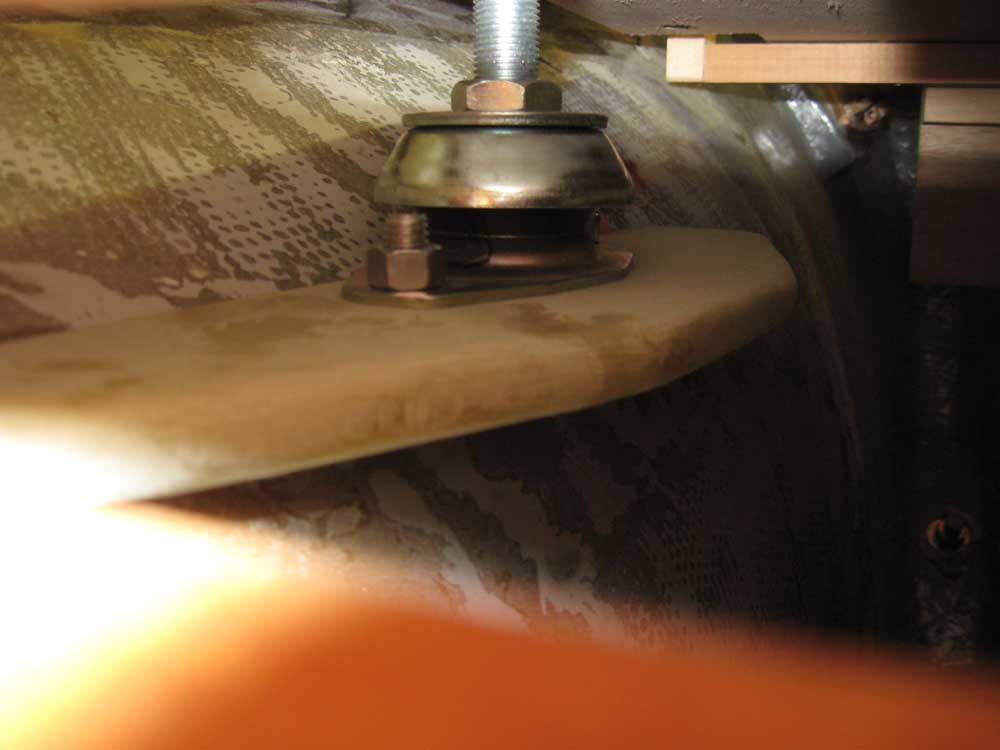
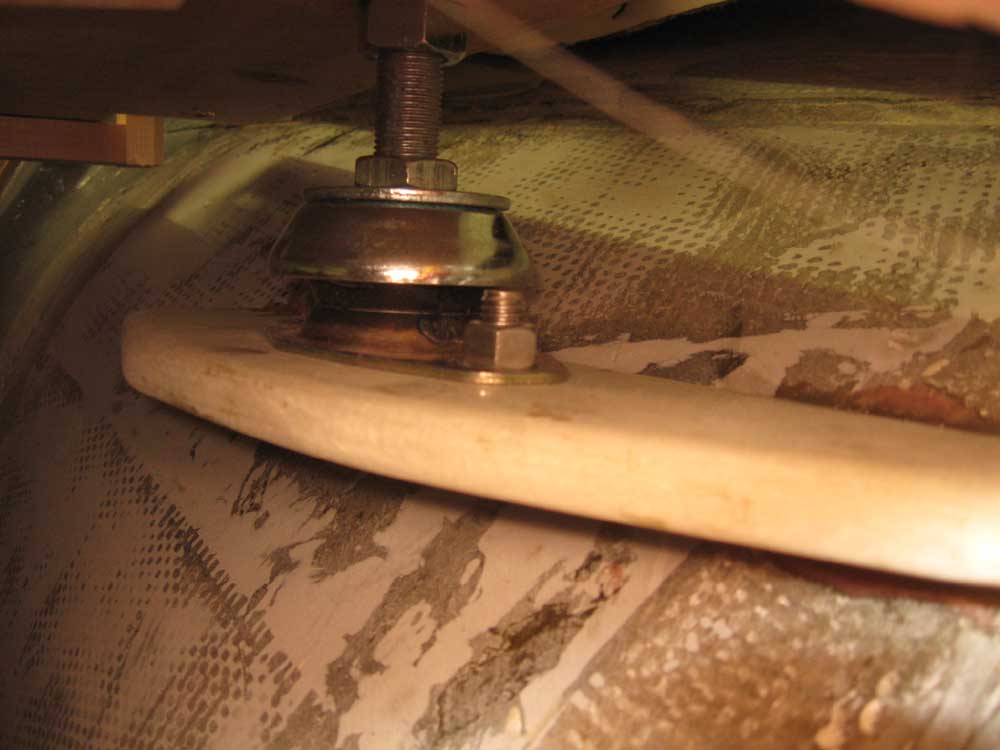
With all the basic fabrication complete, I began the final installation by tacking them in place with epoxy. To do this, I bolted the forward foundations (which were attached to the engine template) in place through the tapped holes, using a small bit of epoxy on the threads to help ensure that this bolt always would remain firmly locked in place. (The hex head, on the bottom of the foundation, would eventually be encapsulated in epoxy and fiberglass as well.) |
 |
|
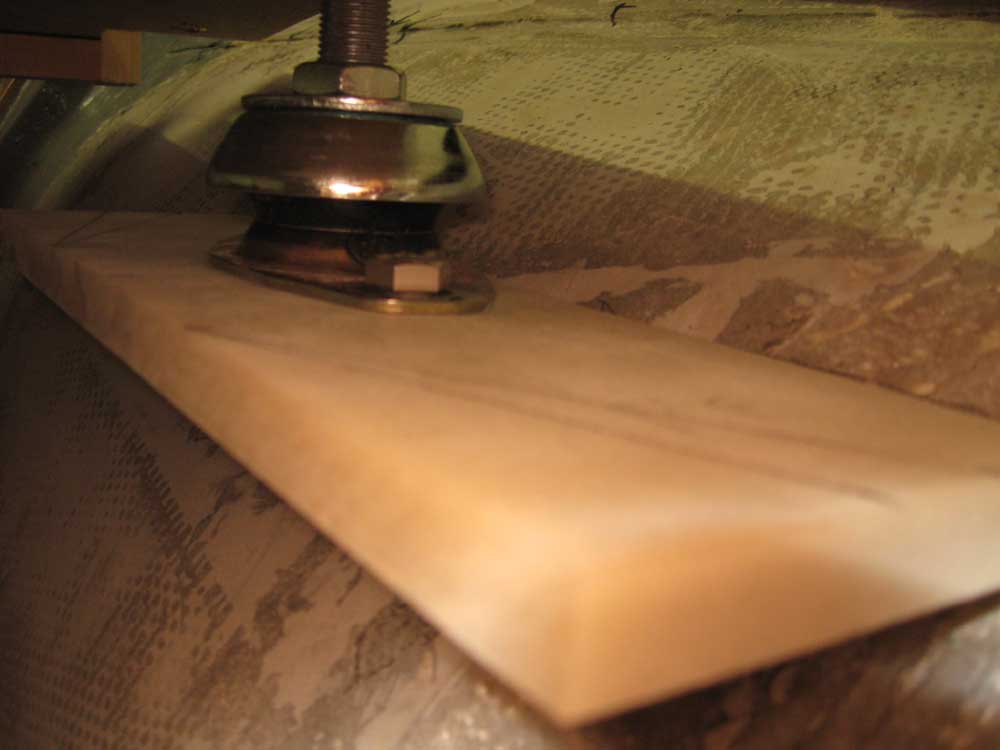
With some dabs of thickened epoxy adhesive on the edges of the foundation blanks--enough to hold them in place once it cured, but not so much that it would make a mess or get on the engine flex mount or elsewhere, since I couldn't access the area very well for cleanup at this point--I installed the engine template in the boat, aligned it properly according to the shaft center string, which was still in place, and pressed the forward foundation pieces into their proper position against the hull on both sides. The engine template and mounts would hold these in their proper position while the epoxy tacking cured; later, I'd complete the installation and reinforcement with abundant additional epoxy fillets and cloth. |

 |
|
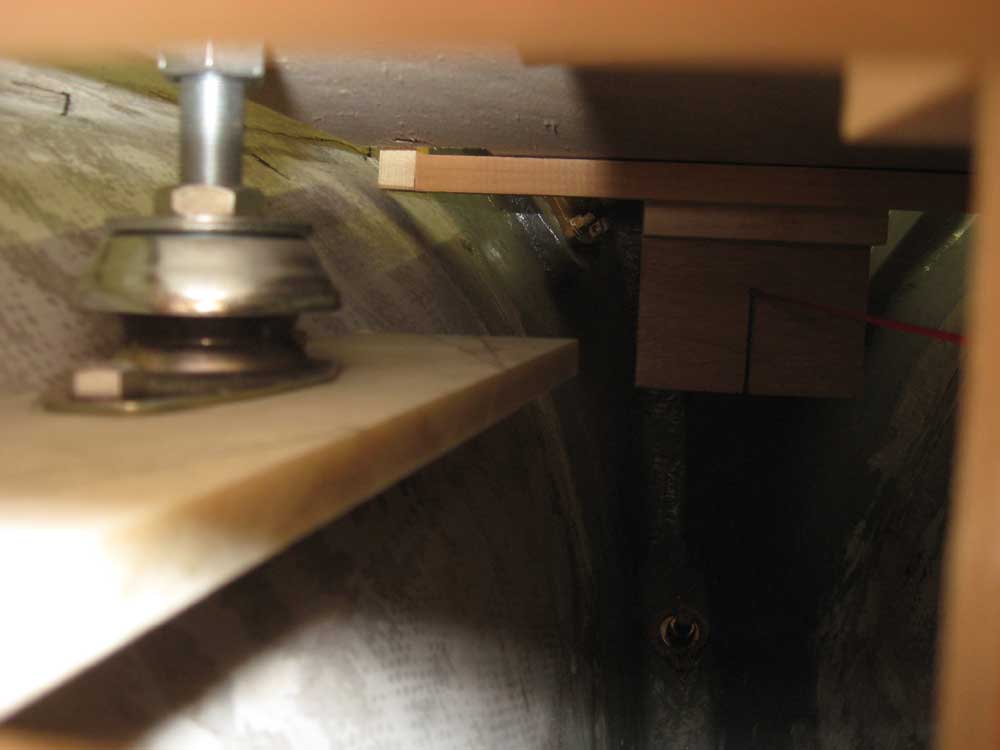
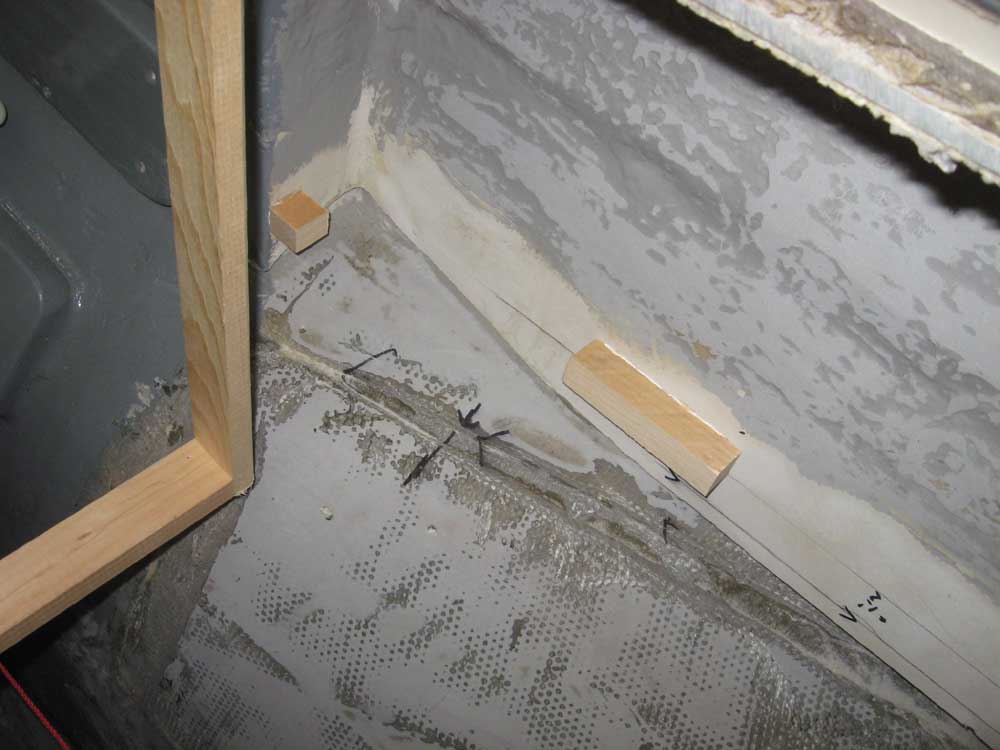
Because the aft foundations didn't have
any external means of support for this initial tacking operation, I
hot-glued some temporary wooden blocks in place as needed to allow me to
clamp these pieces in position while the epoxy cured. Again, I
added dabs of epoxy to key parts of the aft foundations, enough to hold
them in place without making a mess that would be hard to clean up
later. As soon as I was done gluing these things in place, I got off the boat so as not to juggle things out of proper alignment. |

 |
|
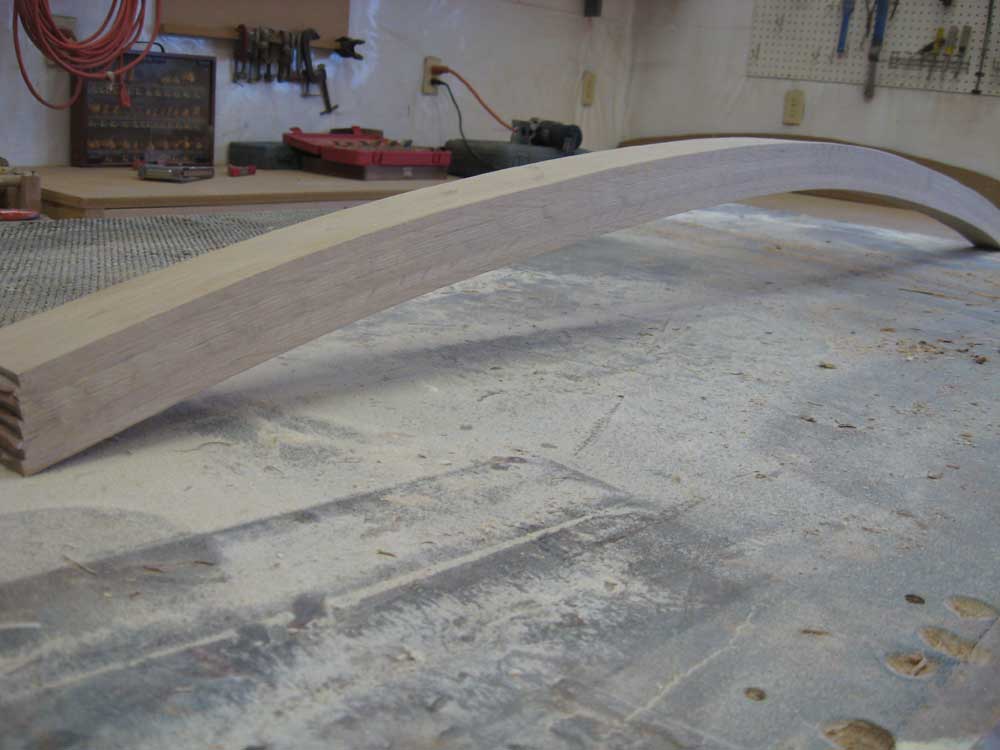
To round out the day, I worked on a few odds and ends, including surface planing and sanding the laminated mast beam to remove the unevenness and excess epoxy. I also sanded and revarnished the swashboards, along with minor sundry tasks. |
 |
|
|
|
