
110 Cookson Lane | Whitefield, ME 04353 | 207-232-7600 | tim@lackeysailing.com
Ensign #1212 | Monday, June 16, 2014
When involved in a substantial varnish project, I like to do the sanding between coats first thing each day, and that is how I started this one: lightly sanding all the seal-coated brightwork (cockpit bench pieces, coamings, trim, and bulkhead) with 320 grit paper. Because of other things I planned to do in the shop, I also planned to move the spread-out pieces around later in the day before beginning varnish.
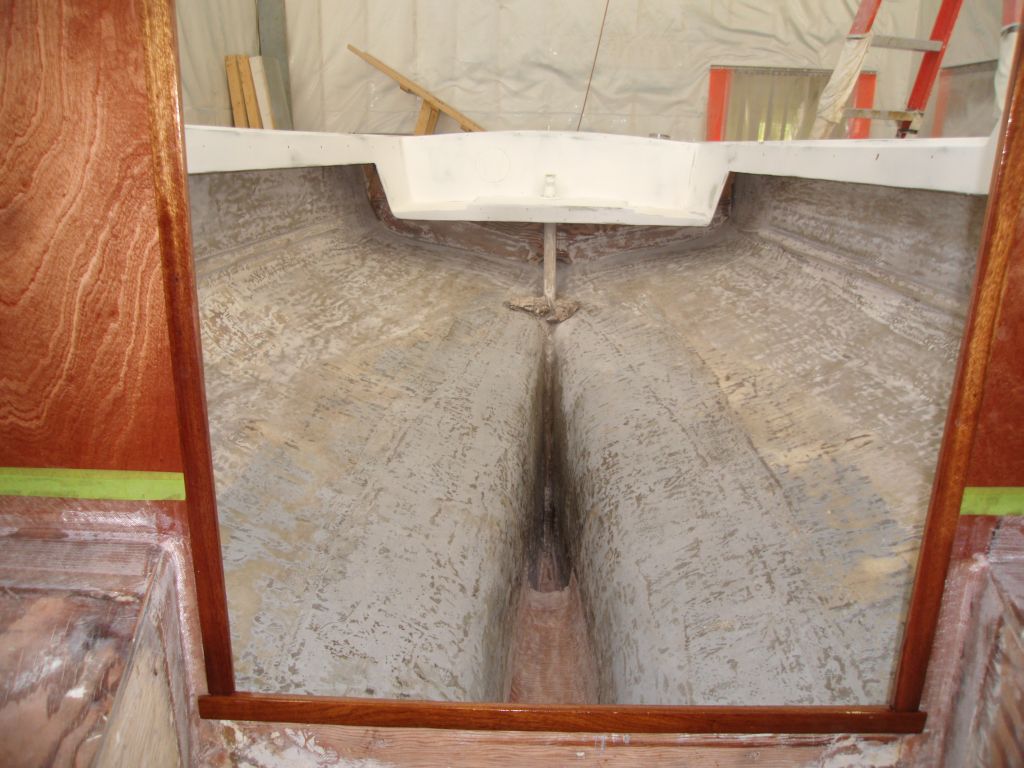
Up in the boat, I water-washed and lightly sanded the new fiberglass in the bilges to remove any sharp edges and prepare the surfaces for later steps.


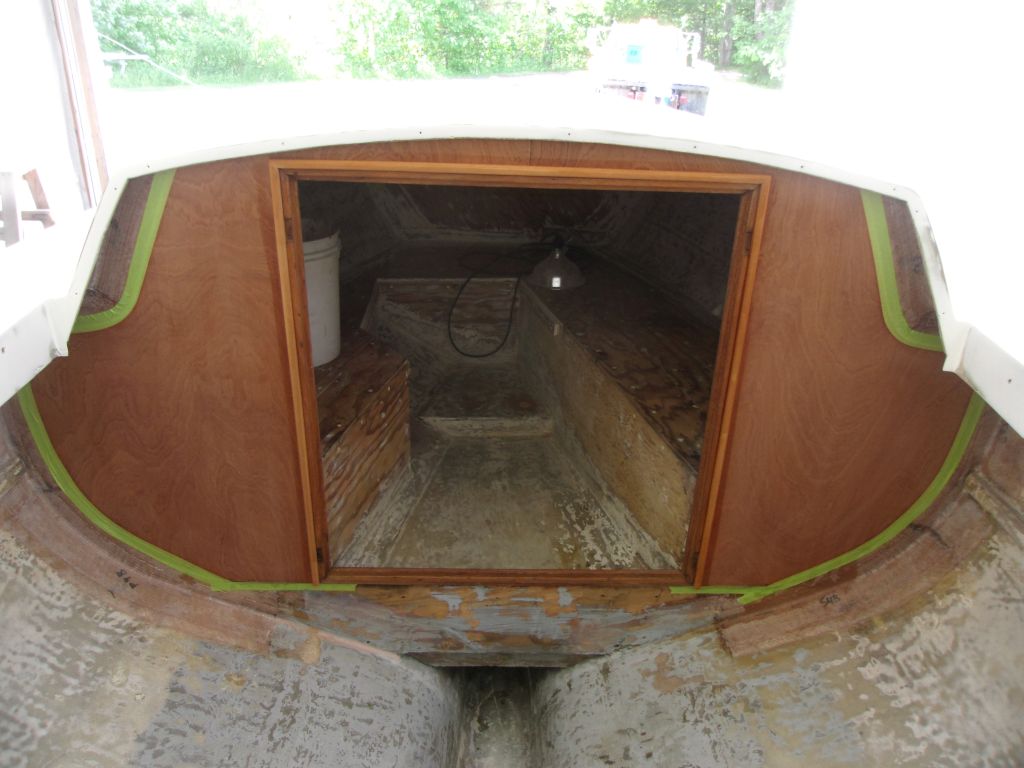
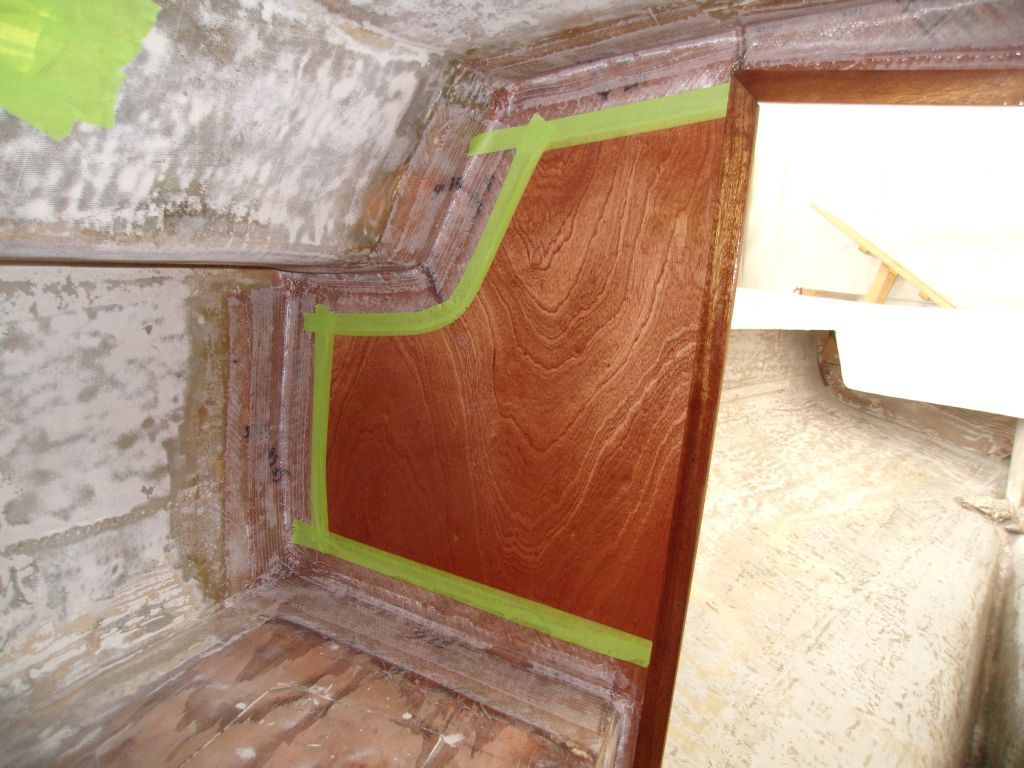
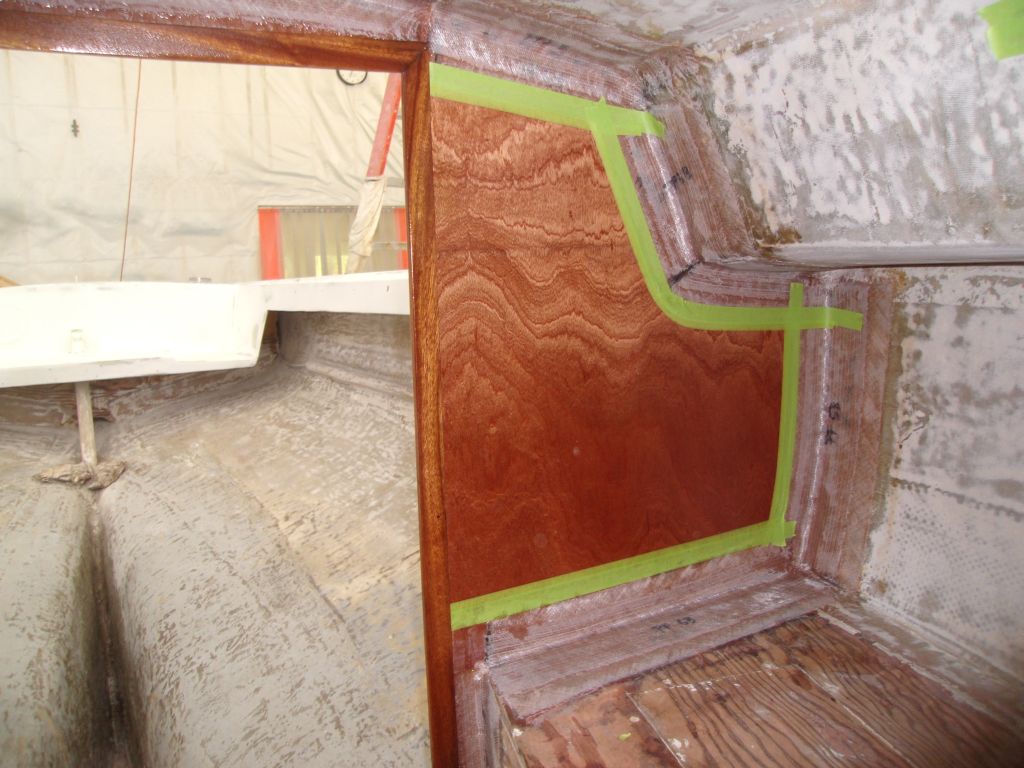
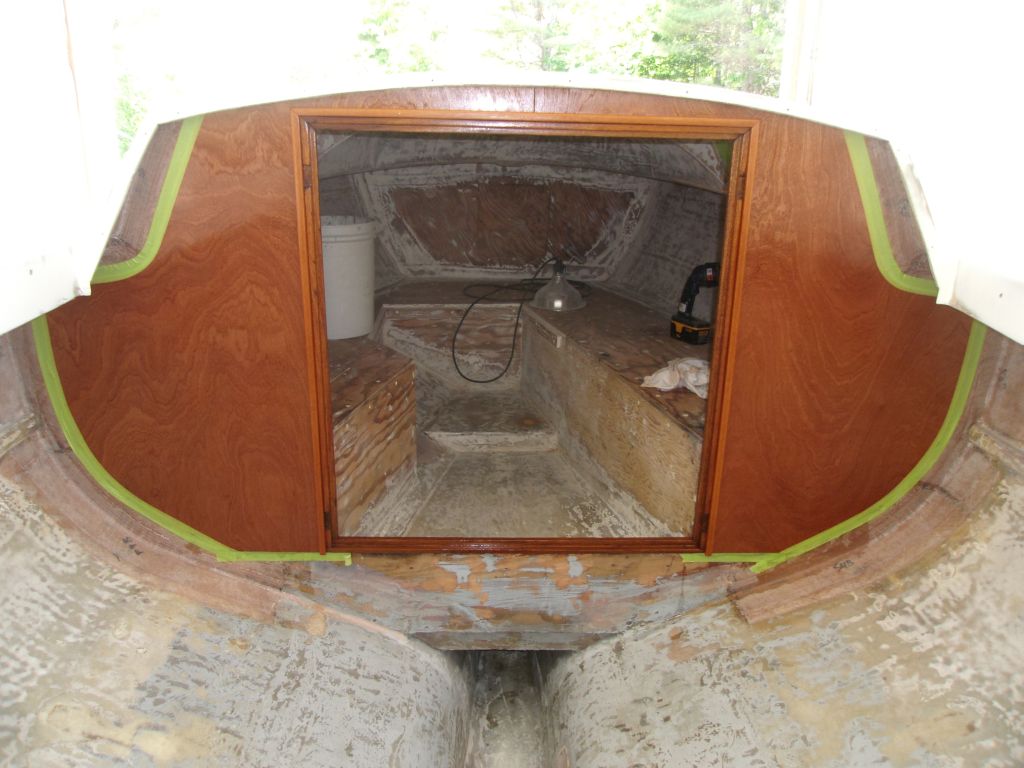
Before continuing varnish work on the bulkhead, I wanted to reinstall the trim around the opening. I'd designed the new opening to fit the existing door stop trim, but this was the first time I'd attempted the fit. Fortunately, it fit well, and I secured the trim pieces with stainless steel brads. Around the perimeter, I added a newly-milled piece of mahogany trim, in a profile appropriate to the original trim, to finish off the opening. Afterwards, I applied another coat of varnish to the bulkhead field and trim.
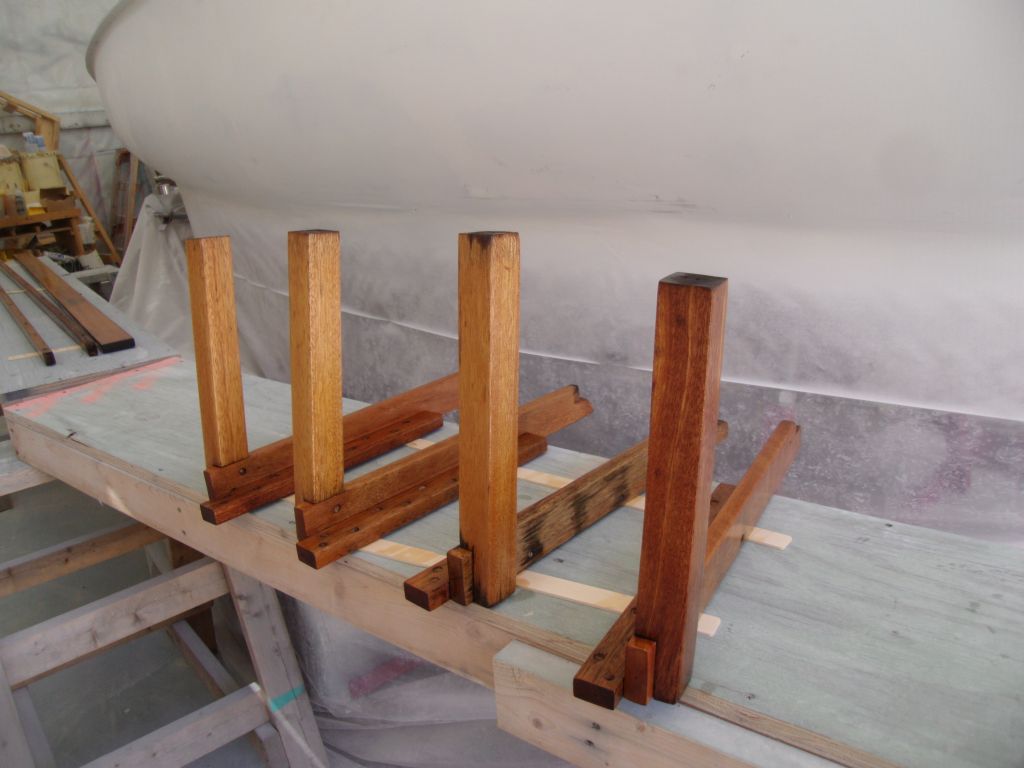
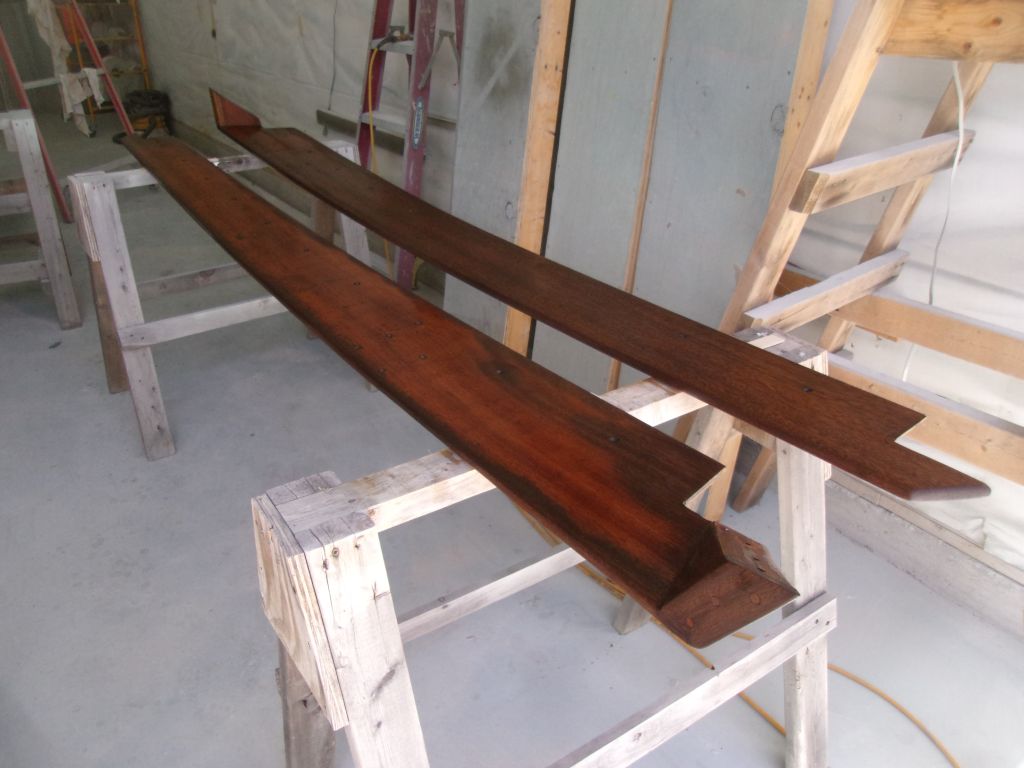
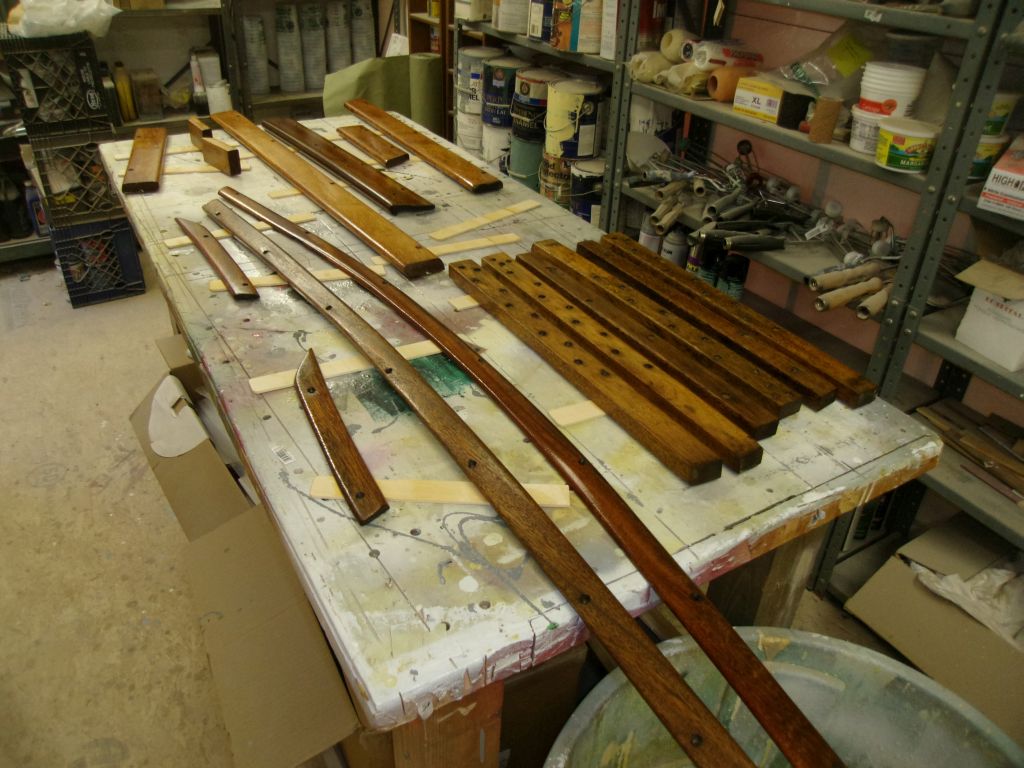
After cleaning up around the boat and rearranging the various brightwork pieces to open up the woodshop for other uses, I solvent-washed and applied a second coat of varnish to all sides of all pieces, except the coamings, where I finished only one surface at this time. I left out the four new starboard seat planks, which would require additional cutting and fitting once I got to a point where I could temporarily reinstall portions of the benches for the fitting. I'd catch up on their varnish after the final shaping.
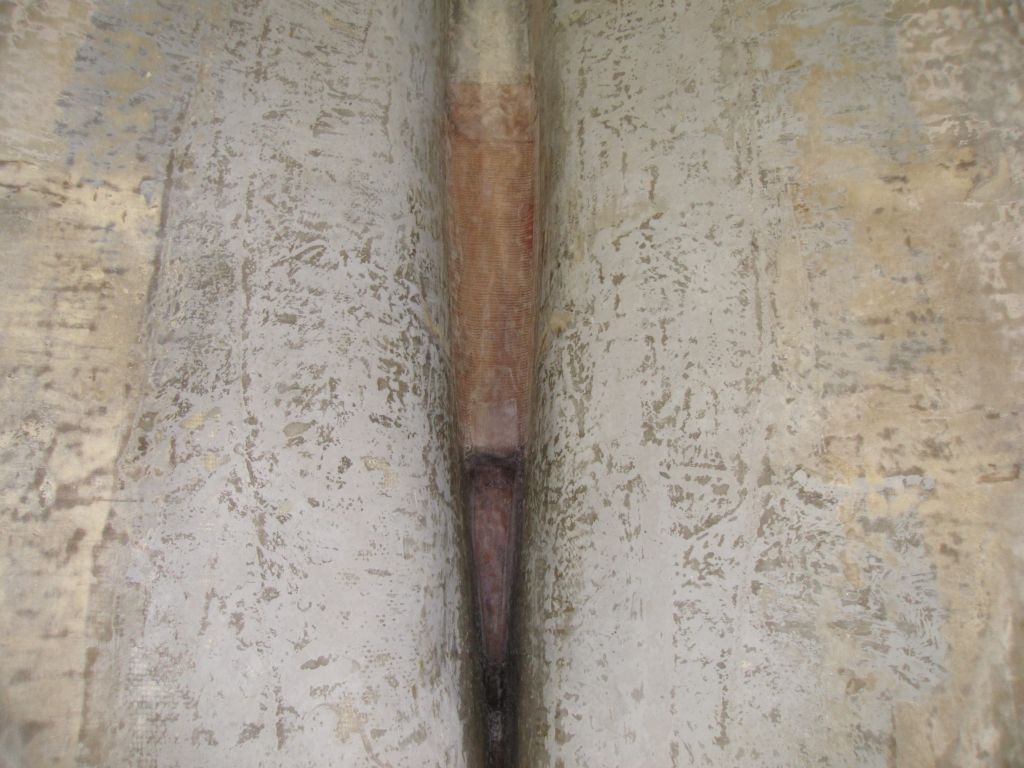
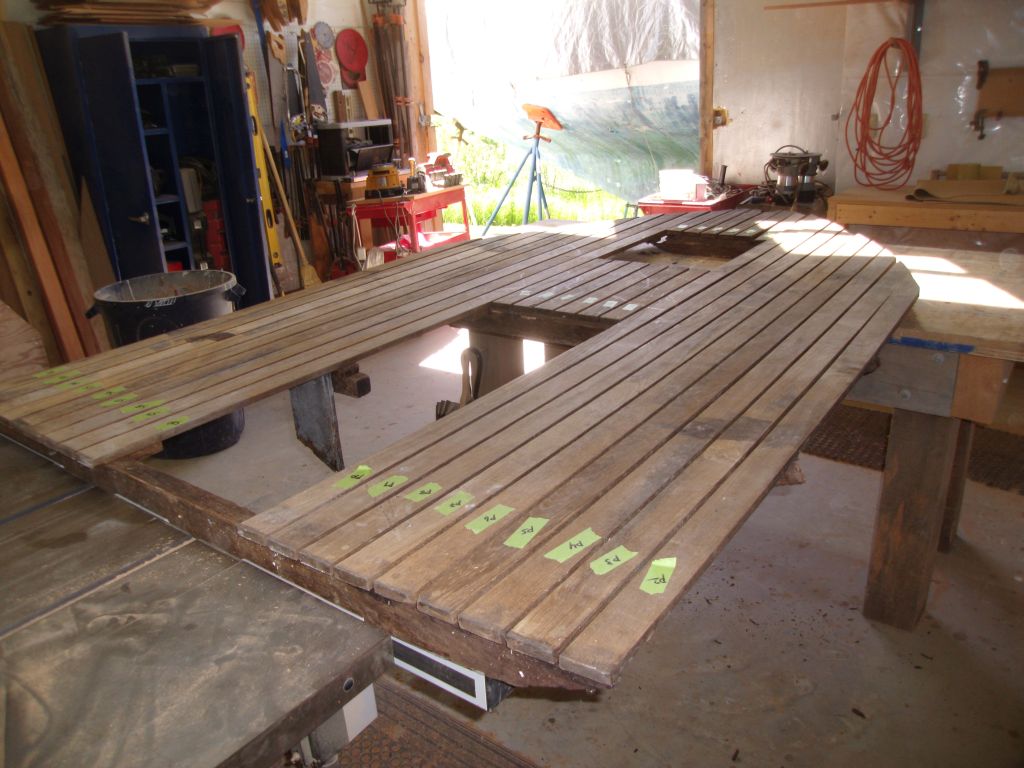
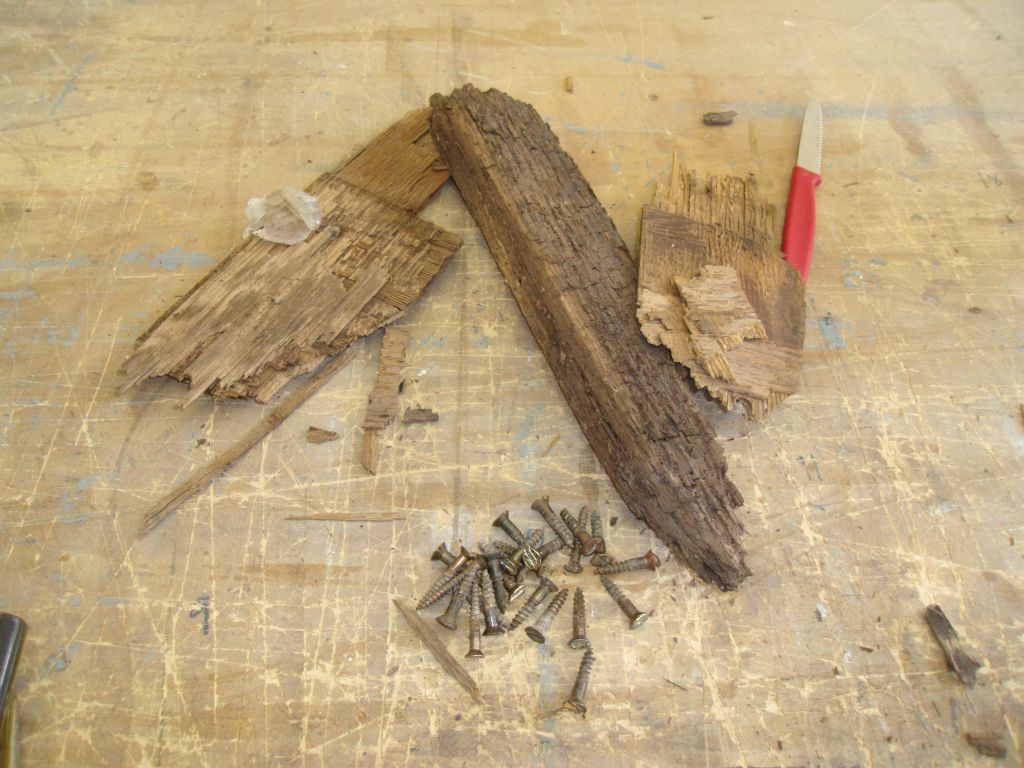
The cockpit sole cross beam supports had rotted out and required replacement. The sole was holding together, as the forward several beams were mainly intact, but the aft end was loose, as most of its beam was simply gone.
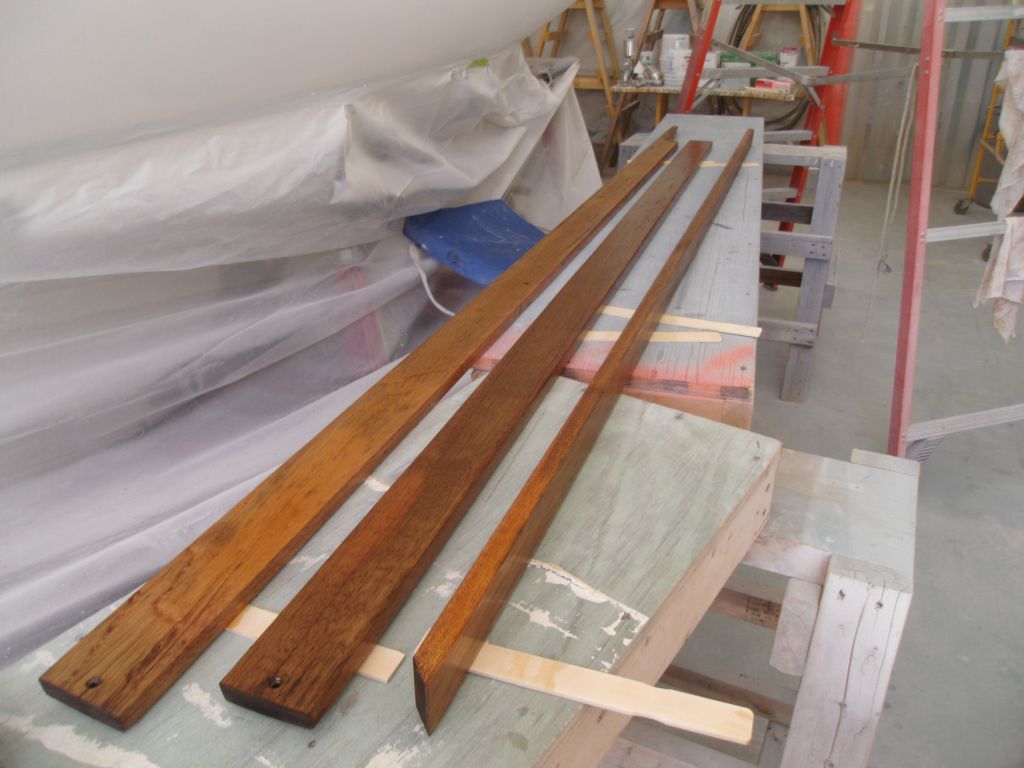
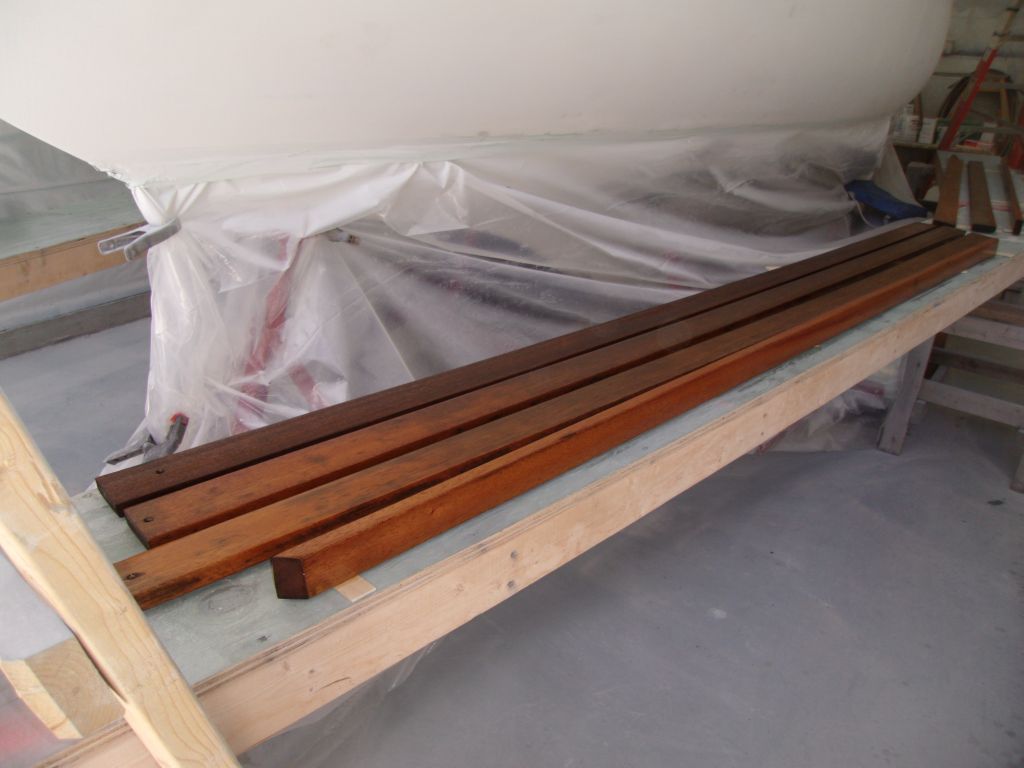
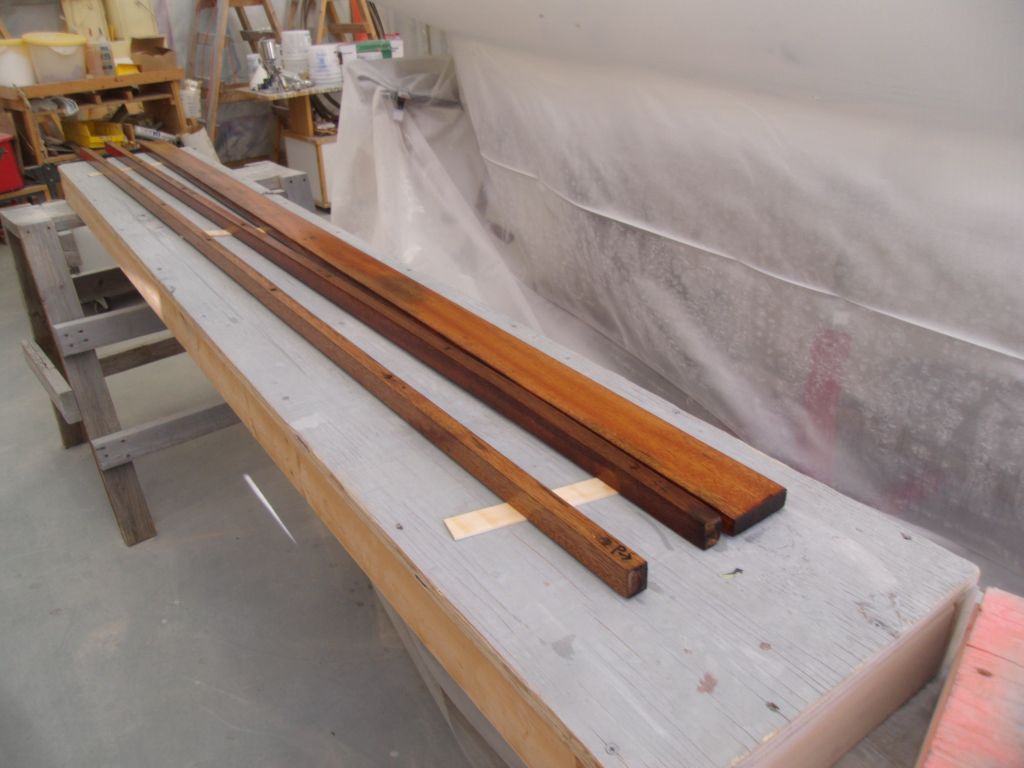
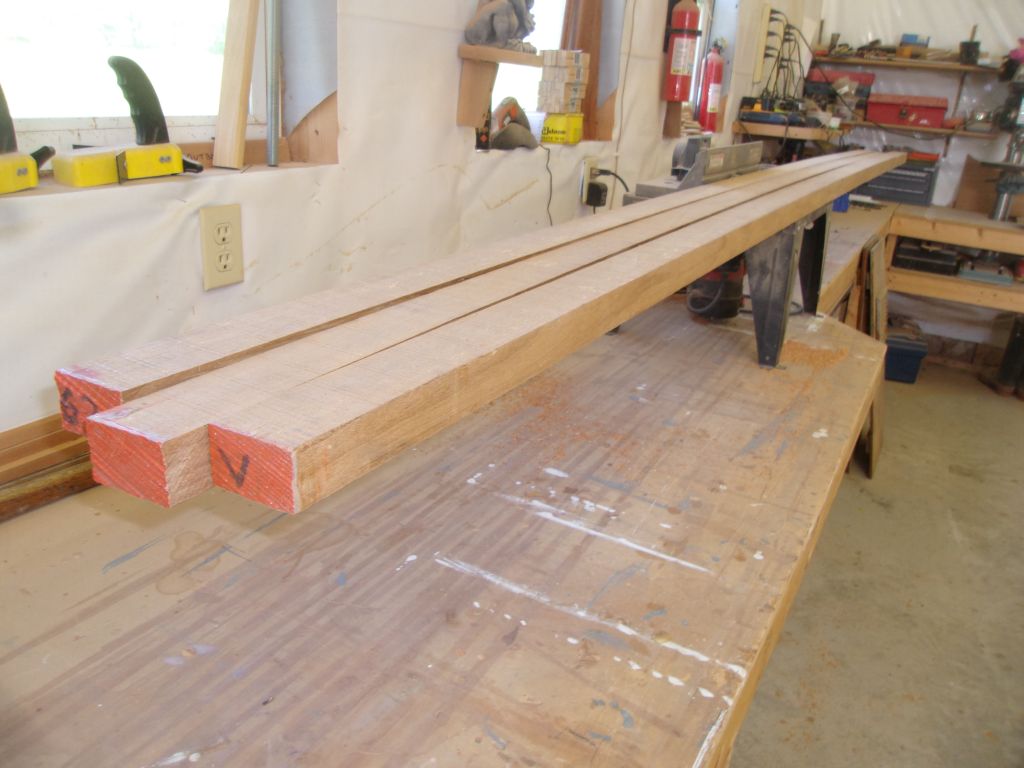
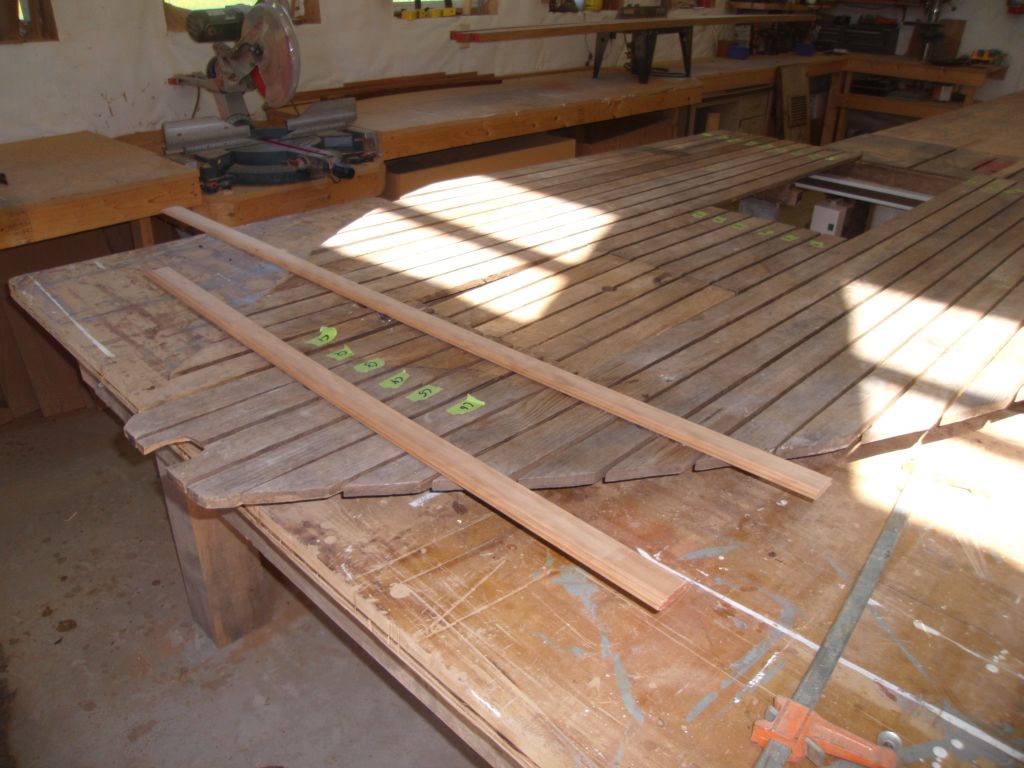
To begin, I milled a 1-1/2" thick teak plank that I'd purchased for this purpose into three lengths, each 2-1/2" wide to match the original support beams, that I could use to create new beams, and set them aside for the moment.
Keeping the teak slats in proper alignment, I temporarily hot-glued some scrap wood to the aft end of the sole to hold things in position while I replaced the support structure at that end.
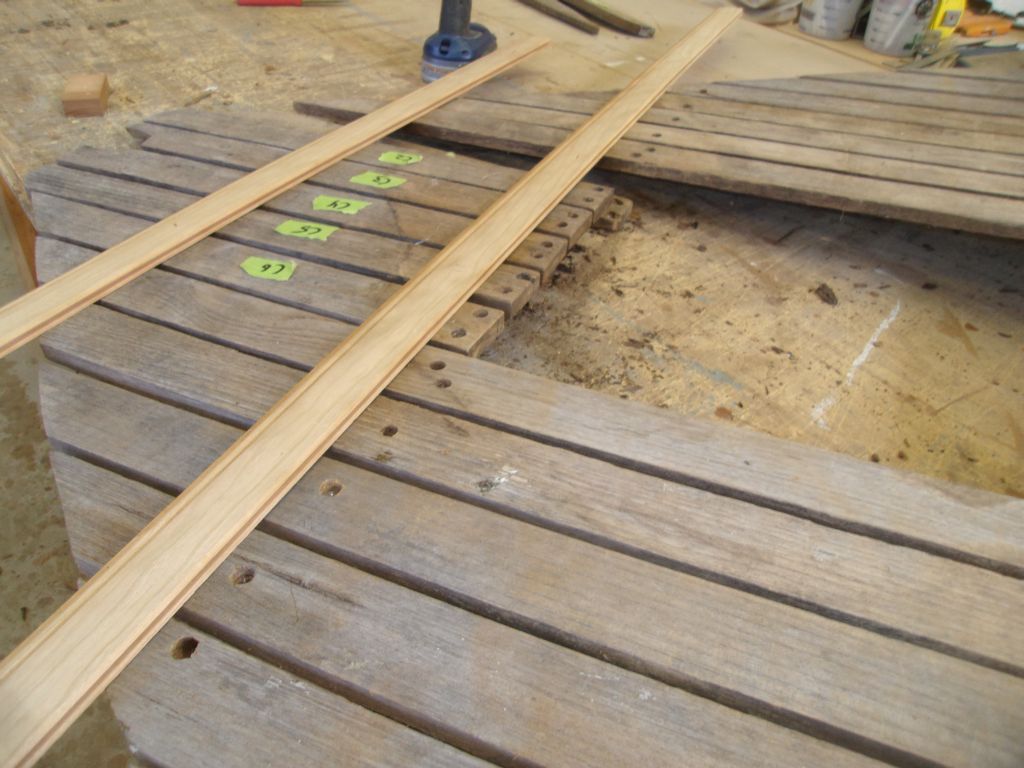
Next, I removed the teak bungs covering the screws that had secured the slats to the beams, and, with considerable effort, removed all the old screws. The screws were too tight to push out from beneath, even though most of them were sticking through (since the old support beam had literally rotted away), and the screws wouldn't back out on their own without pressure applied from a wooden block beneath, making it a frustrating, lengthy, and awkward process to remove the soft old bronze slotted screws. But by the end of the afternoon, I'd removed all the screws from this one location, and would be ready to build and install the first of the new beams next time.
Total Time Billed on This Job Today: 7.5
Hours
