110 Cookson Lane | Whitefield, ME 04353 | 207-232-7600 | tim@lackeysailing.com
Ensign #1212 | Monday, July 28, 2014
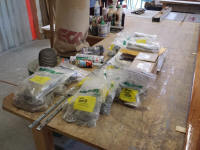
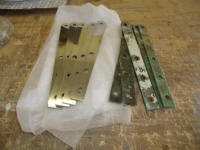
I continued work cataloging the original hardware and fasteners, coming up with a list of fasteners required for reinstallation and, as needed, ordering anything I didn't already have in stock. Along with most of the original deck hardware, I'd be installing new stainless steel chainplates, and new genoa sheet winches.
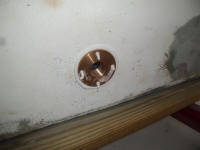
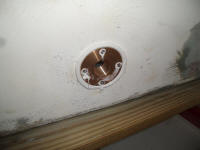
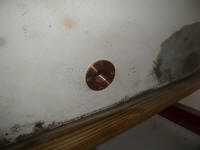
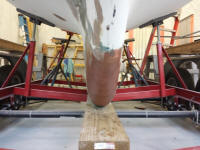
To allow drainage when the boat was on the hard, and prevent any water buildup inside during longer periods of storage, I installed a bronze garboard drain in the deepest portion of the keel sump. After a few measurements for reference, I located the center of the hole outside, and drilled a pilot hole, checking that it ended up in the right place.
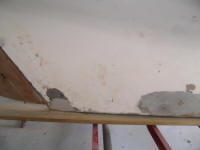
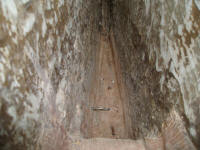
Satisfied with the position, I drilled a larger hole for the body of the drain, plus a keyway that prevented the assembly from spinning. I drilled and tapped four bolt holes to secure the flange, and milled small countersinks at each fastener location for extra sealant. The keel was about 1/2" thick in this area.
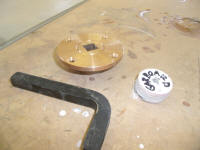
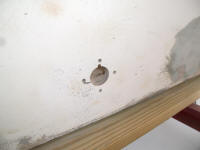
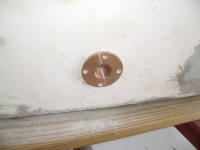
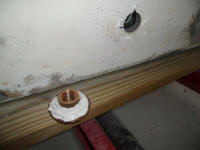
After cleaning the various surfaces, I applied a heavy bed of 4200 adhesive sealant, and installed the fitting with #10 bronze machine screws in their tapped holes and cleaning up the excess sealant as needed.
I washed and sanded the leading edge of the keel, where I'd patched and filled a small crack, and, after solvent-washing, I applied a second coat of fairing filler to take care of minor voids left from the first coat.
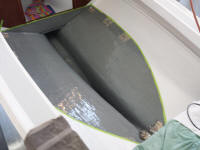
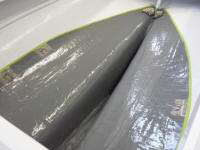
Anxious to get the cockpit sole back in place, which would ease future work on the deck, I turned to the final painting task: the bilge area beneath the cockpit sole. After masking off along the white paint I applied earlier, and cleaning the area, I applied a coat of gray Bilgekote paint to the entire bilge, leaving the areas around the three forward sole cross beam supports (which I'd marked earlier) unpainted to accept small bits of tabbing during the sole's installation.
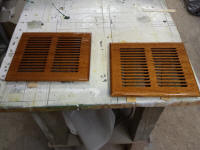
Next, I lightly sanded the remaining brightwork pieces (starboard seat slats and cabin doors), and applied a sixth coat of varnish just to the bottom sides of the seat slats (so I could have an unmarred coat there), and third coats to the cabin doors (inside faces) and vents. Afterwards, I applied a second coat of semi-gloss white enamel to the cockpit shelves and v-berth filler piece.
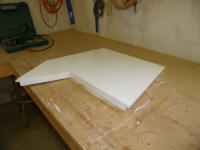
The new rubrail kit from Ensign Spars featured U-shaped PVC channels, or track, that fit over the outward hull/deck flange and helped hold the rubber rubrail in place. Earlier, when checking out the new materials, I discovered that I'd not been shipped enough sections of the track to go around the boat, but Ensign Spars promised to send me the missing pieces forthwith.
Knowing I'd be short and not able to complete the job, I started the track installation anyway, working from the transom forward on both sides. Since the existing flange was in good condition on this boat, the installation was straightforward. I followed the guidelines set forth in an instructional video I found from Ensign Spars.
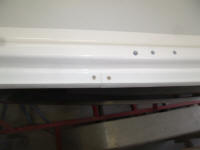
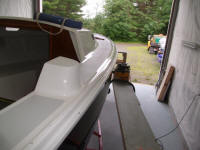
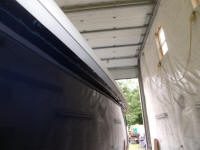
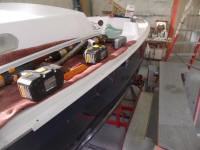
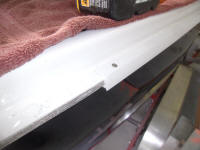
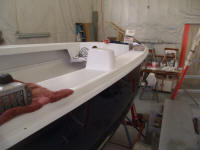
I began at the center of the transom, since the individual 49" long track pieces were not long enough to wrap completely around from one side to the other. To wrap the track around the corners, I cut out an elongated wedge-shape piece of the top and bottom flanges of the track, allowing it to bend easily around the transom corner. With this simple modification complete, I could install the tracks with a bead of adhesive sealant inside the track (4200) and a few stainless steel screws, driven through the top of the track and into the flange itself, with the heads countersunk in the track. These photos show just the support track; this is not the rubrail itself. That would come a little later.
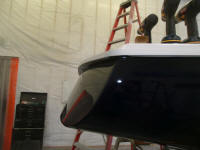
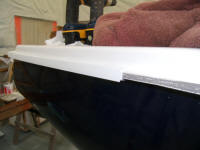
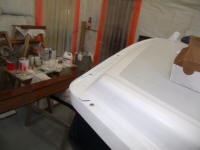
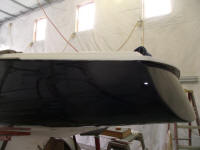
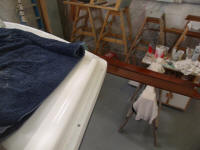
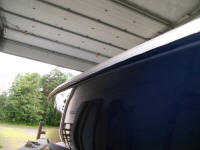
With the transom pieces in place, I continued forward on each side, installing additional lengths of track till I used up a tube of sealant, leaving just one of the original ten track sections still awaiting installation. This brought me nearly to the bow on each side, and I'd complete the track installation as soon as the final required sections arrived at the shop.
Total Time Billed on This Job Today: 8.25
Hours
