
110 Cookson Lane | Whitefield, ME 04353 | 207-232-7600 | tim@lackeysailing.com
Ensign #1212 | Monday, August 18, 2014
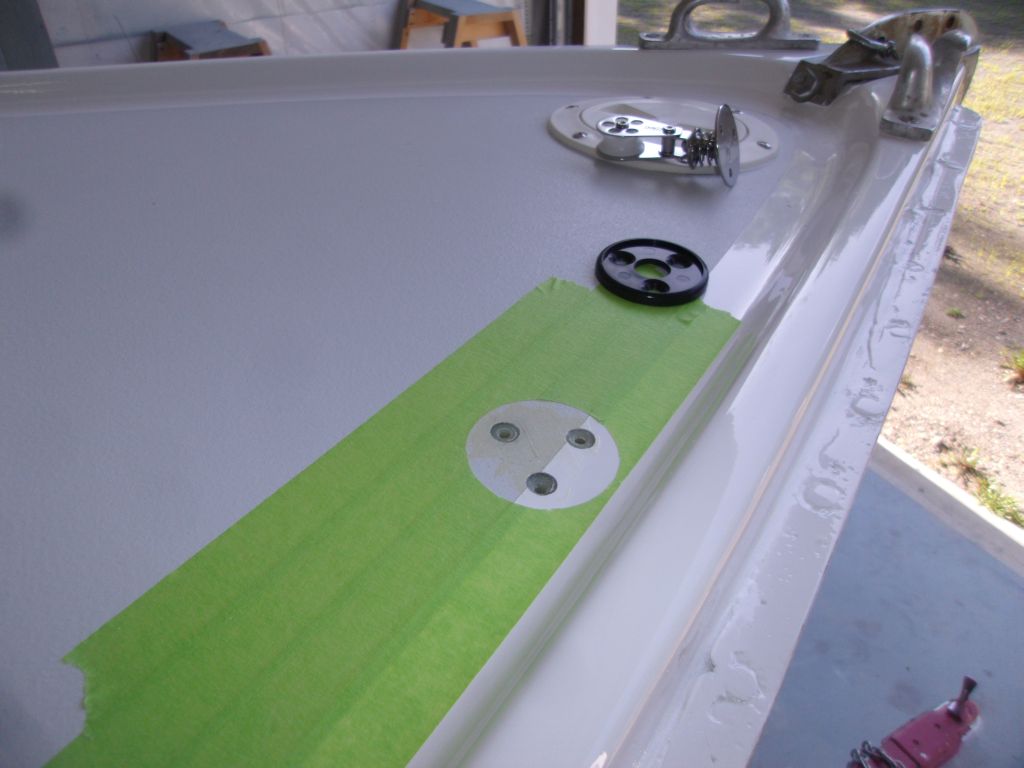
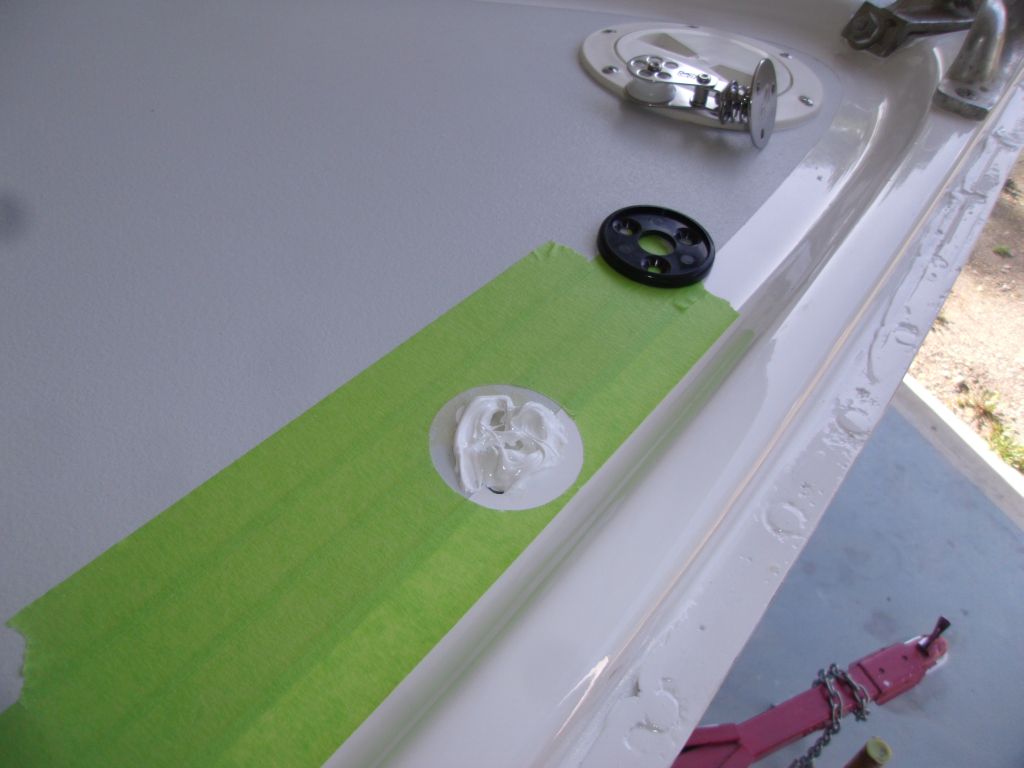
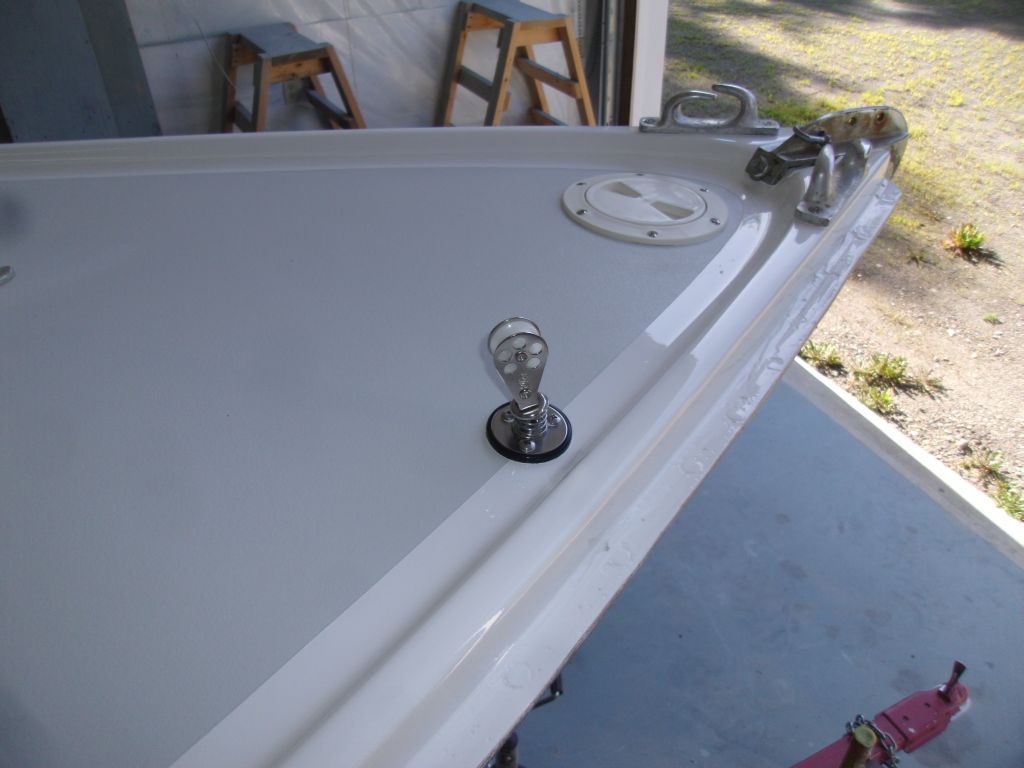
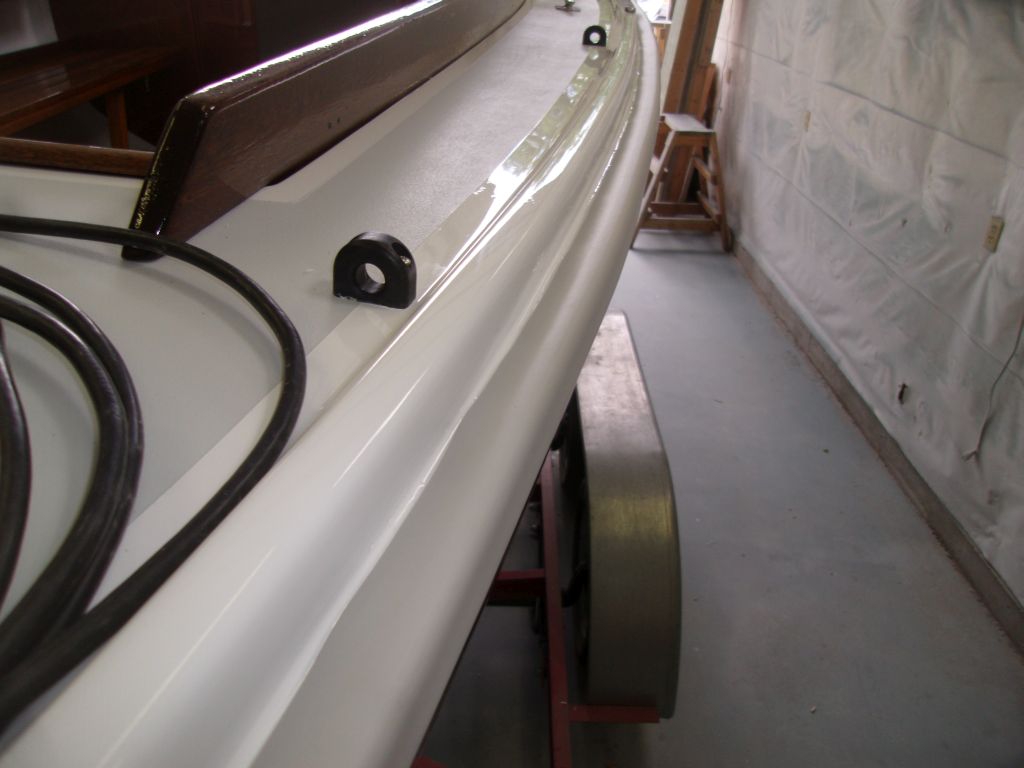
After a week's vacation, I returned to work to wrap up the final list of projects on the boat, beginning with the hardware for the roller furler line. Earlier, I'd laid out and marked/epoxy-filled the fastener holes in the deck, so now installation was a straightforward matter of drilling and tapping the holes for machine screws and installing the hardware with sealant and new fasteners.
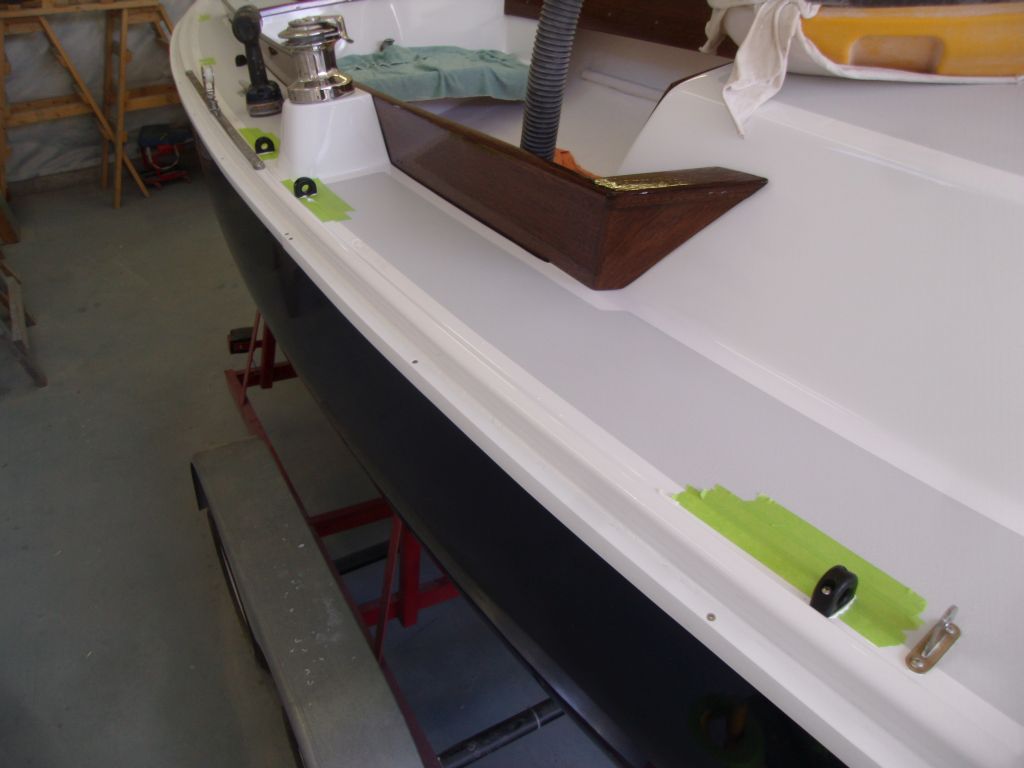
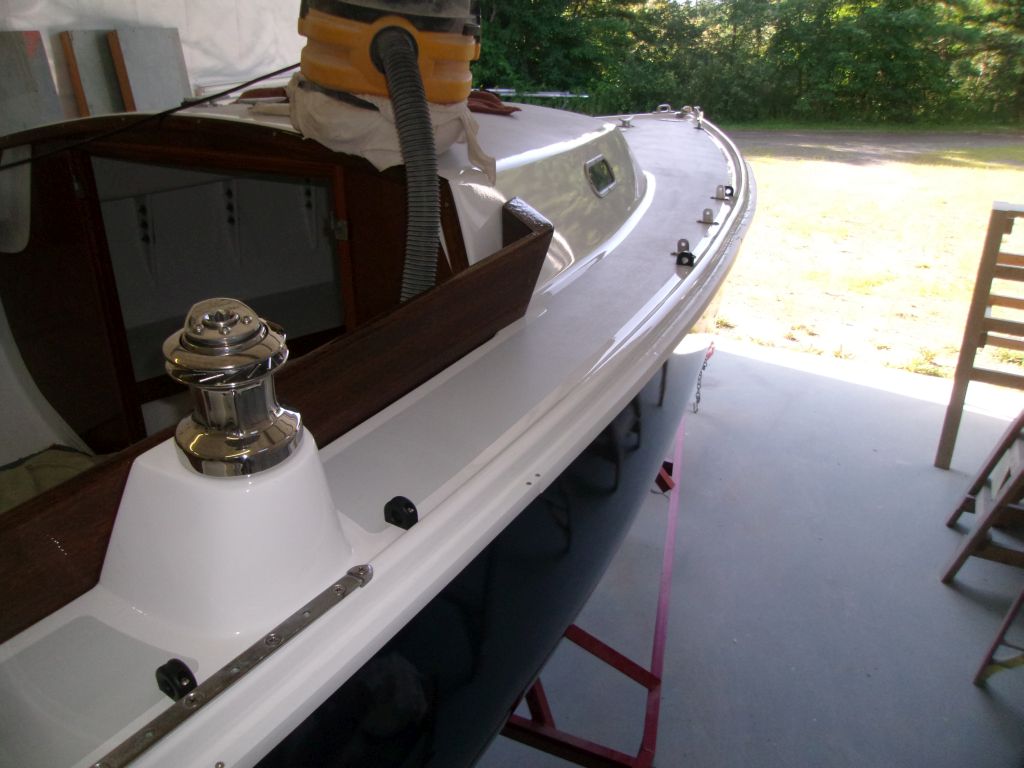

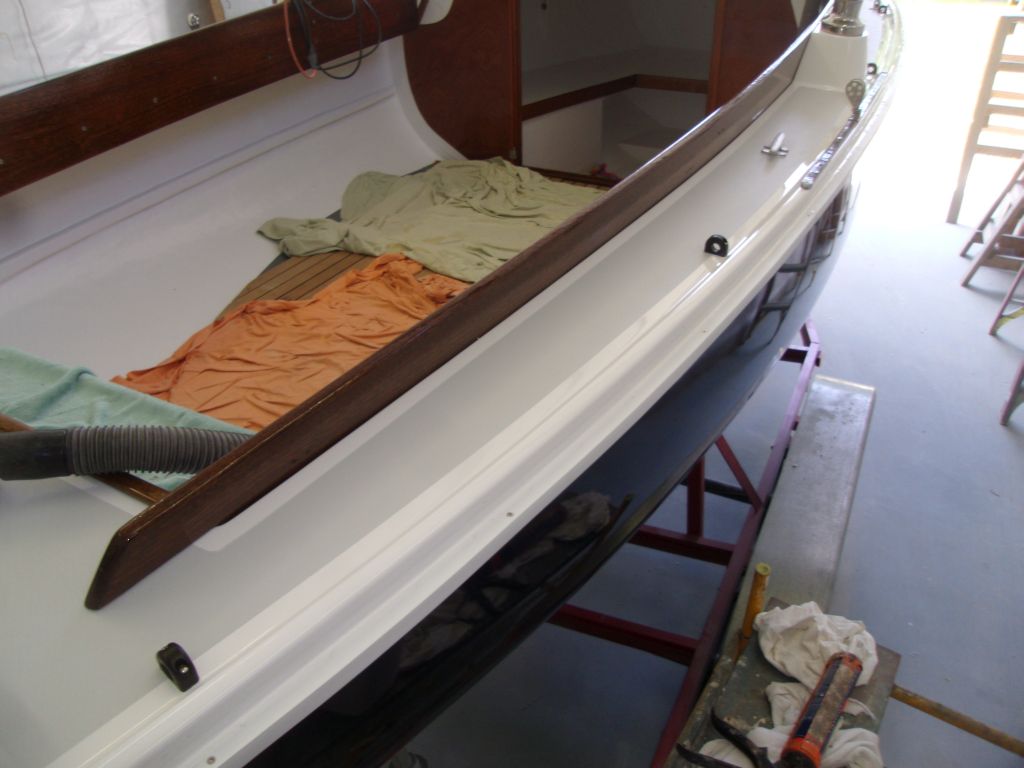
Next, I wrapped up the installation of the rubrail track, the final few sections required to finish off each side of the boat towards the bow. A series of shipping errors and delays had stretched this installation out longer than expected. As before, I installed the tracks with polyurethane adhesive (4200) and stainless steel screws.

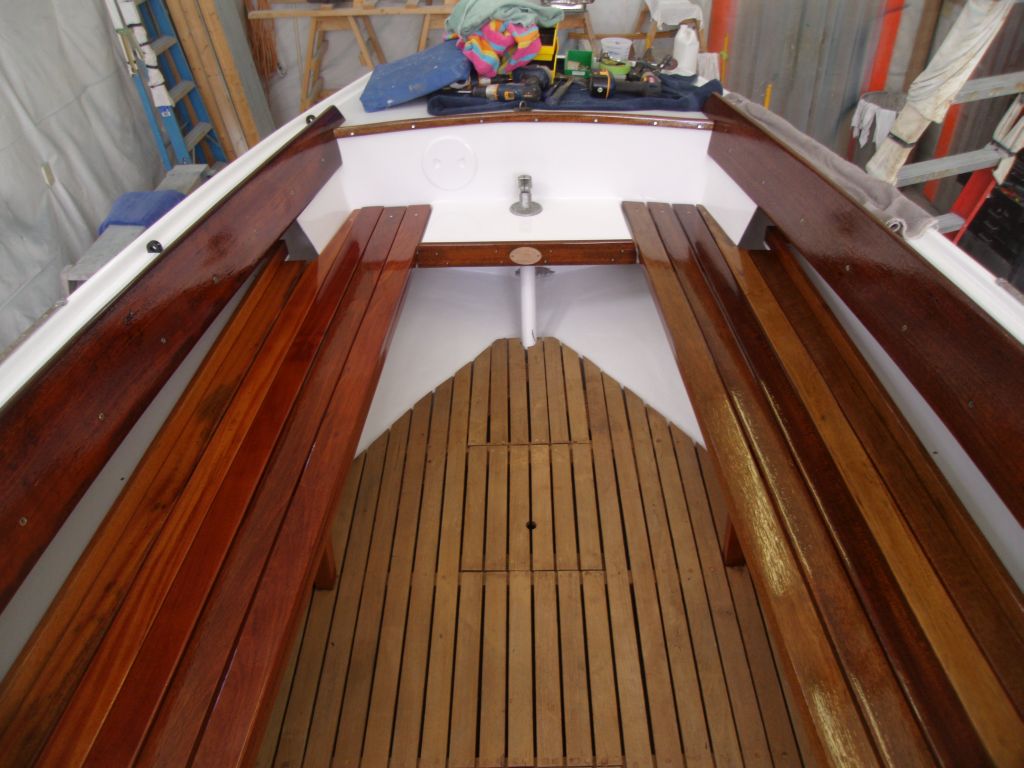
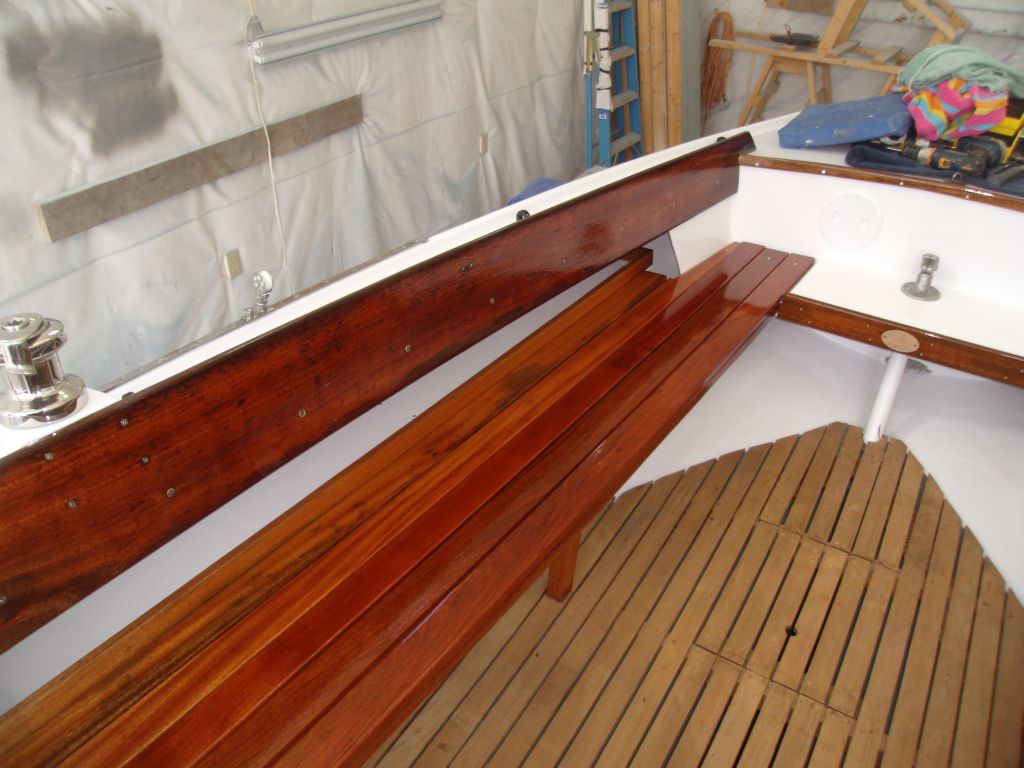
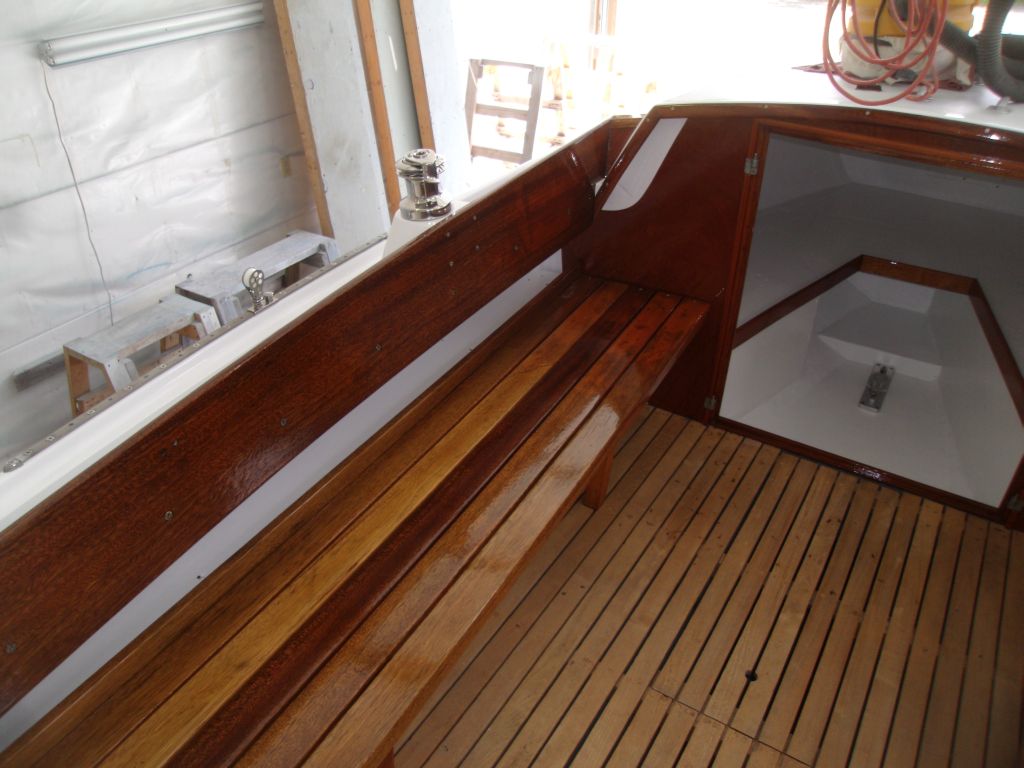
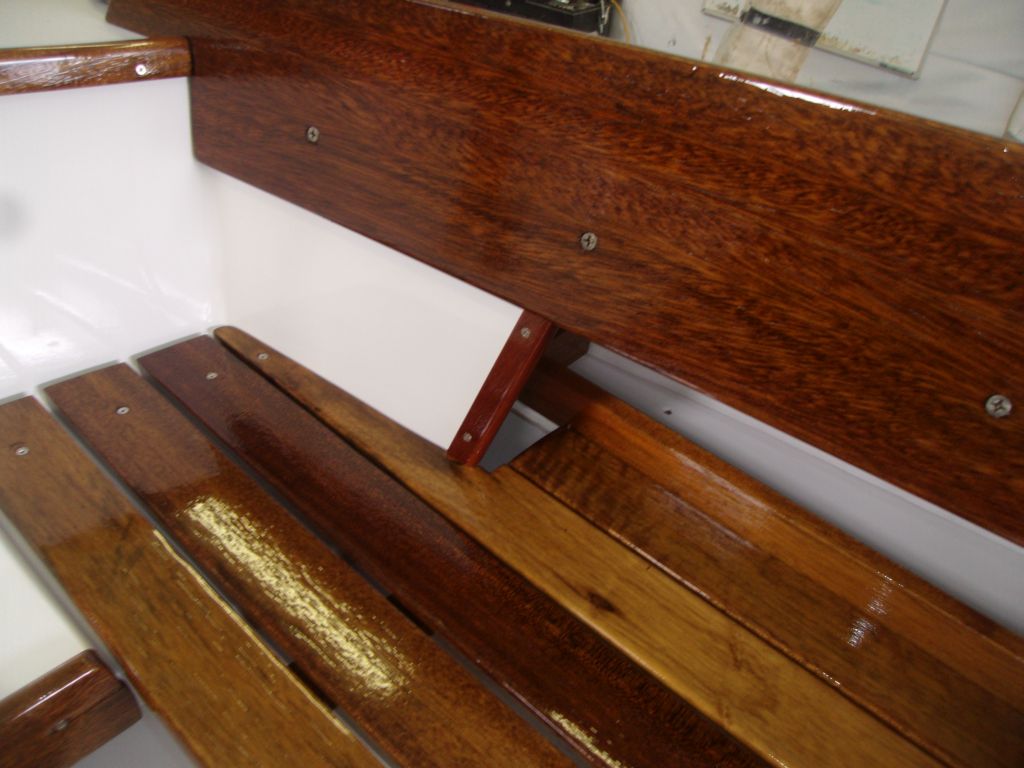
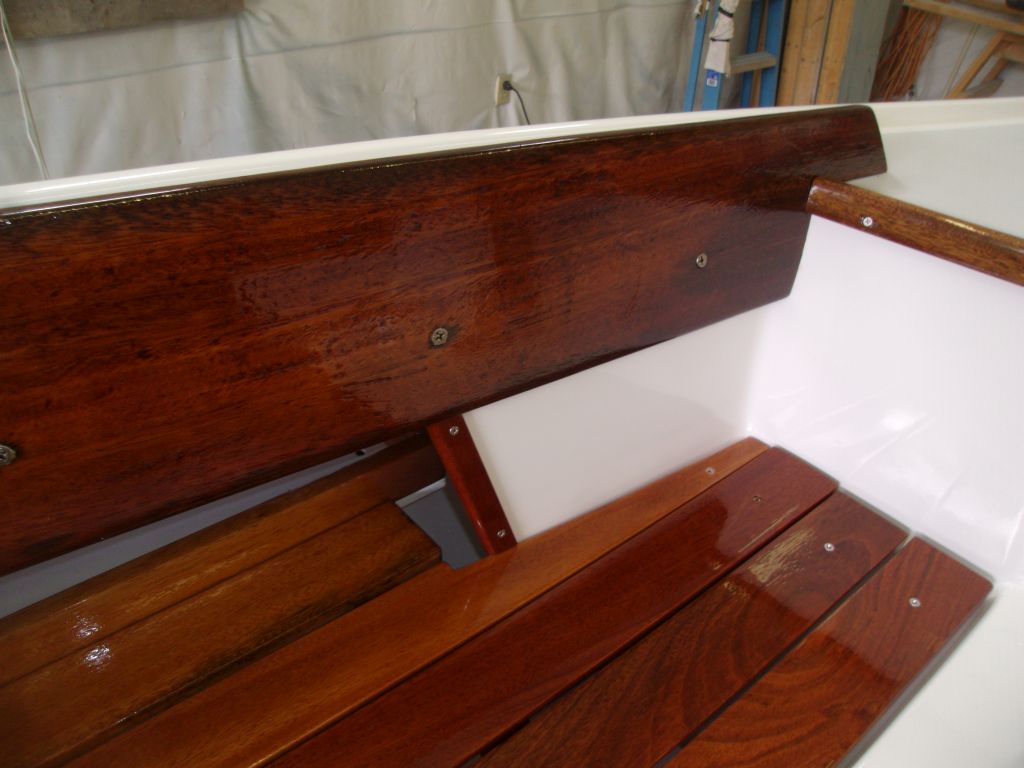
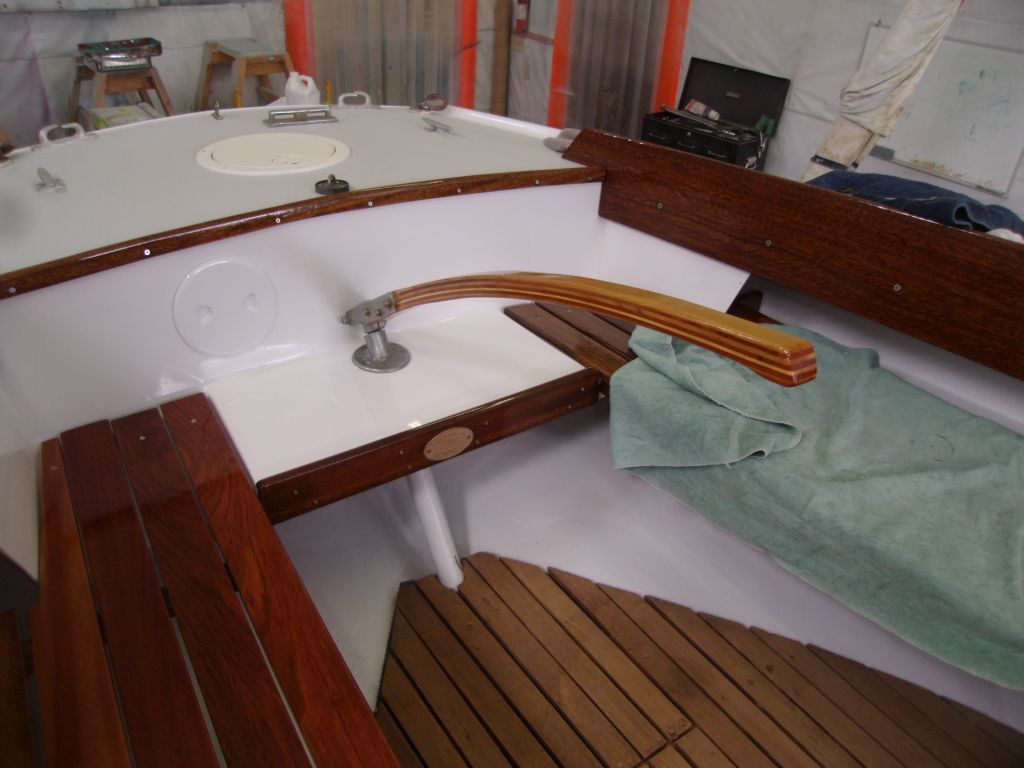
In the cockpit, I installed the final two (outboardmost) slats, covering the ends of the support beams against the hull. I bunged the screw holes; later, I trimmed the bungs flush.
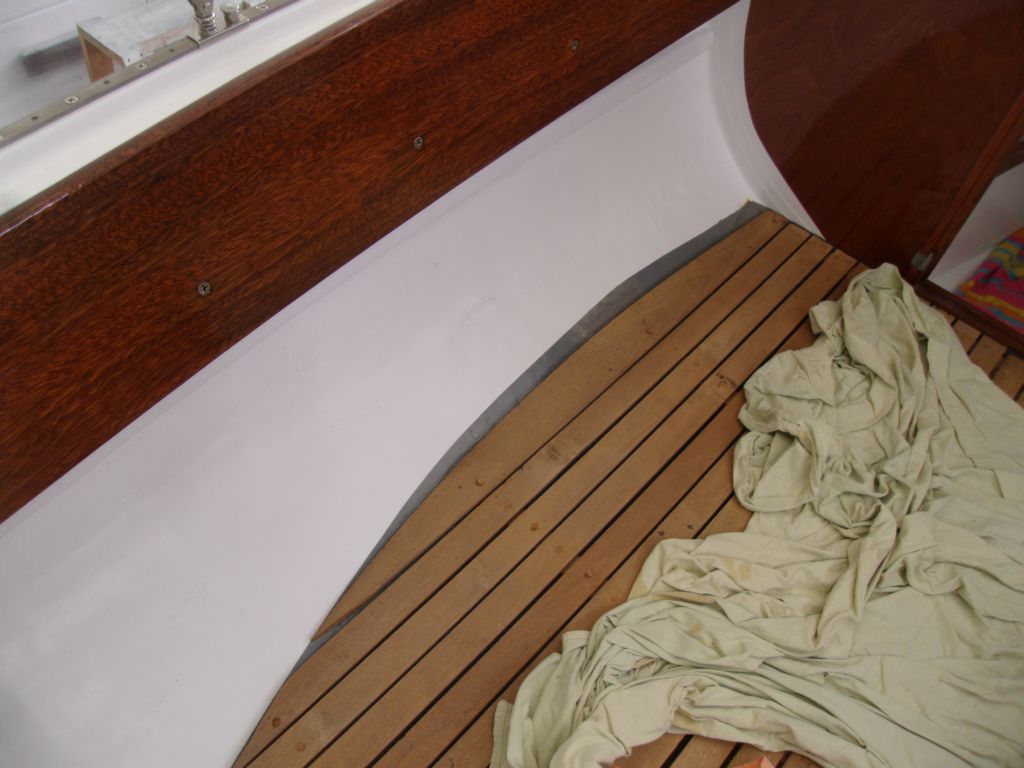

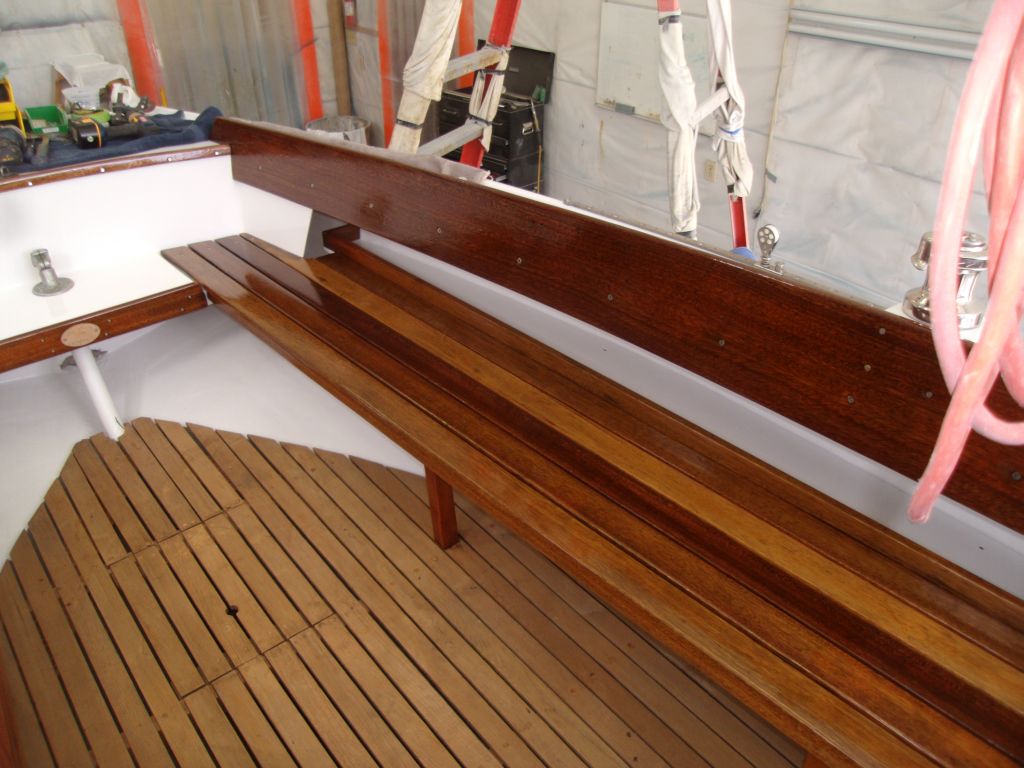
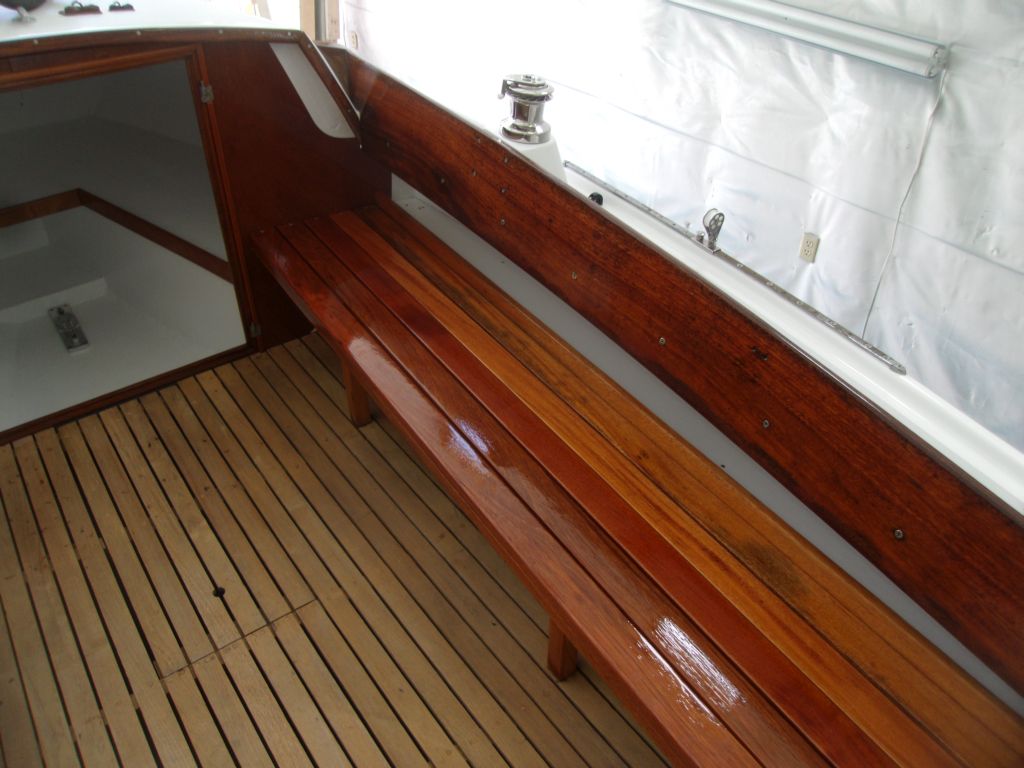
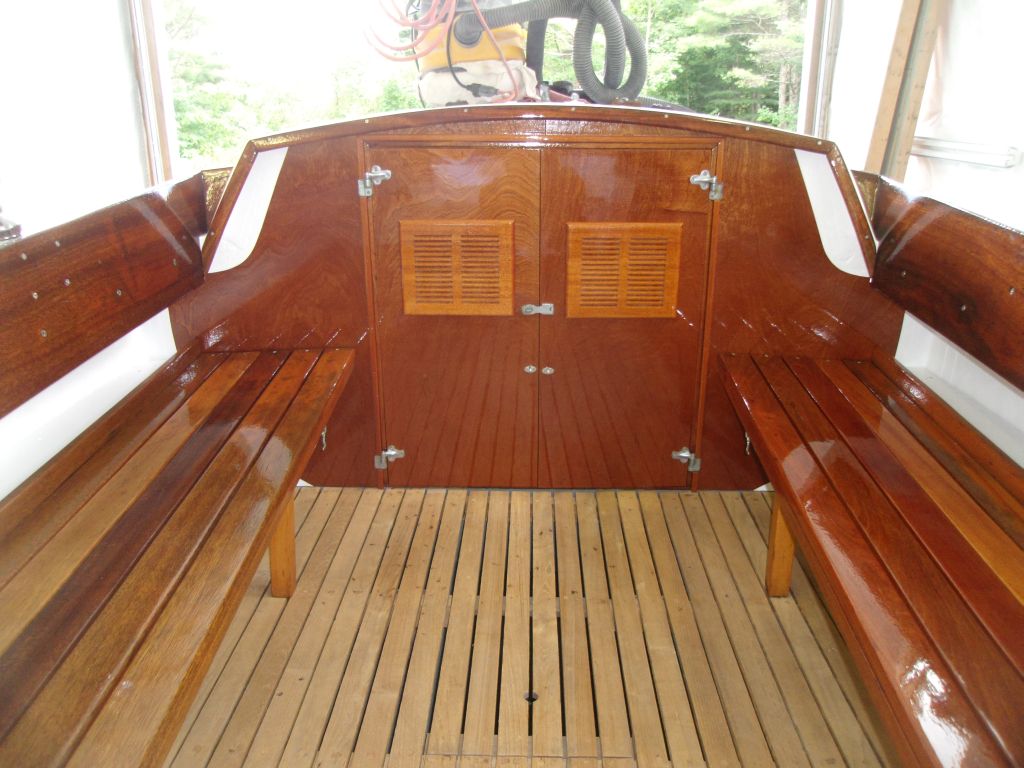
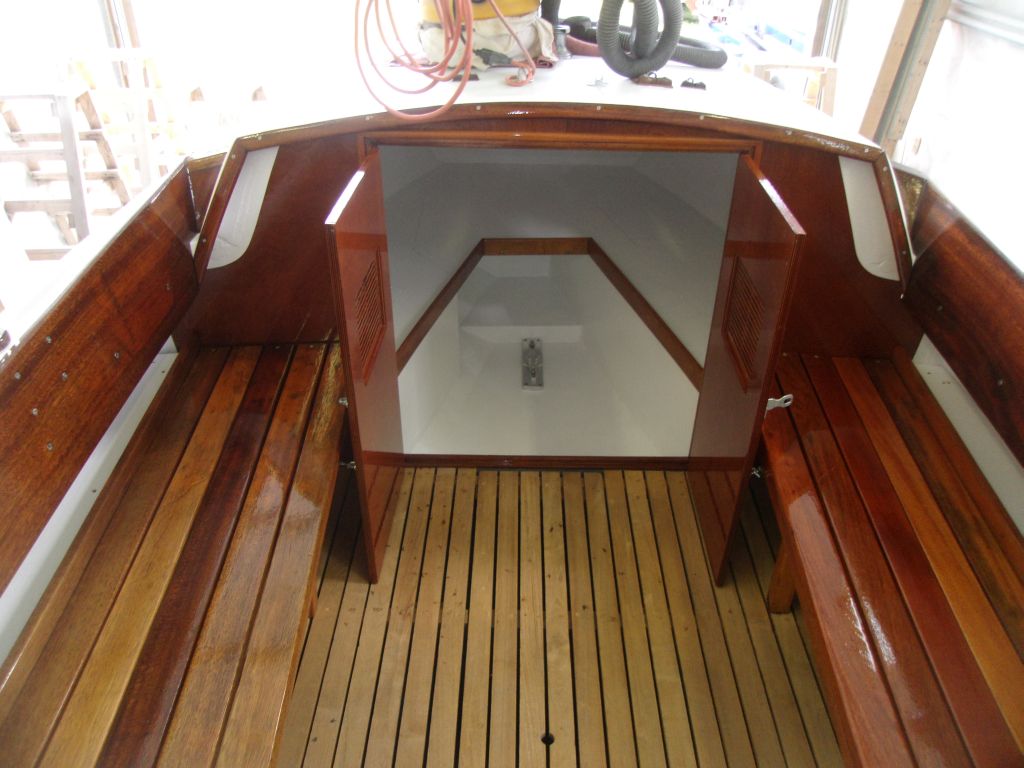
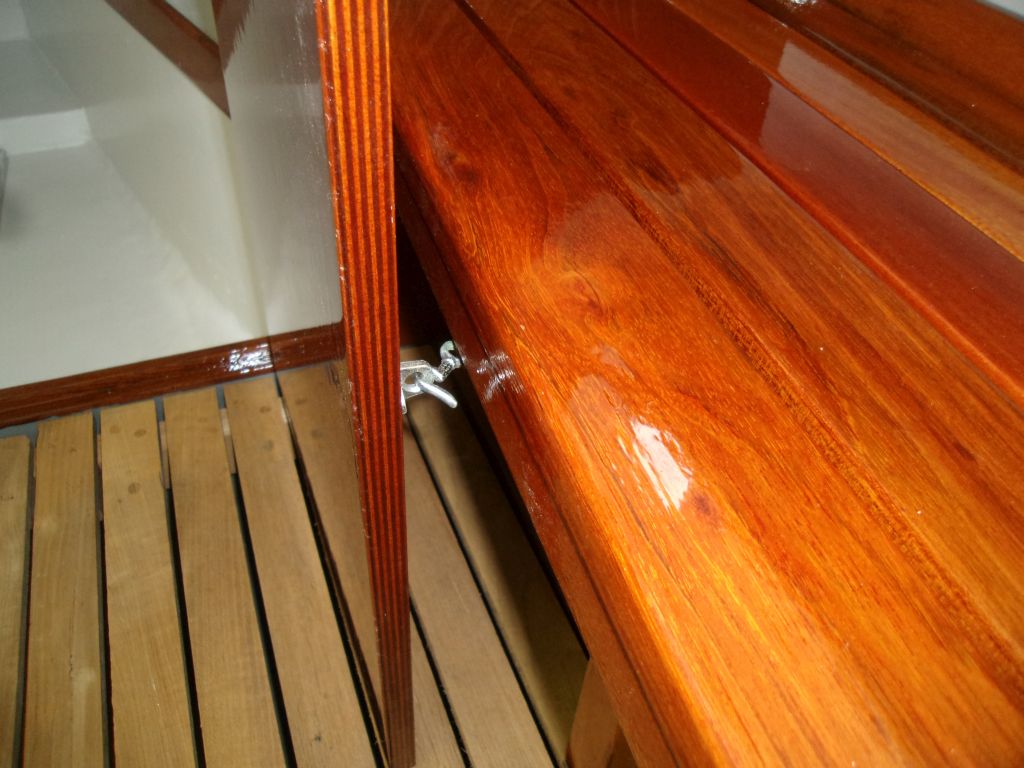
Afterwards, I installed the cockpit benches, beginning with the completely pre-assembled port bench. Then, I installed the bones of the starboard bench, and laid out and installed, one at a time, the four final slats on the starboard bench. Once the benches were in place, I reinstalled the support cleats on the bulkhead beneath the forward ends.
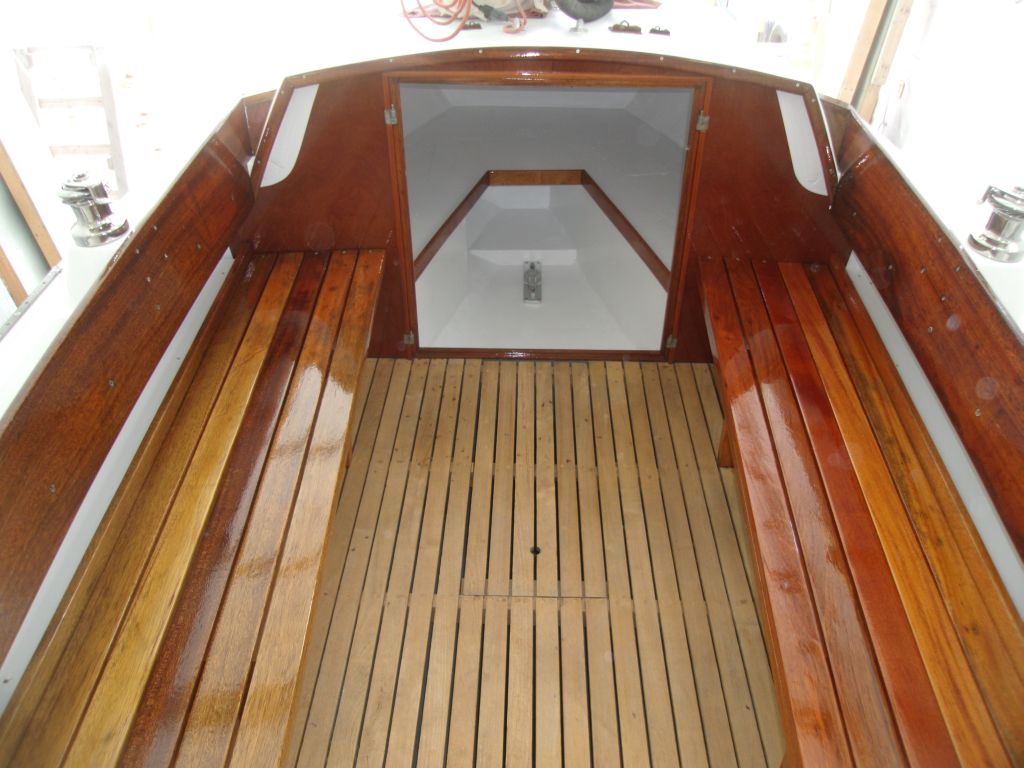
After reinstalling the hinges on the newly-varnished cabin doors, I reinstalled them, along with various latching hardware to hold them closed and open.
I cut the new trim pieces for the aft cockpit corners (between the seats and coamings) and installed them with screws, and bolted the tiller in place.
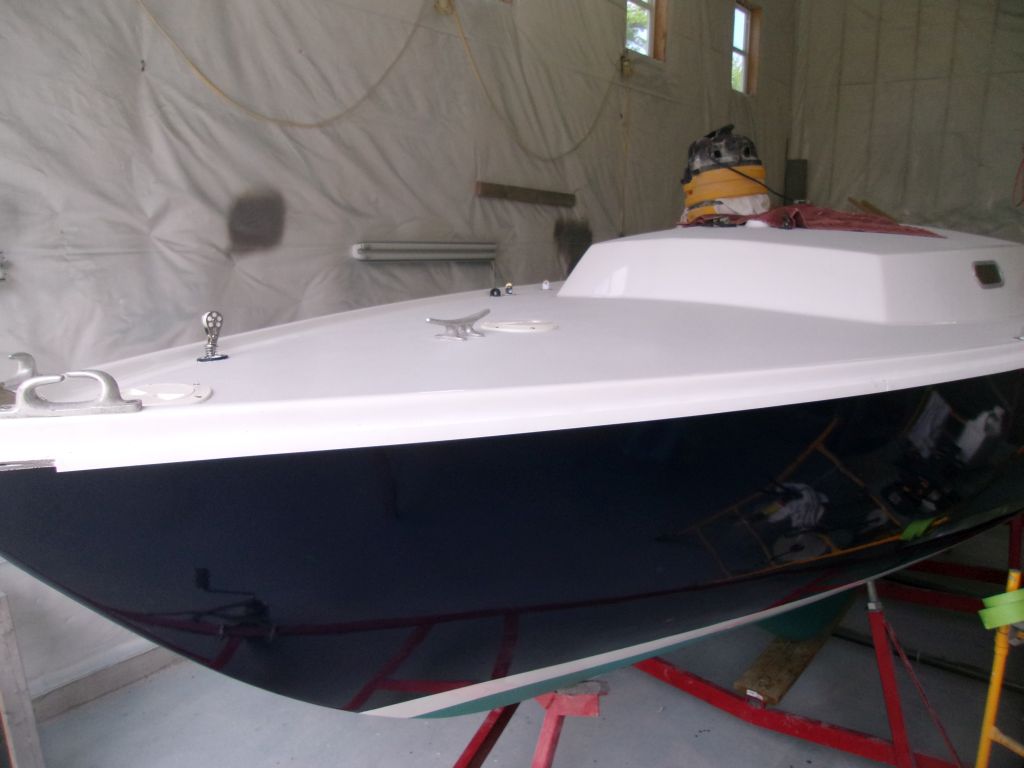
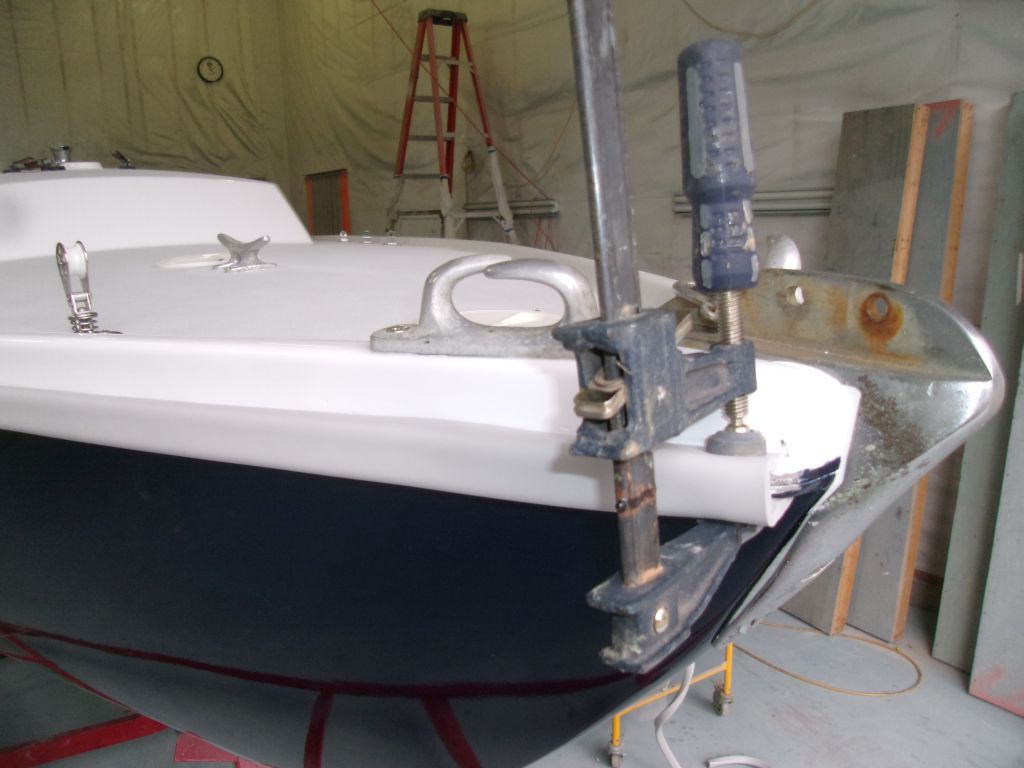
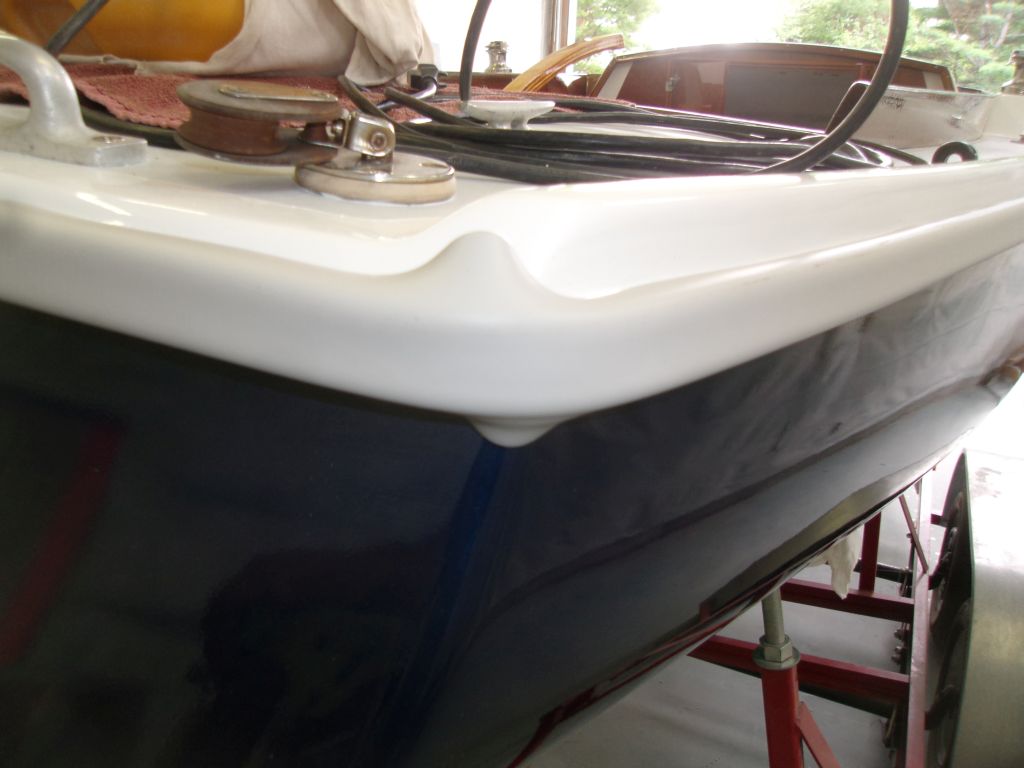
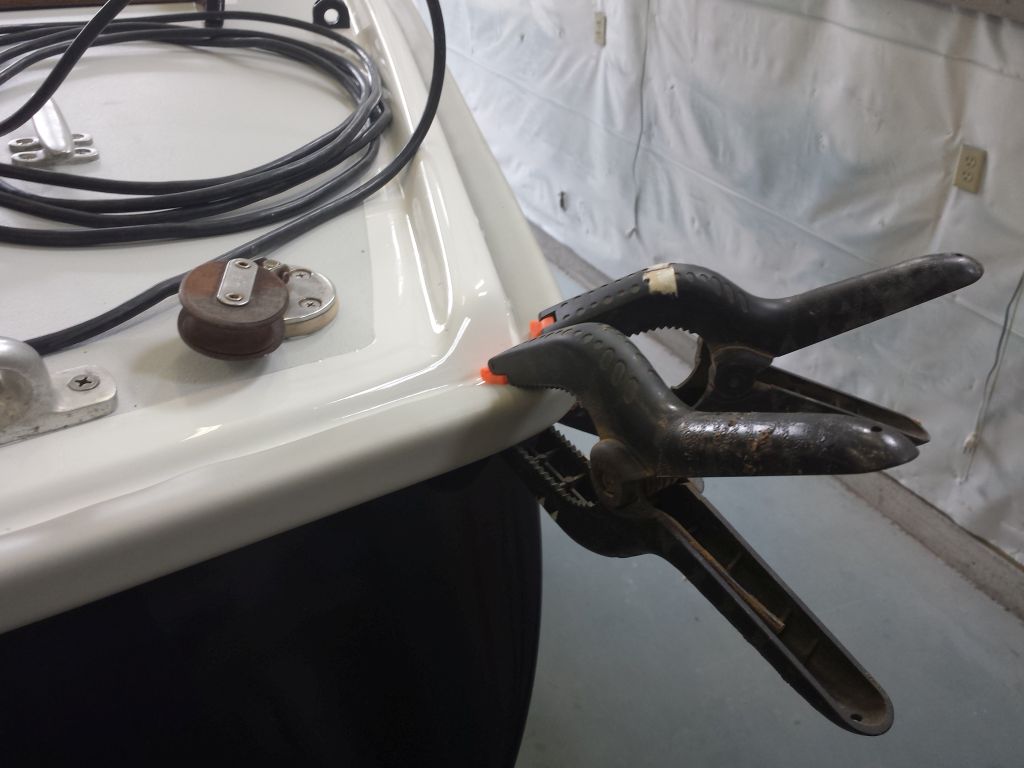
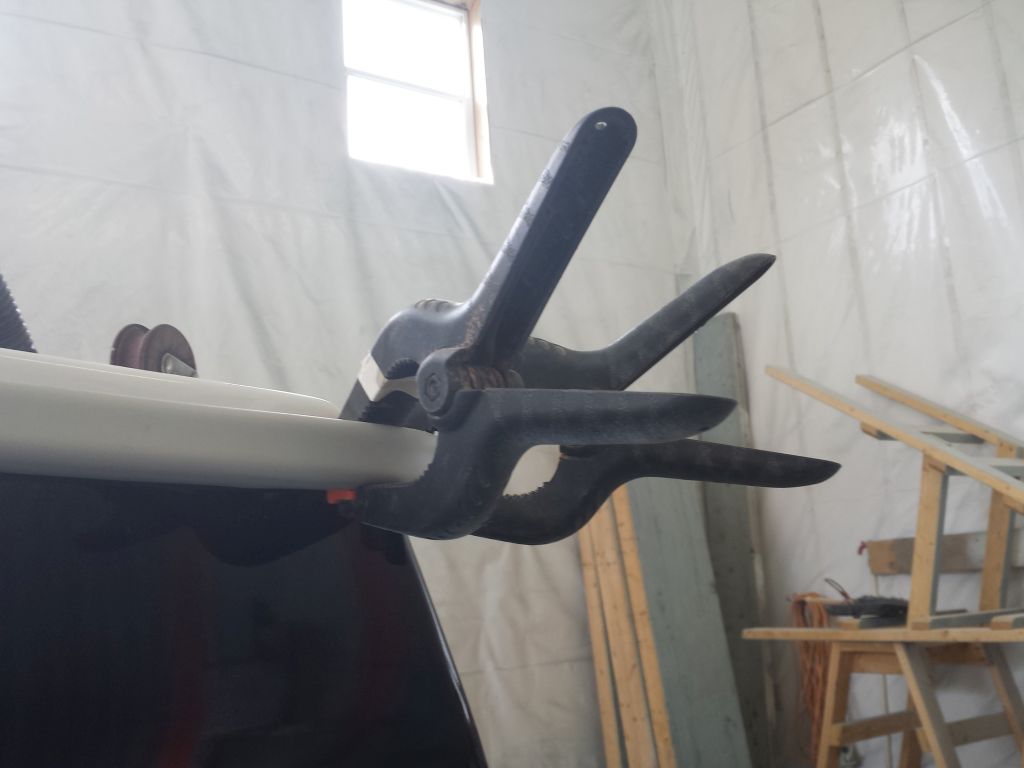
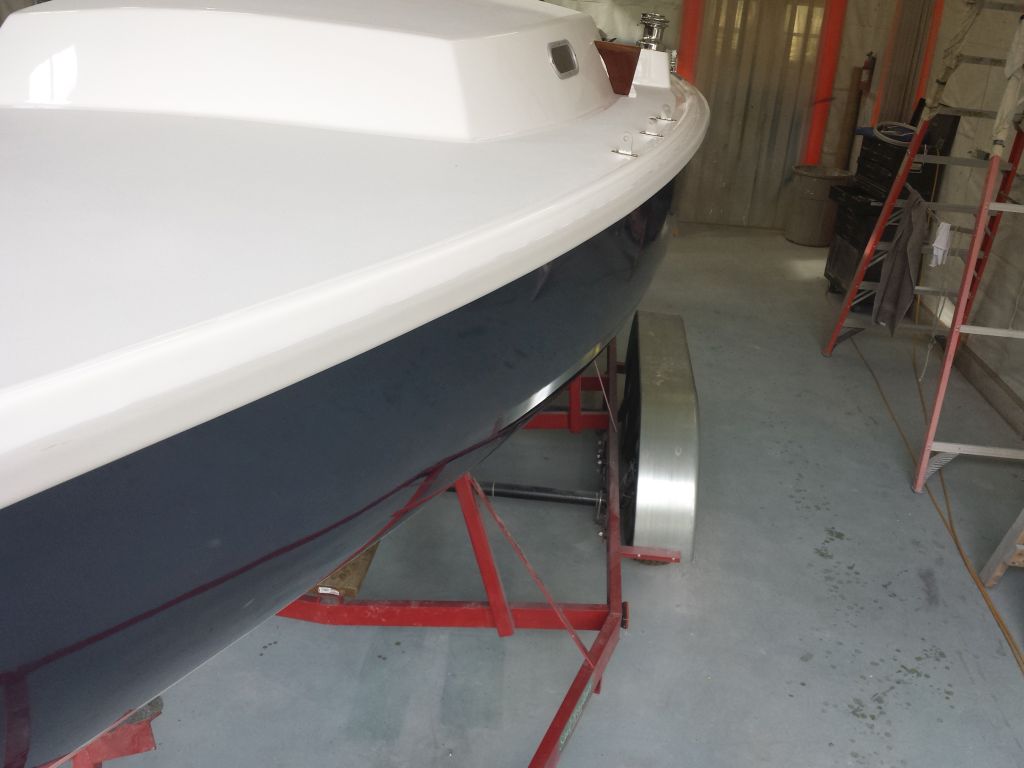
With a bit of time left in the day, I decided to tackle the new rubrail. Starting at the starboard bow, I forced the profile into position over the track and short exposed edge of the hull/deck flange (intentionally left to allow the rubrail to taper down into the bow caps), and clamped it in place to hold it. Then, working aft, I installed the rubrail. I was pleasantly surprised how straightforward the installation was: I'd been fearing a recalcitrant, inflexible rail section that would be impossible to press into place, but instead the supple vinyl rail profile, once I got working, was quite easy to install over the plastic track. After every several feet, I'd stretch the rail tightly into place to ensure the best fit. I'd watched the installation video from Ensign Spars and found that things worked pretty much as directed.


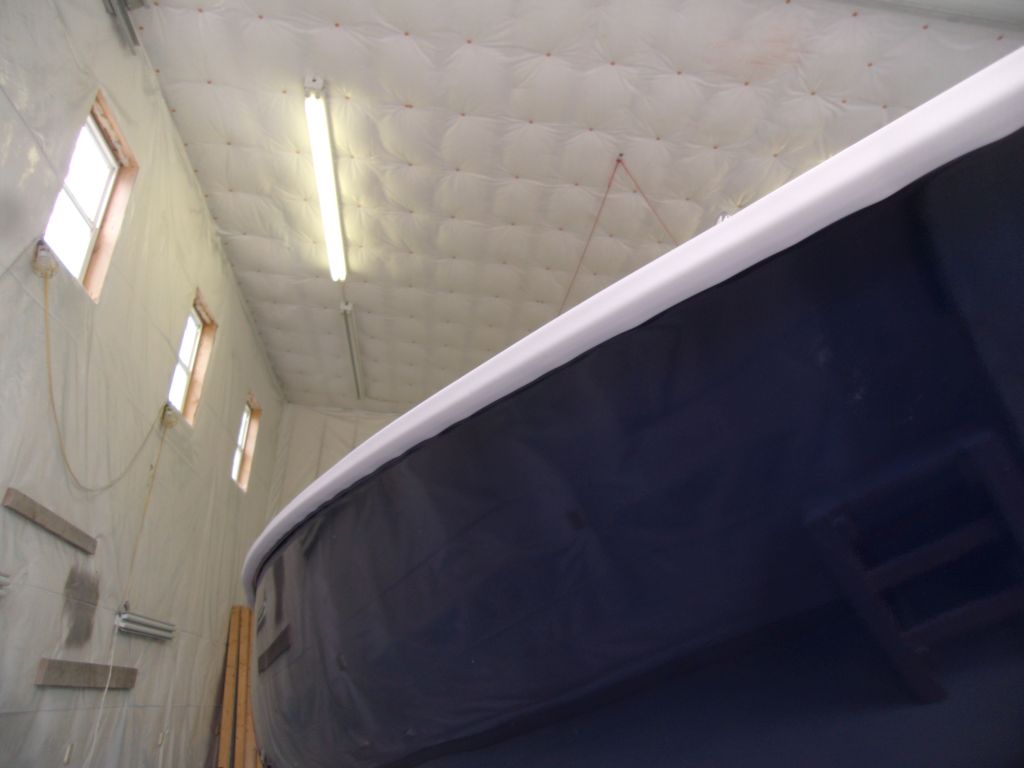
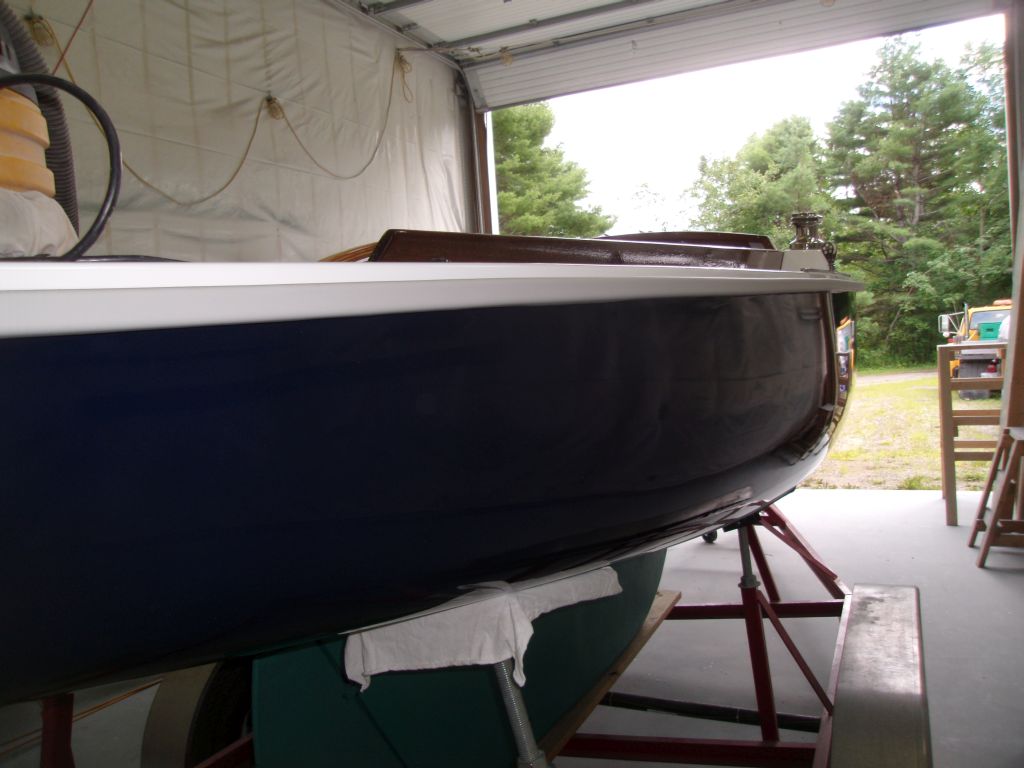
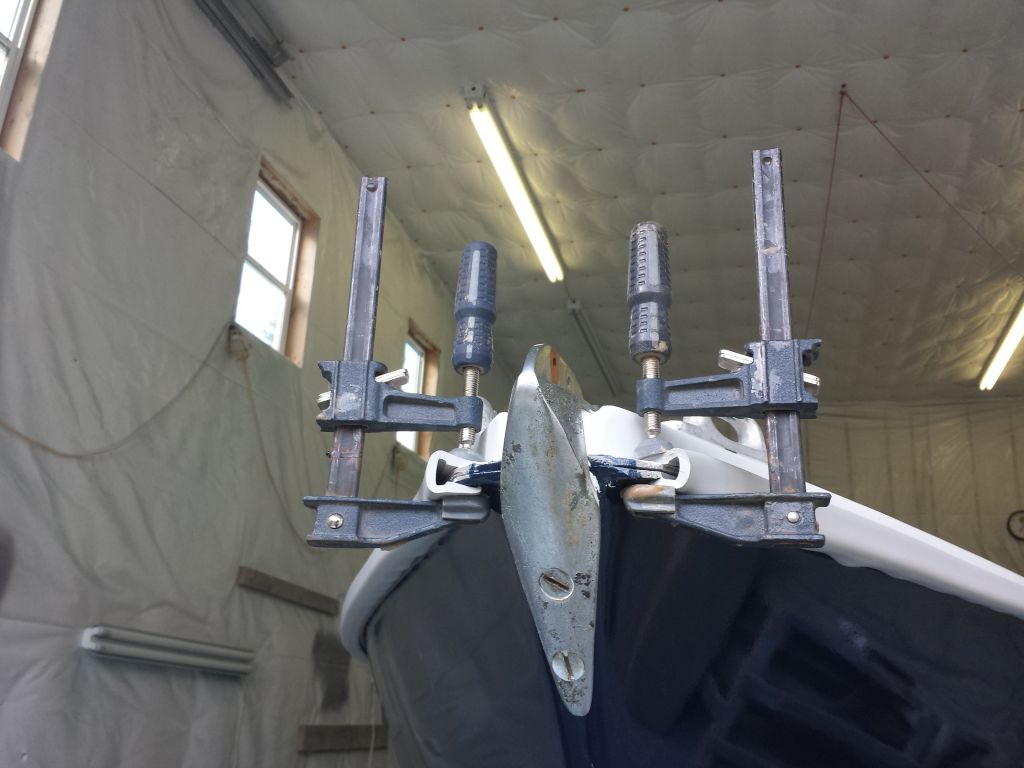
At the transom corners, I stretched the rubrail around in one piece. This left bulged areas at each corner where the rail bent around. To ease the rail into a smooth contour here, I lightly heated the vinyl with a heat gun, pressing it into the curve, and then installed a couple clamps at each corner to help hold it while the vinyl cooled and, hopefully, retained its reshaped contours.
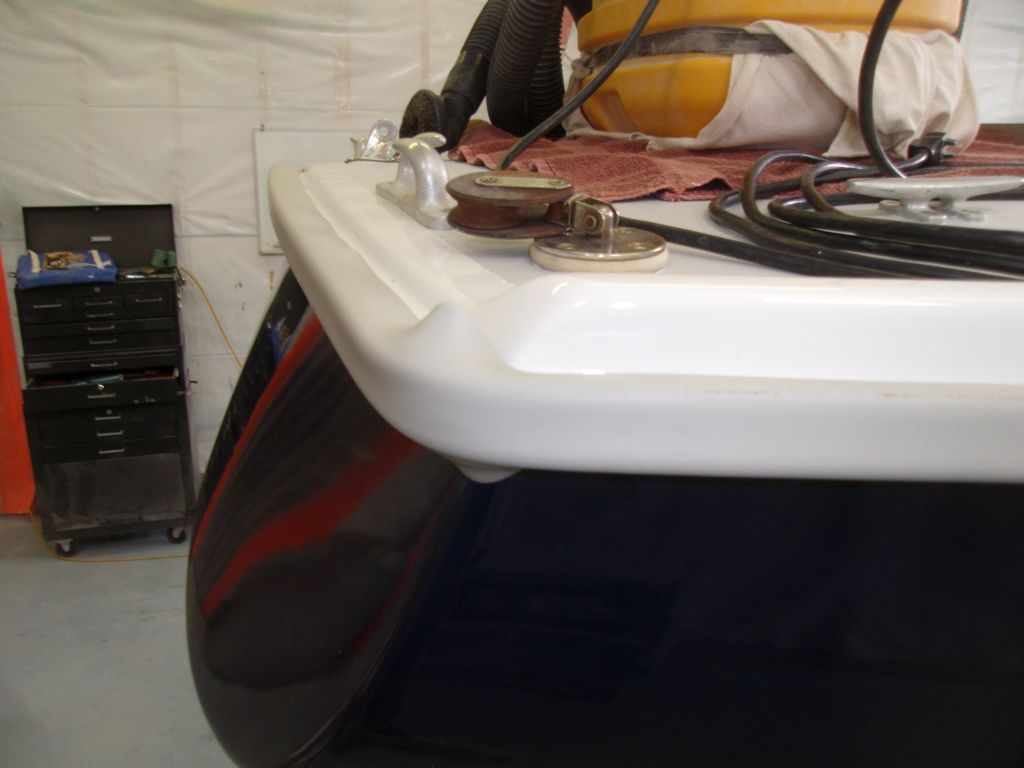
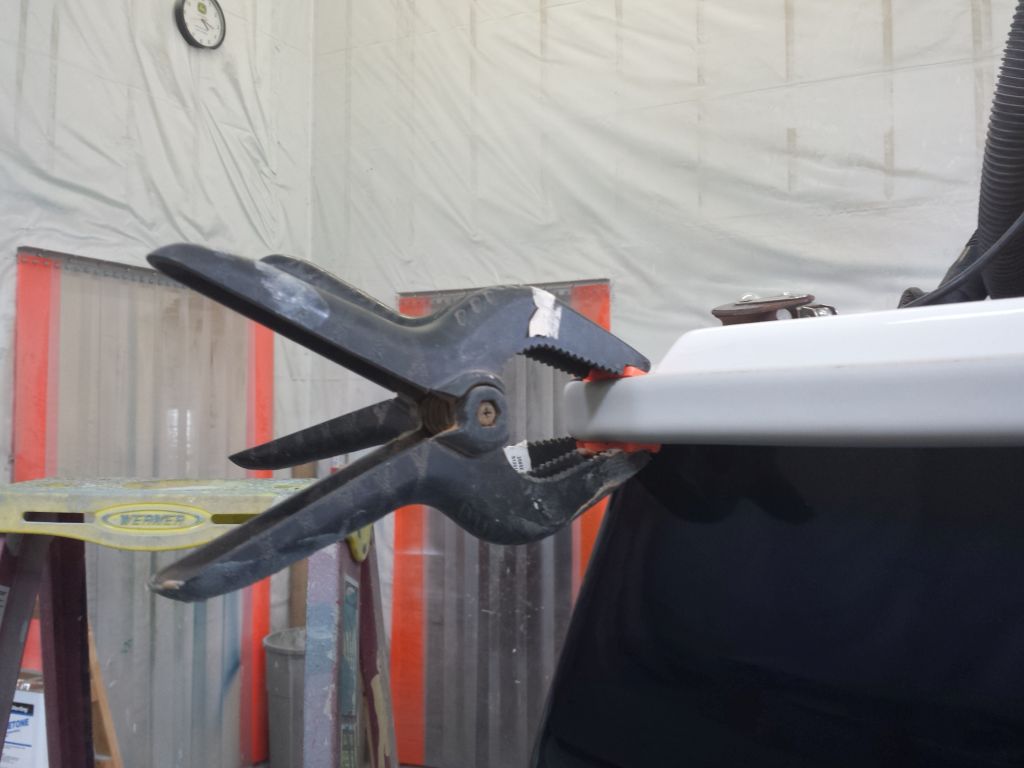

With the two transom corners securely clamped, I quickly finished up the port installation towards the bow, where I cut off the rail and clamped it in position as well. To finish off the rail, I just needed to install the new stainless steel bow caps, which I'd do next time since it was late in the day.

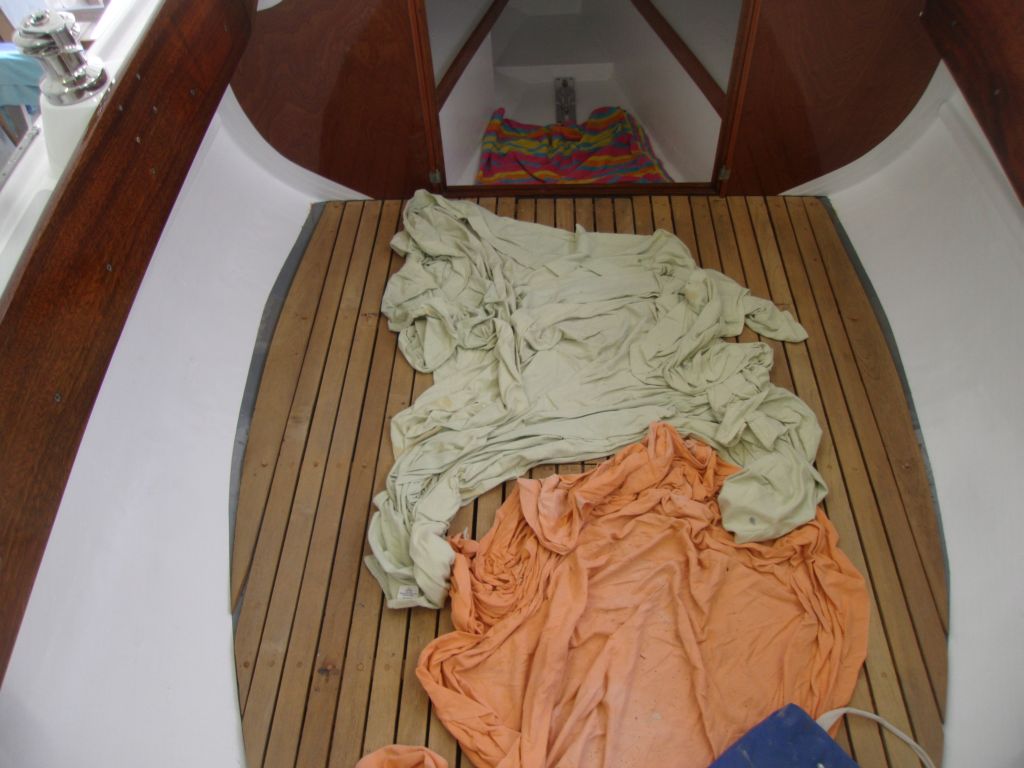
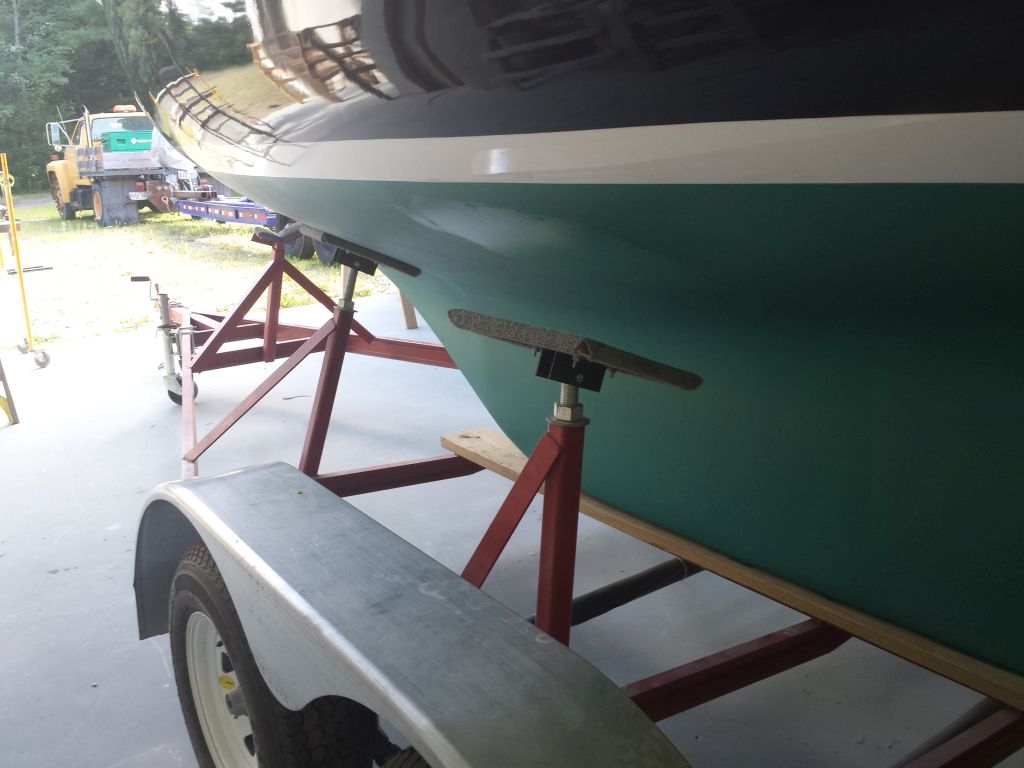
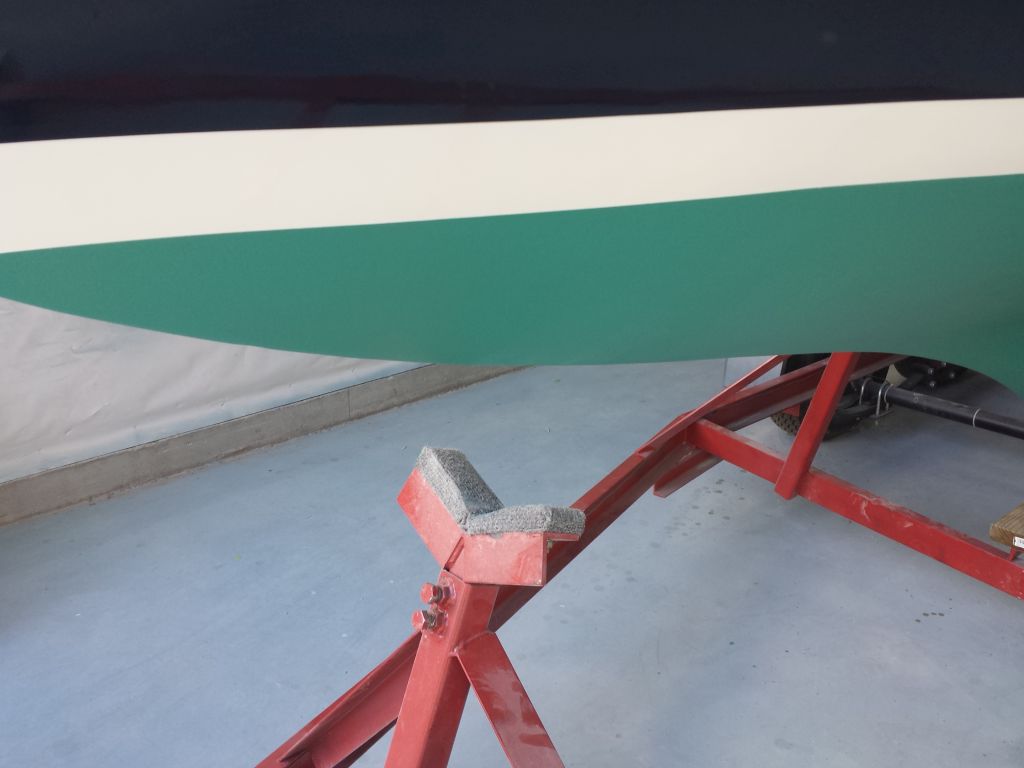
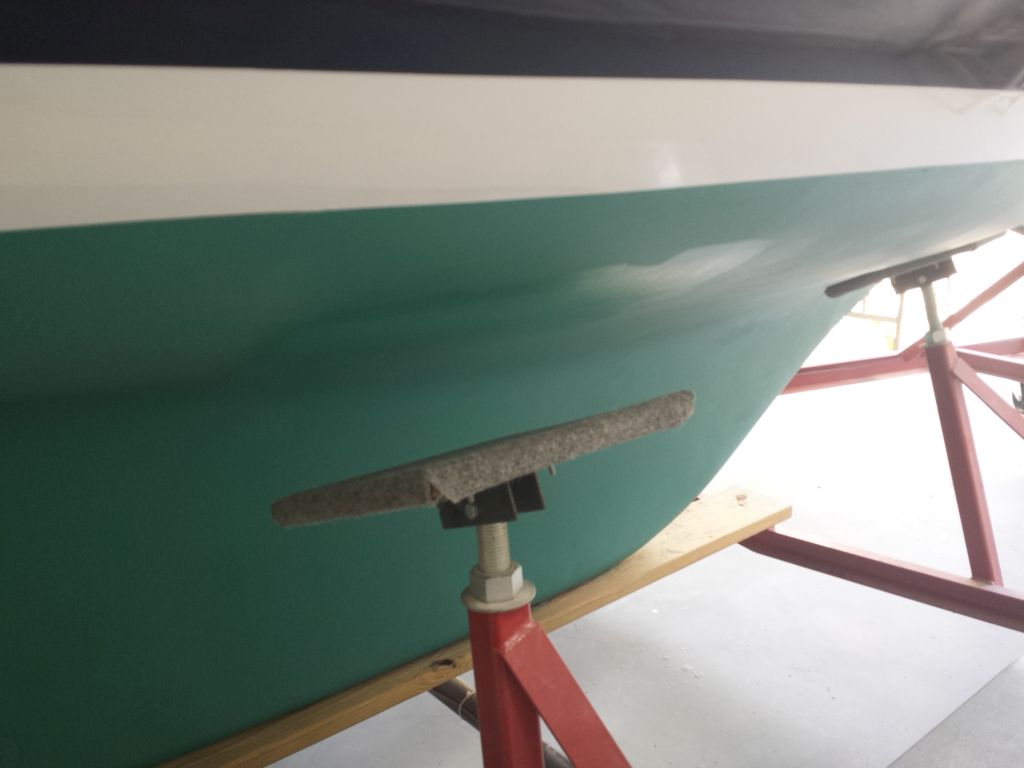
Before knocking off, I painted the bottom patches beneath the stands that I'd left in place during the main bottom painting. Earlier, I'd also finished filling one drift pin slot in the rudder with 4200 (the old filler had been knocked out long ago, before I began the project), and with that now cured sufficiently I could paint the final patch on the rudder.

Total Time Billed on This Job Today: 7.25
Hours
