
110 Cookson Lane | Whitefield, ME 04353 | 207-232-7600 | tim@lackeysailing.com
Ensign #1212 | Wednesday, April 23, 2014
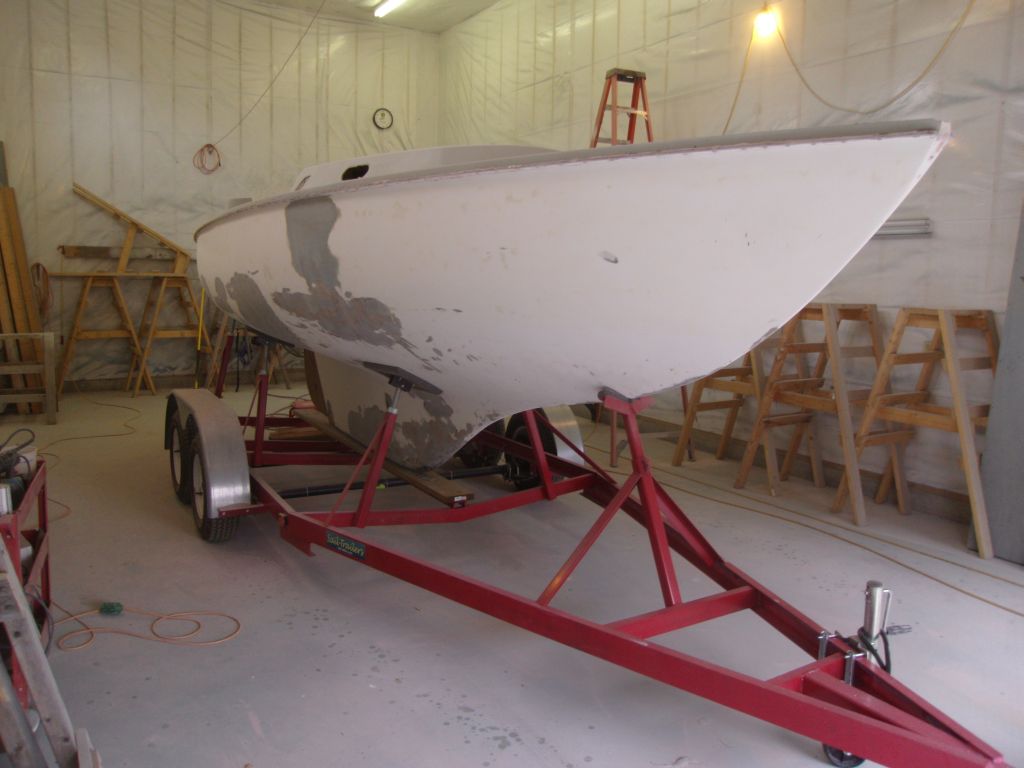
To start the day, I finished up the hull sanding on the starboard side.

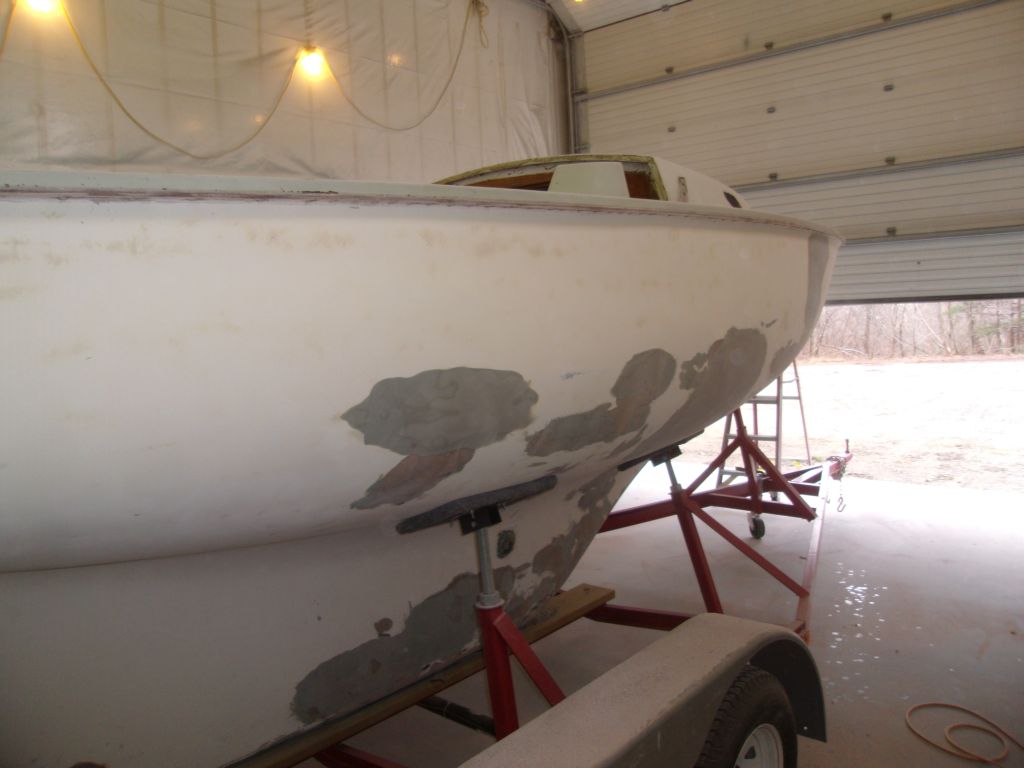
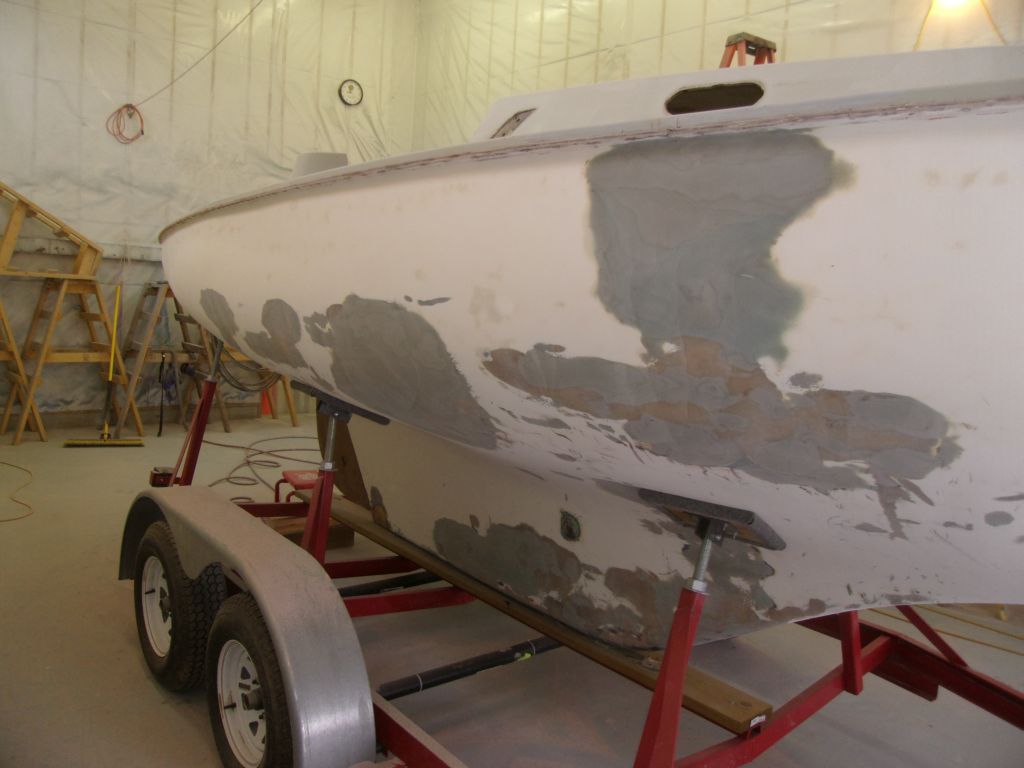
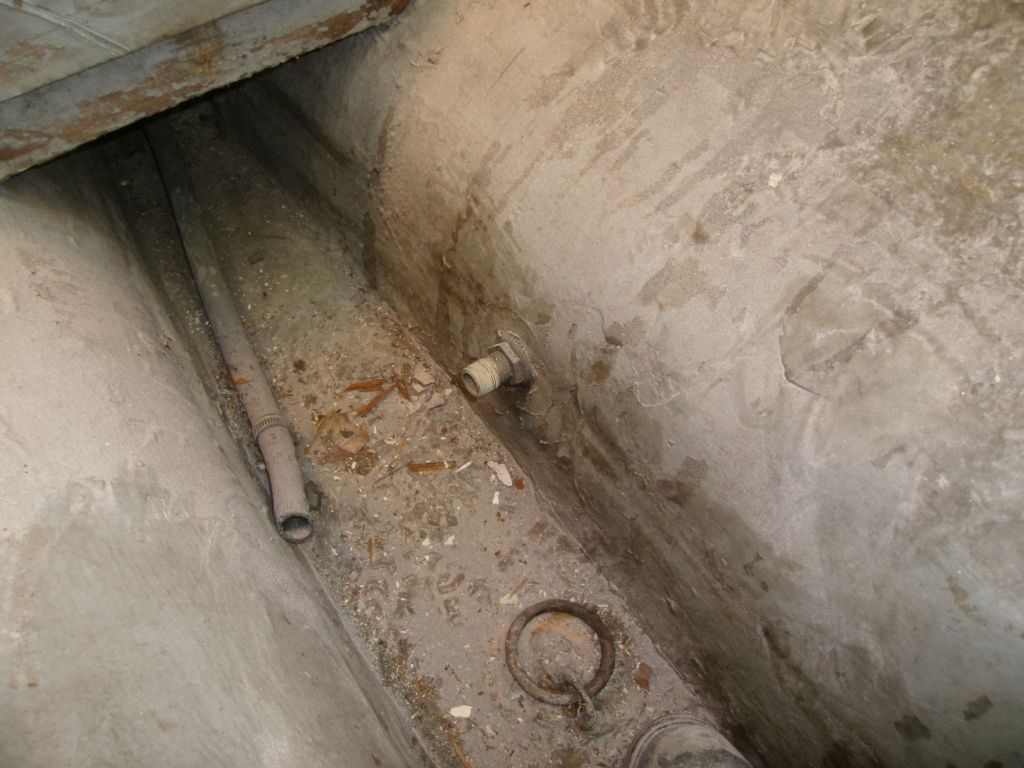
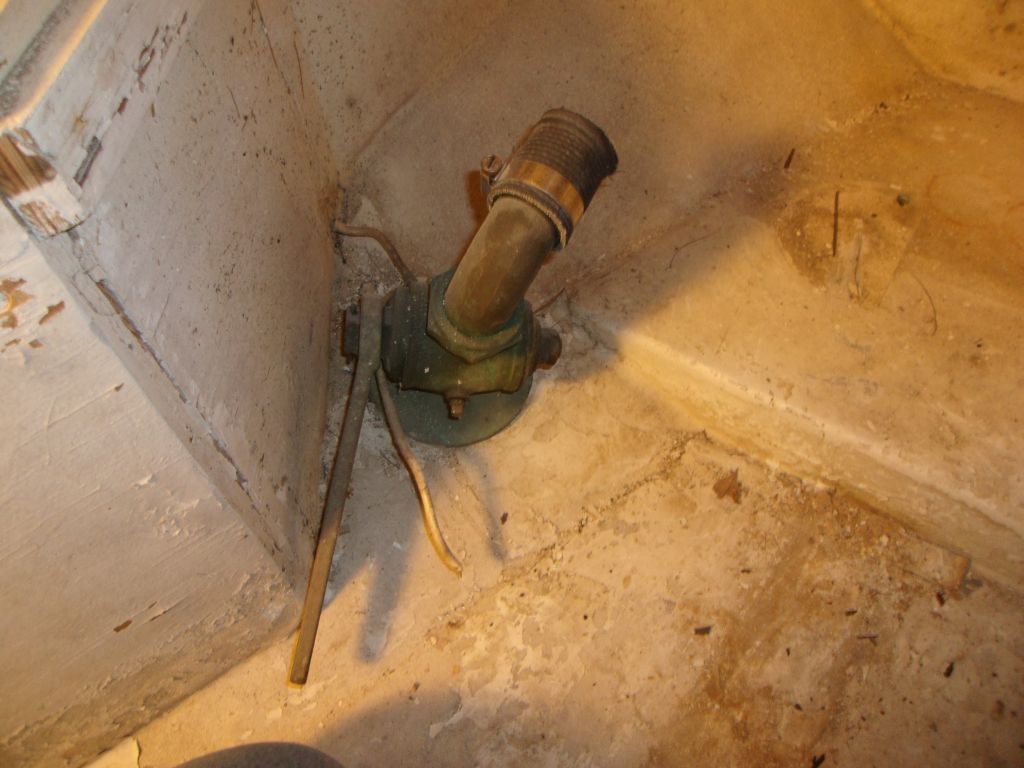
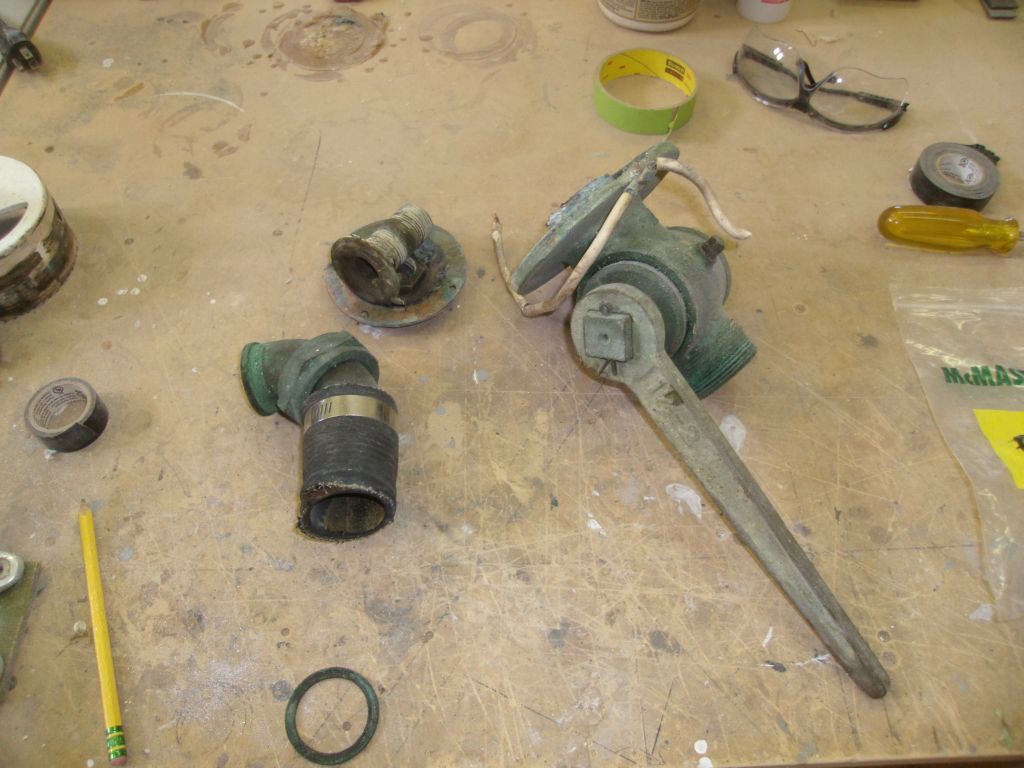
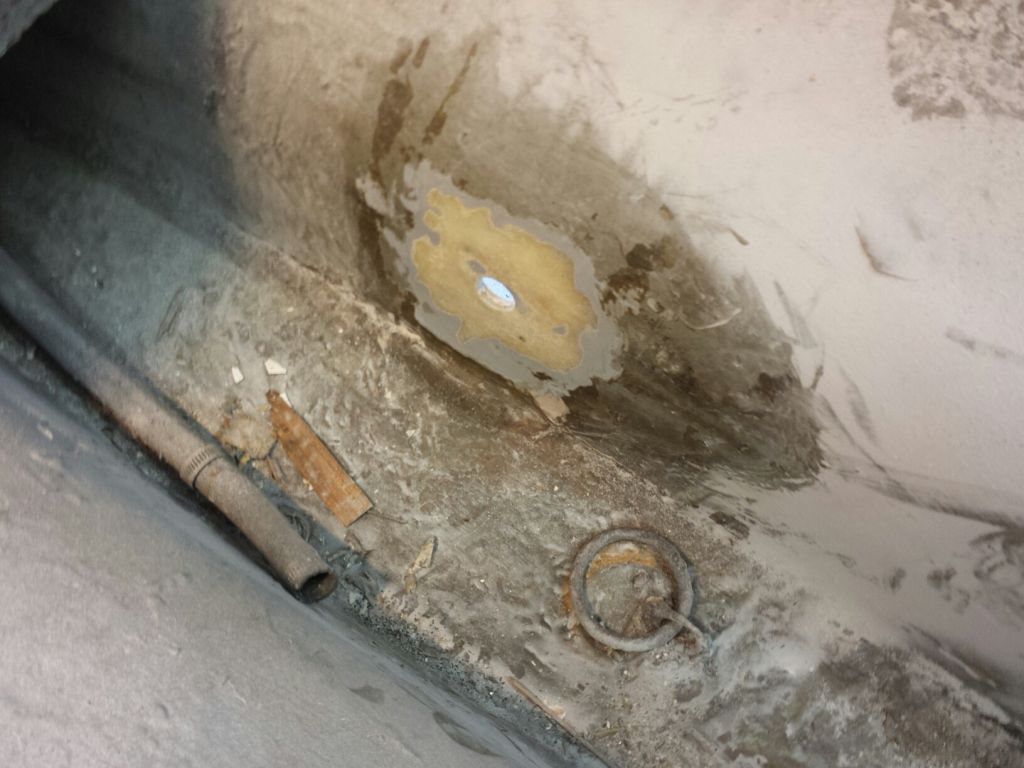
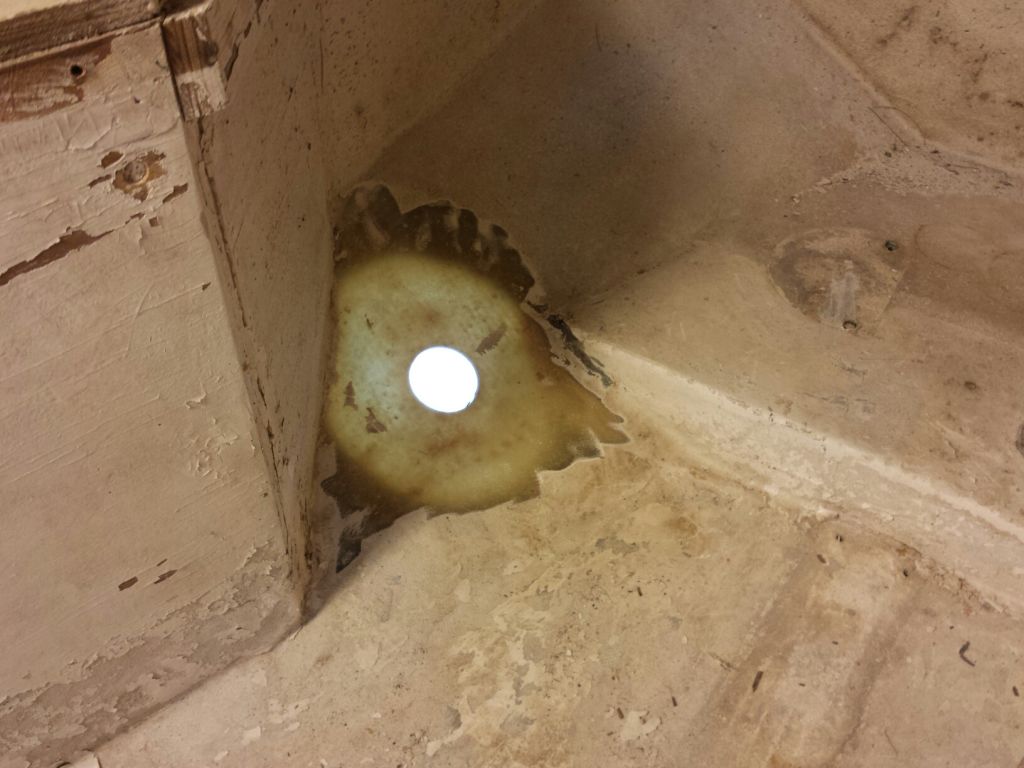
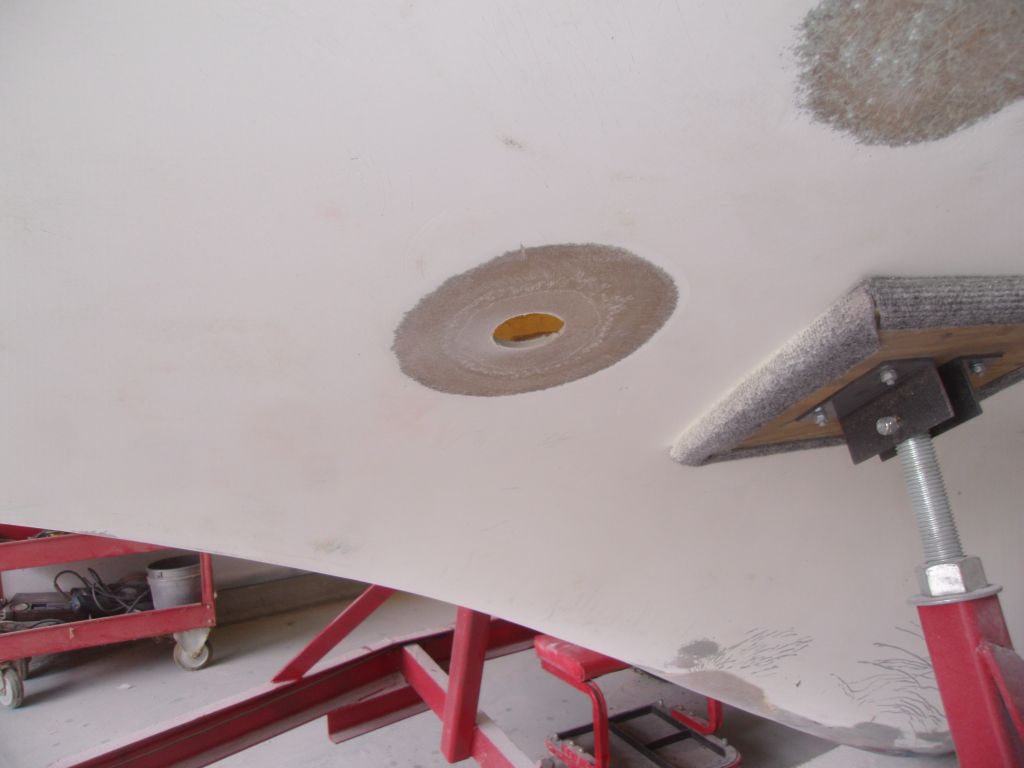
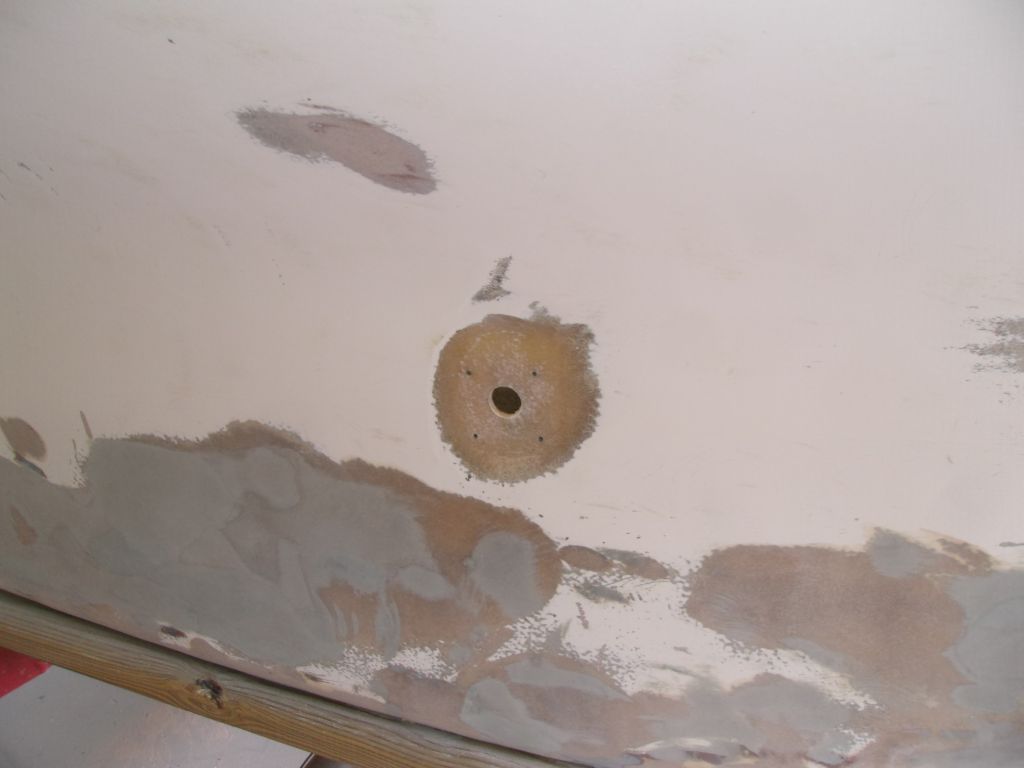
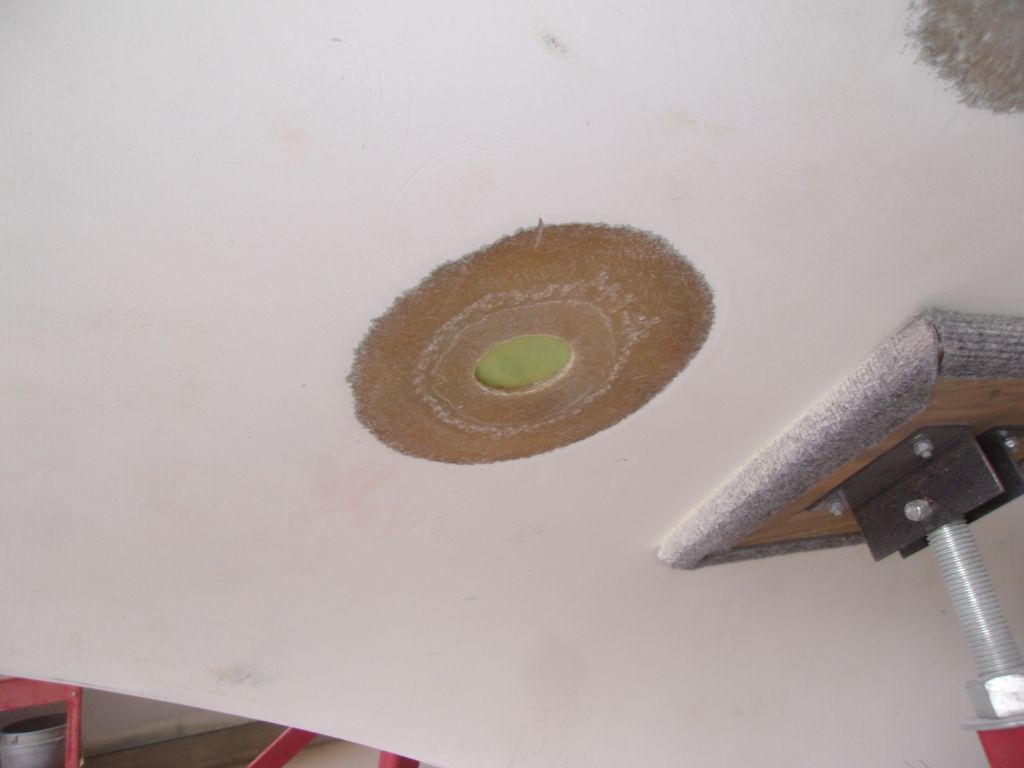
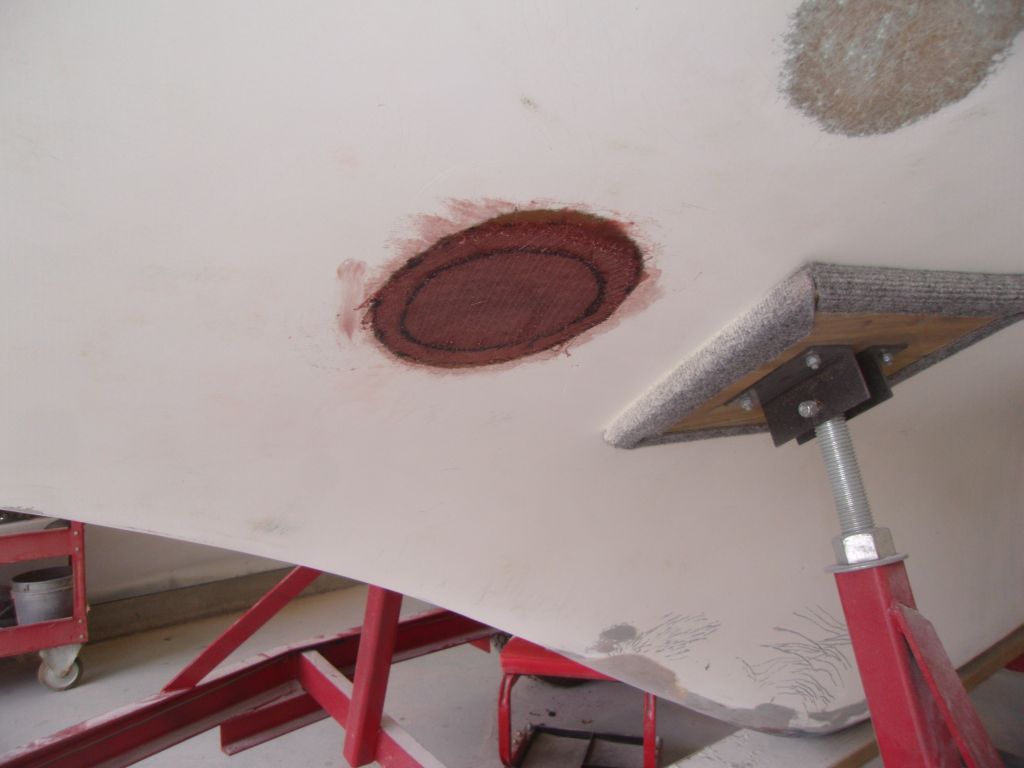
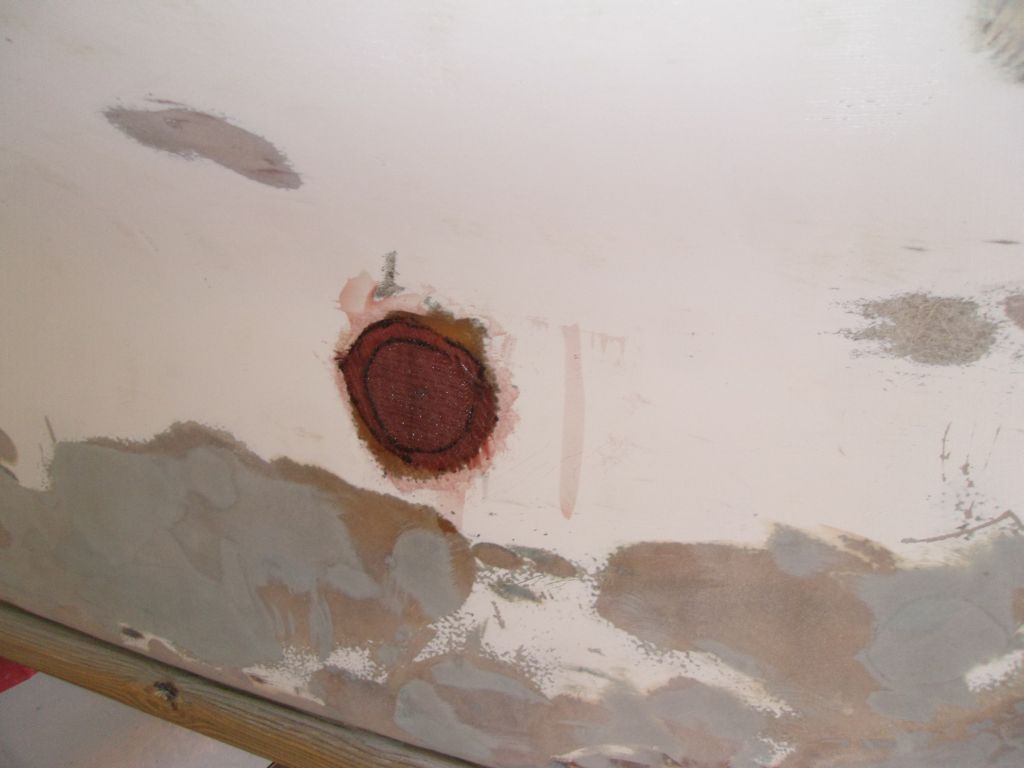
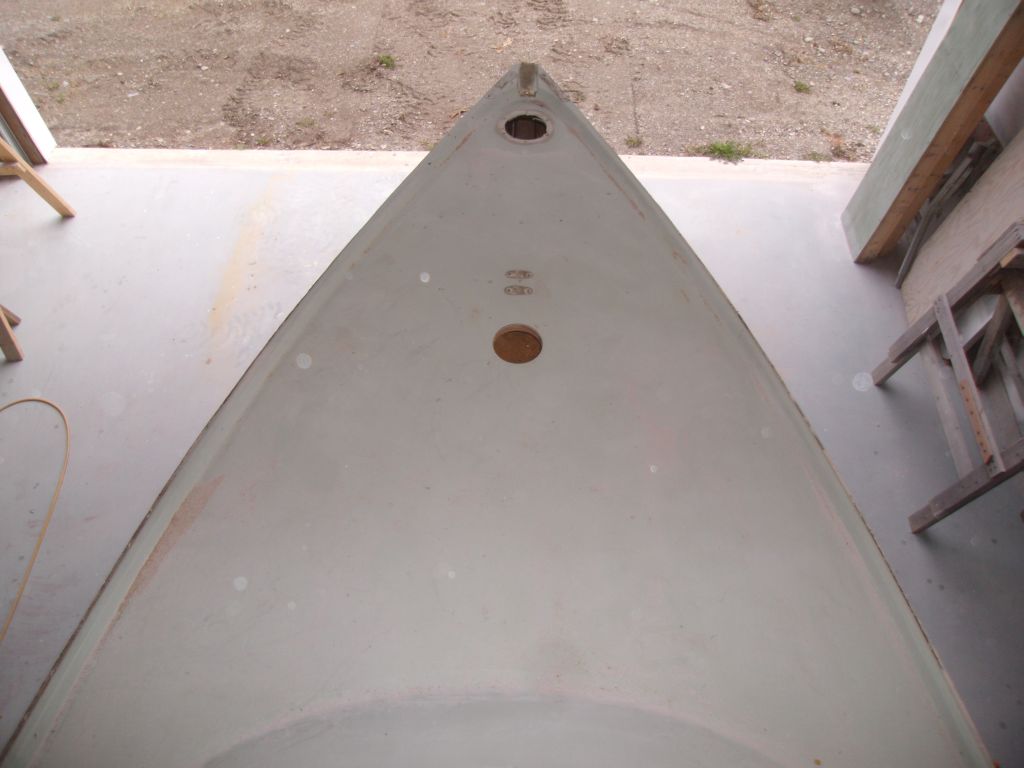
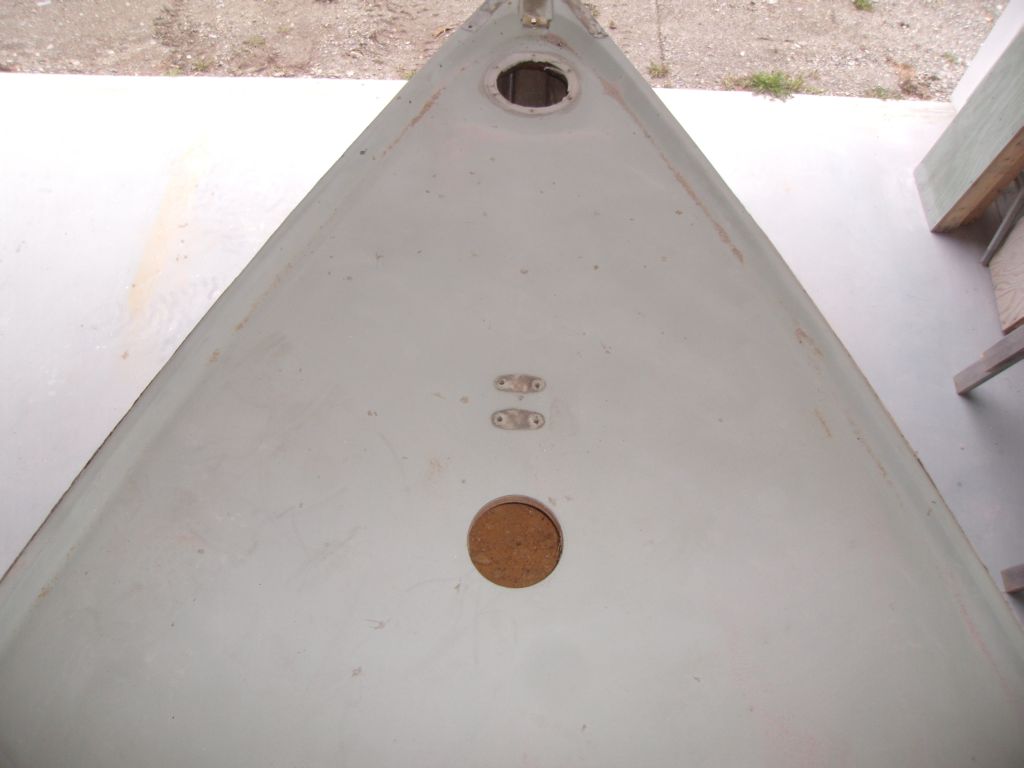
The old through hulls for the head were no longer needed, so I removed them and ground the hull inside and out as needed to prepare for patching the holes.


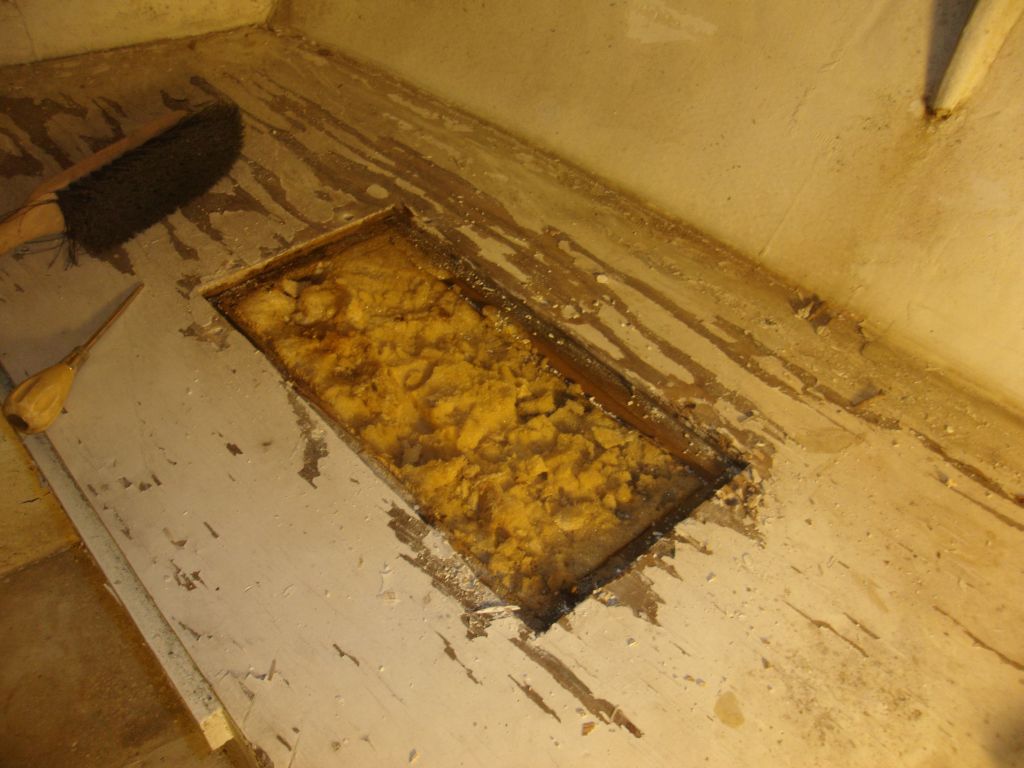
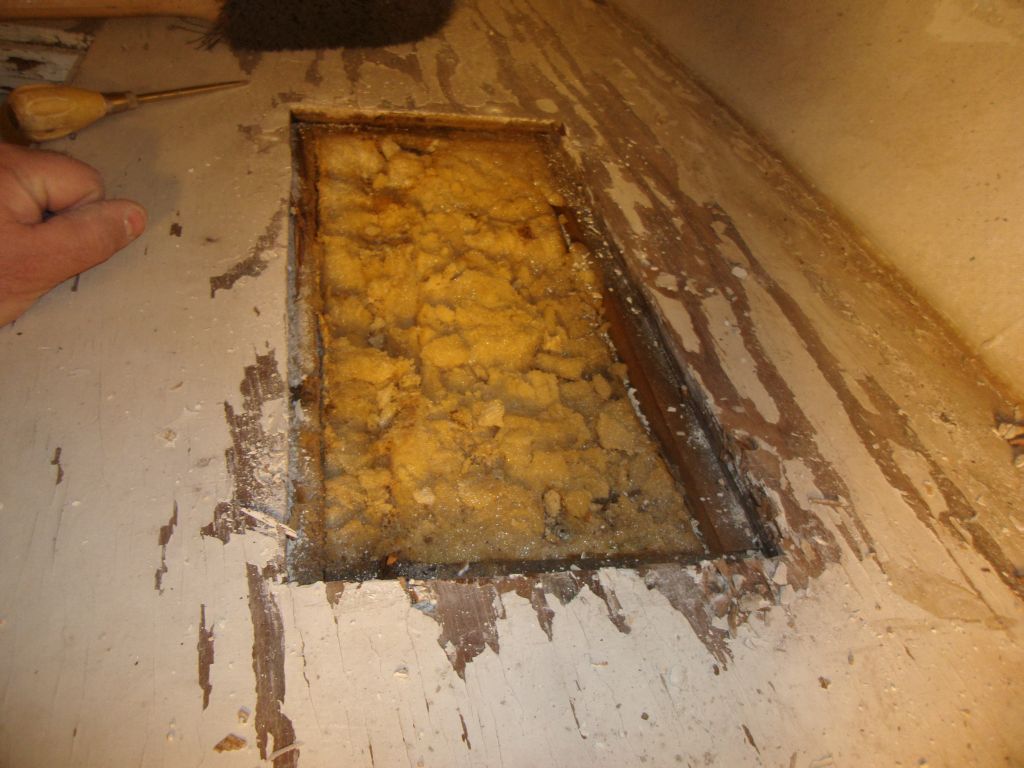
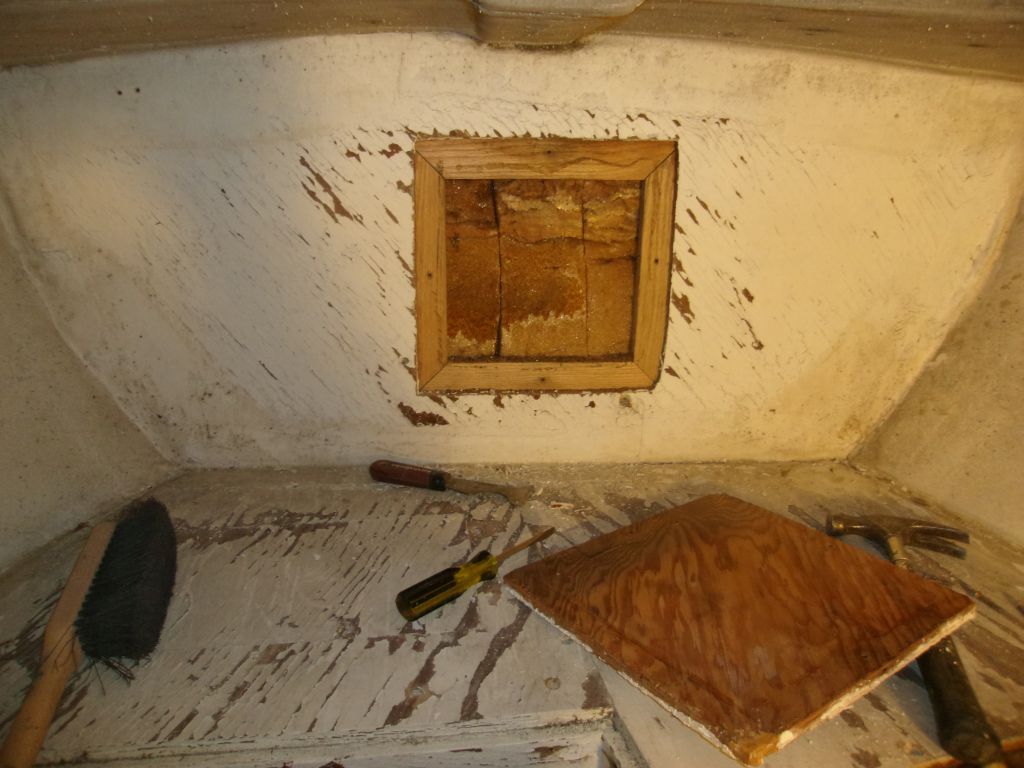
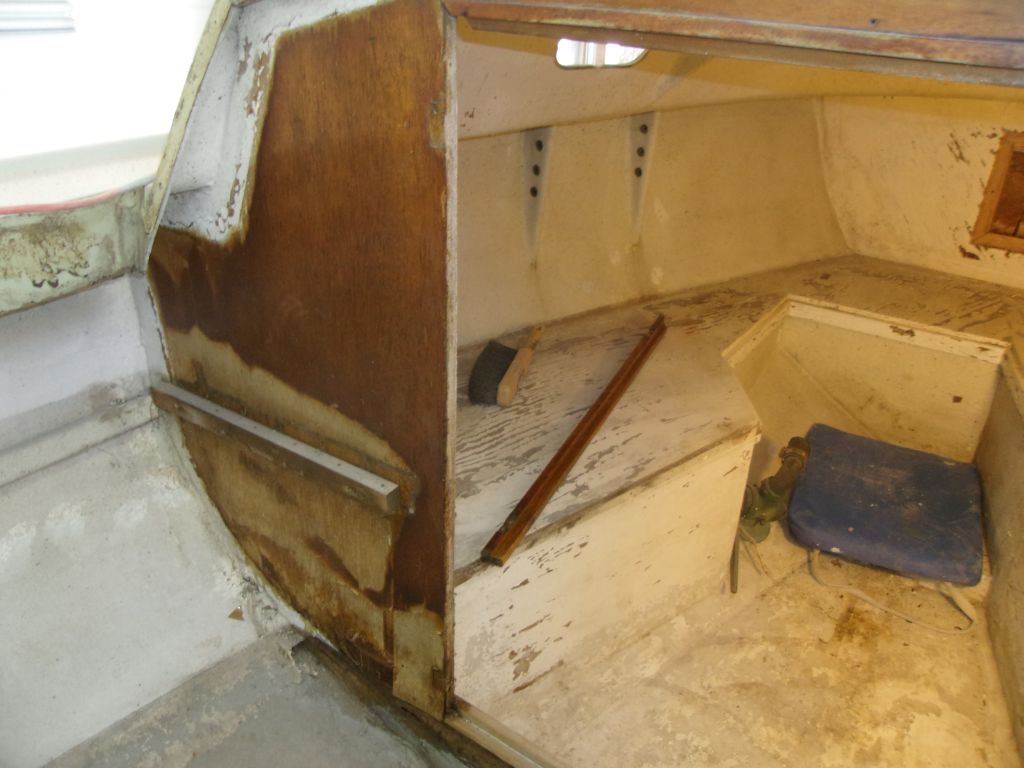
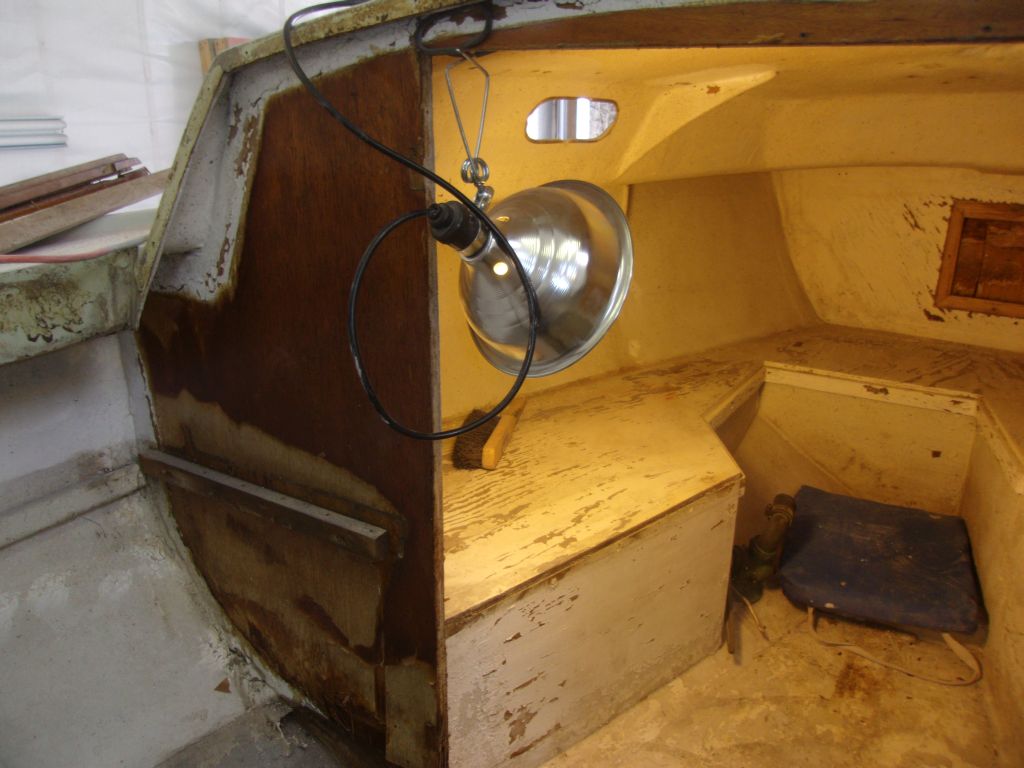
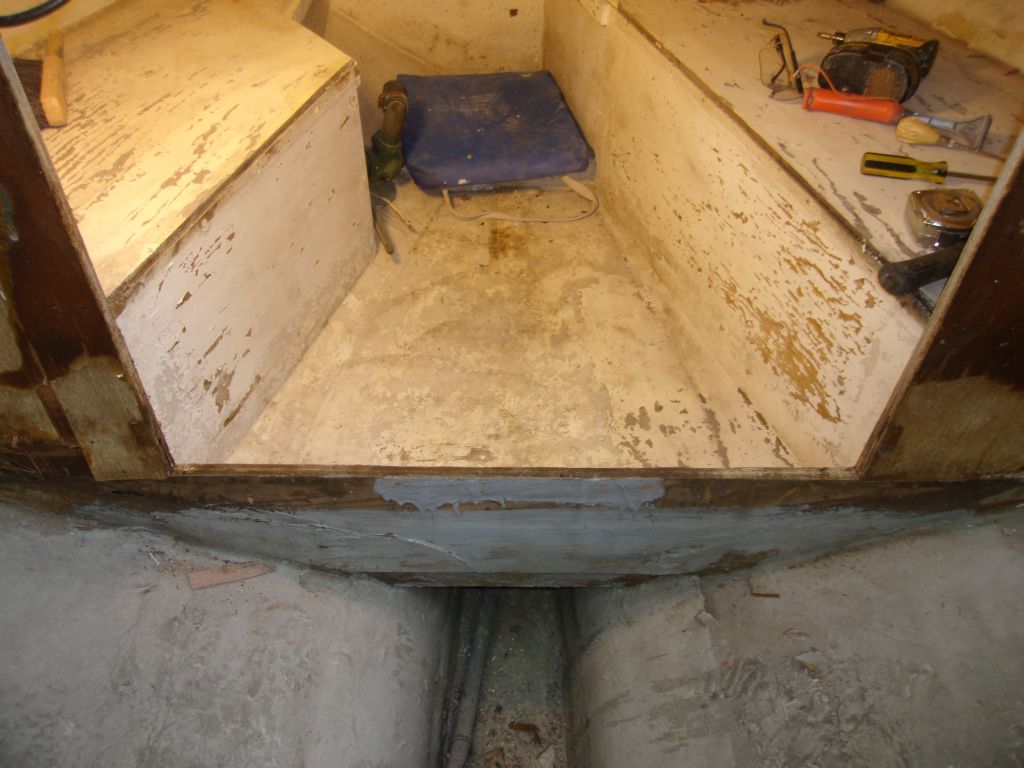
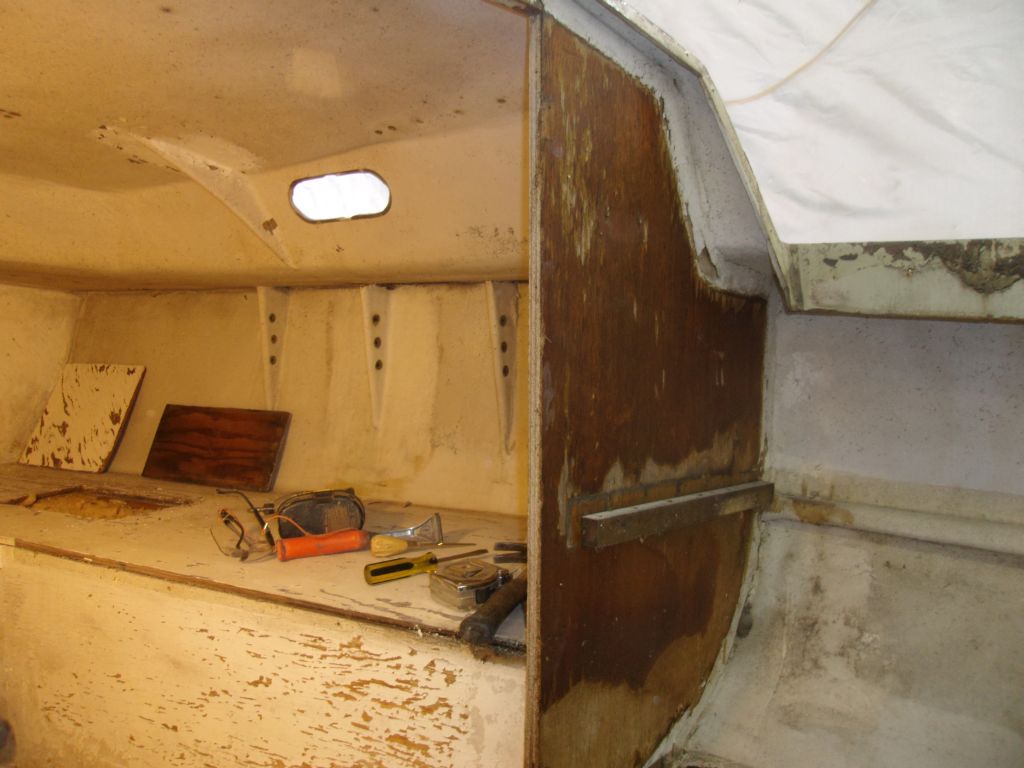
From the outside, despite its current cosmetic appearance, the v-berth platform and forward bulkhead in the cabin appeared to be generally sound, without evidence of the internal water saturation frequently noted about these boats. To get a better understanding of the conditions within the berth structure, which was filled with expanding foam, I removed one of the plywood hatches in the berth top, affording a view within. I eventually discovered that the way to remove the hatch was simply a matter of prying out the tight-fitting, flush plywood, which I found was secured to cleats beneath the berth with finish nails. The foam within, to the extent visible, was dry, and without other indications of moisture issues it looked like there would be no need to rebuild the berth system.
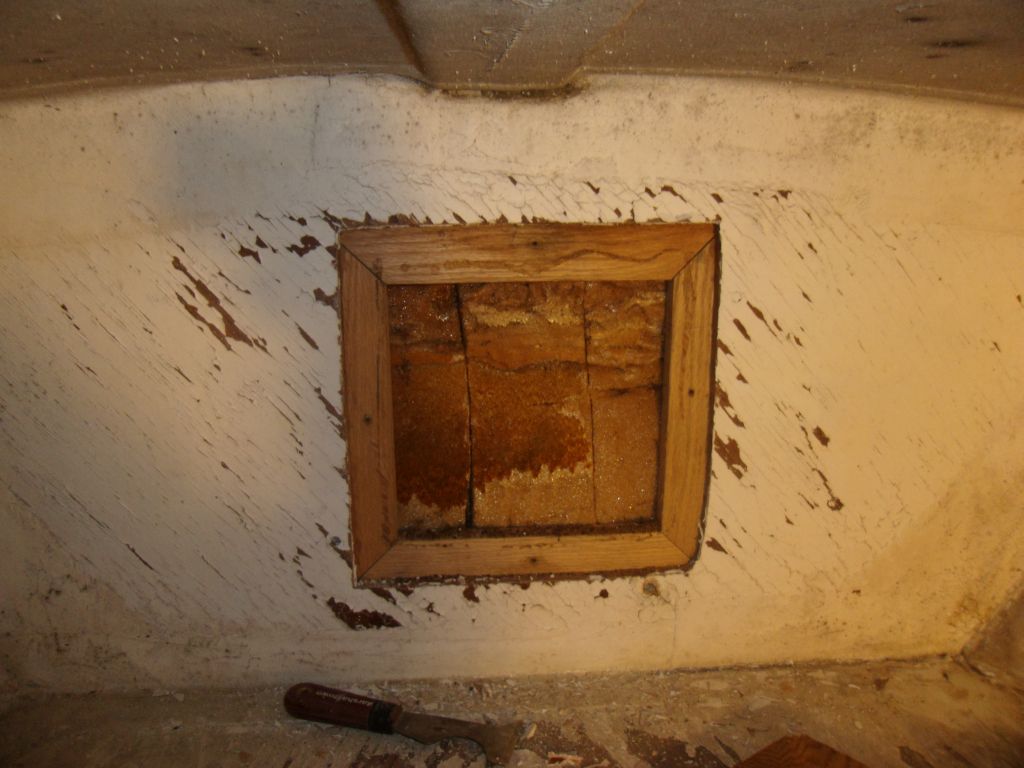
I also removed a hatch located in the vertical forward bulkhead, which was secured with four screws, partly to inspect the foam within that compartment, and also to check whether I could use the opening to access the underside of the foredeck cleat, but that didn't look promising without enlarging the opening and removing a whole lot of the foam.

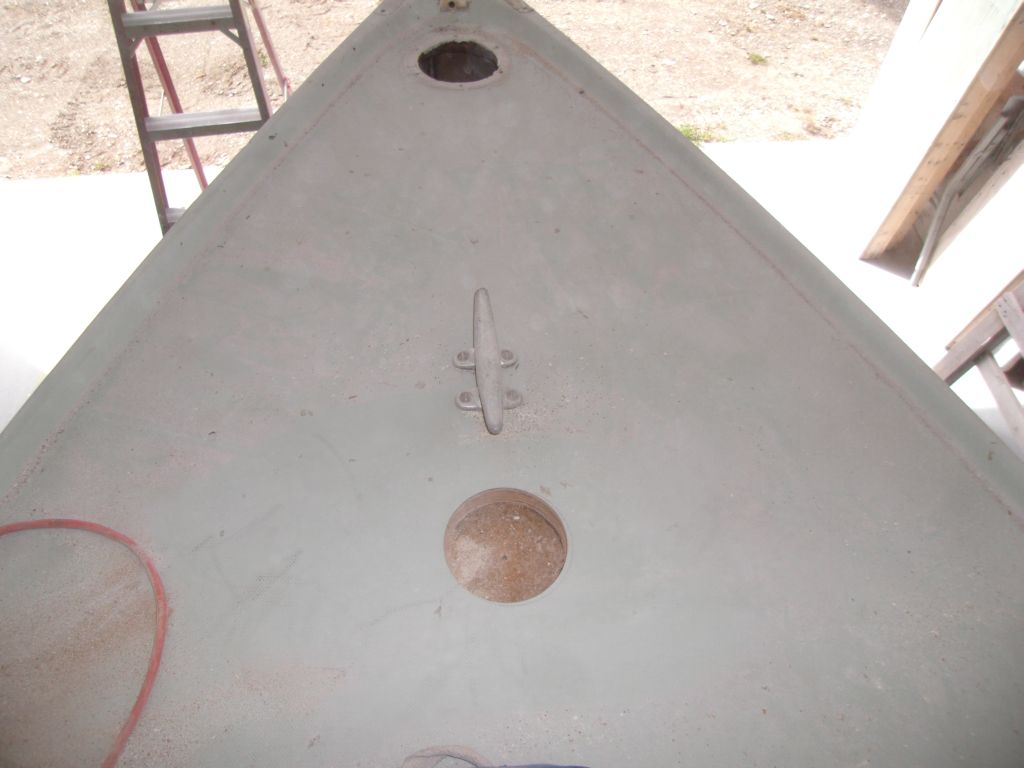
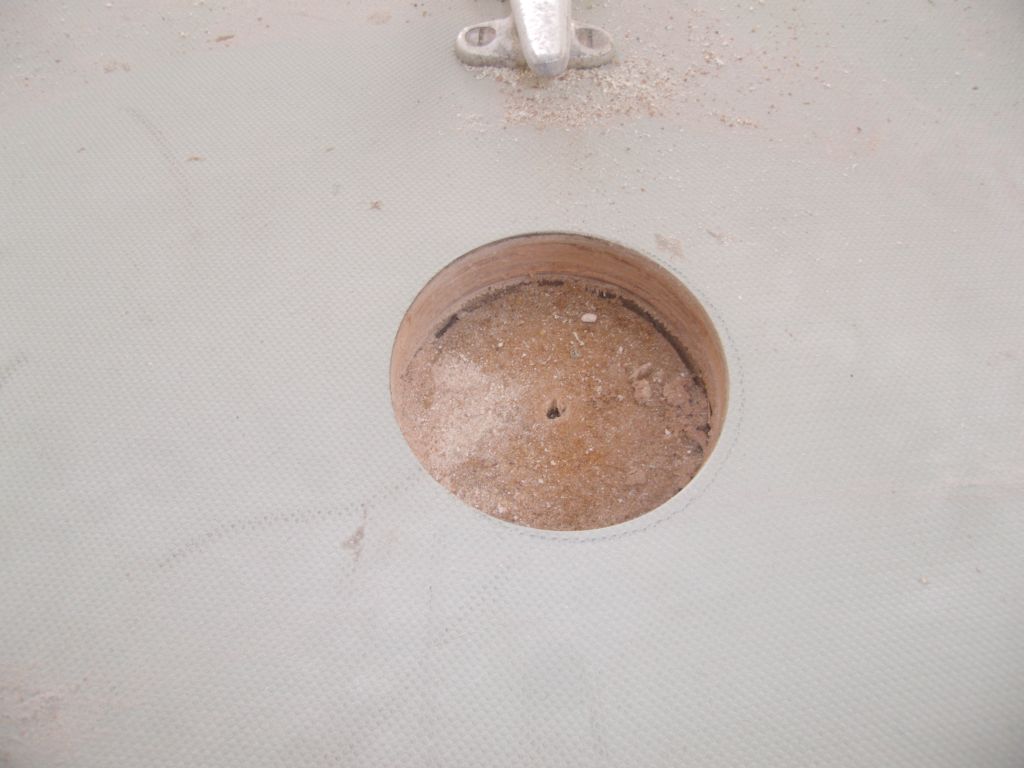
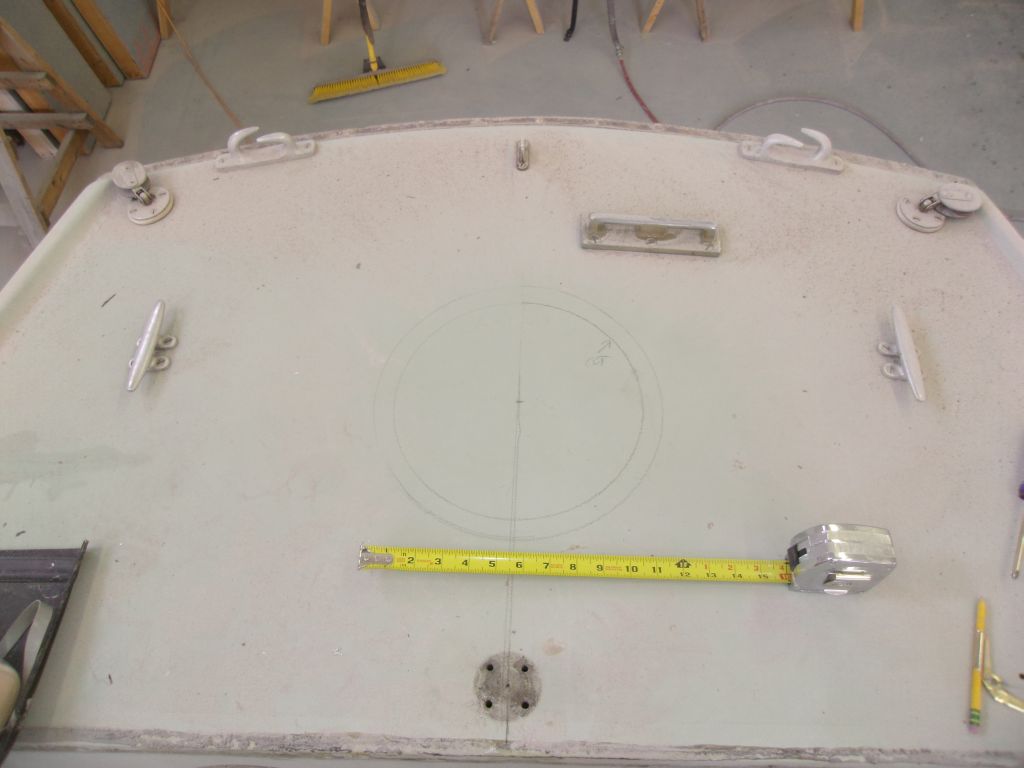
After a discussion with the owner about this and other topics, we decided to create new access ports as required on the foredeck and after deck to gain access to the underside of the remaining hardware. Starting on the foredeck, I created a new opening just aft of the mooring cleat, sized for a new round deck plate, and dug out--with surprising difficulty--enough of the foam beneath to eventually remove the cleat. During later deck preparation steps, I'd prepare and isolate the exposed plywood core in the new cutout.
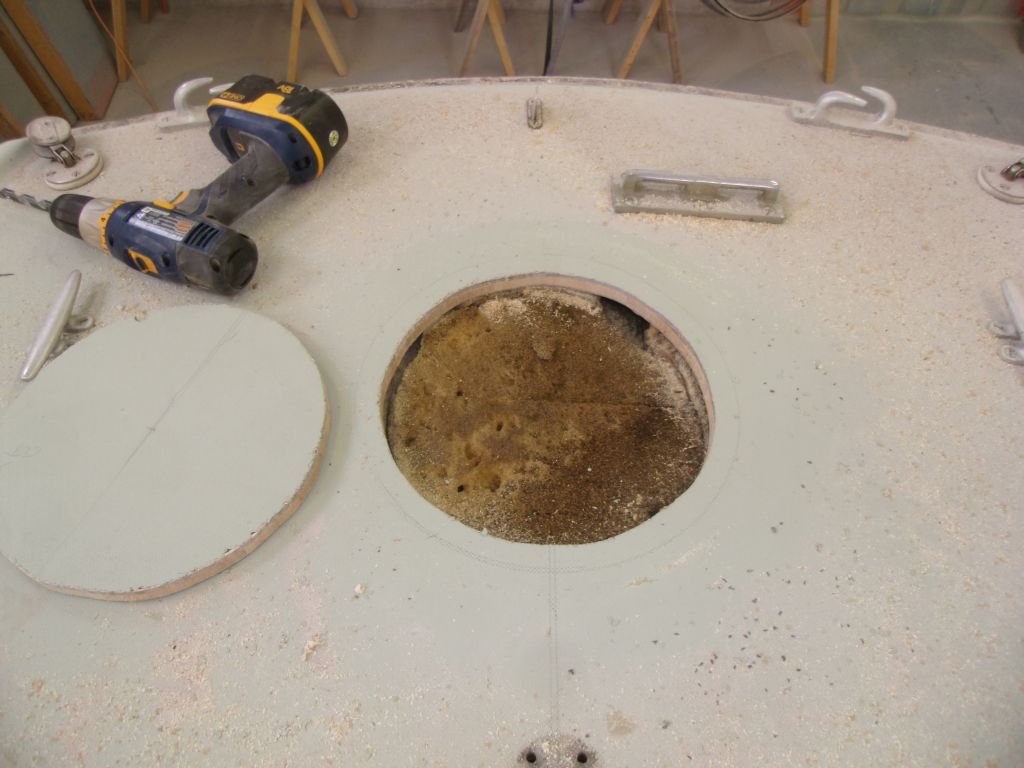
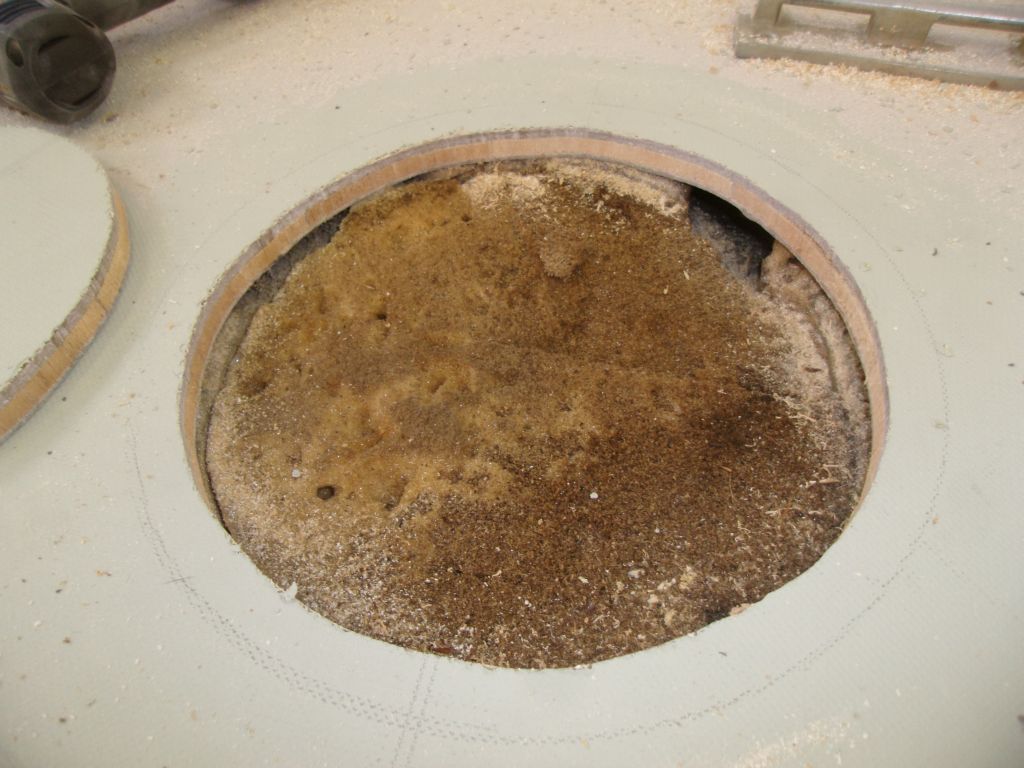
On the poop deck, I needed a larger opening to be able to reach all necessary hardware and also to excavate the foam sufficiently. Here, I eventually settled on a 10" round deck plate, and cut the requisite opening in the deck. The balsa core within was in good condition at the opening; later, I reamed out the core from the opening itself, and I'd later fill that void with solid epoxy.
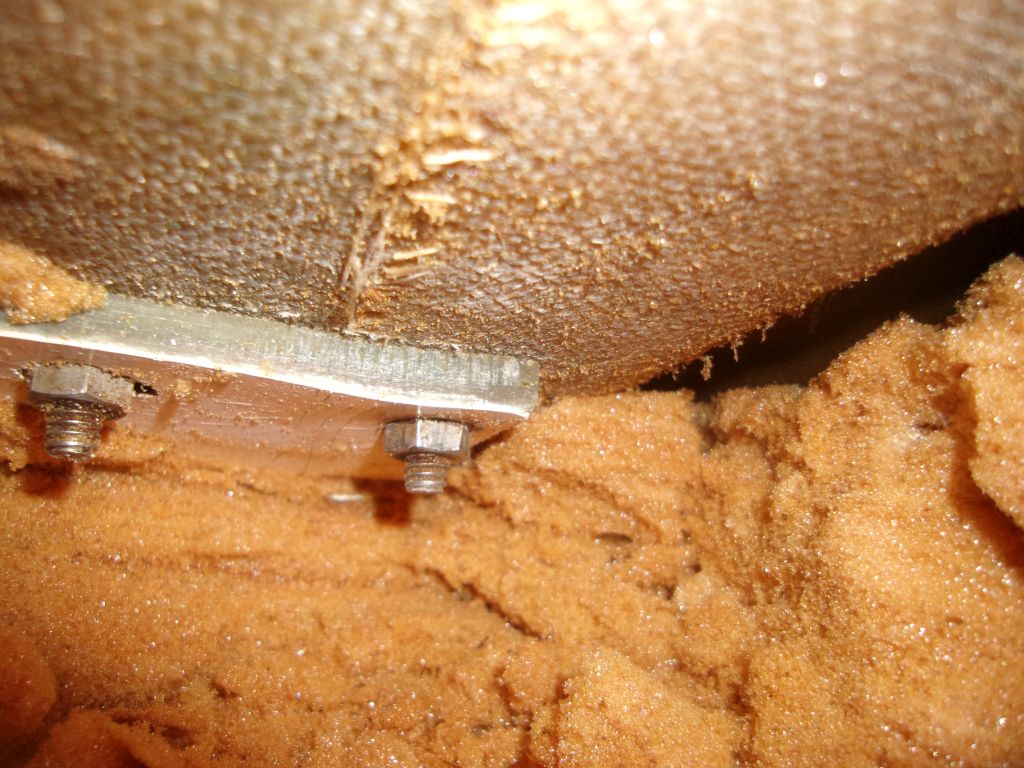
With the opening cut, I removed foam as needed to eventually gain access to, and remove, the cleats, chocks, and other hardware. I was surprised to find that the outboard bracket was screwed in place, not bolted; there was an encapsulated wooden reinforcement beneath, into which the screws were driven.


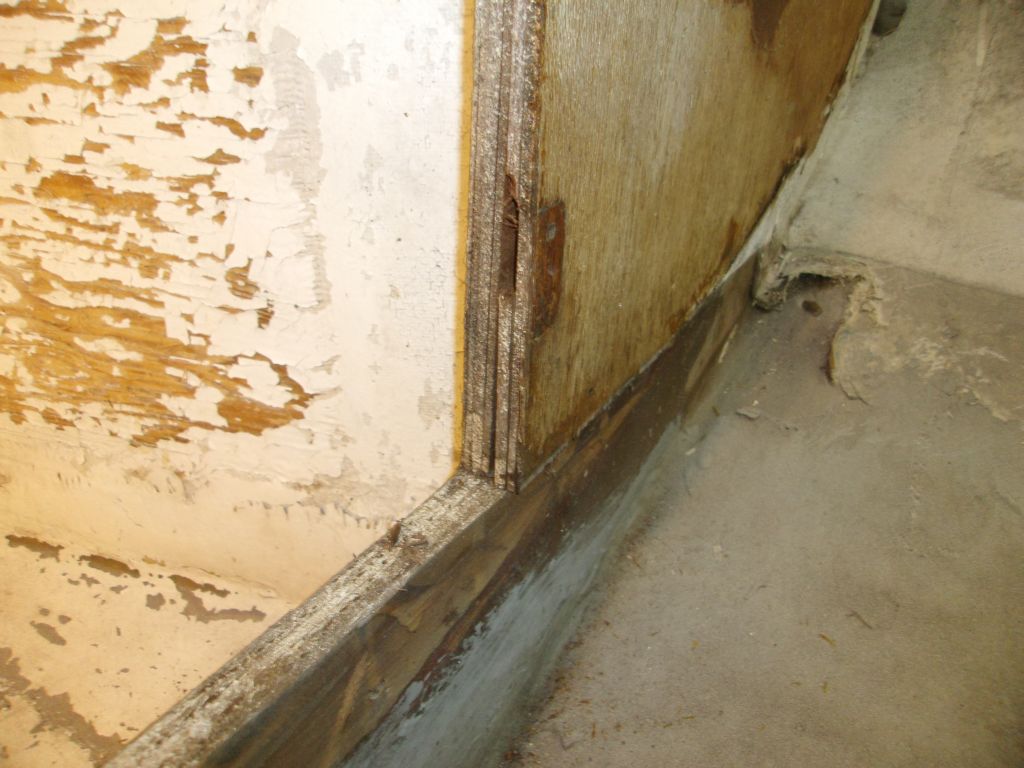
Preparing ahead for replacing the main bulkhead and related work, I carefully removed the door trim, which, along with most of the original woodwork, I hoped to reuse, from the opening; it was secured with finish nails.

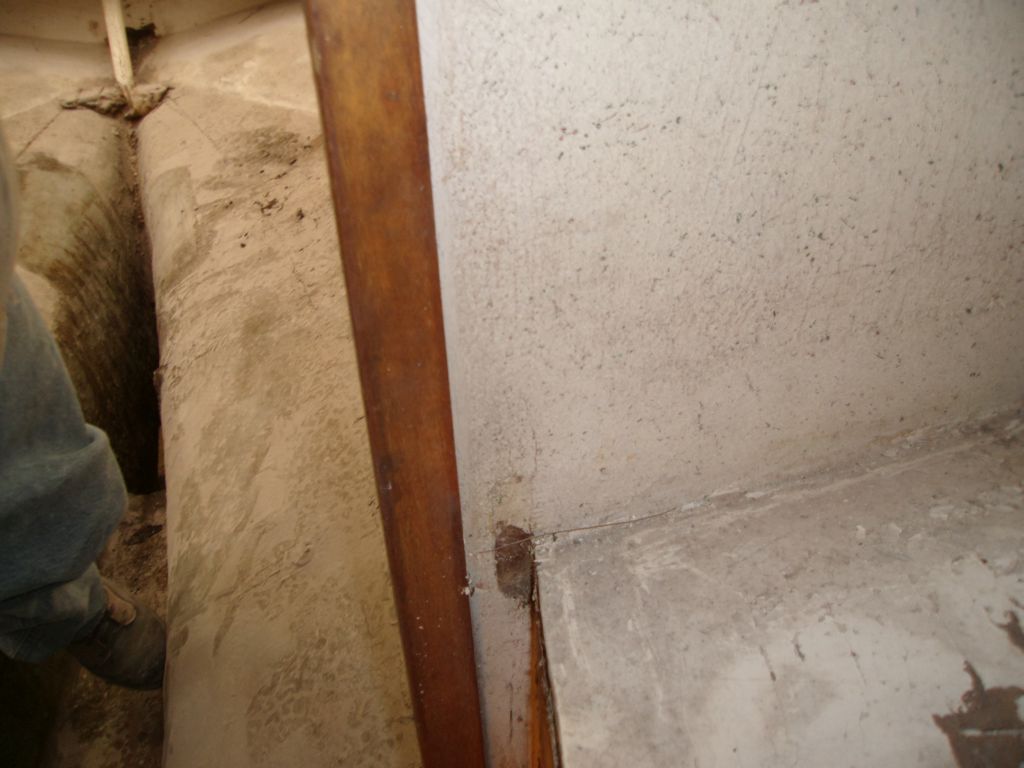

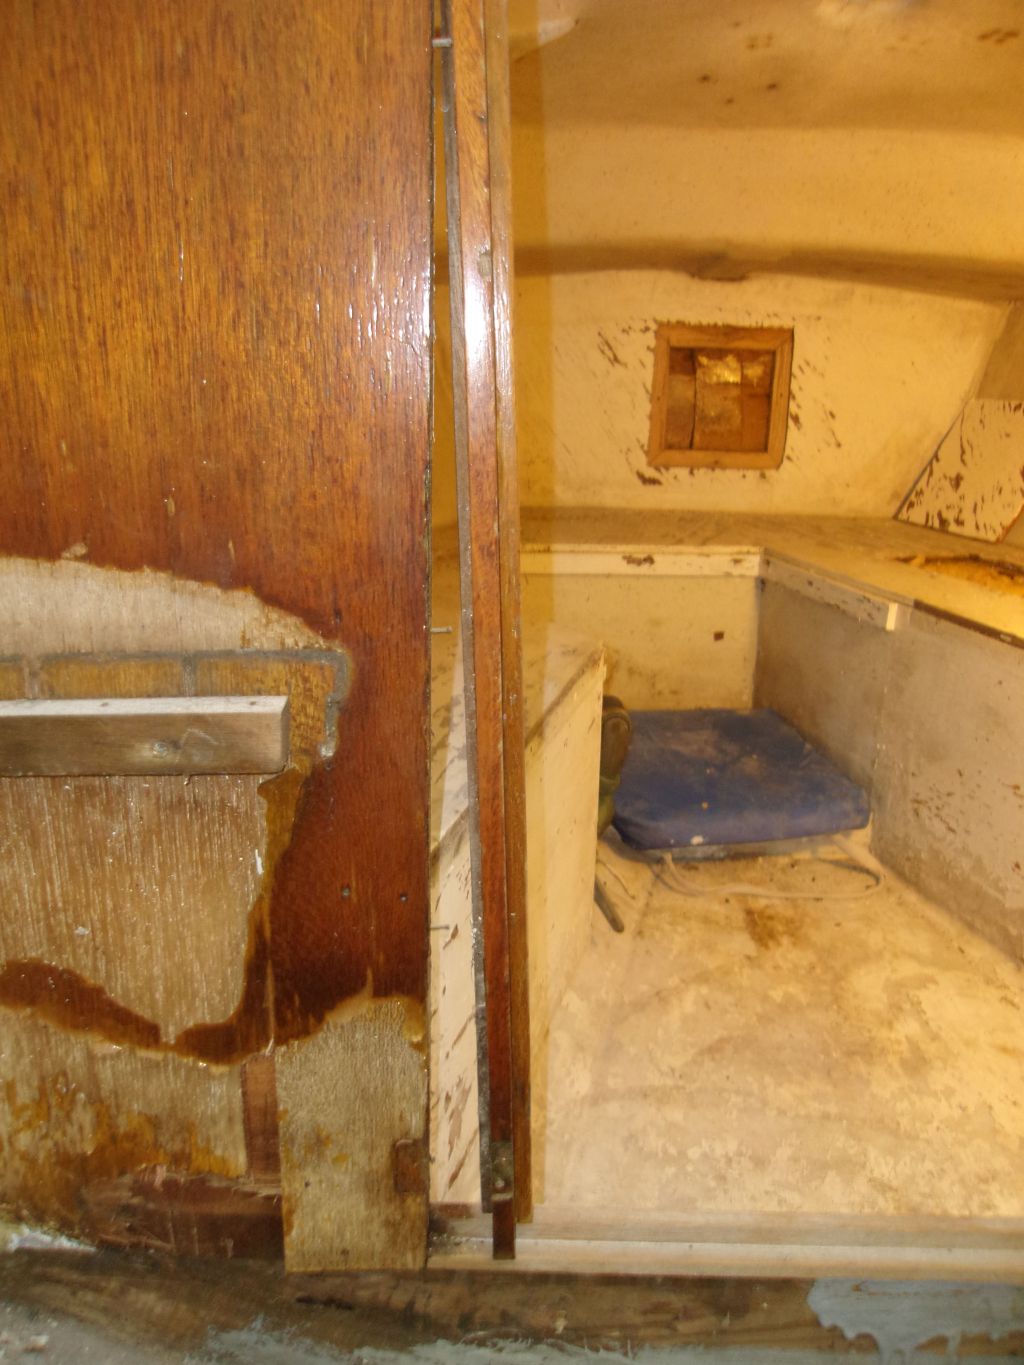

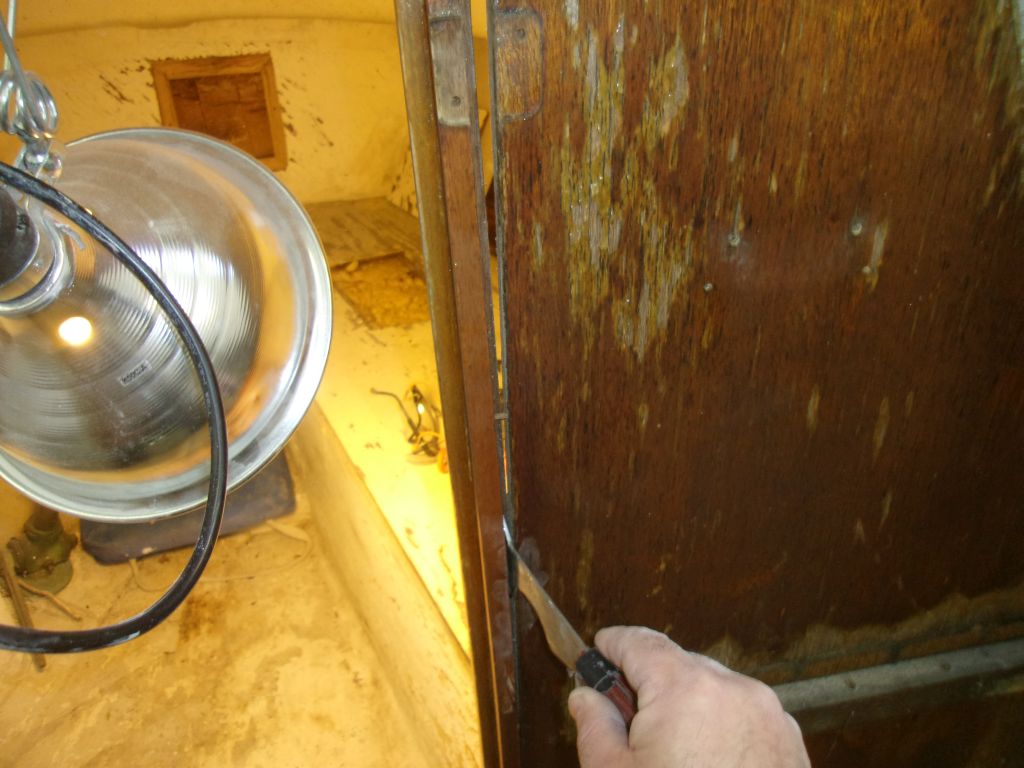
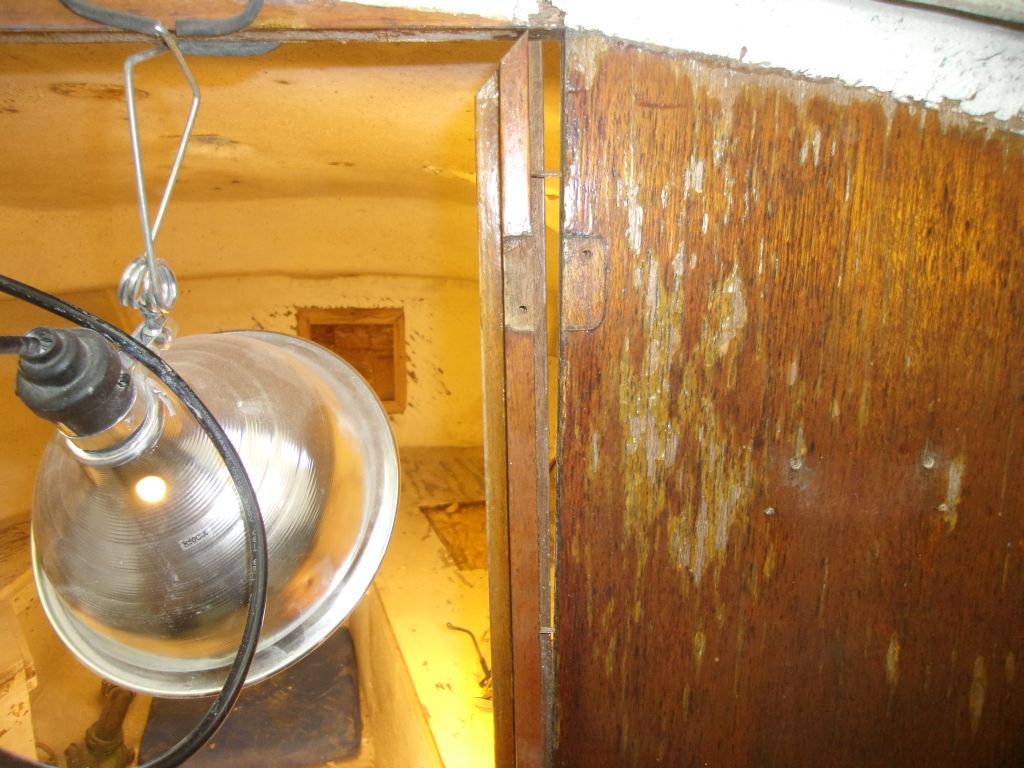
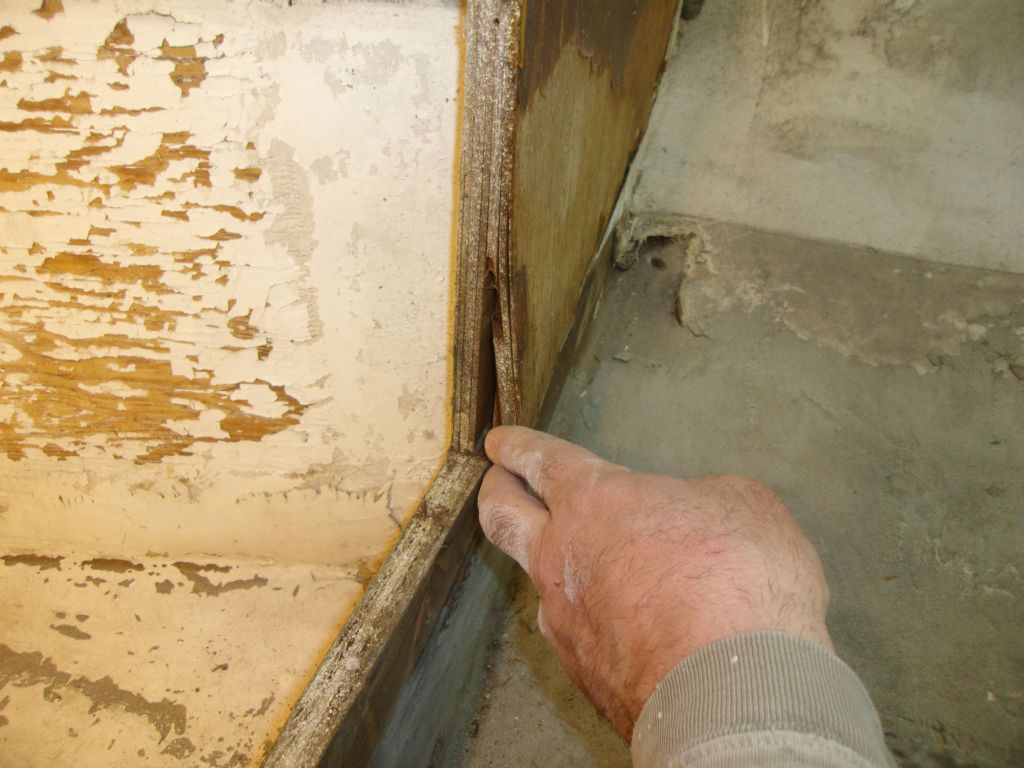
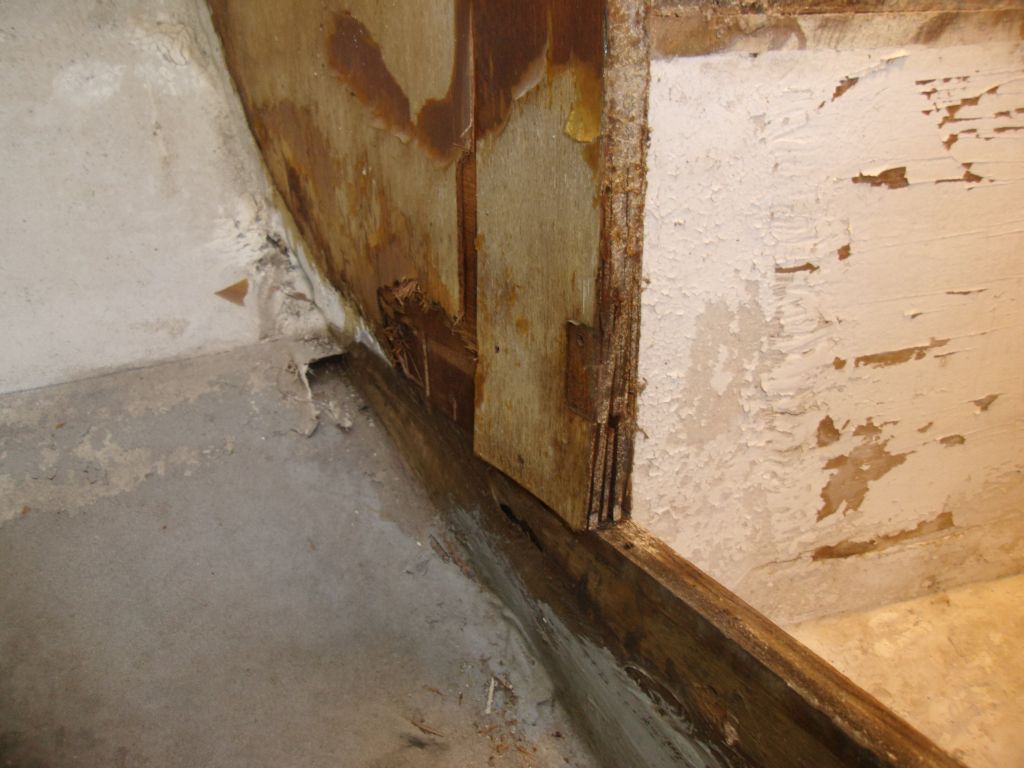
With the trim removed, the damage to the bases of the two upper bulkhead sections was more obvious. The transverse piece across the bottom, however, which was a separate piece, appeared to be sound as is.

Total Time Billed on This Job Today: 7.5
Hours
