110 Cookson Lane | Whitefield, ME 04353 | 207-232-7600 | tim@lackeysailing.com
Ensign #1212 | Thursday, April 17, 2014
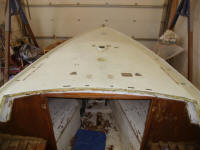
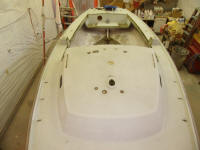
I continued my way forward stripping the decks of hardware, now with the cabin top.
Next, I removed the chainplates and their deck covers. Many of the bolts snapped during removal, and all the bolts were in deteriorated condition. The bronze chainplates themselves were in marginal condition as well and would require replacement.
The chainplate knees--plywood bases fiberglassed to the hull--appeared to be generally sound within when probed through the bolt holes.
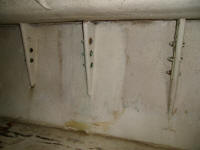
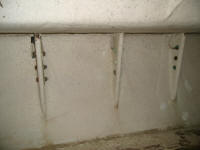
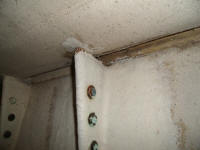
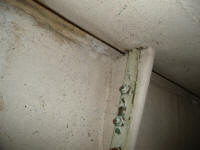
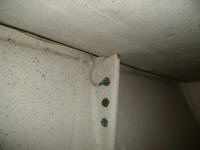
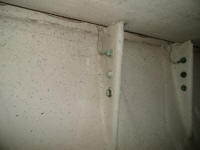
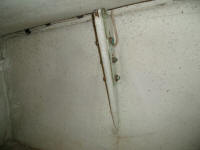
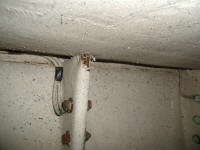
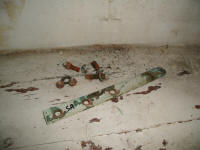
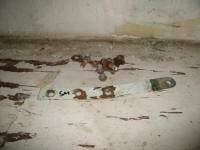
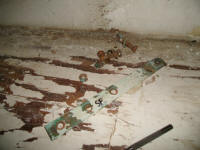
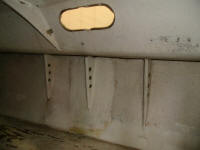
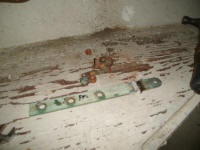
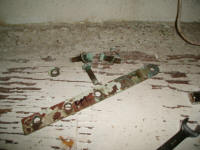
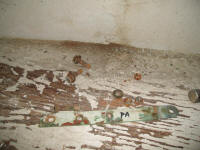
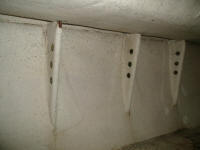
The starboard mid (upper) chainplate was oddly bent above the top bolt hole, and this, along with evidence that the knee itself had been repaired or reinforced, suggested some undue stresses at one time or another.
Meanwhile, I also removed the aluminum mast step.

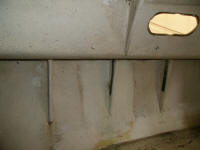
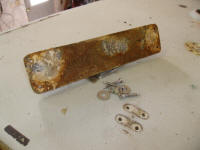
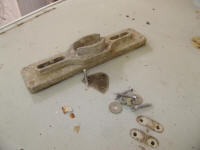
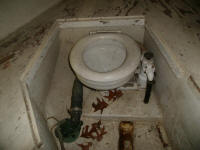
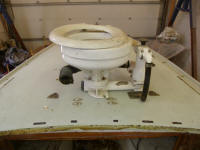
I removed the aluminum ports and the old head. Later I'd remove and patch the head's through hull locations as well.
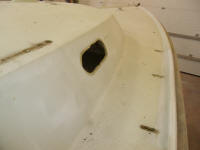
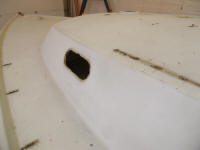
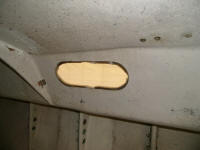
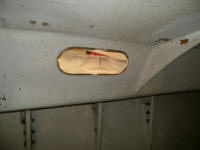
Through a small access port at the foredeck, I could remove the bow chocks; the mooring cleat a bit aft was inaccessible from beneath at this stage. The expanding foam visible through this inspection port was OK in appearance. I'd remove the stem casting later.
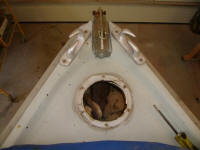
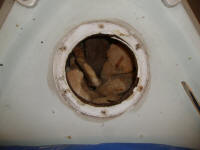
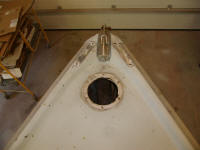
This left, for now, just the bow mooring cleat and the various hardware on the stern deck in place and inaccessible for removal with existing access points.
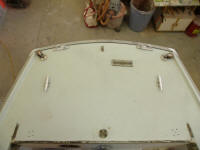
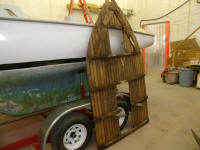
Next I turned to the cockpit benches. By removing only a few screws--at each end of each plank, plus two screws securing the vertical supports to the cockpit sole--I could pull out the bench and support assemblies whole, which was much more convenient and would allow final disassembly on the bench for refinishing or rebuilding as needed.
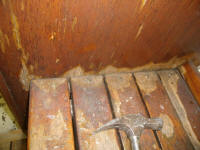
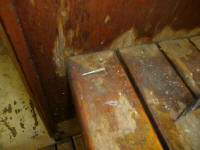
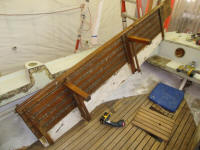
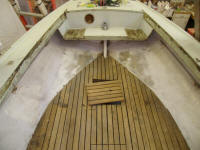
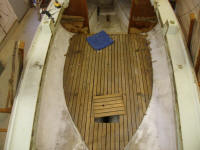
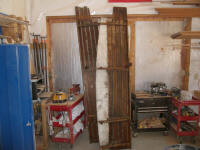
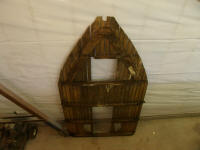
I also hoped to remove the slatted cockpit sole intact and in one piece, which would be most efficient and also allow easier rebuilding of the transverse supports. The forward three support beams were tabbed to the hull, though in the typical way this tabbing was light and easily removed by hand. In addition, there were five screws sort of securing the forwardmost beam to the main cabin bulkhead. The outermost teak plank on each side was already loose, as the wood to which they'd been screwed was either rotted or nonexistent, and removing these exposed the tops of the tabbing and support beams on each side.
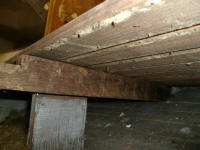
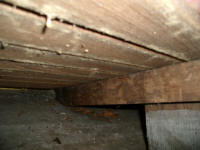
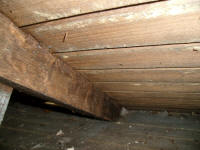
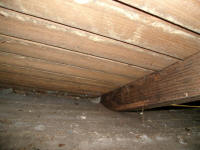
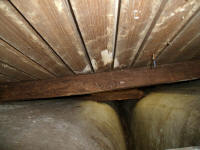
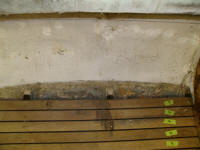
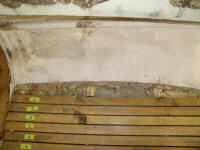
Once I'd released the bulkhead screws, and removed the tabbing from the rotting cross beams (though the aftermost beams were the worst), it was no problem to pull out the sole in one piece.
Once I'd removed the sole, I removed a lousy divider from the aft part of the bilge, and swept up the debris. Later, I stepped on the intake seacock for the head, and discovered the valve was loose, so I could easily unscrew it from the through hull stem.
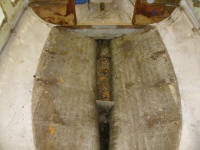
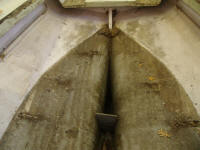
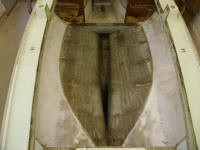
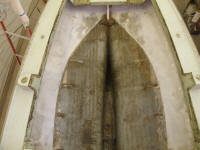
With the cockpit out of the way, I could better inspect the main bulkhead. Both the port and starboard sides featured water damage at the lower extremes, but particularly the port side, where my awl sank into the wood deeply over a fairly wide area. In addition, the cosmetic veneer was in poor condition and unlikely to be salvaged successfully anywhere. Probably replacing this bulkhead with new material would end up being the best course of action.
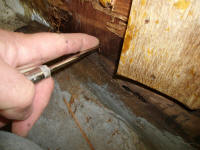
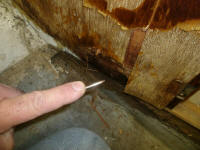
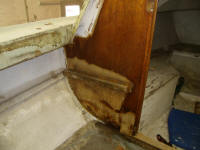
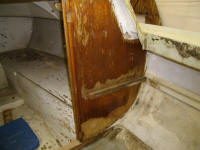
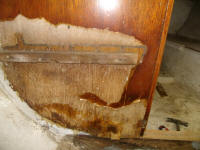
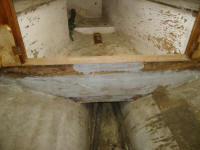
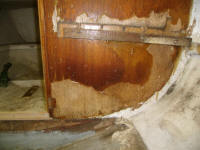
The limber at the center of the small bulkhead at the aft end of the cockpit featured some rot around its edges, but could probably be cleaned up and stabilized.
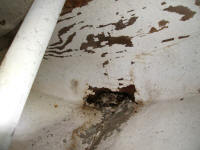
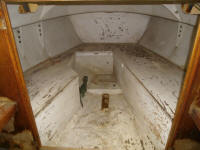
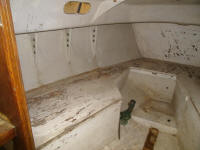
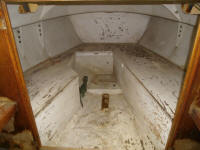
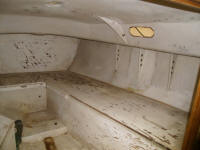
The forward bulkhead and the berth support structures in the cabin, while in poor cosmetic condition, appeared to be structurally sound. The condition of the flotation foam within these areas was not determined yet. The cabin sole also appeared generally sound, though the fiberglass covering the platform where the head had been installed was debonded from its plywood substrate.
Total Time Billed on This Job Today: 6.5
Hours
