|
|
~MENU~ |
| Home |
| The Concept |
| The Boat |
| Bringing Her Home |
|
Weekly Progress Log |
|
Daysailor Projects |
| The Boat Barn |
| Resources |
| Other Sites |
| Email Tim |
|
|
|
Systems: Mast Step |
|
One of the pitfalls of bilge-stepped masts is that the continuous presence of water, or at least dampness, often wreaks havoc with the typical aluminum or stainless steel mast steps. To counter this, I planned to build up the step rather high above the bottom of the bilge. For strength, and to prevent any possibility of corrosion (if metal) or rot/deterioration (if wood), I chose to built the basis for the step out of solid fiberglass, molded in place.
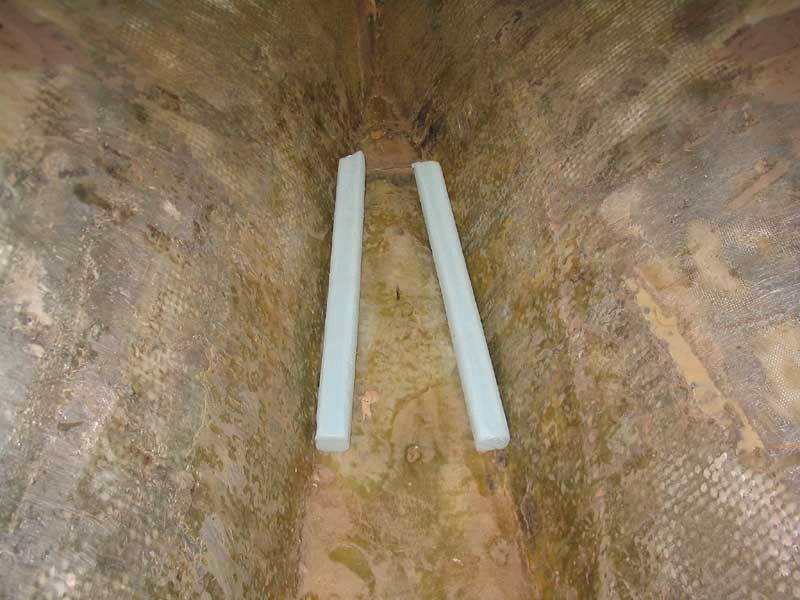
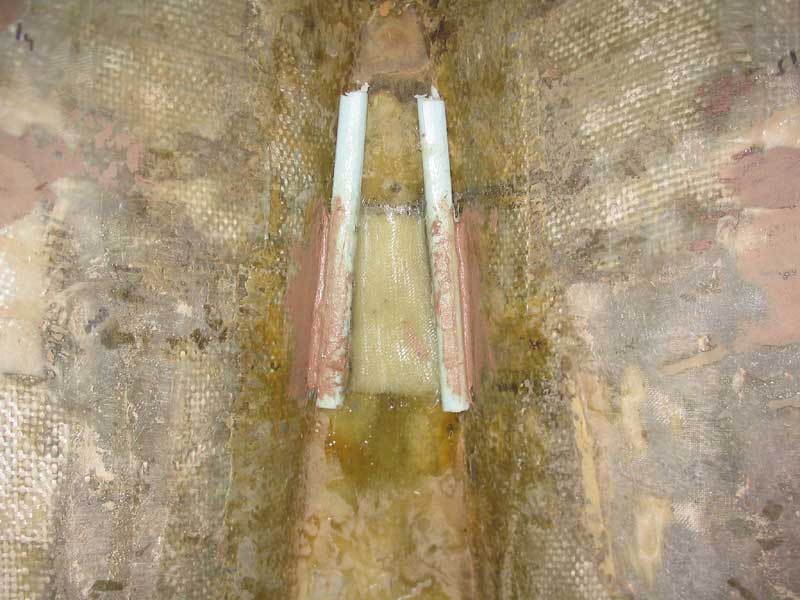
To do this, I cut some strips of foam into 1" square rectangles, each about 12" long, and rounded over the corners with some sandpaper to make roughly circular profiles. I glued these in place at the corners of the bilge in way of the mast step. The point of this exercise was to basically mold the limber openings around the foam; when all is said and done, the foam would be removed, leaving only the 1" diameter openings passing beneath the outer edges of the new mast step platform. |
|
|
|
|
|
|
|
|
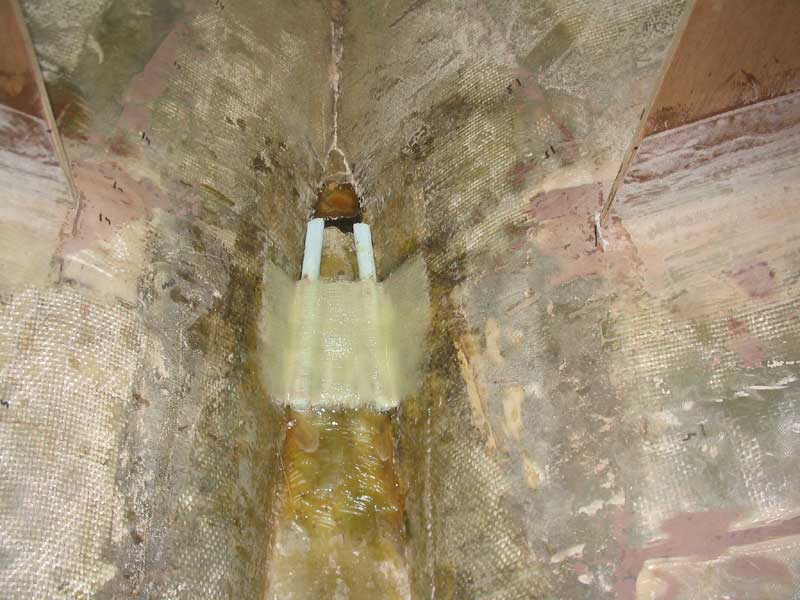
 With
the glasswork complete, I ground the forward and after edges to begin to
smooth the rough edges. Then, I reamed out the Styrofoam molds in
the limbers on each side; this was fairly easy using a triangular file to
remove the bulk of the material, and then a dowel wrapped in sandpaper to
clean out the small remaining amount. With
the glasswork complete, I ground the forward and after edges to begin to
smooth the rough edges. Then, I reamed out the Styrofoam molds in
the limbers on each side; this was fairly easy using a triangular file to
remove the bulk of the material, and then a dowel wrapped in sandpaper to
clean out the small remaining amount.
|
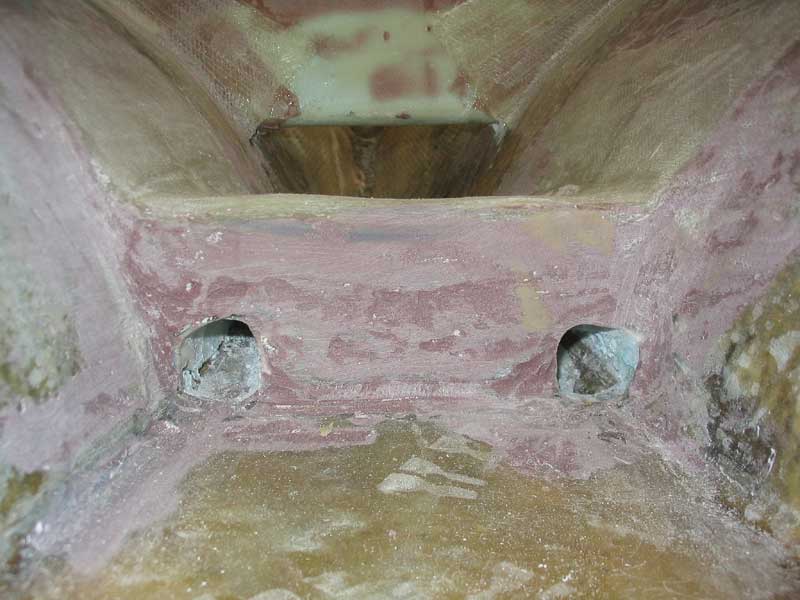
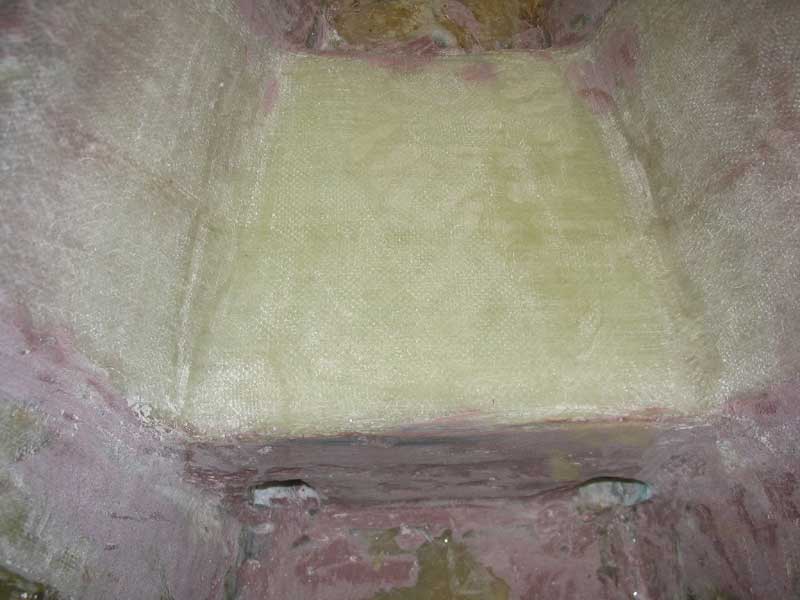 Finally,
I smoothed the edges of the platform and limbers with epoxy putty for a
clean, finished appearance. After a final sanding, the platform was
ready for painting. Finally,
I smoothed the edges of the platform and limbers with epoxy putty for a
clean, finished appearance. After a final sanding, the platform was
ready for painting.
Many moons later, I prepared to install the aluminum mast step provided by the mast builder. It was a simple 3/8" aluminum plate to which were welded a pair of aluminum tabs that approximated the inside shape of the spar section. First, though, I used the step to locate the cutout in the coachroof above for the mast to pass through.
|
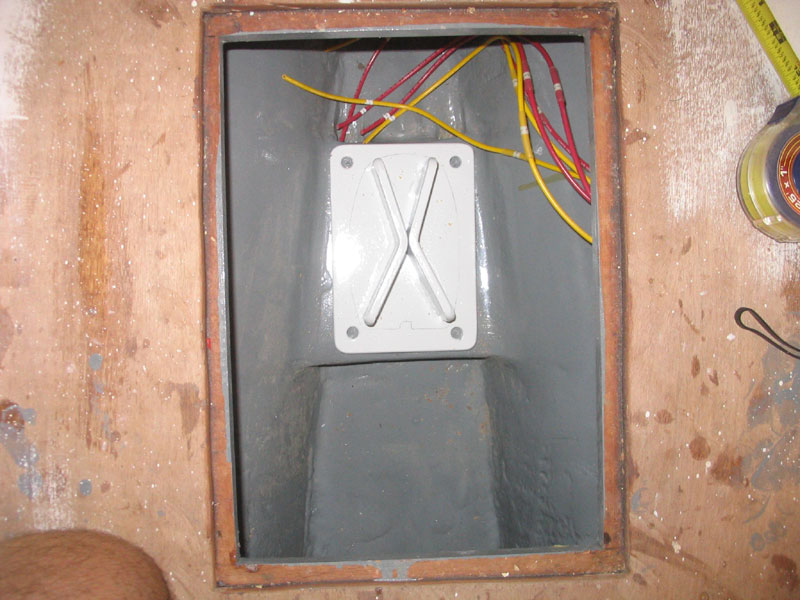 With
the new step located in the correct place on the fiberglass base in the
bilge, I used a level and a straightedge as an extender to mark the
center point of the mast step on the overhead above, marking directly
plumb above the step centerline. I marked it both transversely and
longitudinally. Then, I drilled a small pilot hole from inside out
to mark the spot. With
the new step located in the correct place on the fiberglass base in the
bilge, I used a level and a straightedge as an extender to mark the
center point of the mast step on the overhead above, marking directly
plumb above the step centerline. I marked it both transversely and
longitudinally. Then, I drilled a small pilot hole from inside out
to mark the spot. |
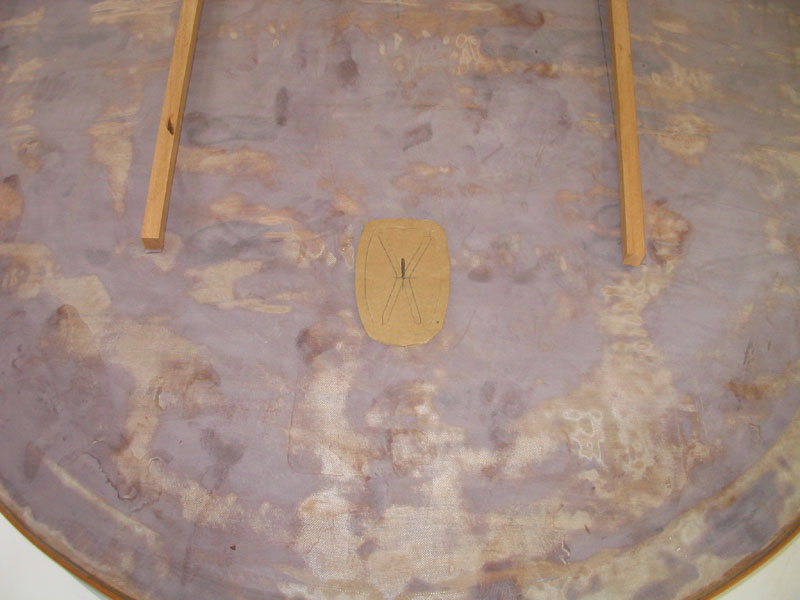 Next,
I used a piece of cardboard to trace the shape of the mast section,
which I then expanded by 1/2" all around to allow some leeway and room
for the spar to rake forward or aft. After cutting out the shape,
and locating the center point of the spar according to the mast step, I
used the drill to make a hole in the center, and placed the template
over the hole in the coachroof, using the drill bit as a guide.
After ensuring that the template was properly aligned, I traced the
outline, and then cut the opening with a jig saw. Next,
I used a piece of cardboard to trace the shape of the mast section,
which I then expanded by 1/2" all around to allow some leeway and room
for the spar to rake forward or aft. After cutting out the shape,
and locating the center point of the spar according to the mast step, I
used the drill to make a hole in the center, and placed the template
over the hole in the coachroof, using the drill bit as a guide.
After ensuring that the template was properly aligned, I traced the
outline, and then cut the opening with a jig saw. |
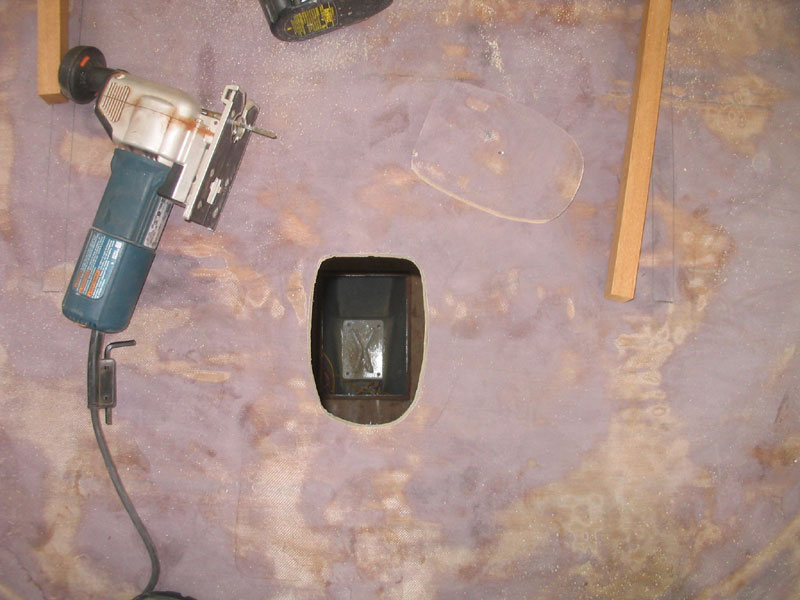 With
the hole cut, I immediately made a measurement and then went outside to
compare the actual height inside the cabin to the extra length of the
new spar. I was thoroughly relieved to find that it was just as I
had expected, and that I had apparently measured correctly in the first
place. With
the hole cut, I immediately made a measurement and then went outside to
compare the actual height inside the cabin to the extra length of the
new spar. I was thoroughly relieved to find that it was just as I
had expected, and that I had apparently measured correctly in the first
place.
Next: final installation of the mast step, and finishing off the mast partners. More about the mast itself is at this link. |
|
Back to the Main Menu> |